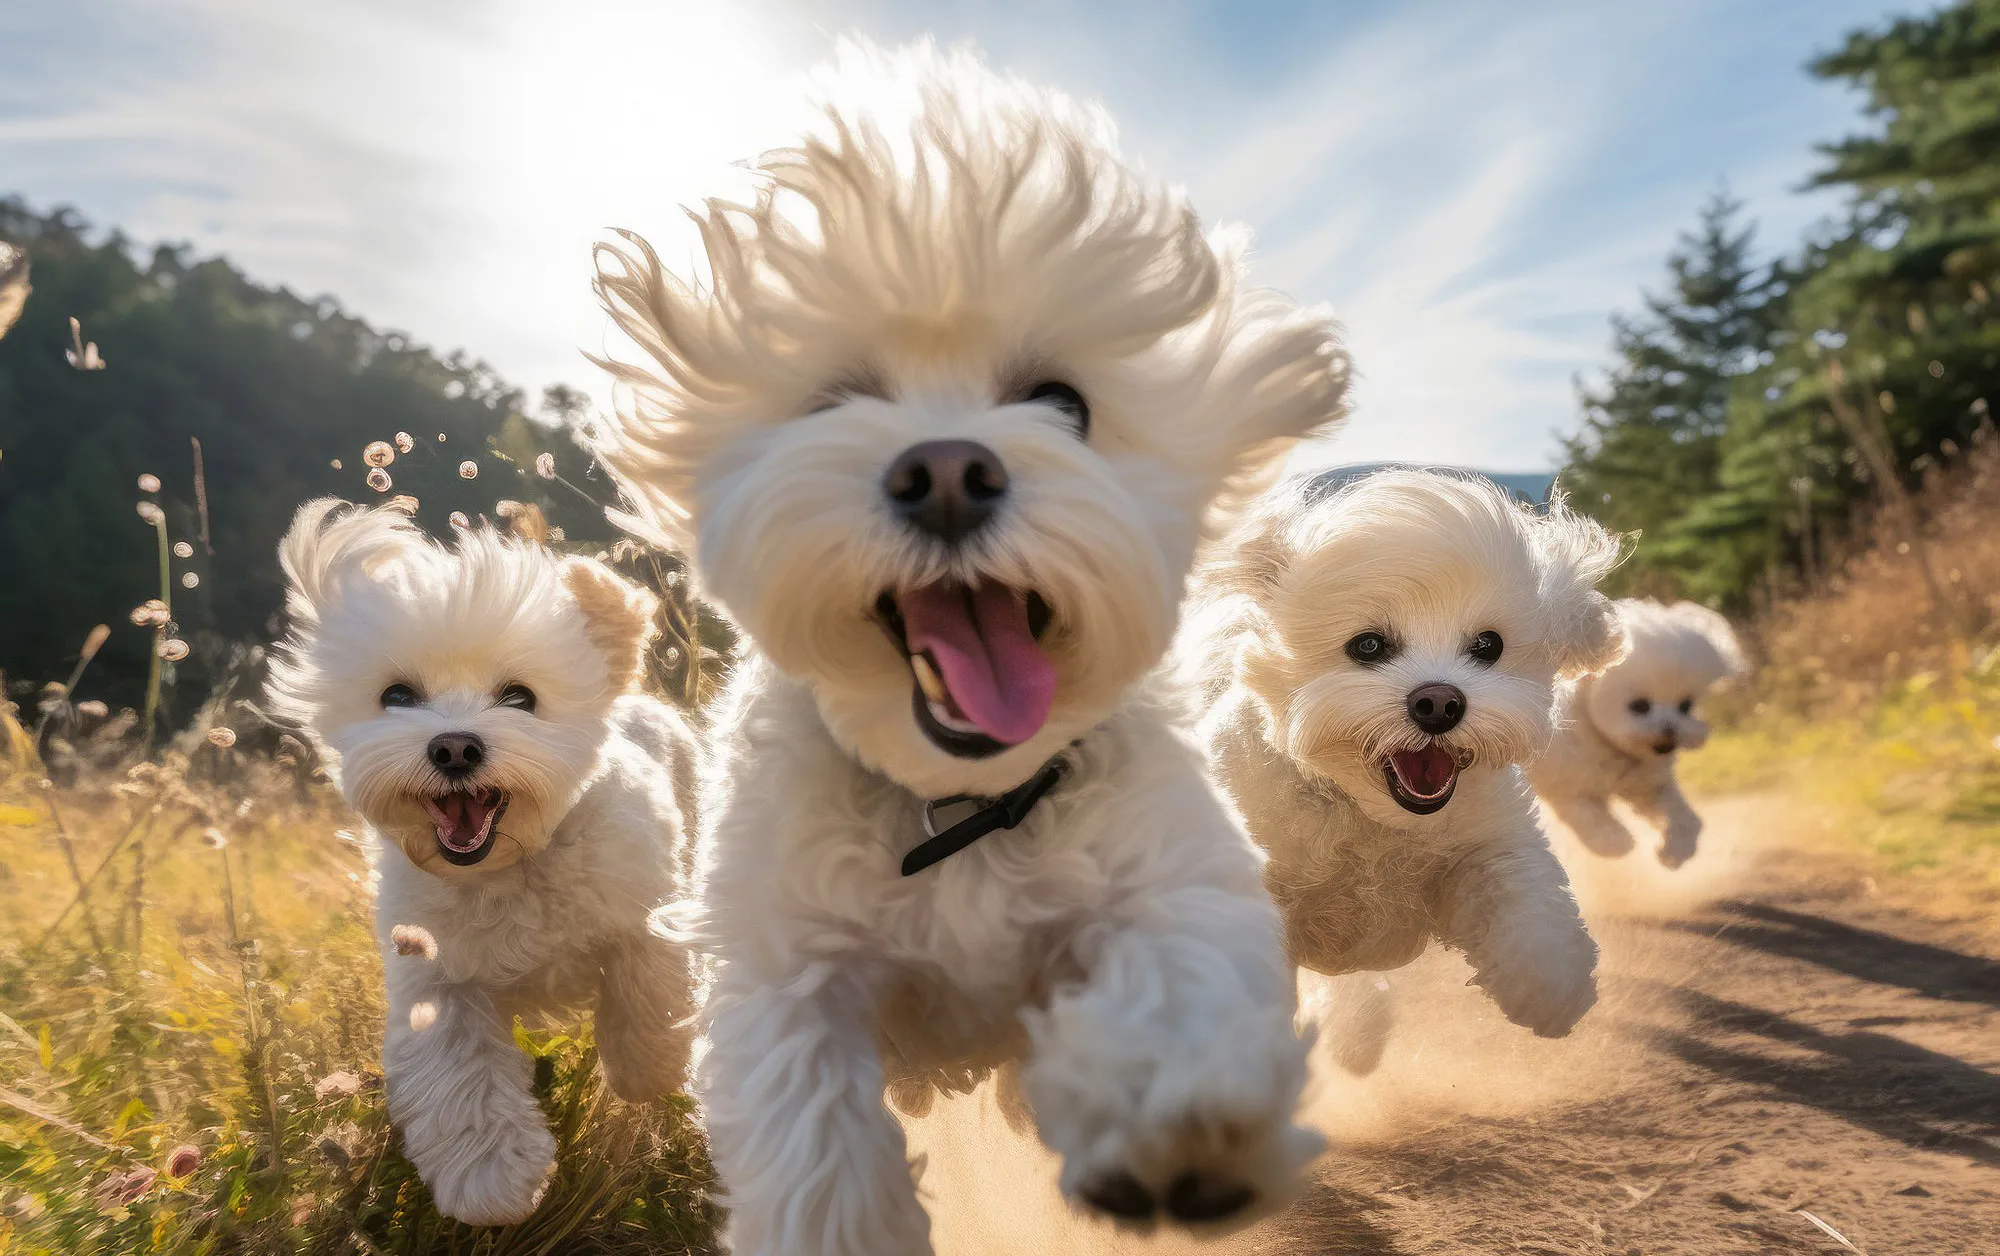
Photographing dogs can be a challenge, but once you've mastered it, it's an incredibly satisfying and rewarding hobby. Outdoor dog photography is all about capturing the calm and movement of a dog to create unique and eye-catching dog photos. In this article, we'll take a closer look at how you can be successful on your own photography adventures with your four-legged friend.
For an outdoor dog photo shoot, it's important to pay attention to both the dog's needs and the surroundings. As dogs are often particularly active and full of energy in nature, this is an opportunity to take dynamic and lively photos. On the other hand, it is also important to capture quiet moments when the dog is simply relaxing and enjoying its surroundings.
Regardless of the circumstances, you should master the basics of photography to get the best results. This includes adjusting shutter speed, aperture and ISO, depending on the lighting conditions and the desired image effect. Through practice and experimentation, you will quickly find out which settings work best for your individual outdoor dog shooting requirements.
Table of contents
Location-based dog shooting
Photographing dogs in nature
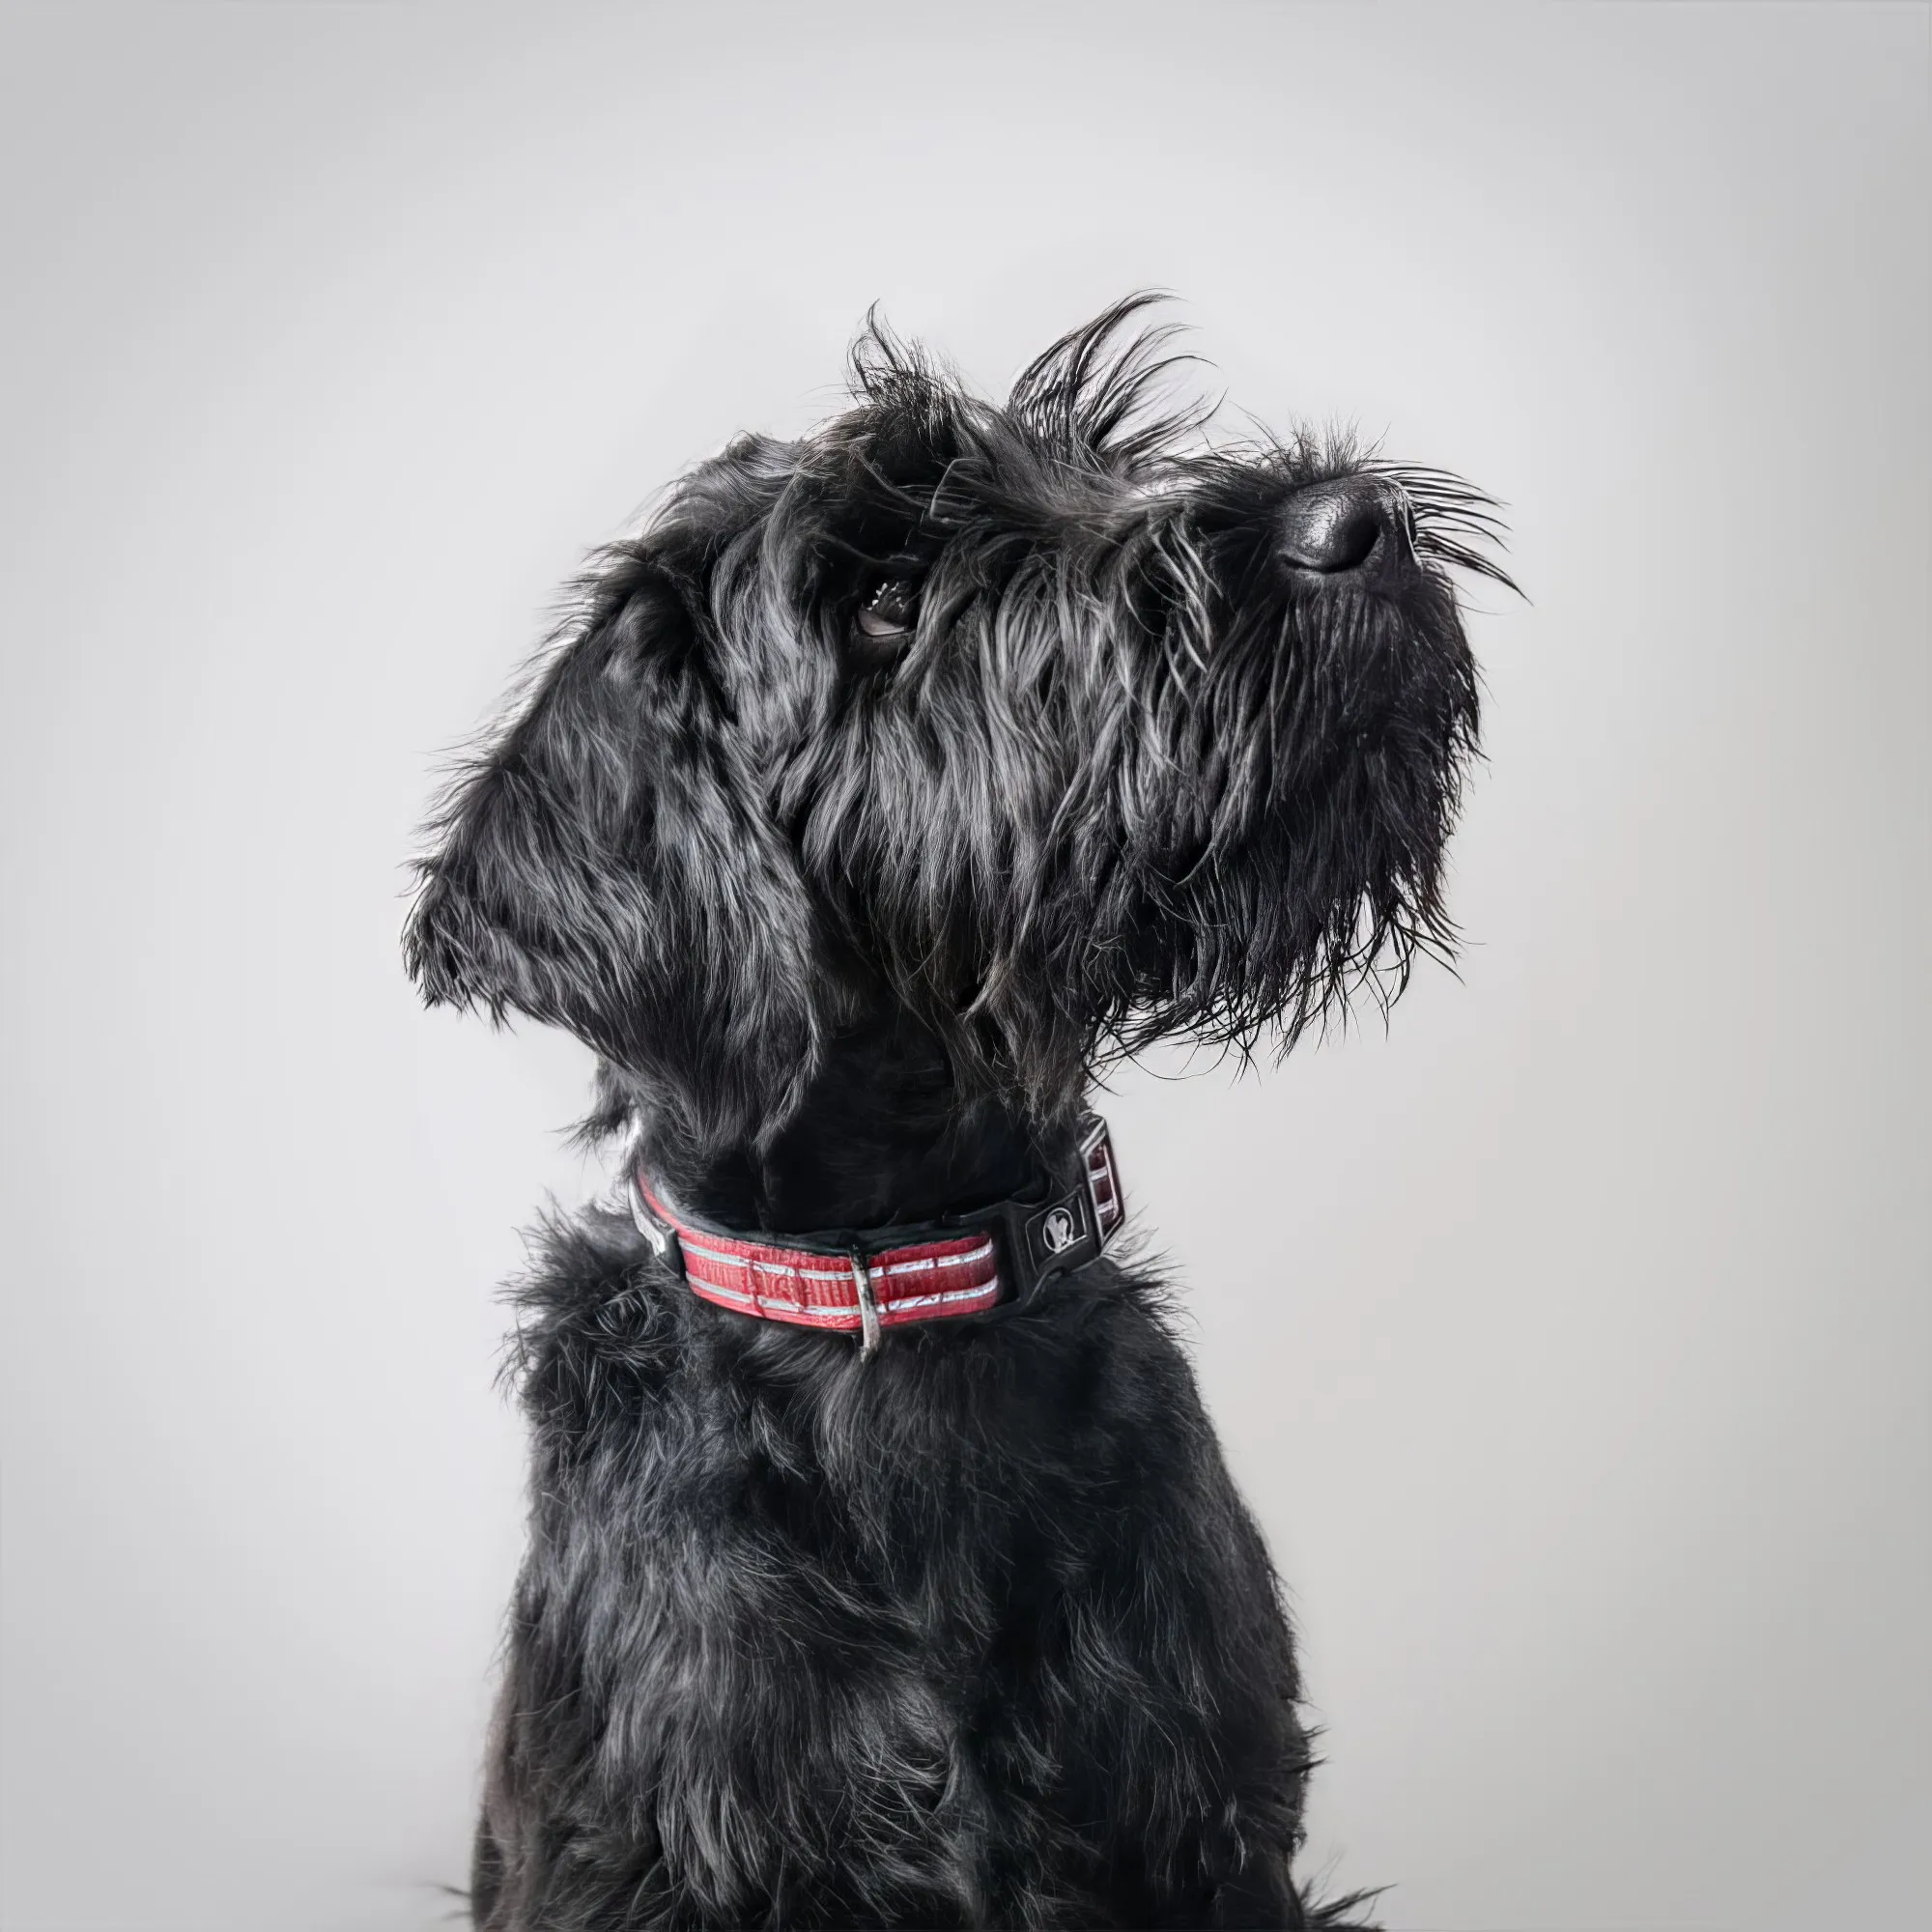
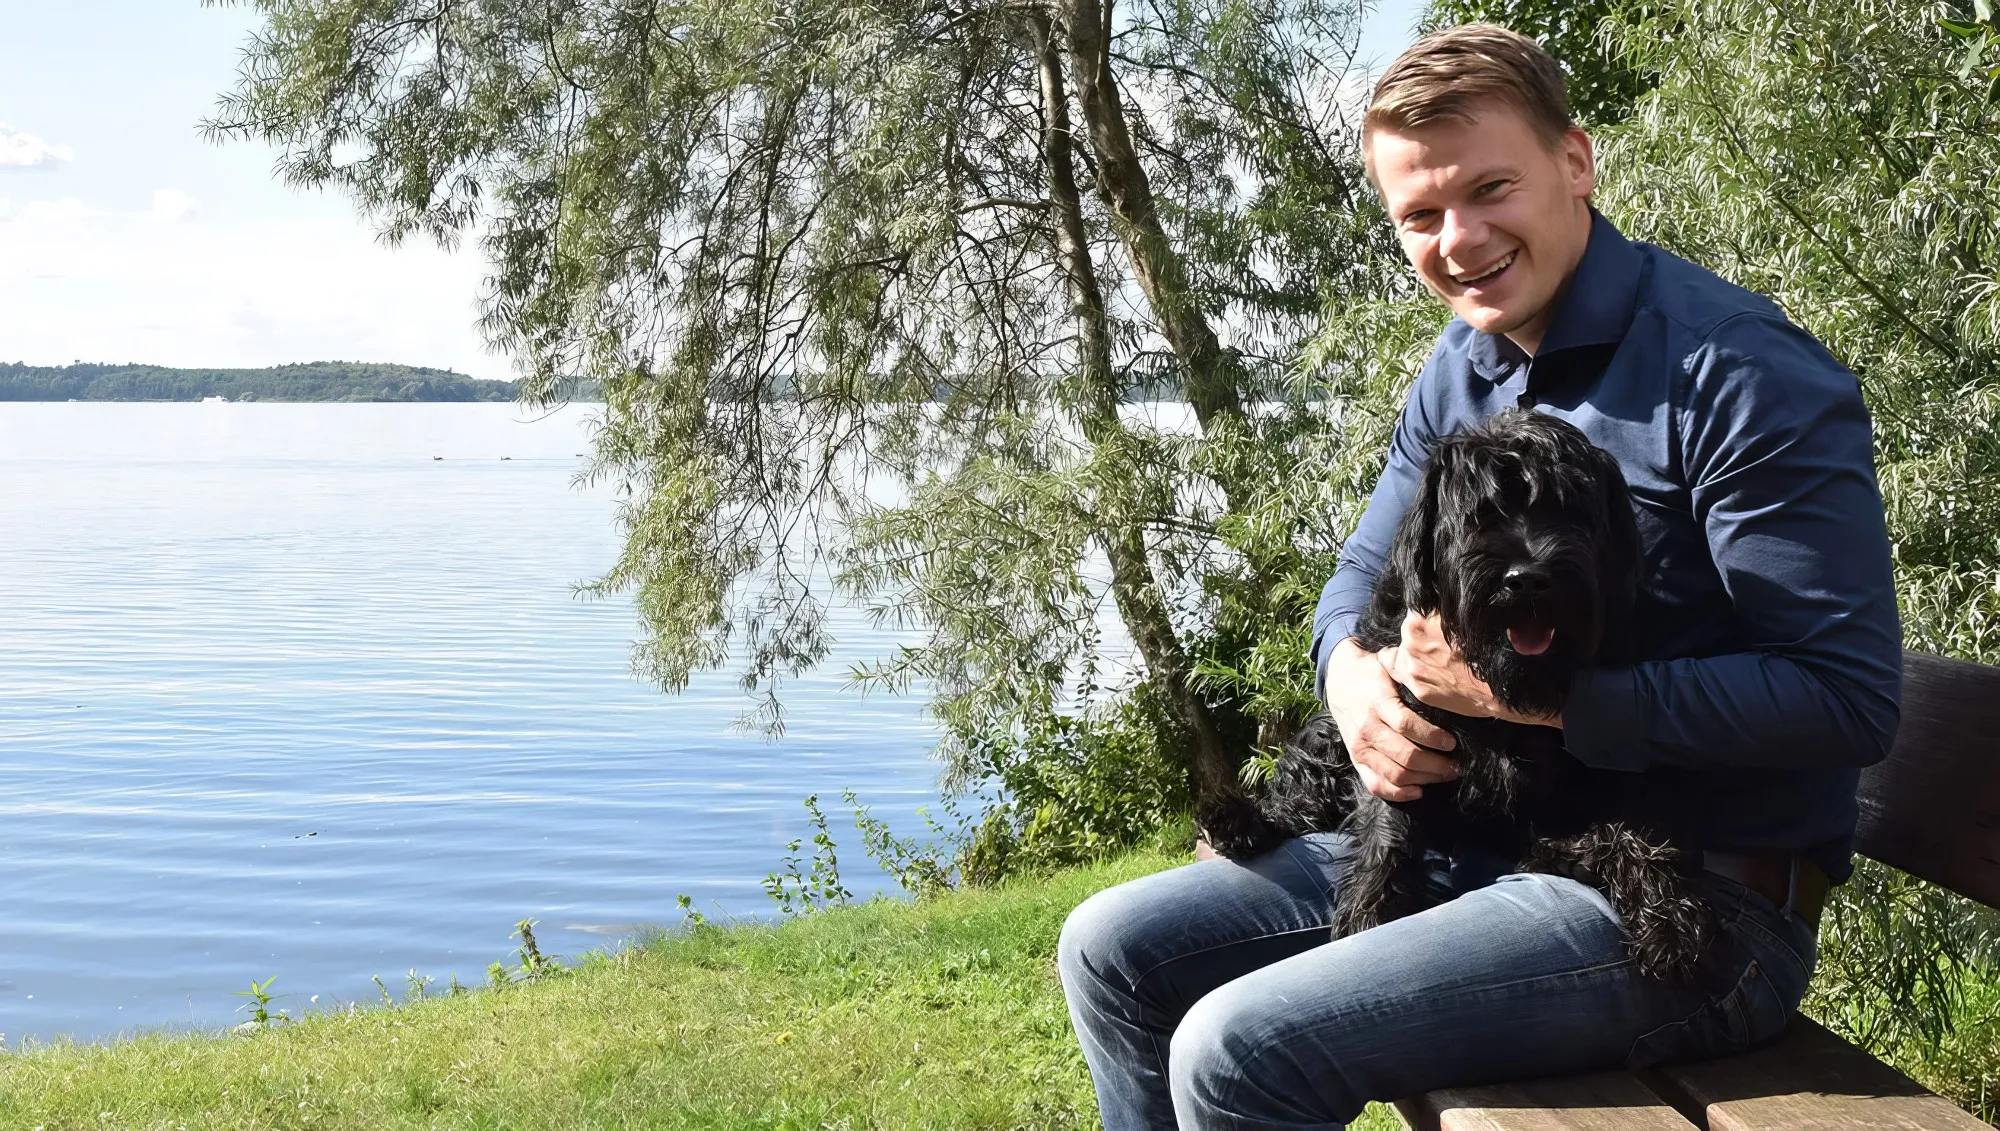
If you're planning an outdoor dog photo shoot, nature is always a good choice of location. Think of forests, fields, lakes or other scenic locations. These provide a fantastic backdrop for dog photos. Show your dog in its natural environment and capture special moments, such as when playing or running. Make sure that the surroundings are safe for your dog and that he feels comfortable. You'll see how much your dog will enjoy the fresh air and freedom of the outdoors. My dog (medium schnauzer) always loves it when we are outside, no matter what the weather (except when it's extremely hot).
Photographing dogs at home
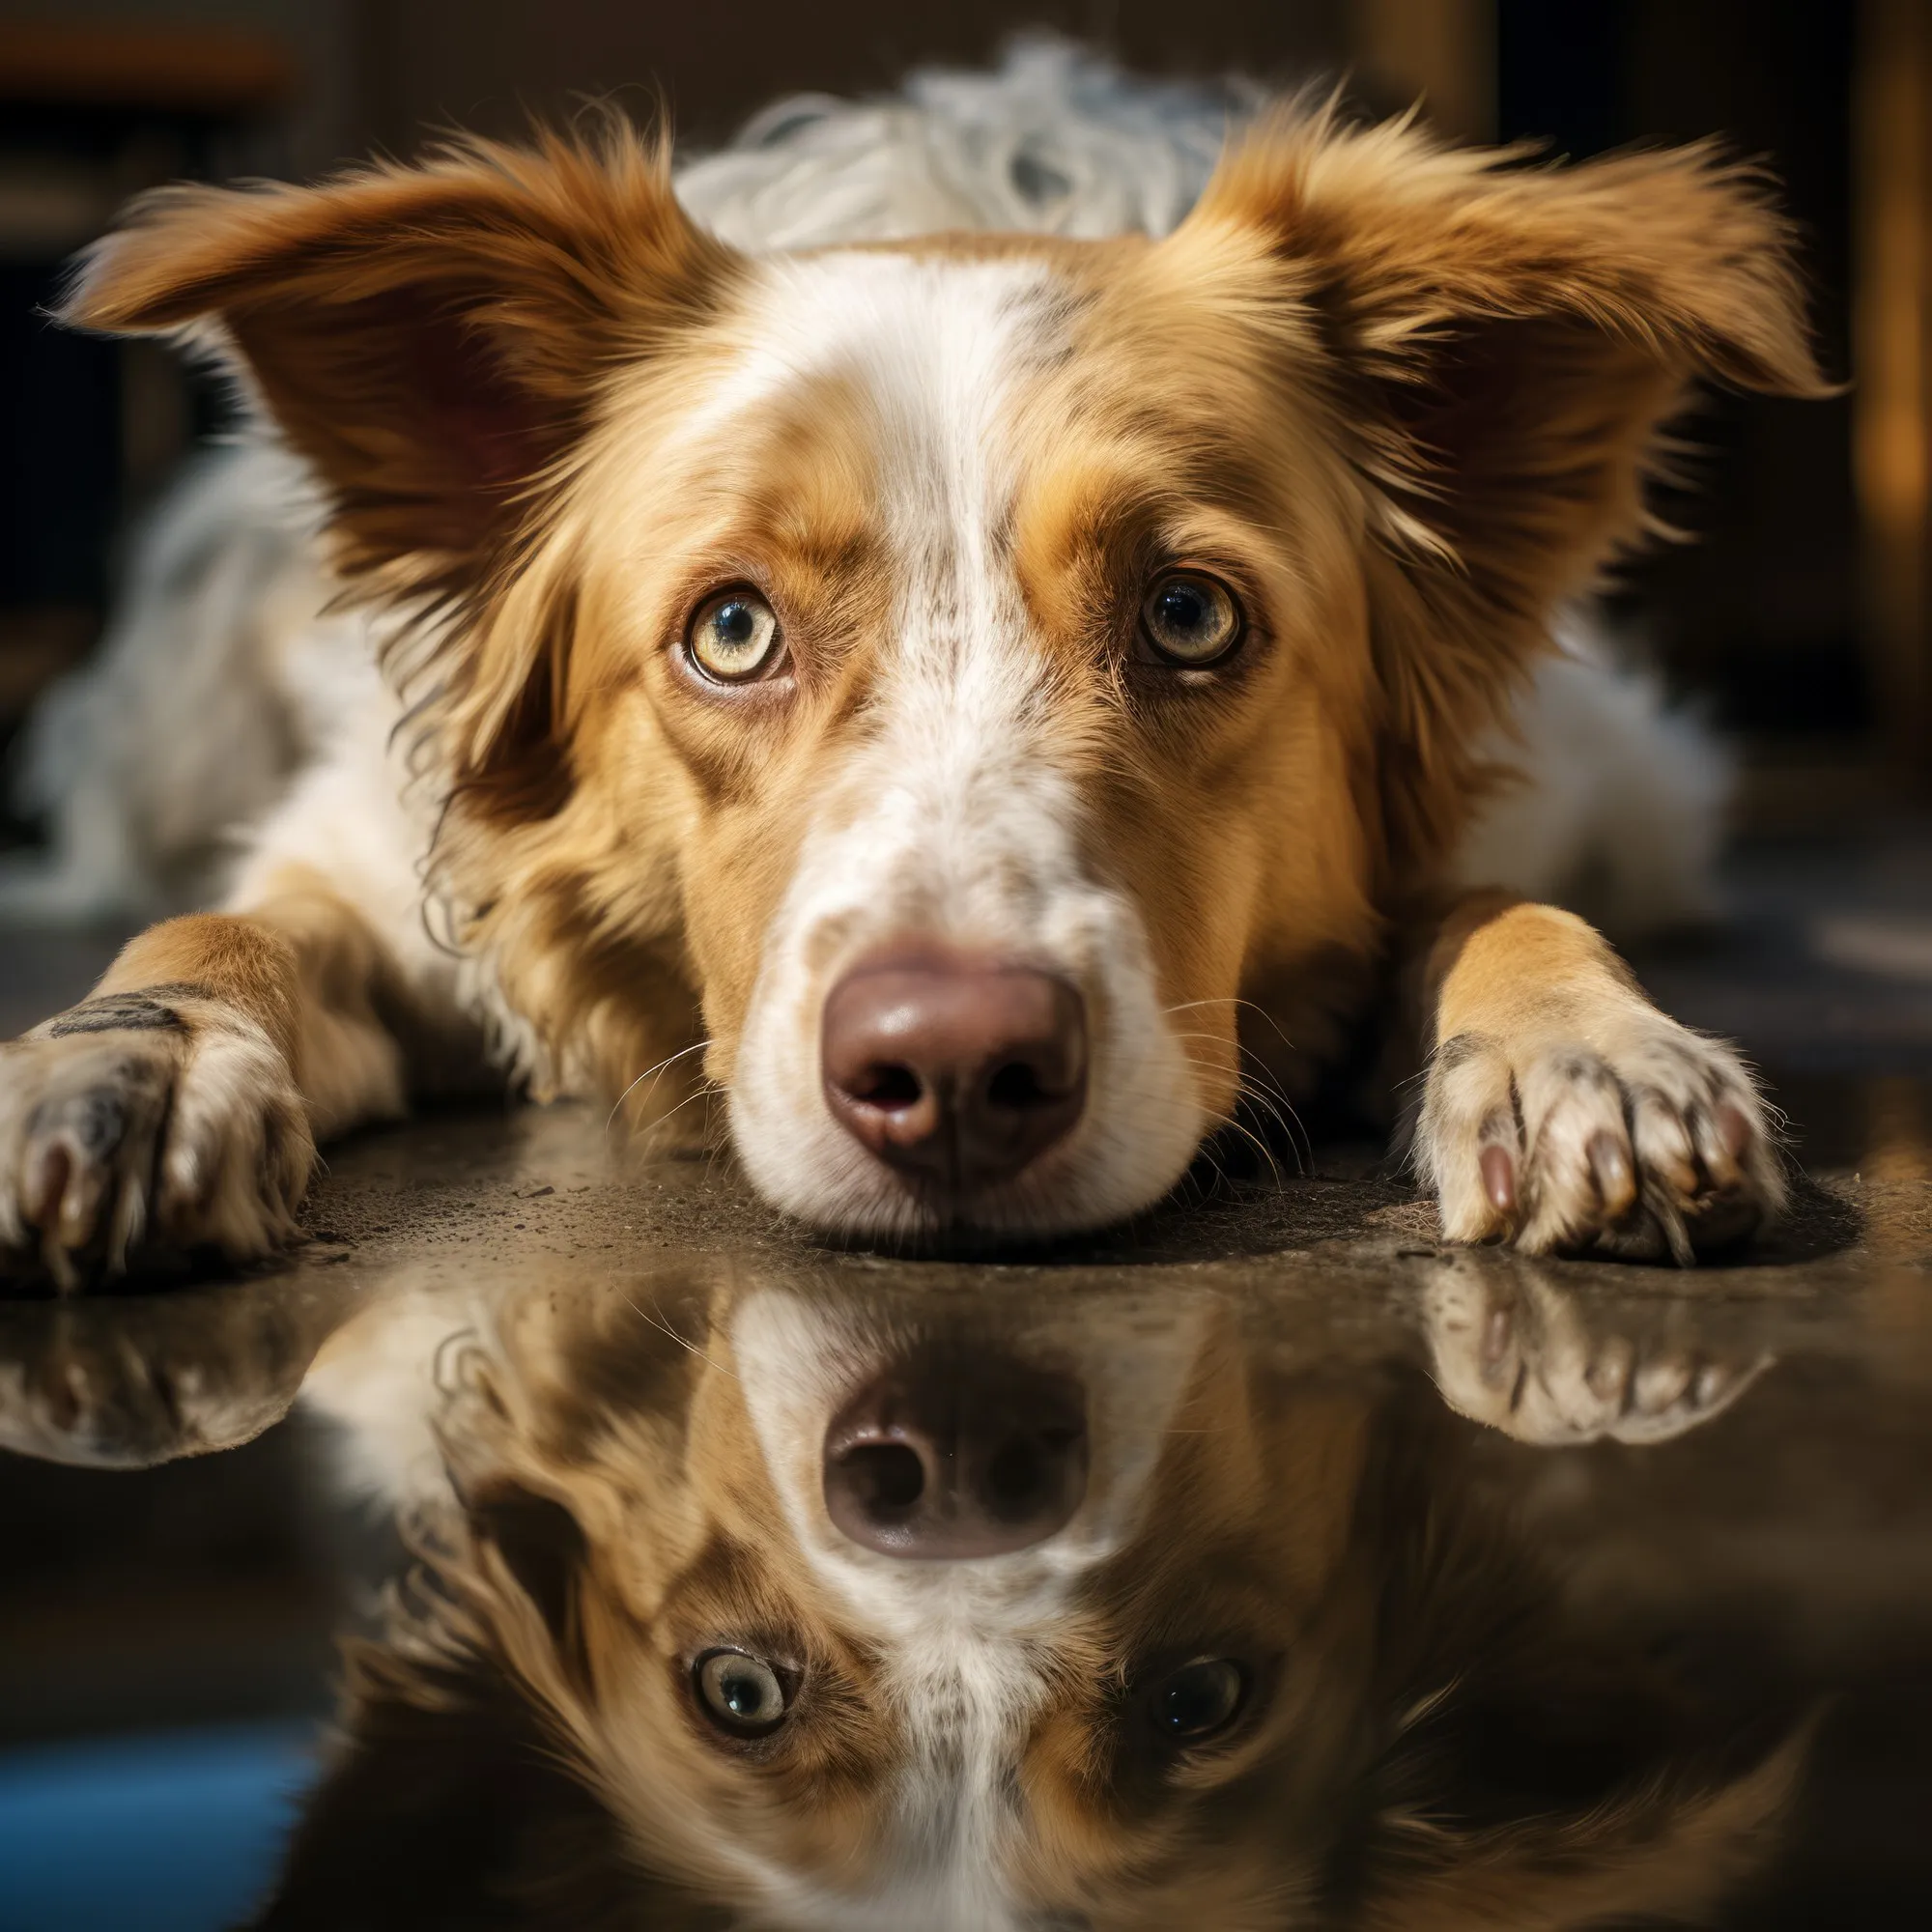
Another option for a location-based dog shoot is to take photos at home. Your dog will feel safe and relaxed in familiar surroundings. Look for interesting corners and backgrounds in your home, such as in the living room, in the garden or on the patio. Make sure you have enough natural light and design the room in an appealing way. Use creative ideas here too to get the best out of the shoot. The most important thing here is to authentically depict life together with your dog. Let your dog act in his usual routines and capture these moments with your camera or smartphone (I own the Pixel 6 Pro from Google, which takes really good photos, provided the light is good).
When choosing a location for your dog photo shoot, whether in nature or at home, it's important that you and your dog feel comfortable and make the most of the surroundings. No matter which location you choose, what counts in the end is the perfect dog photo that captures your special bond with your four-legged friend.
Techniques for dog photography
Stillness and movement
It's important to use the right technique to photograph both stationary and moving dogs. With a resting dog, you can take more time to capture the perfect pose. Make sure to keep the dog's eyes in focus and the face in focus.
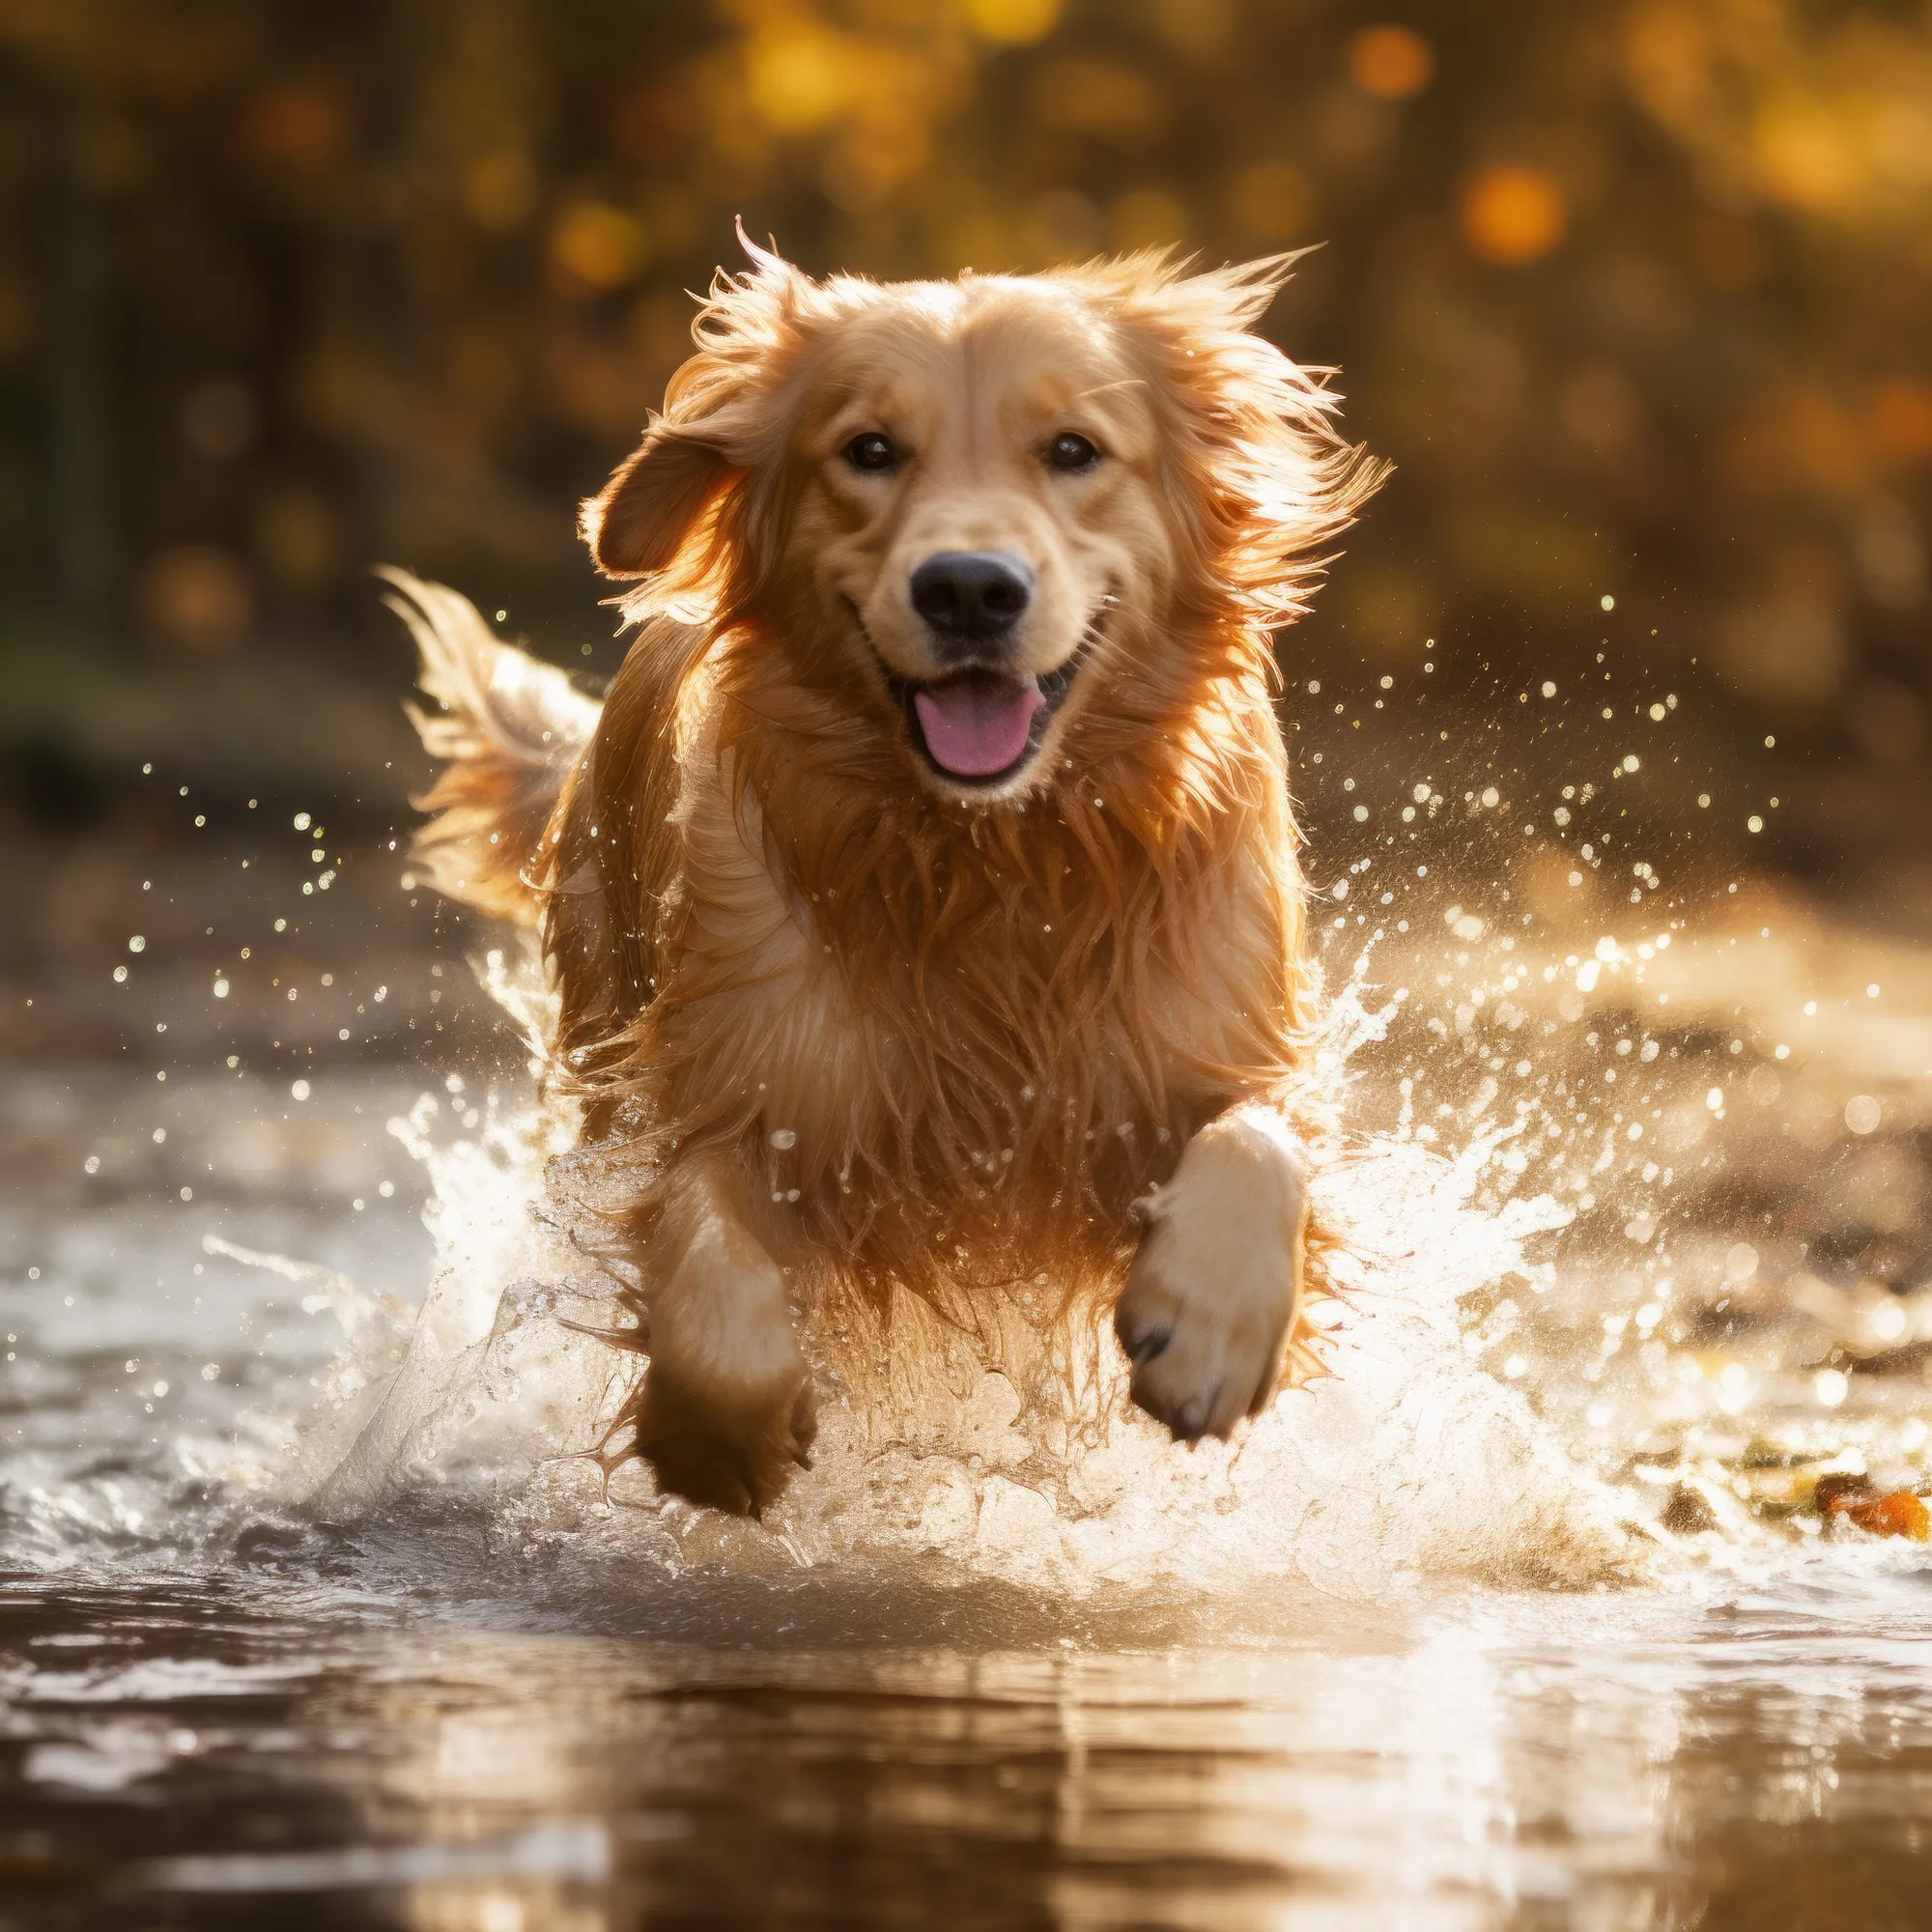
When it comes to photographing dogs in motion, you should be prepared to react quickly. To capture a fast-moving dog, it is a good idea to freeze the movement. Fast shutter speeds and continuous focusing are helpful for this. Experiment with different angles and perspectives to get unique and interesting photos.
Light settings and camera settings
The right lighting is crucial for successful dog photos. Natural light can be a very effective lighting method, especially for outdoor dog shoots. Make sure that the light is not too hard or too soft and that the dog's colors are shown to their best advantage.
The right camera settings also play a crucial role. A high shutter speed makes it possible to capture dogs in motion in sharp focus. At the same time, you should use a sufficient depth of field to keep the entire dog in focus.
Here are some basic camera settings that can be helpful when photographing dogs:
- Shutter speed: 1/1000 second or faster to freeze motion.
- Blender: f/4 to f/8, depending on the desired depth of field.
- ISO: Adjust according to lighting conditions (more ISO if there is not enough light).
Finally, it is important to be patient and sensitive with the dog to create a relaxed and positive atmosphere for the photo shoot.
Equipment and preparation
Equipment
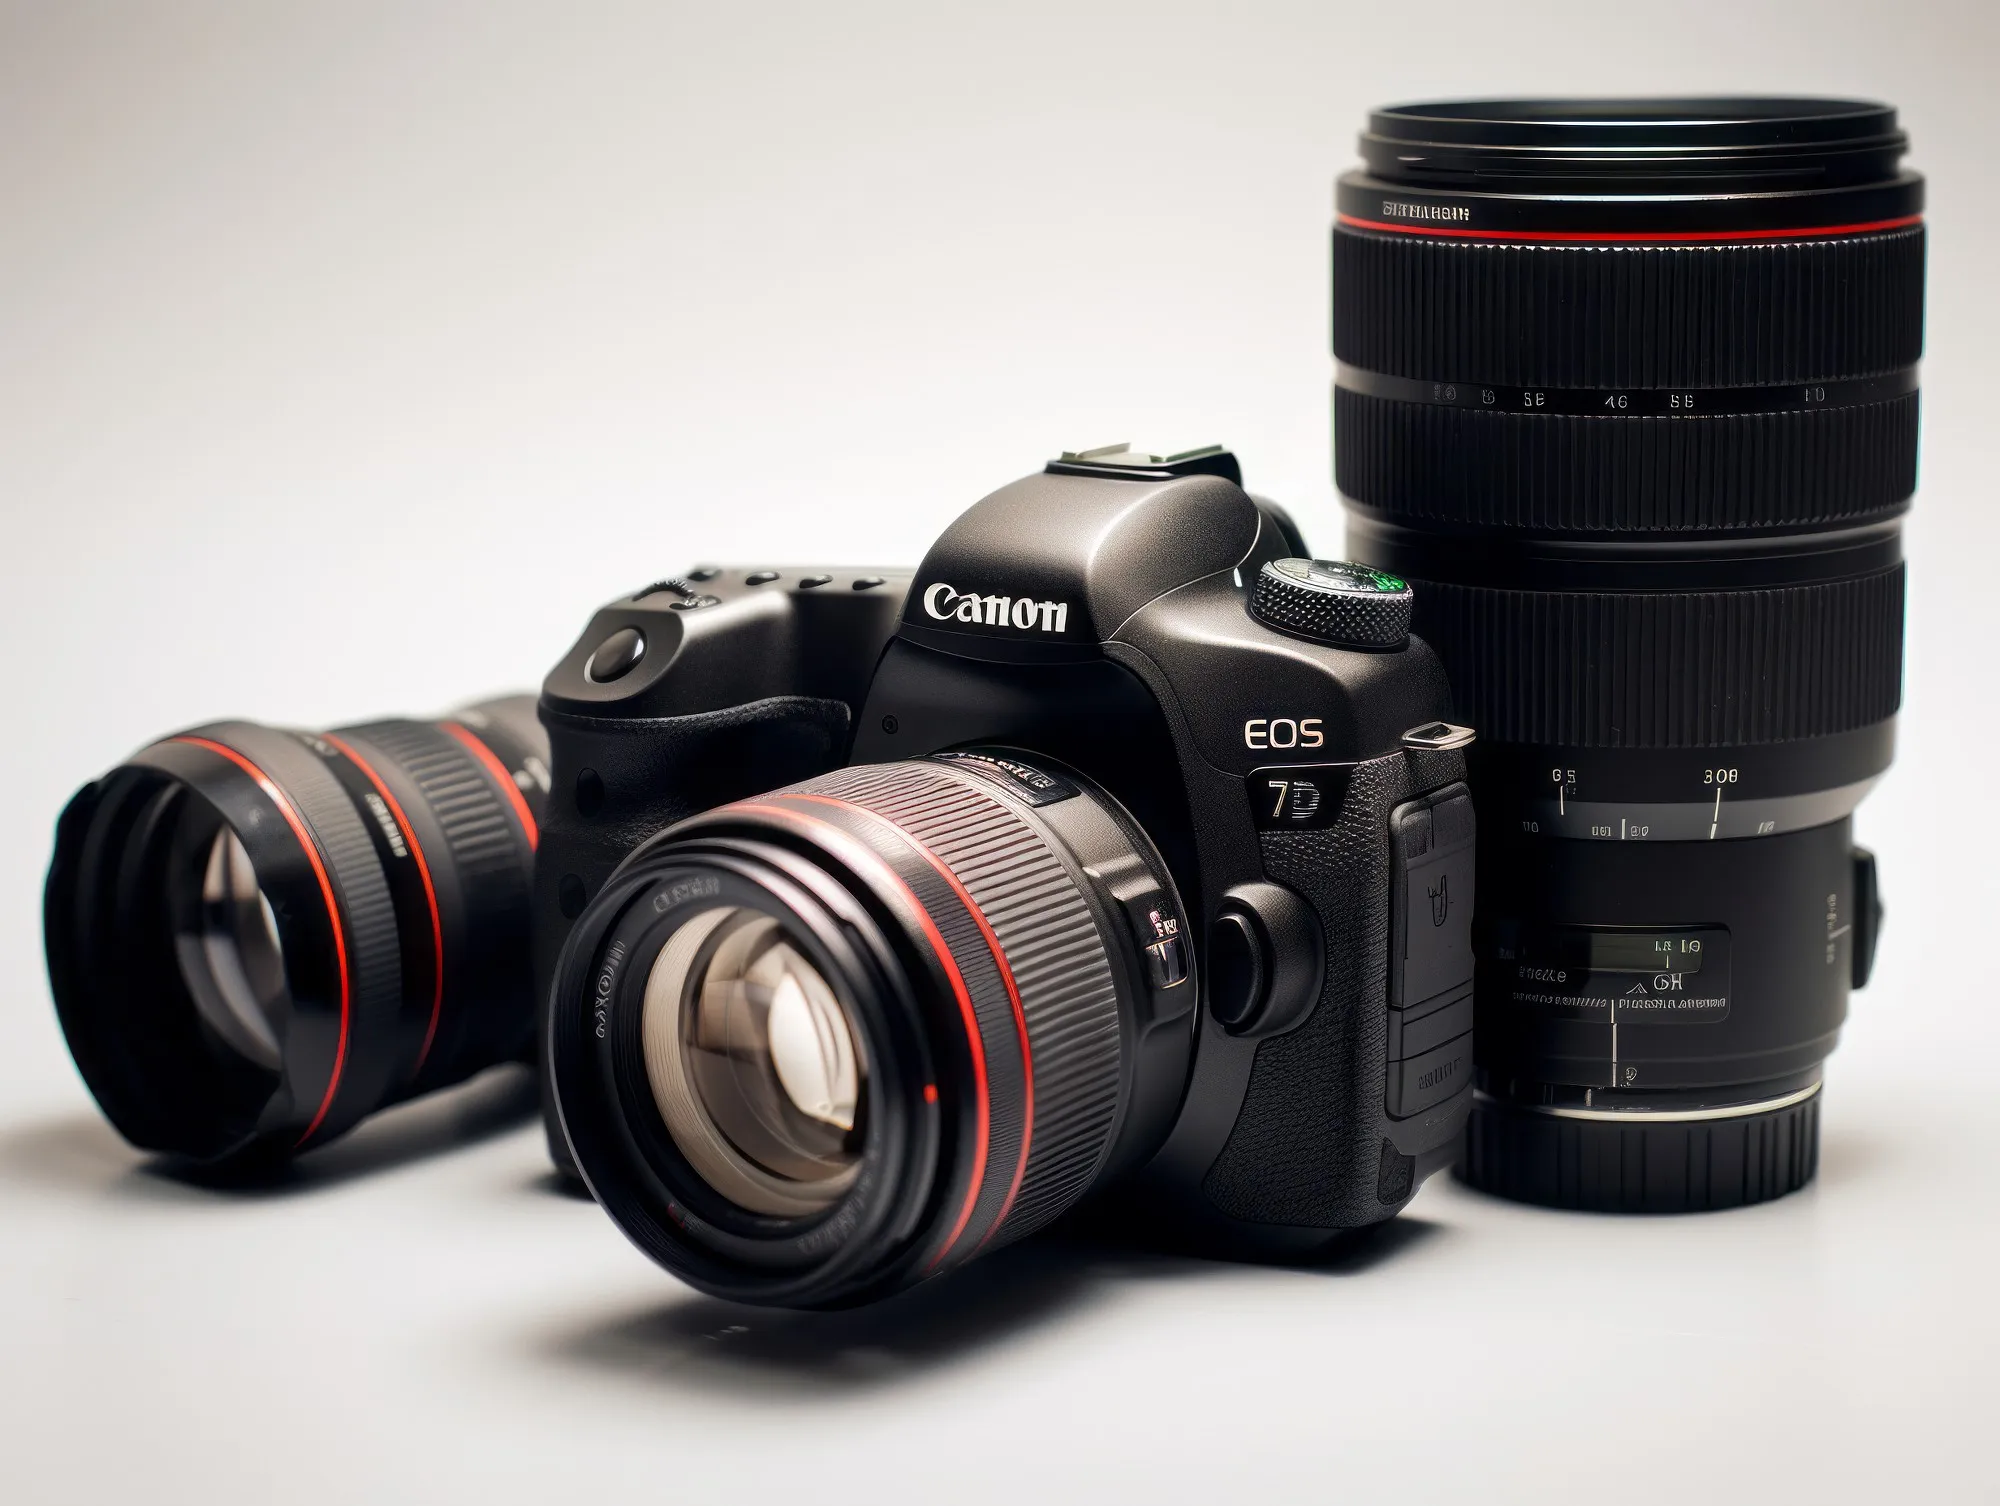
You need the right equipment for a successful outdoor dog photo shoot. This includes a camera with good image quality and an autofocus function. A fast zoom lens is also recommended in order to capture the dogs' movements sharply and to enable different image sections. Modern system cameras are particularly suitable for this type of photography.
- Tripod or monopod: for more stability and long exposures
- Flash unit: to brighten up shadows or dark areas
- Reflector: to direct the light specifically onto the dog
- Food snacks: to keep the dog's attention
- Toys or noisemakers: to motivate the dog or attract its attention
- A sleeping mat: to position yourself comfortably close to the ground to photograph the dog from below
Training and preparing the dog
Preparing the dog is crucial for a successful shoot. It is important that the dog is relaxed and in good spirits. You should therefore practise handling the camera in advance so that your dog gets used to it and is not afraid of it.
The bond between you and the dog is also a decisive factor. If you have a good relationship, the dog will be more likely to listen to you and perform better in front of the camera. It is also advisable to exercise the dog physically and mentally before the shoot so that it can concentrate better.
Choosing the right location for the shoot is also important. Make sure that the location is well lit and does not present any distractions or dangers for the dog. A secluded forest path or an open meadow are well suited for a relaxed shoot.
Remember to be patient during the shoot and give your dog plenty of breaks. Use treats, toys or noisemakers to keep the dog's attention and achieve beautiful pictures. Always stay at eye level with the dog and respond to its needs to ensure a successful outdoor dog photo shoot.
Dog photography workflow
Before the shoot
Before you start the photo shoot, it's important that you develop a good workflow for photographing dogs. Think about the environment and the weather and choose a suitable location for the shoot. Familiarize yourself with your camera and make sure that all settings are optimal to get the best results.
During the shoot
During the shoot, you should make sure that the dog is relaxed and calm. Give the dog enough time to get used to the surroundings and feel comfortable. Make sure to photograph the dog in different poses and from different angles to get a variety of pictures. Since dogs like to move, it is appropriate to take both calm and dynamic photos.
After the shoot
Post-processing your dog photos is an important step in the workflow. Here you can remove distracting elements, carry out retouching and add effects, sharpness and finishing touches. Use image editing programs to achieve the best results for your photos. After all, the aim should be to present impressive and professional-looking dog photos. I always use Adobe Photoshop for this, or if you don't like subscriptions, you can also use Affinity Photo, for example.
Image editing
Basic post-processing
When editing outdoor dog photos, it's important to make basic adjustments. You can use programs such as Adobe Lightroom or Adobe Photoshop to adjust the contrast, color saturation and brightness of your images. Here are a few points you should pay attention to:
- Make sure your image is well lit. You can adjust the exposure to emphasize bright areas and reduce shadows.
- Correct the white balance to make the colors look natural.
- Sharpen your image to emphasize details, but without over-sharpening it.
- Remove unwanted objects or backgrounds with the retouch tool.
Special effects and finishing touches
Once you have made the basic adjustments, you can continue to work with special effects and finishing touches to give your dog photo a special touch. Here are some ideas you can try out:
- Use vignetting to focus on the dog and darken the edges of the image.
- Play with gradation curves and tonal value corrections to enhance the contrast and color effect.
- Use filters and looks in Lightroom and Photoshop to give your image a certain style or mood.
- Experiment with selective color correction to emphasize or soften certain colors in the image.
To summarize, you should use both basic post-processing and creative special effects when editing your dog photos. Always make sure that the original image quality is retained and that no unnatural elements impair the result.
Resources and further training
Image editing software
It's important to use the right image editing software to make your dogs stand out even more in still and moving images. There are various programs on the market, such as Adobe Photoshop, Lightroom, Affinity Photo or GIMP. Each of these programs has its own advantages and disadvantages, so you should choose the program that best suits your needs.
- Photoshop: This program is probably the best known and most widely used image editing program. It offers many possibilities and is suitable for beginners and advanced users. In addition, since September 2023 there are AI functions that make image editing even easier.
- Lightroom: This is another program from Adobe specifically for photographers. It is particularly helpful for editing and organizing photo libraries.
- GIMP: GIMP is a free, open-source alternative to the two programs mentioned above and also has many functions. However, the user interface is not as good as in Photoshop or Affinity Photo.
- Affinity Photo: A really good program that offers everything you need to edit your photos. Unfortunately, no AI functions are included (as of September 2023).
Tutorials and tips
If you want to learn more about dog photography, there are numerous tutorial s and tips on the internet. It is important to learn the basics first, such as the right camera settings, the right background or the right light for optimal photos. For inspiration and further information, you can also watch YouTube videos or attend workshops on dog photography.
Some basic tips for dog photography are
- It's best to photograph the dog in its natural environment to get authentic and vivid photos.
- Pay attention to the right depth of field to make the dog stand out from the background.
- Patience and empathy are important skills when photographing dogs - try to put yourself in the dog's perspective and respond to its needs.
Always remain open to new knowledge and try out different techniques. In doing so, you will continuously develop both your dog photography skills and your individual style.
Presentation and sales
Customer gallery
The client gallery is an important aspect of presenting your dog photos. To impress your clients, you should create an appealing and well-structured gallery. Present the best shots of the dogs in still and motion to show the diversity of your photography skills.
For example, use a clear layout and sort the photos by theme or shoot to make navigation easier. Make sure to show the images in high resolution and good quality so that customers can see the details of the shots. Don't forget to add your contact details and information about your offers to encourage potential customers to get in touch. Of course, an Instagram account is also perfect for the photos, as is Facebook.
Prices and sales
When selling your dog photography services, it is important to set clear and transparent prices. Take into account the various aspects that go into your pricing, such as the duration of the shoot, the number of edited photos or the use of additional equipment.
Here are some guidelines to help you set your prices:
- Base price: Set a base price for a specific time slot, for example 1 or 2 hours. This price should cover the cost of your time, expertise and basic equipment.
- Additional services: Offer additional services that can be added depending on the client's needs. Examples include editing multiple photos, providing prints or using special equipment.
- Packages: Create packages with different scopes of services to allow customers to choose what best suits their needs. For example, you can offer a basic package, a package with additional edited photos and a premium package with prints and other extras. Special savings packages are also very suitable here (the children's photographers from my daughters' kindergarten do this all the time).
- VAT: Don't forget to add value added tax (VAT) to your prices to stay legally correct and avoid any nasty surprises after the sale (if you are liable for VAT).
By making your prices clear and transparent, you make it easier for your customers to make an informed decision about your services and promote trust in your work.
The most common mistakes
Some mistakes can occur when photographing dogs at rest and in motion. To get better results, there are a few things you should keep in mind.
Poor lighting conditions: Good light is very important when photographing dogs. Avoid taking photos in direct sunlight or at midday, as this can lead to harsh shadows and contrasts. Instead, choose cloudy days or the golden hours to get soft and even light.
Blurred images: Dogs can be fast and unpredictable, so it's crucial to get your camera settings right. Make sure your shutter speed is fast enough to freeze the movement. Also, use continuous autofocus to maintain sharpness in the image. Check out this tutorial to learn more about the basic settings for dog photography in motion.
Lack of focus on the essentials: Make sure the main part of the dog, such as its face or eyes, is in focus. If they are out of focus, the picture will look less appealing. If necessary, you can sharpen it with tools such as Topaz Photo AI(see training "Sharpening images with & without AI - against pixelated, blurry photos").
Restless environment: Avoid taking photos of dogs in a noisy or restless environment. This can stress or distract the animal and thus impair the image quality.
Impatience: Patience is essential in dog photography. Give yourself and the dog enough time to get used to the surroundings, the camera and the actual photo shoot. Repeat movements and commands calmly and patiently to ensure a relaxed shoot.
By avoiding these common mistakes and always being attentive, you can achieve better outdoor dog shoots both at rest and in motion.
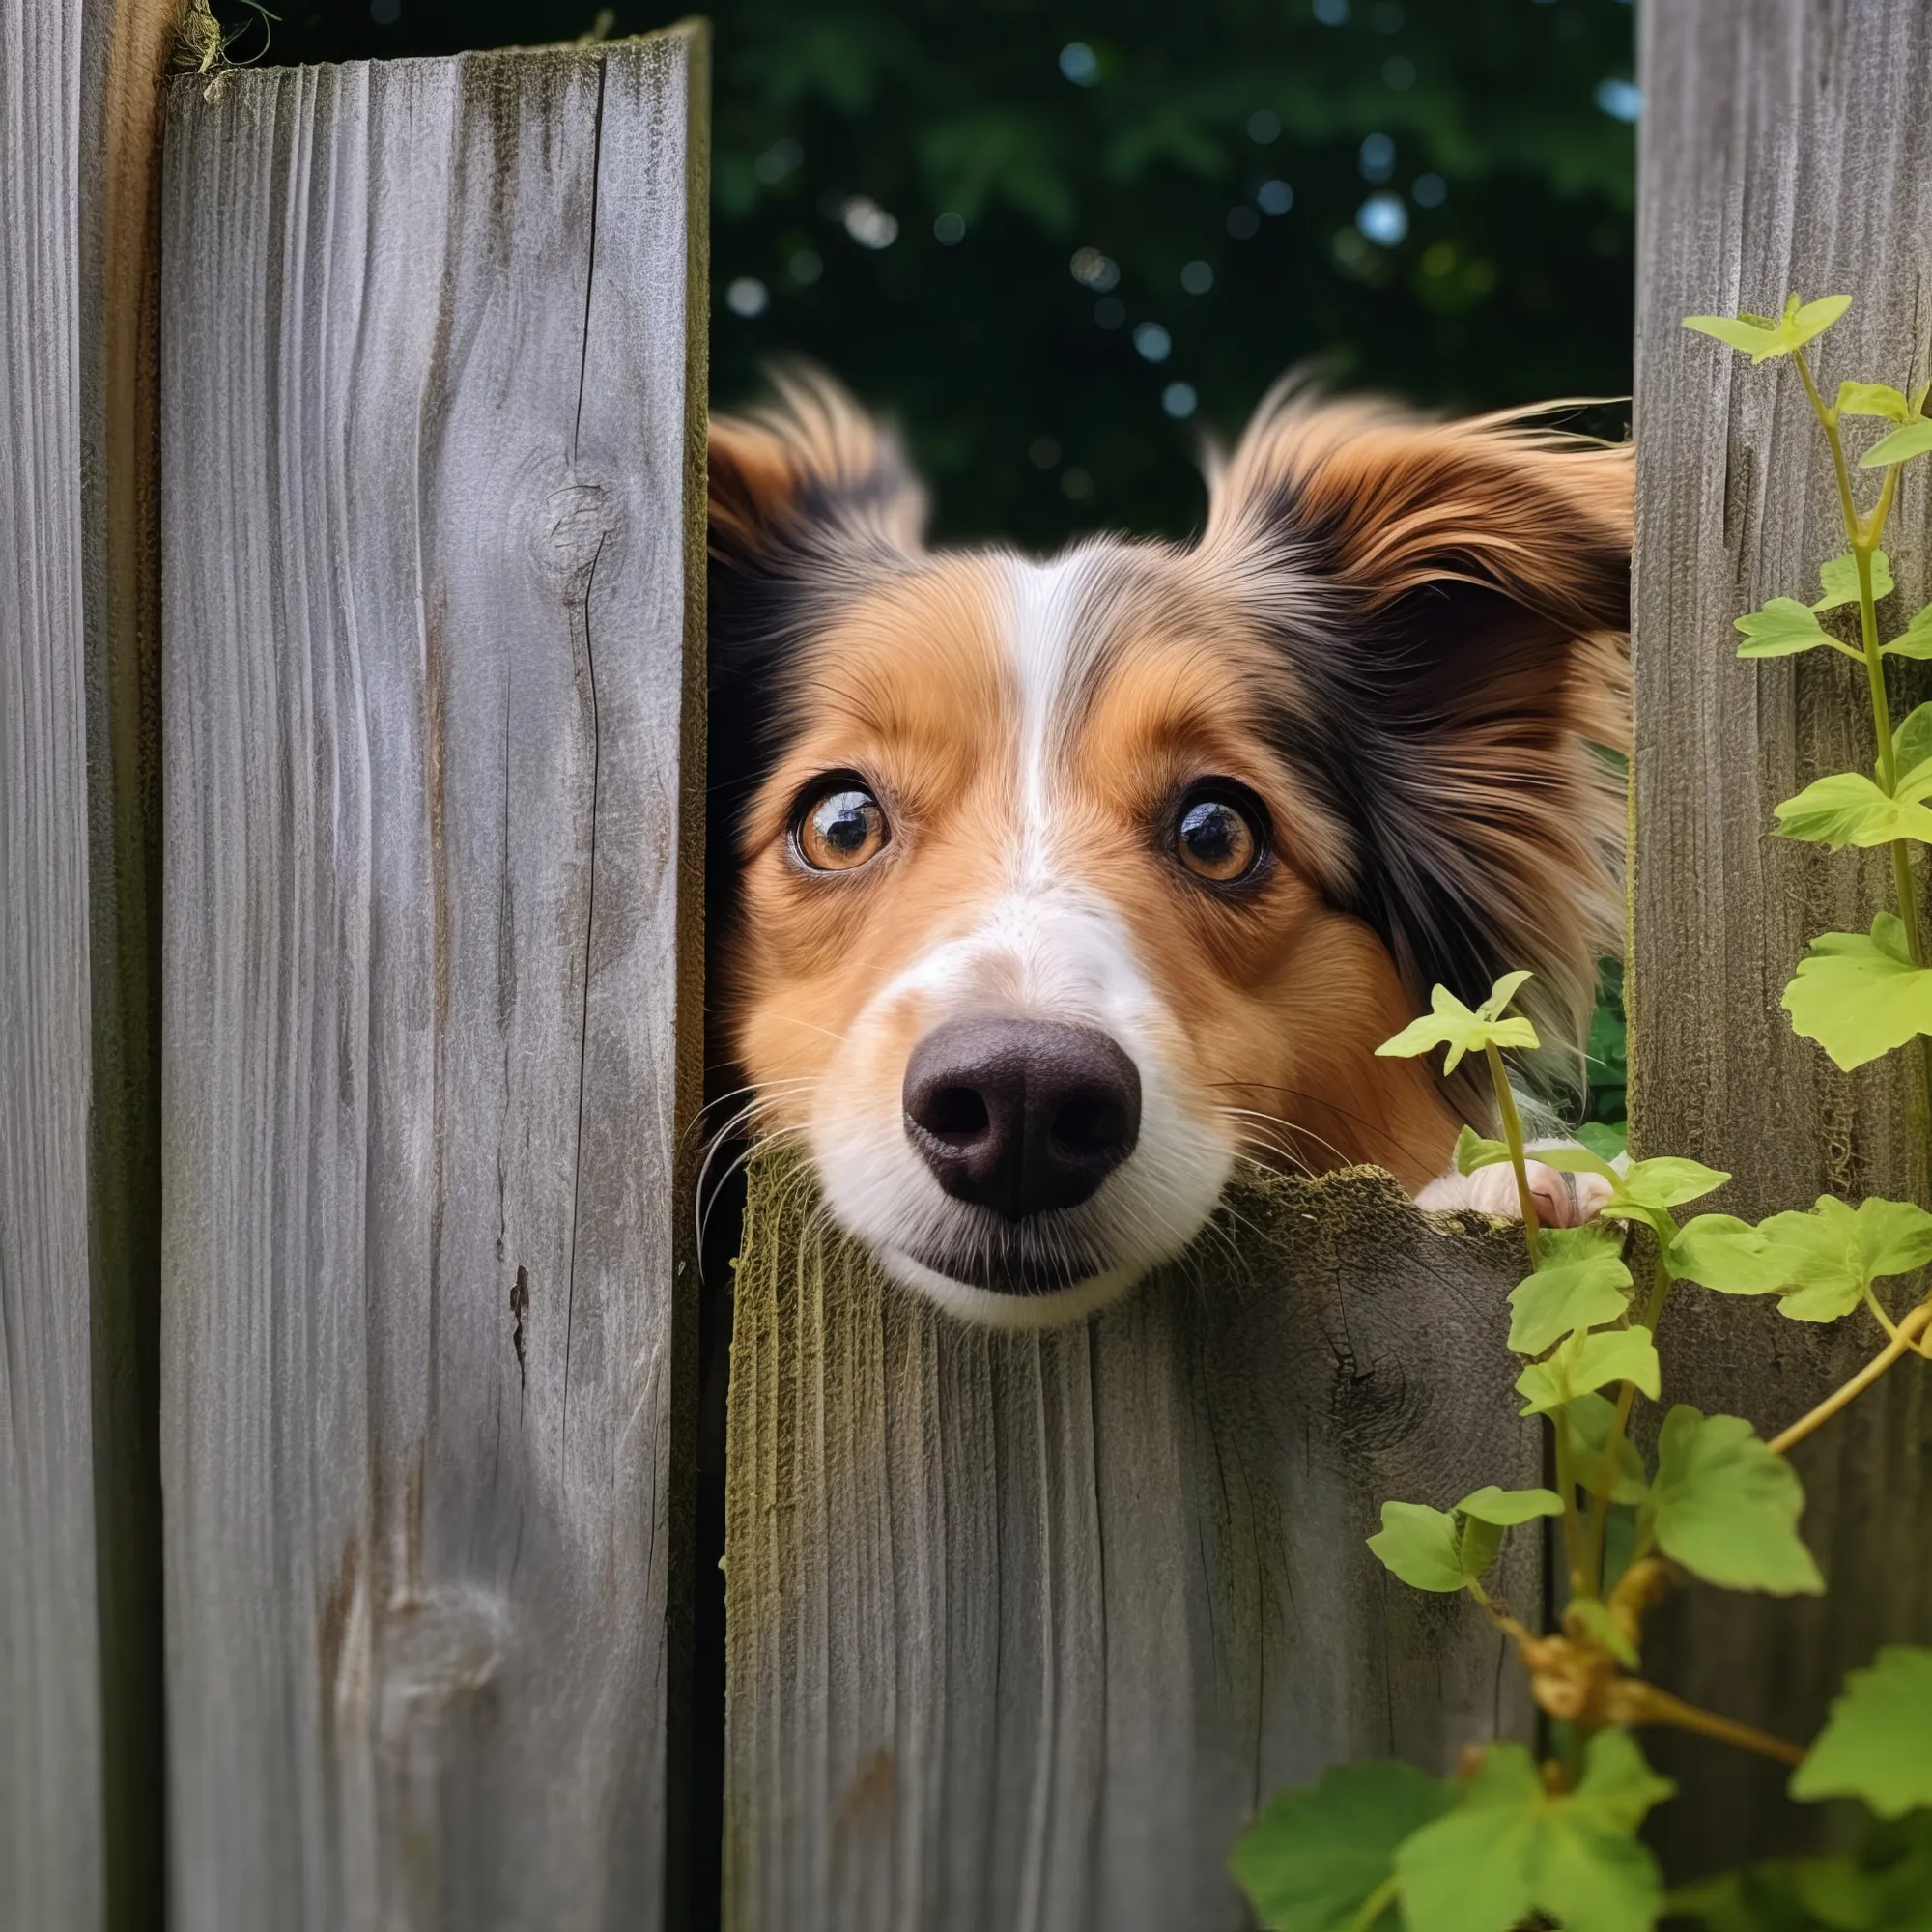
Conclusion for photographing dogs
In this article, we have looked at the topic of "Photographing dogs at rest and in motion: Outdoor Dog Shooting". It was about how to master the handling of dogs at a photo shoot and create unique outdoor dog photos.
First of all, it is important that you familiarize yourself with the dog before the shoot so that you can better assess its needs and behaviour. Good cooperation between you and your four-legged friend is crucial for successful photos.
Factors such as lighting conditions and the dog's motivation play a role in choosing the right camera settings. A fast shutter speed (e.g. 1/250 second or faster) is ideal for capturing fast movements in sharp focus. Particularly appealing photos are created when you are at eye level with the dog.
When it comes to the ideal time for dog photography, it is advisable to carry out the shoot in the early hours of the morning or at sunset. This allows you to make the most of the beautiful light and at the same time ensure that your four-legged model doesn't overheat.
Last but not least, it is helpful to read reviews and experiences from other photographers to gather useful tips and tricks on the subject of dog photography and develop your skills further.
Good luck with your future outdoor dog shoots and have fun photographing your four-legged model!
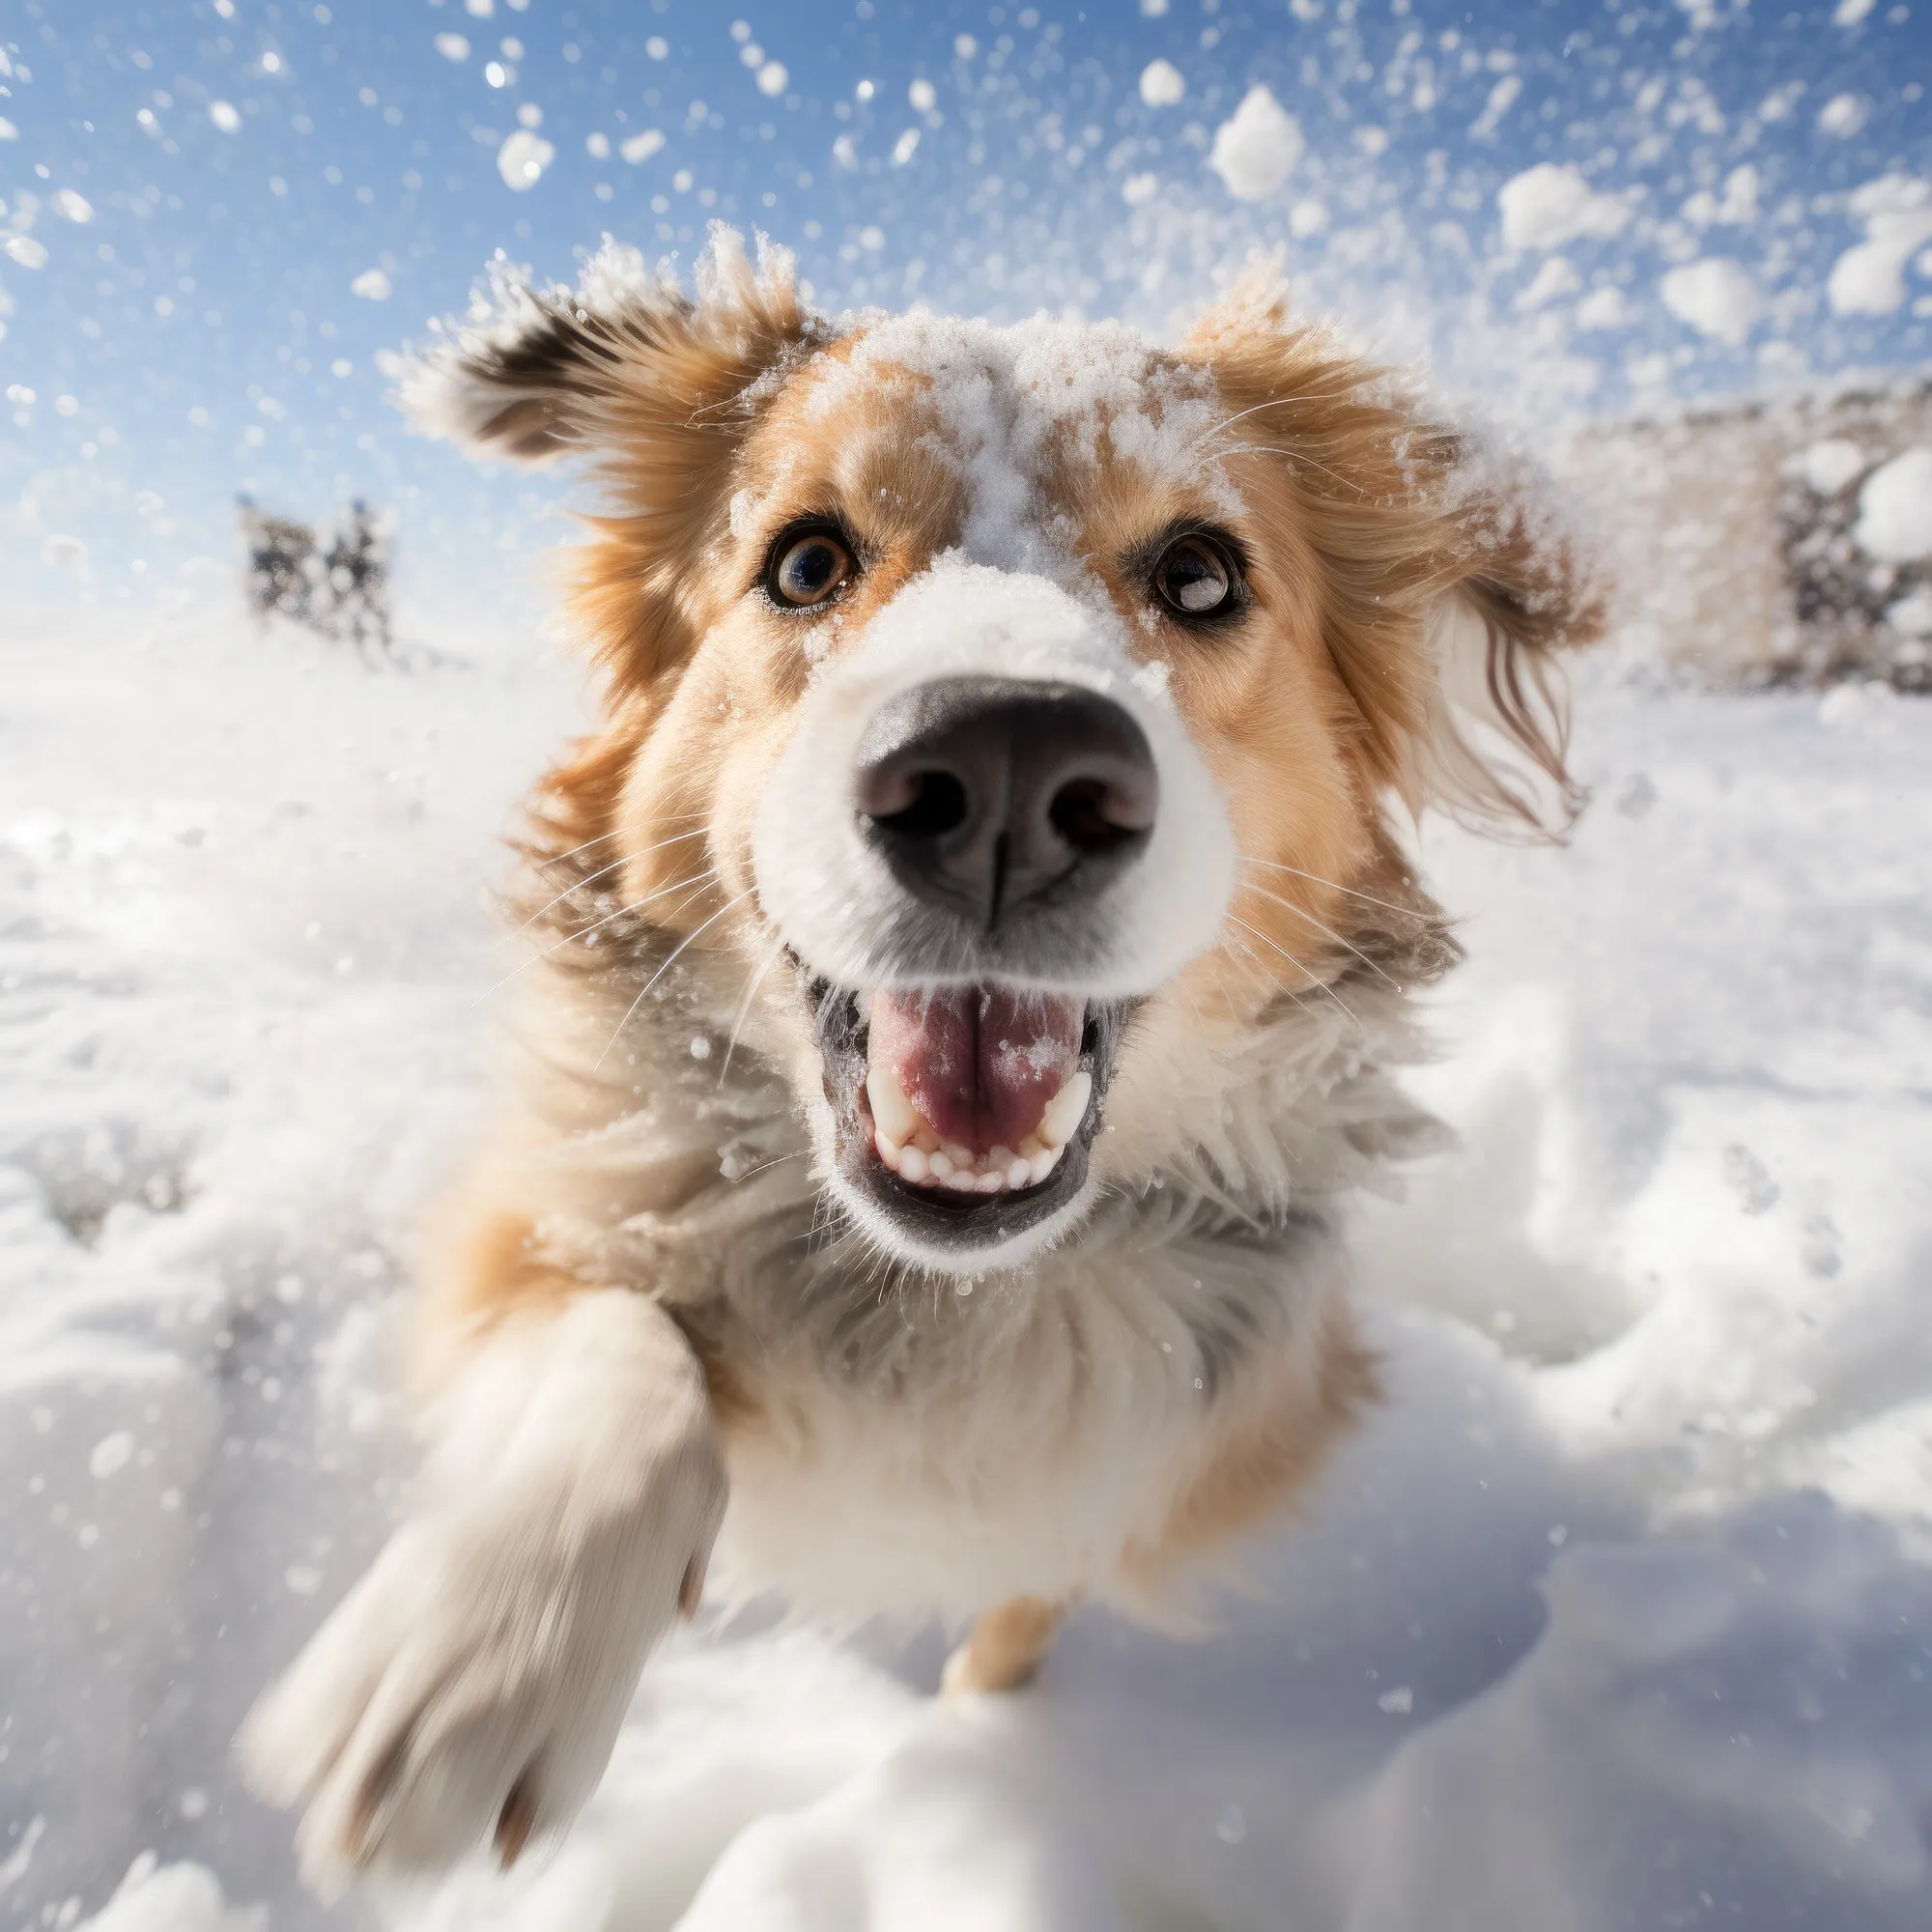
Frequently asked questions
How do I get sharp dog photos in motion?
To get sharp photos of dogs in motion, it's important to use fast shutter speeds and the right camera technique. Focus on the dog's eyes and follow its movement with the camera. Make sure you find the right exposure times and wait for the best weather for dog photos.
Which camera settings are suitable for outdoor dog shoots?
For outdoor dog shoots, you should opt for a fast shutter speed, an open aperture setting and possibly a higher ISO value to capture enough light. The autofocus should also be set to continuous tracking so that your dog is always in focus.
What tips are there for taking photos of dogs in natural surroundings?
Some helpful tips for taking photos of dogs in a natural environment are to keep the dog at eye level, increase the distance between the dog and the background and leave enough space for the picture. Ensure good lighting conditions and choose an appealing background that does not distract from the dog.
How can I get my dog to pose in a relaxed manner?
To get your dog to pose in a relaxed manner, it is important that you remain calm and show patience. Give your dog enough time to explore the surroundings and feel comfortable. Use positive reinforcement, e.g. treats or praise, to show your dog that he is assuming the desired posture. Build a trusting relationship with your dog and work at their pace.
Which lenses are ideal for dog photography?
Depending on your personal style and the desired image results, different lenses may be suitable for dog photography. However, telephoto lenses with a focal length of 70-200mm are often recommended, as they create a nice blur effect in the background and allow you to shoot from a distance. Fixed focal length lenses with a large aperture (e.g. f1.4 or f1.8) can also produce good results, especially for portraits.
Are there good indoor alternatives for dog shoots?
Yes, indoor dog shoots are definitely possible and often offer more control over the light and background. Use soft, indirect light sources to reduce shadows and contrasts, or use a flash in combination with light shapers. Make sure you have enough space in the surroundings to ensure sufficient distance between the dog and the background. The dog photographer Tobias Gawrisch offers further information and instructions for successful dog shoots.
