If you decide to use Camtasia, you must first install and set it up. Once you have done this, you can start creating screencasts. Camtasia offers a variety of functions that allow you to optimize and edit your recordings. For example, you can add text and graphics, insert transitions and apply effects. In addition, Camtasia also offers a variety of tips and tricks that you can use to further optimize your screencasts.
When it comes to creating screen recordings, there are many options on the market. But if you're looking for a tool that's easy to use while offering a variety of features, Camtasia by Techsmith is an excellent choice. As a team, we've been using Camtasia since we first started recording video (back in 2007). Back then, we especially loved the noise reduction because our microphone picked up a lot of background noise during recording. Fortunately, thanks to better microphones, this is no longer so relevant.
In this article, I'll explain why we consider Camtasia to be the best screen recording tool.
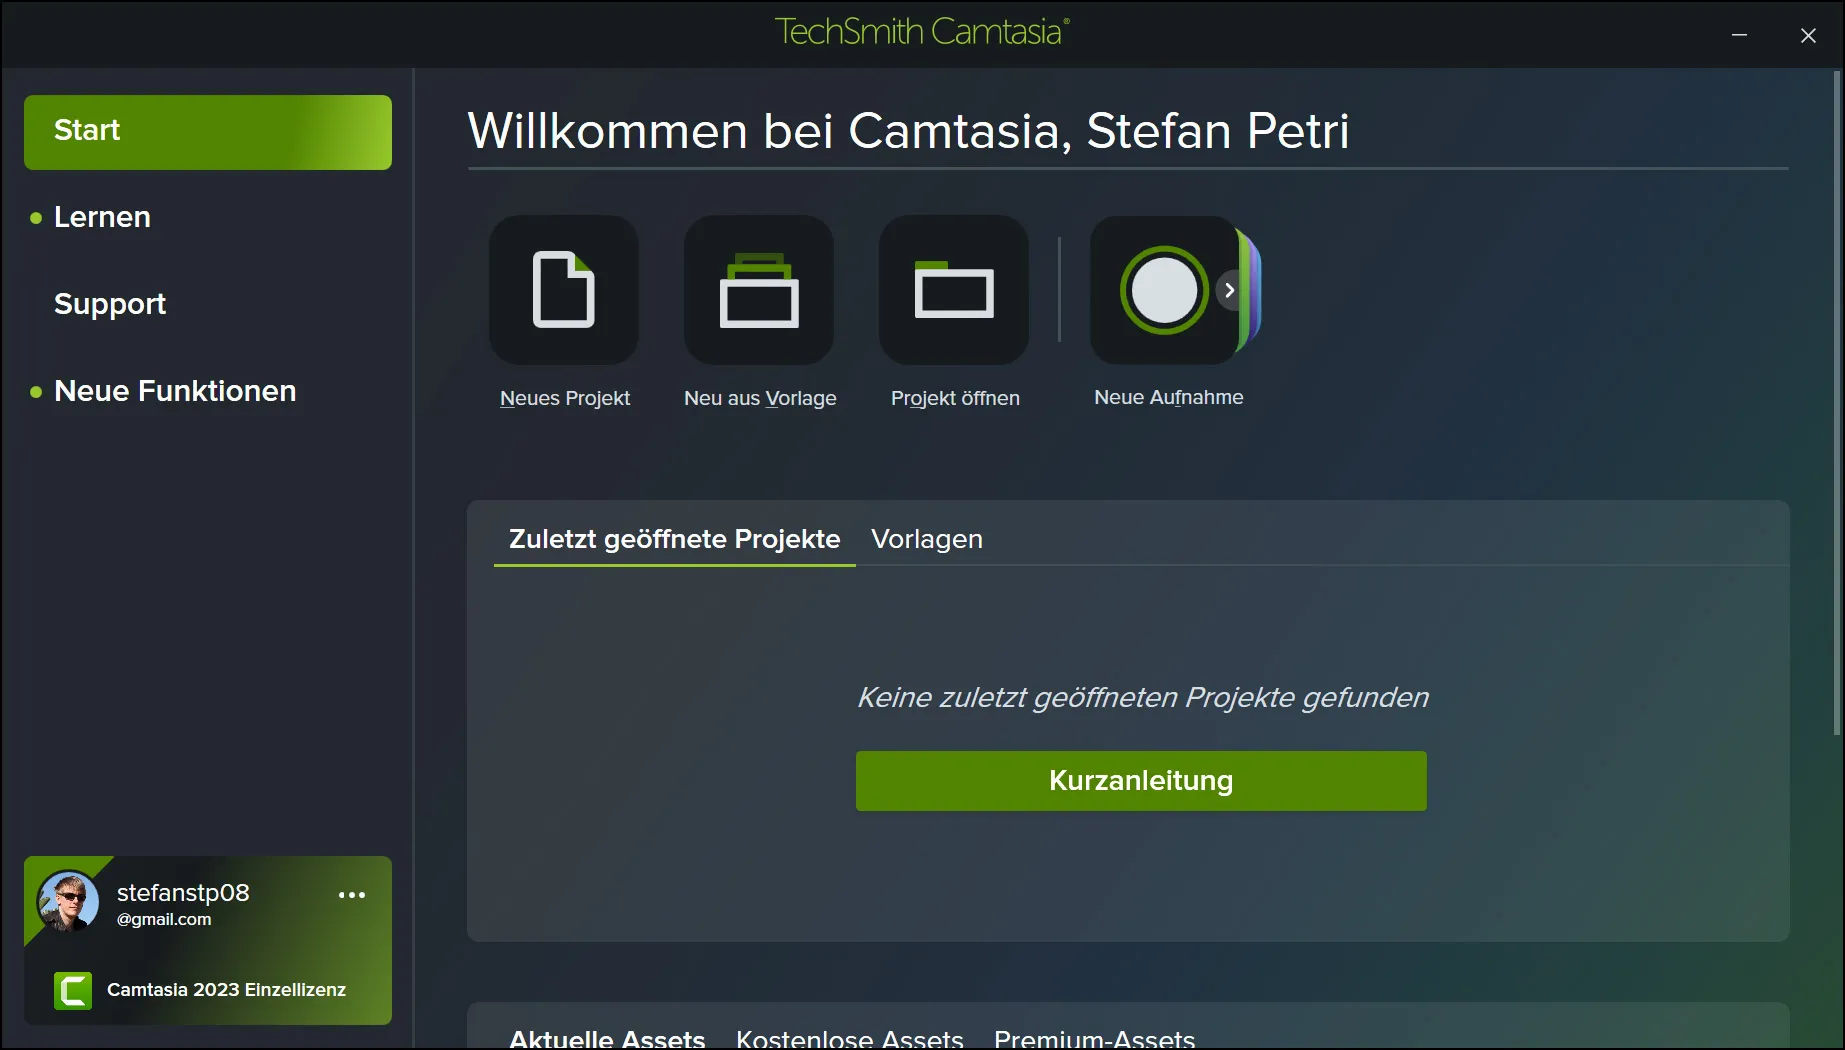
Camtasia is a tool that has been specially developed for creating screencasts. It offers a variety of functions that make it quick and easy to record and edit high-quality videos. Compared to other tools such as OBS or Adobe Premiere, Camtasia is particularly user-friendly and offers an intuitive user interface. It is also very easy to learn and use.
As soon as you are interested in Camtasia, the first step is to install and set up the program. Once you've done that, you can dive straight into the world of screencasts. Camtasia comes with lots of cool features to spice up your recordings. You can insert text and graphics, design transitions and use cool effects. Camtasia also comes with lots of helpful tips and tricks to make your screencasts even better.
Overview of Camtasia from Techsmith
When it comes to creating screen recordings, Camtasia by Techsmith is one of the best options on the market. Camtasia is a powerful screen recording tool that allows users to capture, edit and share videos of their computer screen.
Camtasia offers a variety of features that make it one of the best screen recording tools. One of the best features of Camtasia is the ability to record and edit audio and video clips. Users can add music, sound effects and voiceover recordings to their screen recordings to create professional looking videos.
Another great feature of Camtasia is the ability to record the screen in real time. We use Camtasia primarily to record video tutorials. Camtasia also offers a variety of editing tools that allow users to cut, merge and edit their recordings.
Overall, Camtasia by Techsmith is a powerful and easy-to-use screen recording tool that allows users to record, edit and share professional videos from their computer screen. I don't know of any other tool that runs as stable and makes editing as easy.
What sets Camtasia apart from OBS and Adobe Premiere
When it comes to screen recording tools and video editing, there are many options on the market. Two of the best known are OBS and Adobe Premiere. But what makes Camtasia different from these two tools?
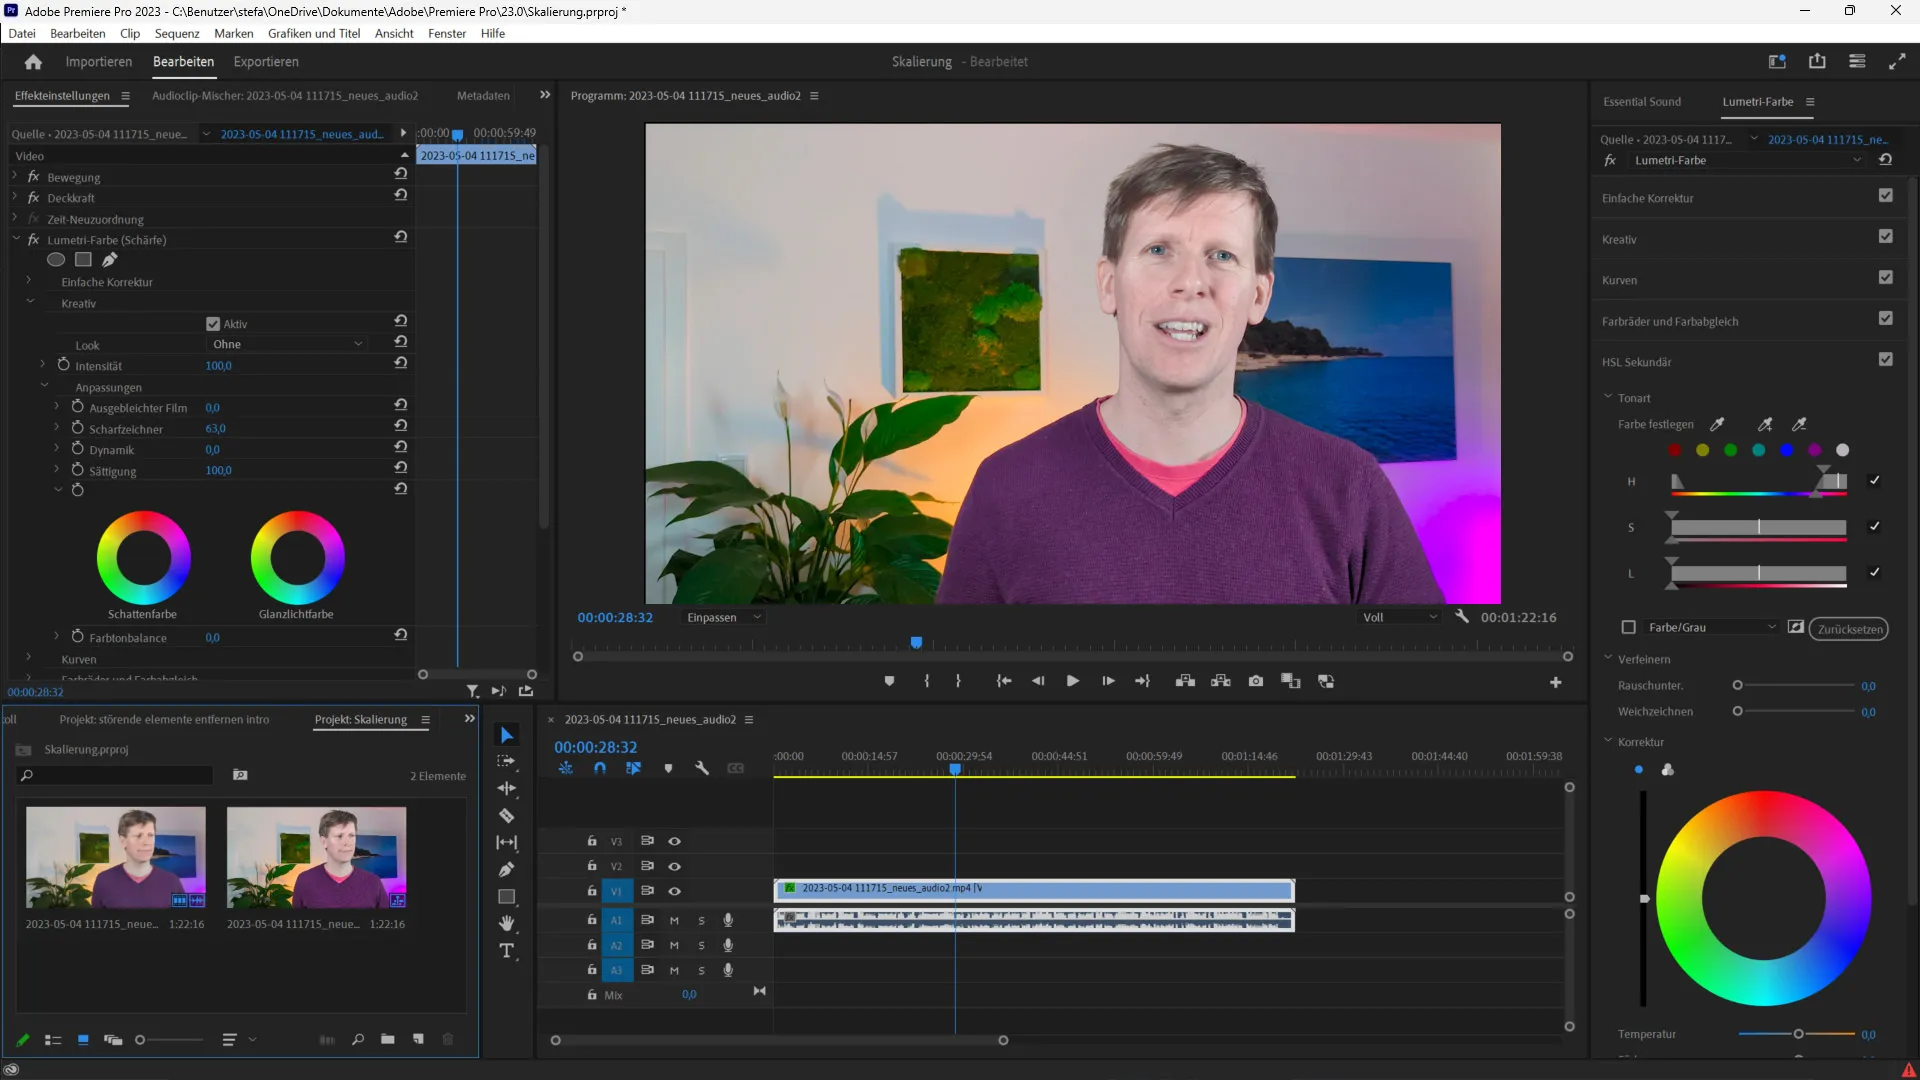
First of all, Camtasia offers a user-friendly interface that makes it easy to create and edit screen recordings. In contrast, OBS can be difficult to use for beginners due to its complex settings and options.
Another advantage of Camtasia is the ability to record and edit audio and video simultaneously. Adobe Premiere may be one of the most powerful video editing tools, but here you have to use a separate tool to record audio and video.
Camtasia also offers a variety of editing features, including text and shape tools that make it easy to enhance your recordings. While OBS and Adobe Premiere also offer editing features, I don't think they're as easy to use as Camtasia's.
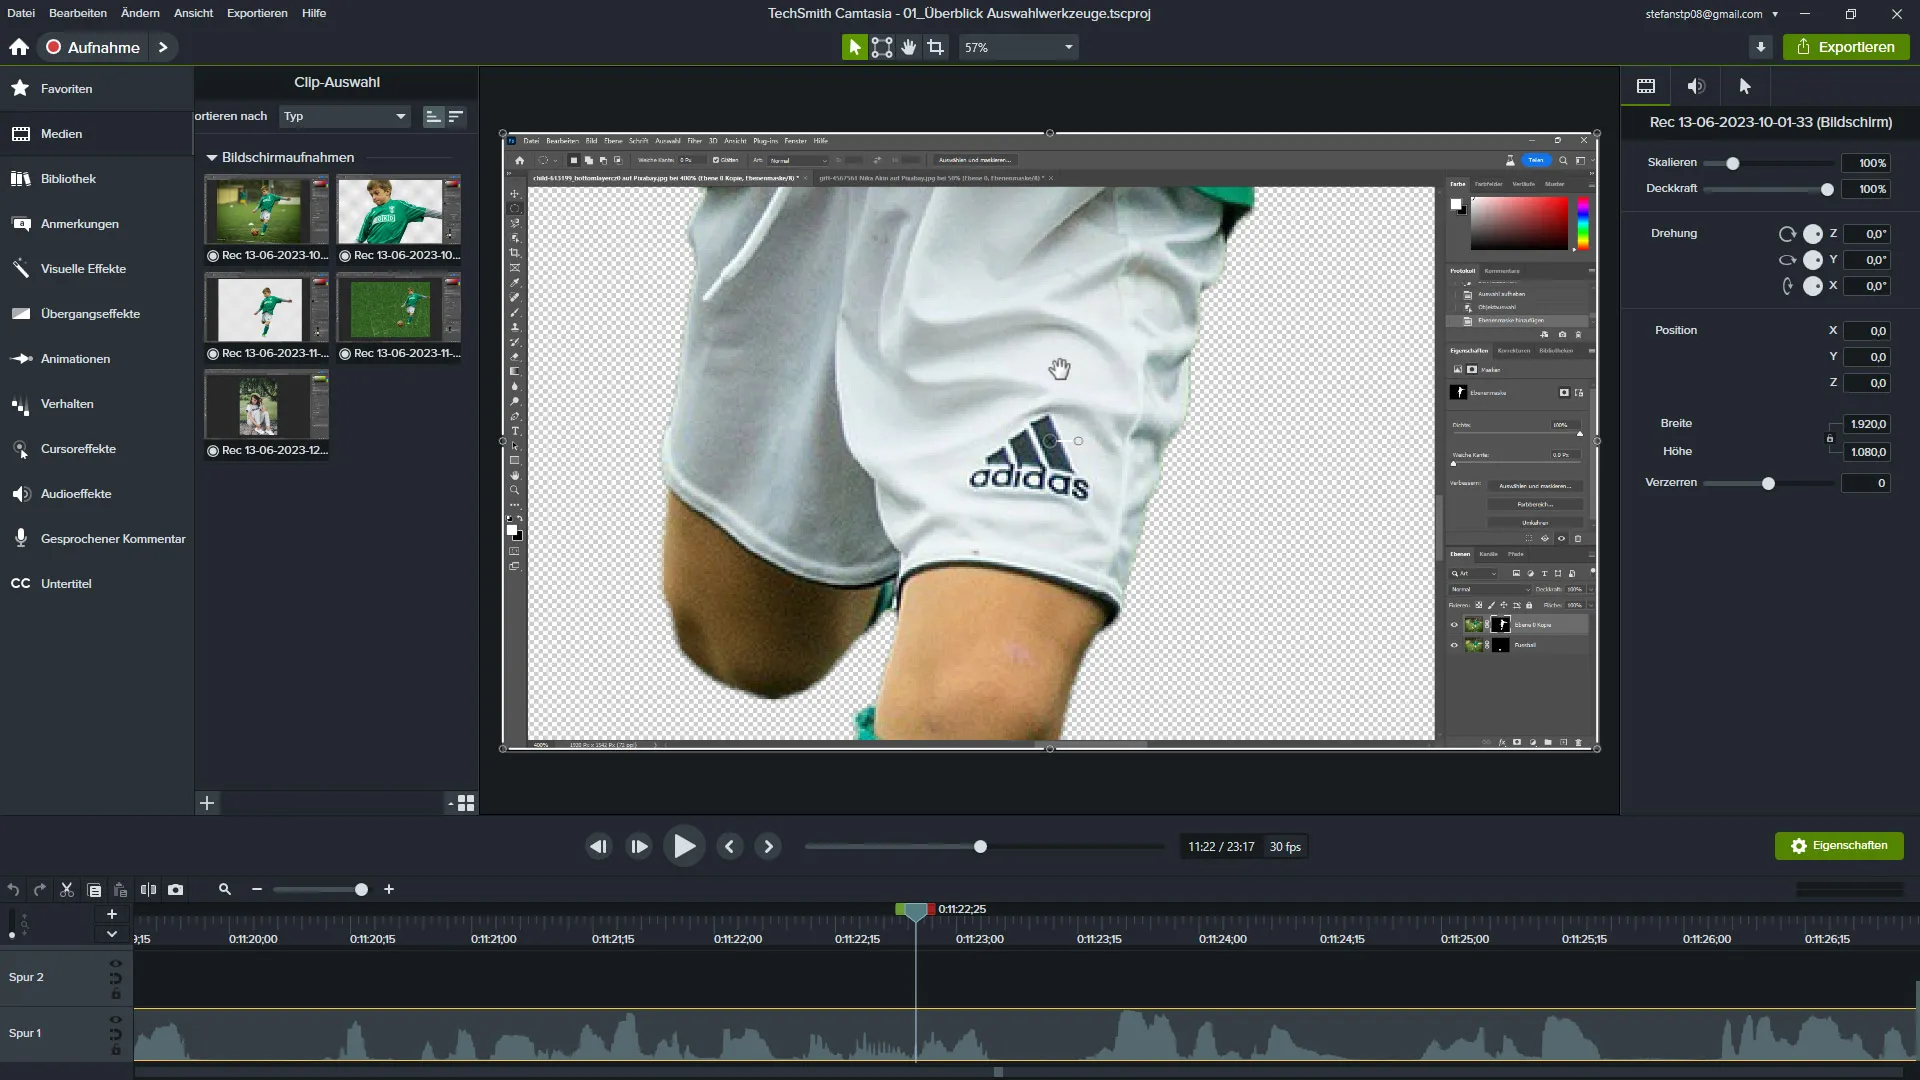
To summarize, Camtasia is a good choice for those who are looking for a user-friendly tool that offers all the features they need to create and edit professional screen recordings. Although OBS and Adobe Premiere are also powerful tools, they may be too complex for beginners. What I miss, however, are two functions: On the one hand, I would also like to re-sharpen a video (if I recorded myself in front of the camera) or I would also like to desaturate only certain areas in the image (e.g. my head). I really hope that at least the sharpening function will be added soon. There is also a function to change/enlarge the mouse pointer in version 2023. But I don't feel like constantly redefining it in every video. I would like to do this in the presets in the program, because I am always recording videos for Photoshop, for example, and then the setting can be used for all new videos.
Installing and setting up Camtasia
If you want to use Camtasia from Techsmith for your screen recordings, you first need to install and set up the software. Here are the steps you need to follow:
- Download the installer from the official Techsmith website.
- Launch the installer and follow the on-screen instructions.
- Enter the product key you received when you purchased Camtasia or start the free trial version, which runs for 3 days. If you need more, take a look at this article.
- Wait about 1 minute for the installation to complete.
After the installation you can (but don't have to) open the Camtasia software and start setting it up. Here are some important settings you should make:
- Check the audio settings to make sure the microphone is working properly and that the audio quality meets your needs.
- Configure the video settings to ensure that the image quality meets your requirements. By default, Camtasia records at 30 frames per second, which is easily sufficient. If you want more, you can change this in the Camtasia Recorder under Tools -> Settings.
- Configure the recording options to specify which parts of the screen should be recorded and whether you want to record audio or system audio (i.e. if you play something on YouTube, for example, during the screen recording, the sound will also be recorded, but also sounds in case an error occurs and Windows records an error sound => but don't worry, you can also remove or mute this extra sound track separately in the editing process).
Once you have made these settings, you can start creating screen recordings with Camtasia.
Basics of screen recording with Camtasia
If you want to create a screen recording, Camtasia by Techsmith is the best tool for you. Camtasia is a powerful and easy-to-use screen recording tool that allows you to record videos with high quality. This section explains the basics of screen recording with Camtasia.
Step 1: Preparation
Before you start recording, you should make sure that you have opened all the necessary programs and files. You should also make sure that you have enough space on your hard disk to save the recording.
Step 2: Settings
Before you start recording, you can adjust the settings. You can adjust the size of the recording area, set the audio and video quality and much more. If you want to adjust the settings, simply click on the "Settings" button in the Camtasia interface.
Step 3: Recording
Once you are ready to start recording, click the "rec" button. Camtasia will then start recording the screen. You can pause or stop recording at any time by clicking the appropriate buttons. I always click F9 to pause and F10 to stop recording. With 2 screens, this is of course more convenient because the program bar of the recorder is then visible on the 2nd screen and I can easily control everything with the mouse.
Step 4: Editing
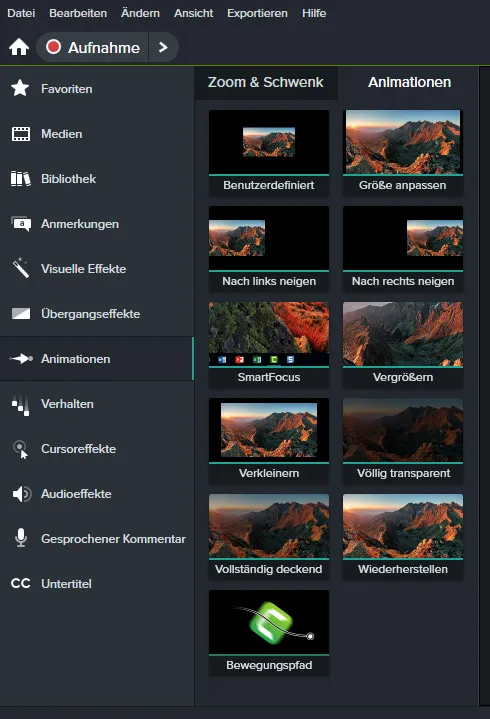
As soon as the recording is complete, you can edit it in Camtasia. You can trim the beginning and end of the recording, add text and graphics and much more. Camtasia offers a variety of editing tools that you can use to enhance your recording. Since I record with a professional microphone, I always have to switch everything to mono first in the audio settings on the right. To do this, I click on the speaker icon and then on the "Mix to mono" checkbox. Otherwise you would only hear my speech on headphones. I also increase the level to 140% (depending on how loud the microphone itself is already recording ... usually with professional microphones without a preamplifier or only with one, it is too quiet by default). Apart from that, I always like to zoom quite deep into my video track myself so that I can see the audio peaks better and hit the right area in the event of a slip of the tongue and simply cut it out with Ctrl + X. In my opinion, this is much easier than in Premiere. Because in Camtasia I can also select a certain area and only listen to this and cut something in it. I really like that. I also like to play around with the visual effects and of course I choose the appropriate transition effects for the transitions, whereby I like the Blender the most because most professionals also choose it. I also like to experiment with the animations. However, I have often noticed that too many zooms can cause the program to crash. So always save your work (or fortunately it is saved automatically every few minutes depending on the settings).
Step 5: Export
As soon as you have finished editing, you can export your recording. Camtasia offers a variety of export options, including MP4, WMV, AVI and more. You can also customize the size, quality, and other settings before exporting the recording. I always choose MP4 as my file format at around 24 frames per second at 60% quality. That way I usually have a small file with pretty good quality. I use 192 KBit/s audio.
Advanced screen recording features with Camtasia
If you use Camtasia by Techsmith, you have access to a variety of advanced features that will help you create professional screen recordings. In this section, we'll take a closer look at some of these features.
Customizing the recording settings
Camtasia gives you the ability to customize the recording settings to suit your needs. You can set the size of the recording area, select the audio source and set the frame rate. You can also adjust the recording quality to ensure that your videos are recorded in high quality. For example, if you are recording an intro video via your webcam, I recommend 60 frames per second if the webcam supports this. Alternatively, you can also integrate your smartphone (you currently need to install an extra app for this, but it doesn't come from Camtasia). In Android 14, this function will be supported by default.
Use of effects and transitions
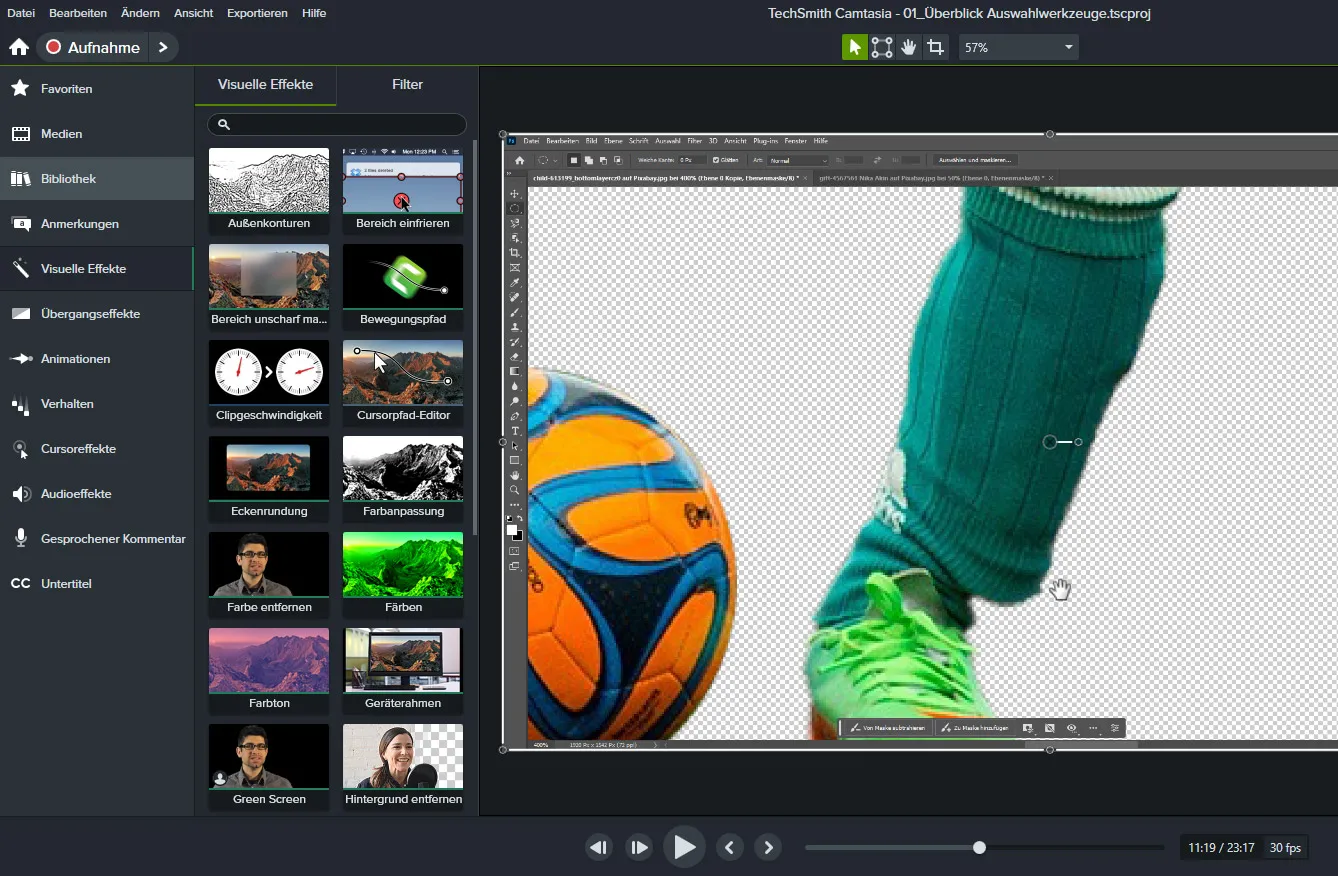
Camtasia has a variety of effects and transitions that you can use in your videos. For example, you can add text effects to highlight important information or use transitions to switch between different scenes in your video. In addition, you can also add audio effects to improve the sound quality of your videos (remove noise, minimize sound peaks, etc.).
Overall, Camtasia by Techsmith offers a variety of advanced features to help you create professional screen recordings. By customizing the recording settings and using effects and transitions, you can ensure that your videos are recorded in high quality and that they look appealing and professional.
For example, sometimes I record things in the video that are best not to appear as complete in the video. Then I simply add a blurred area and the area is no longer directly visible to the viewer. It's really brilliantly simple.
By the way, there is a new version of Camtasia every year, where new effects are usually added. In the current version, for example, there are several new audio effects so that you can also make your audio more visually accessible to the viewer. I am always amazed at what Camtasia comes up with to keep you updated. By the way, all updates are free for 1 year, including the next version upgrade. I think that's fair. And even after that, an upgrade is always cheaper than a full version. What I would still like to see, however, is a little help from AI. Adobe Premiere has recently been able to automatically remove um sounds and has a subtitle function that automatically converts spoken text into written text (which is always correct 98% of the time). Okay, Camtasia on Windows can do that too, but to be honest you can forget it. The text is only 40 - 80% correct.
Basic editing techniques
Camtasia offers a variety of editing tools that you can use to enhance and customize your recording. Here are some basic techniques you can use:
- Trimming: You can remove unwanted parts at the beginning or end of your recording by trimming the start and end points. I select the area and then press Ctrl + X
- Trimming: If you have a longer recording, you can cut it into smaller segments to organize it better or to emphasize certain parts (with transition effects or animations).
- Add text: You can add text inserts to emphasize important information or to guide the viewer through the recording (I also like to choose this when I forget to address something directly in the video).
- Adding effects: You can add visual effects such as zoom, pan and transitions to make your recording more interesting (as everyone knows from YouTube shorts and TikTok respectively).
Tips and tricks for optimizing screen recording with Camtasia
If you use Camtasia from Techsmith to create your screen recordings, there are a few tips and tricks that can help you improve the quality of your recordings. Here are some of the best tips that will help you get the most out of Camtasia:
Tip 1: Use the right settings
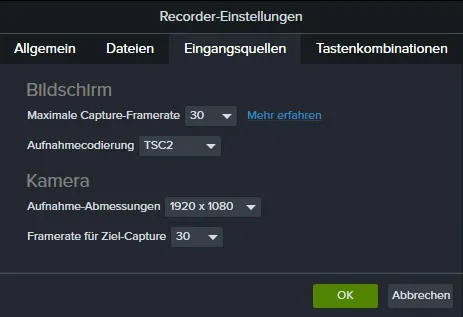
One of the most important things you can do to improve the quality of your screen recordings is to make sure you're using the right settings. Make sure you have selected the right resolution and frame rate for your recording. For example, if you're creating a recording for YouTube, you should use at least 1080p resolution and a frame rate of 30 fps... preferably more.
Tip 2: Use a good microphone
Audio quality is almost more important than video quality. Using a poor quality microphone (or even just recording through your webcam) can make your recordings muffled, hard to hear and extremely reverberant and noisy. Invest in a good microphone to ensure your audio quality is as good as possible. I've recorded a separate video tutorial on this: Improving Audio Recordings: Sound editing for reverb, hiss and other noise
Tip 3: Use keyboard shortcuts
Camtasia offers a variety of keyboard shortcuts that allow you to start, stop and pause recordings quickly and easily. By using these shortcuts, you can create your recordings much faster and more efficiently. For me, the most important ones are F9 for pause and F10 for stop recording.
Tip 4: Use Zoom
Zoom is a great tool to focus on specific areas of your screen. For example, if you want to highlight a specific element on your screen, you can use Zoom to zoom in and focus on it.
Tips and tricks for editing videos with Camtasia
When you record videos with Camtasia, you have the option of cutting and editing them directly in the software. Here are some tips and tricks to help you:
1. use the timeline
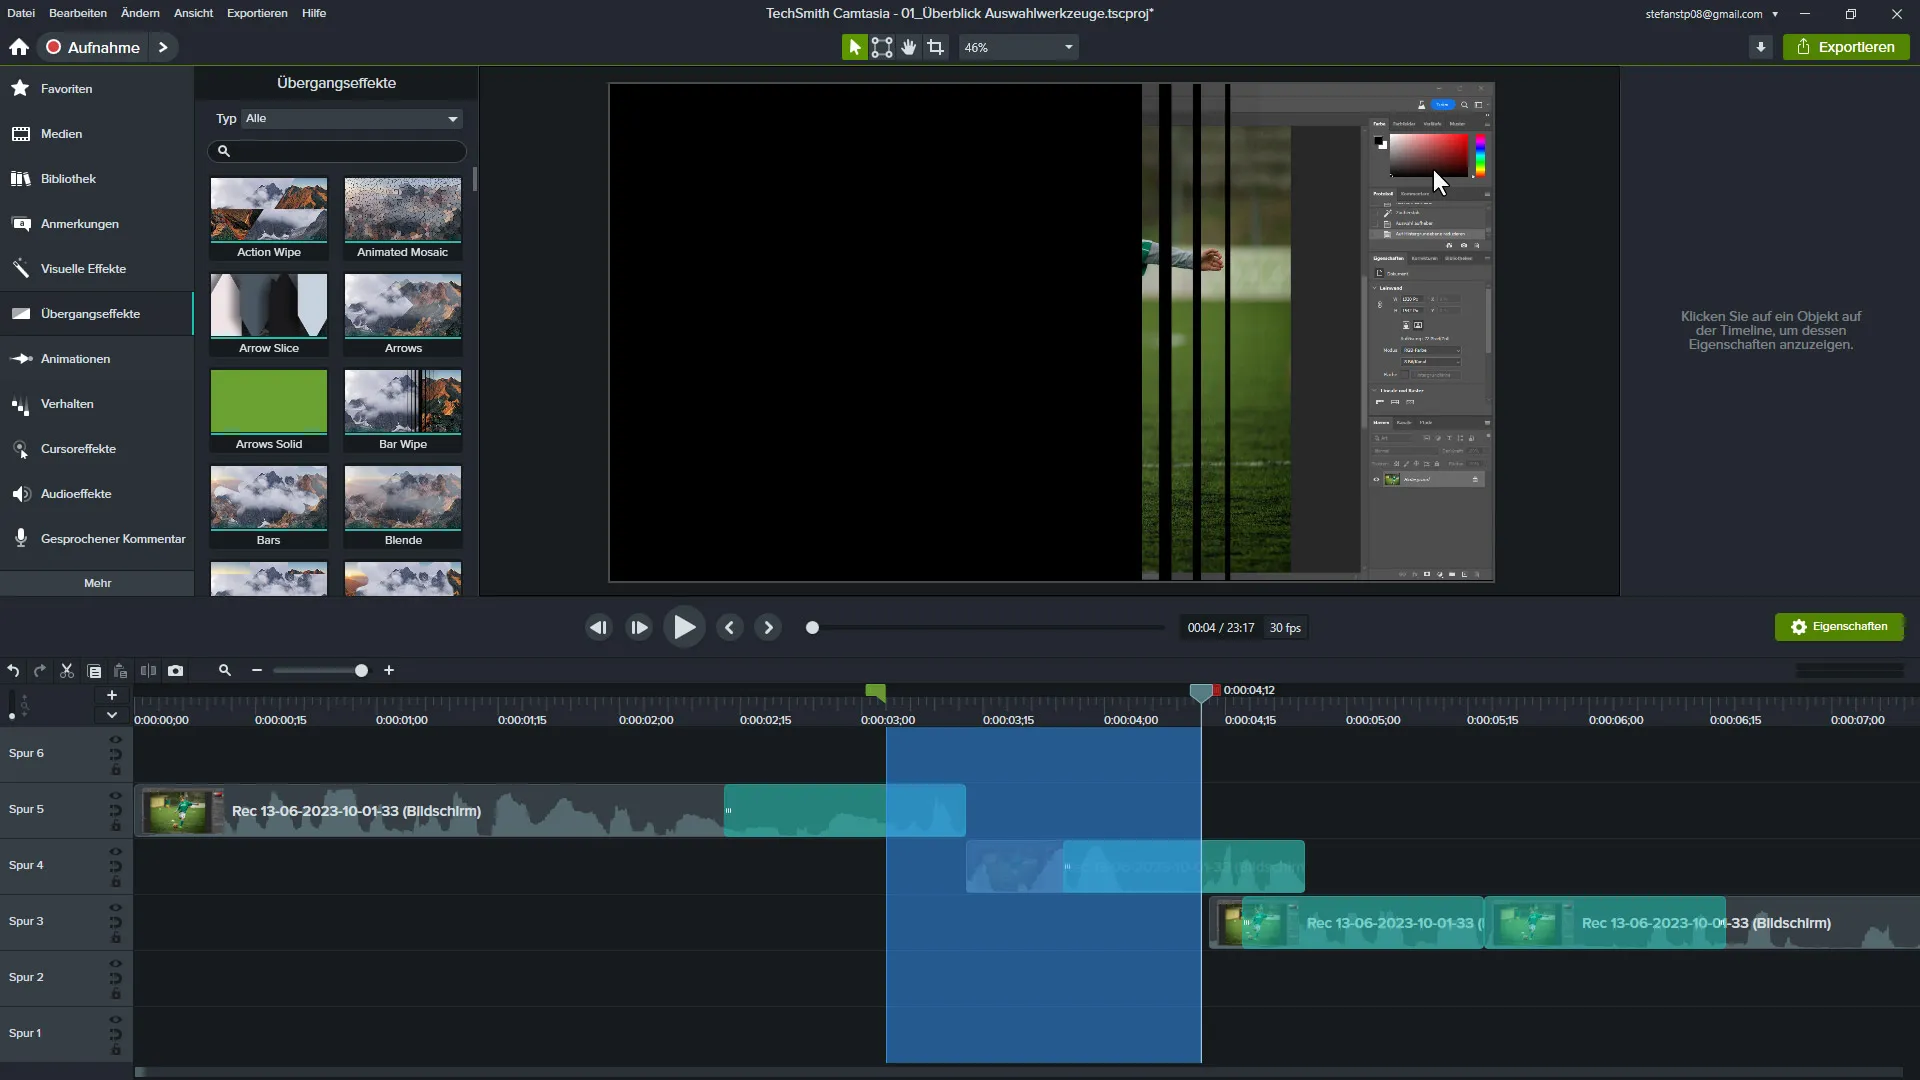
The timeline is the heart of Camtasia when it comes to editing videos. Here you can merge clips, add transitions and apply effects. Make sure you fully understand and utilize the timeline features to get the most out of your videos.
2. use keyboard shortcuts
Camtasia offers many keyboard shortcuts to help you navigate and edit your videos quickly and easily. For example, you can use the "S" key to split a clip or the "Ctrl" + "Z" key to undo a step. It's worth learning these key combinations to speed up your work. Play a video quickly by pressing the space bar.
3. use visual effects sparingly
Camtasia offers many visual effects that you can apply to your videos, such as transitions, animations and filters. However, it is important to use these effects sparingly to ensure a professional look. Avoid excessive animations and bright colors that can distract from the content. Transition effects I usually just use the Blender and that's it.
4. work with multiple tracks
Camtasia allows you to use multiple tracks to edit your videos. This can be especially useful if you want to add additional audio or video clips. Use this feature to enhance your videos and make them more interesting. Sometimes videos of mine even have 10 tracks. So don't be shy about it :-)
Functions that are missing or limited in Camtasia:
- Color correction : Camtasia doesn't offer the same depth of color correction as Adobe Premiere or DaVinci Resolve.
- Complex effects and transitions : Premiere and DaVinci have a wider range of specialized effects and transitions.
- Multi-cam editing : This feature is not available in Camtasia, while it is available in Premiere and DaVinci.
- Plug-ins : Camtasia does not support external plug-ins (e.g. Crumplepop for better sound)
- Audio editing : Although Camtasia offers basic audio editing features, it is not as advanced as the other two.
- Support for professional formats : Premiere and DaVinci support a wider range of video formats, including professional formats such as ProRes, Avid DNxHD, etc. (although the most widely used MP4 format is supported)
- Masking and Rotoscoping : These advanced features are not available in Camtasia.
- Dynamic timeline : Camtasia has a simpler timeline that is not as flexible as Premiere or DaVinci.
- Teamwork : Camtasia lacks the collaborative editing capabilities available in Premiere and DaVinci.
- Hardware acceleration : Camtasia doesn't offer the same level of hardware acceleration as Premiere or DaVinci, which can affect render times. Still, I'm happy with the export speed (my separate graphics card is used in the process, but it's still beta)
Advantages of Camtasia:
- Ease of use : Camtasia is extremely easy to learn and use, making it ideal for beginners or people who want to create a video quickly.
- Built-in screen capture feature : Camtasia is known for its excellent screen capture capabilities, which are built right into the software. This is super handy for tutorials or software demos.
- Templates and assets : Camtasia offers a range of pre-made templates, callouts and other assets that can speed up the editing process.
- Cost-effective : Compared to Adobe Premiere Pro, which has a subscription model, Camtasia can be purchased for a one-time price.
- Fast render times : For simple projects, Camtasia typically offers faster render times.
- Interactive elements : I like the editing much better than in any other program. Fast and mega intuitive.
- Easy audio editing : For simple audio adjustments, Camtasia is pretty straightforward and user-friendly.
- Built-in sharing options : Camtasia allows for easy sharing of videos to platforms like YouTube and Vimeo directly from within the application.
- Ideal for e-learning and training : Due to its simplicity and ability to add interactive elements, Camtasia is often the first choice for e-learning projects.
- Lightweight : Camtasia is less resource intensive than Premiere and DaVinci, making it better for older or less powerful computers.
Each tool has its own pros and cons, and the "best" software really depends on your specific needs. If you're looking to create simple videos, tutorials or e-learning materials, Camtasia could be an excellent choice.
Conclusion
If you're looking for a powerful and easy-to-use screen recording tool, Camtasia by Techsmith is undoubtedly an excellent choice. With its extensive features and ease of use, it's the best tool you'll find on the market. However, at around €320, it's not cheap (I can recommend DaVinci Resolve for free, but it's anything but easy to use; it also has a lot more functions).
Camtasia offers a wide range of functions, including the ability to record audio and video files (even simultaneously with an activated webcam), capture screen activity and create effective videos and tutorials. The program is easy to use and offers an intuitive user interface that allows you to create engaging videos quickly and easily.
One of the best features of Camtasia is the ability to export videos in various formats (even automatically to YouTube, among others). You can export your videos in HD quality or in various other formats to ensure they look great on all devices and platforms.
Another advantage of Camtasia is the ability to add various effects and animations to your videos. You can add text, insert graphics and fade/zoom.
Overall, in my opinion, Camtasia by Techsmith is the best screen recording tool on the market (available for Windows and Mac). With its extensive features and ease of use, it's an excellent choice for anyone who wants to create high quality videos. If you're looking for a reliable and powerful tool, you should definitely give Camtasia a try. You can also install it on 2 computers.
Frequently asked questions
How much does Camtasia cost?
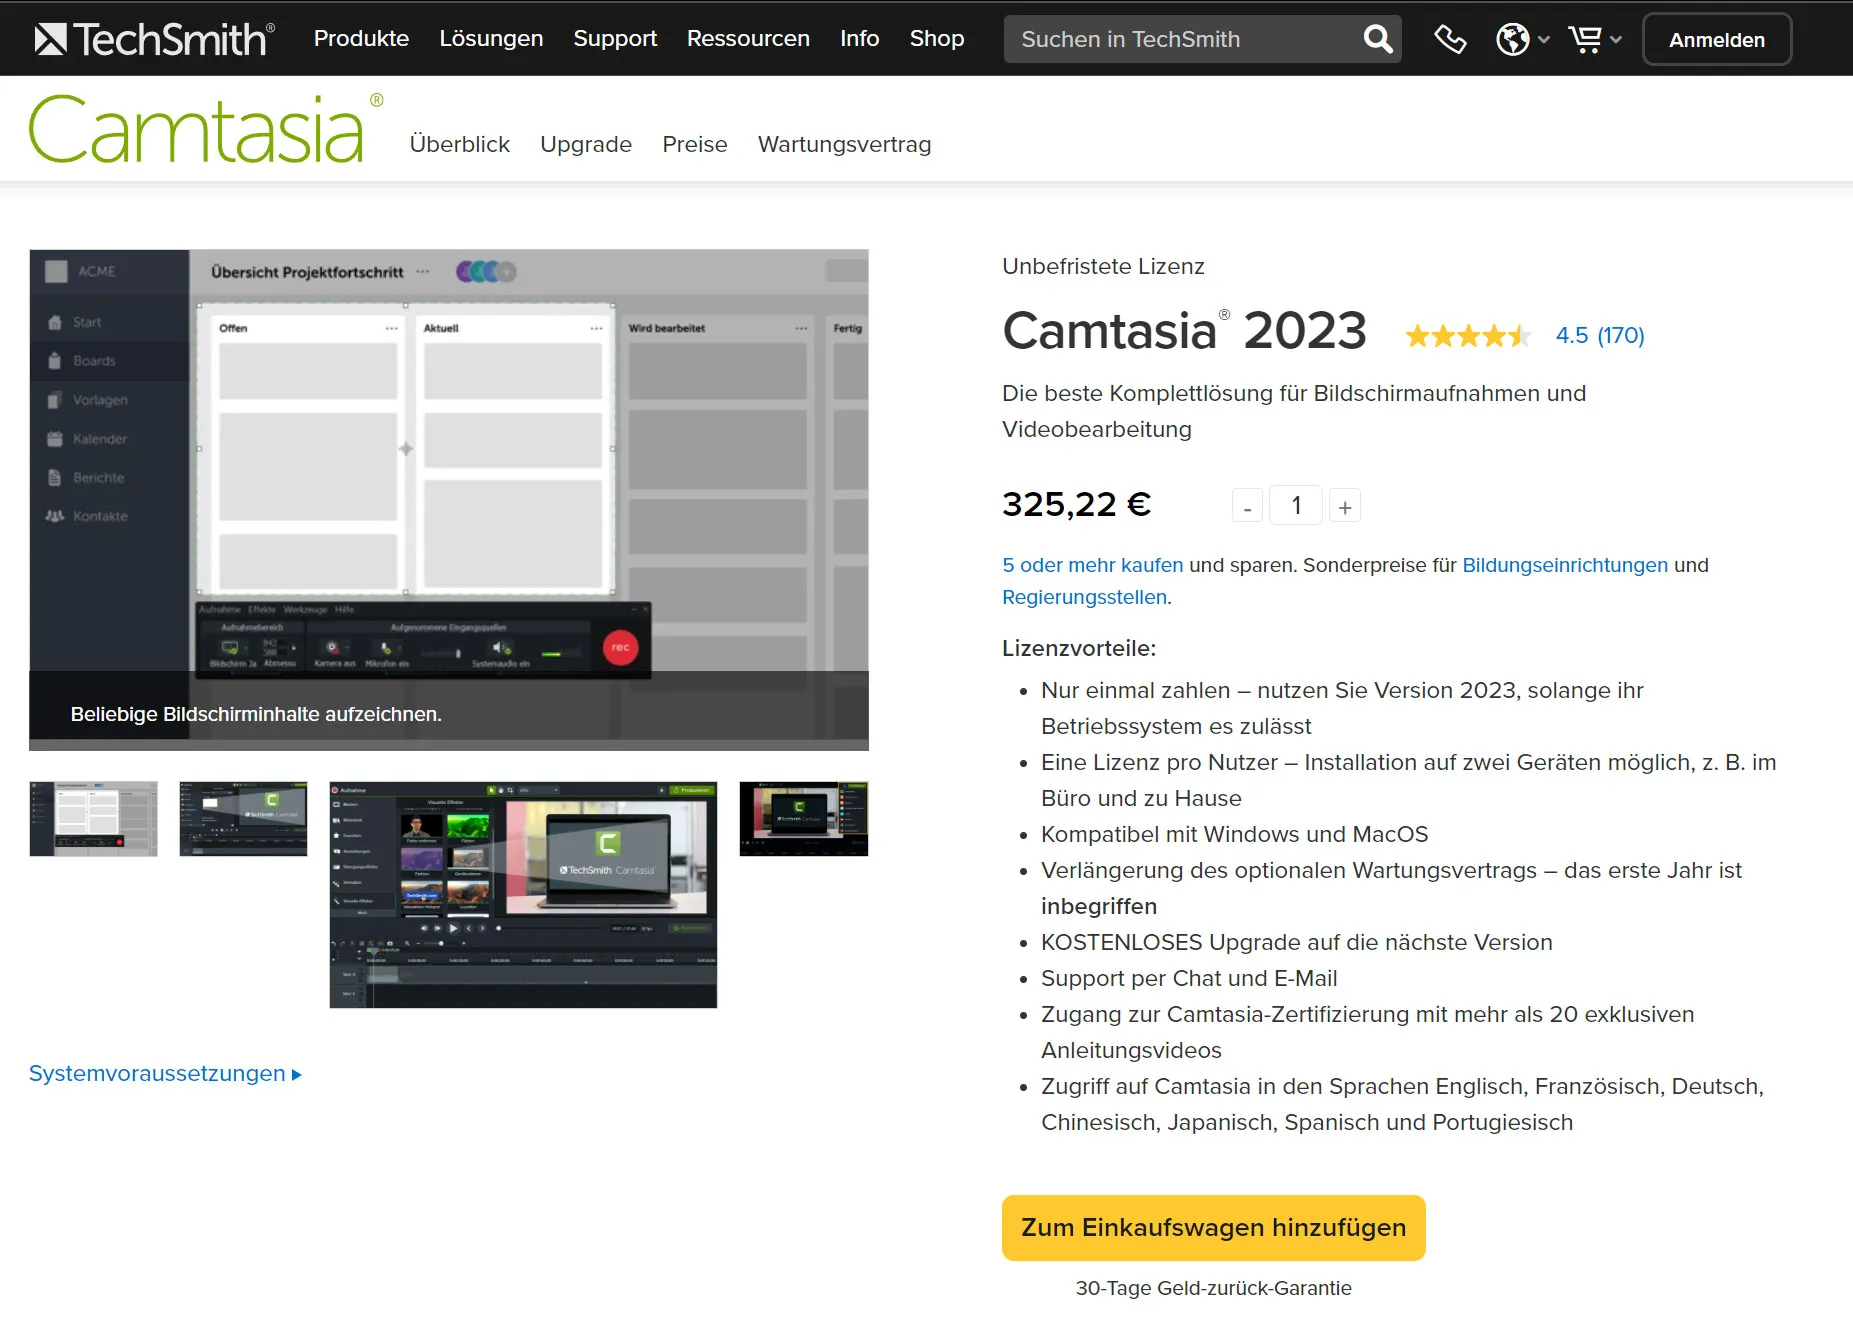
Camtasia is a paid software. Prices can vary depending on the region and provider. As a rule, a single license costs around €320. There is also a free trial version that you can download and try out before you decide to buy (however, videos are always exported with a watermark during the trial phase). Update guarantee 1 year.
How good is Camtasia?
Camtasia is a powerful and reliable screen recording tool. It offers a wide range of features that allow you to create high-quality videos. The software is user-friendly and offers many options to customize your recordings.
What can you do with Camtasia?
With Camtasia, you can record anything on your screen, including audio and video. You can also add text, graphics and other elements to enhance your recordings. Camtasia is great for creating training videos, presentations, tutorials and much more. We sometimes even use it to convert other video formats.
Where can I buy Camtasia?
Camtasia can be purchased directly from the official TechSmith website or from authorized resellers. But always make sure that the 1 year free maintenance contract is included, otherwise you will not get the next newer version.
Is there a Camtasia tutorial?
Yes, there are many Camtasia tutorials available online. TechSmith also offers an extensive knowledge base and support options for users. If this is your first time using Camtasia, I recommend familiarizing yourself with the tutorials and documentation to get the most out of the software.
