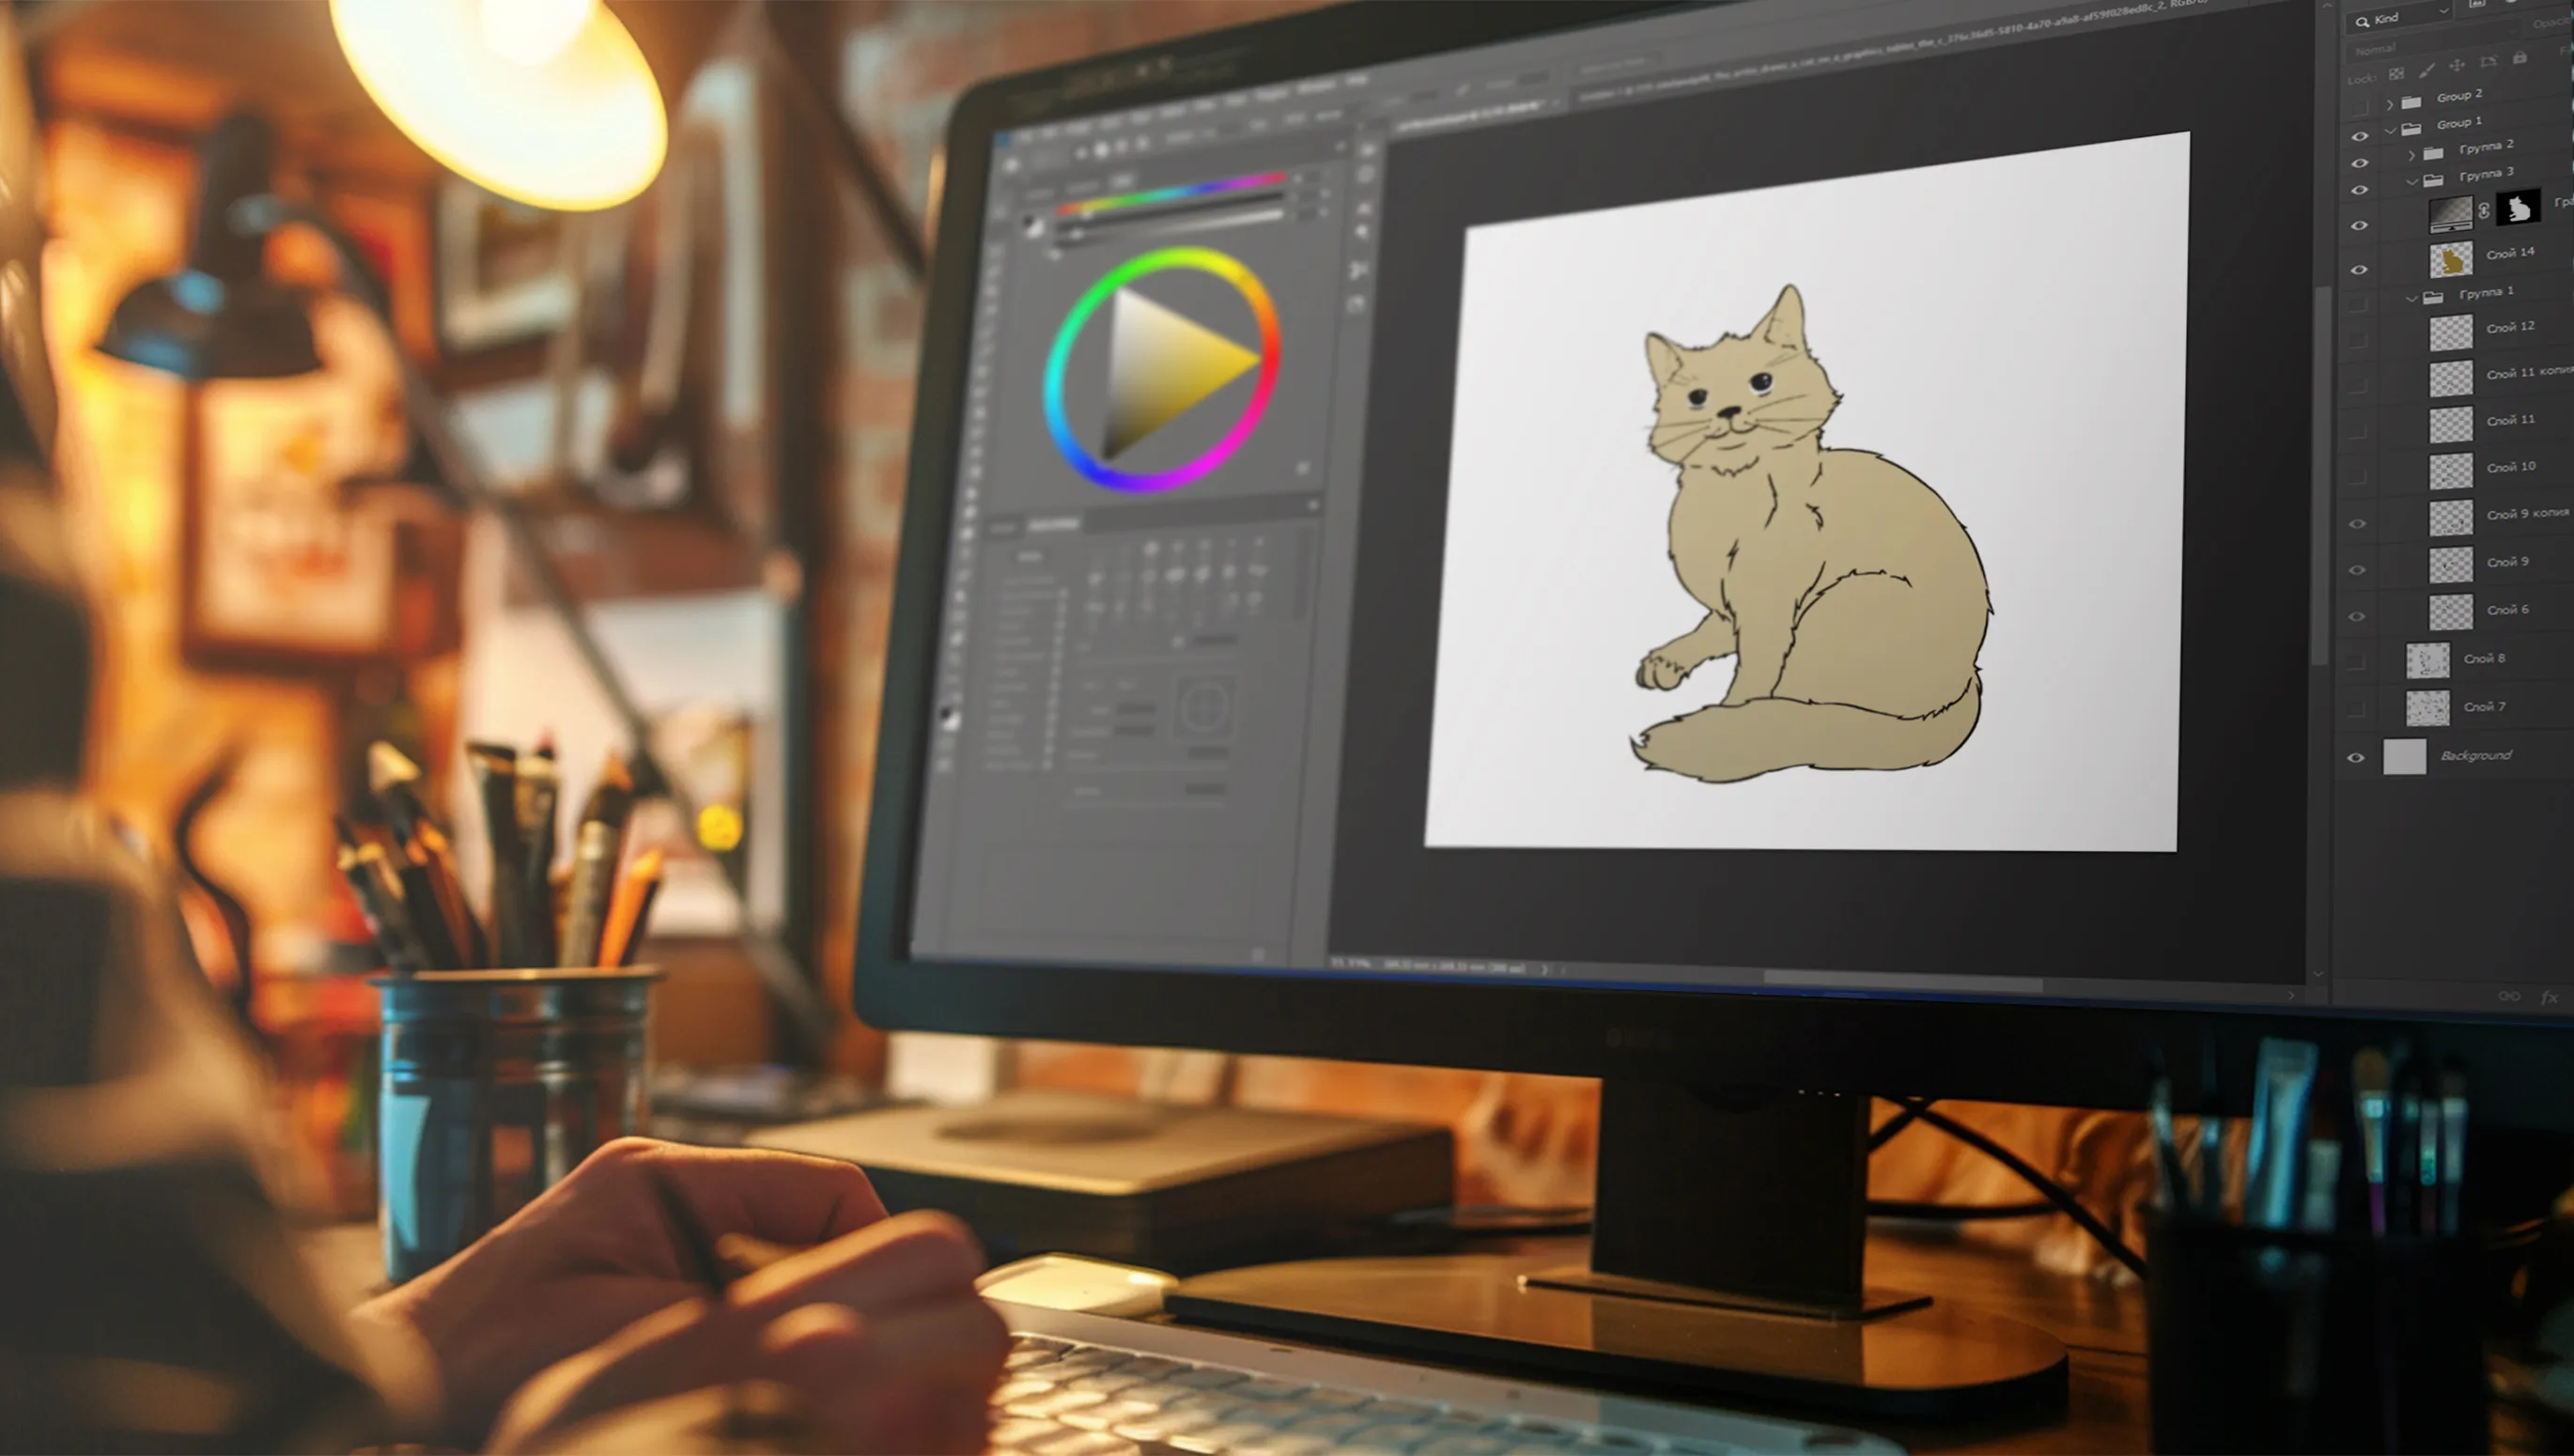
Want to learn how to draw cats easily? Make yourself comfortable, have a coffee, take a sheet of paper and a pencil. I'll explain the simple steps of drawing, show you how to use and set up all the necessary drawing tools. And the most important thing is that you end up with a beautiful cat drawing.
If you don't feel like reading a bit of theory before you learn how to draw cats, then use the table of contents below.
Table of contents
The possibilities of Photoshop when drawing cats
A little theory before we get to the practical examples of how you can easily learn to draw cats. You're probably a fan of coloring pictures, including dogs and cats. If so, we also have suitable coloring pages for you:
And now you want to try painting a cat yourself? In the next few steps, we'll show you how to do it very easily with Photoshop.
This world is just a canvas for our imagination.
Henry David Thoreau
With Photoshop, you can not only draw a cat, but also do many other creative tasks. This program is the main tool of modern artists for creating bitmap images. Photoshop has been in development for over 30 years and has become an indispensable part of many creative professionals' work. Today, it is hard to imagine how artists could work without this program.
In the first version of Photoshop, it was only possible to edit a photo, use some basic graphic tools such as rectangle, line and circle and paint with a few brushes. Over time, however, the program has evolved considerably and has become the leading program for creating bitmap graphics.
In Photoshop, you can:
- Draw: Use a variety of brushes and tools to create unique works of art.
- Create animations: Animate objects and create cinematic effects.
- Edit photos: Enhance images, change colors, remove objects and more.
- Create photomontages: Combine multiple images into one and create stunning compositions.
- Work with text: Add and style text to images, create titles and captions.
Photoshop is a powerful tool for creativity and image editing. It offers artists, photographers and designers extensive possibilities to realize their ideas and create professional works. If you are wondering how to draw a cat in Photoshop, the following guide will help you.
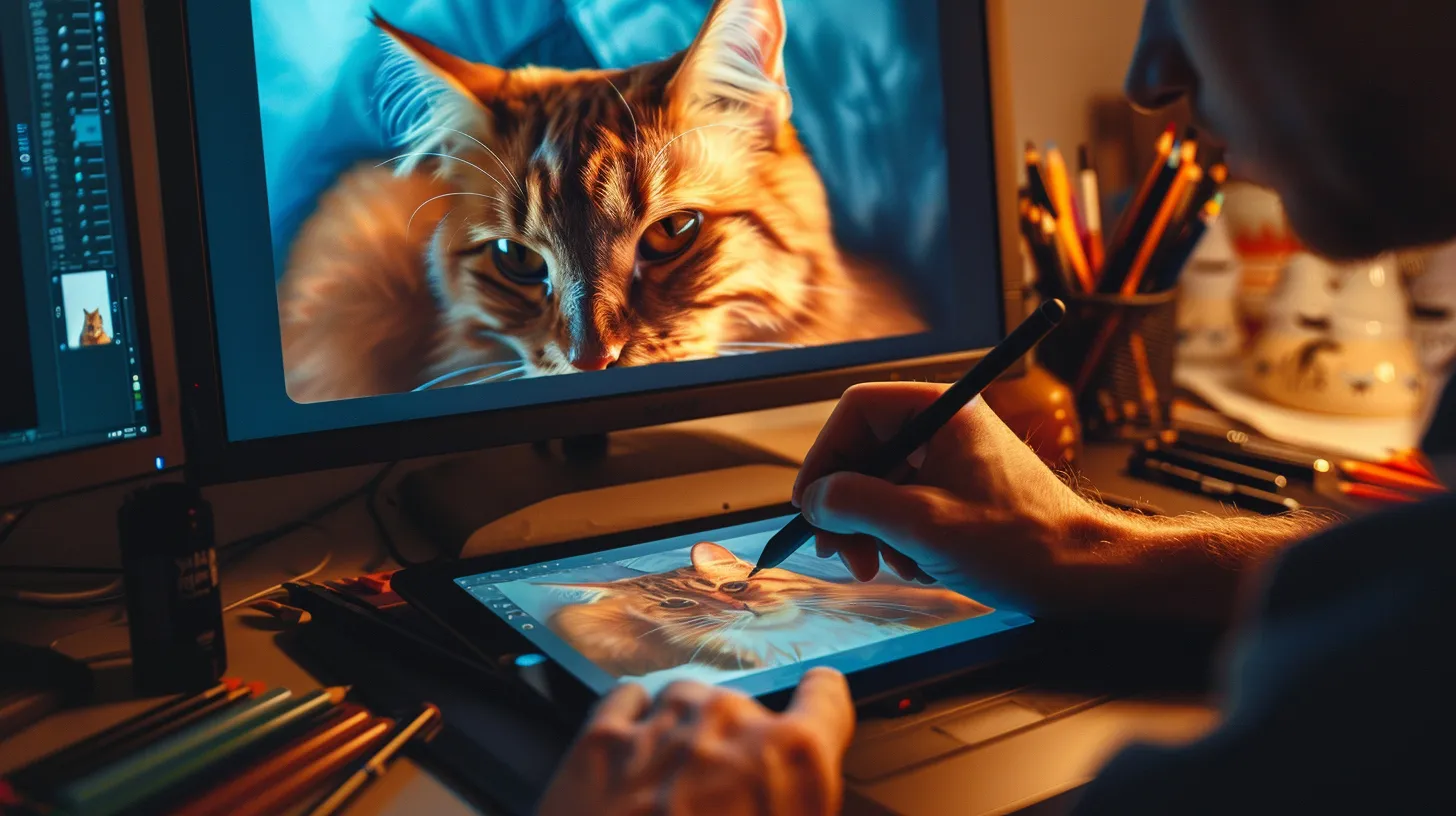
Tips on how to set up Photoshop to make it easier for you to draw a cat
To draw a cat in Photoshop, you need to set up an interface and a few tools, which is easy to do with a few clicks. First, open Photoshop and change the workspace from the default interface to a mode specifically adapted for drawing. This makes the work process more convenient.
For additional possibilities in your work, you may need different Photoshop brushes. These can be easily downloaded and installed in the program. However, you can also draw a cat using the standard tools.
Here are a few more tips on how to set up Photoshop to paint a cat:
- Adjust brush size: make sure the brush size suits your needs and drawing style.
- Try out additional tools: Try out different blending modes and effects to add variety to your work.
- Experiment with the brush settings: Change transparency, stiffness and other brush settings to achieve the desired effect.
Start drawing a cat and you'll be fine
I know that drawing with Photoshop (in this case, drawing a cat) can sometimes be difficult. But still, you can learn how to create great artwork and draw a cat or whatever you want.
Like you, I used to be hesitant to figure out and try drawing in Photoshop. I've used other, simpler programs. But they don't even come close to the capabilities that Photoshop offers.
Remember that confidence in your skills and creativity will help you overcome initial difficulties. Trust your intuition and experiment with Photoshop's tools, and you'll see that drawing becomes an even more exciting process.
→ Let's start drawing the cat. 10 simple steps
Drawing is the honesty of art. There is no way to cheat. It is either good or bad.
Salvador Dali
To create a cat in Photoshop, you need a graphics tablet and the program itself.
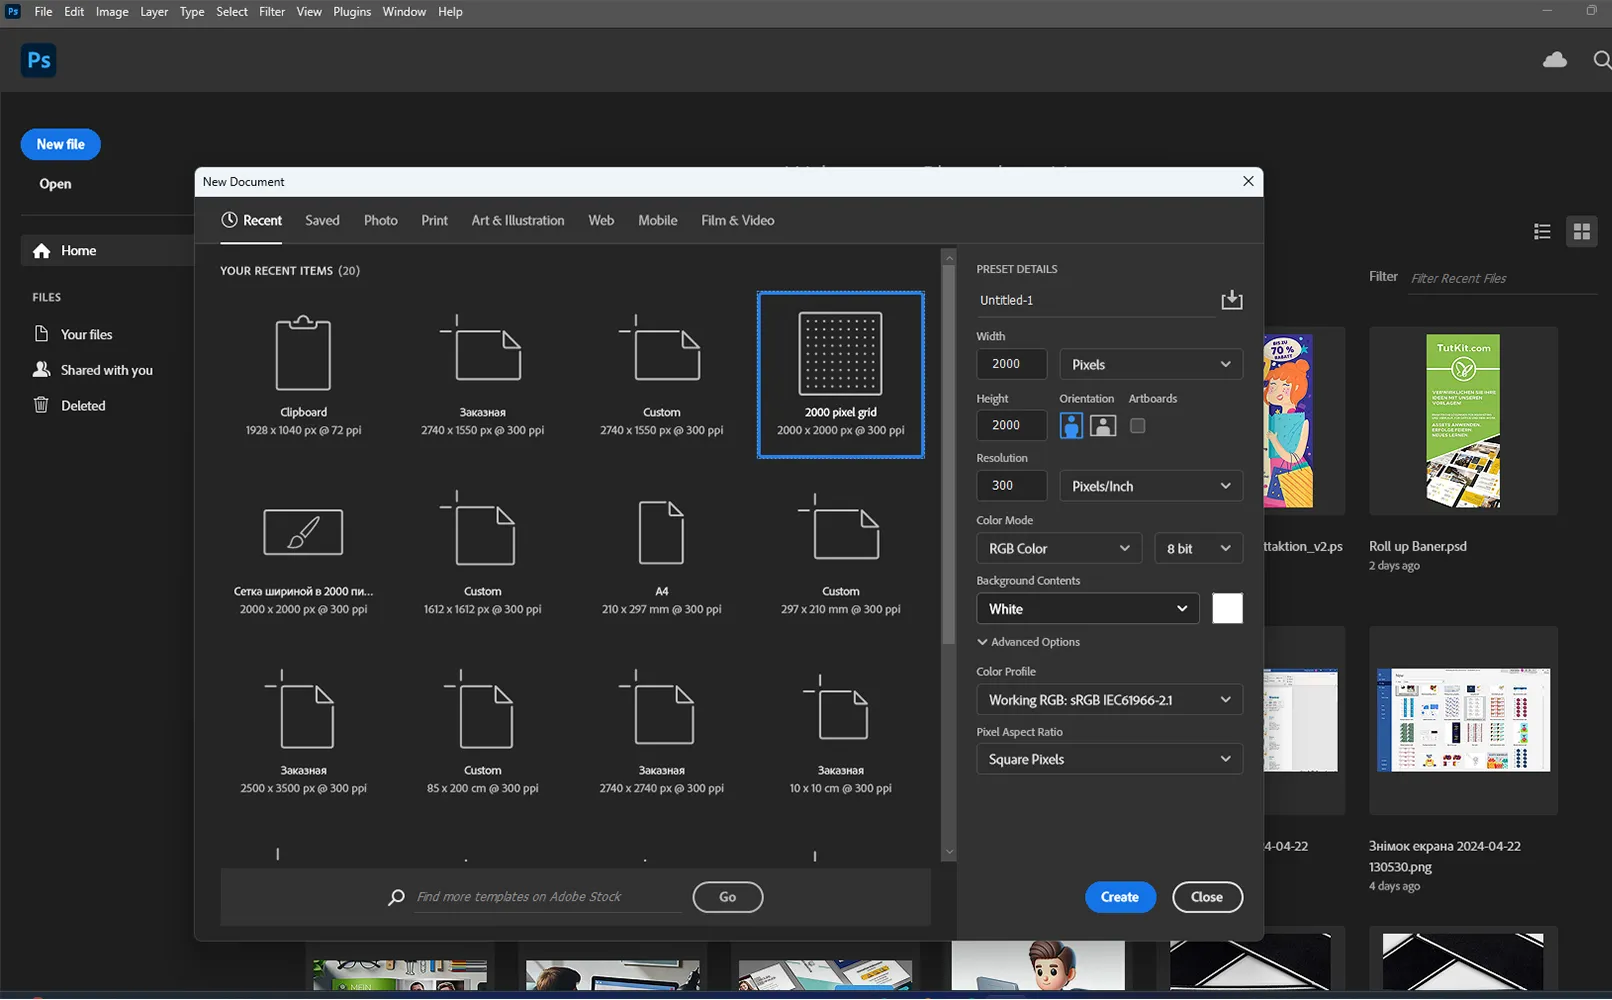
Open Photoshop and create a new square document with the dimensions 2000 x 2000 pixels. It is important that you set the resolution to 300 pixels per inch and select the RGB color mode. These settings guarantee high quality and color reproduction for your project.
Now you can start painting the cat!
Right, let's set up a brush. Take your brush and open the Brush settings panel (usually found in the top toolbar). There you will find settings such as stiffness and opacity.
Set the stiffness to a value that is comfortable for you to achieve the desired painting feel.
Set your brush to the optimal level to control the transparency of the brush depending on the pressure on the tray.
Everything is ready and I start to draw the approximate shape of the cat's head with the brush I have chosen. Place the eyes in the approximate place where they will be.
Take into account the proportions and anatomy of the cat's head to achieve a realistic result.
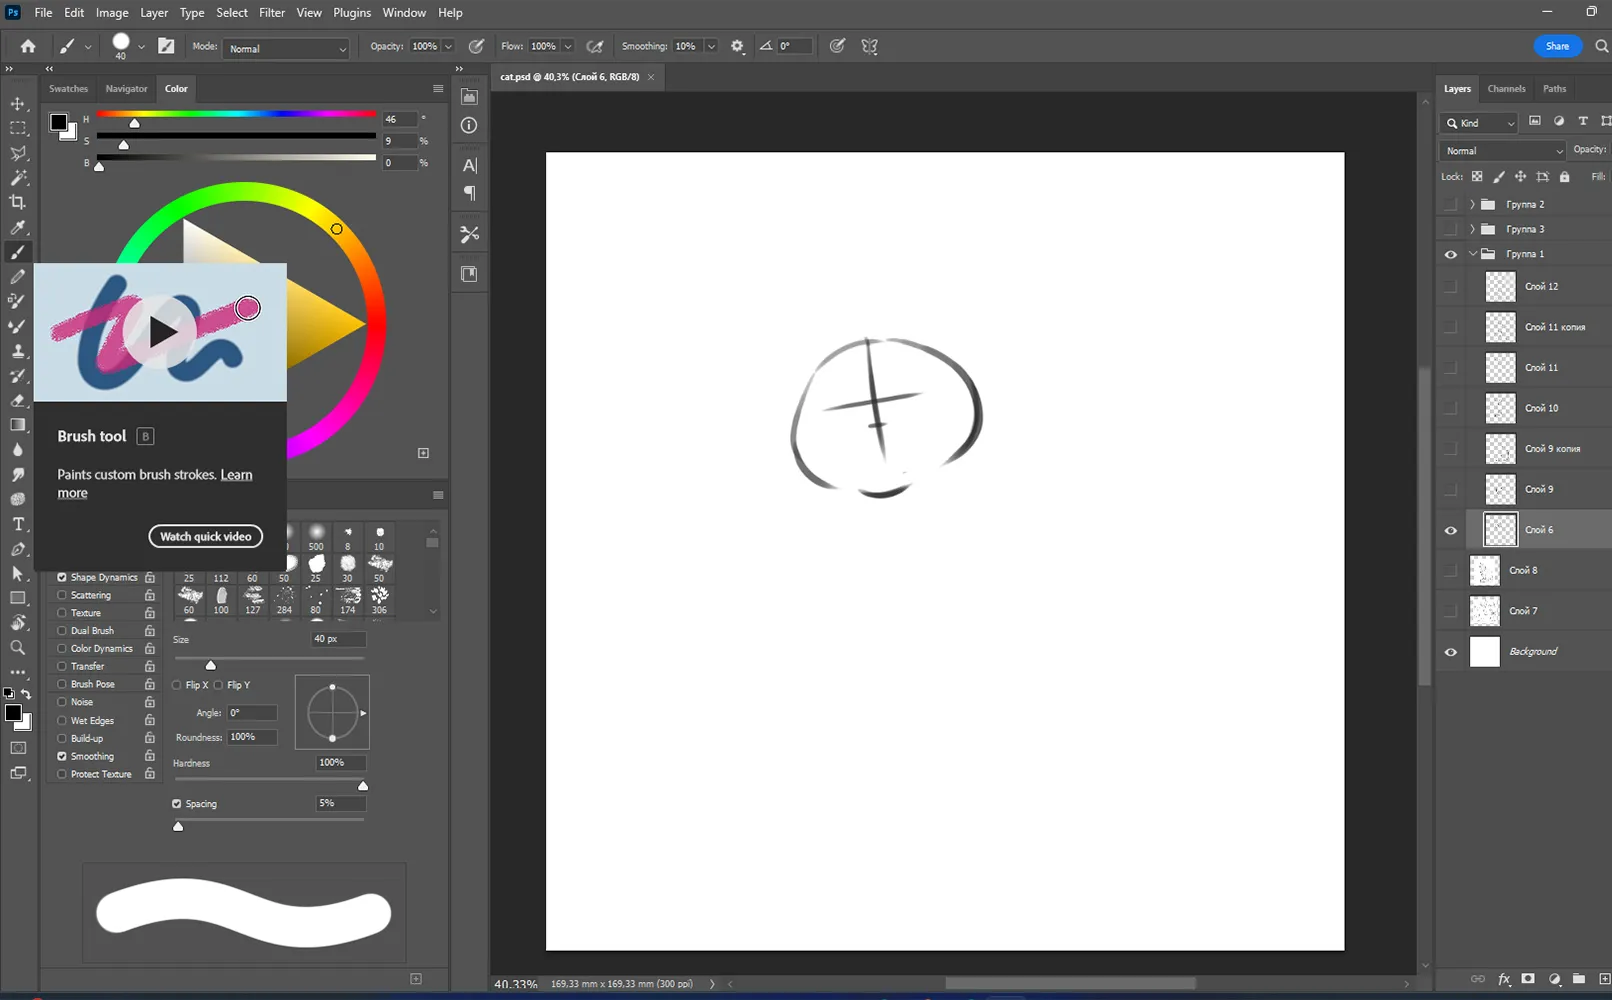
I continue working on the cat and start shaping the upper body. I use flowing lines and curves to convey elegance and grace.
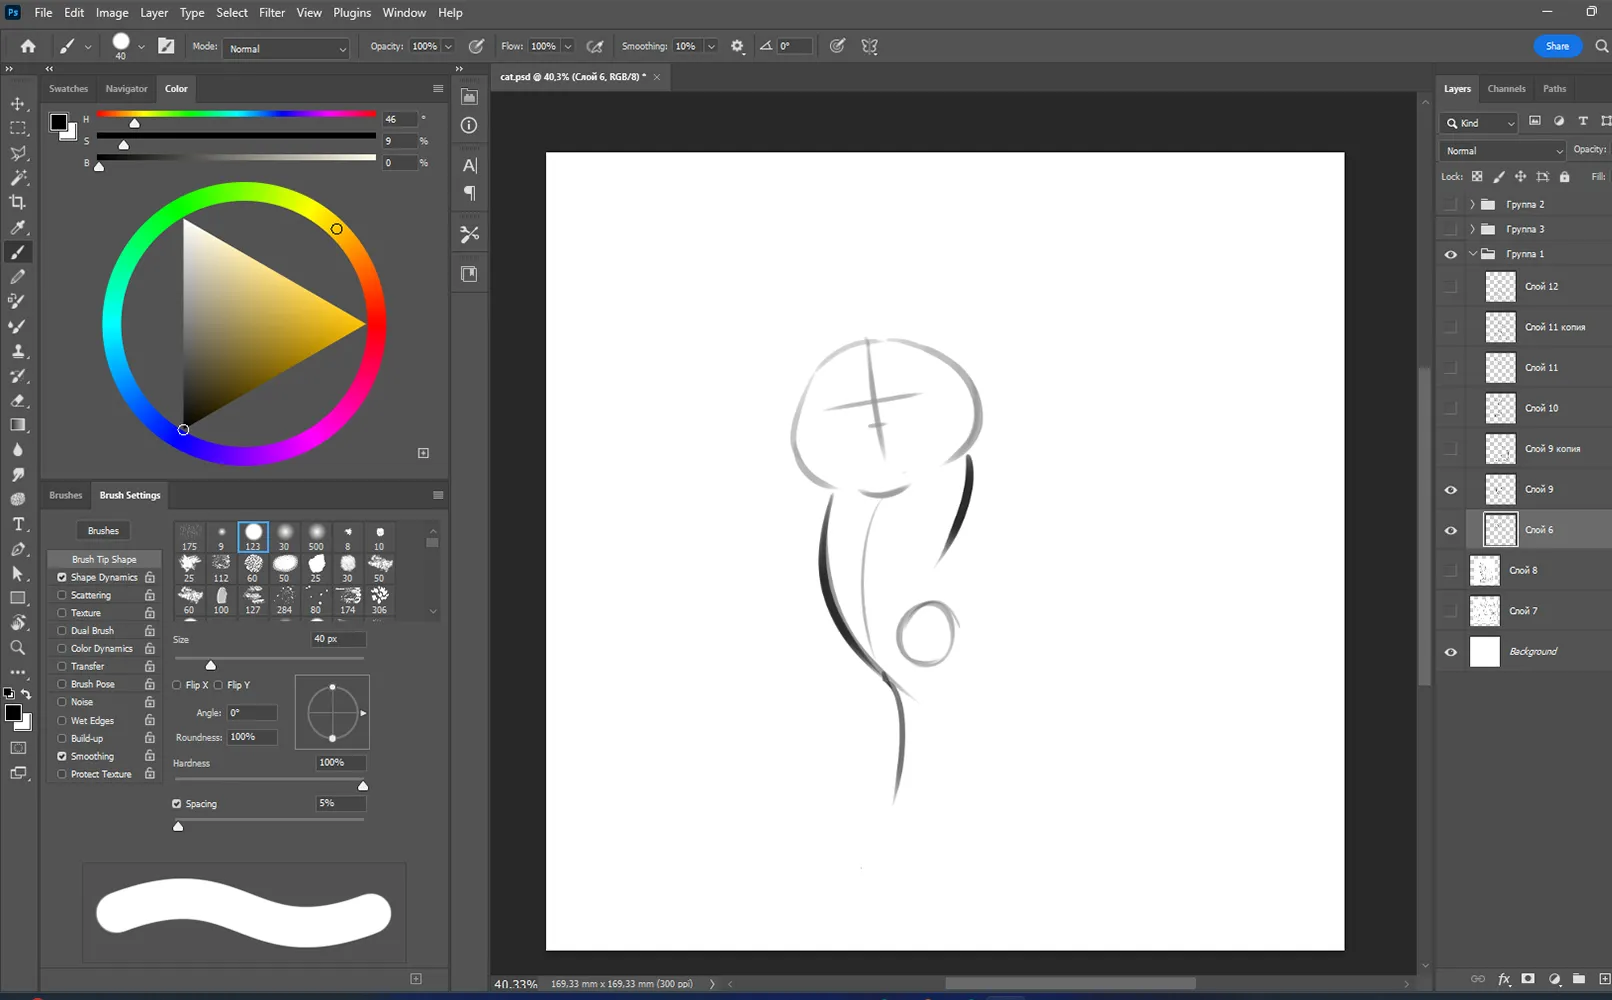
Adding the underside and tail. Now my sketch is almost finished.
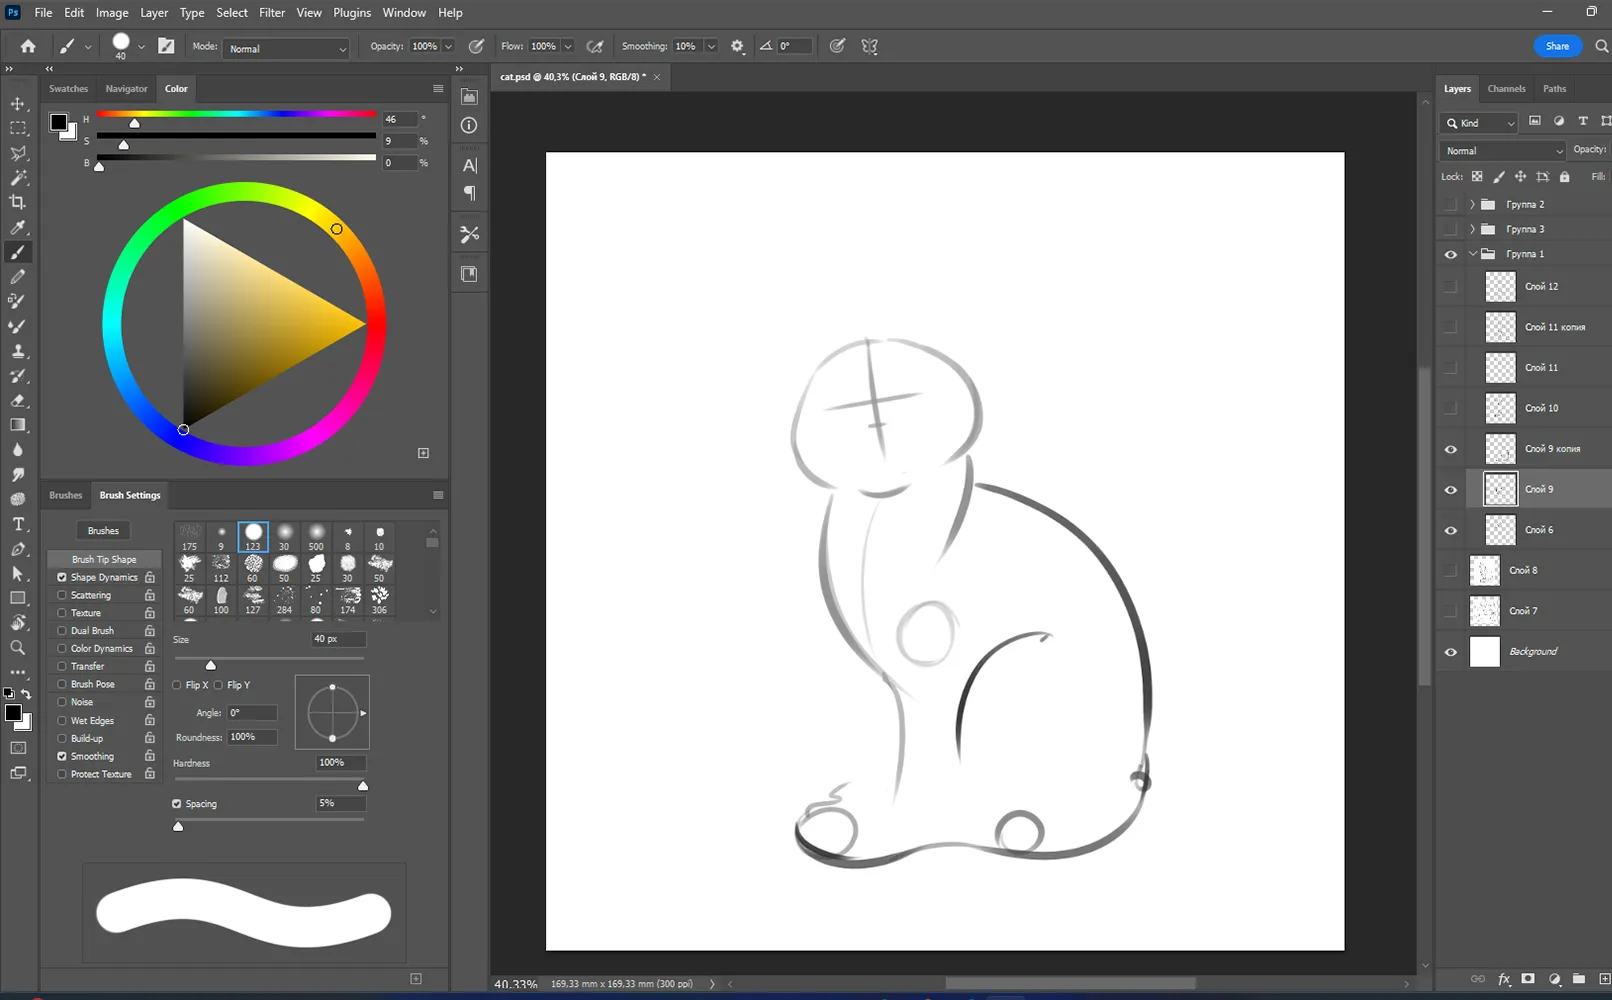
The cat silhouette is almost finished! Only a few elements are missing.
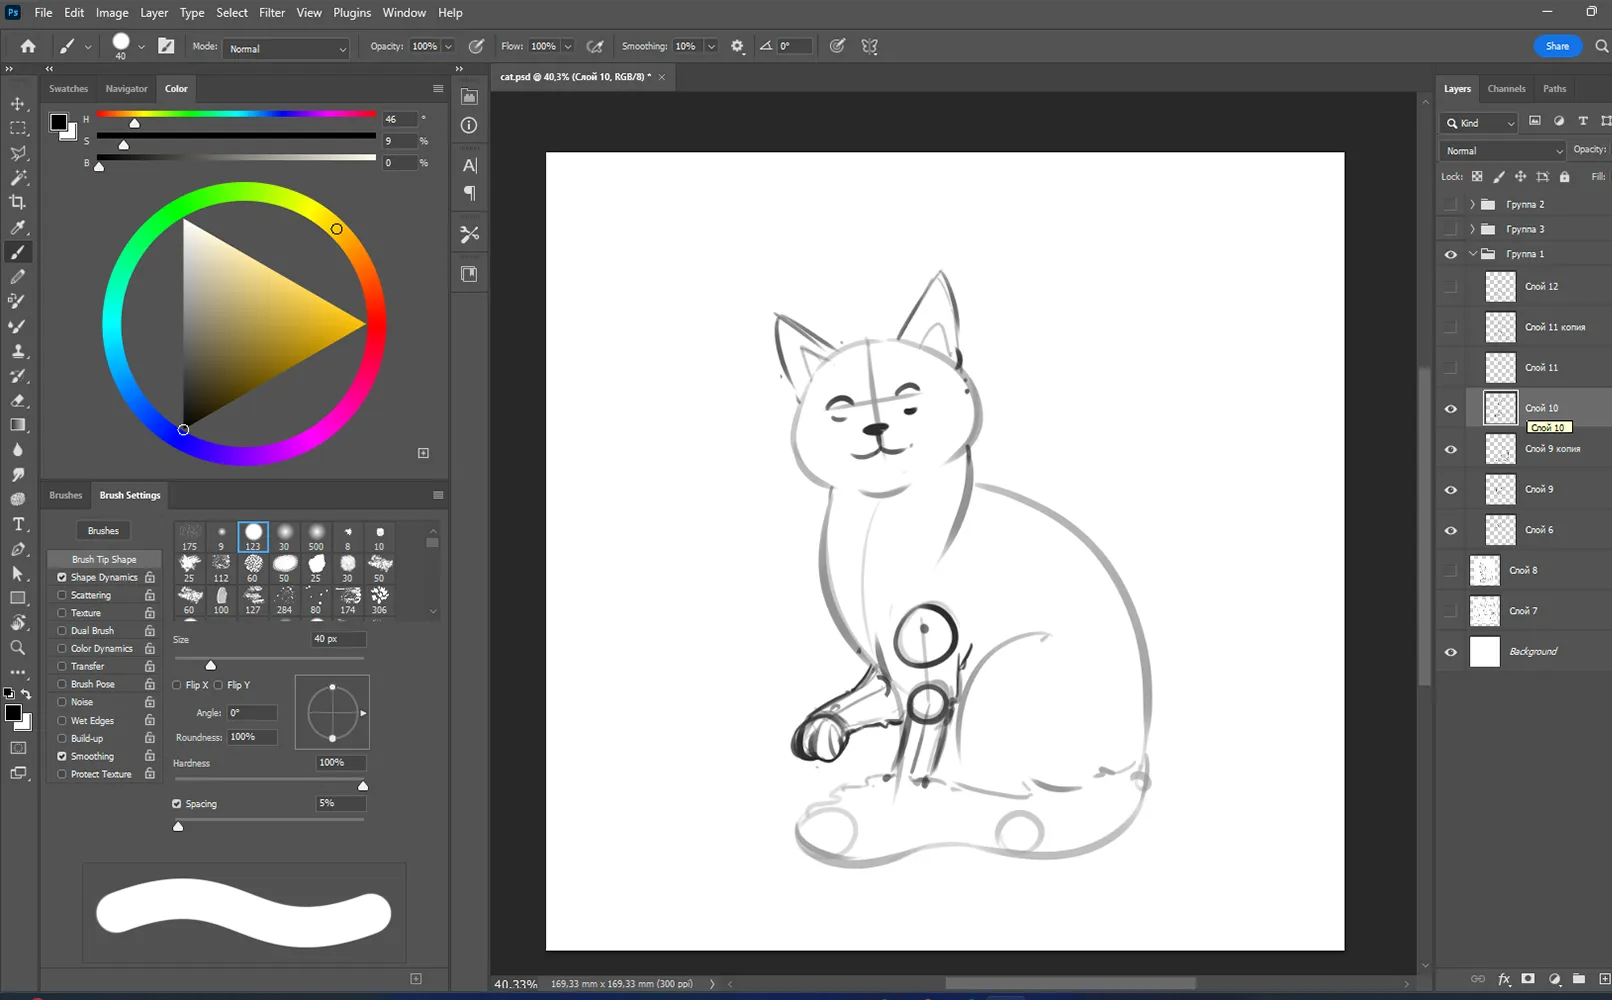
That's great! The silhouette is slowly taking on the features of a cat. I make the layer with the sketch more transparent by reducing the opacity and create a new layer on which I draw the head in more detail. You can change the shape a little if you like.
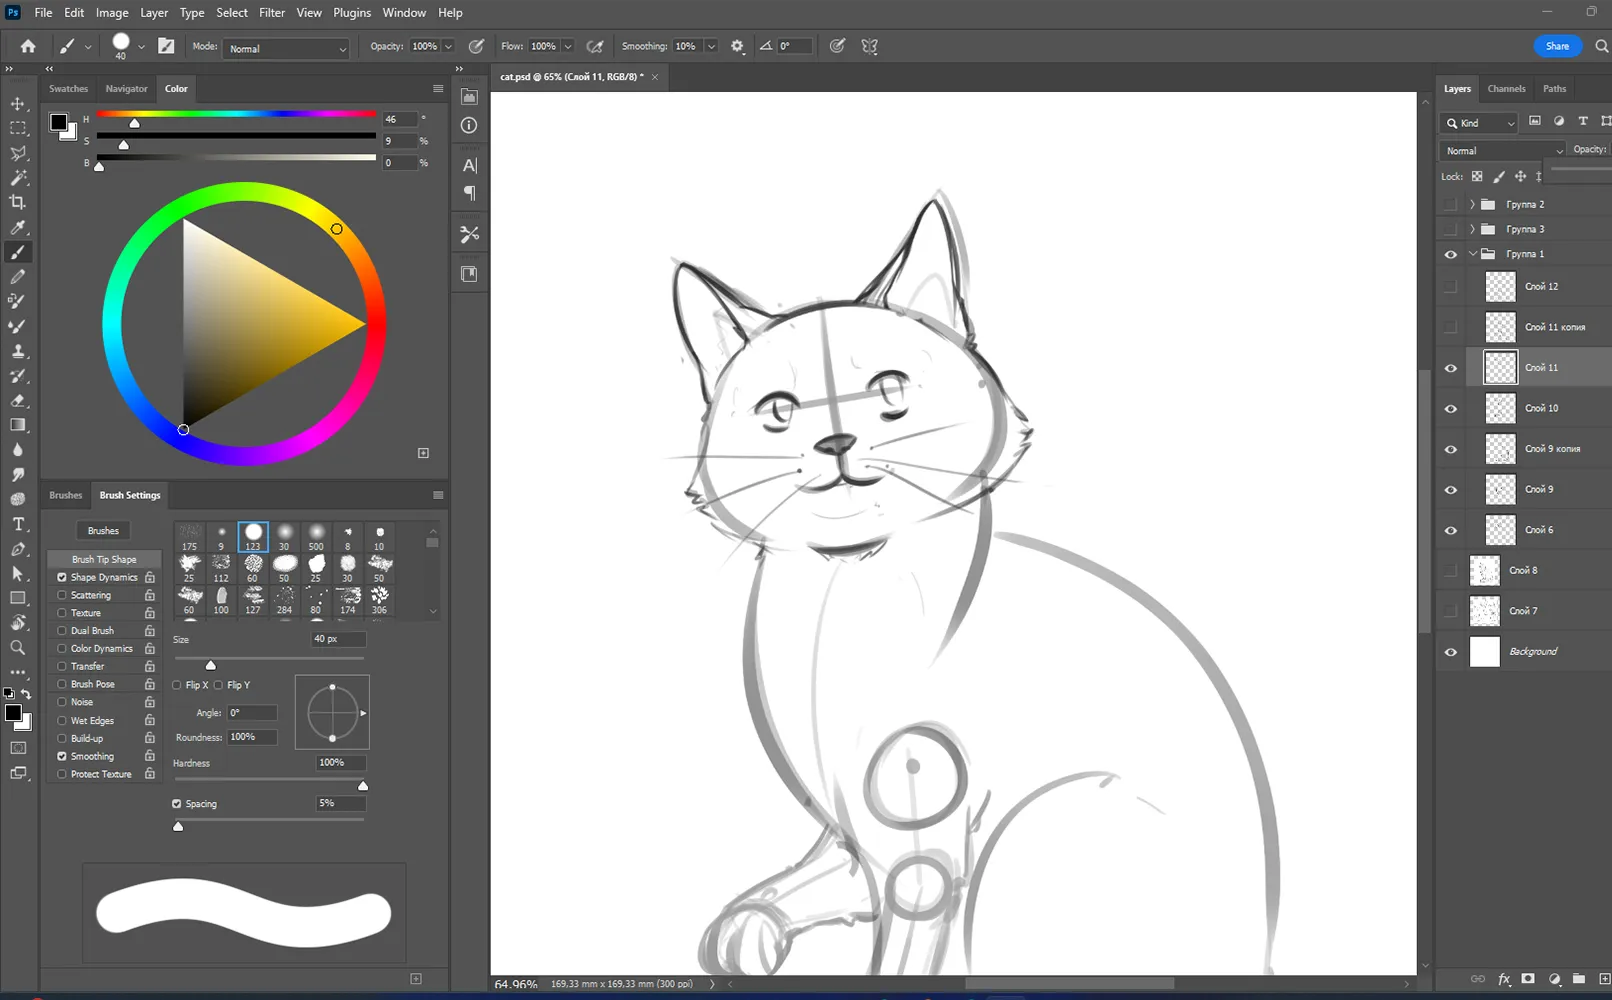
I will also add details for the body and tail. This will be the second, more detailed silhouette.
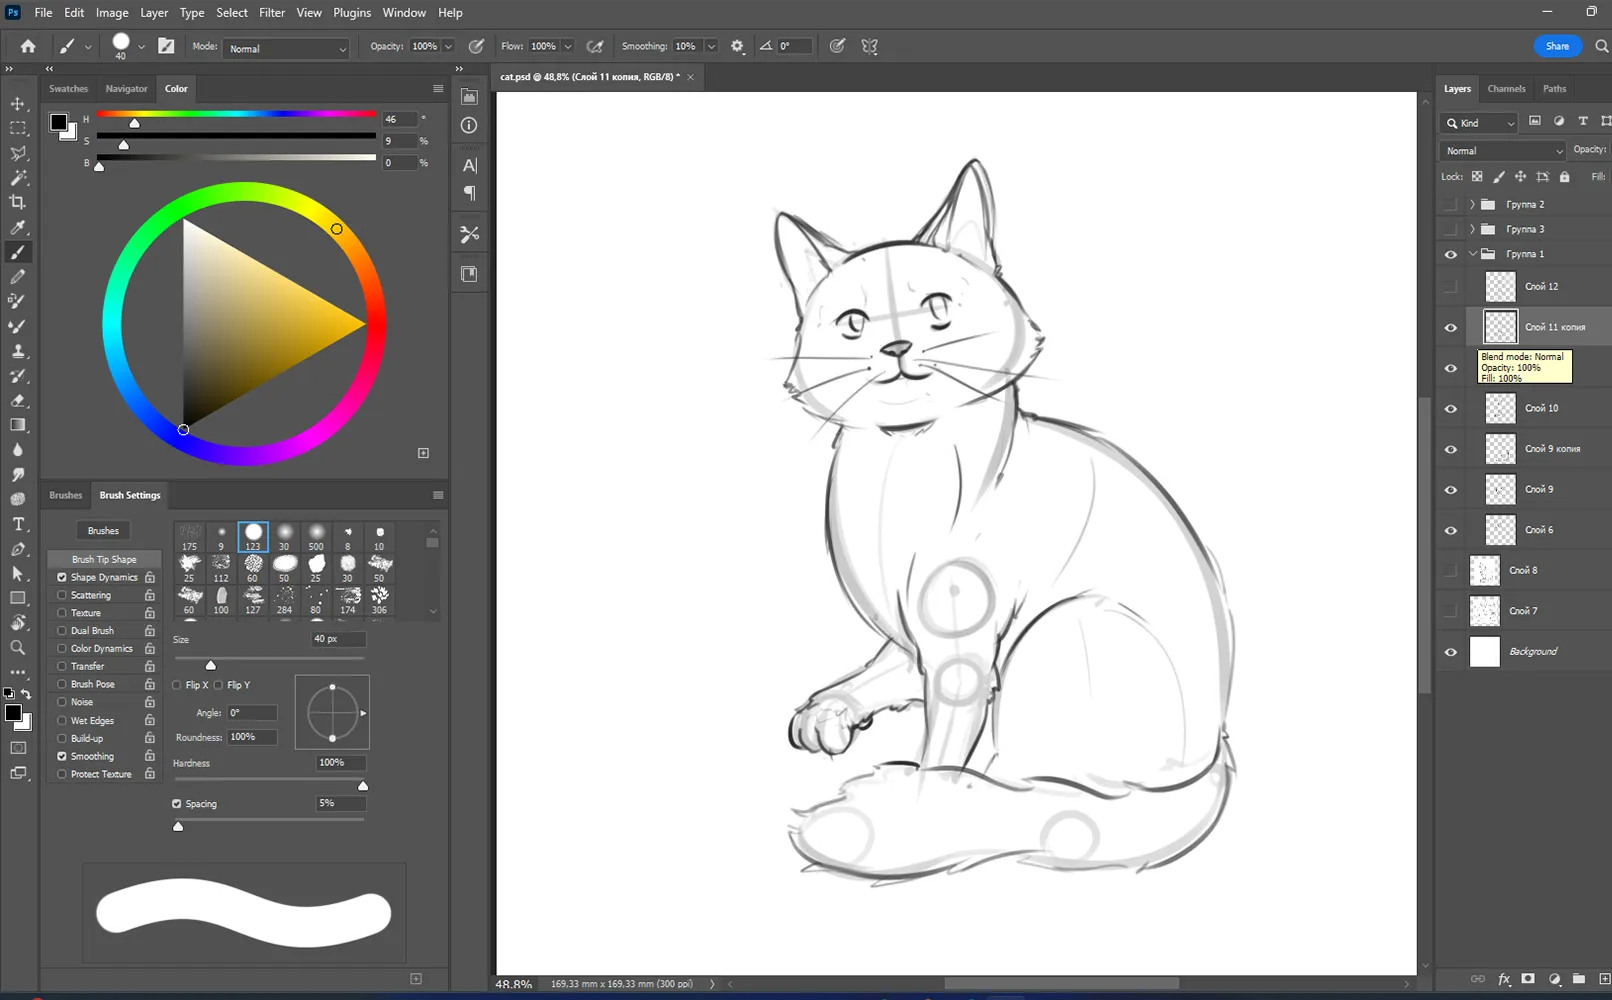
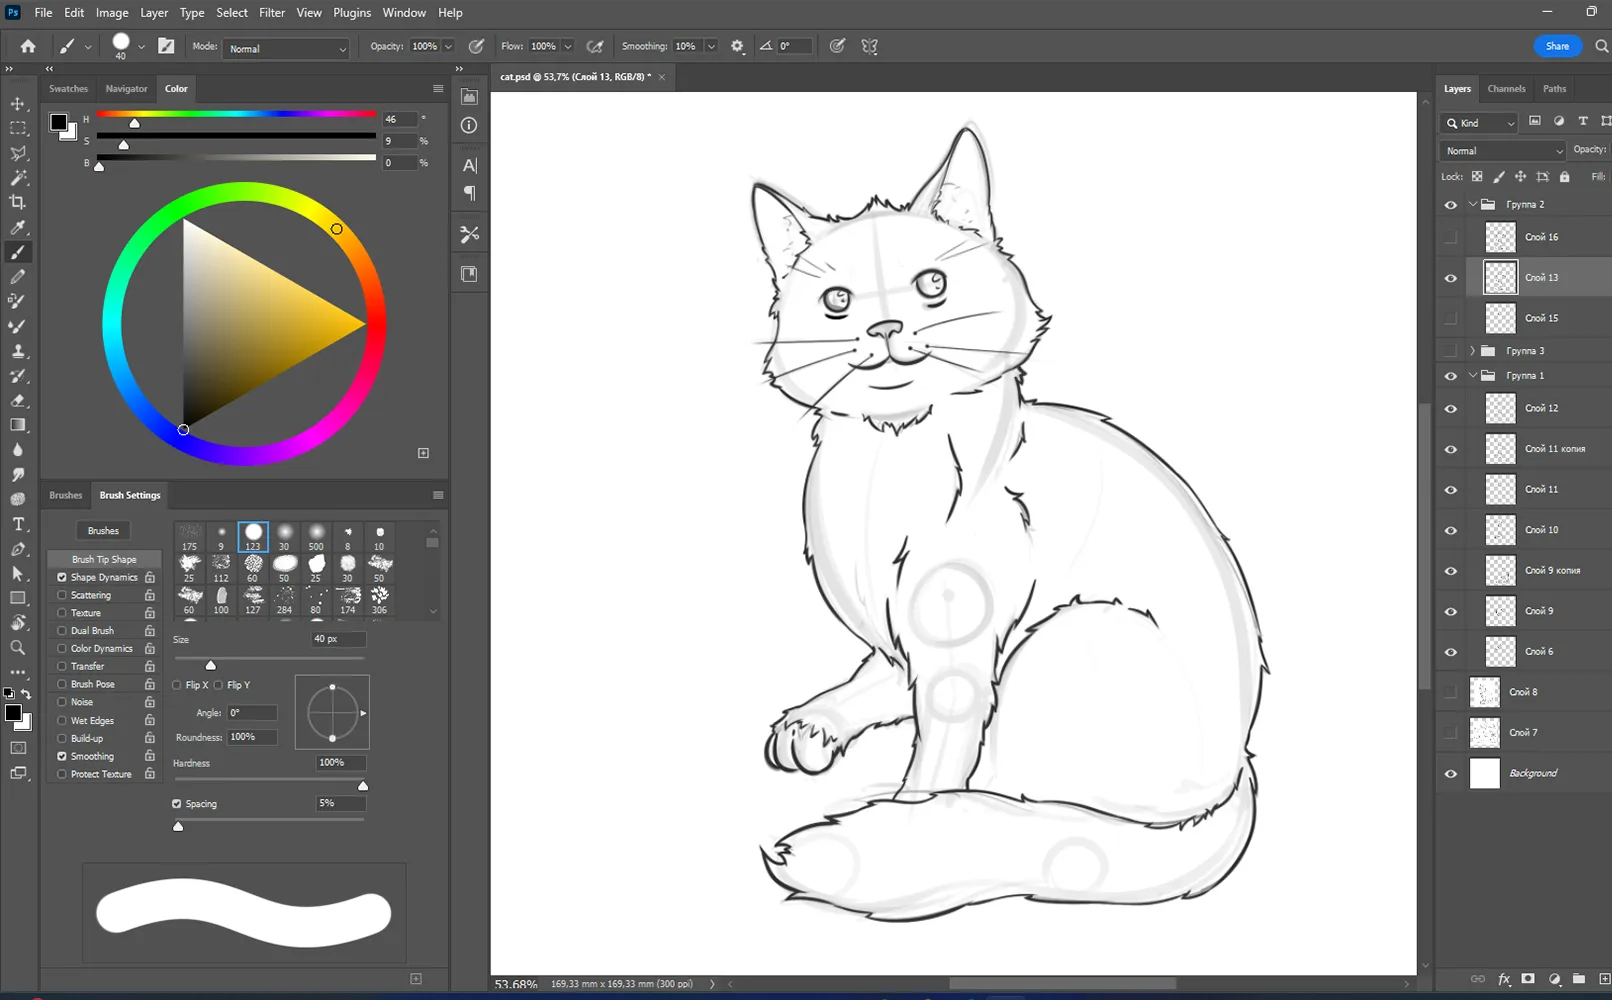
Now I close the first picture and paint more details into the cat silhouette. Here I add all the small details like whiskers, fur and paw.
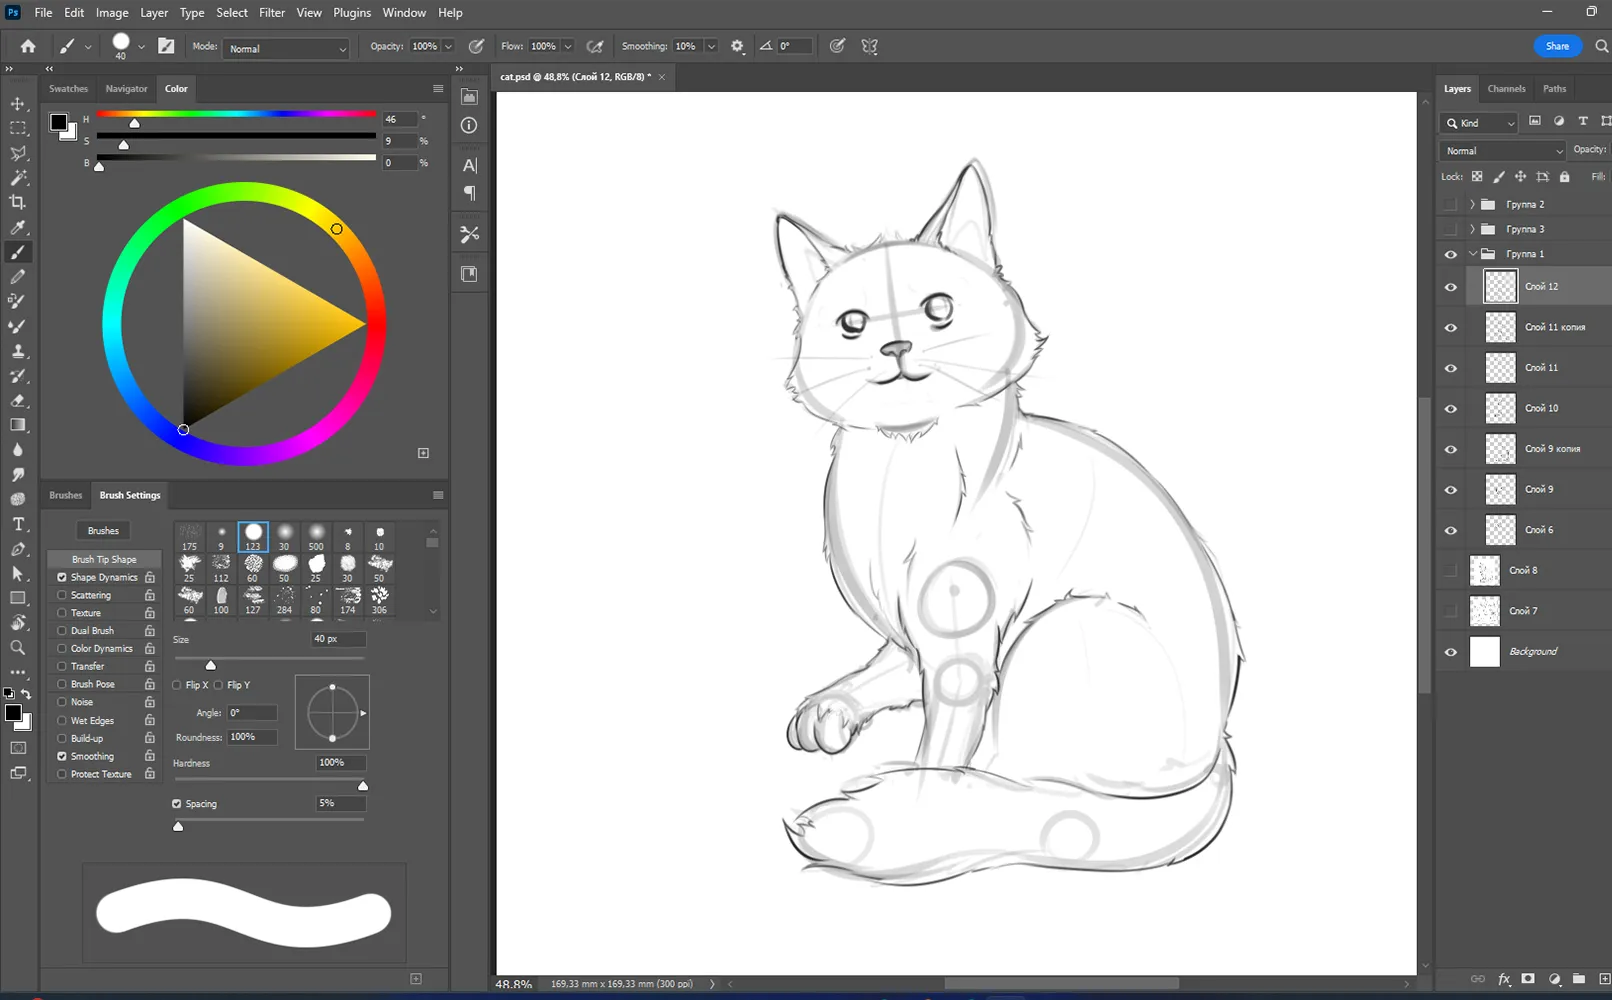
In the last step, I set the maximum stiffness of the brush and remove the checkmark in the gear box. For the sake of simplicity, I activate edge smoothing and select a value that I like.
I start with the basic outline of the cat and then work my way to the details step by step. This method helps to keep the style and proportions of the cat consistent.
I click on the Magic Wand tool and select the area around the drawing. Then I click with the left mouse button and select "Invert". The cat is now selected and I add a gradient by selecting colors to paint over.
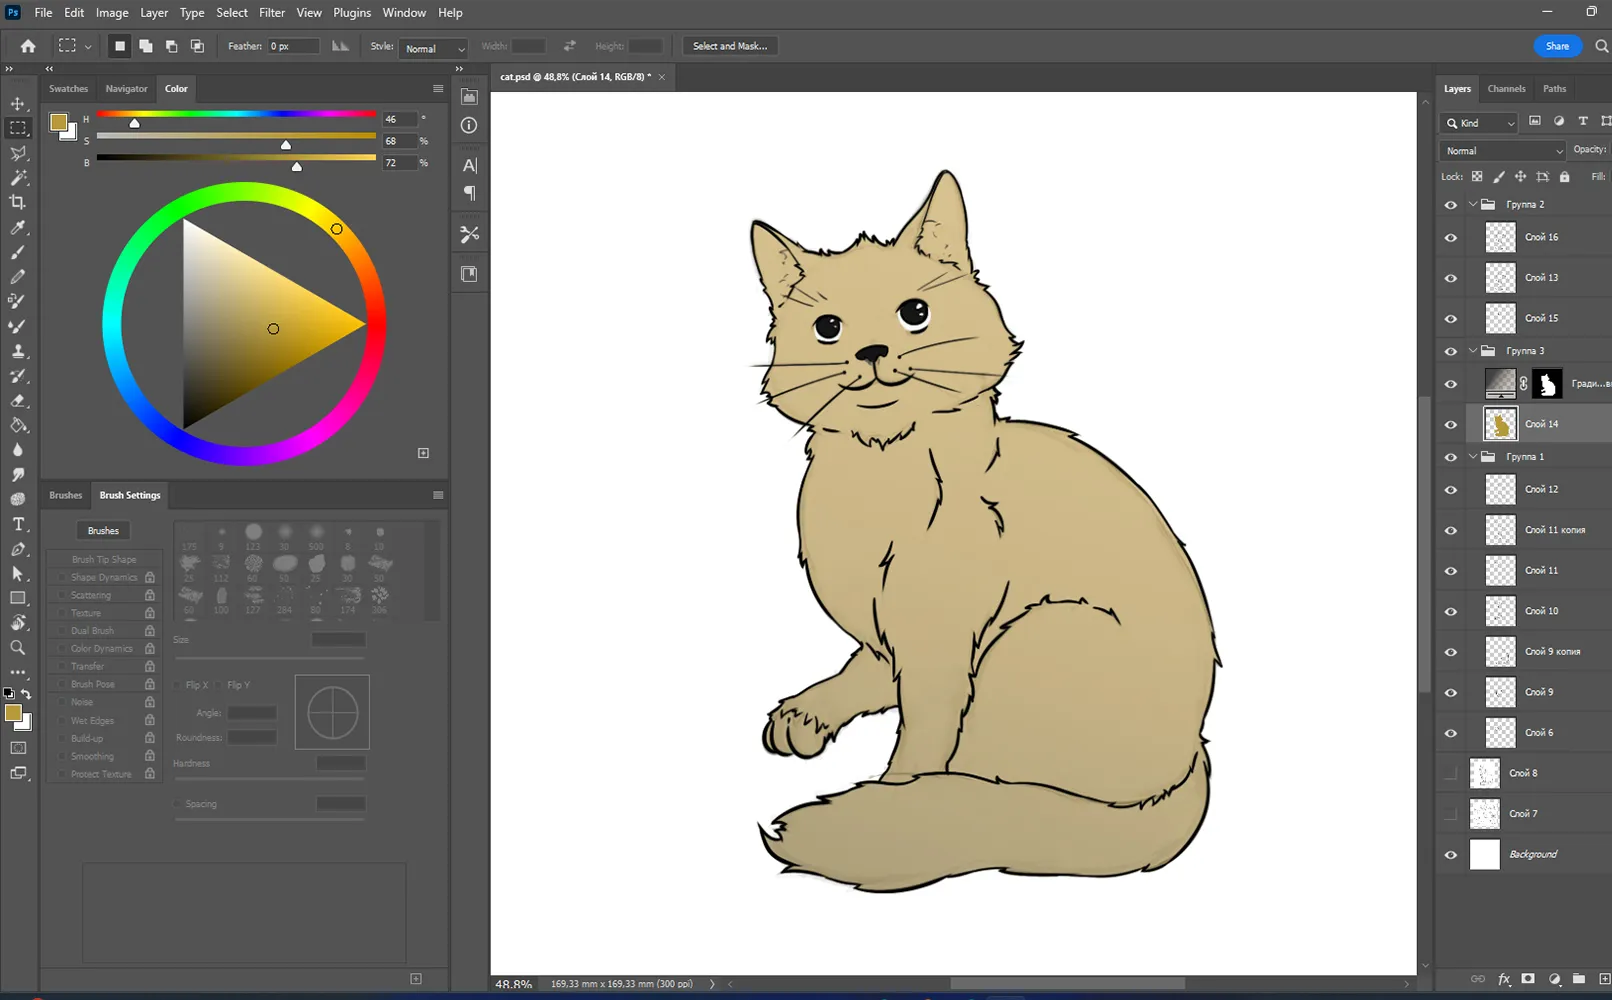
The cat drawing is created and now you know how easy and simple it is to draw. Use the skills you have learned to draw something else and Schick it to us. We look forward to sharing your work on our social media page.
Your drawings of cats
Send us an email about how you managed to draw a cat and we'll add your cat to the portal with your signature!
