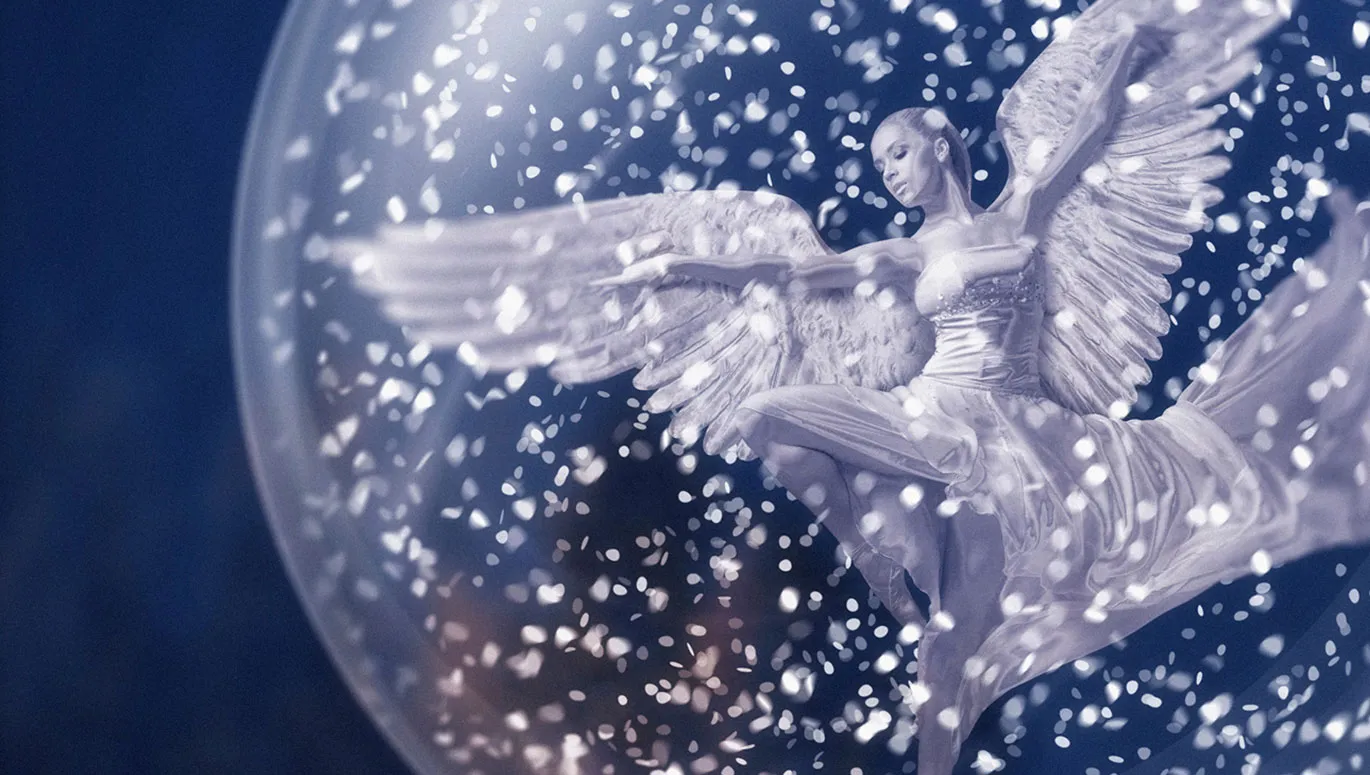
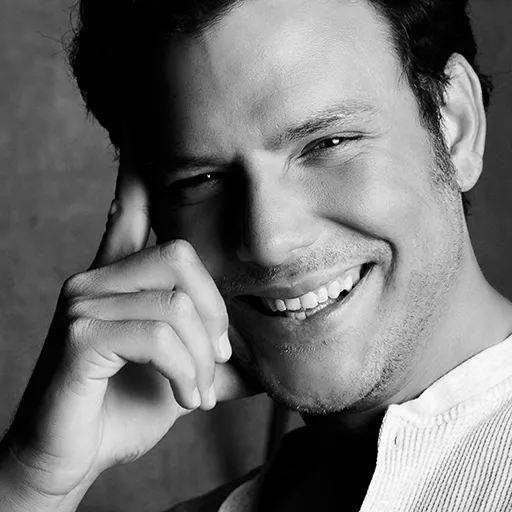
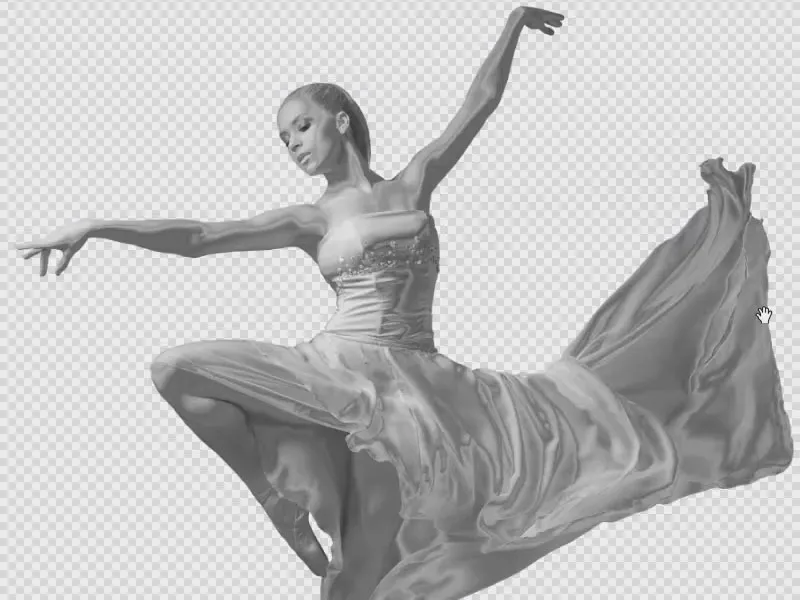
The metal look shines on the dancer. Now it's time to cut it out. You can learn how to cut out motifs in Affinity Photo using a mask in parts 4-5/14 of our Christmas tutorial series. Grab your paintbrush and open the QuickMask! Here we go ...
Part 4: Preparing to cut out the dancer - painting brush and QuickMask
The dancer has already been converted to black and white and given a metallic look in the previous parts of the tutorial. The next step is to remove the woman from the background so that a different background can be added later.
There are many different ways to cut out motifs from images . In the course of the tutorial series, we will show you how to cut out objects using the pen tool. For the dancer, however, trainer Marco Kolditz prefers the paintbrush toolin combination with the Affinity Photo QuickMask function. In this part of the tutorial , you will prepare the cutting/cutting out process by defining sensible settings for the paintbrush.
This is what you will learn in part 4 of the Affinity Photo tutorial
- Grouping and renaming layers (with corresponding shortcuts)
- Zooming using the mouse wheel (default settings)
- The basic principle of cutting out motifs using the quick mask
- Preparingpainting brushes with the correct settings for cutting out
Tip: Grouping layers
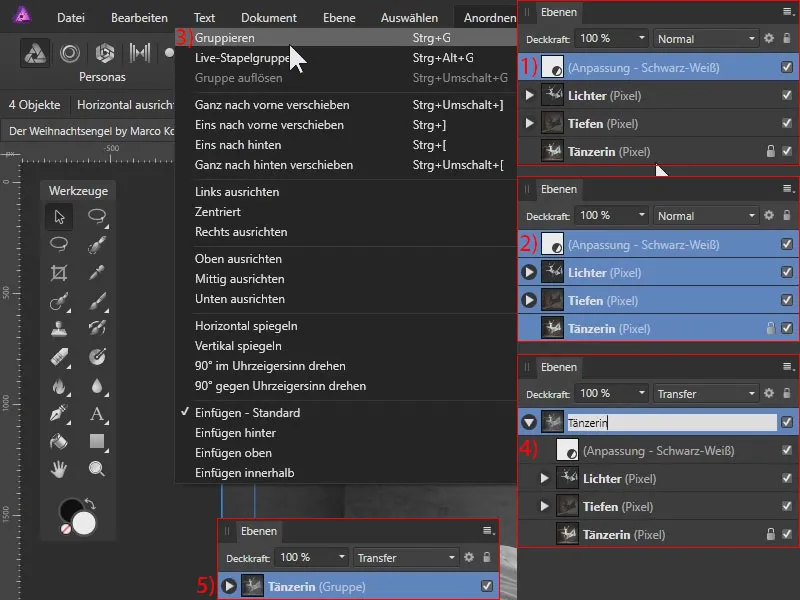
Before cutting out, let's take a look at the layer palette : We have the original image, the "Highlights" and "Depths" layers and our adjustment layer (1) above them.
I activate the adjustment layer and click on the "Dancer" layer while holding down the Shift key. This selects all the layers, including those between the top and bottom layers (2). I can group the layers using the shortcut Ctrl+G or Arrange>Group (3) - they are within this group (4), which I can collapse using the arrow symbol (5) and rename to "Dancer" (at 4) by double-clicking.
Tip: Zoom with the mouse wheel
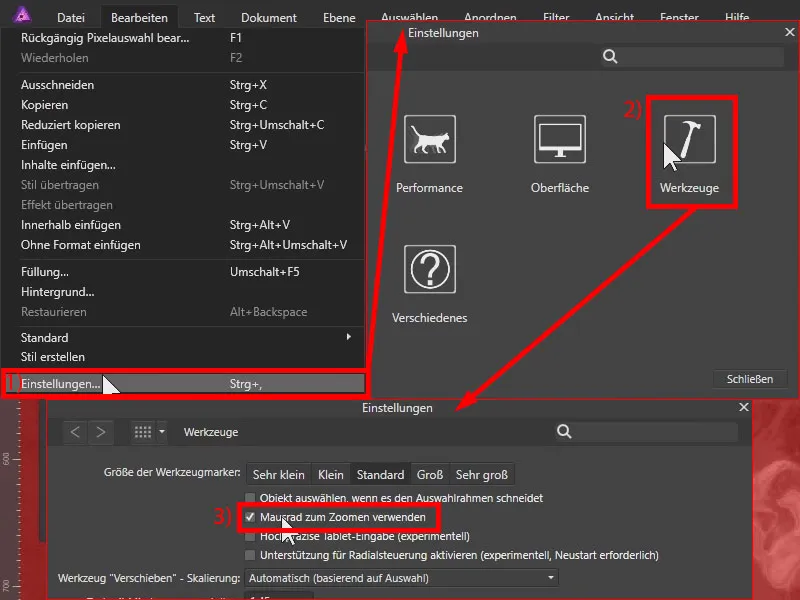
When cutting, you have to keep zooming in and out of the image. The easiest way to do this is to use the mouse wheel. If this does not work for you, look under Edit>Preferences (1) in the Tools section (2). There you will find the item Use mouse wheel to zoom (3).
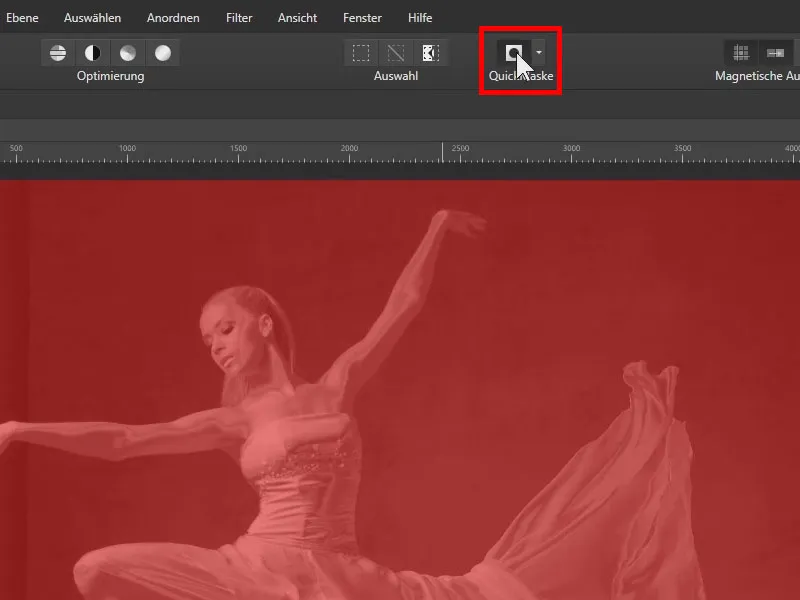
Activate QuickMask
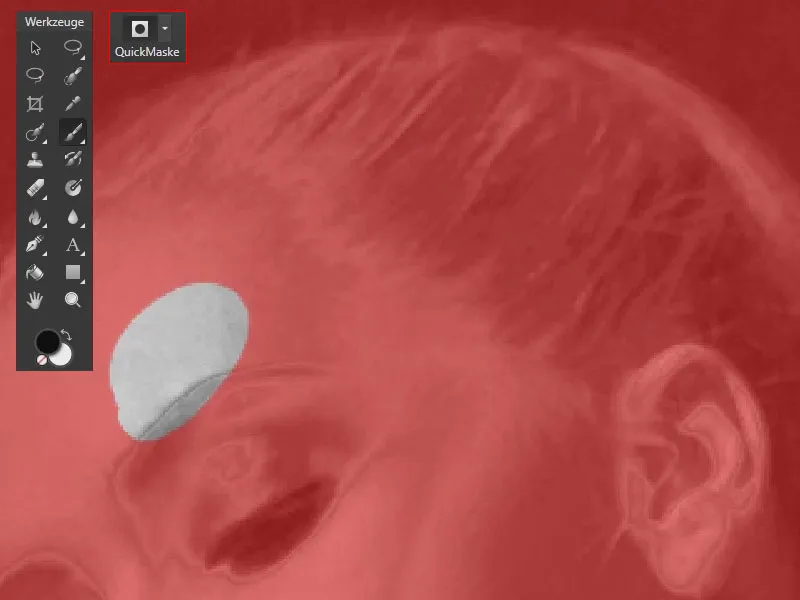
To create the selection now, I select the quick mask at the top of the bar (1). The image will now appear red.
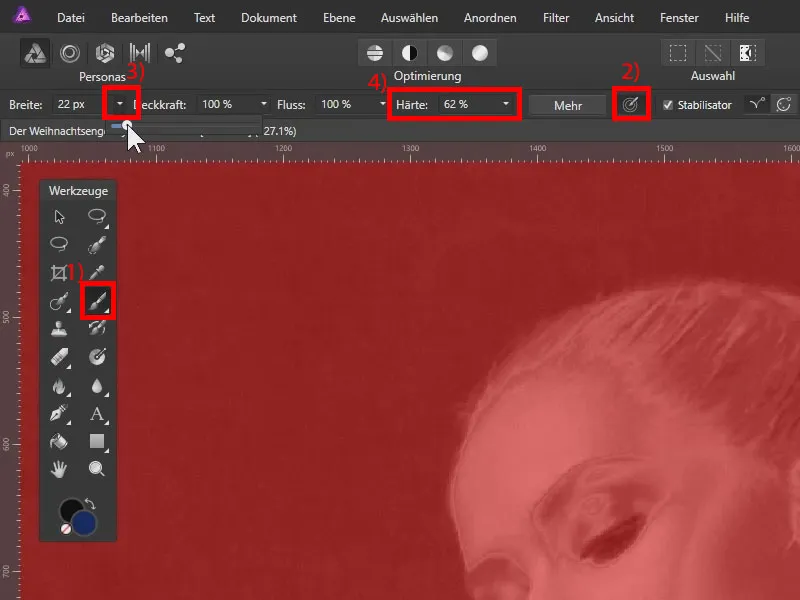
Settings for the paintbrush for cutting/cutting out
Using the paintbrush tool, we can now define the areas in the image that we want to see later and the areas that we want to hide later. I zoom into the image and switch to the paintbrush tool(1) using the corresponding icon or the keyboard shortcut B.
To be able to use the pressure sensitivity of the pen on your graphics tablet , you should activate this icon at the top when the paintbrush is active: Control size by pressure (2). In this way, the size of the respective brush becomes larger or smaller depending on how hard you press on your graphics tablet with your pen.
You can adjust the size of the paintbrush by clicking in this menu (3) and using the slider or by clicking and dragging on the word Width. I also reduce the hardness (4), otherwise the edge of the paintbrush will be too hard.
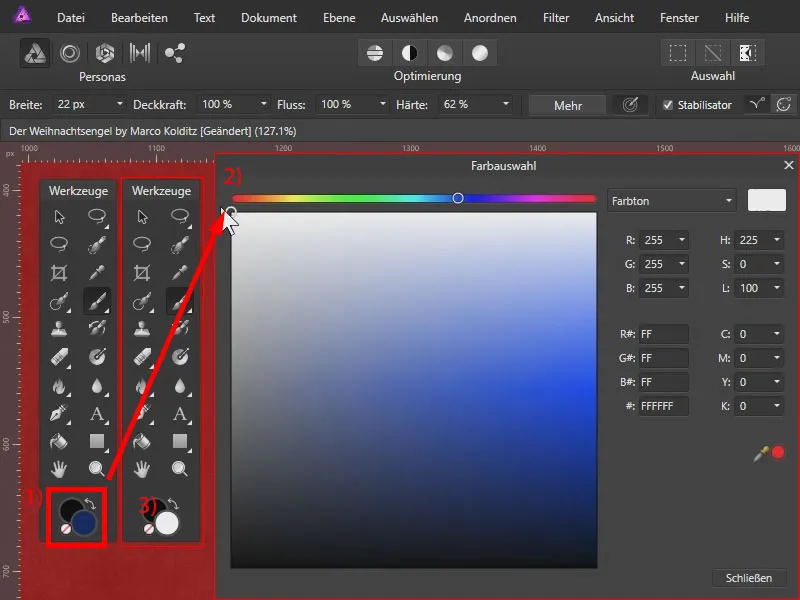
You should also paint with white in the QuickMask. Here we have just selected blue (1). I double-click on the color and select white (2). This is now our foreground color (3).
Now I can select the areas that I want to see later. All the colors that are now displayed in red are not loaded as a selection (1). And the areas that are displayed in the original color of our image (2) are loaded as a selection and can be used later as a mask.
If you press the X button, you can switch back and forth between the two colors . This allows you to paint with black and remove the areas from the selection again (3).
By the way, when I hold down the space bar, my mouse cursor turns into a small hand symbol. As long as I hold down the space bar and click and drag, I can navigate through the image (4) .
Tip: Activate the stabilizer
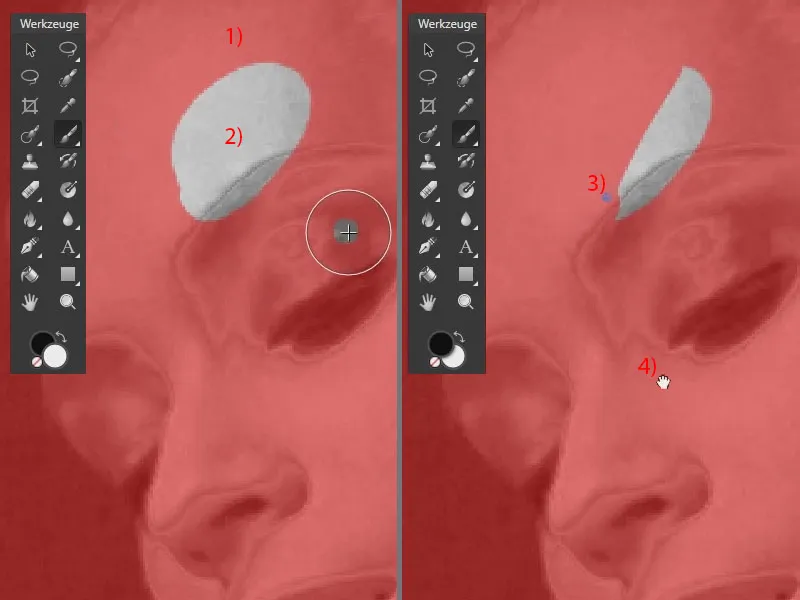
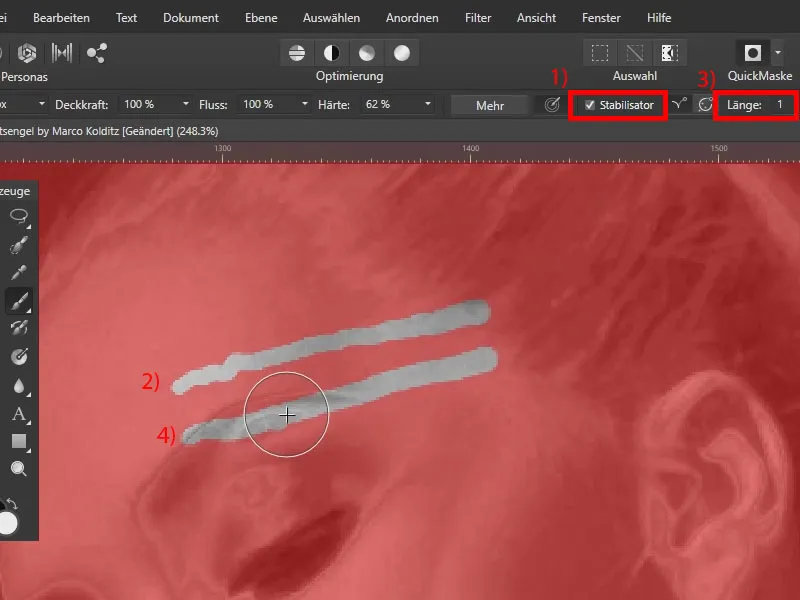
Another little tip: When the paintbrush is active, there is a Stabilizer item at the top (1) . If I deactivate it and draw a line with a shaky hand, the line will also appear somewhat shaky (2). If I activate the stabilizer, set Length to 1 (3), for example, and also draw a line with a shaky hand, the stroke appears somewhat smoother (4). I would therefore definitely recommend activating the stabilizer.
Cutting with QuickMask and paintbrush - summary part 4
- Group layers with Ctrl+D for a better overview and structure.
- Use the mouse wheel to zoom and the space bar to move through the image.
- QuickMask: Red areas will not be part of the selection later.
- Activate thepaintbrush: Shortcut B
- Set the paintbrush for cutting out:
- Note width and hardness
- Set colors to black and white (switchable with X)
- When painting with a pen, use the Control size by pressure function
- Also activate the stabilizer for smoother lines
Part 5: Creating a mask for cutting out the dancer and editing the selection
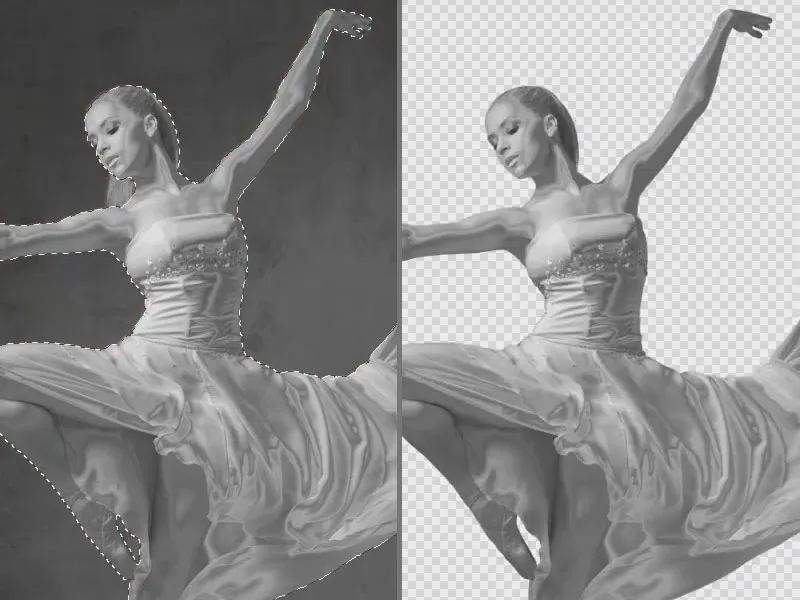
Now let's take a big step in the creation of our compositing: the dancer will be completely cut out of the background . To do this, first trace the contours of the model with the paintbrush, then fill the area of the dancer using the fill tool and create a mask from the selection . But be careful: every step of the process has its pitfalls - your trainer Marco Kolditz will once again tell you what these are and how to overcome them. Let's go!
This is what you'll learn in part 5 of the Affinity Photo tutorial
- Select the contours of a person using the paintbrush on the QuickMask
- Targeted brush settings for cutting/cutting out
- Selecting large areas with the fill tool
- Applytolerance and Gaussian blur to refine the selection
- Create a mask from a selection
- Apply mask to a specific layer group
- Enhance selection
Select contours with the paint brush
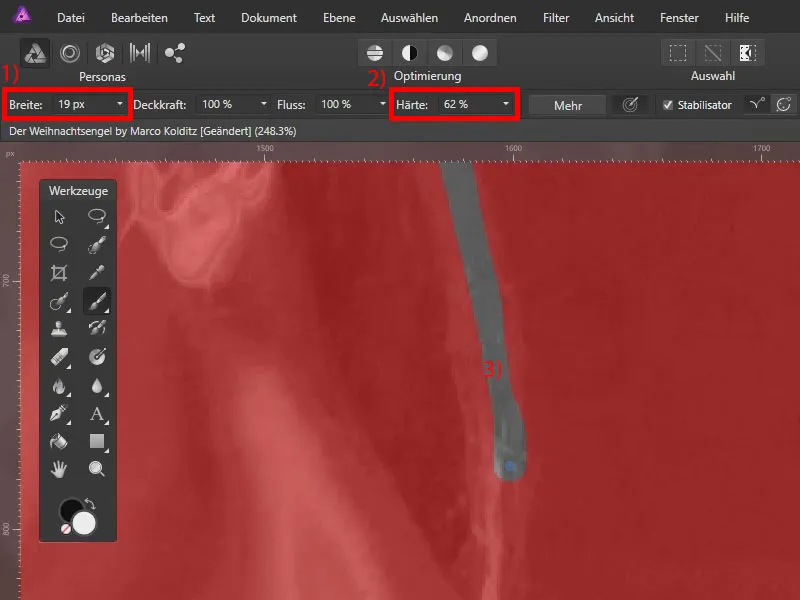
I now start to trace the contours of the dancer with the paintbrush. The foreground color is set to white. The width is currently set to 17 px, the hardness to 62 %. I navigate through the picture by holding down the space bar.
It's also very practical in this picture that we don't have to pay attention to these fine hairs, as we want to have a statue later on, and that usually doesn't have such fine hairs.
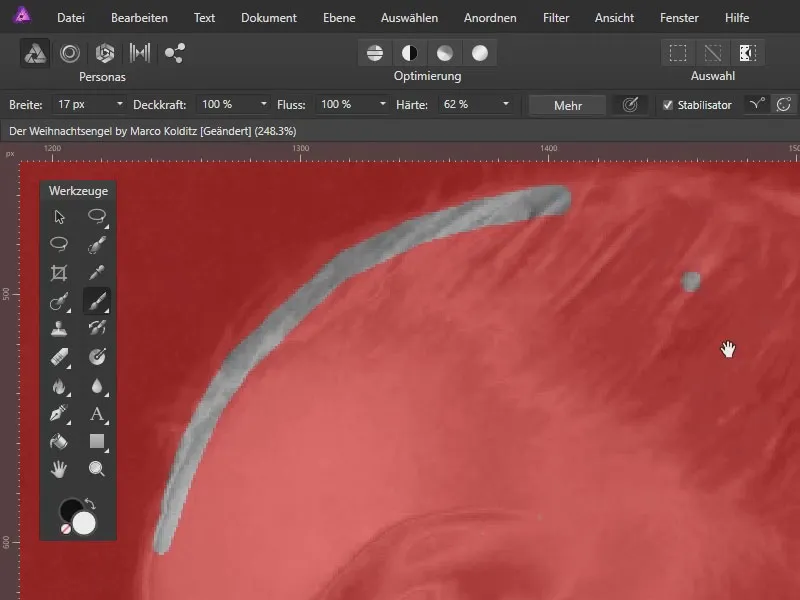
Here I've gone a little over the edge (1). I press the Xbutton to return to black (2) and paint over here (3).
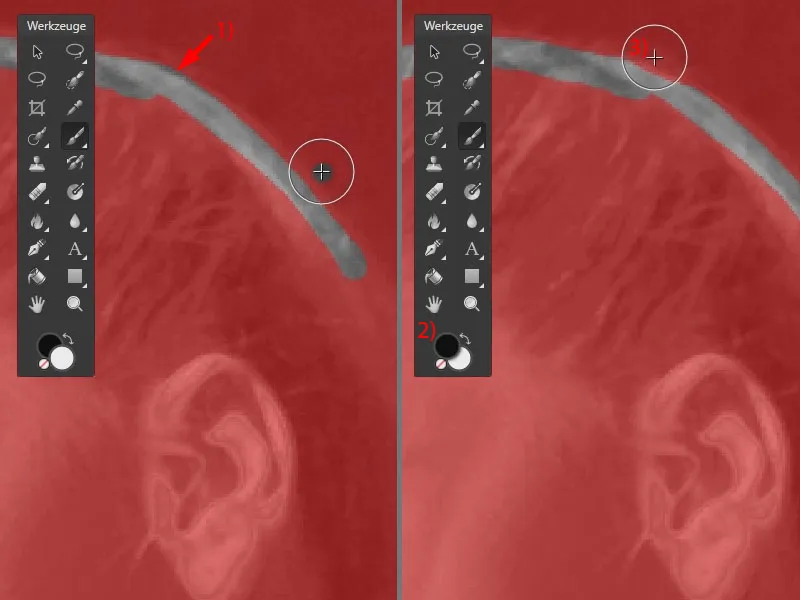
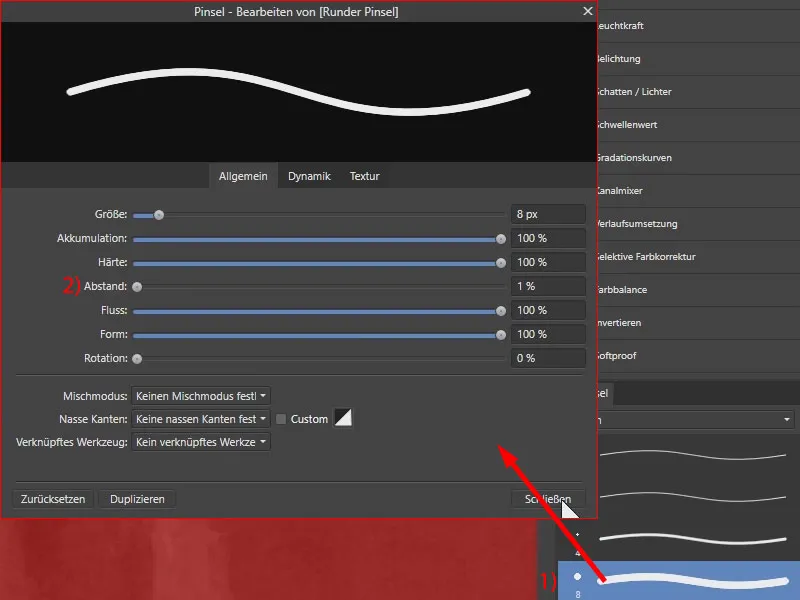
Now I switch back to white to continue painting. I also take another look at the current brush. I double-click here (1) to go to the brush settings. I set the distance all the way down (2). This makes the brush look a little more fluid.
Now, of course, I have to set the width again (1) and adjust the hardness downwards (2). I can now continue painting with these settings (3).
We can leave out the area with the hair (1). I navigate through the picture step by step using the space bar. And if I do paint beyond the desired area, I change the colors with X, better off, and on we go ...
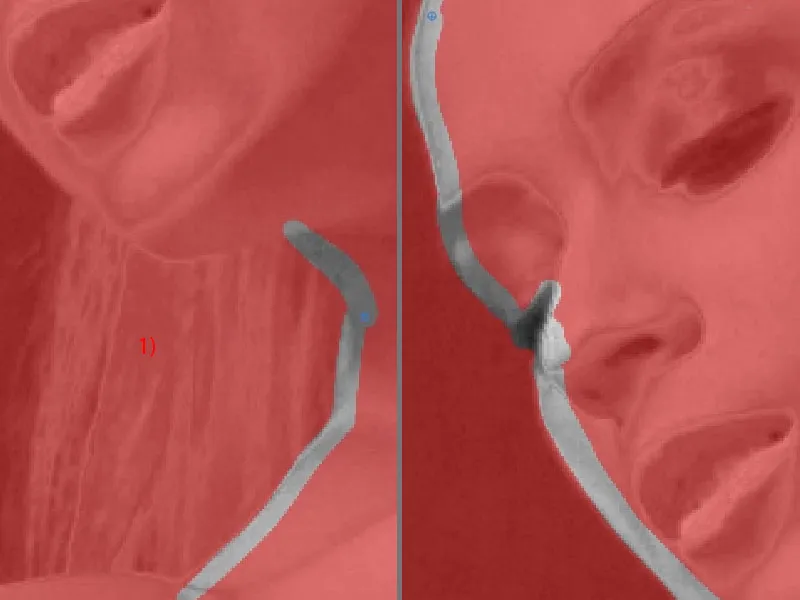
I have now traced the edge of the dancer.
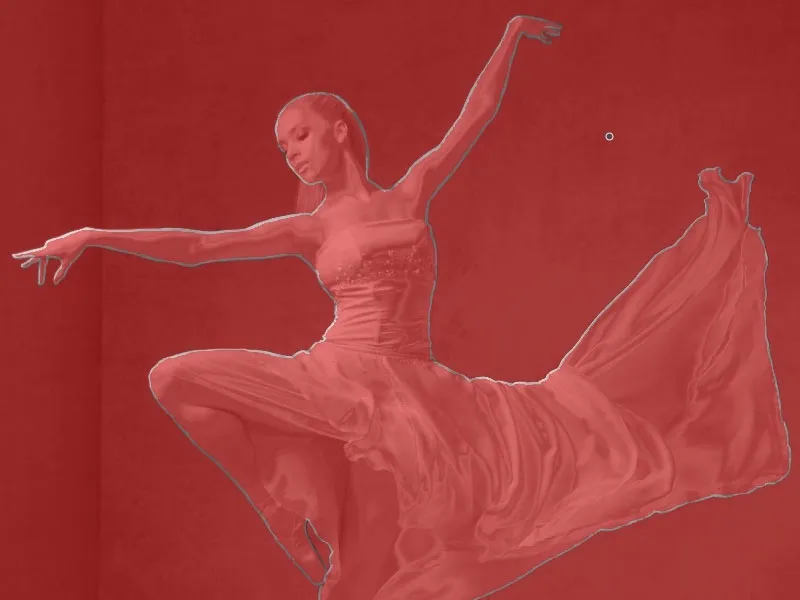
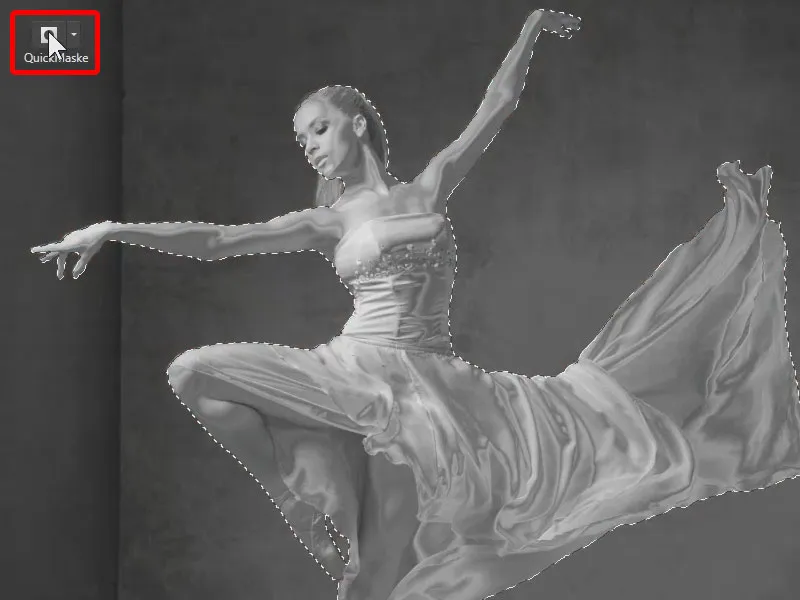
When I exit the QuickMask, we can see that the areas we painted with white are actually loaded as a selection .
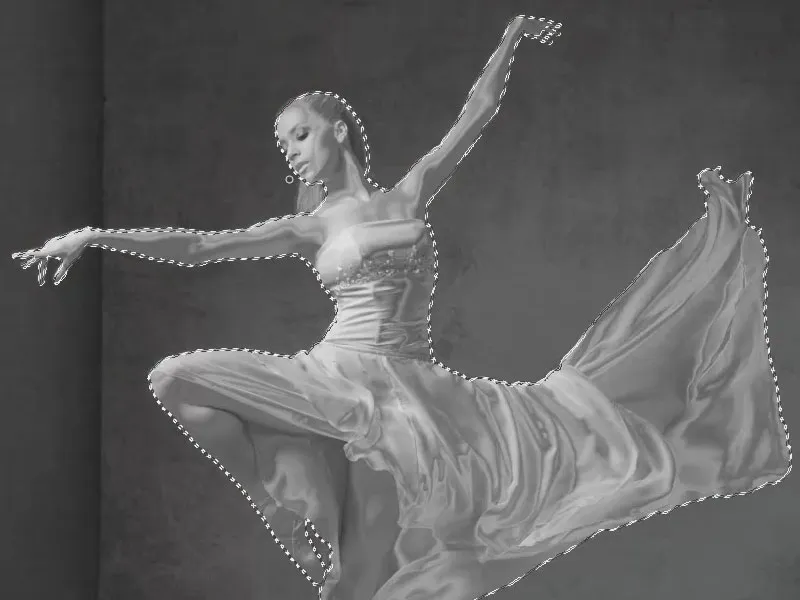
Selecting large areas with the fill tool
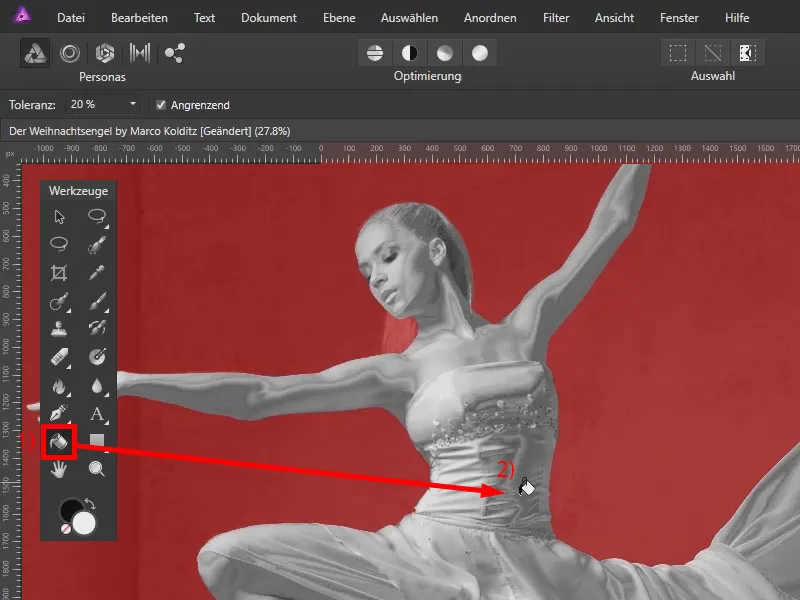
Of course, we also want to select the inner areas. We can use the fill tool to fill the areas with white. You can click on the fill tool (1) or use the keyboard shortcut G.
If I have selected white as the foreground color and click in the inner area (2), the area will also be filled with white.
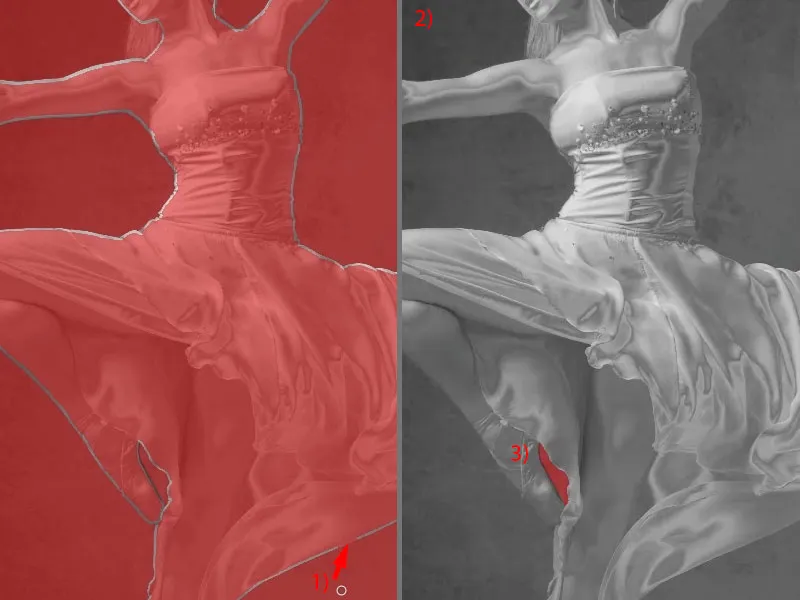
However, this only works if the outline is closed. If nothing is selected at a point on the outline (1) and we use the fill tool, the entire image will be filled with white, except for this area (3). The white color flows out of the area and fills the background.
I therefore remove the fill for the time being.
Refine selection: Tolerance of the fill tool and Gaussian blurring
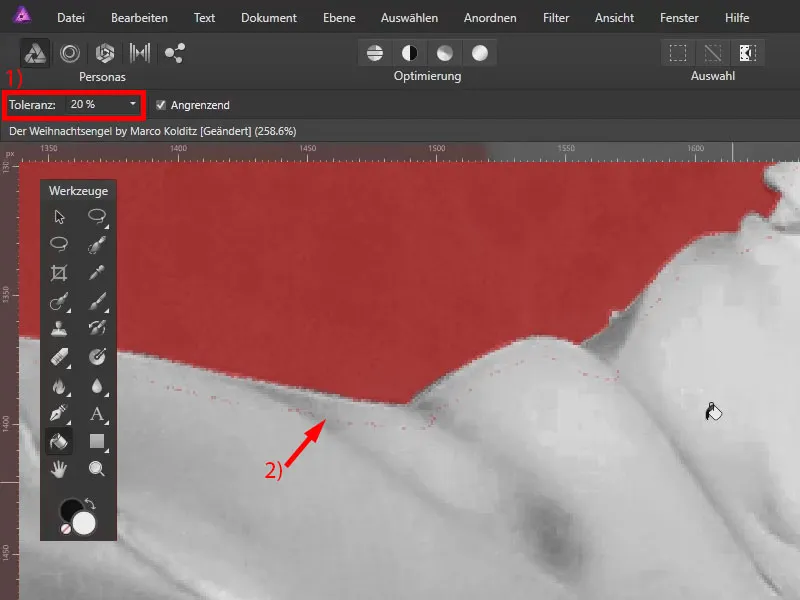
Everything is nicely selected here. However: With a tolerance of 20 % (1), it can happen that some edge areas are still not selected (pixels at 2). This looks very messy. That's why I also undo this once again.
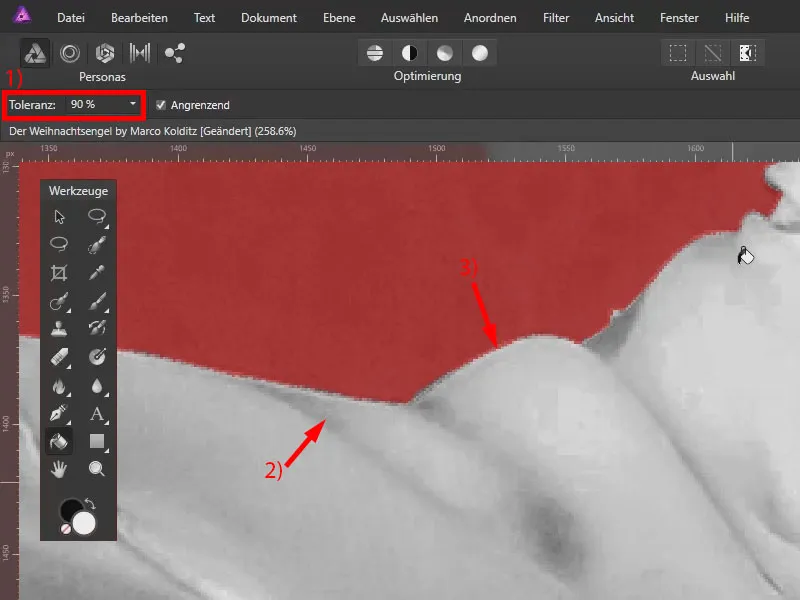
I now set the tolerance to 90 % (1). If I now click in the area, you can no longer see the red dots (2). Now everything that should be selected is actually selected.
What is also noticeable, however, is that the edges appear somewhat pixelated. There are no smooth gradients, instead we see somewhat harder edges (3).
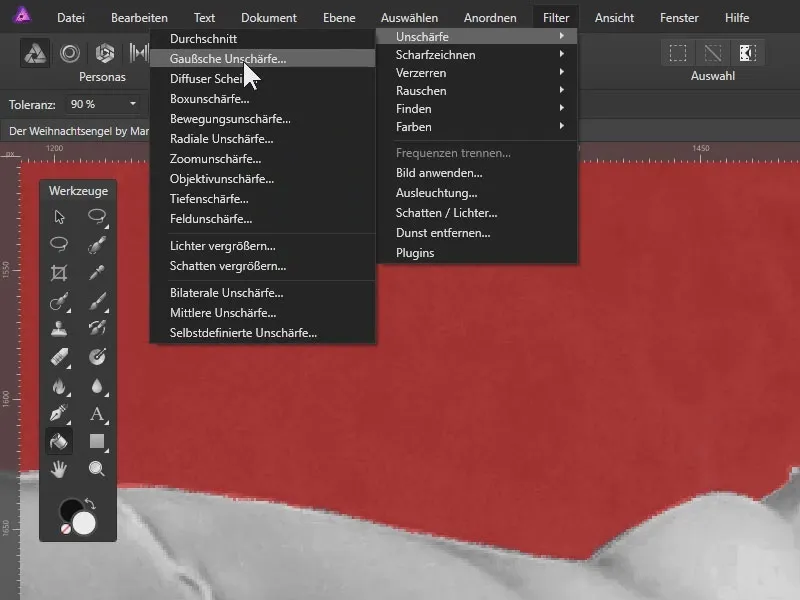
We can soften this: Go to Filter>Blur>Gaussian blur.
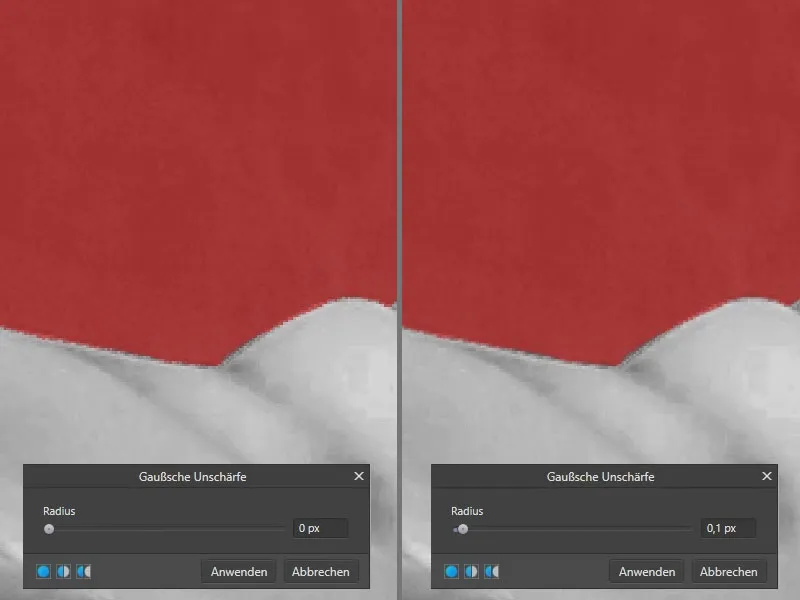
This dialog box appears. At radius 0 you will see unsightly staircase effects. As soon as I drag the radius a little to the right, the area becomes softer. I apply the 0.1 px. In this way, we have adjusted the outer areas a little with the Gaussian blur .
As soon as I double-click on the hand symbol , we see the entire image again. We have now selected all the areas that we want to display later. The red areas will be hidden as soon as we turn the selection into a mask.
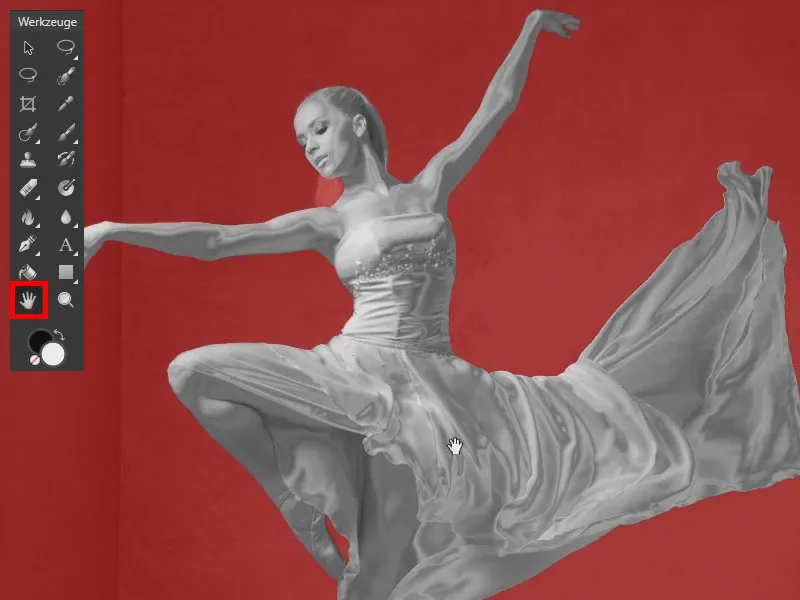
Creating a mask for the dancer
To do this, we leave the QuickMask by clicking on this icon and load the selected areas as a selection. We will now use this as a mask.
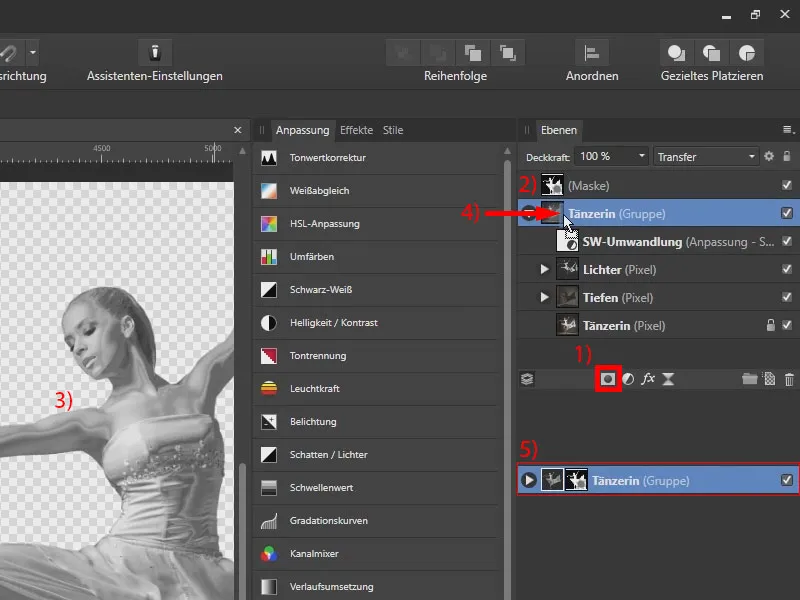
In the layer palette, open the "Dancer" group. Click on the mask icon (1) to create a mask (2) . I deselect it with Ctrl+D (3).
Now we see a mask. However, this affects all underlying layers and groups. However, we want the mask to be a mask of the group. To achieve this, I click on the preview image of our mask and drag it between the preview image of the group and the name. You can see a blue bar (4) , and as soon as I let go, I have added the mask to this group.
Touch up the clipping with the painting tool
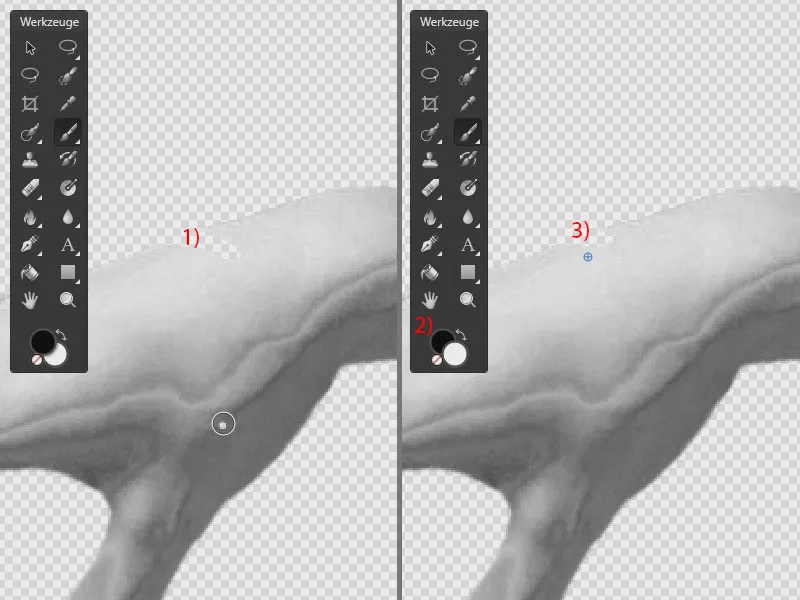
It is advisable to zoom into the image to see if there are any areas that could be optimized. To do this, I switch back to the paintbrush tool(1). Black is selected (2), I reduce the width (3) and the hardness (4). Now I click on the mask (5), which allows me, for example, to paint dark areas (6) out of the picture (7).
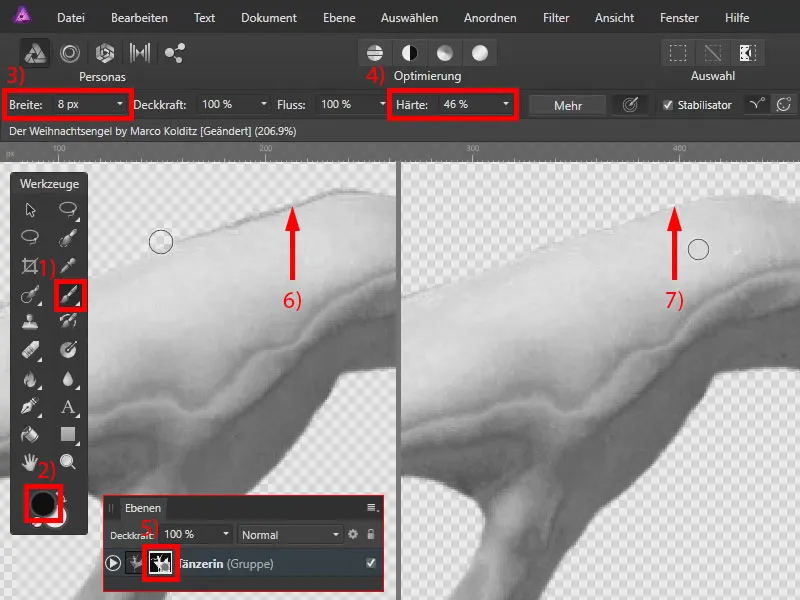
If I paint too far (1), I change to white (2) using the X shortcut and paint the corresponding areas back into the image (3).
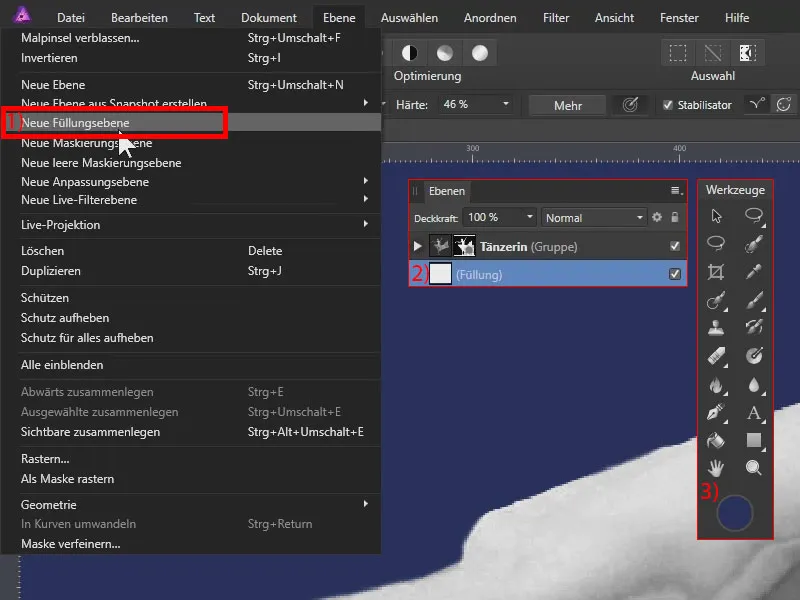
If you want a colored background instead of the transparent background, go to Layer>New fill layer (1), drag it all the way down (2) and select your desired color (3).
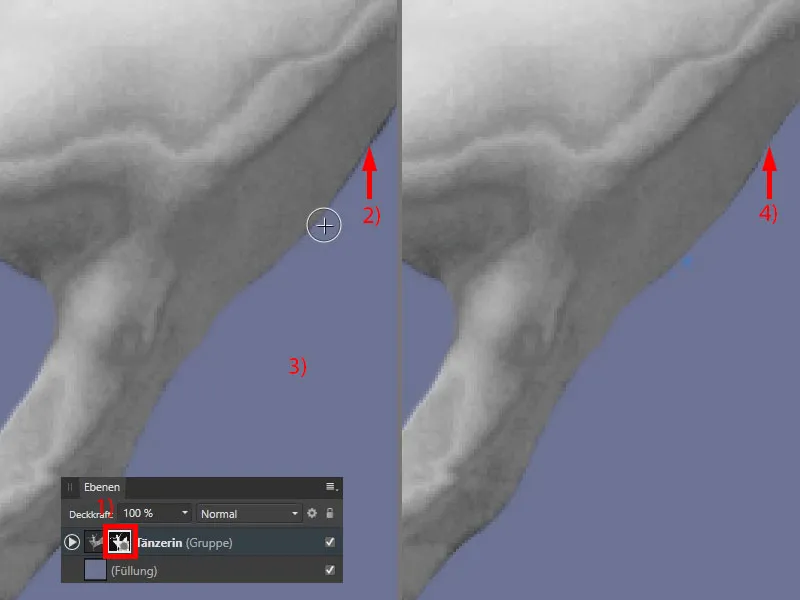
Then go back to the mask (1) and continue painting. If I'm looking for dark edges (2), I set the background to a lighter shade (3). This makes it easier to touch up (4).
This takes time if you want a very nice result. Take your time to correct unevenness and work on dark areas . Fine hairs should also be removed, because the whole thing should be a statue in the end. I always say: the picture is in the time.
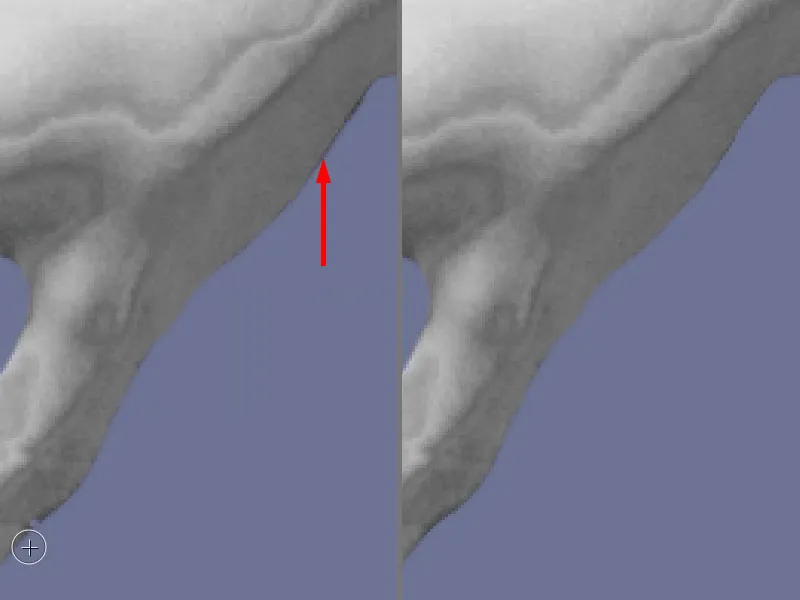
Our dancer is now cut out and has a metallic look. That looks neat. Of course, the Christmas angel is still missing its wings. We'll cut these out too, but in a different way, so that we can combine them with our dancer.
Working with QuickMask, paintbrush and mask - summary part 5
- When painting with the paintbrush, use X to quickly switch between black and white.
- Use the space bar to easily navigate through the image.
- Adjust settings such as the distance, width and hardness of the paintbrush.
- The fill tool ( G key) is recommended for selecting large areas.
- Pay attention to small imperfections at the edges and adjust the tolerance if necessary.
- Use the Gaussian blur to avoid hard edges with staircase effects.
- Shortcut: Double-click on the hand symbol to see the entire image.
- Click on the mask icon to create a mask from the selection.
- Pay attention to what the mask affects and move it accordingly.
- Finally, refine the mask with the paintbrush.
- Use a colored fill layer in the background for more contrast.
Important links for you
You can also watch the tutorial in our Christmas angel video training. Assets and other training courses for Affinity Photo are available to our members in the corresponding software category. If you are not yet a member of TutKit.com: Start your free and non-binding test now.
> To the previous parts 2 and 3 of the tutorial
The content of this article is based on a tutorial by our trainer Marco Kolditz:
