Simple craft for kids: 3D paper flower bouquet
Are you looking for an activity to do with your child on an autumn day? Why not craft a beautiful three-dimensional paper flower bouquet! When the weather outside turns gray, it's nice to bring some color into the house and create something nice and cheerful with your own hands. Let's make 3D flowers together! I promise you, the process will be fun and the result will be colorful and memorable.
A 3D paper flower bouquet is a wonderful project for children aged 3 and above. Most of the steps can be done by the child independently, allowing them to develop their fine motor skills and imagination. Such crafting activities help in developing motor coordination, endurance, and creativity. The three-dimensional flowers look impressive, and the process of creating them will bring joy to the whole family.
Materials for the 3D Flower Bouquet
To create such a bouquet, you don't need complicated materials - you can find almost everything at the nearest supermarket or might already have it at home. You will need:
- Cardboard as the base
- Colored paper for the flowers
- Marker or felt-tip pens for drawing the stems
- Glue stick or craft glue
- Scissors
- Napkin for packaging
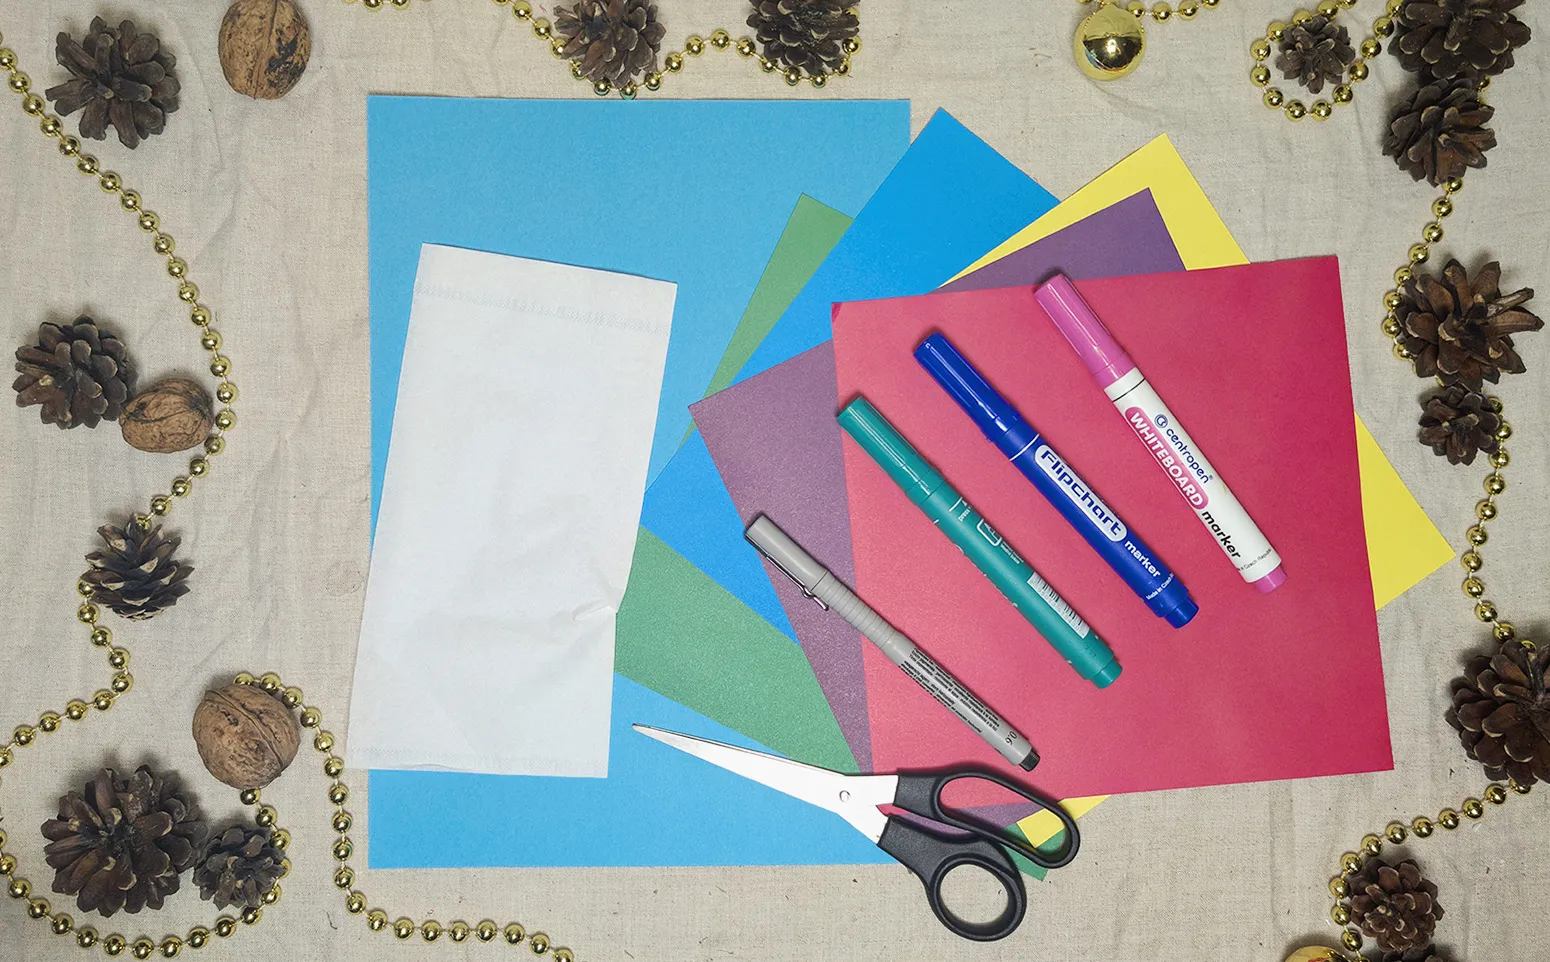
These materials will help you create a colorful and cheerful bouquet, perfect for decoration or as a gift. I recommend using vibrant colors for the paper and markers to make the crafting particularly festive and cheerful.
Step-by-Step Guide for the 3D Flower Bouquet
Step 1: Preparing the Materials
Place the cardboard as the base, colored paper, marker, glue, and the napkin for packaging on the table. Ensure that the workspace is well-organized and all materials are within reach.
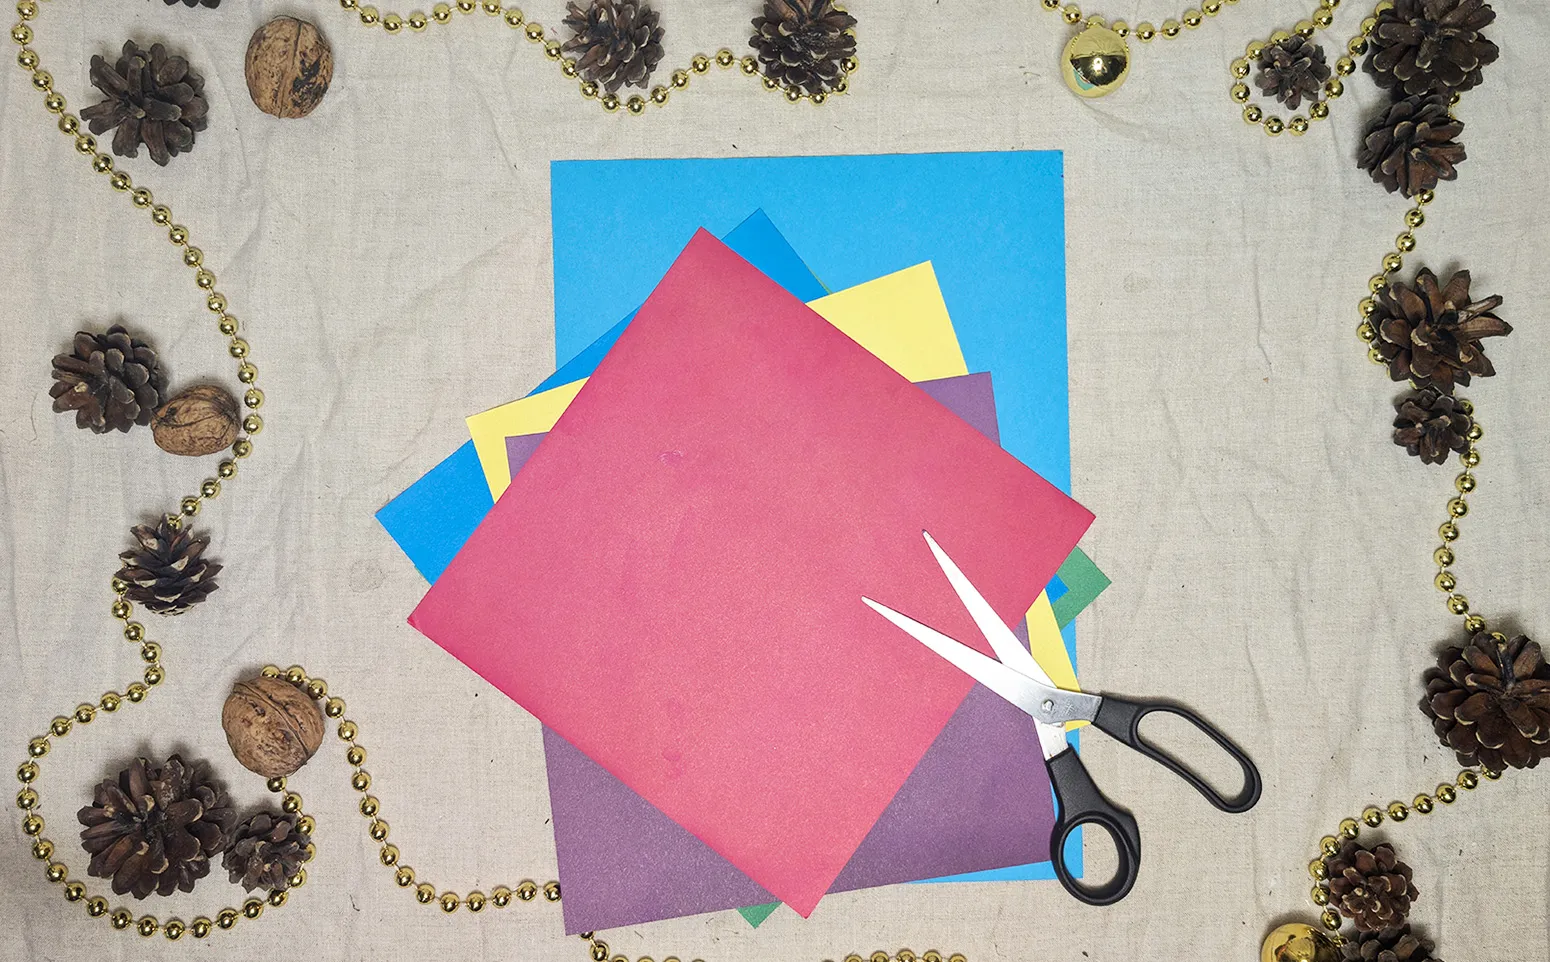
Step 2: Preparing the Base and Stems
Take the cardboard and draw the stems on it using a marker or felt-tip pen. The stem lines can branch out upwards to form the shape of a bouquet.
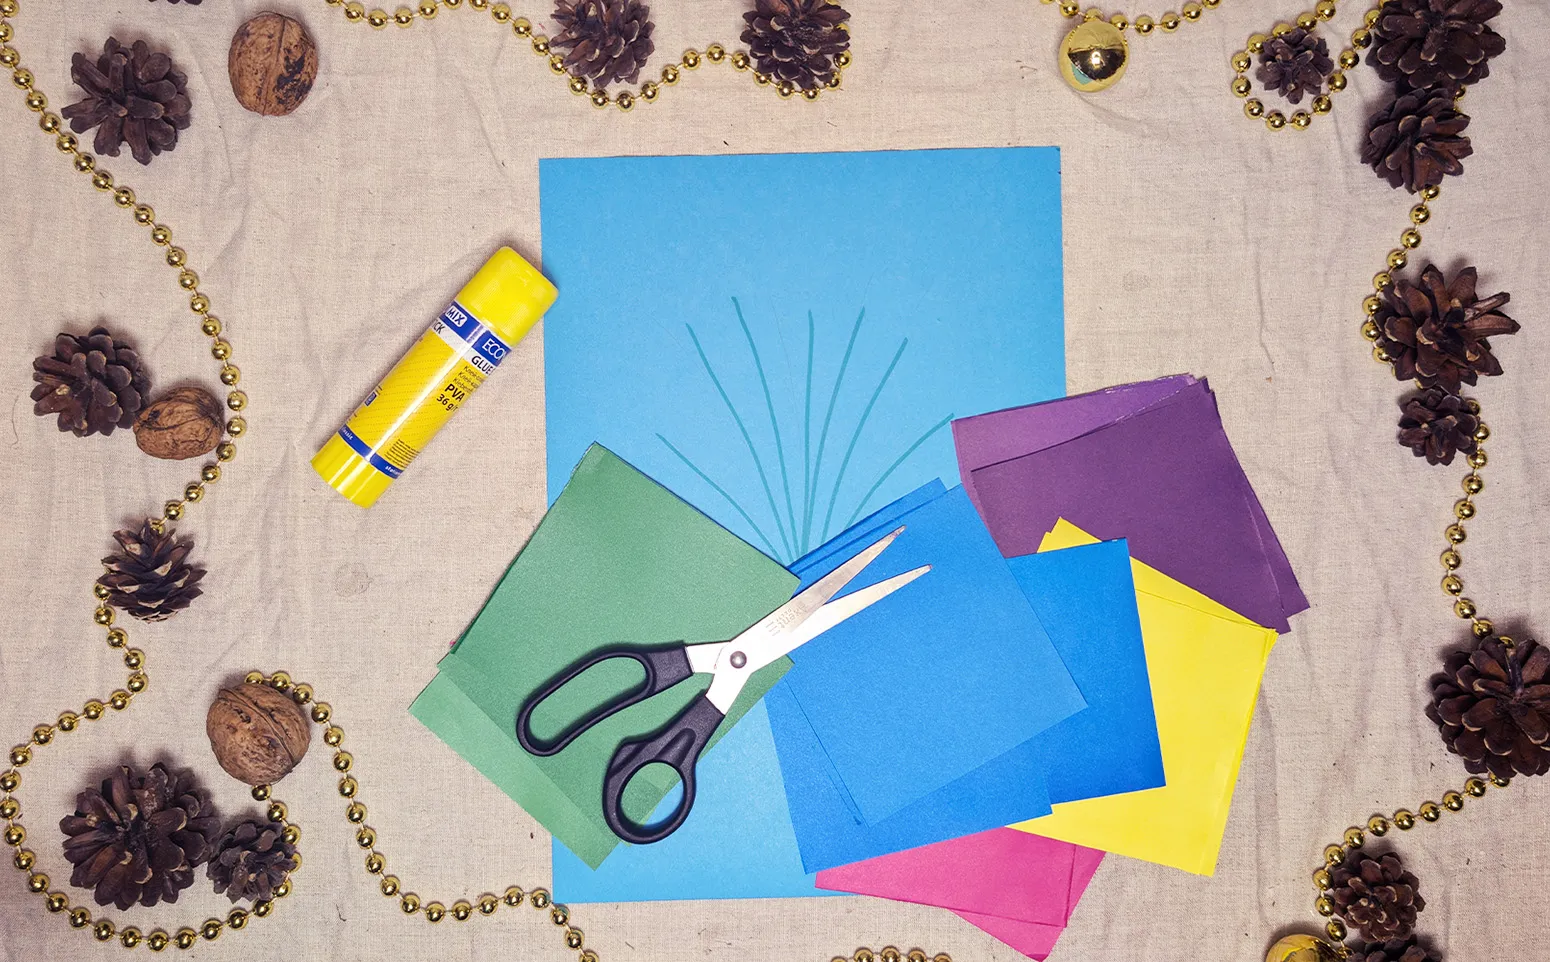
Step 3: Cutting Out the Flowers
Cut squares of about 10 x 10 cm from the colored paper. If the child is too young to handle scissors, suggest tearing the paper into pieces - this will give the flowers an interesting texture and is safe.
Tip: Let your child choose the colors for each flower and combine different shades to create a colorful, vibrant bouquet.
Step 4: Shaping the Flowers
Crumple each piece of paper into a small ball to form a three-dimensional flower. These paper balls are then glued onto the cardboard over the drawn stems.
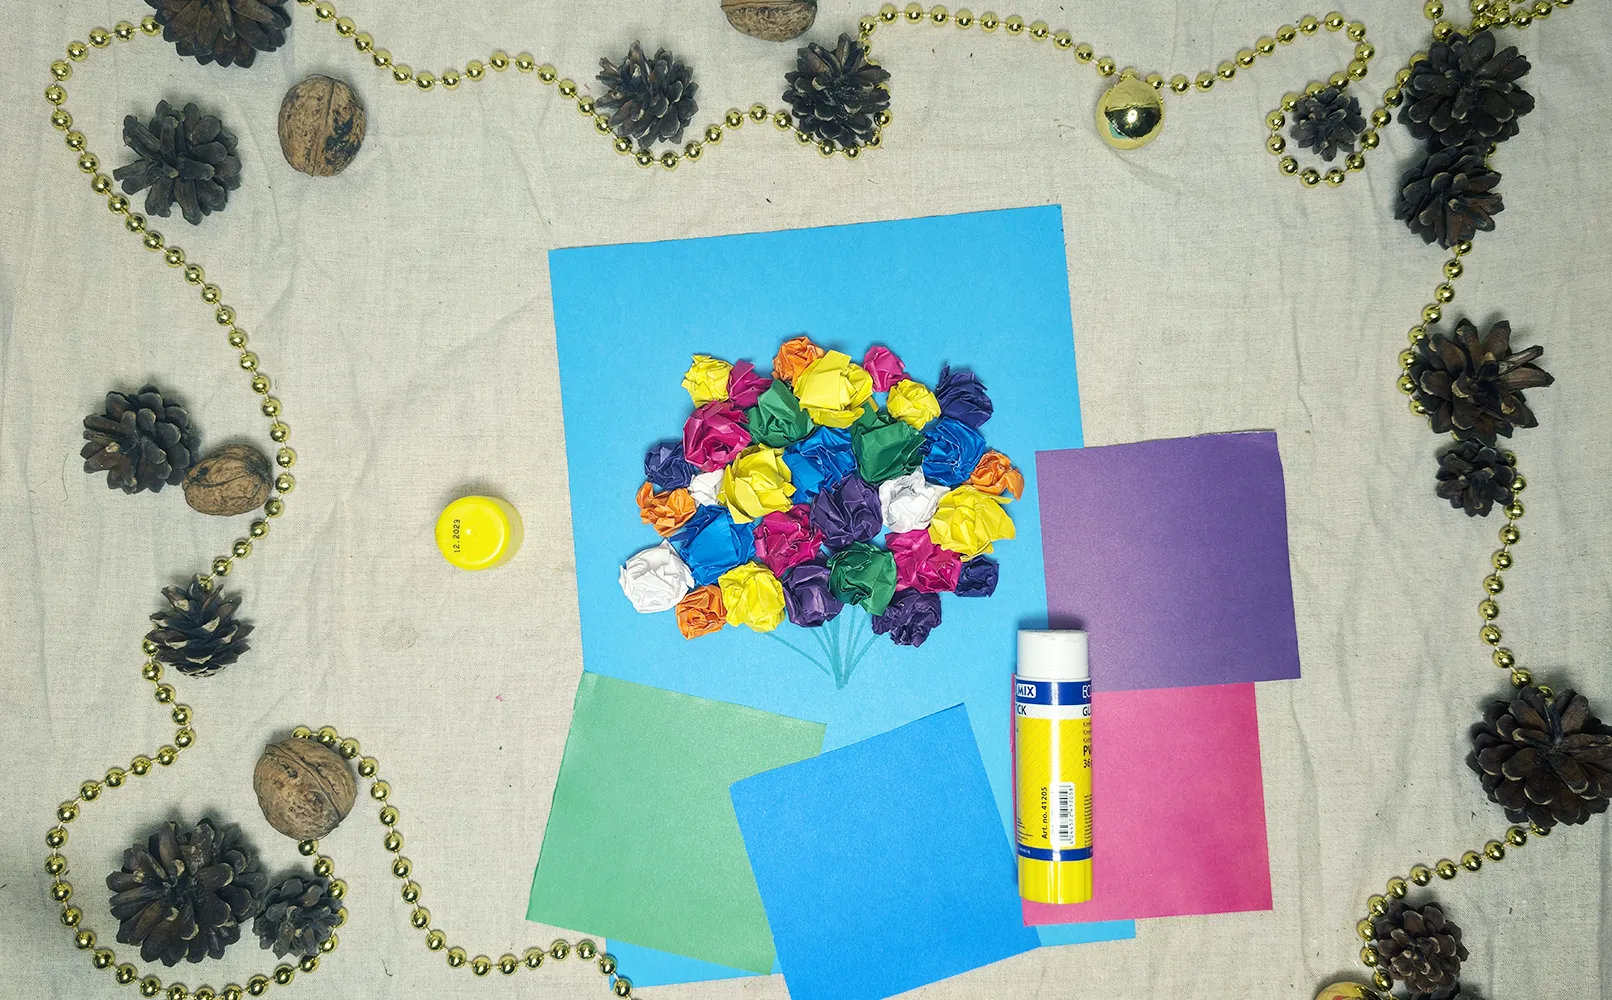
Step 5: Gluing the Flowers
Apply some glue to each paper ball and stick them on the cardboard, arranging them along the drawn stems. Place the flowers close together to make the bouquet lush and beautiful.
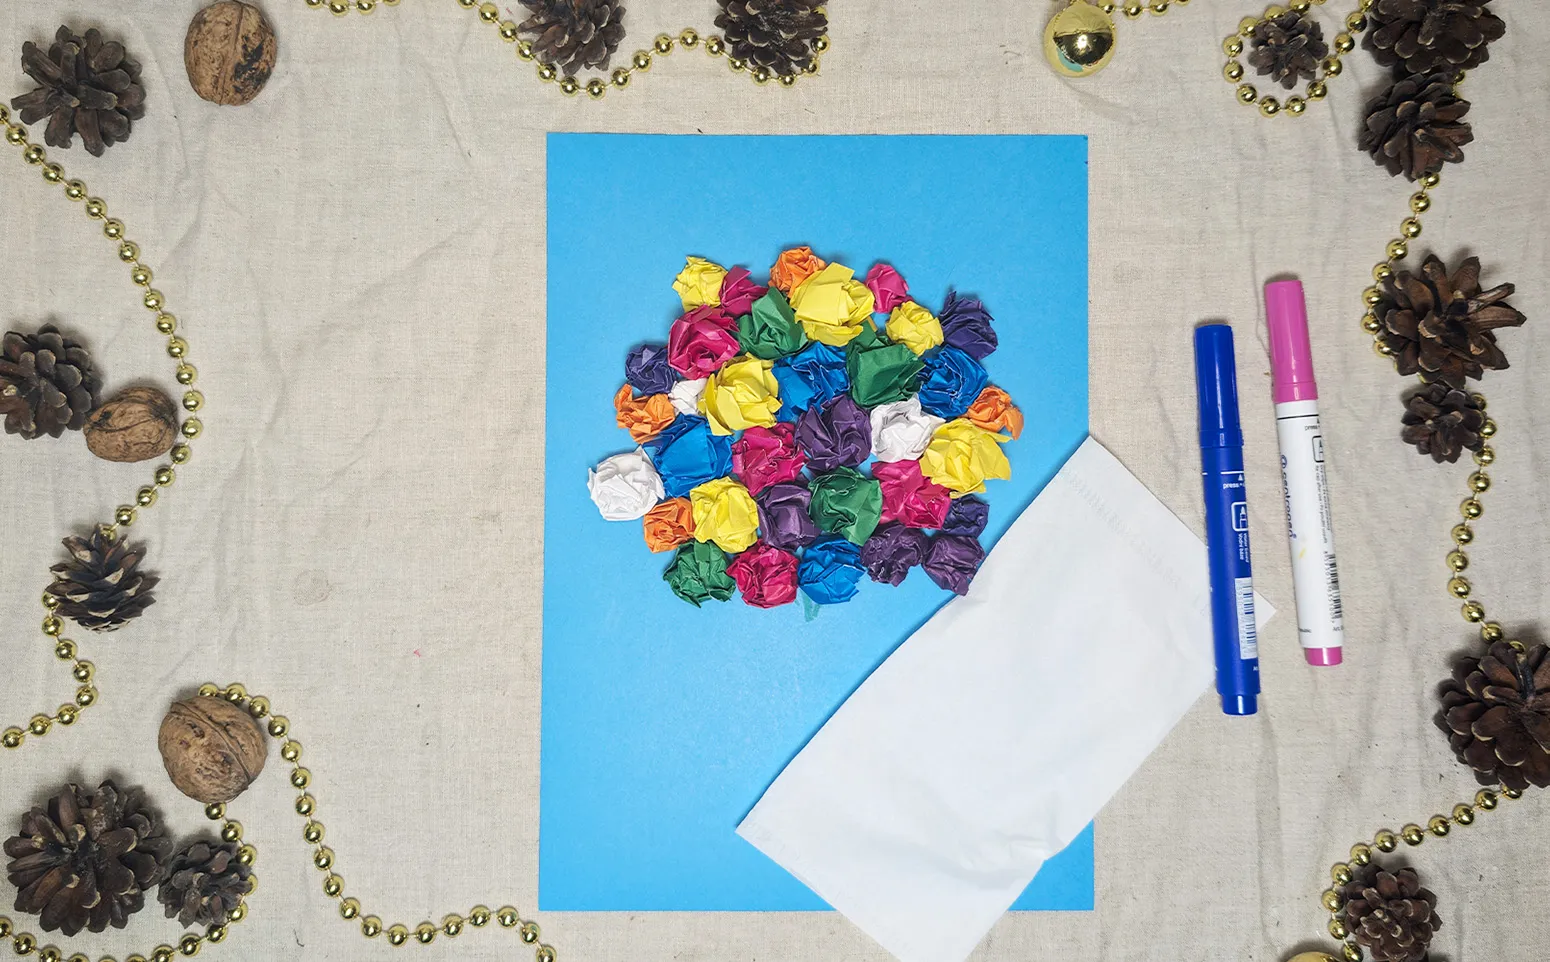
Step 6: Designing the Packaging
Take a napkin, unfold it and decorate it with markers, add dots or patterns. Place the napkin underneath the flowers and wrap it around the lower part of the bouquet, as if it were real flower wrapping.
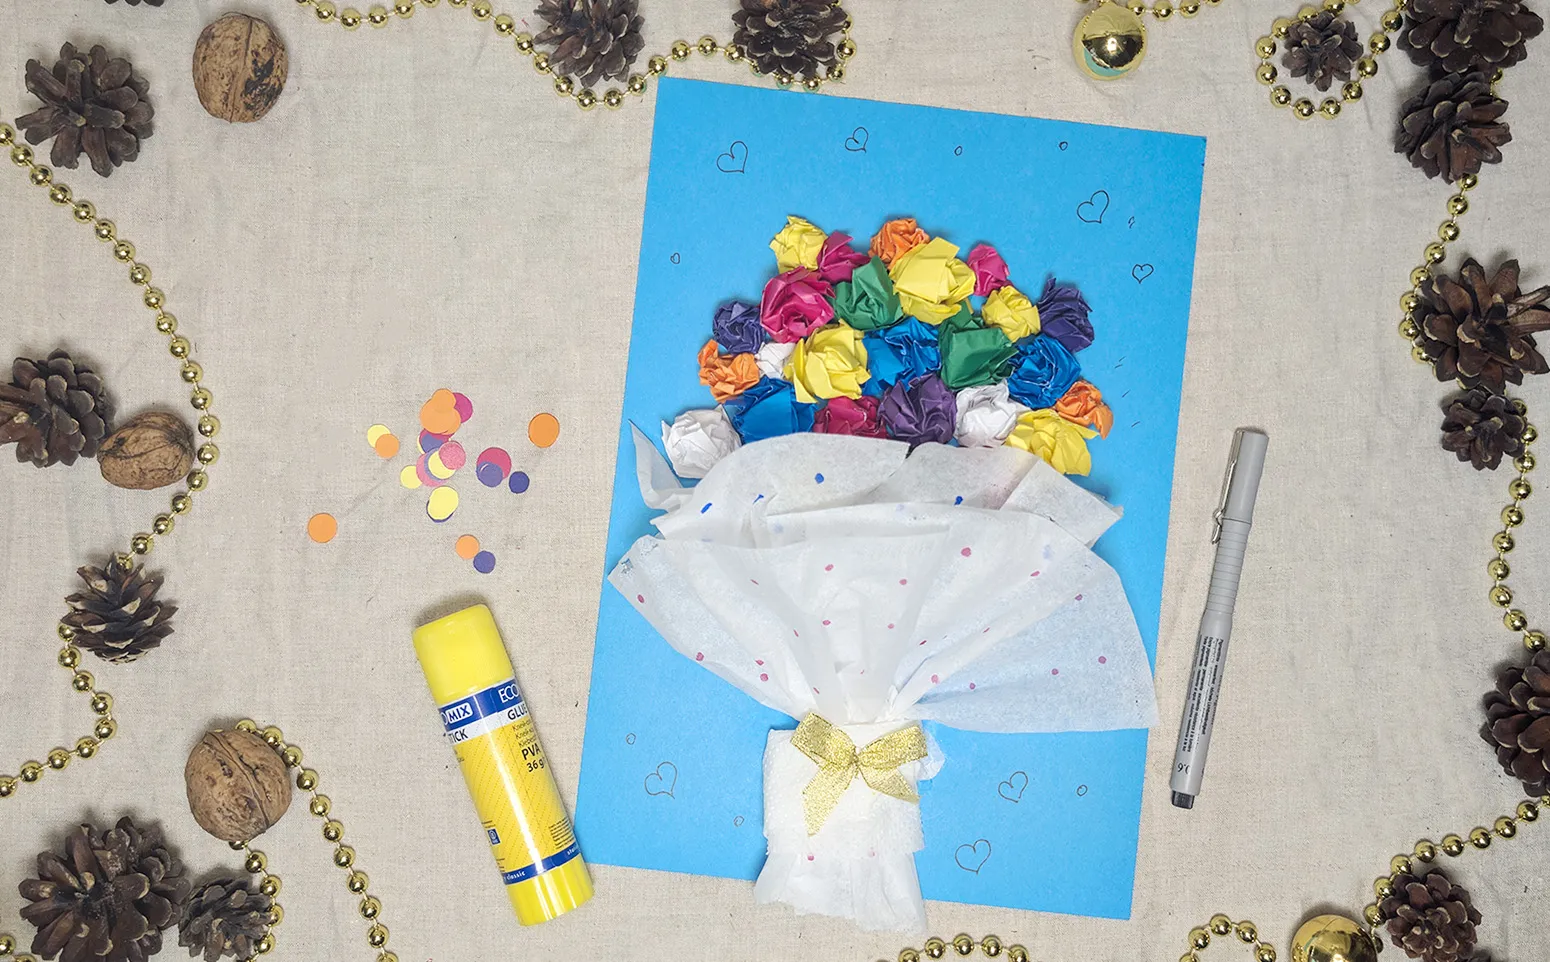
Step 7: Completion and Decoration of the Background
If desired, the background can be decorated with drawings. These can be small hearts, butterflies, or leaves that give the composition the final touch. Your bouquet is ready!
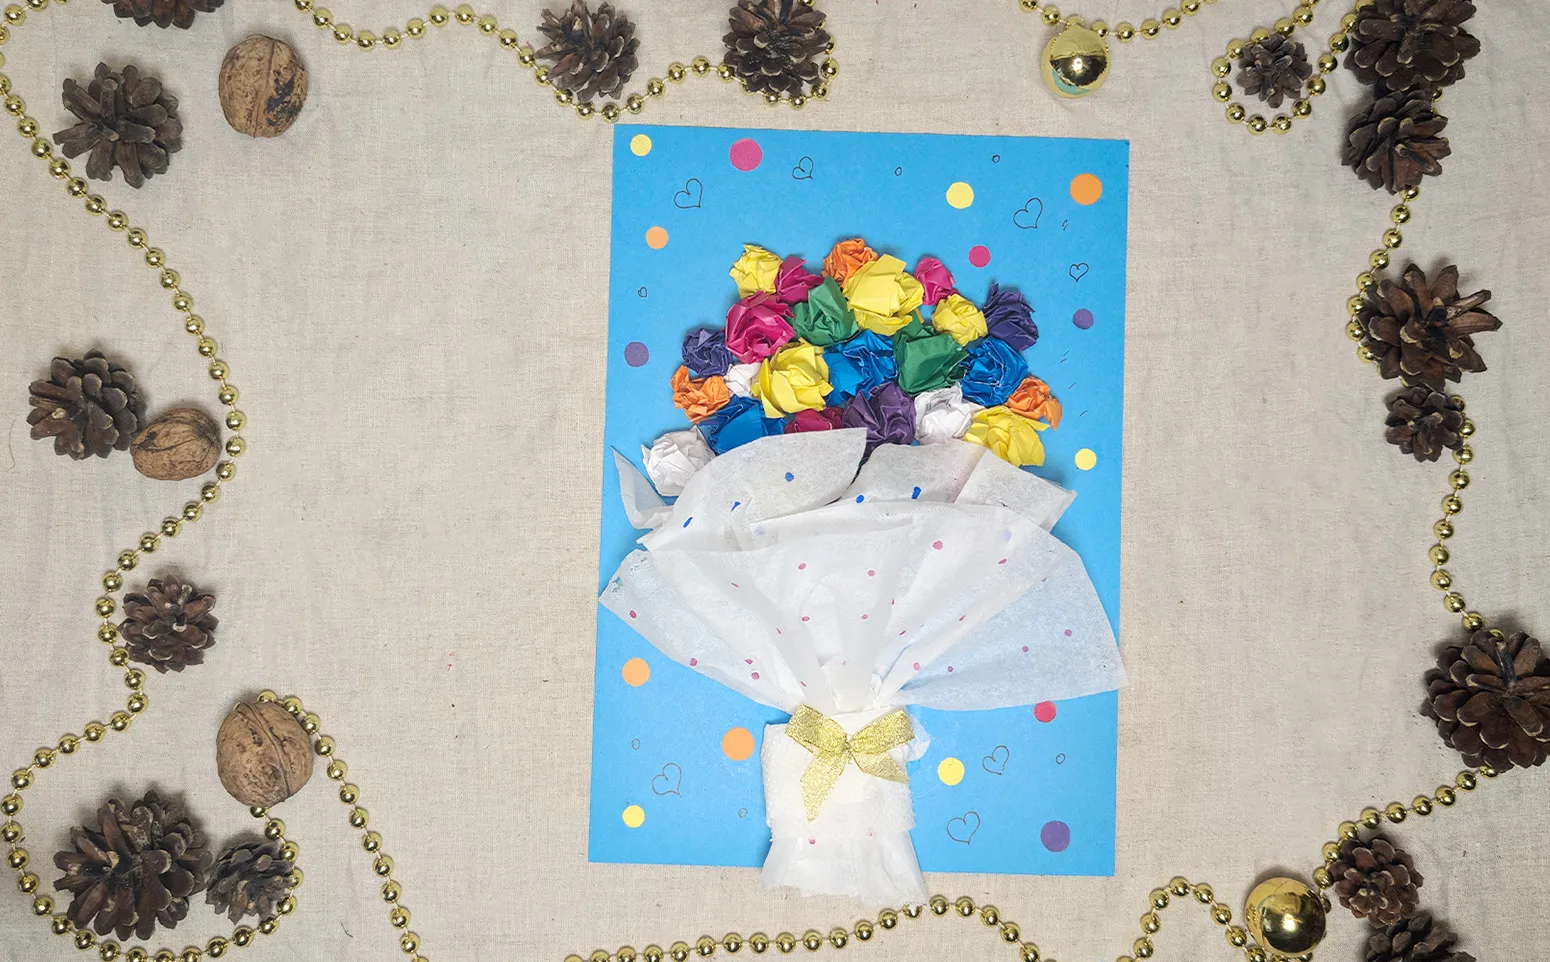
Tip: Add small details for a complete composition - paper butterflies or leaves will give the bouquet additional originality.
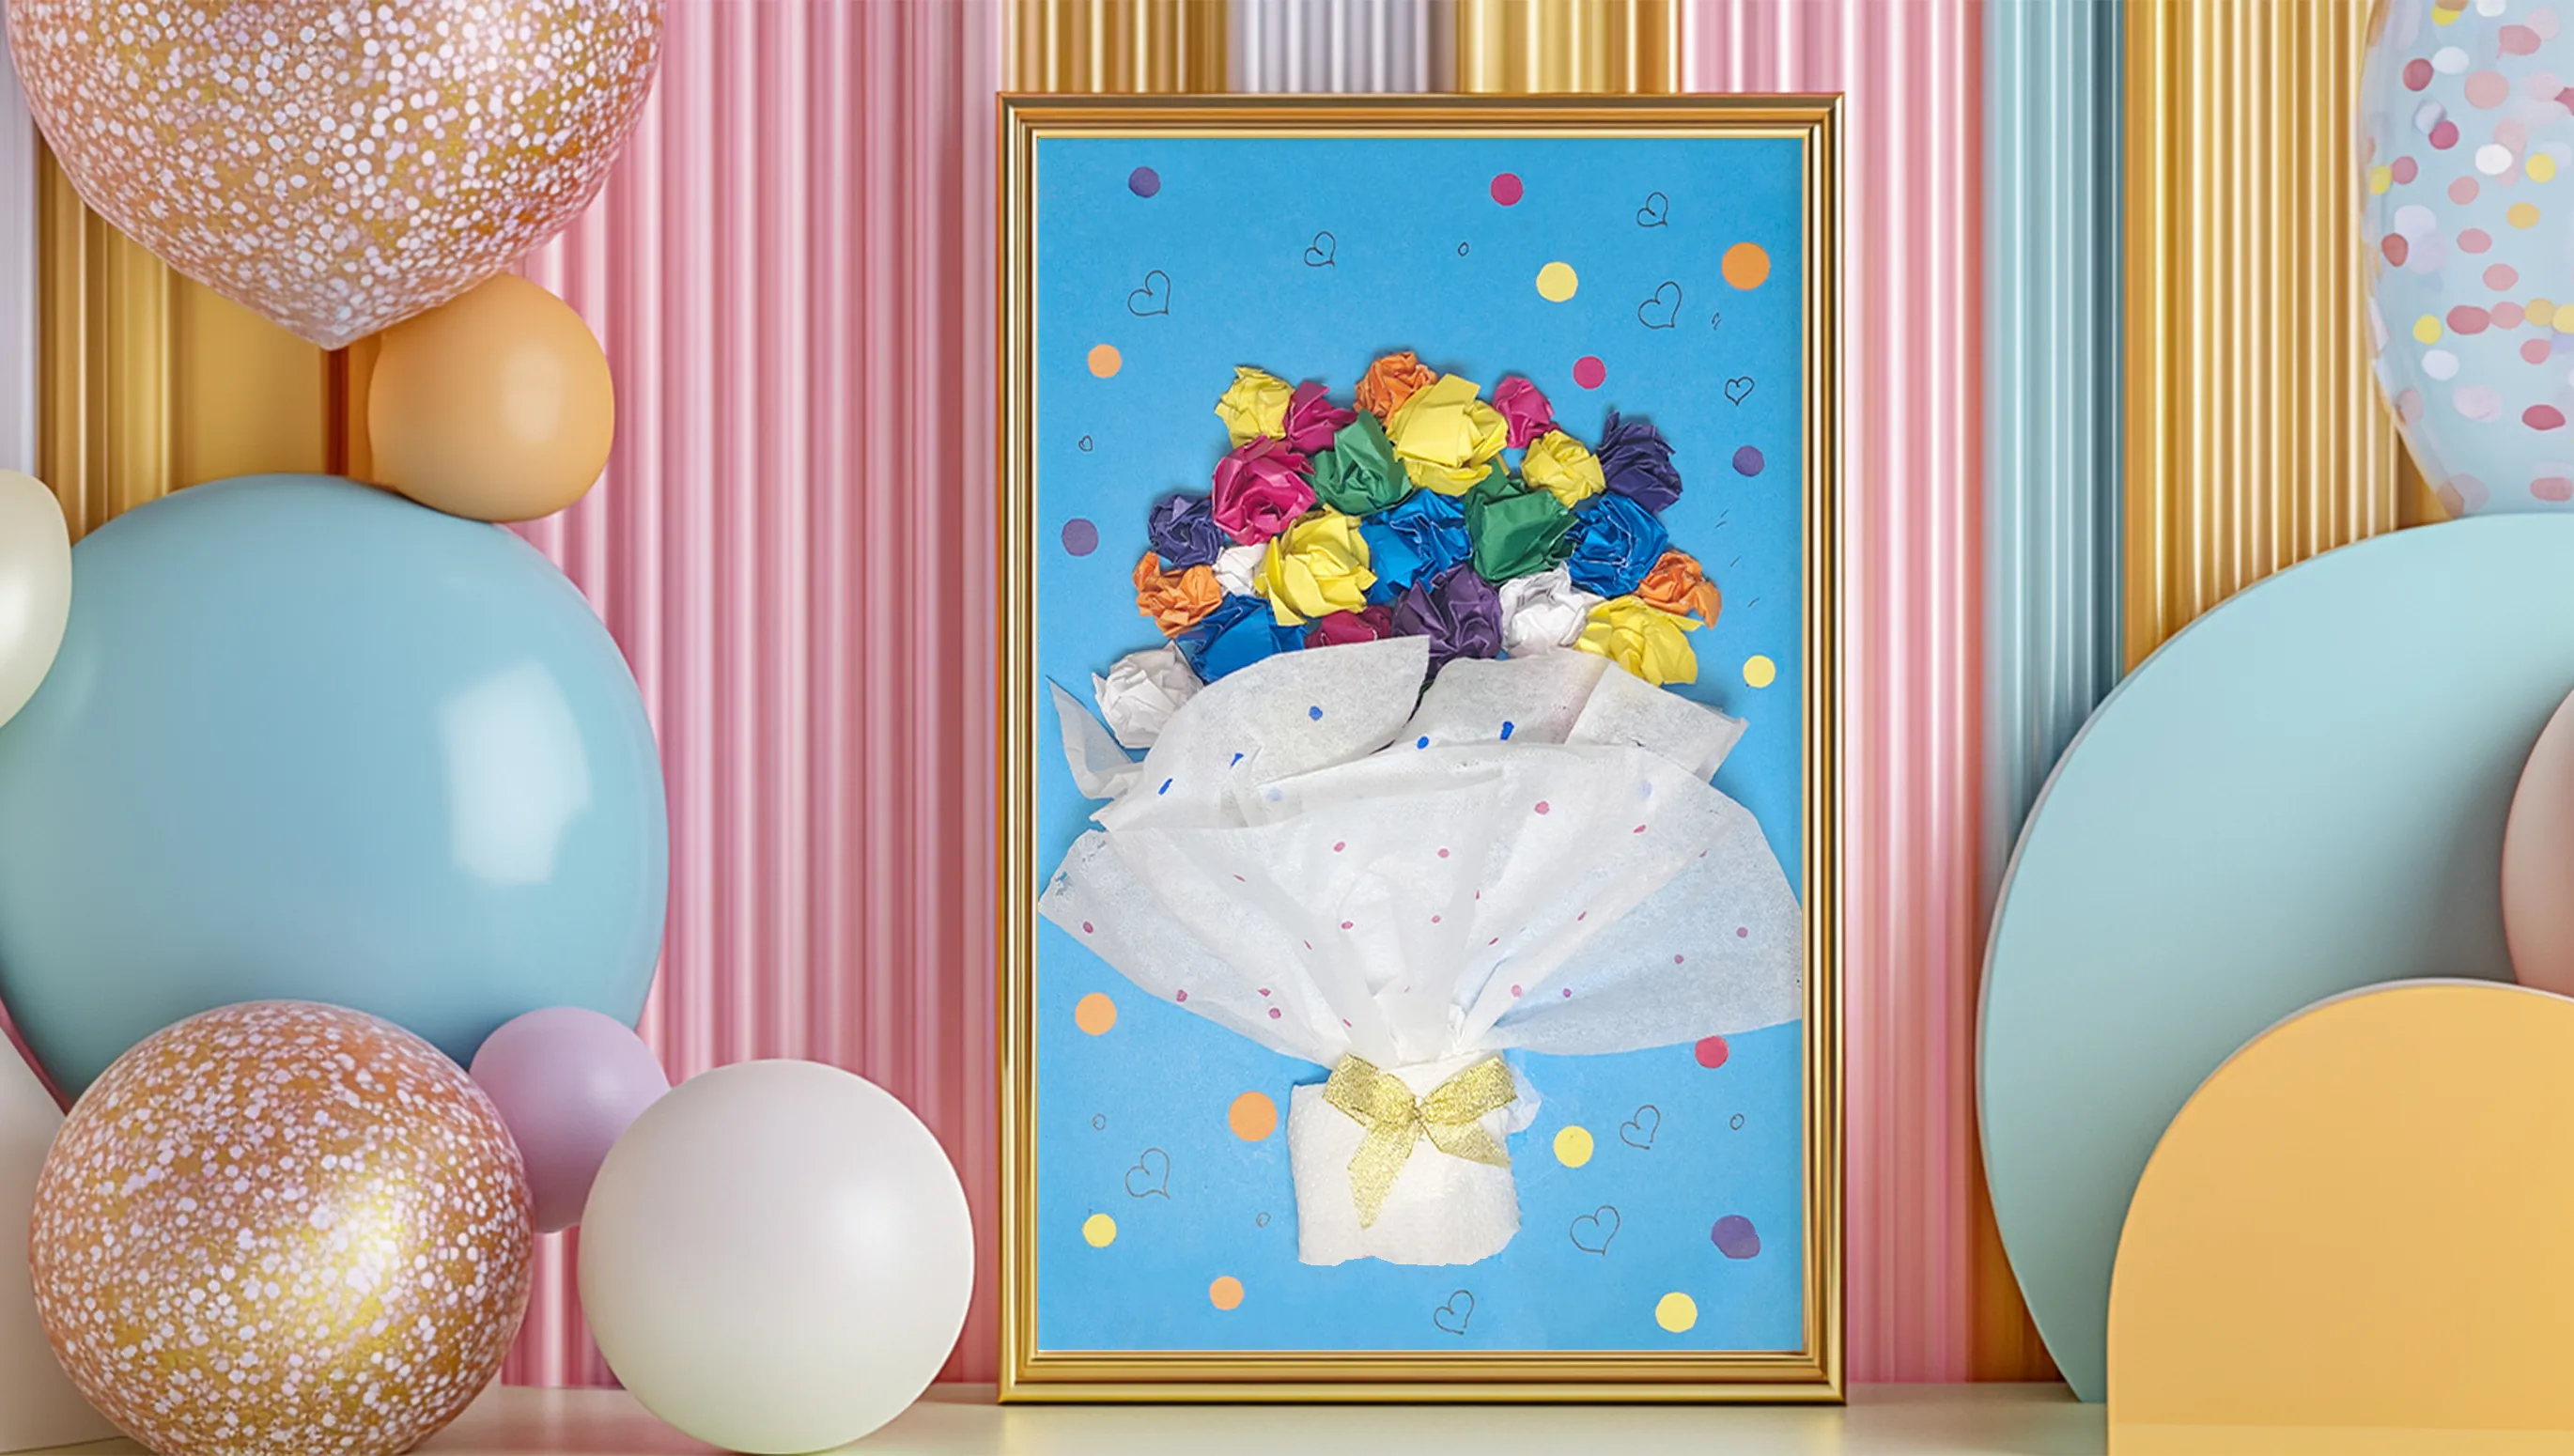
With these simple steps, you can create a magical three-dimensional 3D bouquet with your child that brings every corner of the house to life. Imagine how excited grandma will be to receive this unusual birthday gift, or how the kindergarten teacher will smile when she sees the flowers made with so much love. This bouquet can be framed and hung in the child's room so that the child can see and be proud of their work every day. And if you make a whole series of such compositions, the wall will turn into a real gallery of children's creativity.
Closing Words
Thank you for visiting our portal! I hope you and your child will joyfully create a colorful and unique paper flower bouquet. On our portal, you will find many more interesting ideas for children's creativity. And with the detailed video tutorials, crafting becomes even easier and more convenient. I wish you lots of fun crafting and inspiration for new projects! And don't forget to visit the category with step-by-step instructions for origami on our portal as well.
From Vitalii Shynakov
