3D paper flower: Step-by-step instructions with photos, videos, and description
Are you looking for an activity for your child at home and want to make good use of the time? Why not try making colorful paper flowers yourself! This simple craft is ideal for children aged 3 and older, as it promotes fine motor skills, creative thinking, and even endurance. Crafting together with the child is a fun leisure activity with the opportunity to create unforgettable moments together.
In this article, I'll share a detailed description of how to make beautiful paper flowers step by step. We will discuss the necessary materials, safety rules, and work methods, as well as suggest ideas for decorating interiors or gifts with the finished flowers.
Materials
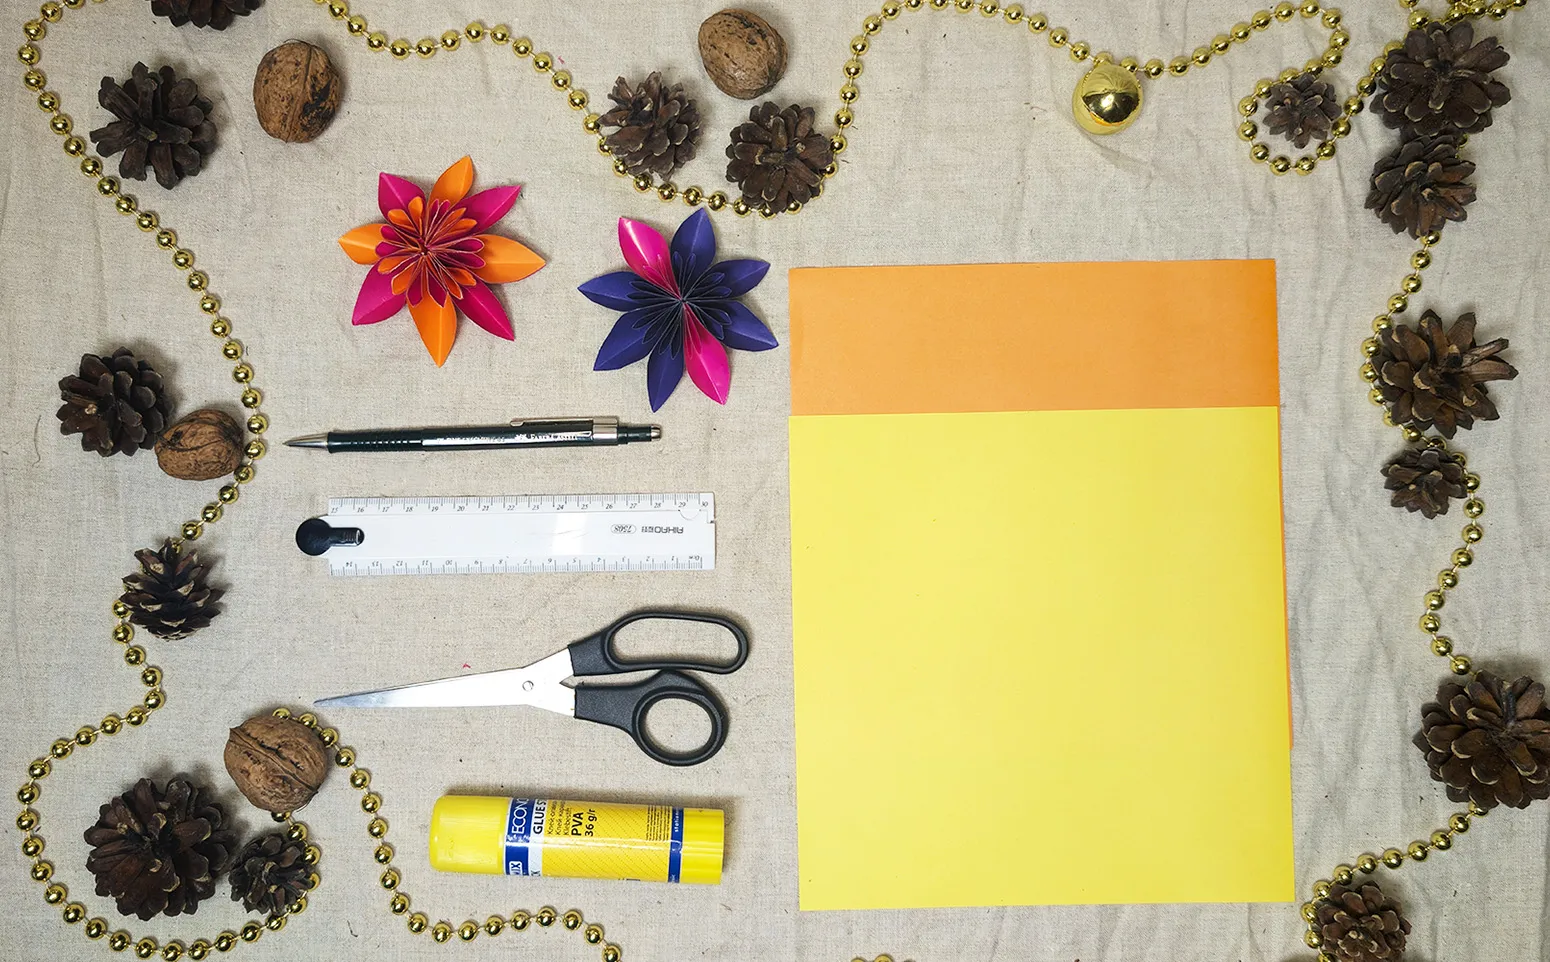
To make paper flowers, we need:
- Colored paper
- Pencil and ruler
- Scissors
- Glue stick or crafting glue
- Compass
These materials are easy to find at home or in the nearest craft store.
Steps to Make Paper Flowers
Let's move on to making the paper flowers. Follow each step one by one, and you will see how the flower comes to life in your hands!
Step 1: Marking the Paper
Start by marking the colored paper. Take a ruler and pencil and draw squares of about 10 x 10 cm. These squares will form the basis for each petal of your future flower.
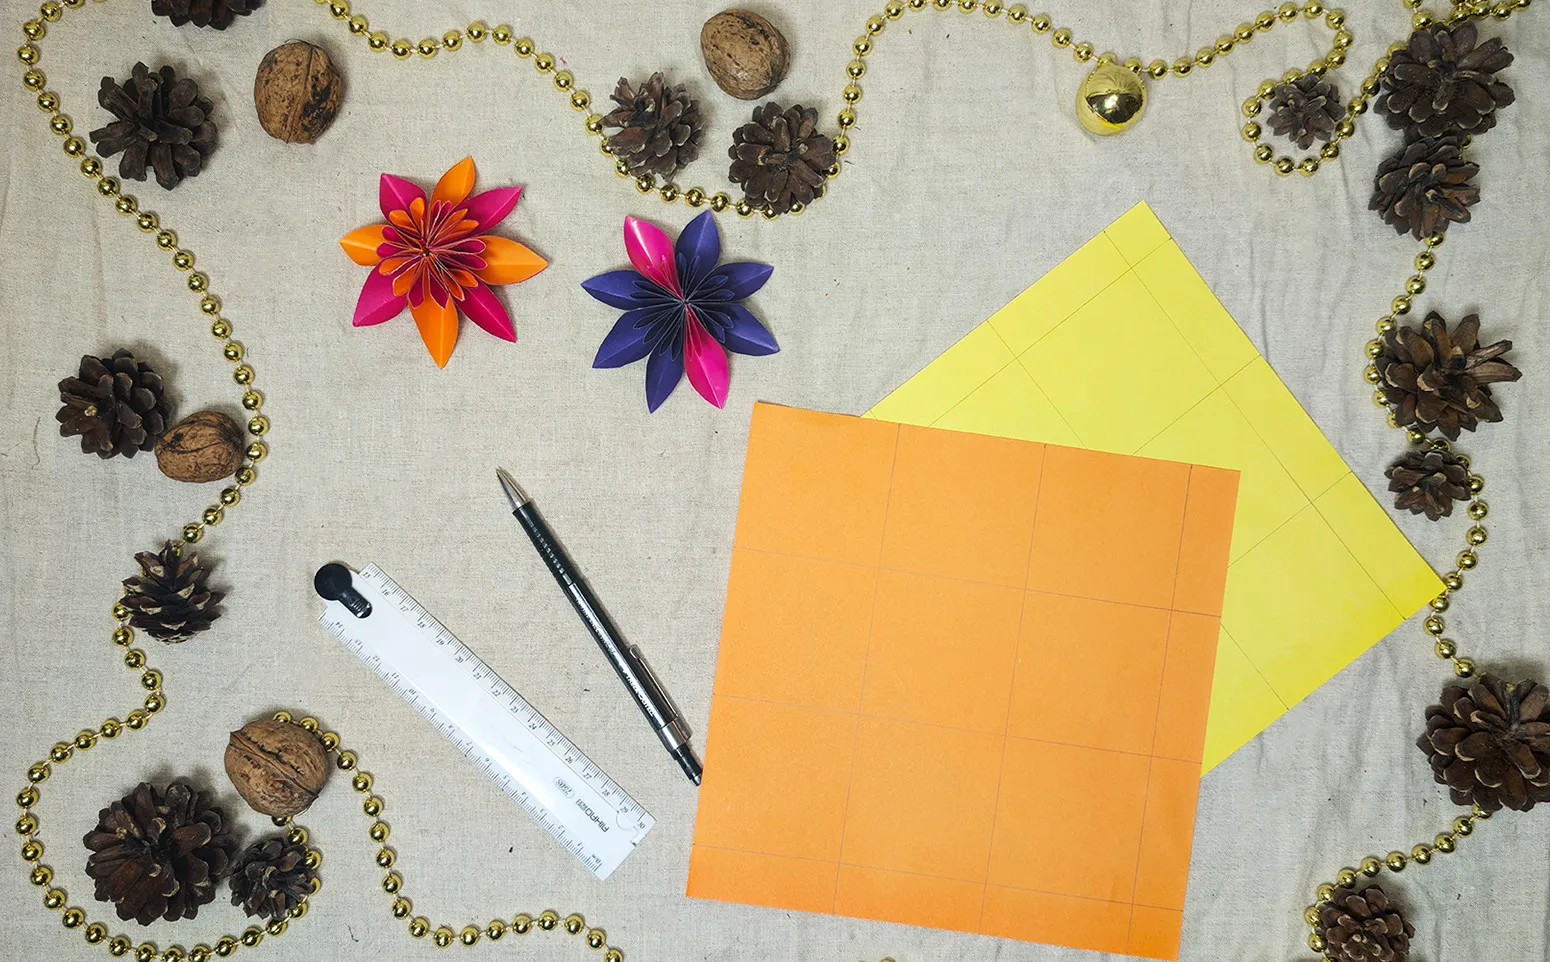
Step 2: Cutting out Squares
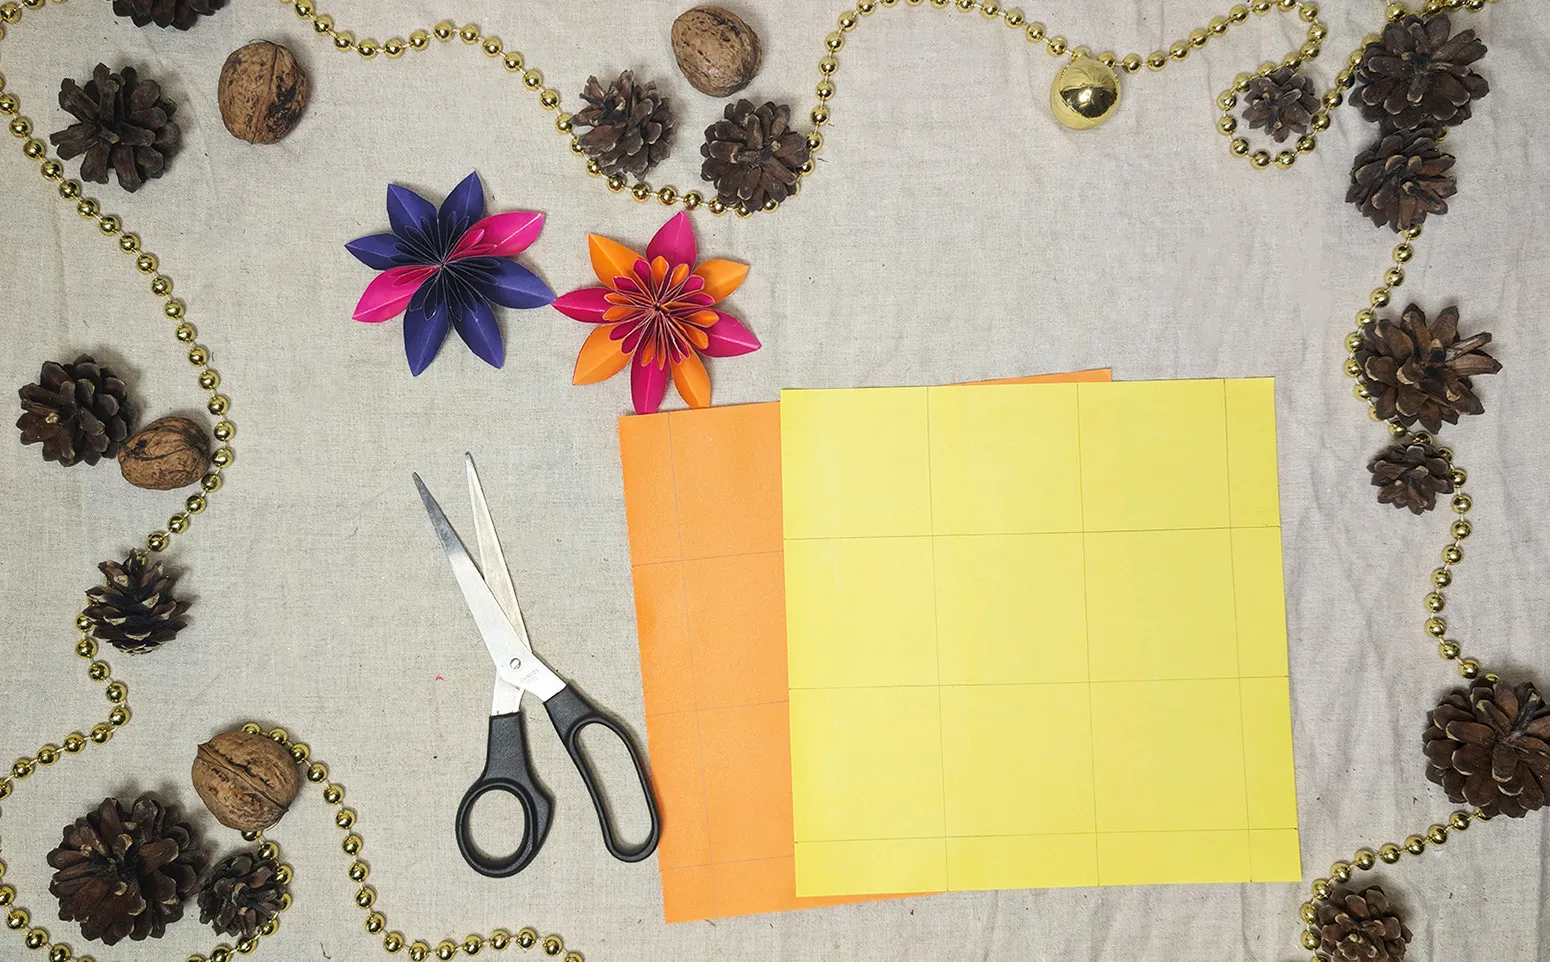
Carefully cut out the marked squares with scissors. If a young child is crafting, let them practice cutting under your supervision. Make sure all squares are of the same size, as this will determine how neat the petals will be.
Step 3: Shaping the Petals
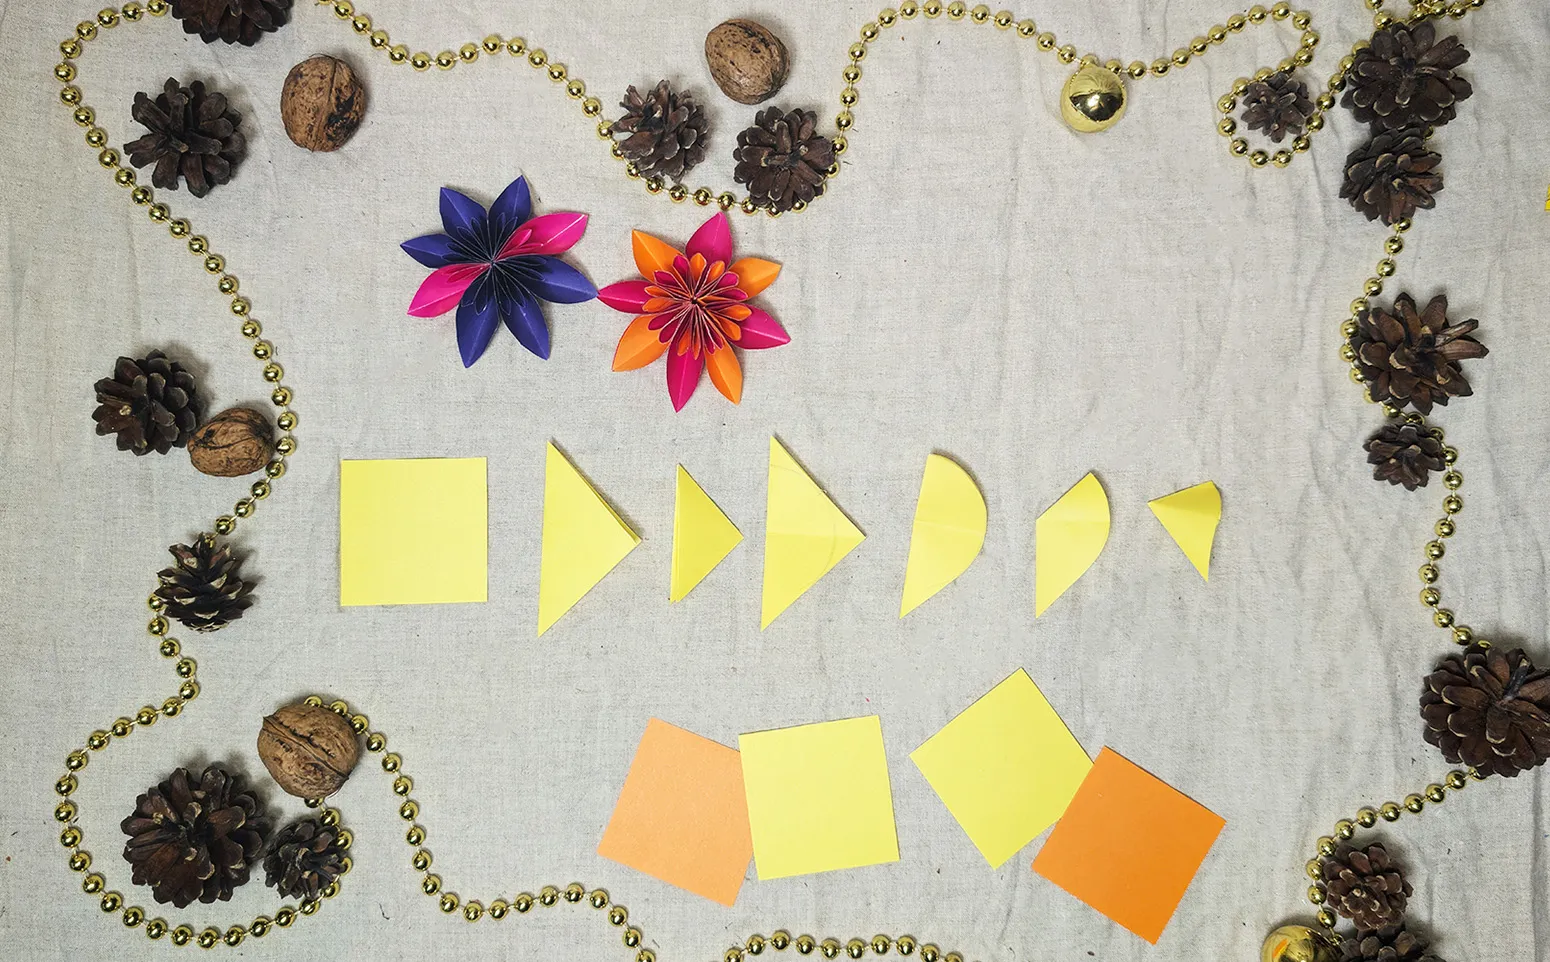
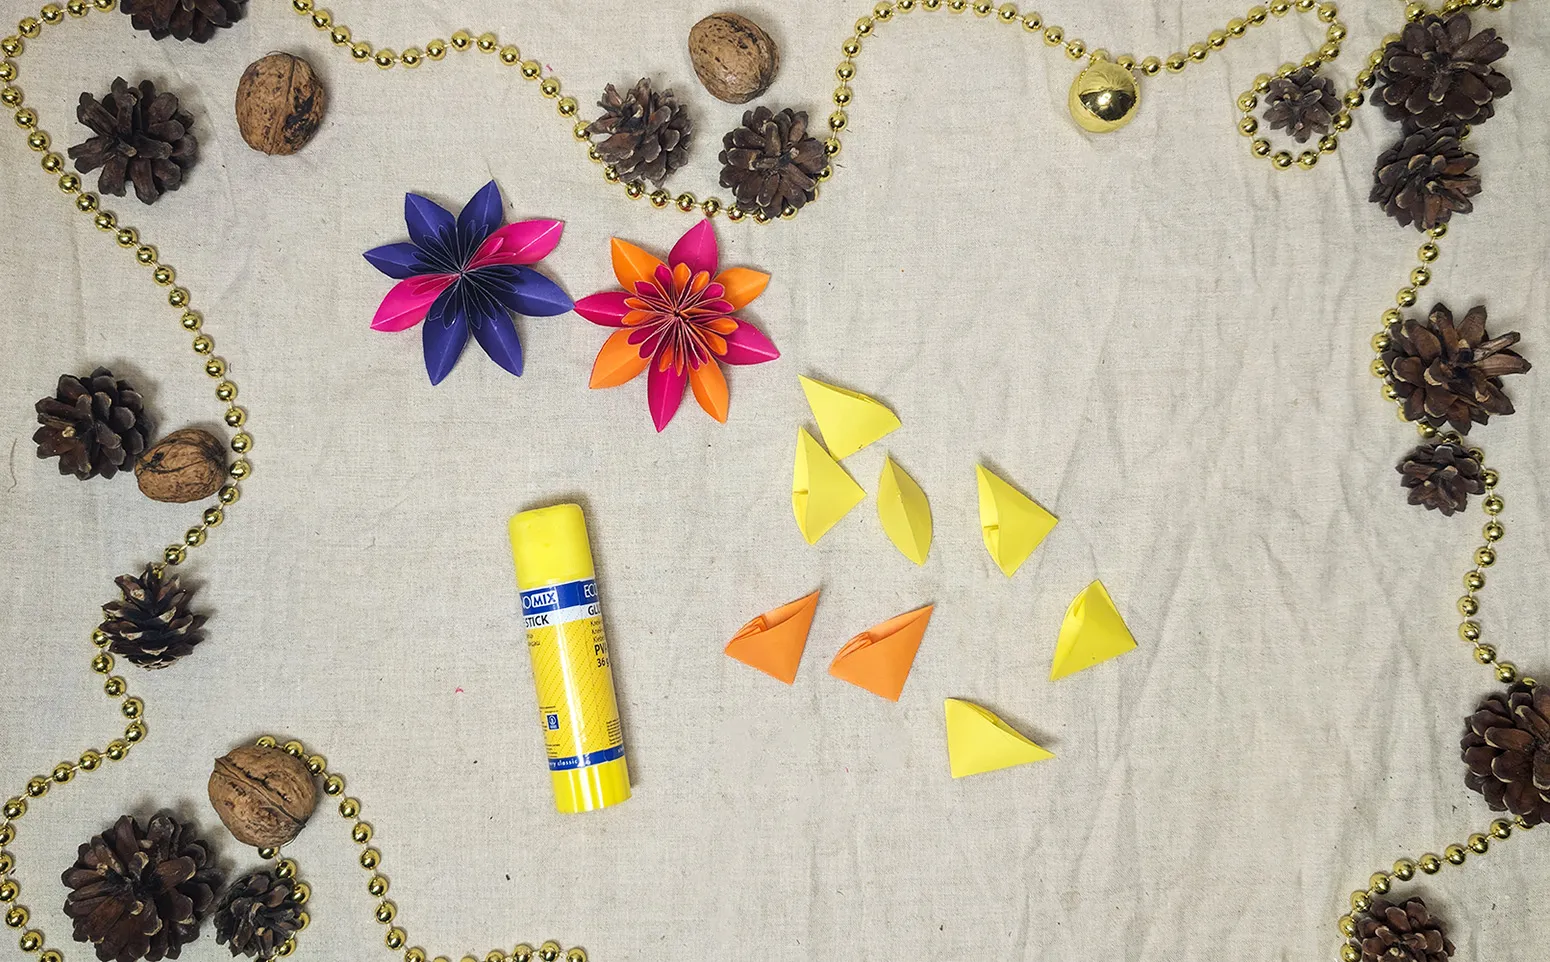
Each square must be folded in a special way to create the shape of a petal. Take a square and fold it diagonally into a triangle. Then fold the triangle diagonally once more to make it smaller. Then fold it back once - the basic form of the petal is in front of you.
On two sides of the triangle, draw rounded lines with the compass or a round object to determine the shape of the petal. Carefully cut along these lines, leaving one corner untouched. Connect the corners of the petal with glue, creating a three-dimensional petal that retains its shape and does not unfold. You will need to make seven of these petals.
Step 4: Assembling the Flower
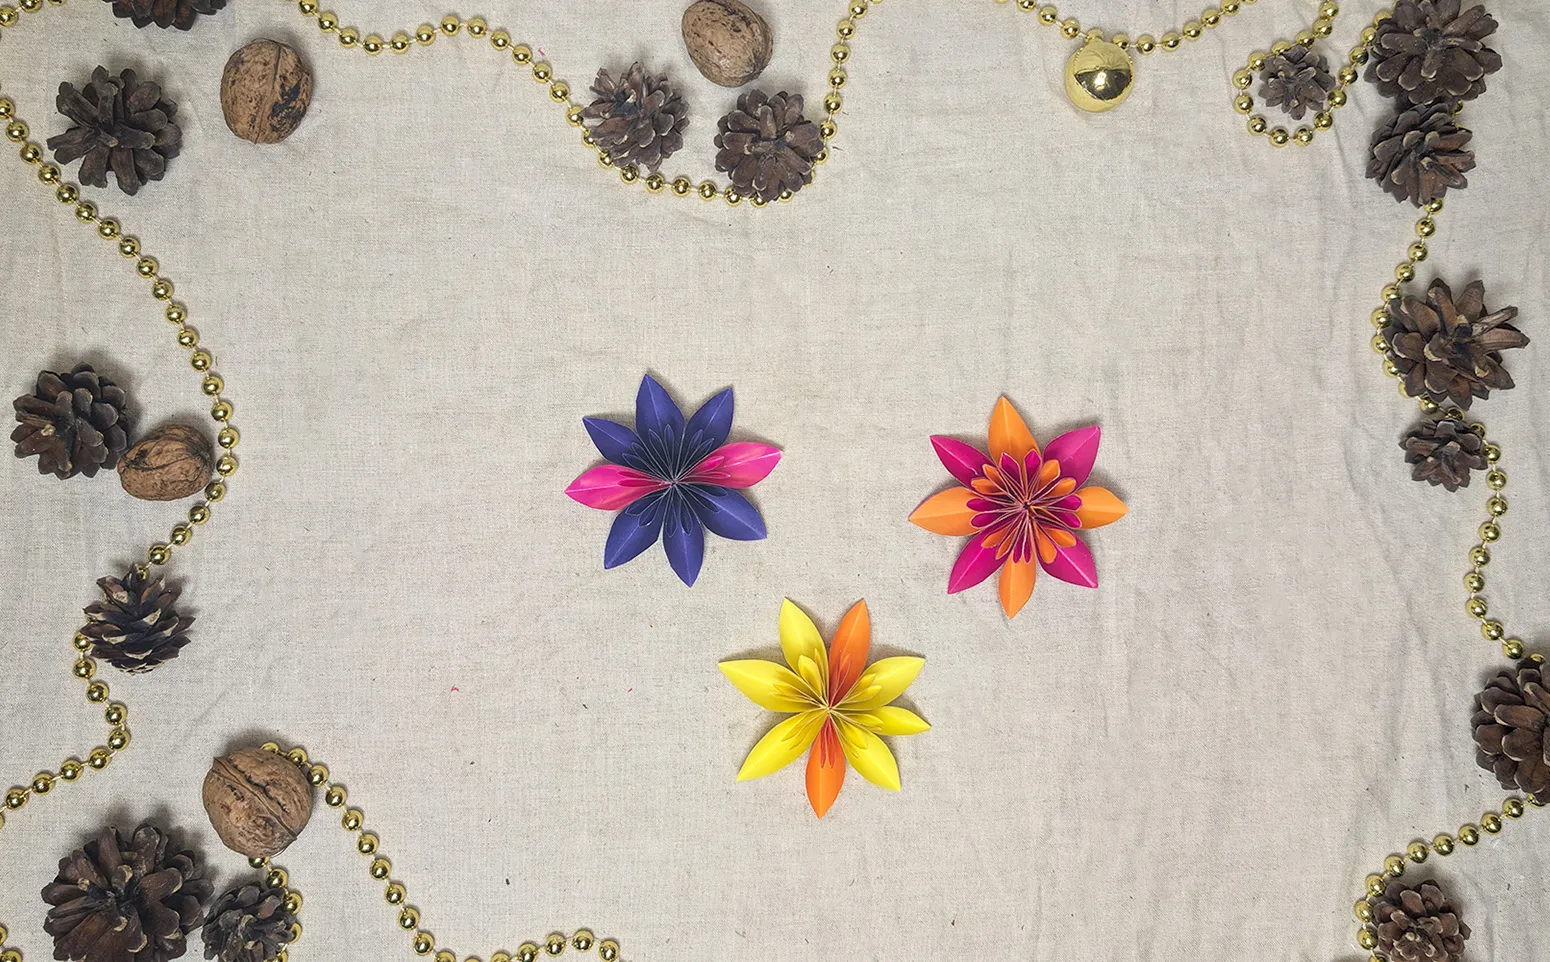
Once all the petals are ready, glue them together in a circle. Make sure each petal fits snugly against the next. Hold the petals in place until the glue is completely dry and the flower holds its shape. The result is a vibrant and beautiful flower that will adorn every corner of the house!
Completion and Ideas for Use
Congratulations! After all the steps, you have crafted a wonderful paper flower together with your child. This process has allowed you to showcase your creative skills and spend time together while creating something beautiful and original. The flower looks lush and colorful, and now you hold a genuine children's craft made with love and care in your hands.
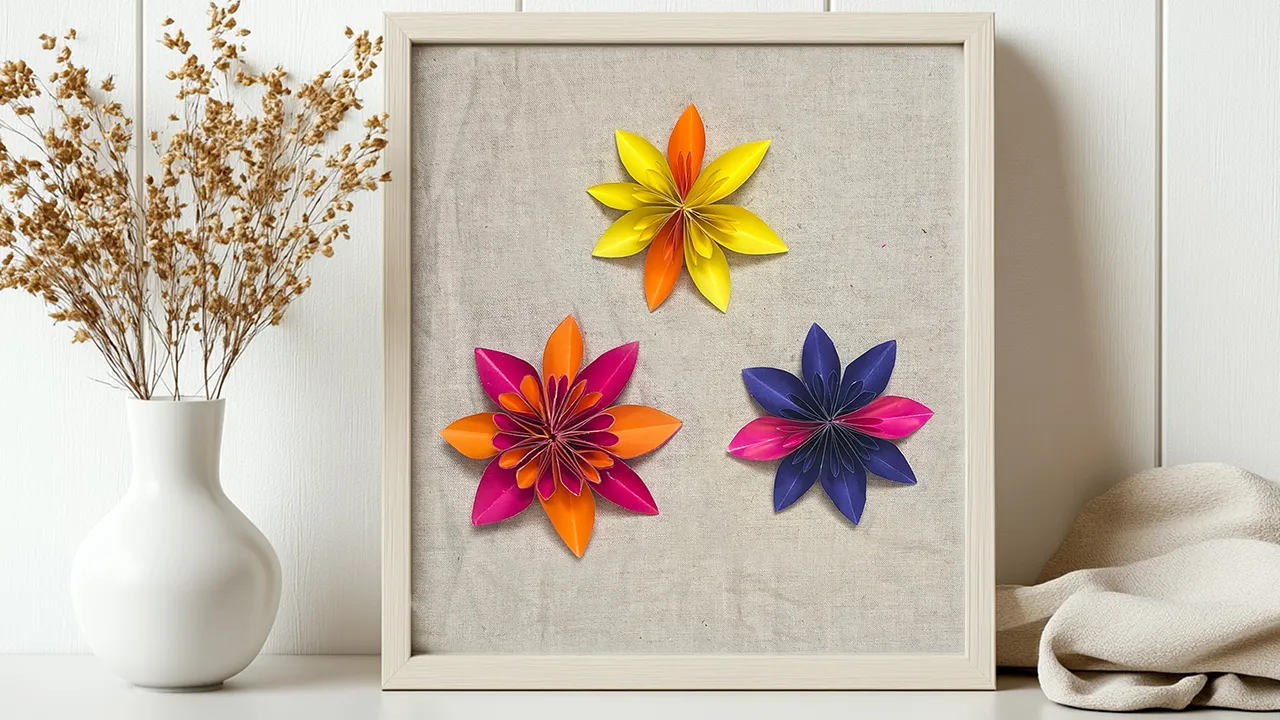
The finished flower can be used for various purposes. For example, it is excellent for room decoration or as an element of a gift wrapping. Paper flowers look beautiful on cards, in interior design, or even as decorations for the festive table. You can create a whole composition of several flowers in different colors and use them to decorate the room for a birthday or New Year. Another idea is to attach the flowers to a string and make a garland to decorate walls or windows.
Conclusion
Thank you for choosing this creative activity and dedicating your time to making a paper flower. I hope the process was interesting and brought many joyful moments to you and your child. Crafting together creates bonds, and such moments become shining memories that stay in the heart for a long time. Visit our website to discover more autumn crafts and origami projects that you can do with your children.
From Vitalii Shynakov
