Trash bin with flowers: Step-by-step guide with photos, videos, and description
Are you unsure what to do with your child during the spring break? Why not try making a paper basket with flowers! This activity is enjoyable for both adults and children, and the result will bring joy for a long time. A colorful basket with paper flowers is a great decoration for home or a cute gift for loved ones.
Materials and Tools
For this crafting project, you only need a few simple materials that you can easily find at home or purchase at any craft store. Here is the list:
- Colored paper
- Scissors
- Pencil
- Ruler
- Glue stick or craft glue
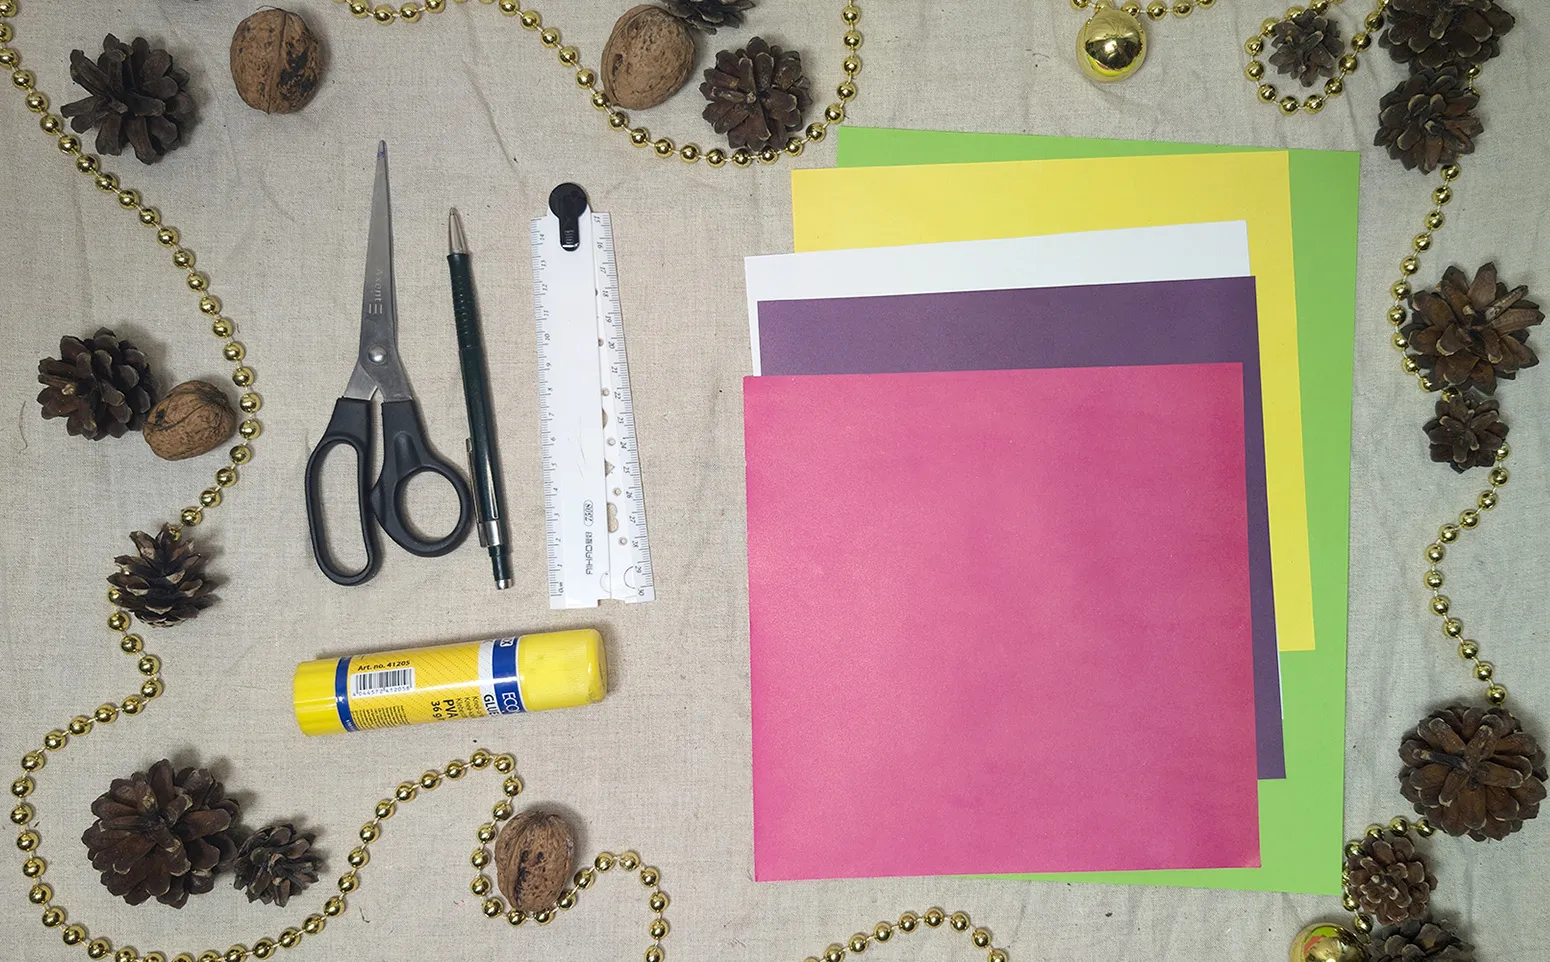
These materials are very simple and are often already available at home. If something is missing, you can visit the nearest supermarket or stationery store. You can easily experiment with colorful paper, so choose different textures or shades that you like.
Safety Rules
Before starting work, prepare a comfortable and safe place for crafting. Lay out all materials within reach so that your child can easily access the necessary tools. This makes the process more comfortable.
As scissors and glue are used in making the basket, remind your child of the proper way to handle them:
- Scissors: Show how to hold them firmly and point the blades away. It's best to use children's scissors with rounded tips to avoid cutting injuries.
- Glue: Teach your child to apply the glue carefully, making sure it only goes on the paper. If using craft glue, monitor the amount to prevent the paper from getting too wet and tearing.
These simple tips help make the creative process safe and enjoyable. Now, we can begin working on the basket!
Steps to Make the Spring Basket
Step 1: Marking for the Basket Strips
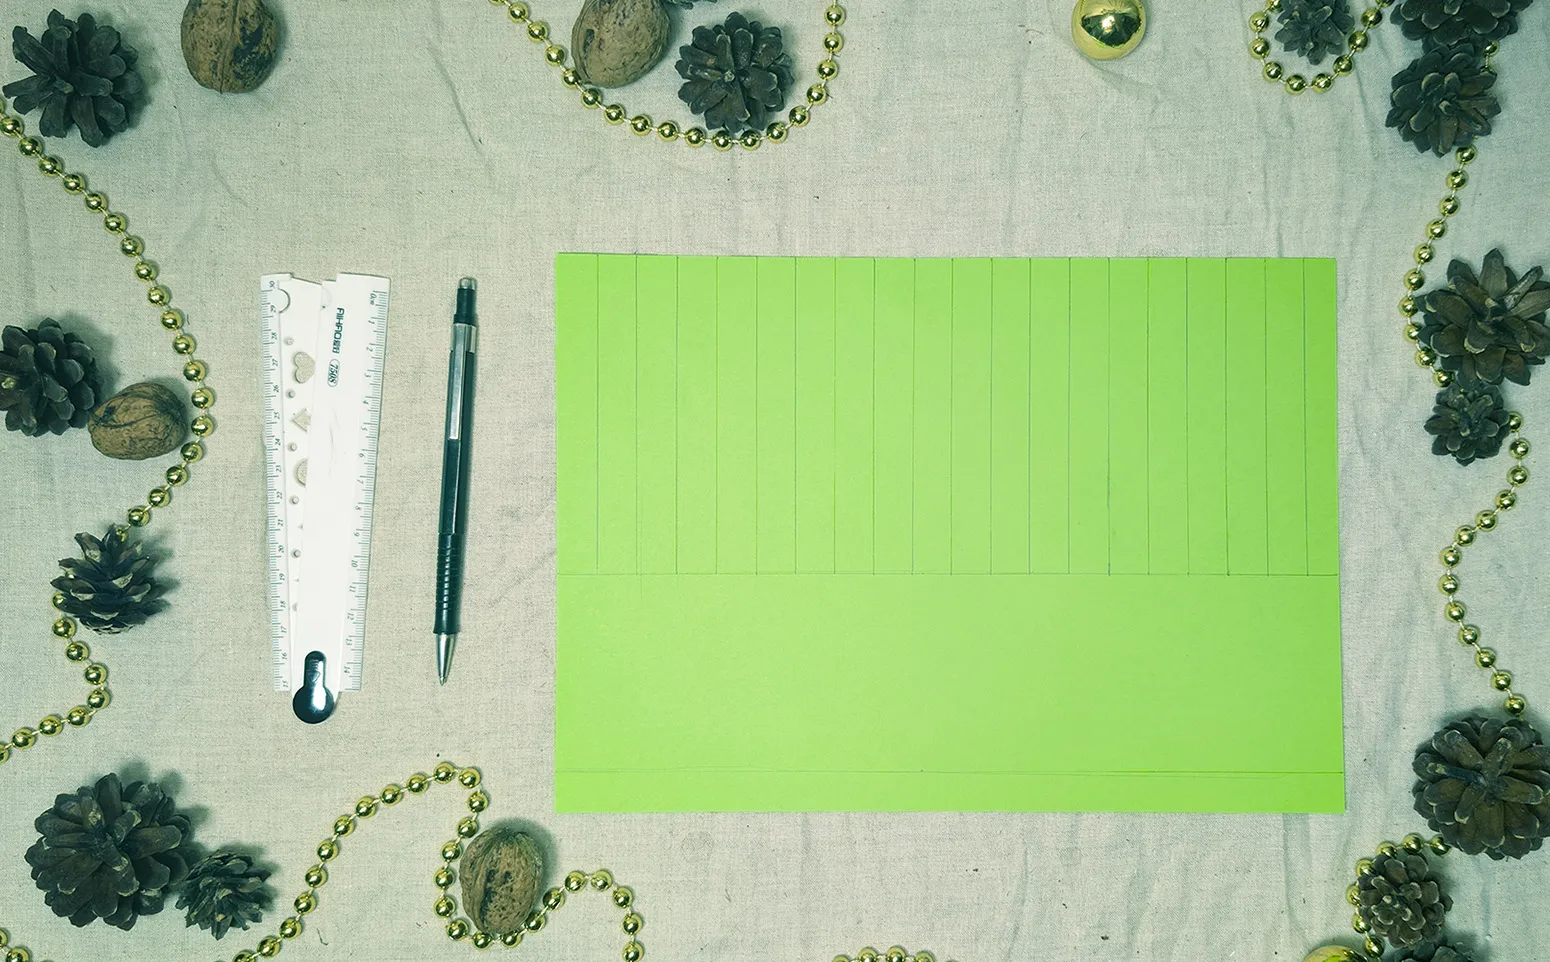
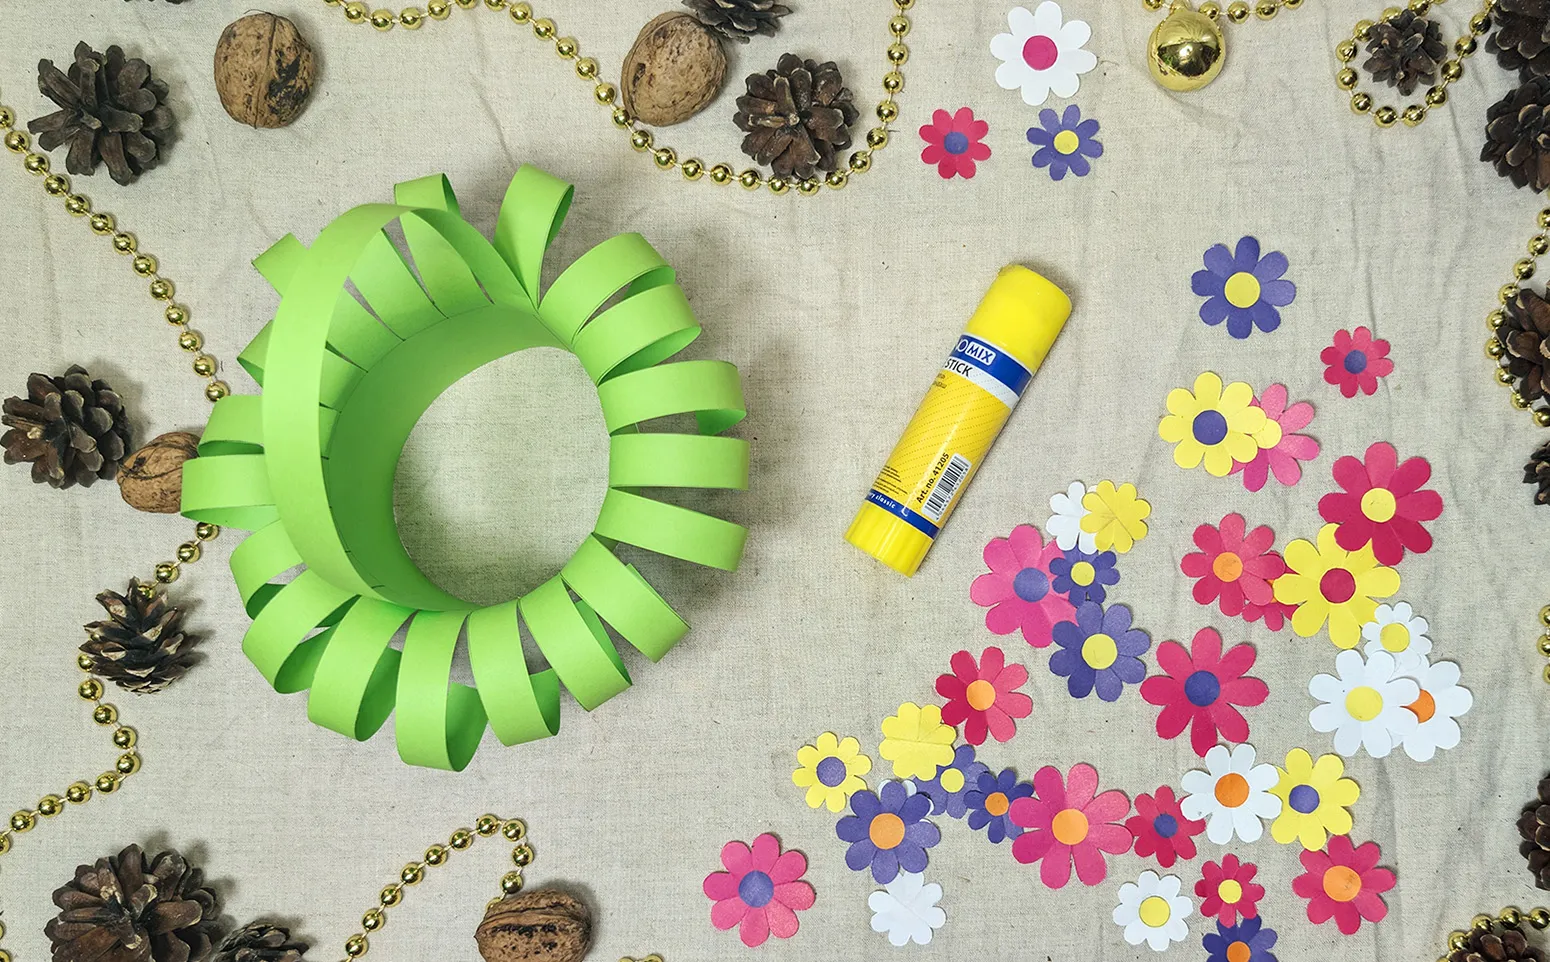
Take a colored paper in A4 size - this will be the base of our basket. Place it horizontally and draw about 1.5 cm wide lines from the top using a pencil and ruler. Divide the entire sheet in this way, leaving about 13-14 cm unmarked at the bottom. You'll end up with an upper part with strips and a completely unmarked lower part, as shown in the photo.
Step 2: Cutting out the Strips
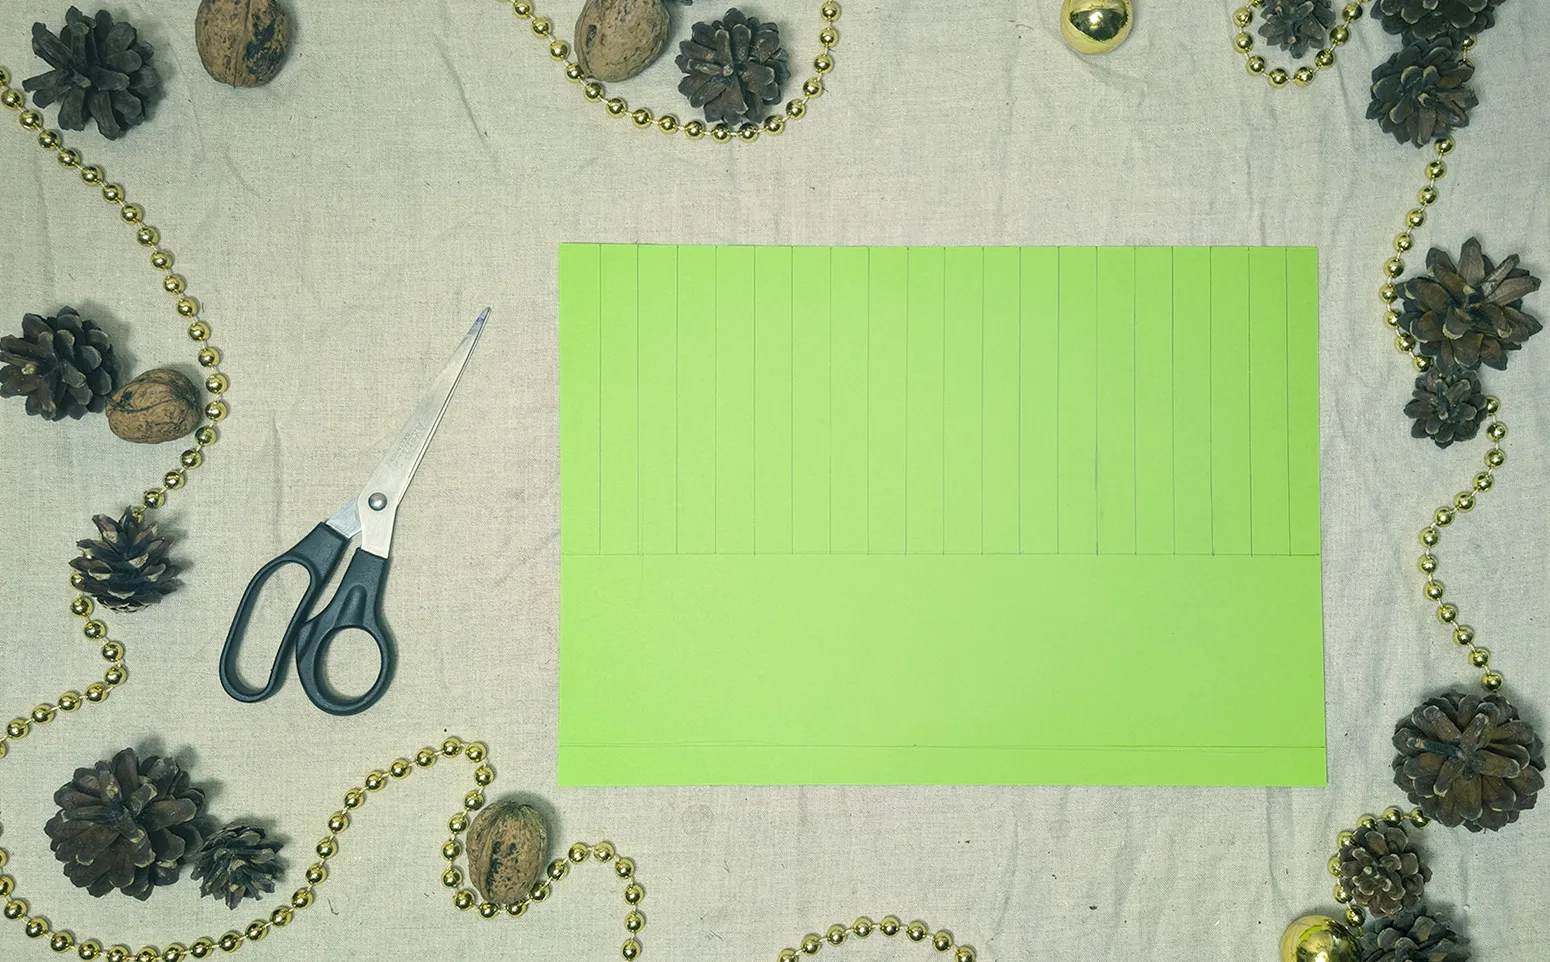
Now, take the scissors and carefully cut along the lines you just drew. Cut the strips in a way that they remain connected at the bottom of the entire paper strip. These will be the walls of the basket. Ensure the strips are cut straight for a neat-looking basket.
Step 3: Preparing Additional Strips
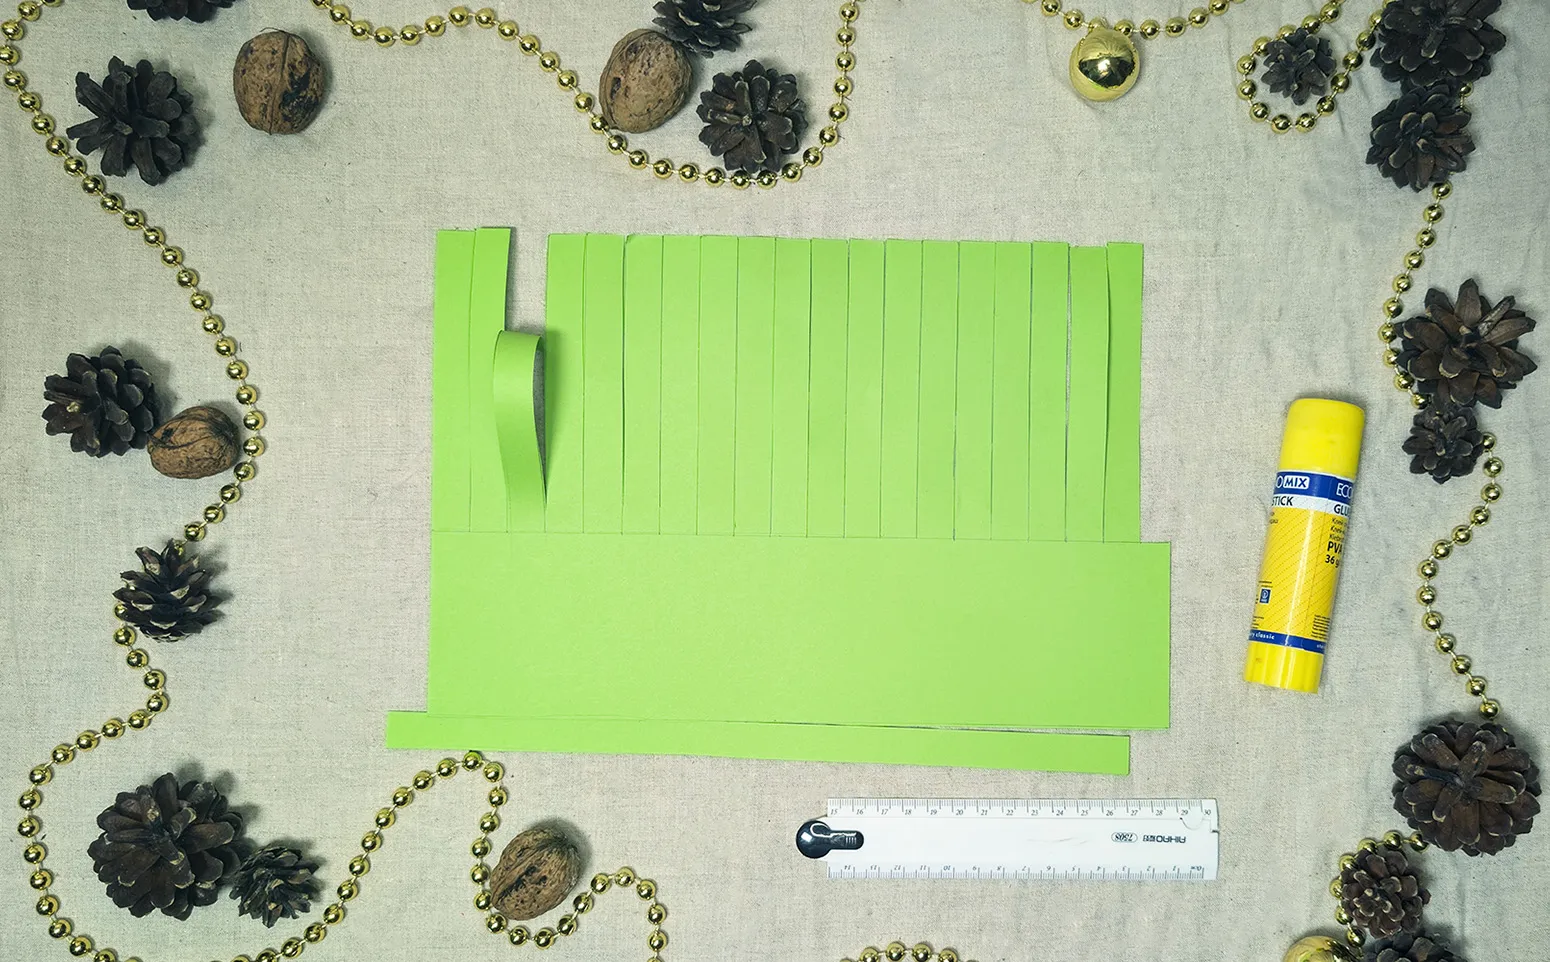
Cut a strip from the side of the sheet - we will use it later for the basket handle. Also, cut a narrow strip (about 1 cm) along the entire length of the paper at the bottom. This strip adds extra volume to the basket.
Step 4: Shaping the Basket and Handle
Fold the paper so that the strips overlap and form a circle. Glue the edges together to give the basket its shape. Take the long narrow strip we cut in the previous step and attach it as the handle at the top. To add more volume to the basket, twist the strips with the help of the ruler. Run the ruler over each strip and bend them slightly. This will make the basket more lively and interesting.
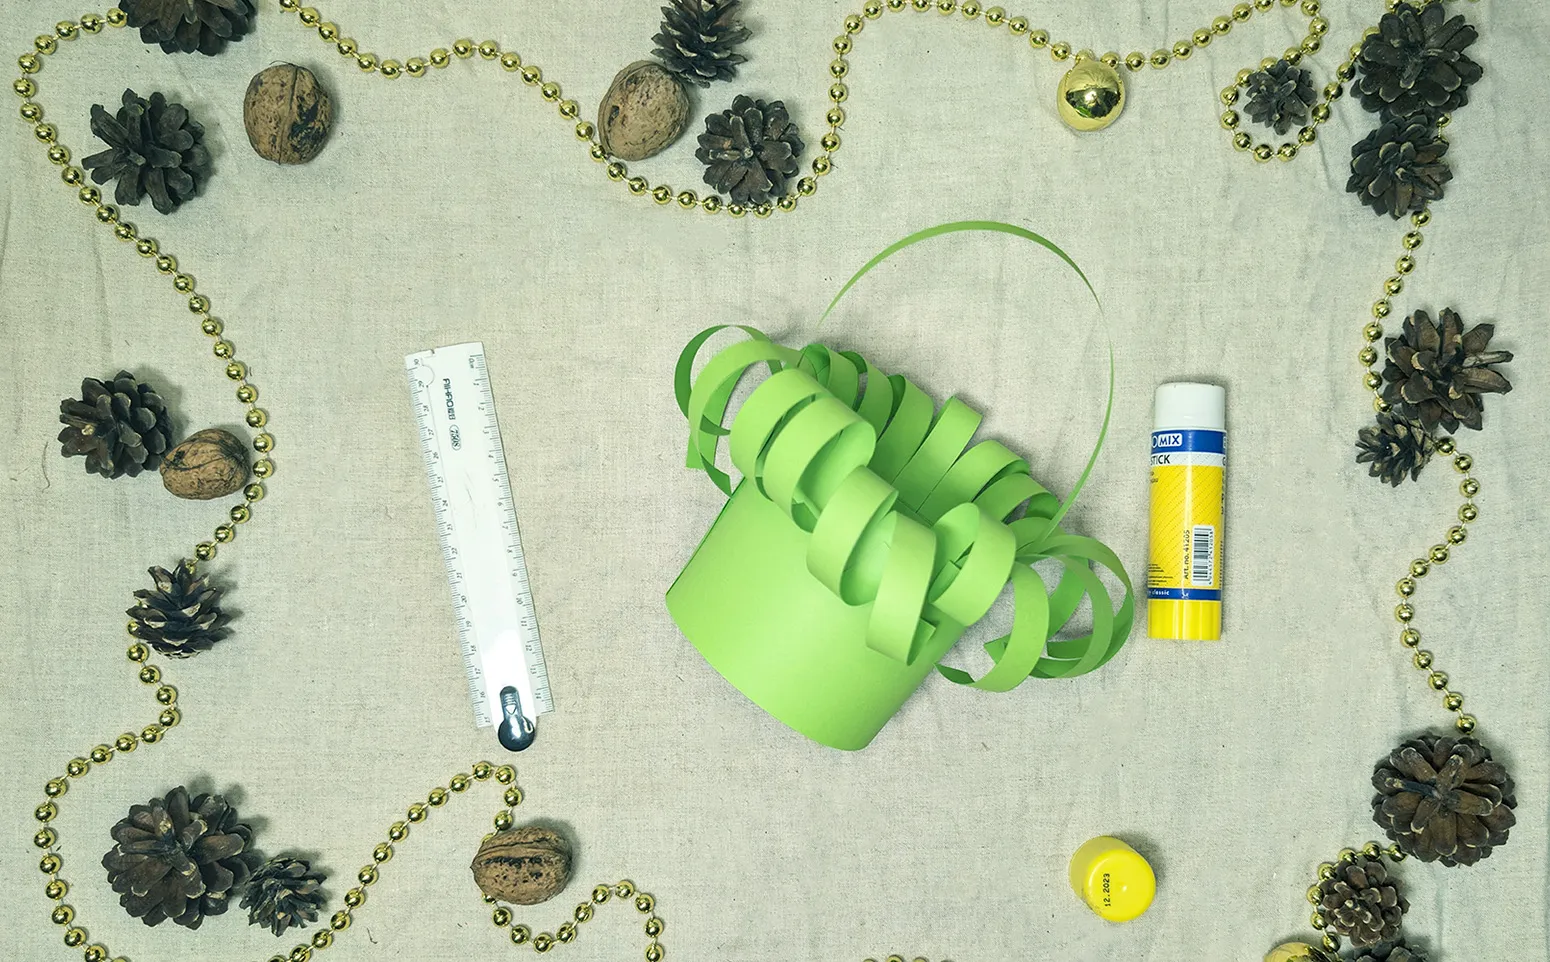
Step 5: Preparing Paper for the Flowers
Let's move on to making the flowers. Choose colored paper in a different color and draw squares of different sizes, from 10 cm to 6 cm. This approach makes the basket more diverse and colorful. Use a ruler for straight squares and draw circles for the flower centers.
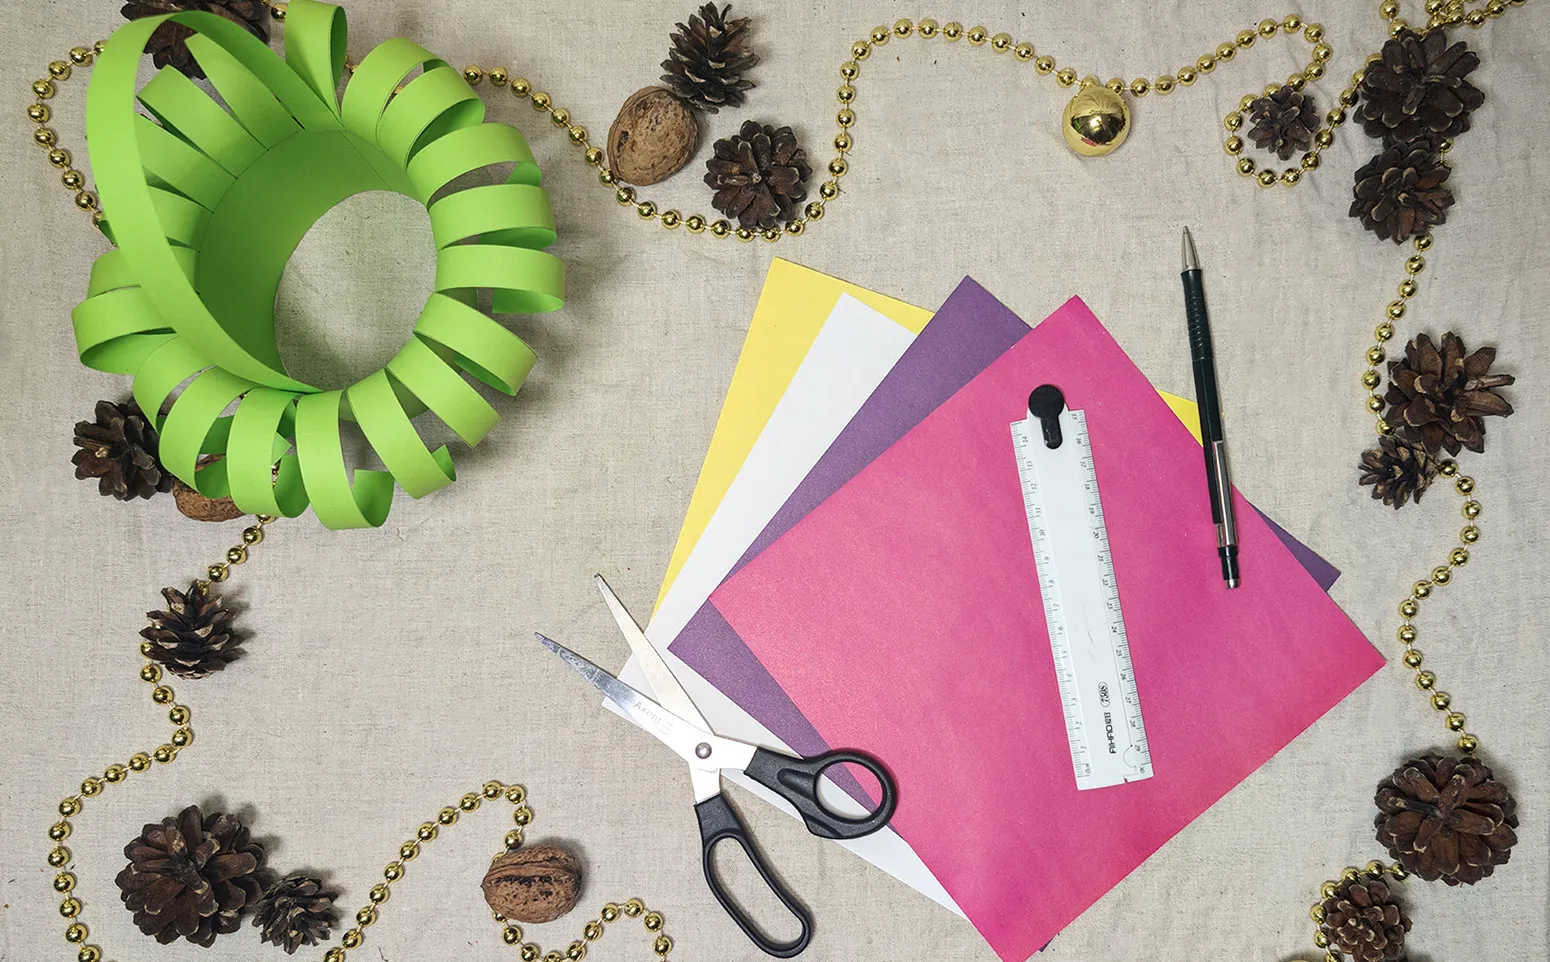
Step 6: Cut out squares and flower centers
Carefully cut out all squares and circles for the flower centers. This is the basis for the blossoms. Choose different colors for each flower and its center to make the finished composition colorful and spring-like.
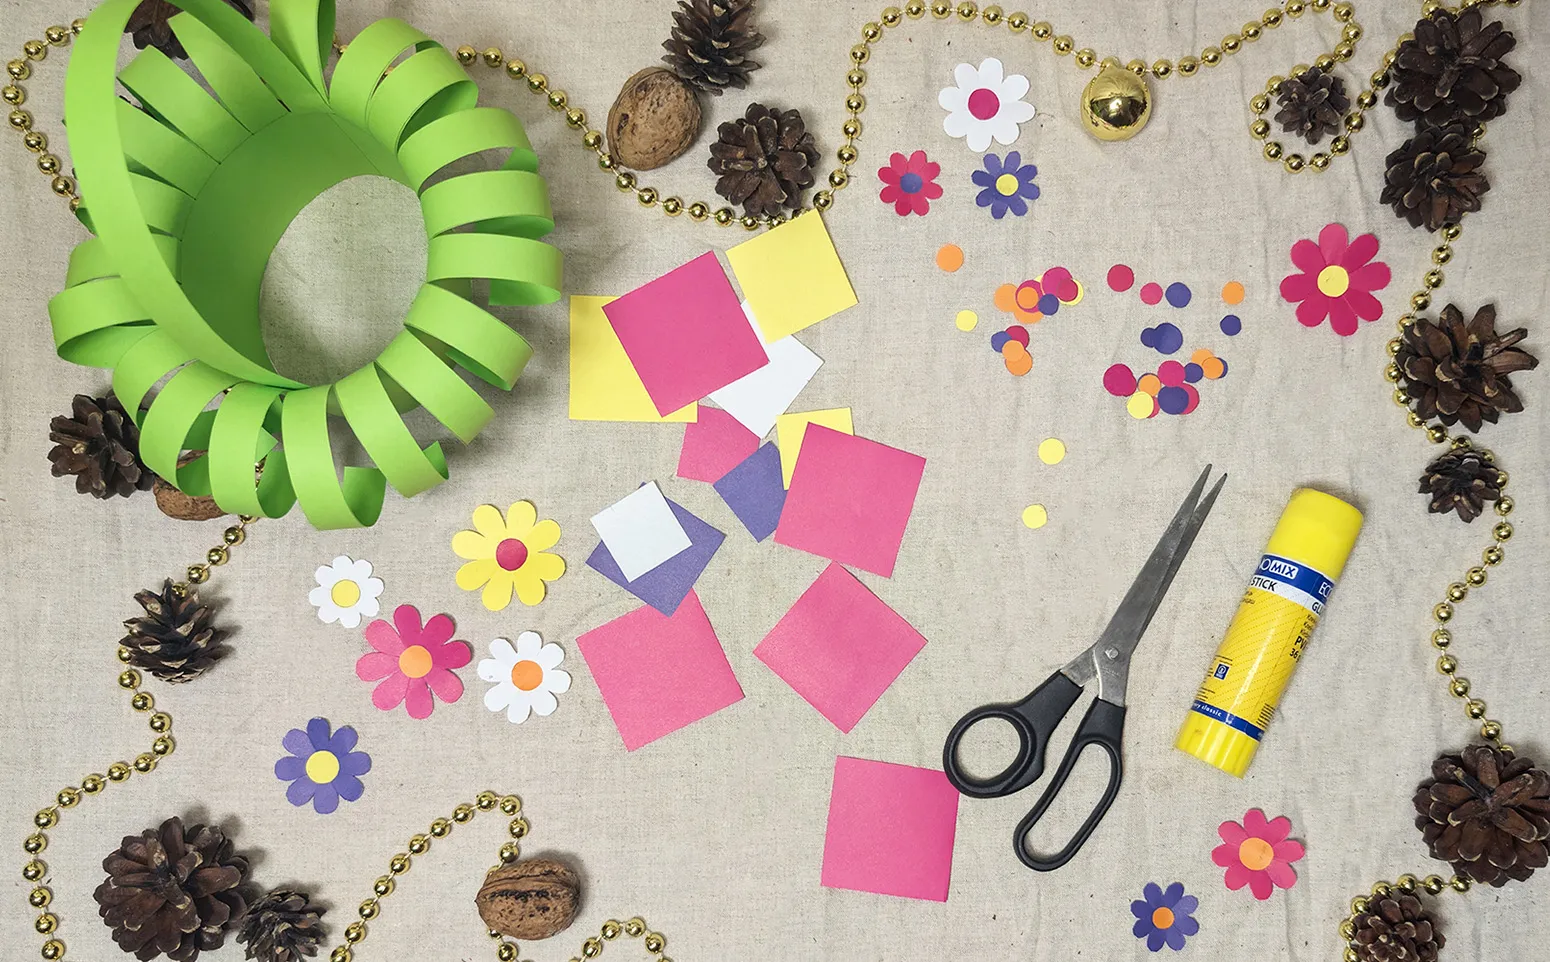
Step 7: Fold and shape flowers
Take one of the squares and fold it diagonally into a triangle. Fold it again and repeat until you have a small triangle. Carefully cut the two corners of the triangle that lie opposite the fold, rounded, and unfold it - you have a flower! Glue the circular flower center in the middle. Repeat this with the remaining squares to create flowers in different colors and sizes.
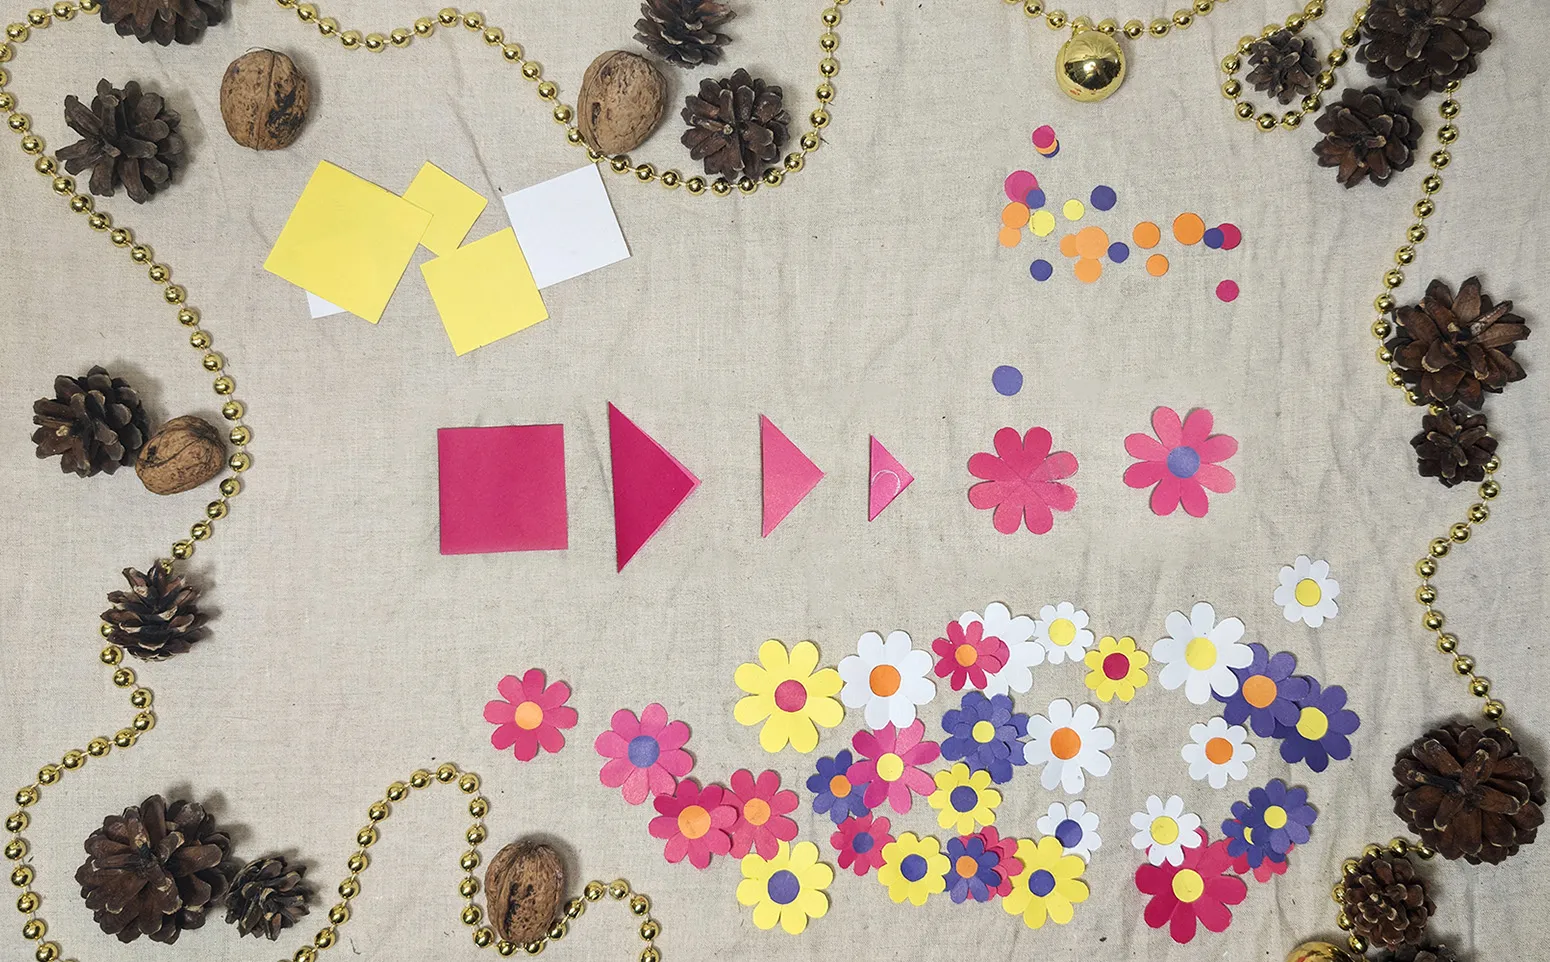
Tip: To make the flowers more interesting, you can draw small patterns on the petals with felt-tip pens or colored pencils.
Step 8: Decorate basket with flowers
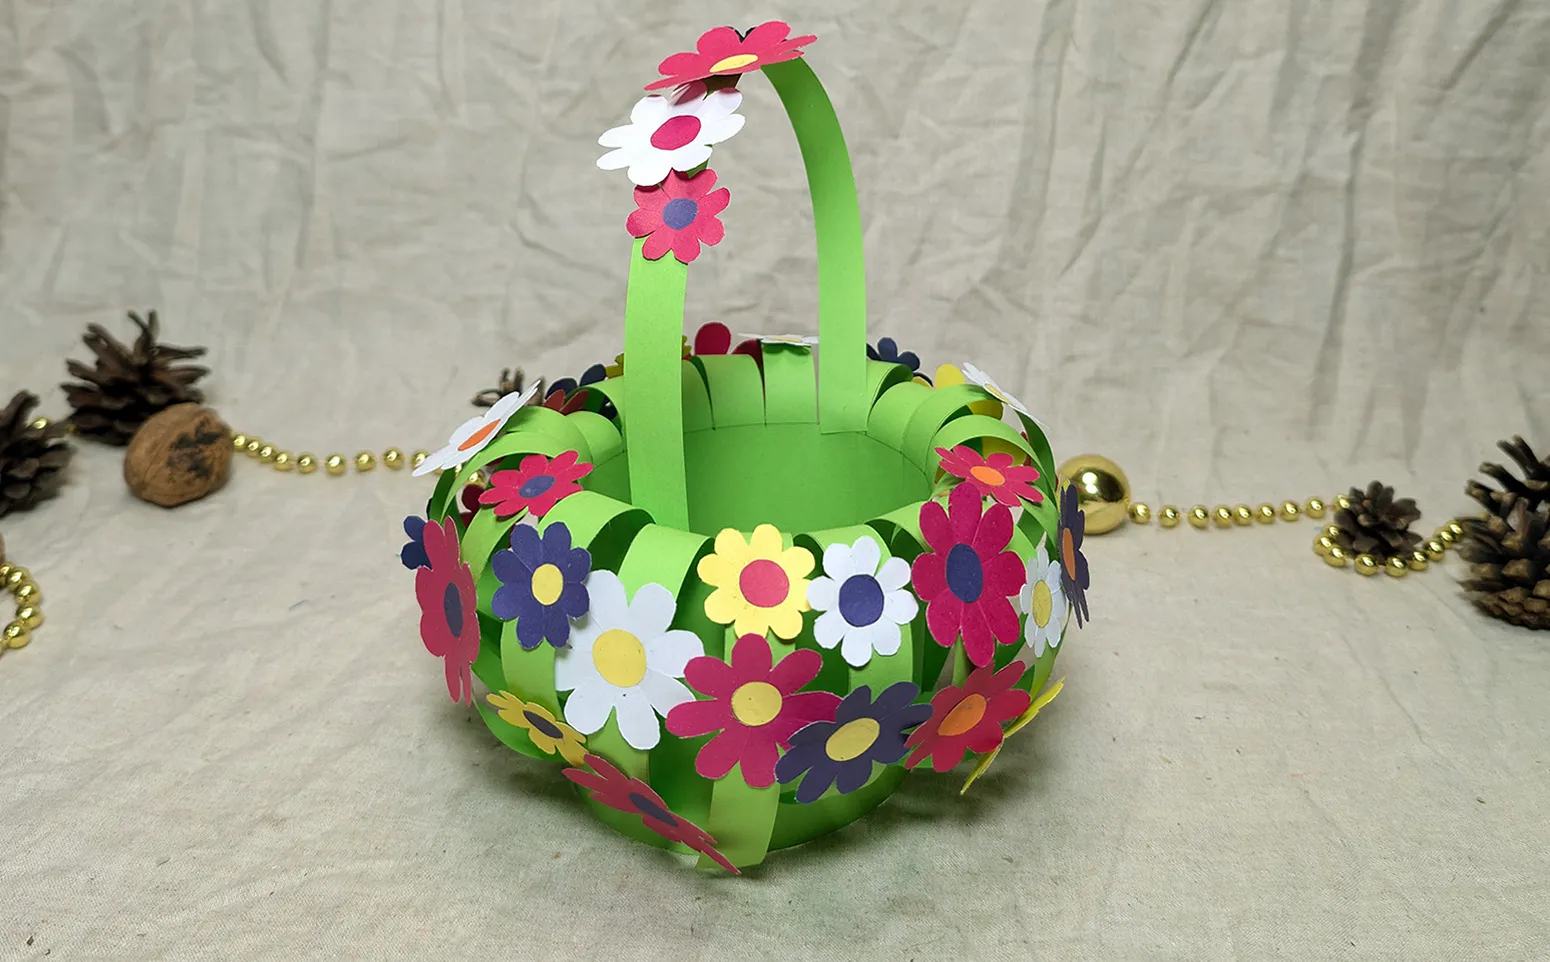
Once the flowers are done, it's time to decorate the basket with them. Glue the flowers to the basket walls and distribute them evenly over the entire surface. You can layer them slightly to give the basket more volume and make it more blooming. If you like, add small circles in different colors between the flowers to create even more variety.
Congratulations! Now you have a colorful spring basket decorated with bright paper flowers. This craft will be a great decoration for your home, especially in spring when you crave more light and color. The basket can decorate the children's room, serve as part of the festive decoration, or simply bring joy on a shelf.
Making such a basket is an interesting activity that promotes fine motor skills, attention to detail, and creative thinking in children. Joint creative moments always leave warm memories and bring people closer. Cutting out and gluing each flower together brings a piece of spring and joy into the house.
Conclusion
Thank you for taking the time for this tutorial! I hope the process of making the basket was exciting and inspiring for you and your child. On our portal, you will find many more ideas for children's crafts and fun projects for every occasion. Maybe you want to create a whole "greenhouse" made of paper flowers or try something new for future celebrations? Visit our website to discover more crafts and origami projects!
From Vitalii Shynakov
