3D paper flower: Step-by-step instructions with photos and video
Are you looking for an idea for a fun and meaningful crafting activity to spend time together? Crafting 3D paper flowers is an exciting way to nurture your child's creative abilities. Such crafting activities help in developing fine motor skills, attention to detail, and a sense of harmony. The child learns to experiment with shapes and colors and improves their creative thinking in the process. In the end, radiant flowers are created, perfect for decorating the room. They can be used for cards or make an original gift, filled with the warmth and joy of shared creativity.
The 3D paper flower is a crafting project suitable for children aged 5 and above. It becomes a great family project, and the step-by-step guide with photos will help you and your child complete the task easily. In this article, you will find a detailed explanation of the process, a list of available materials, and some useful tips for the work.
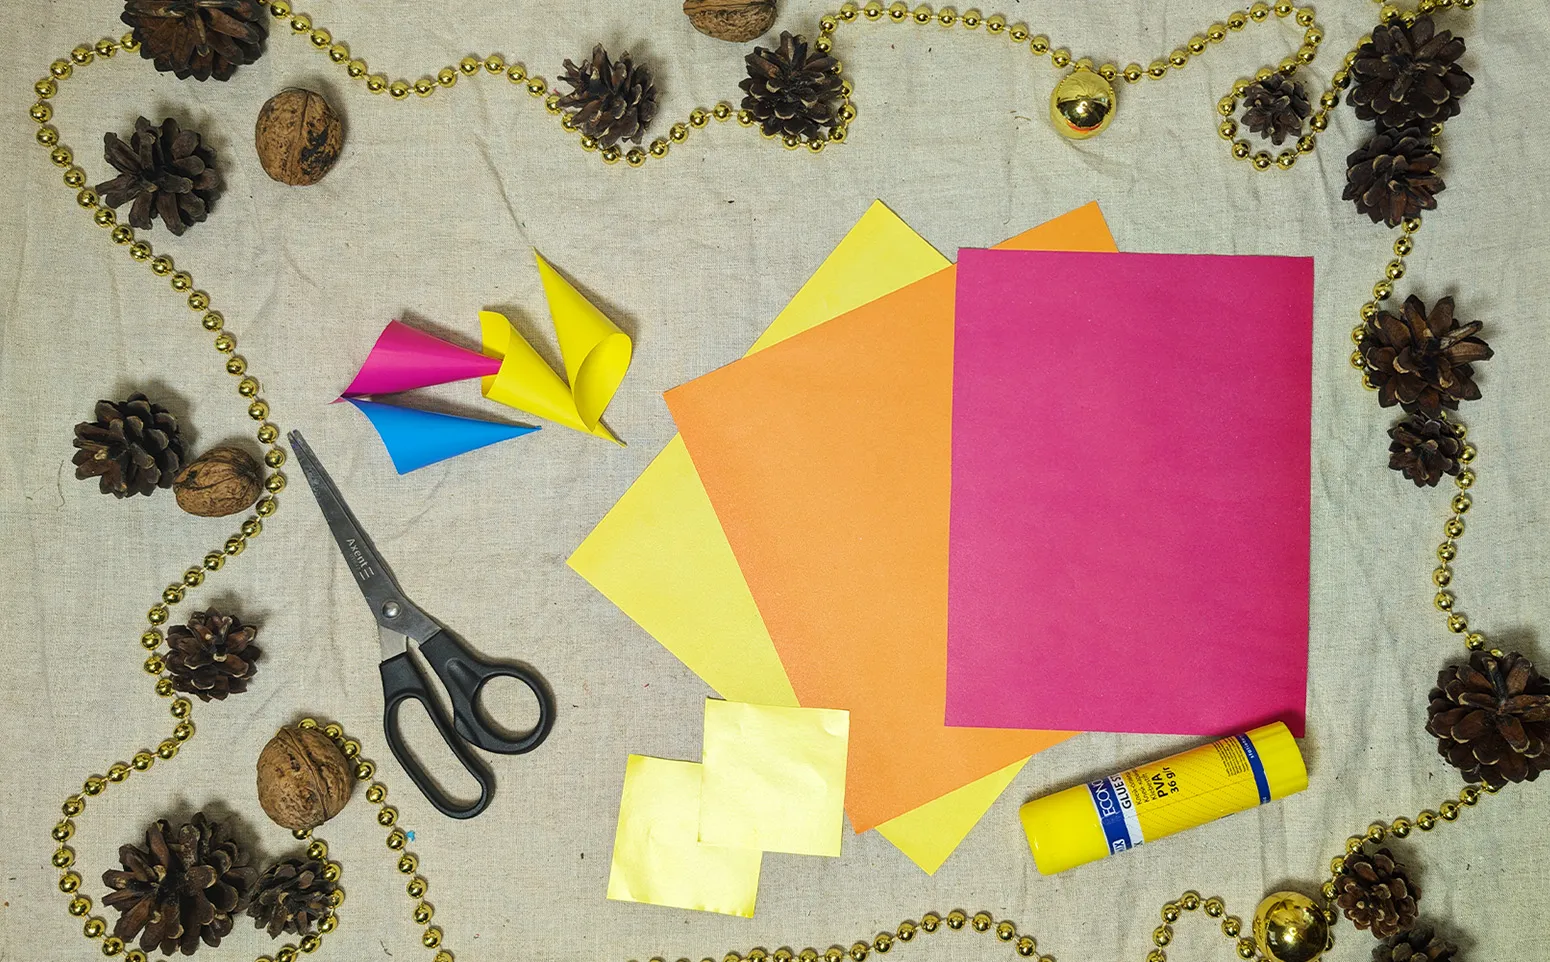
Materials and Tools for the Flower
You don't need expensive materials for the flower, and everything necessary can be easily found in any craft store or even at the supermarket. Here is what you need to prepare:
- Pencil
- Ruler
- Scissors
- Glue stick
- Colored paper (preferably in multiple shades)
- Cardboard as a base (DIN A4 format is suitable)
- Compass (if no compass is available, any round object can be used for tracing)
Steps to Make the 3D Paper Flower
Once everything is ready, we can start making the flower. Follow the steps, and you will create a beautiful crafting work that can serve as decoration or a gift.
Step 1: Prepare Colorful Squares
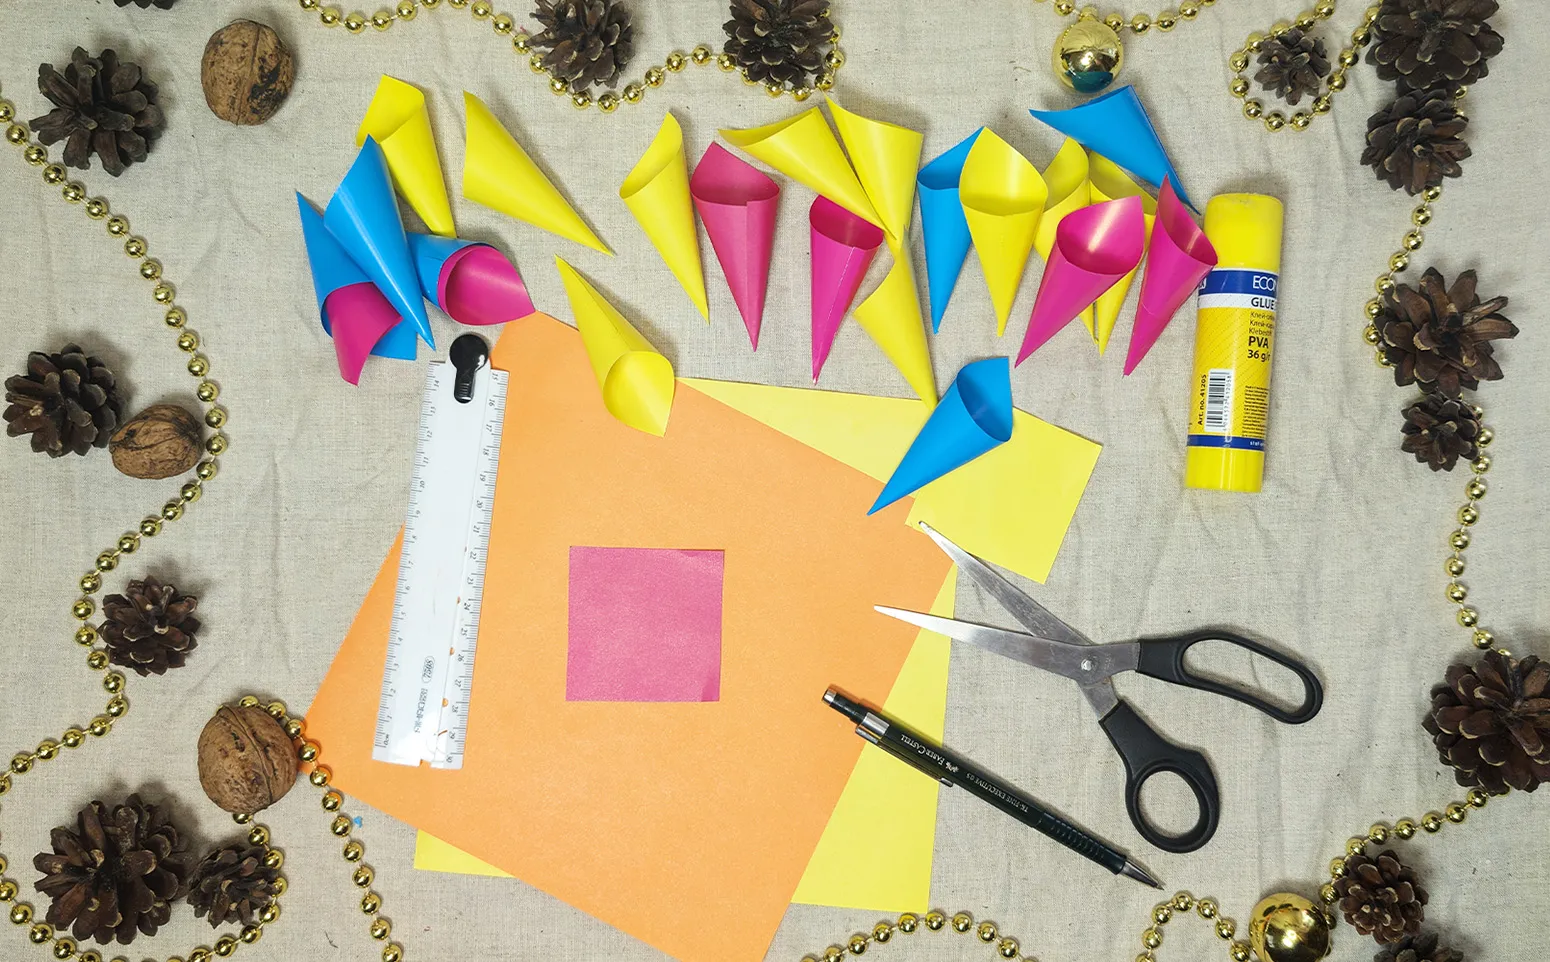
Take colored paper and draw squares of about 7x7 cm using a ruler and pencil. Carefully cut them out with scissors. For a vibrant and lively effect, use different paper colors - this gives the flower more depth.
Step 2: Craft Rolls for the Petals
Take each square and roll it into a cone by connecting one side with the opposite. Apply glue along one edge of the square and carefully stick it to the opposite side, creating a conical tube. Make 20-25 such rolls for a flower using this method.
Step 3: Prepare the Base for the Flower
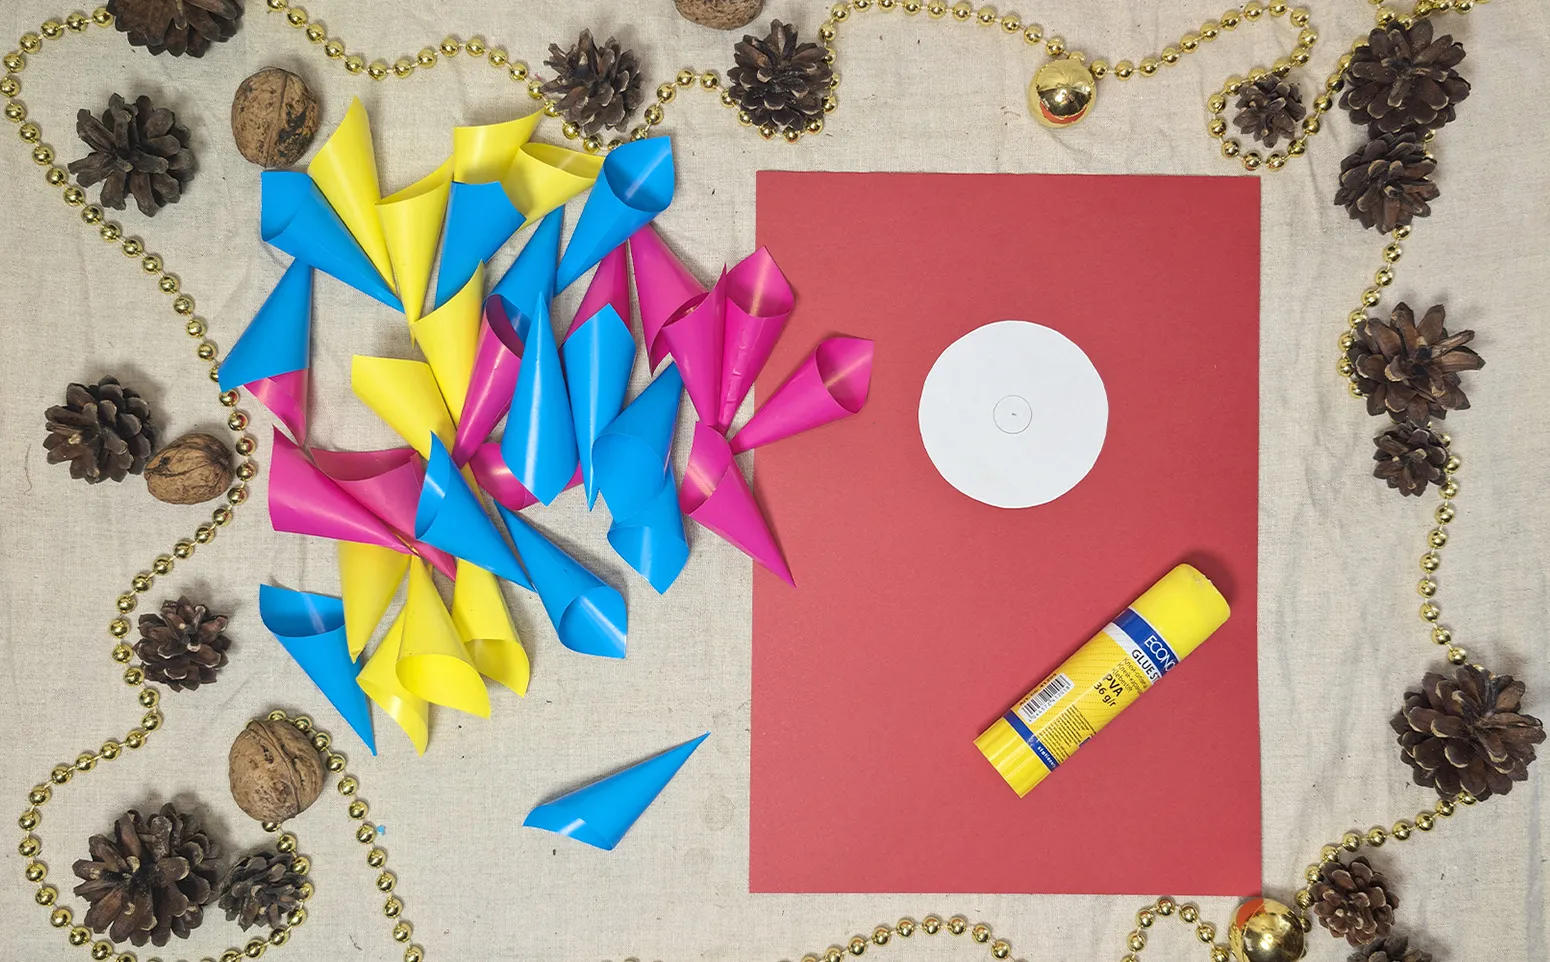
Take a colored cardboard sheet in DIN A4 size. On it, place a circle with a diameter of about 10 cm. Cut this circle out of another paper and carefully glue it in the center of the cardboard. This circle will be the base on which the rolls will be glued, creating the 3D effect of the flower.
Tip: If a compass is not available, trace a round object of suitable size, like a lid or a glass, to get a uniform circle.
Step 4: Attach the First Layer of Petals
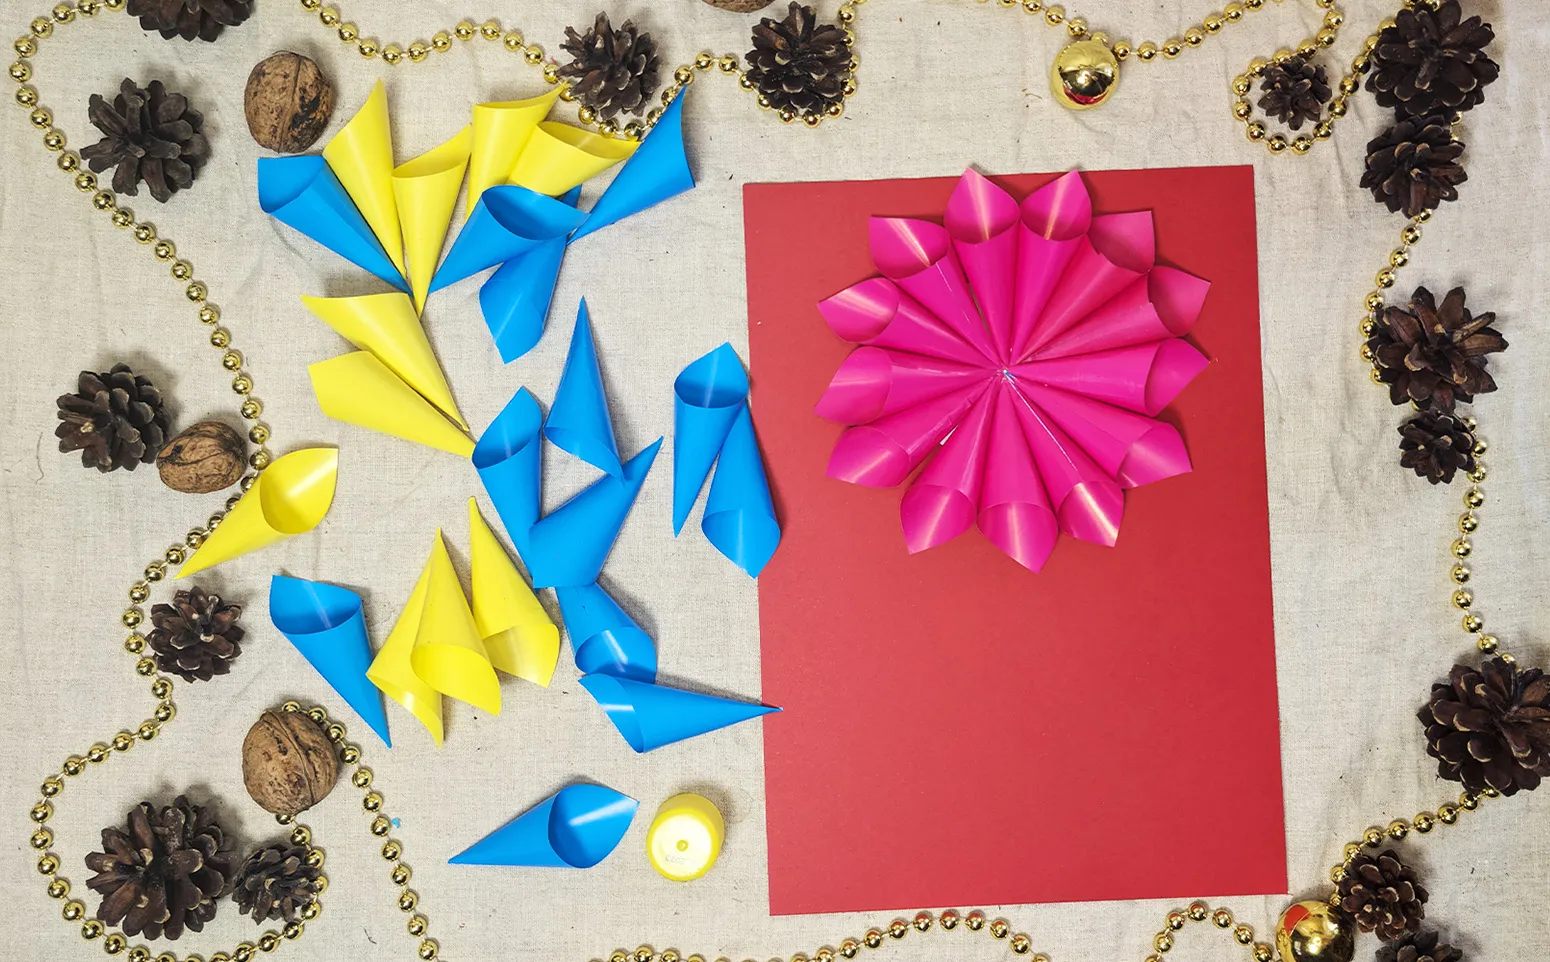
Now begins the assembly of the flower! Take the prepared rolls and start adhering them to the edge of the circle to form the first layer of petals. Place them evenly around the circle, allowing them to slightly protrude beyond the base's edge.
Step 5: Add the Second Layer of Petals
Once the first layer is done, take rolls of a different color and glue them above the first layer, placing them in between the petals of the lower row. This technique gives the flower more fullness and volume.
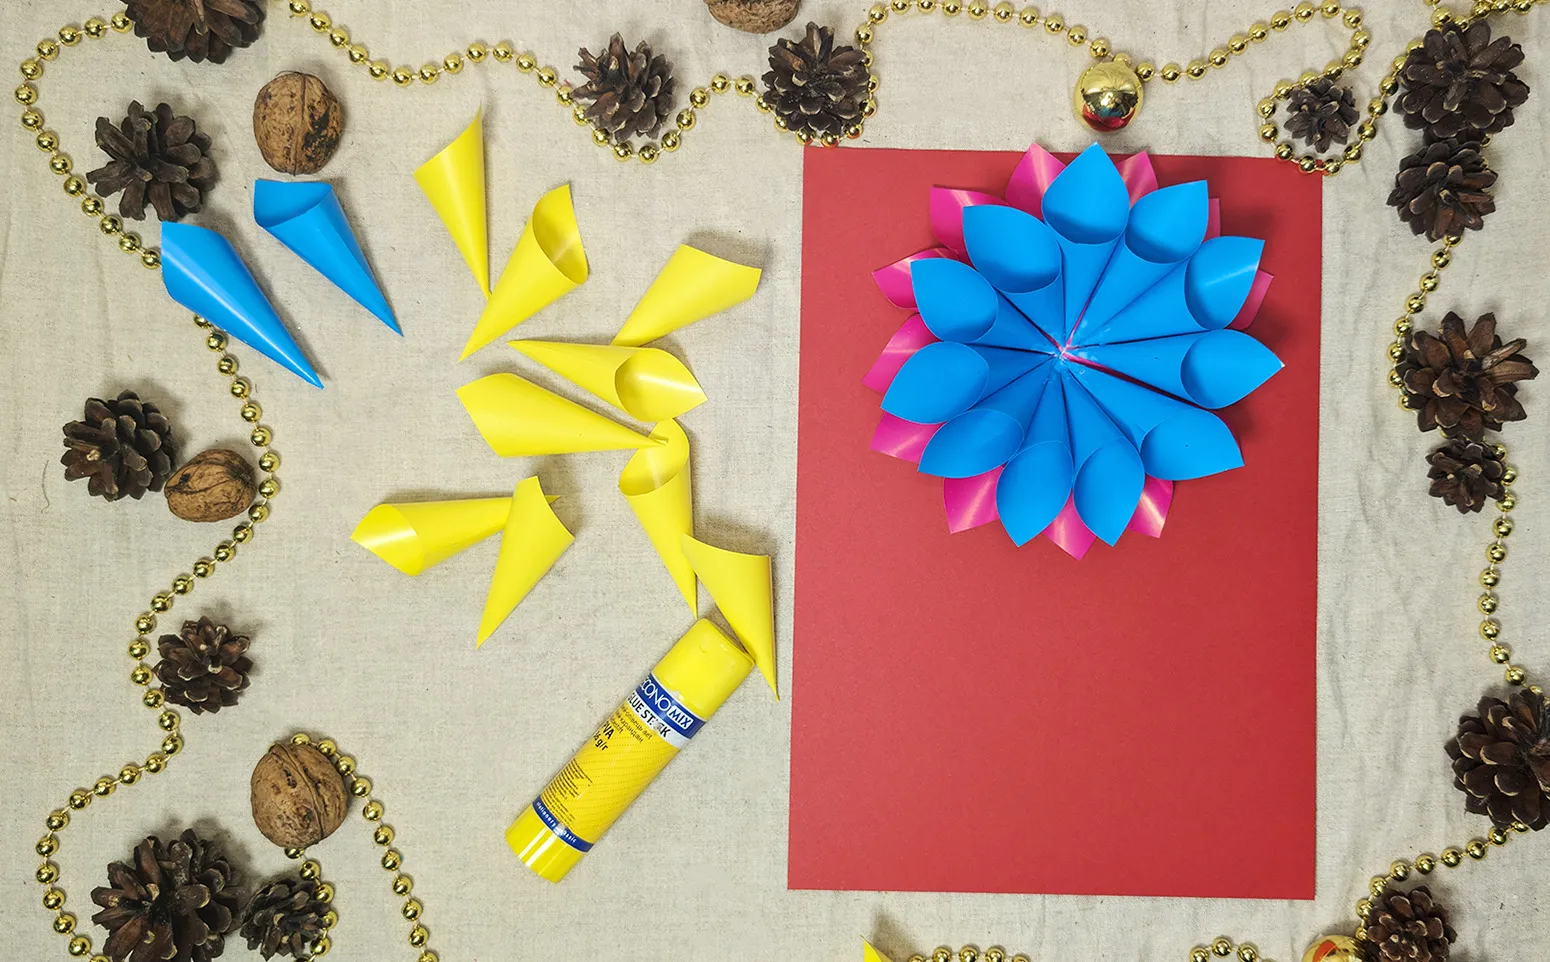
Step 6: Create the third layer and add leaves
Use the lightest or most contrasting color for the third layer. Glue the spirals in the center to complete the flower. Then take green paper, cut out two large leaves, and stick them at the base of the flower to complete it.
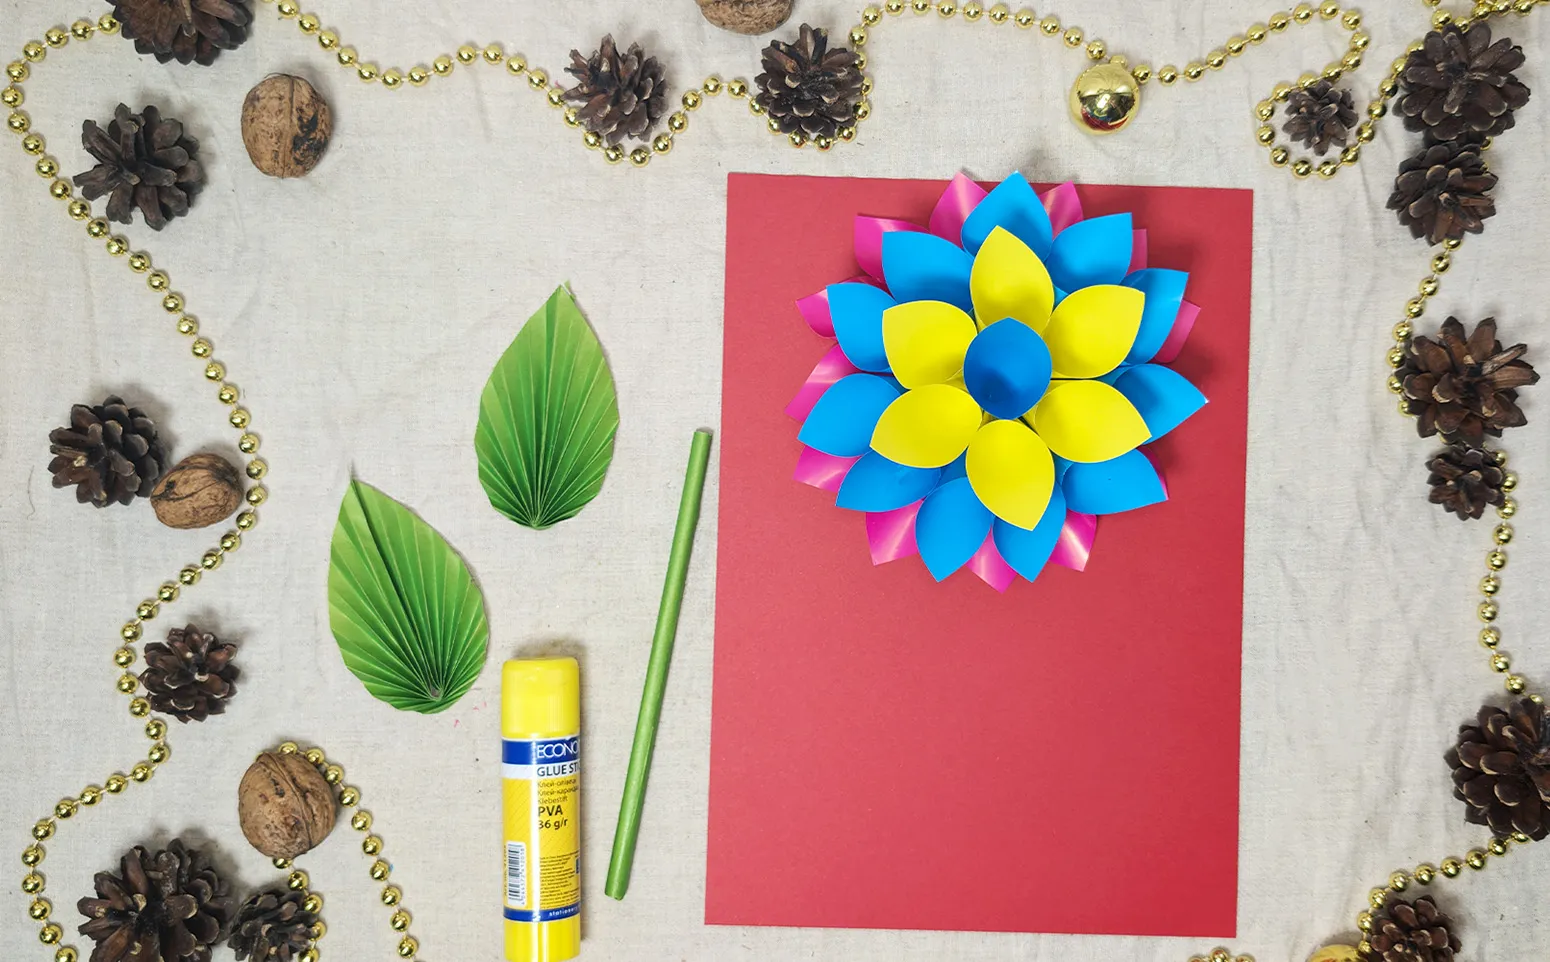
Step 7: Decorate the flower with additional elements
If you want to add some individuality, decorate the flower with colored pencils or markers by drawing patterns or stripes on the petals. This will make the craft even more colorful and lively.
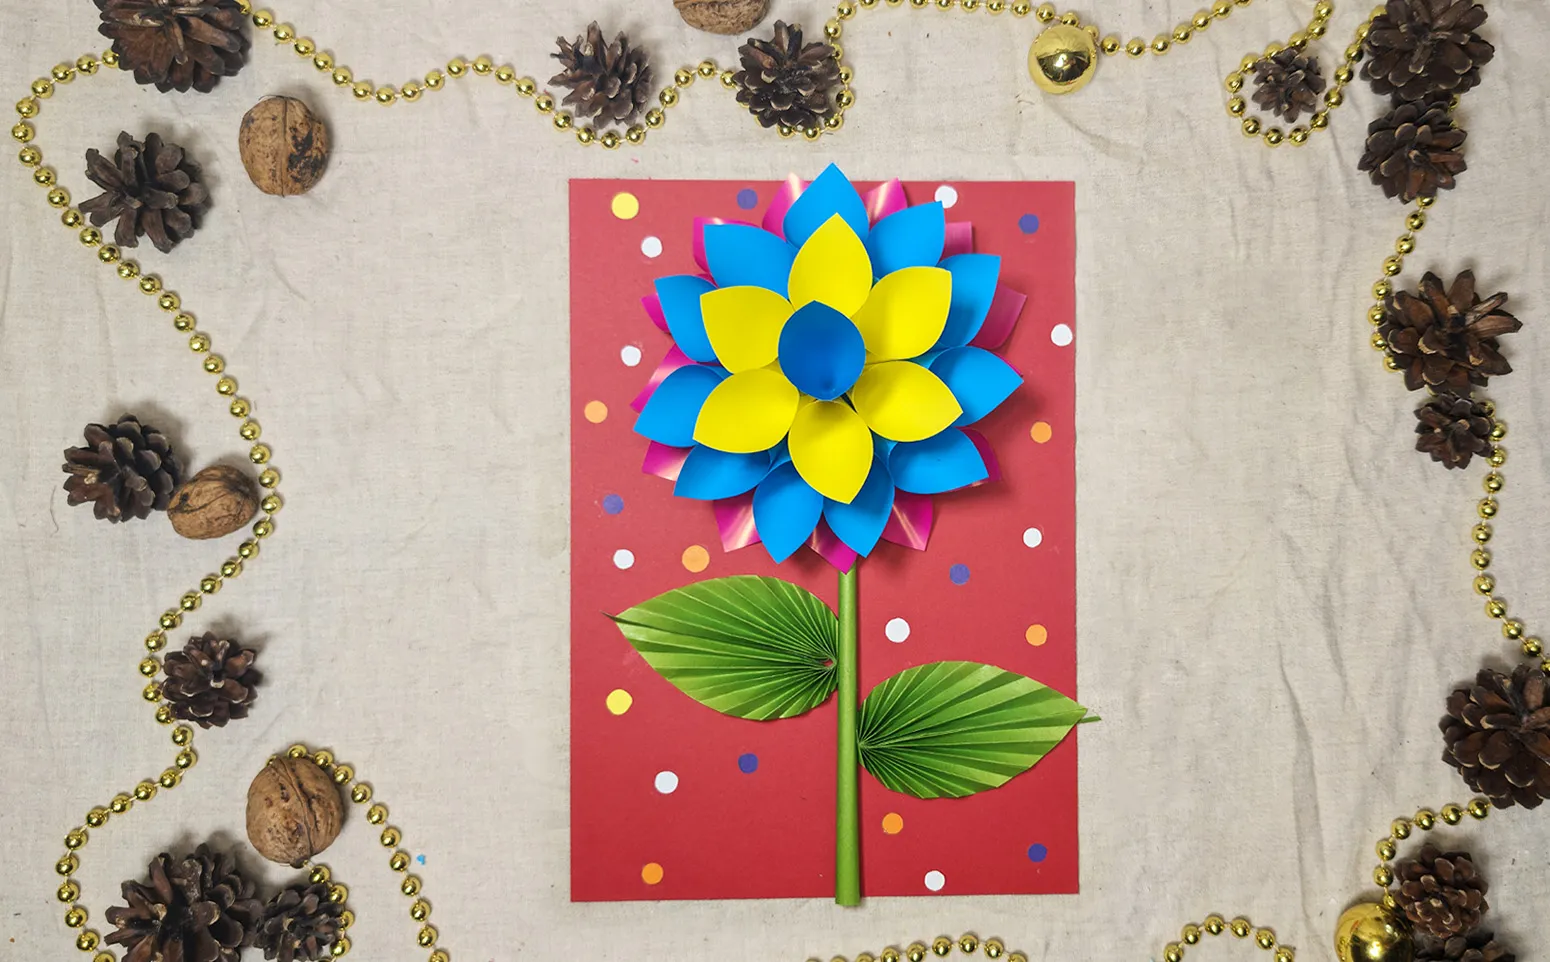
By following these simple steps, a wonderful 3D flower with vibrant colors and three-dimensional shape will be created. Now you can continue and create a whole collection of such flowers, experiment with shades and sizes. Add new elements or combine them with other crafts - such a flower decoration will always look original.
Conclusion
Thank you for your time! I hope the tutorial has inspired you and helped you create a beautiful craft. On our portal, you will find an extensive collection of creative ideas for every theme and age - from simple children's crafts to unique origami. We work for you!
From Vitalii Shynakov
