Craft beautiful 3D flowers with your child: A step-by-step guide
Don't know what to do on a rainy fall day? How about a little creative party with your child, making crafts out of colored paper! Paper flowers and other simple crafts are a great way to spend time together while it's raining outside. Crafting together helps children develop their attention, dexterity and imagination, and gives parents warm moments of togetherness.
Today we are going to make beautiful 3D Blums out of paper - a simple craft that is suitable even for children aged 4 and up. The process is quite simple but exciting: you will cut, glue and decorate to create a bright and vibrant Blum that can decorate the room or become a small gift for the family.
Materials and tools
To create a three-dimensional paper flower, you need very simple and readily available materials. Here's what you should prepare:
- Scissors
- Glue stick or craft glue
- Pencil for marking
- Marker or felt-tip pens for decorating
- ruler
- Colored paper (for petals and flower center)
- Sturdy cardboard (preferably colored, for the base)
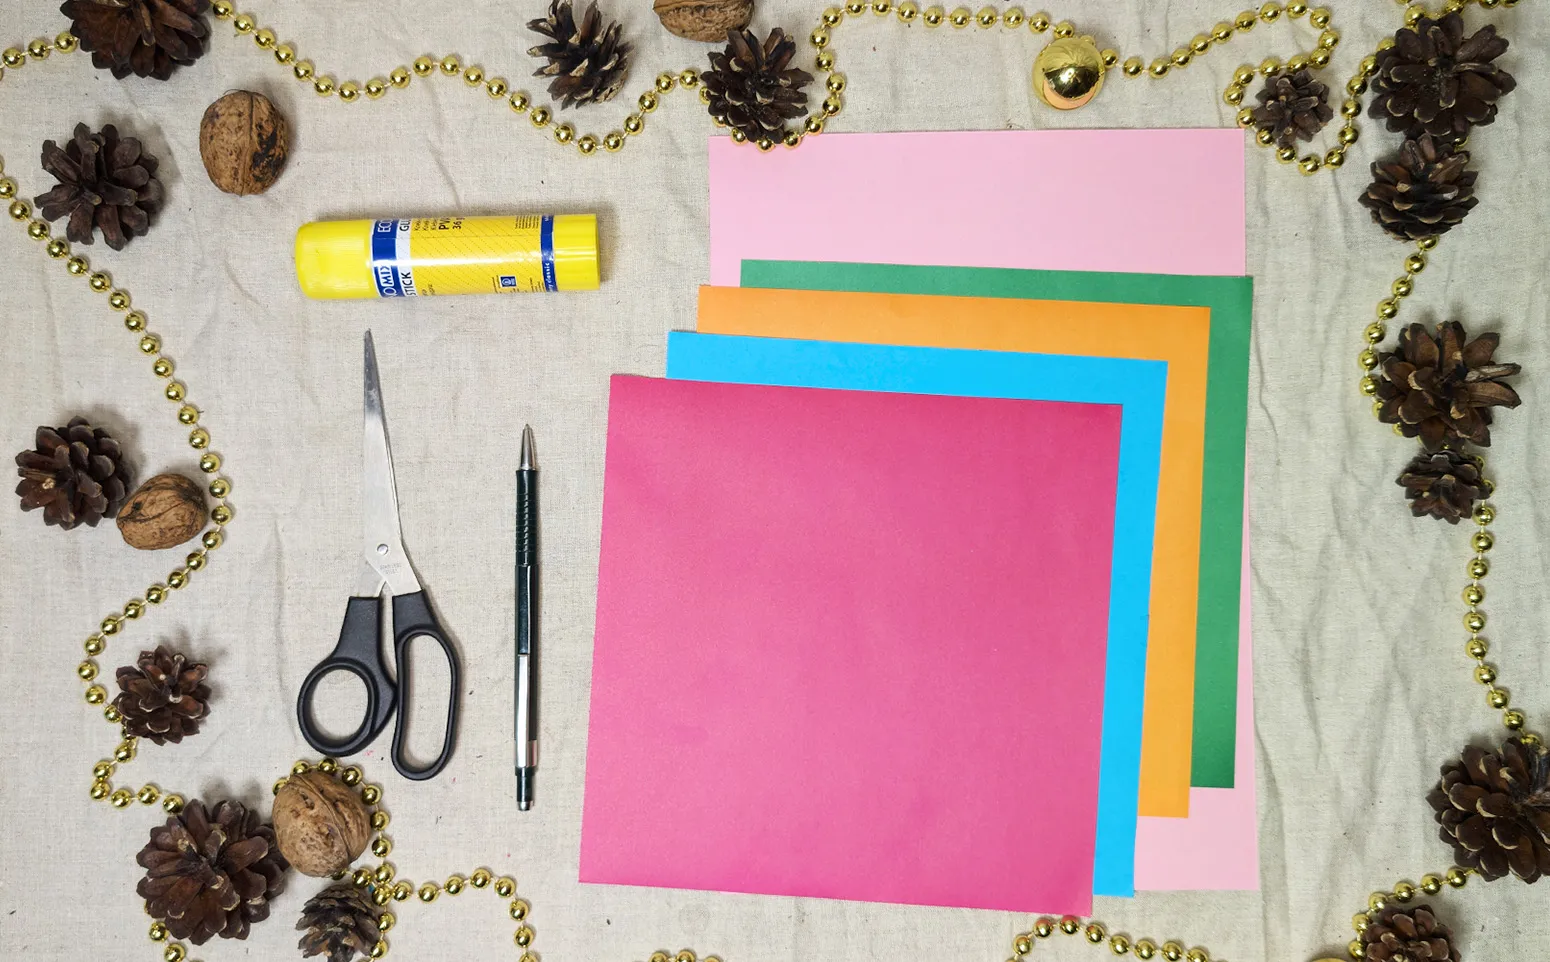
All of these materials are easy to find in the store, and you already have many of them at home. If you don't have colored paper, you can also use normal white paper and color it together with your child. This makes the process even more creative and fun.
Steps to create a three-dimensional Blum out of paper
Step 1: Create a template for the petal and trace it
Start by creating a petal template on cardboard. Draw an elongated oval or teardrop shape. This template will be needed to trace onto colored paper - this will make it easier for the child to create even petals.
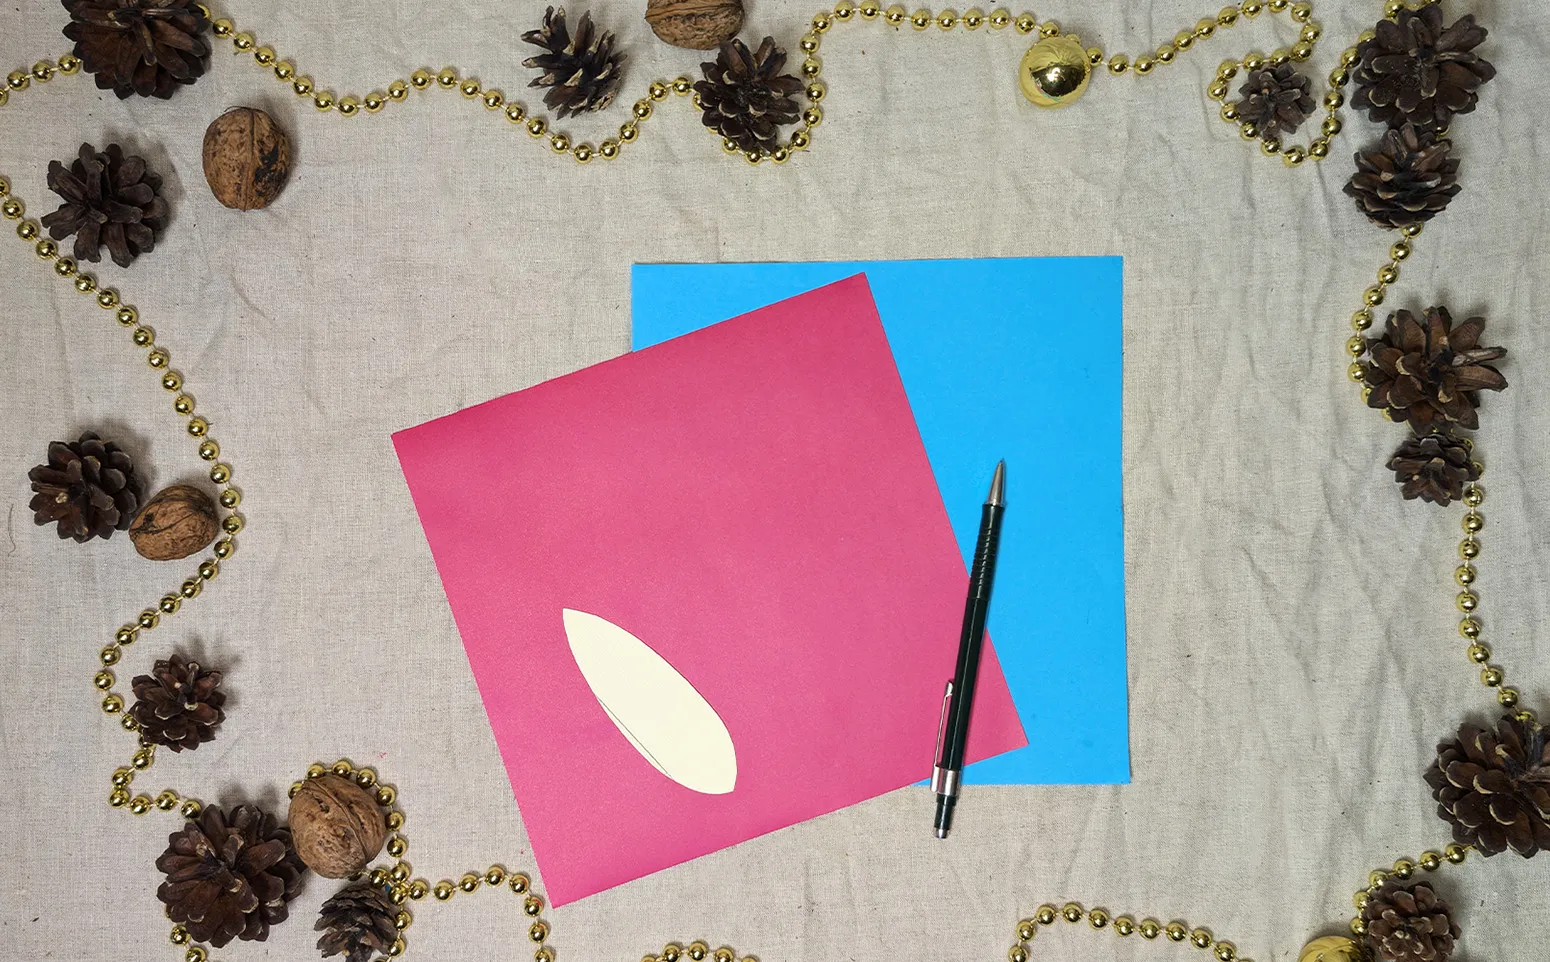
Step 2: Cut out petals in different sizes
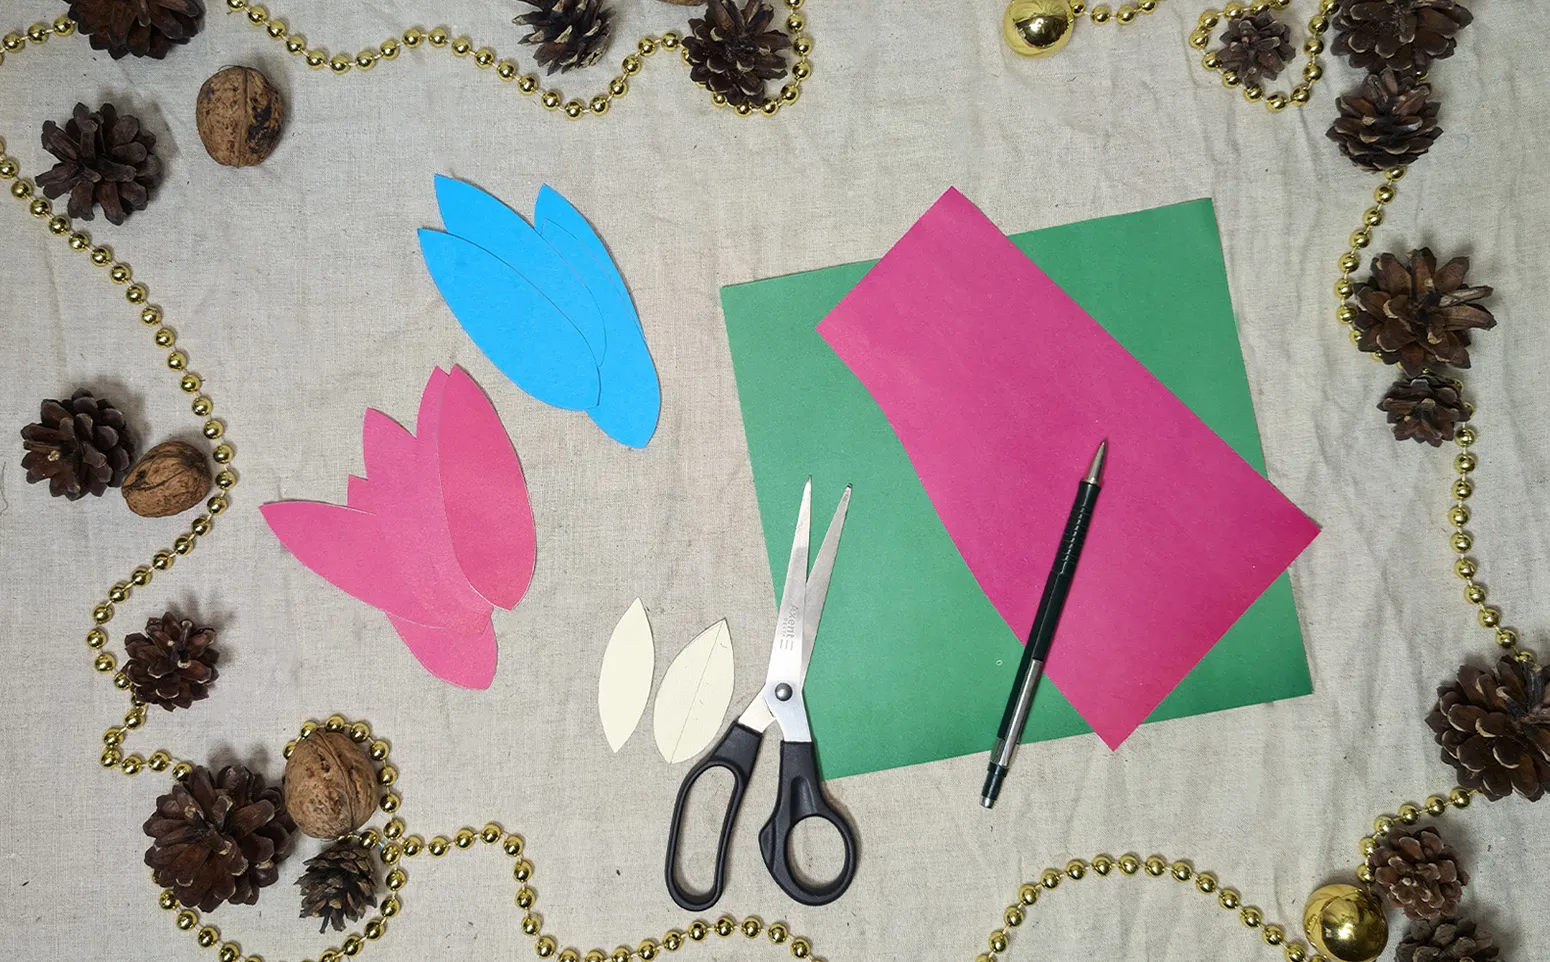
Now carefully cut out all the petals. The main flower needs large petals, which are glued to the center of the composition. Also cut out some small petals for the smaller Blums next to the main flower.
Step 3: Prepare the center of the flower
Use orange or yellow paper for the center of the flower. Fold it three times and cut it into thin strips, leaving an uncut part on one side so that the strips remain connected. Carefully roll the paper to create a fluffy center.
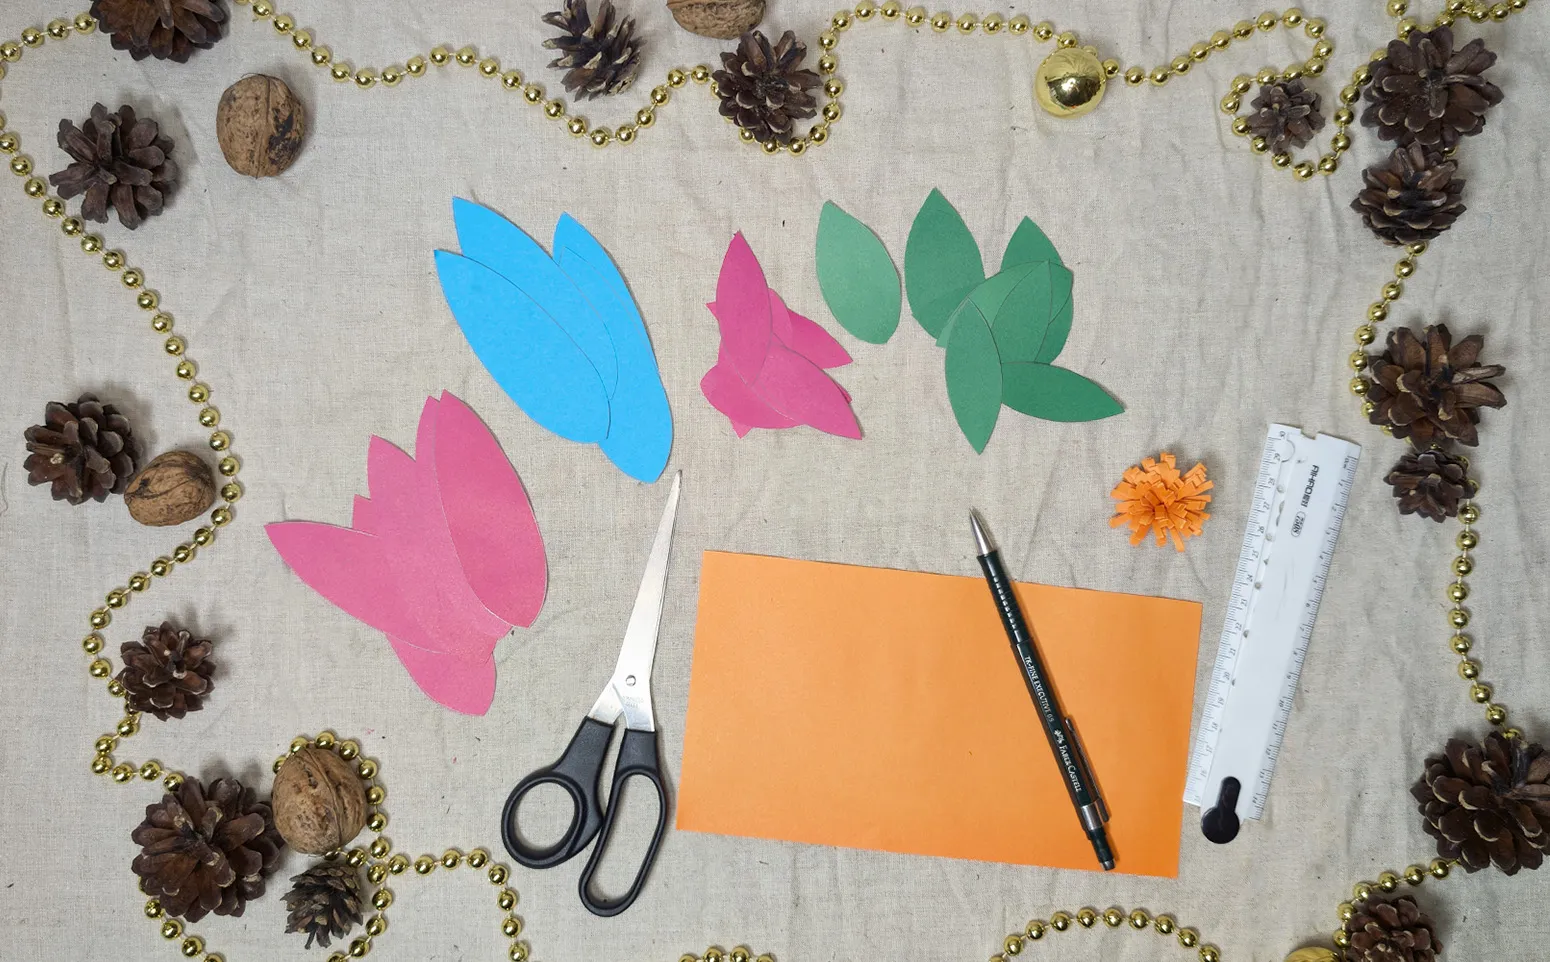
Step 4: Decorate the petals
Now decorate the petals with patterns using markers or felt-tip pens. Draw lines, dots or small patterns to add texture to the petals.
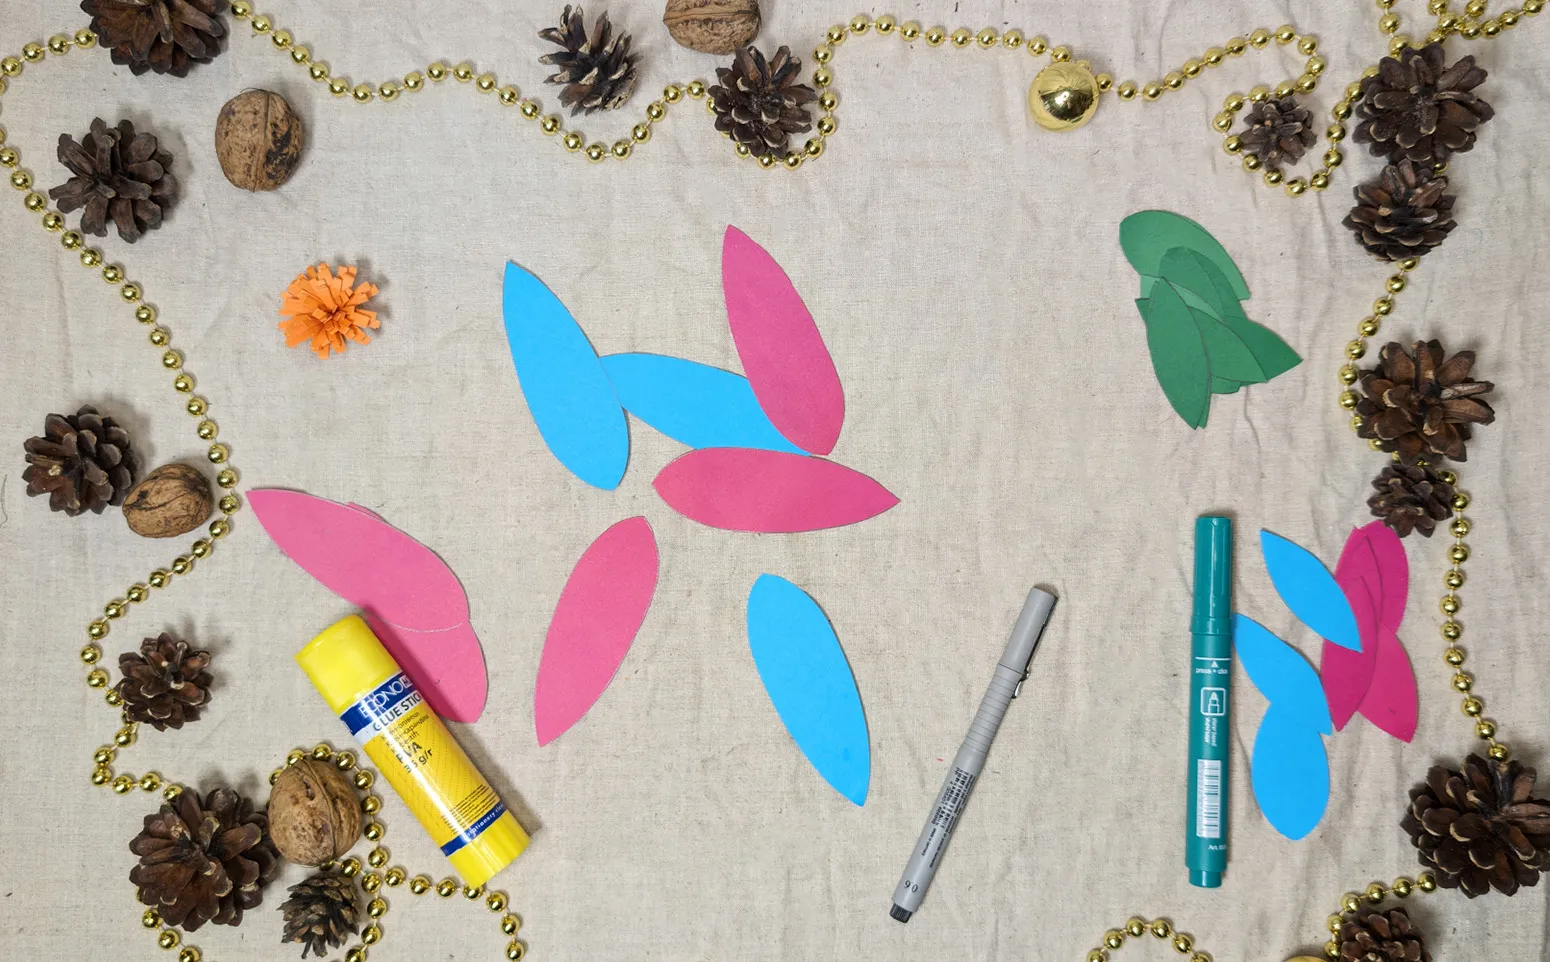
Step 5: Draw stems and glue on the petals
Take a piece of cardboard as a base. Draw some stems on it with a marker where you want to place the main flower and the small Blums. Start by gluing on the petals of the main flower in a circle.
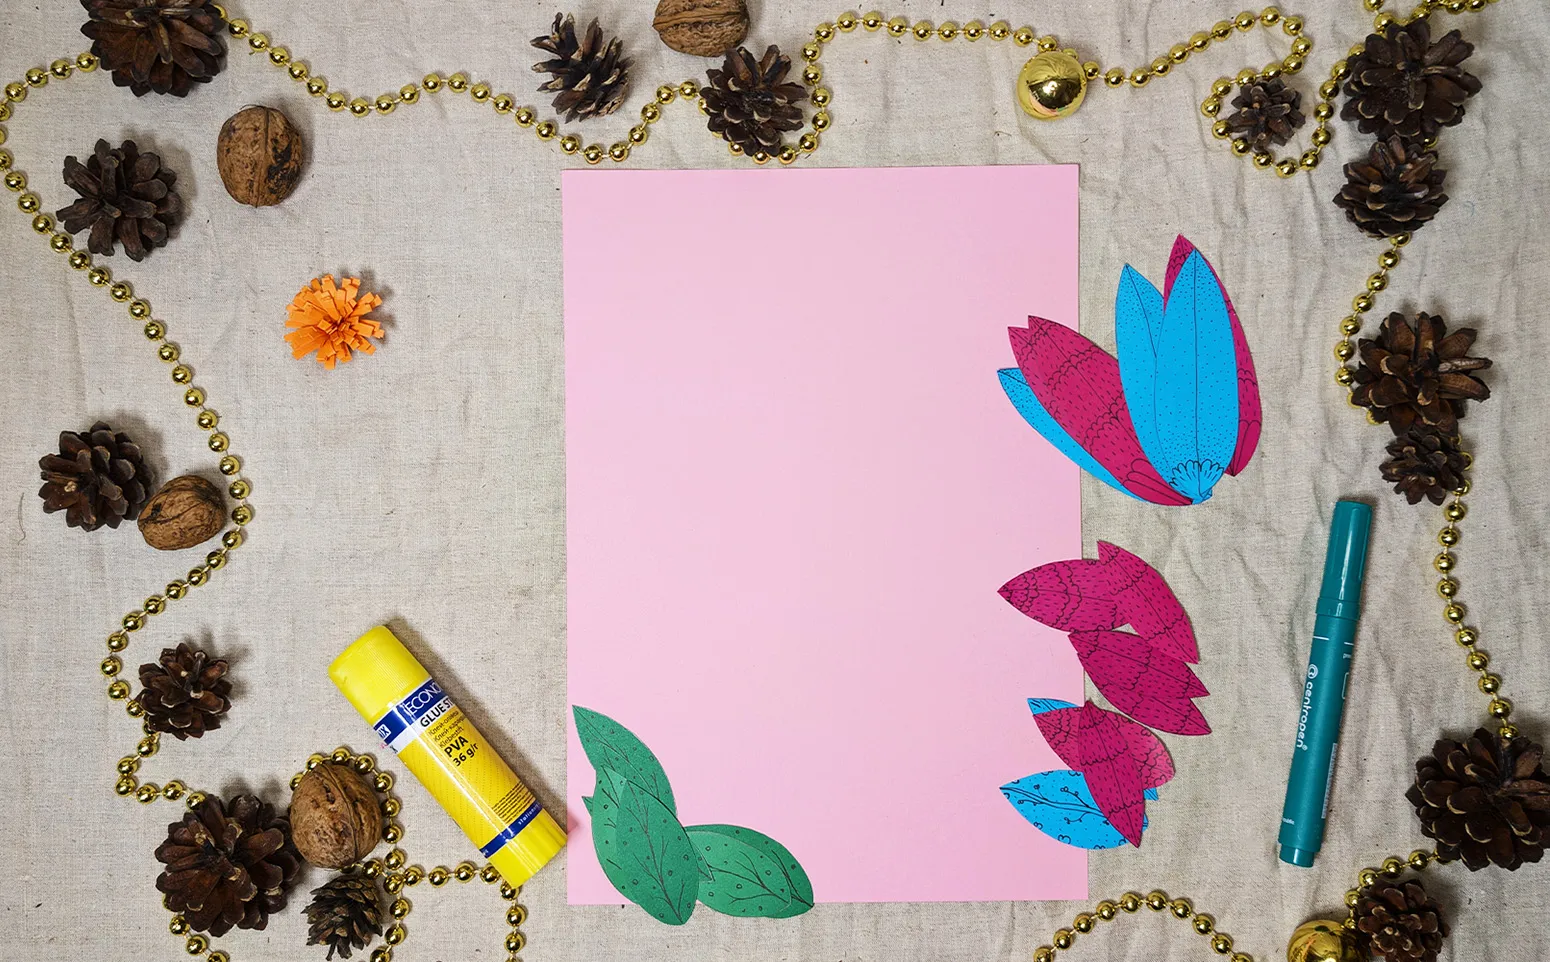
Step 6: Glue on the center of the flower
Complete the main flower by gluing on the center. This will hide the joints of the petals and make the Blum even more vibrant and expressive.
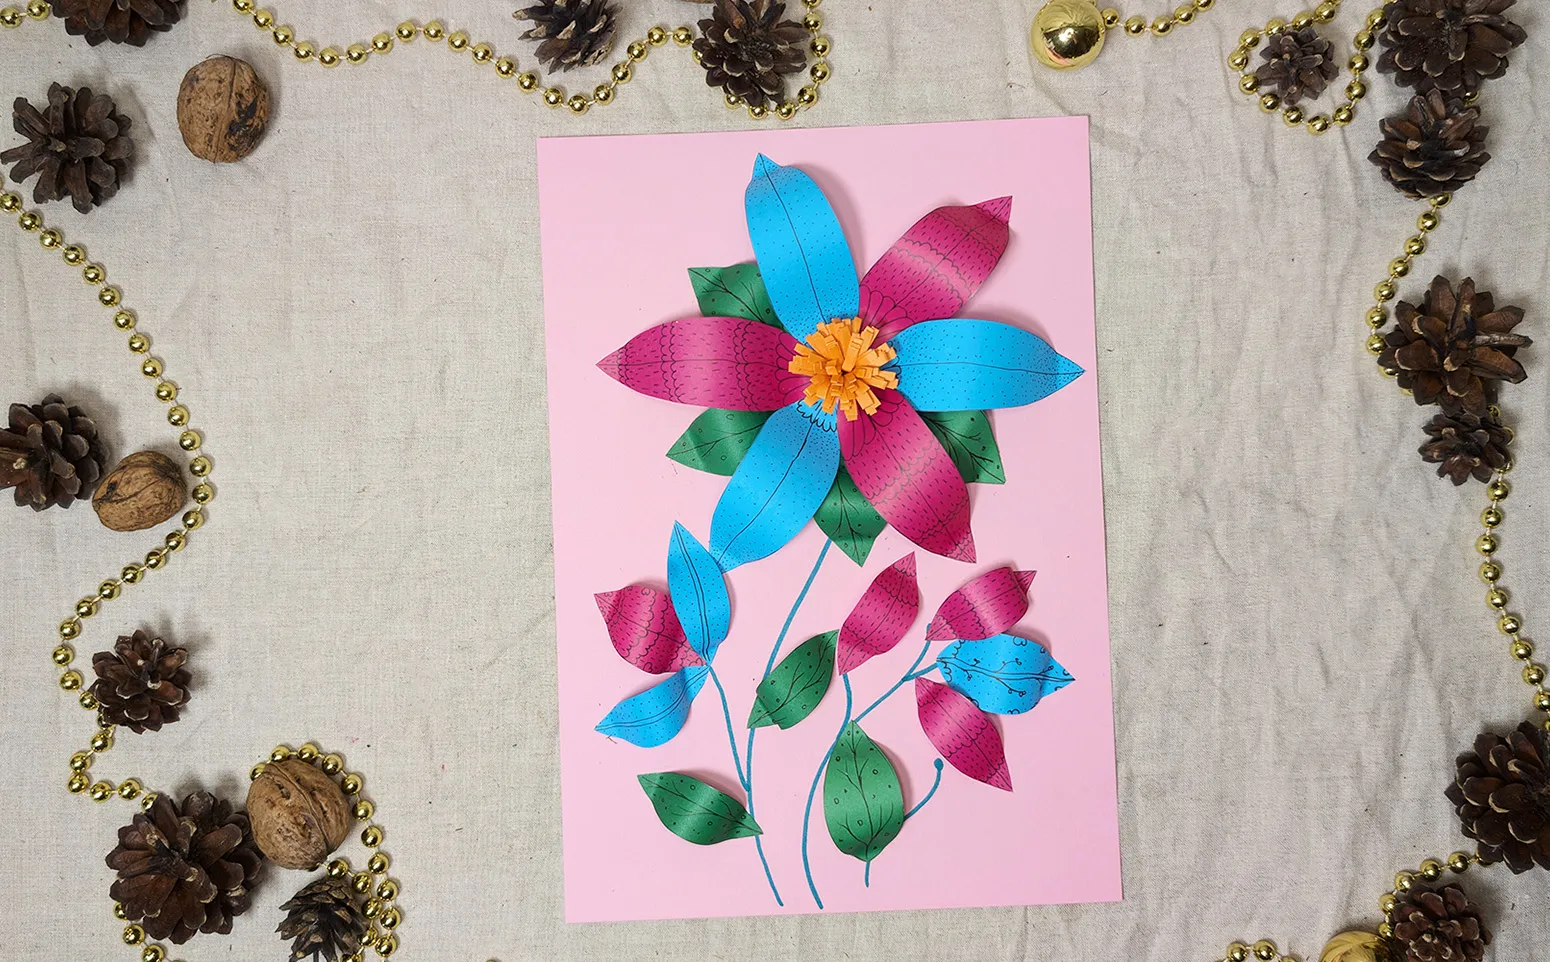
Step 7: Add leaves and final details
Cut out some leaves from green paper. Decorate them with patterns or leaf veins like real leaves and stick them next to the Blums. You can also add glitter or additional elements to give the composition a festive look.
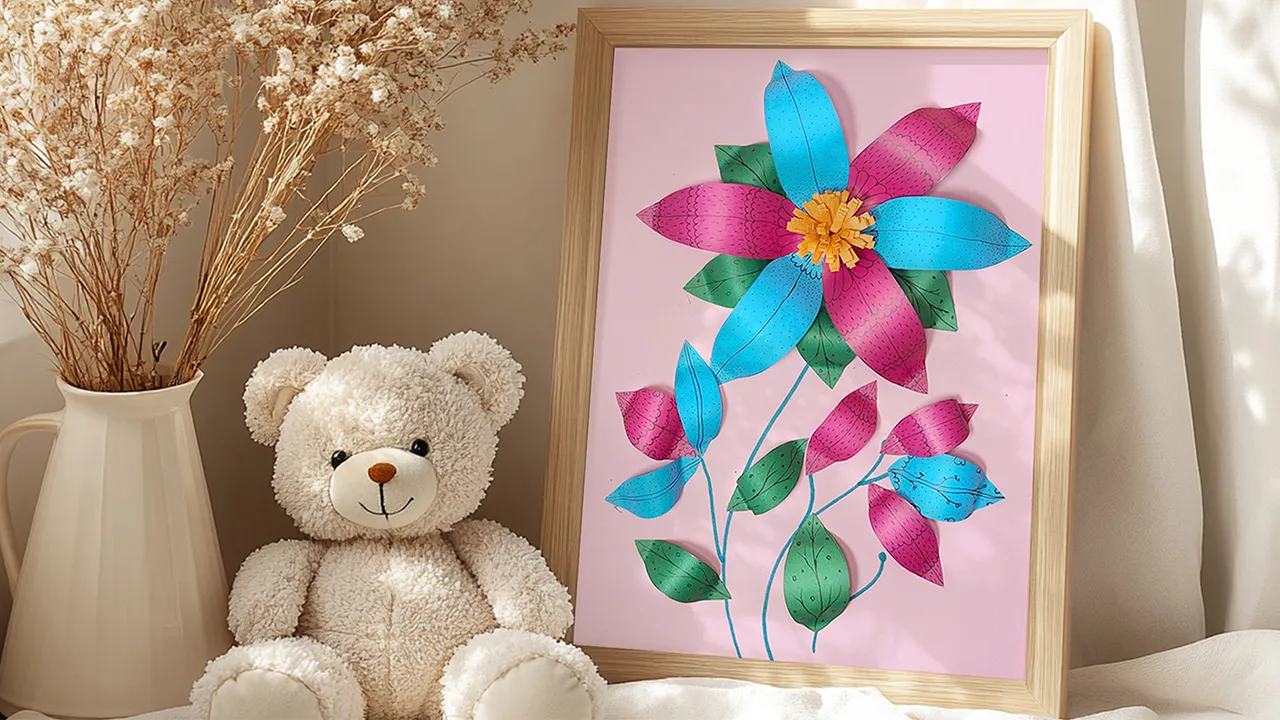
Conclusion
Thank you for taking the time to make these craft instructions! I hope creating the three-dimensional paper flower has brought you and your child joy and inspiration. If you're looking for even more creative ideas, take a look at our other exciting instructions:
- Fascinating origami instructions for beginners and advanced crafters
- Creative napkin folding techniques for festive occasions
- Enchanting 3D paper Blums for every season
On our portal, you will find a large selection of crafting instructions that are perfect for creative hours with your children. From simple kids' crafts to more challenging projects, there's something for everyone. Let yourself be inspired and discover the diverse world of creative crafts!
From Vitalii Shynakov
