3D butterfly made of paper: A step-by-step guide with photos and video
Are you looking for a spring activity for your child? How about crafting a colorful butterfly out of paper together! This is an exciting activity that brings joy to both adults and children. Crafting together helps children develop their attention, care, and fine motor skills, while adults get time for exchange and discovery together.
Today we will craft a colorful paper butterfly that looks extraordinary but is very easy to make at the same time. The craft is suitable for children aged 5 and above and does not take much time, making it an ideal activity for crafting together at home.
It will be a butterfly with colorful wings in the "accordion technique" that gives volume to the wings. We will make it out of colored paper, allowing us to play with different color combinations and give the butterfly a unique look.
Materials and Tools
To make the butterfly, you will need:
- Colored paper (preferably several bright colors for contrasting wings)
- Pencil
- Compass (or a round object for tracing if a compass is not available)
- Scissors
- Glue stick
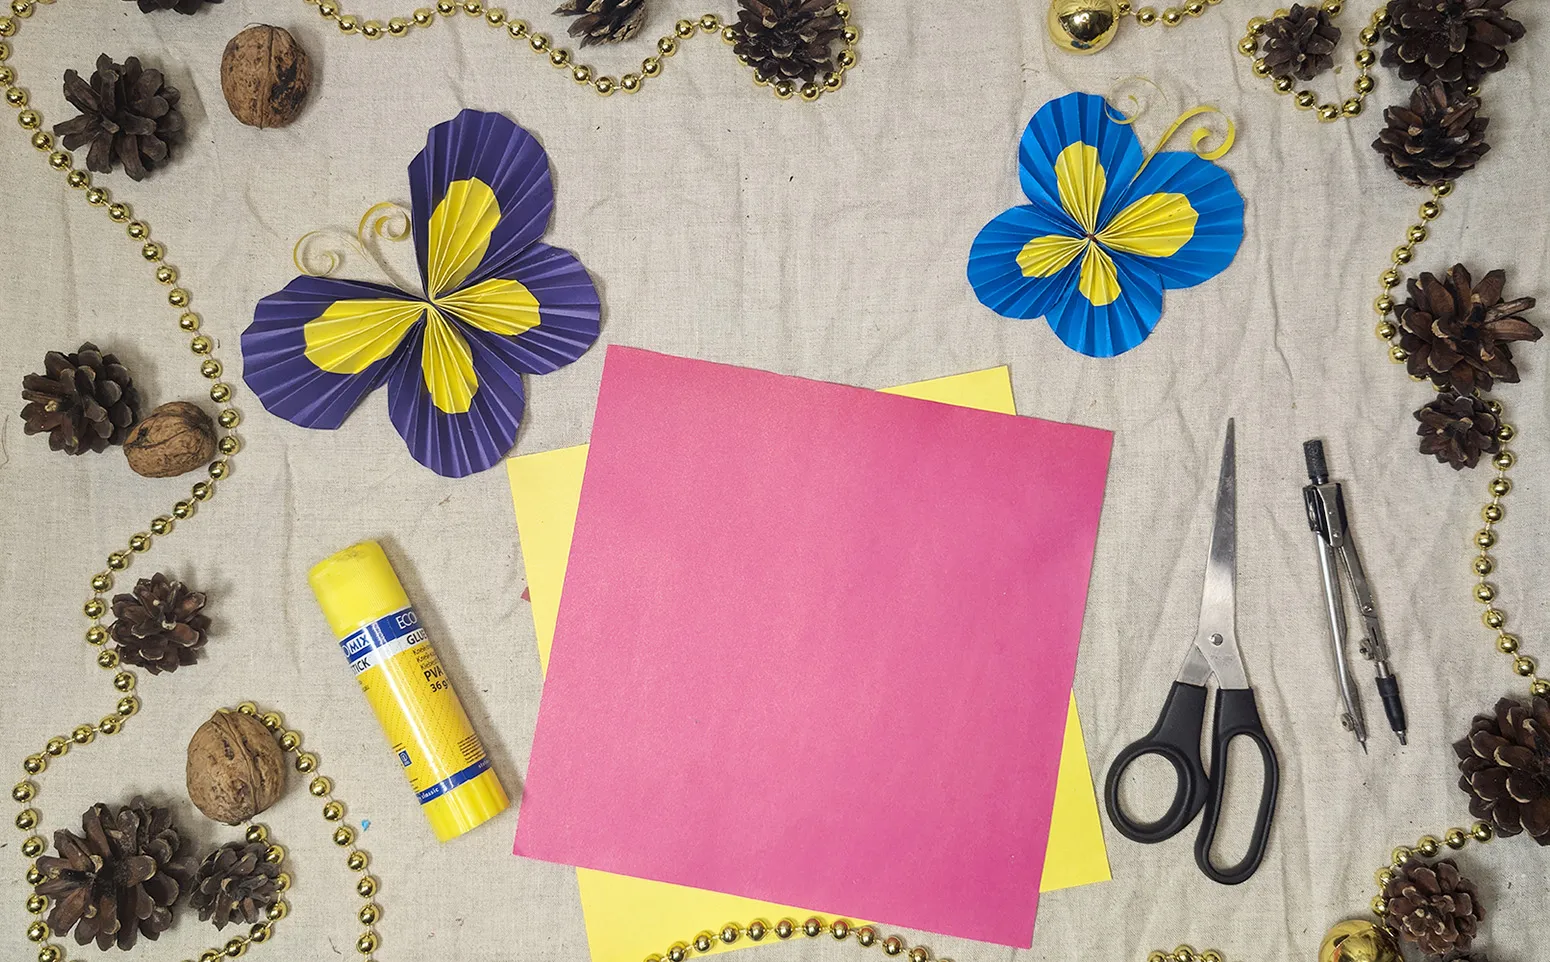
All materials are very accessible, and you probably won't even need to go to the store. Colored paper can be replaced by wrapping paper, old magazines, or even notebook paper if you want to create a butterfly in an "eco-style."
Steps to Create the Butterfly
Step 1: Preparing the Circles
Take two different colored papers - for example, one for the wings and one for the center of the butterfly. Using the compass, draw two circles on each sheet: a larger one with a radius of about 6-7 cm and a smaller one with a radius of about 3 cm.
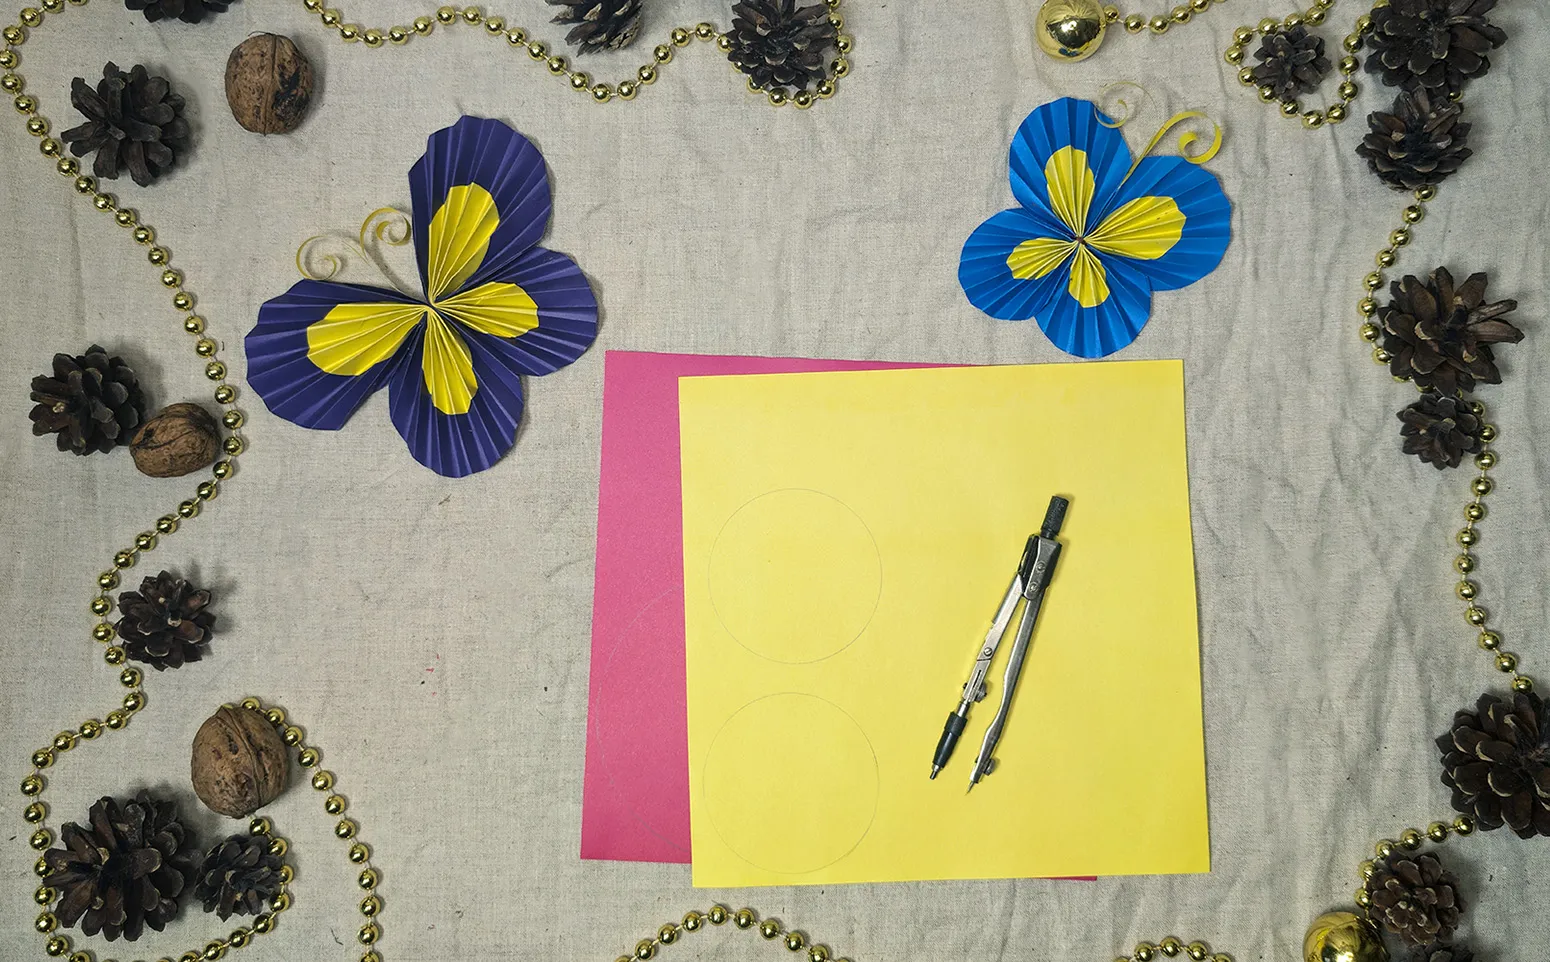
Tip: Choose contrasting colors for the large and small circles to make the butterfly especially colorful.
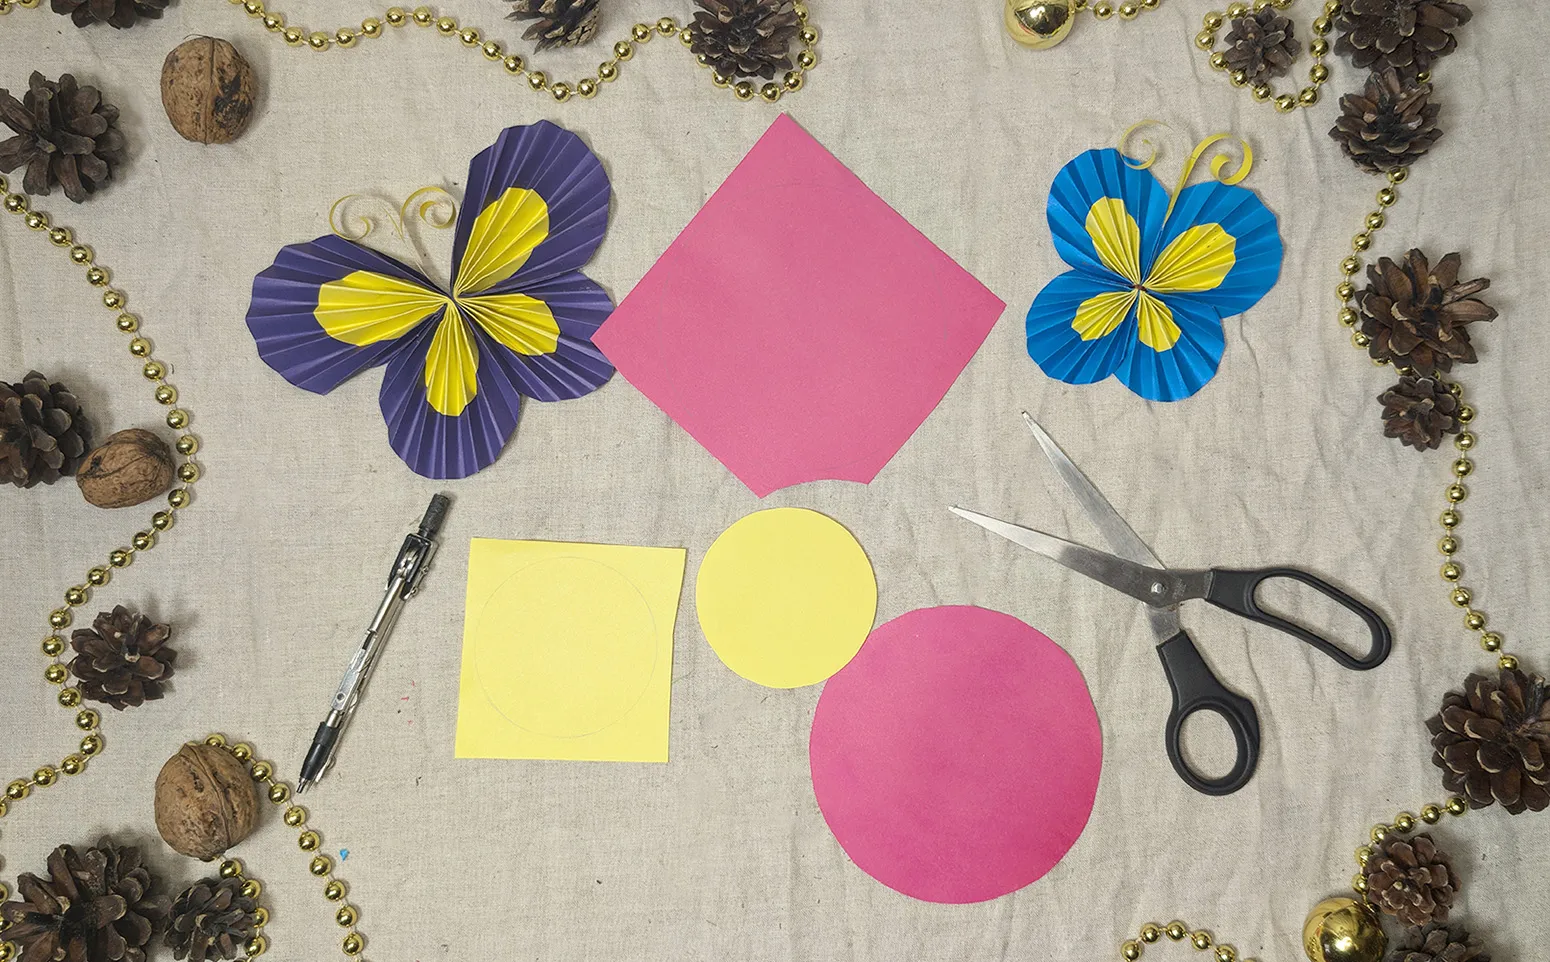
Step 2: Cutting Out the Circles
Carefully cut out all four circles. If the child is just learning to handle scissors, you can outline the lines more clearly or help at the beginning.
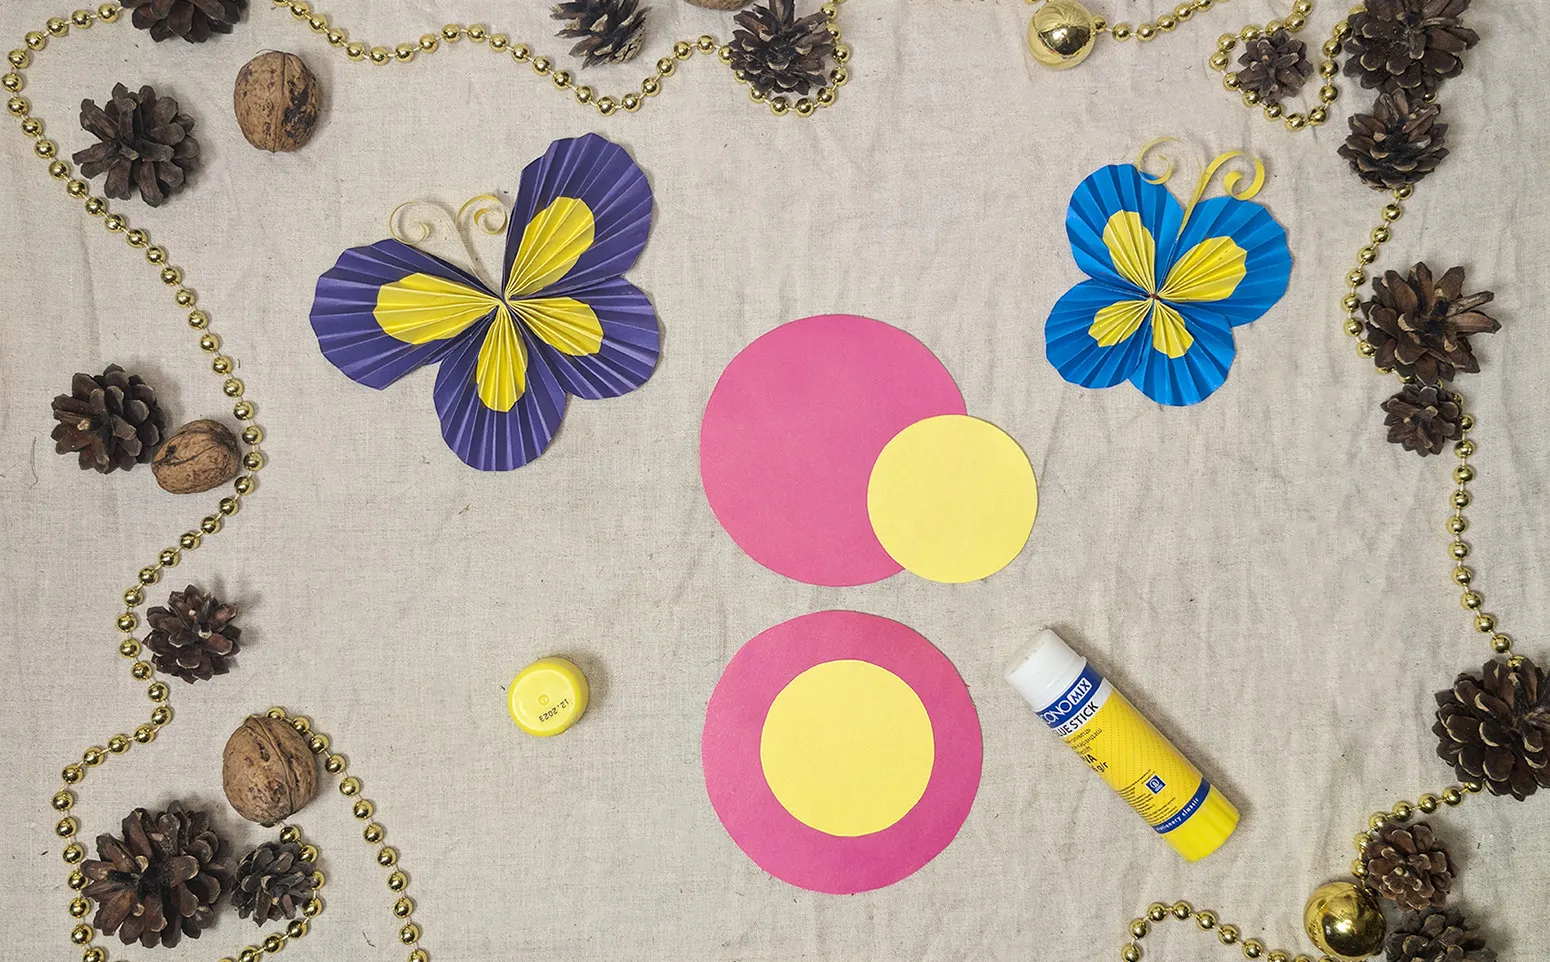
Step 3: Gluing the Circles Together
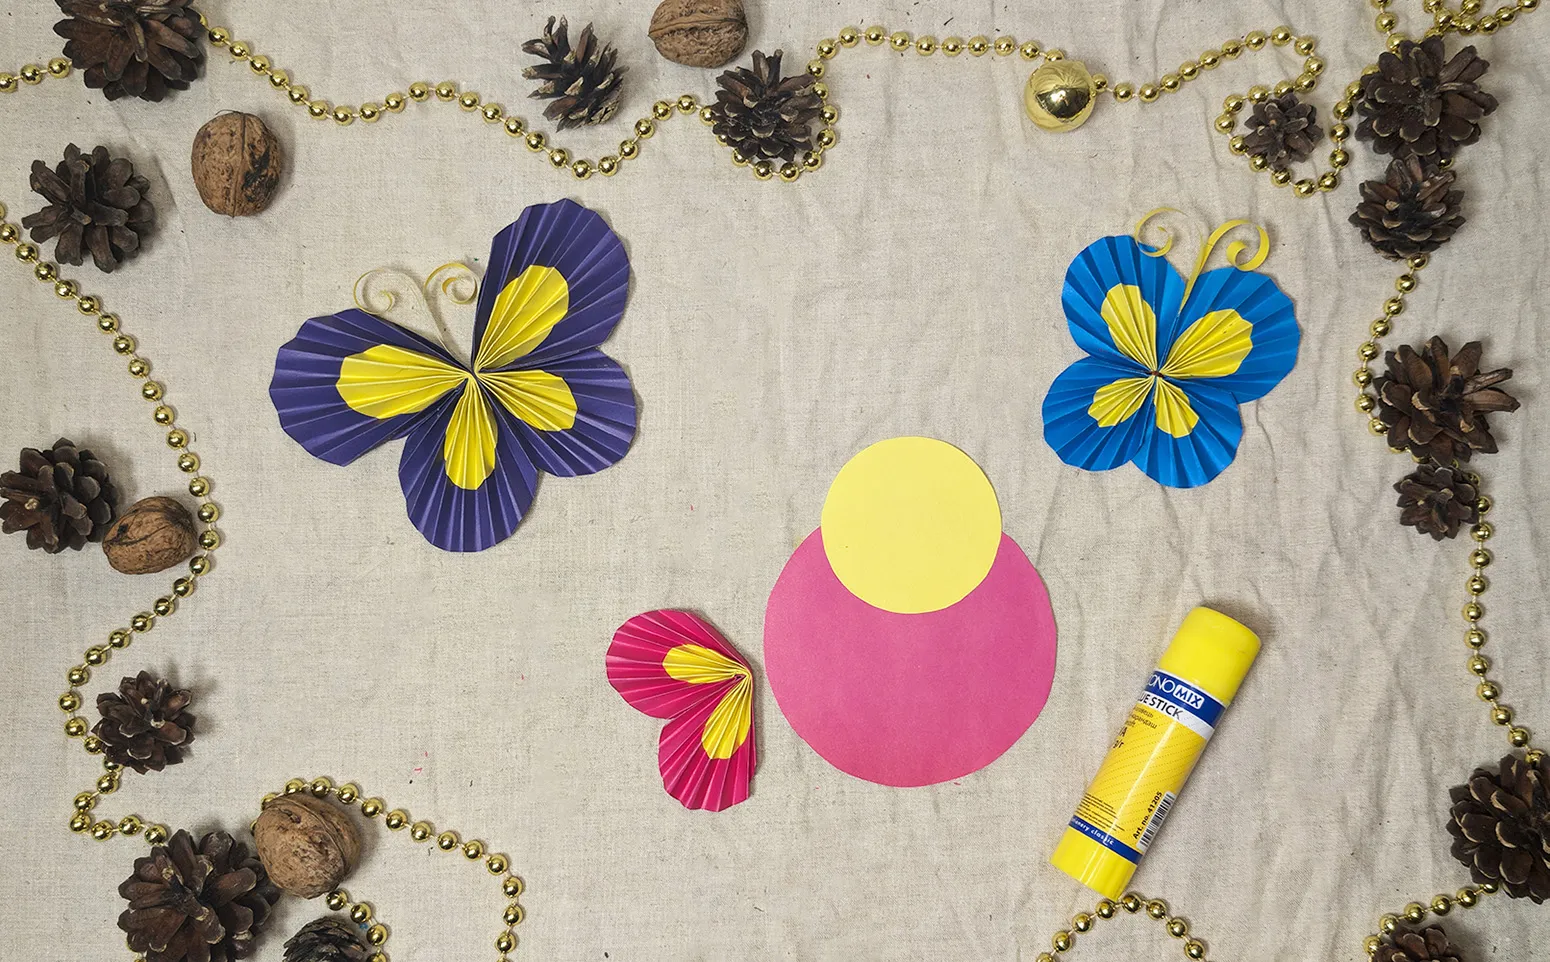
Take the large circle and glue the small circle in the center. This creates a contrast and makes the butterfly more vibrant and interesting.
Step 4: Folding the Accordion
Fold the circles like an accordion by folding them horizontally to create the wing texture. Then fold the folded circle in the middle, creating a fan-shaped semicircle.
Step 5: Gluing the Wings Together
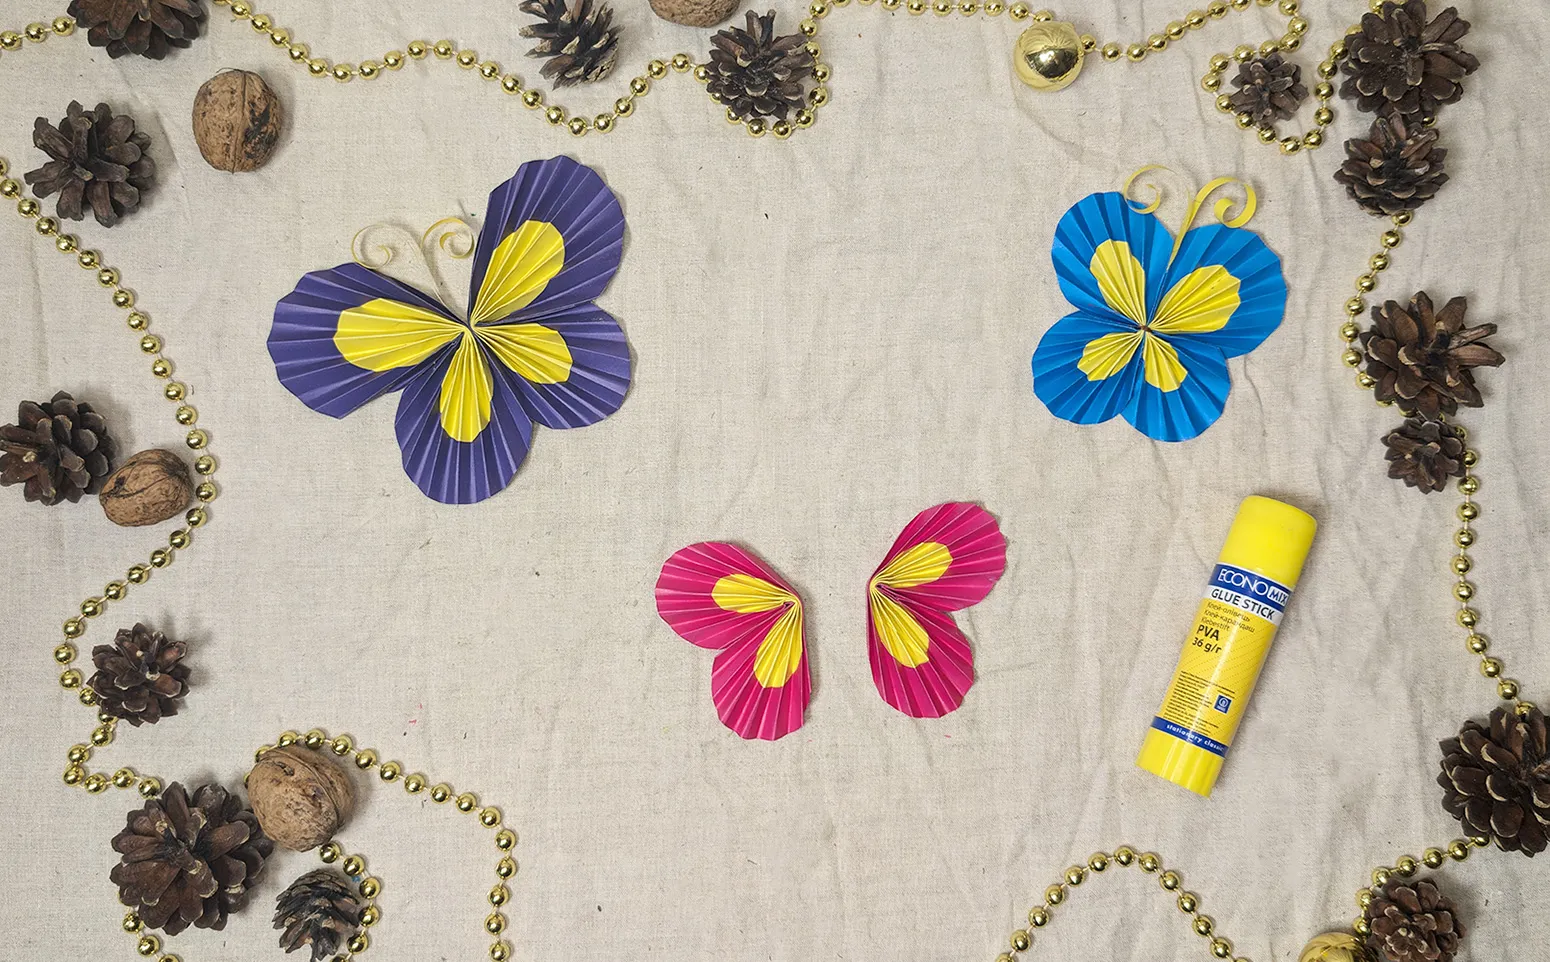
Repeat the same steps with the other pair of circles. Once both "accordions" are ready, glue them together on one side to create two wings connected in the middle.
Step 6: Adding Antennae and Decorating
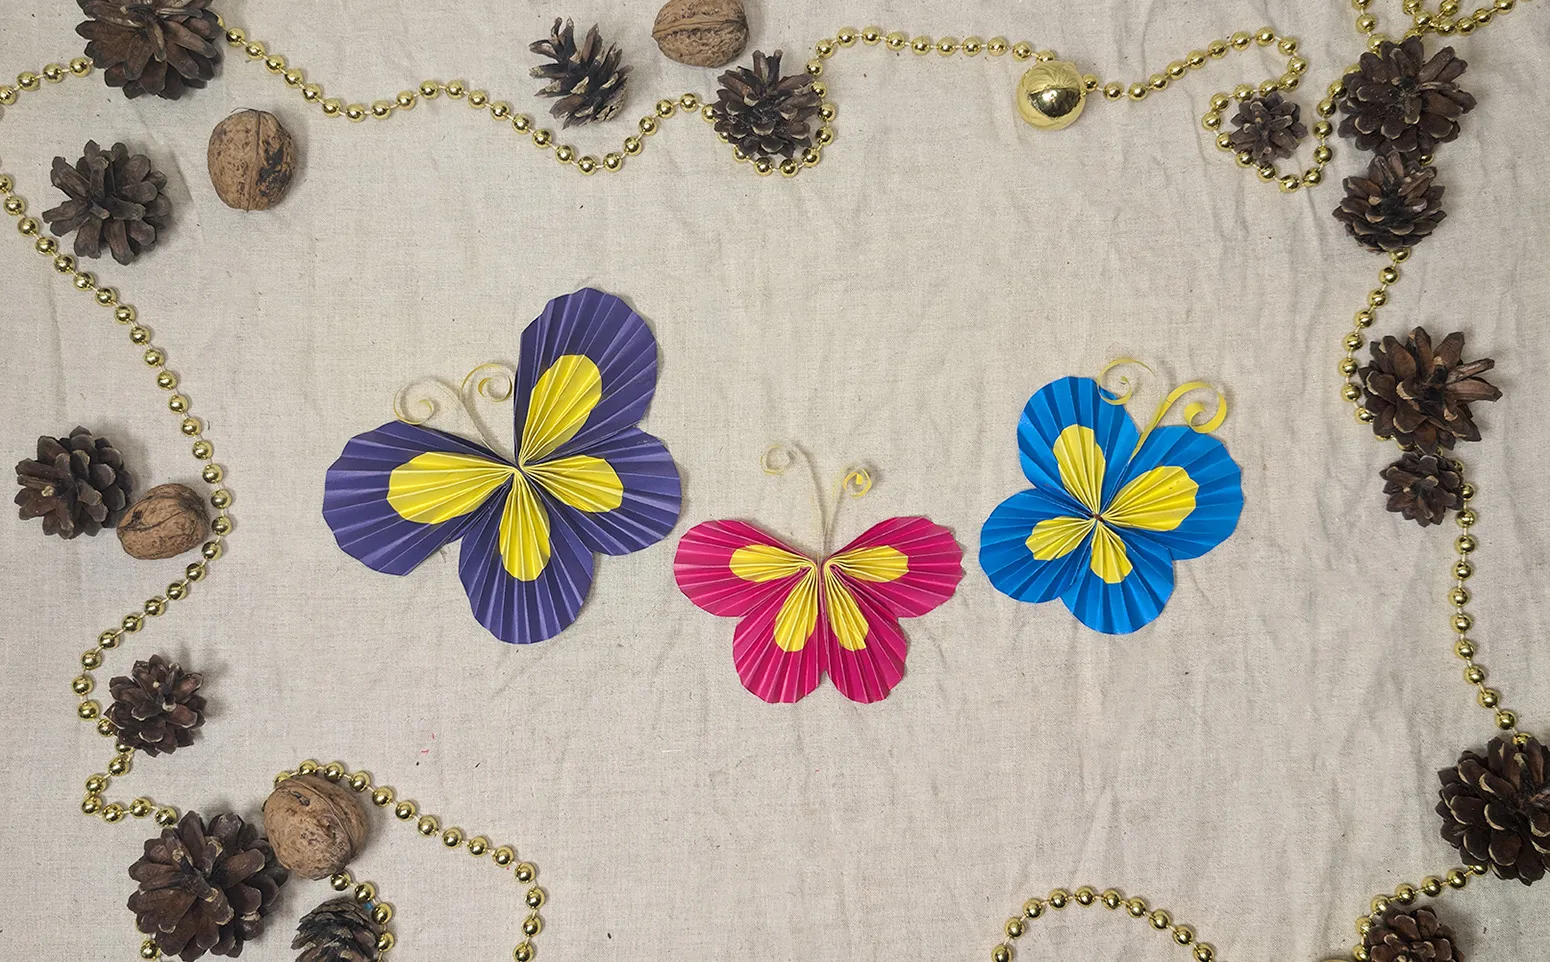
The butterfly is almost ready! Now add the antennae by rolling small strips of paper and gluing them in the middle of the butterfly. If you wish, you can also decorate the wings with patterns or add glitter.
Conclusion
Thank you for choosing our crafting guide! I hope it has inspired you and helped you spend quality time with your child. Visit our portal - we have many more creative ideas for you:
- Origami Tutorials ▷ We have tutorials for children and adults
- Napkin folding ▷ Tutorials and videos
- Craft ideas for kids ▷ You will have a great time with your child
On our portal, you will find a wide range of crafting guides that are perfect for creative sessions with your children. From simple kids' crafts to more challenging projects, there is something for everyone. Let crafting become a family tradition that brings joy and inspiration every day!
From Vitalii Shynakov
