Christmas house: Instructions with photos and video
Are you looking for a creative Christmas idea for children? Let's make a Christmas House out of cardboard together! This exciting activity brings joy, connects the family, and creates a Christmas atmosphere.
On cold winter days, when you can't spend much time outside, it's a great idea to spend time at home crafting a cozy decoration. The cardboard house will be a wonderful addition to your Christmas decor, which you can place under the Christmas tree, on the windowsill, or next to the fireplace.
Creating the house helps children develop their imagination, learn to be meticulous, and be creative. Working with materials, painting, and decorating - all of this will excite them, and the finished result will fill them with pride.
Materials and Tools
For your Christmas house, you will need these simple materials:
- Cardboard
- Styrofoam
- Paints (Acrylic or Gouache)
- Decorative spatula or acrylic paint
- Napkins for decoupage
- Brushes
- Hot glue gun
- Scissors or cutter
All materials are easy to find at home or to buy at any craft store. You can add your items as desired, such as glitter, foil, or artificial snow for additional decoration.
Material preparation doesn't take much time, and the costs of crafting are minimal. A homemade house brings much more joy than a ready-made decoration from the store.
Safety Rules
Working with scissors and glue requires attention, especially when crafting with a child. Here are some tips to make the process safe:
- Supervise the work with tools. Craft knives and hot glue guns must be used carefully. Explain to the child how to properly hold scissors and help with difficult steps.
- Organize the workspace. Cover the table with paper or foil beforehand to protect the surface from glue and paint. Lay out all materials so that the child can easily access the necessary items.
By ensuring safety, you can fully focus on crafting and enjoy the process.
Step-by-Step Guide for Building a Christmas House: Video, Photo, Description of Steps
Step 1. Cut out Walls and Windows
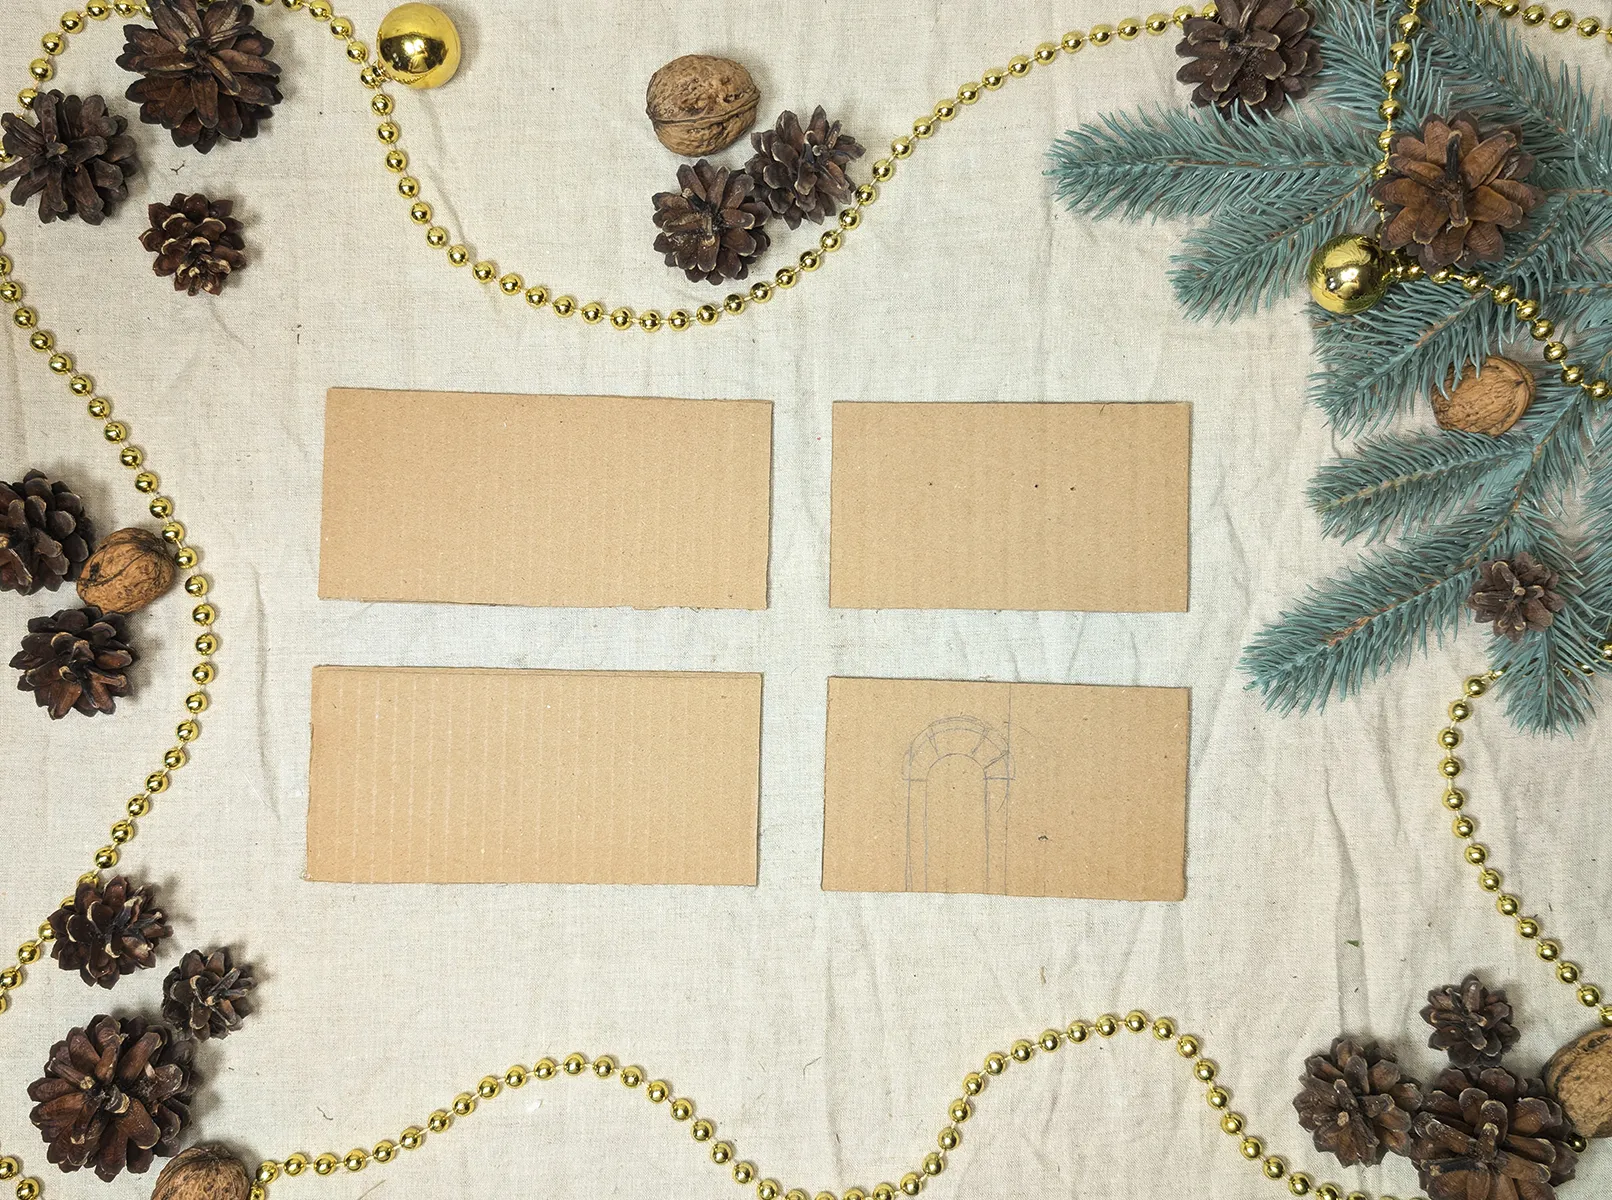
Take sturdy cardboard and cut out 4 equally sized rectangles - these will be the walls. Use a pencil and ruler to mark the locations for windows and a door. For more accuracy, use a template. After marking, carefully cut out the openings with scissors or a craft knife.
Step 2. Glue Walls Together
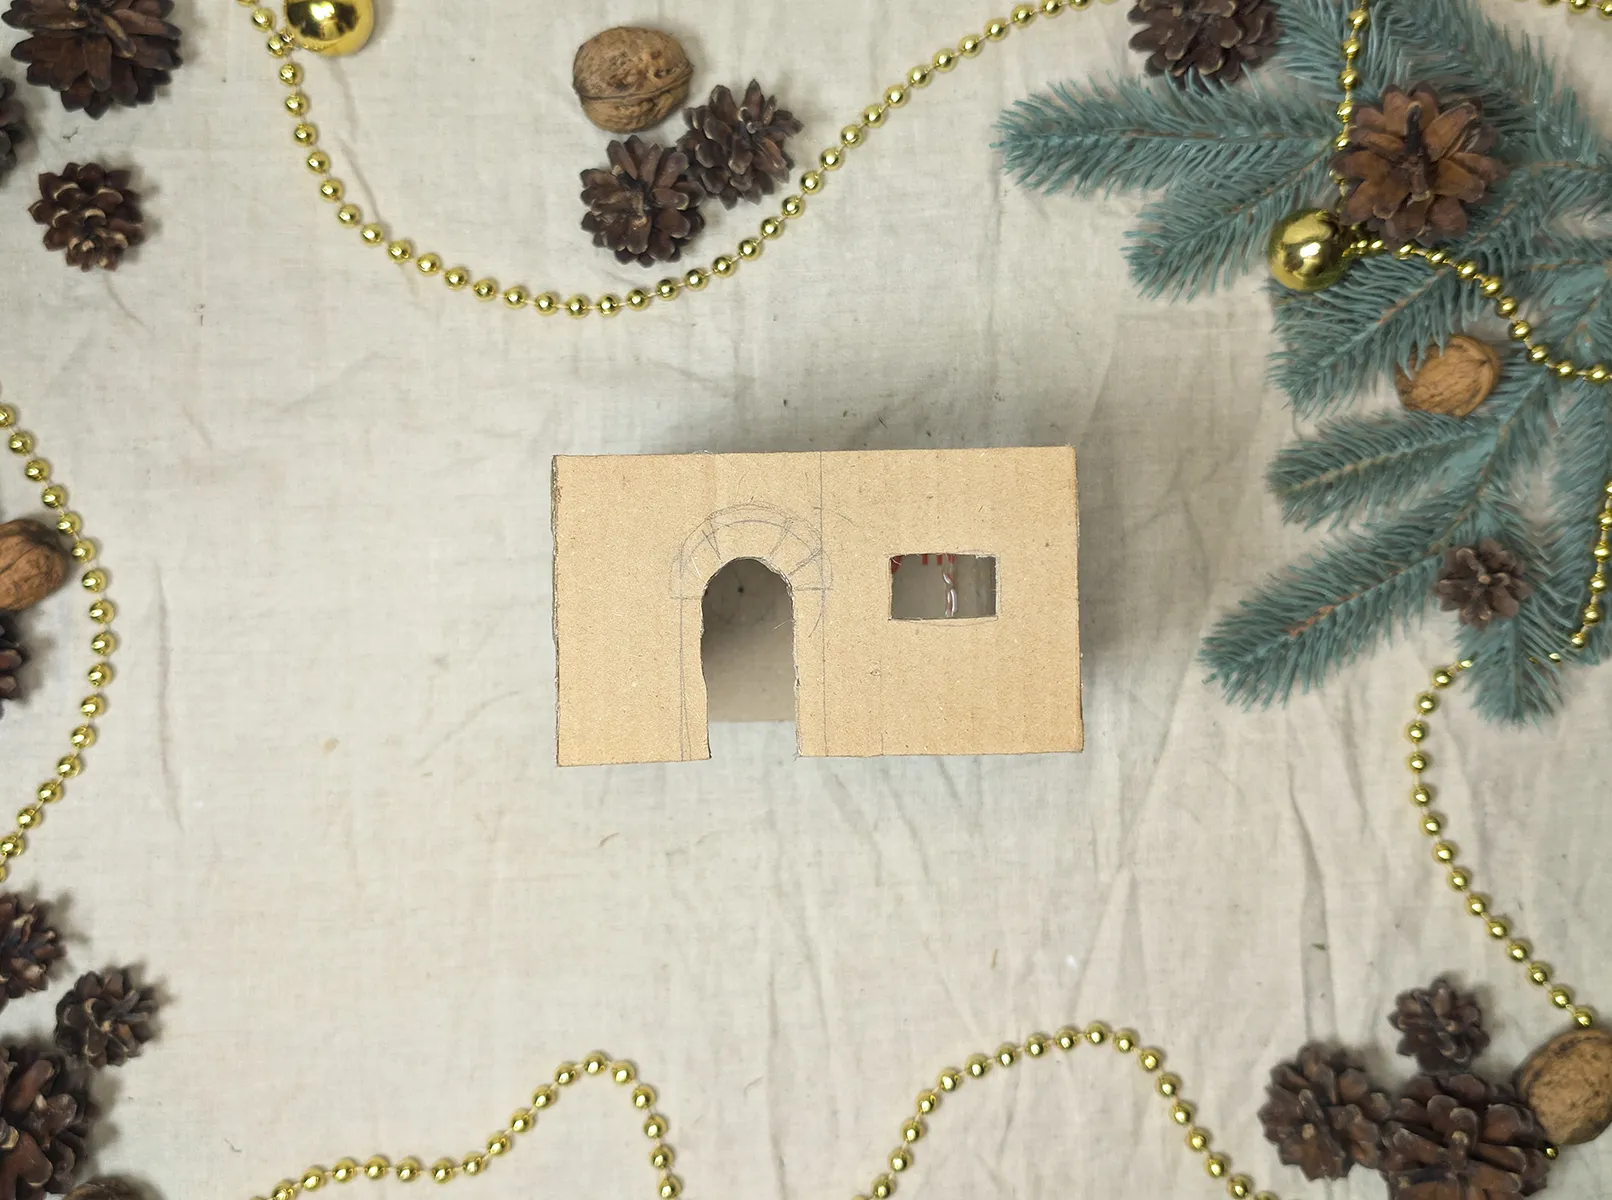
Glue the cut-out walls together with the hot glue gun. Ensure the corners are straight and the structure stands stable. Hold the parts if needed for a few seconds to allow the glue to adhere properly.
Step 3. Attach First Floor Ceiling
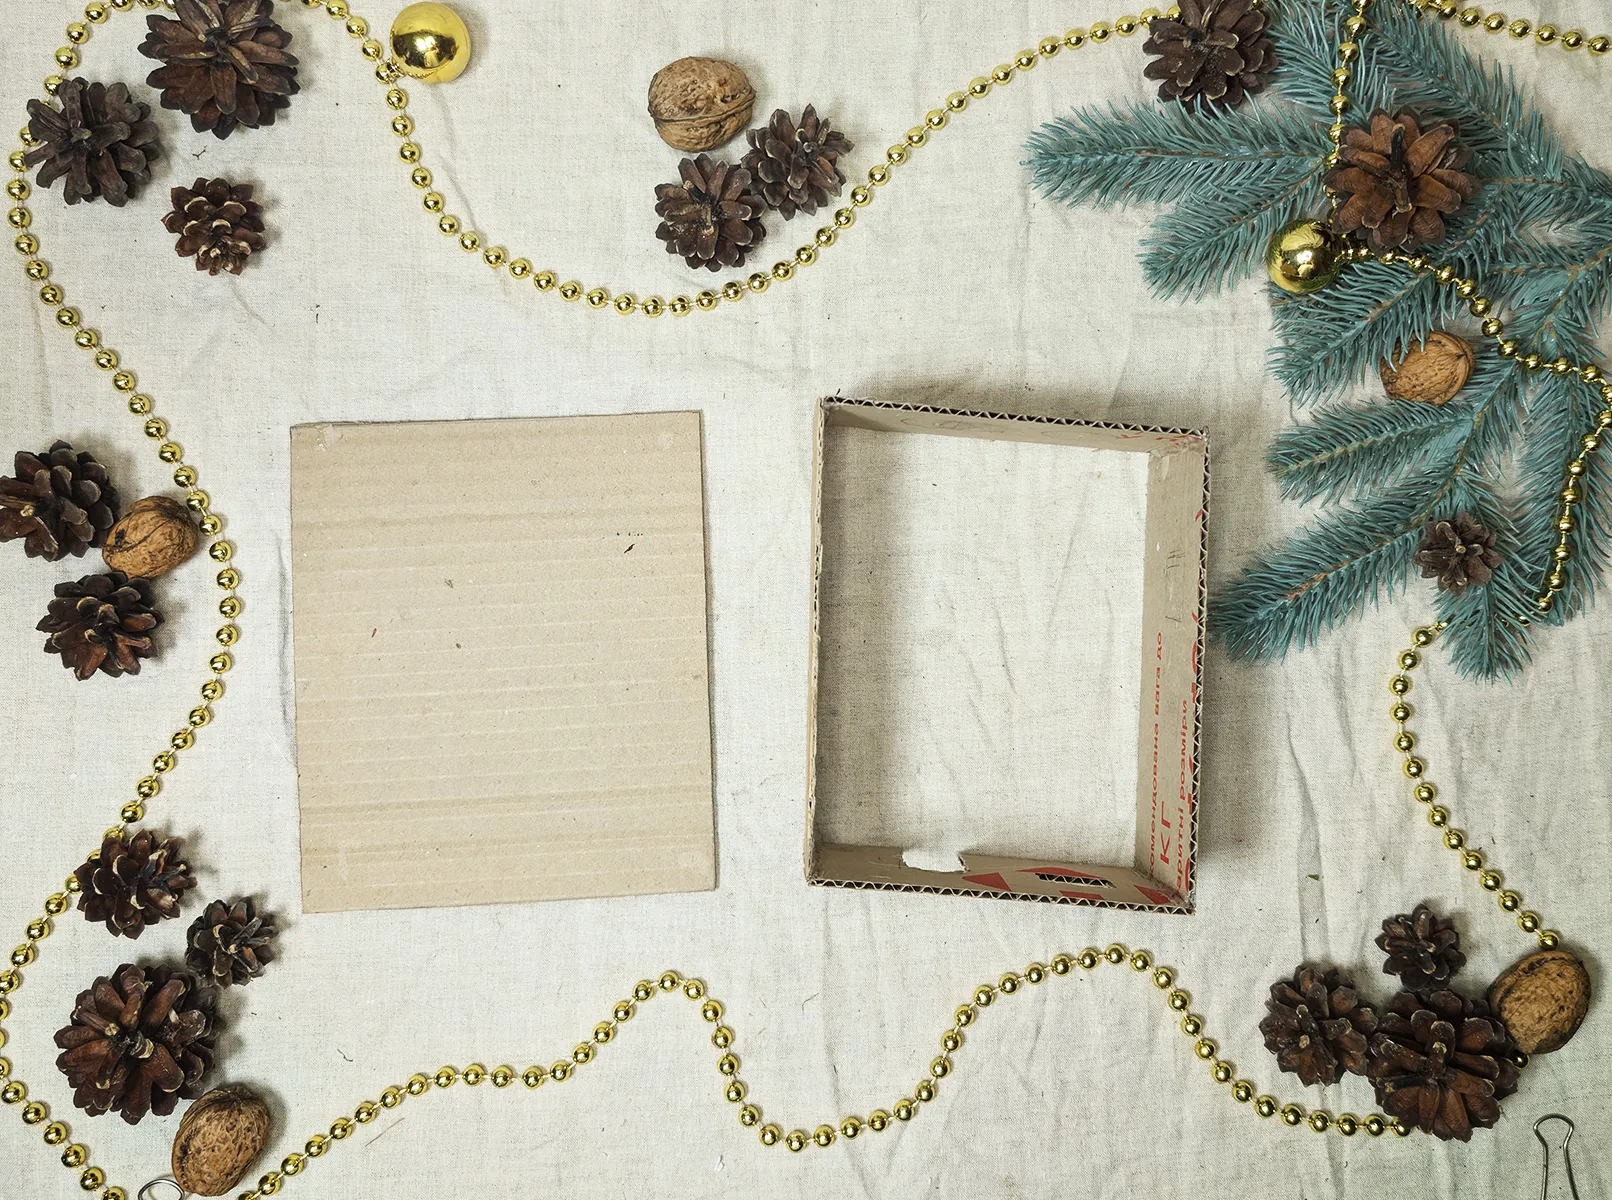
Cut out a rectangle from cardboard that matches the base area of the walls and glue it on top as the ceiling of the first floor. It serves as the base for the second floor.
Step 4. Styrofoam Bricks
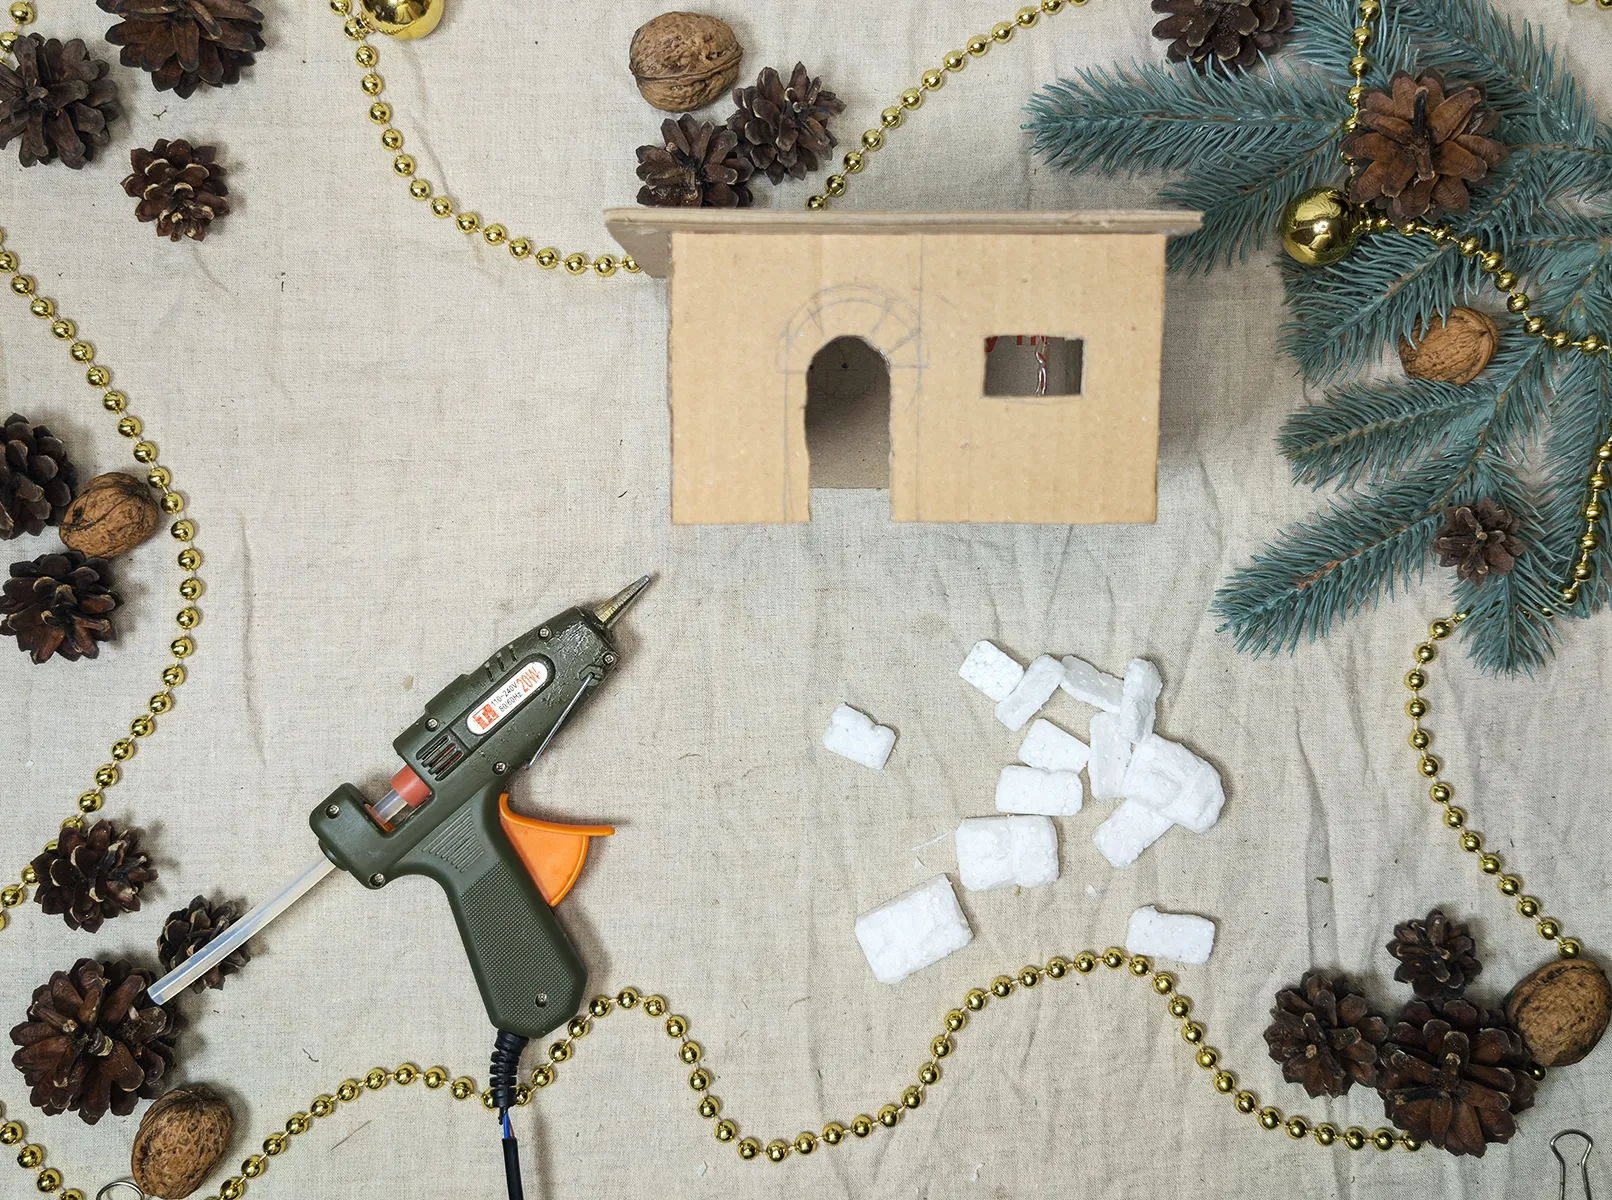
Take a piece of styrofoam and cut out small rectangles (2x1 cm) from it. These will be the bricks. Glue them in a checkerboard pattern with small gaps on the house walls.
Step 5. Glue Walls with Napkins
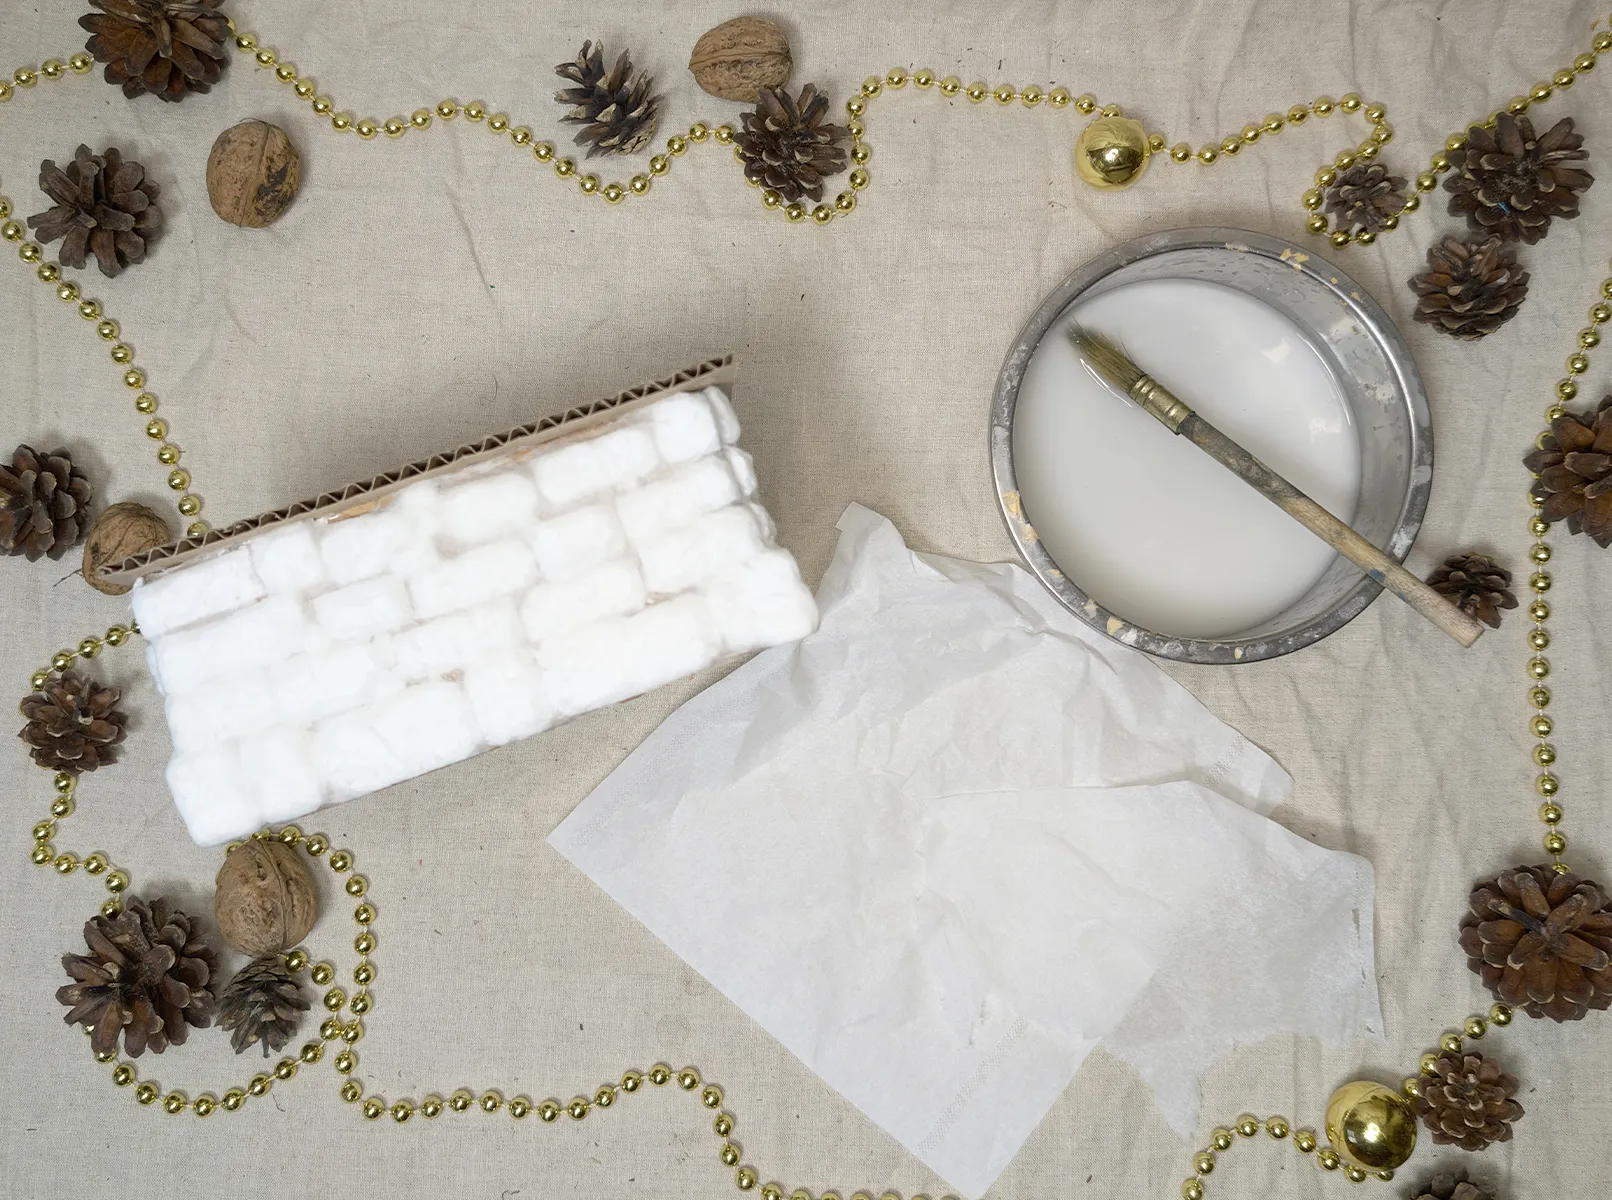
Use Decoupage or Papier-mâché technique for wall texture. Mix glue with water in a ratio of 2:1, apply it to the walls, and stick napkin pieces on. Smooth them with a brush for an antique masonry effect.
Step 6. Paint First Floor
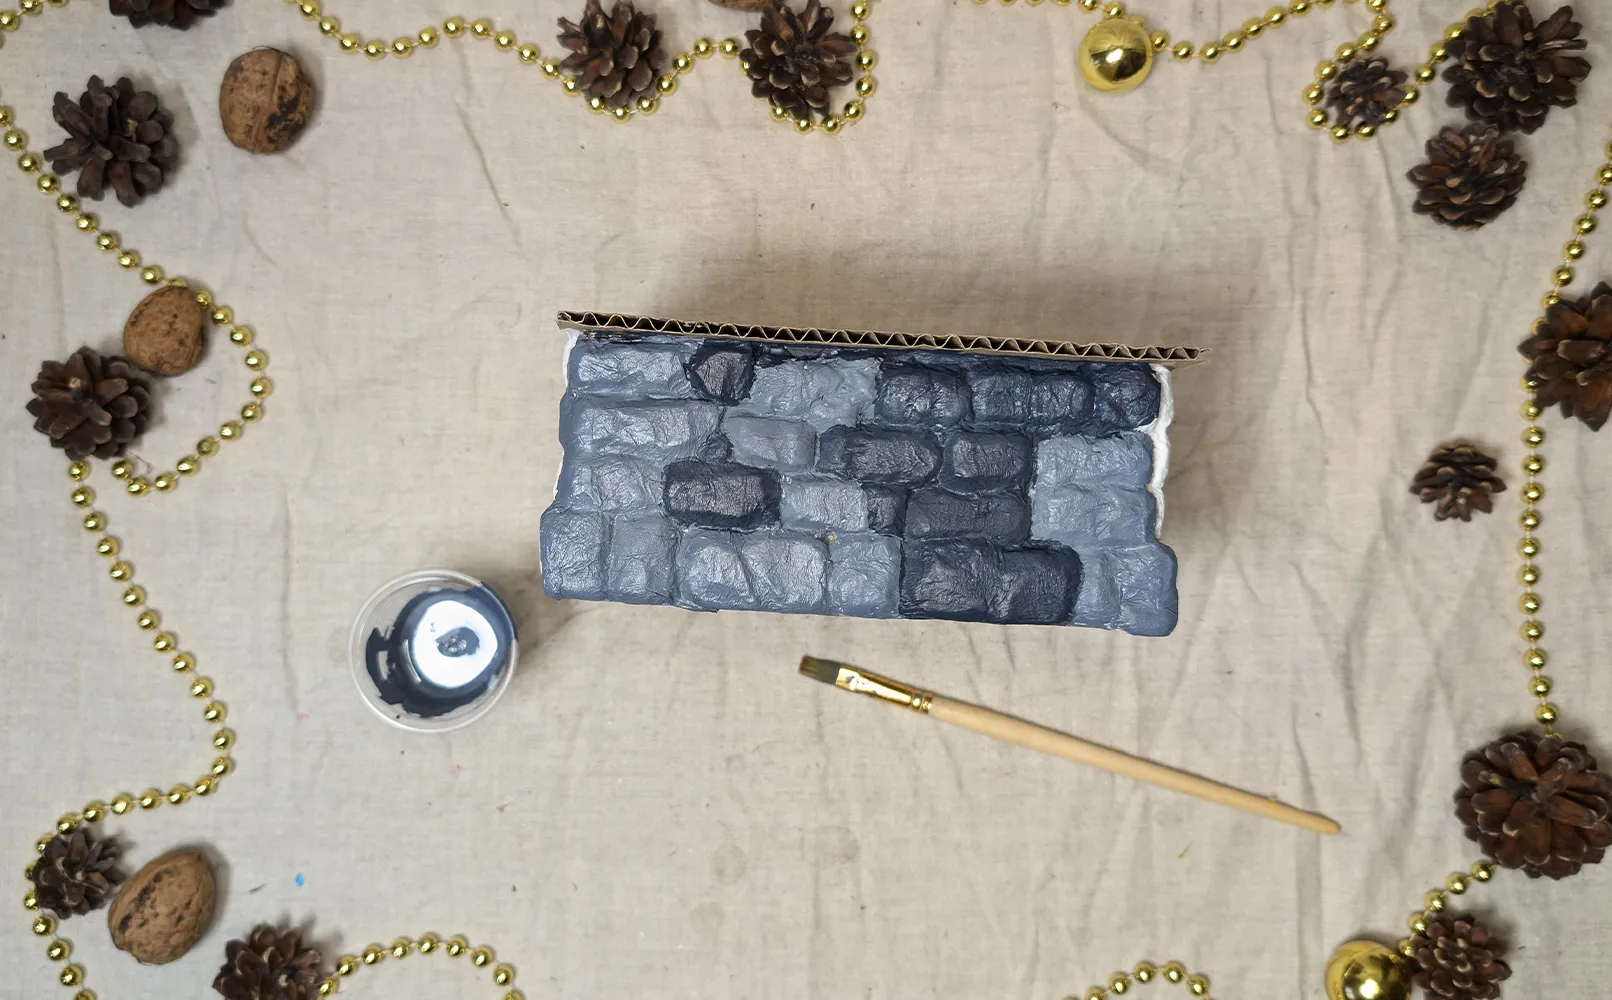
After drying, start painting. Use a base color for the walls, such as gray or beige, and add details: darker shades for indentations and lighter ones to highlight the texture.
Step 7. Prepare Second Floor
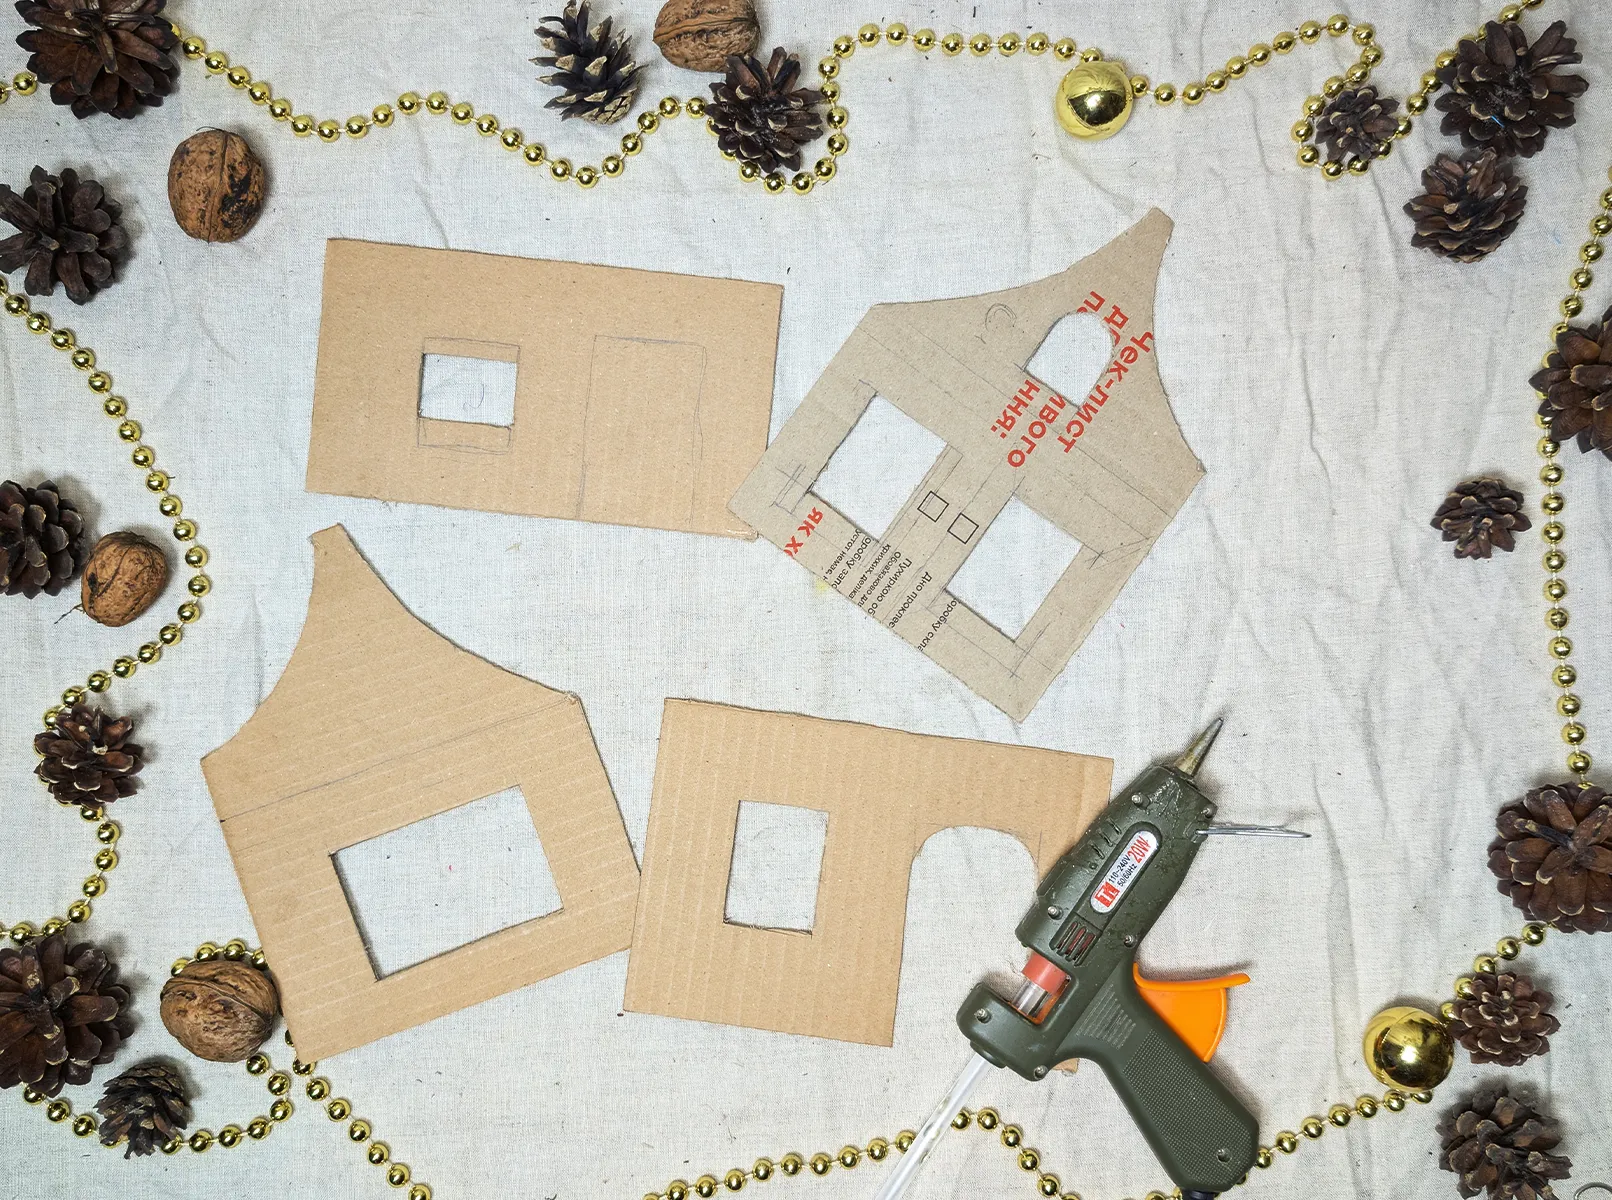
While the paint dries, cut out 4 rectangles from cardboard for the walls of the second floor. As with the first floor, mark and cut out windows and doors.
Step 8. Glue Second Floor and Roof Together
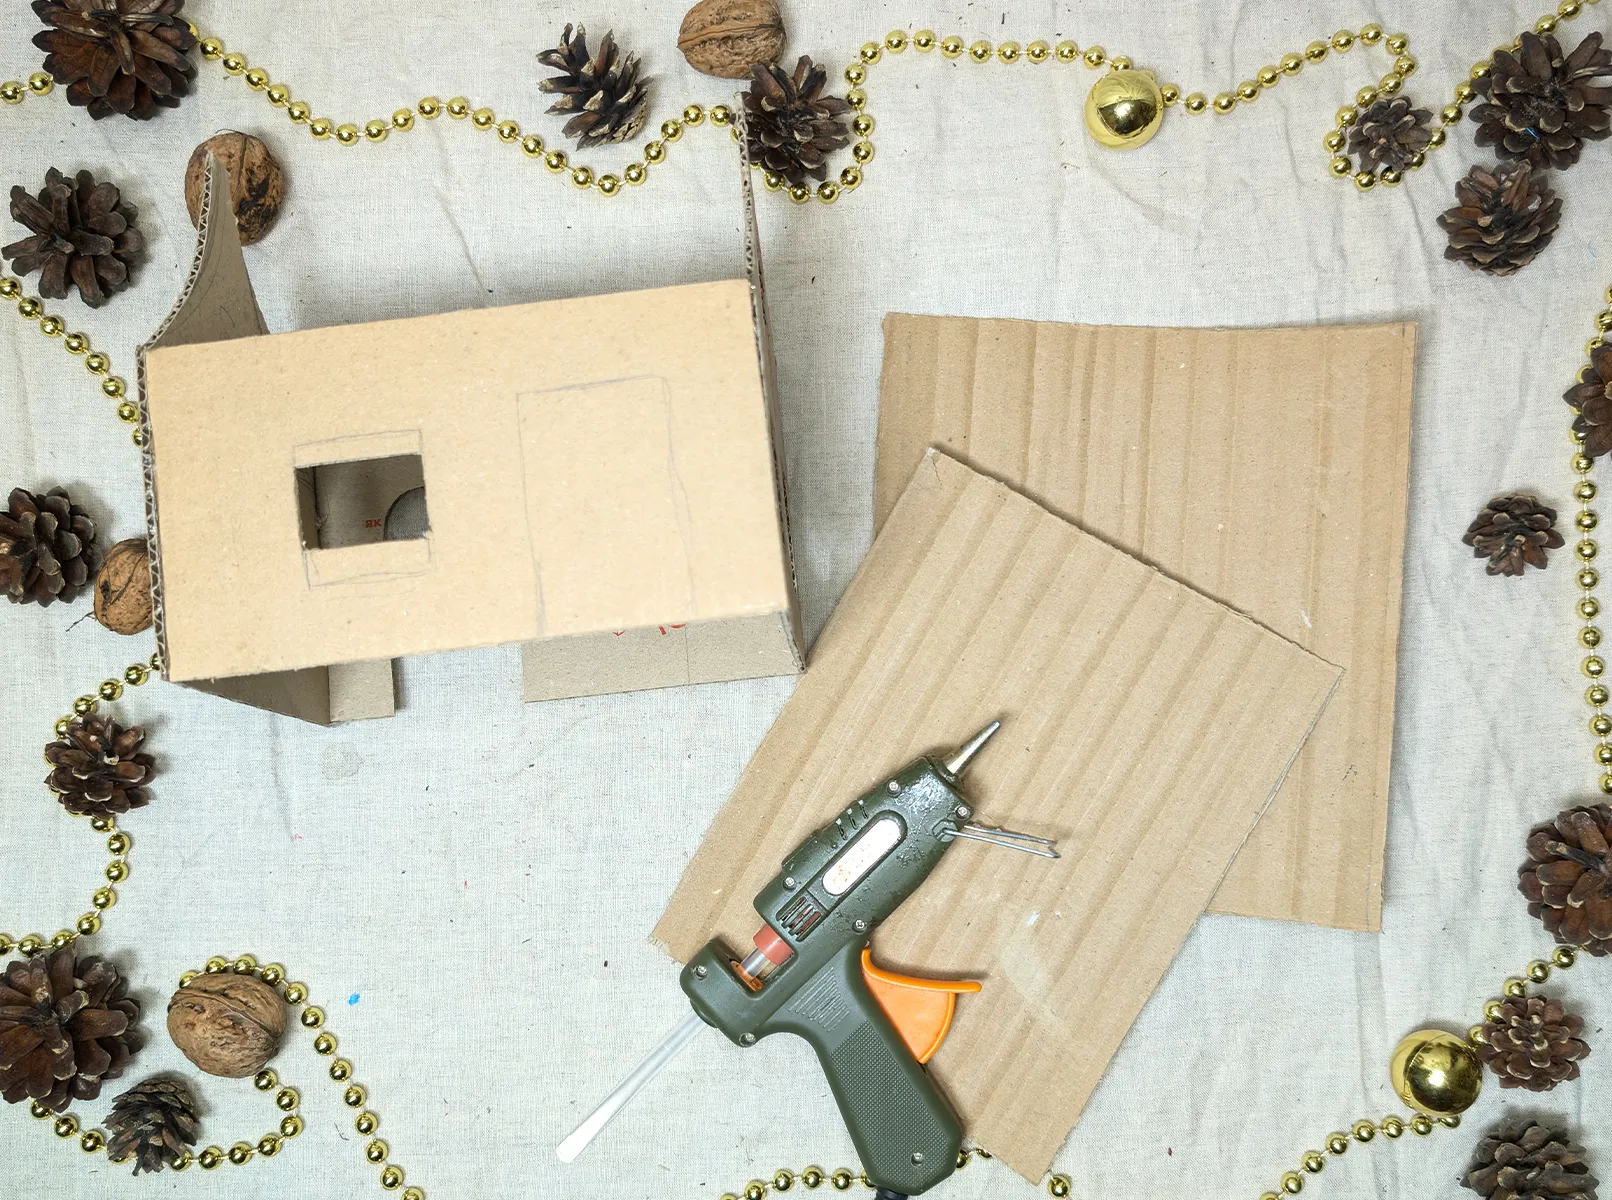
Glue the walls of the second floor together and attach them to the first. Then cut two rectangles for the roof that protrude 1-2 cm beyond the walls. Glue them on top at an angle to form a slanted roof.
Step 9. Paint Second Floor
Paint the walls of the second floor in a lighter or contrasting color. For texture, you can use spackling paste, which you apply thinly before painting.
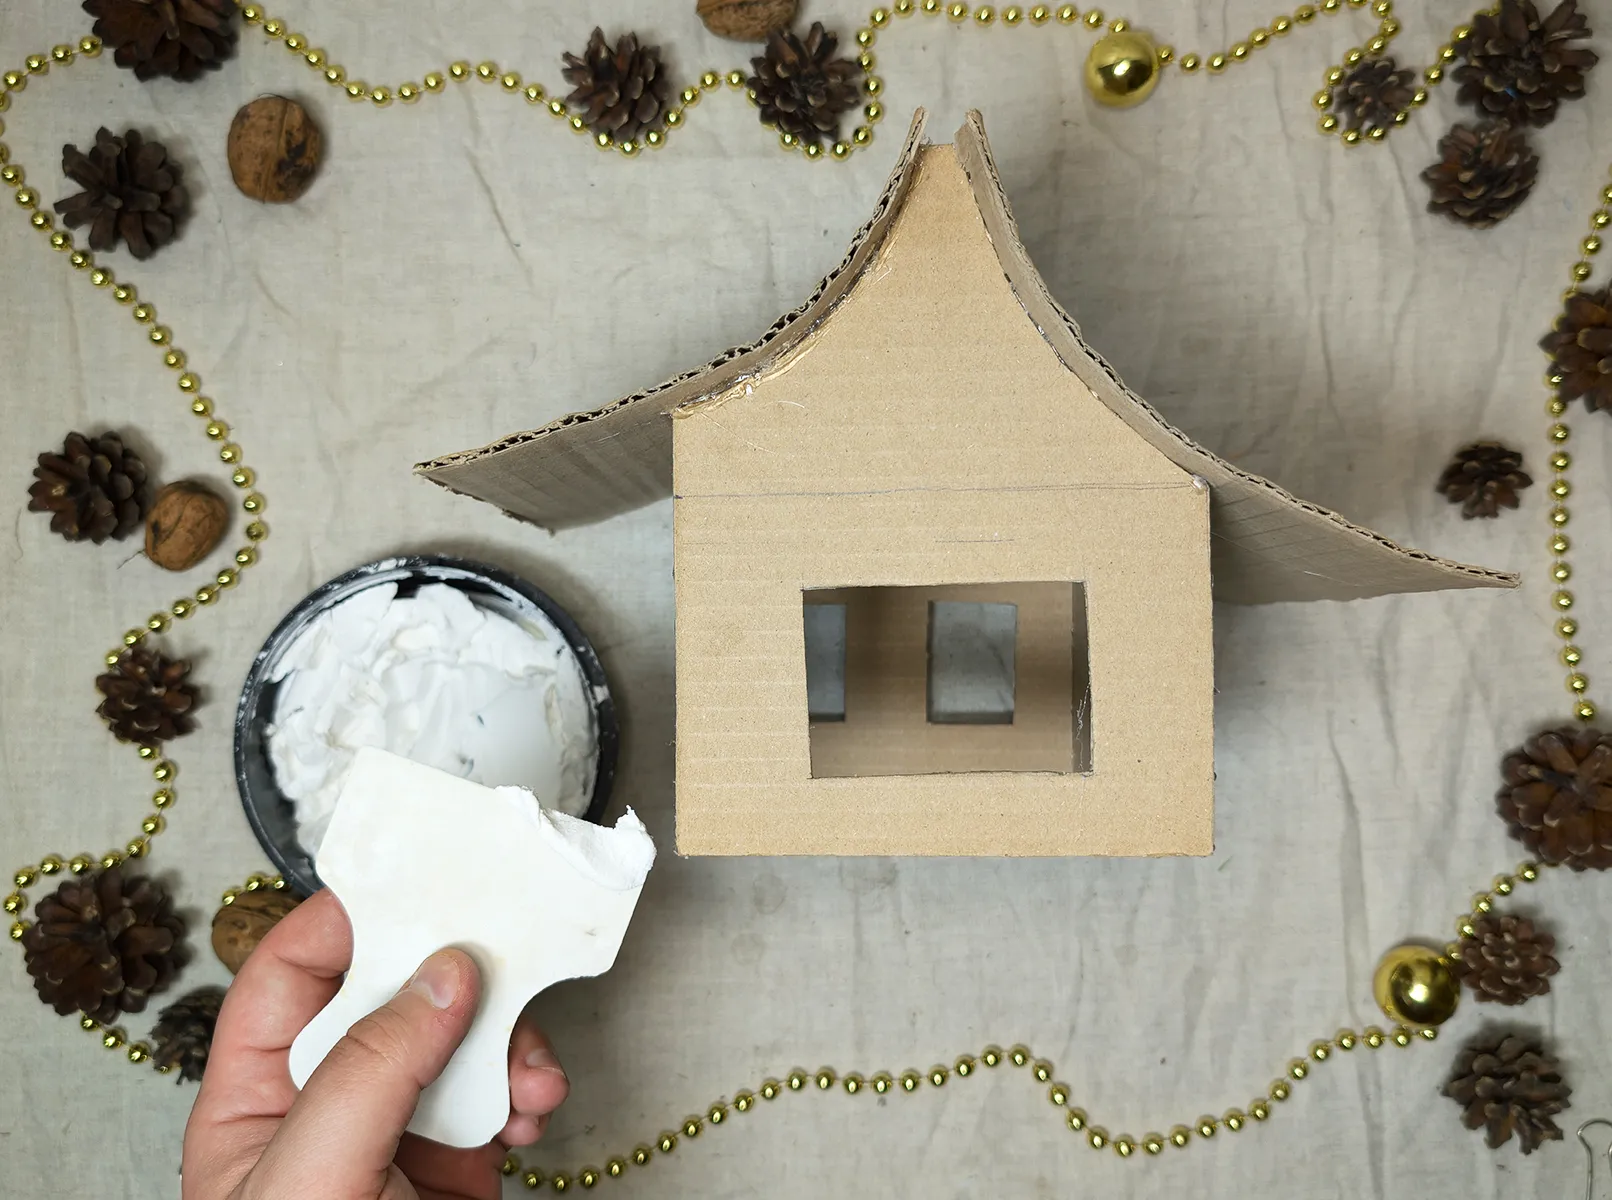
Step 10. Add Decorative Elements
Cut out window frames, shutters, door frames, and beams from cardboard. Attach these details to the walls. Finally, add small wreaths made of wire or garlands made of thread.
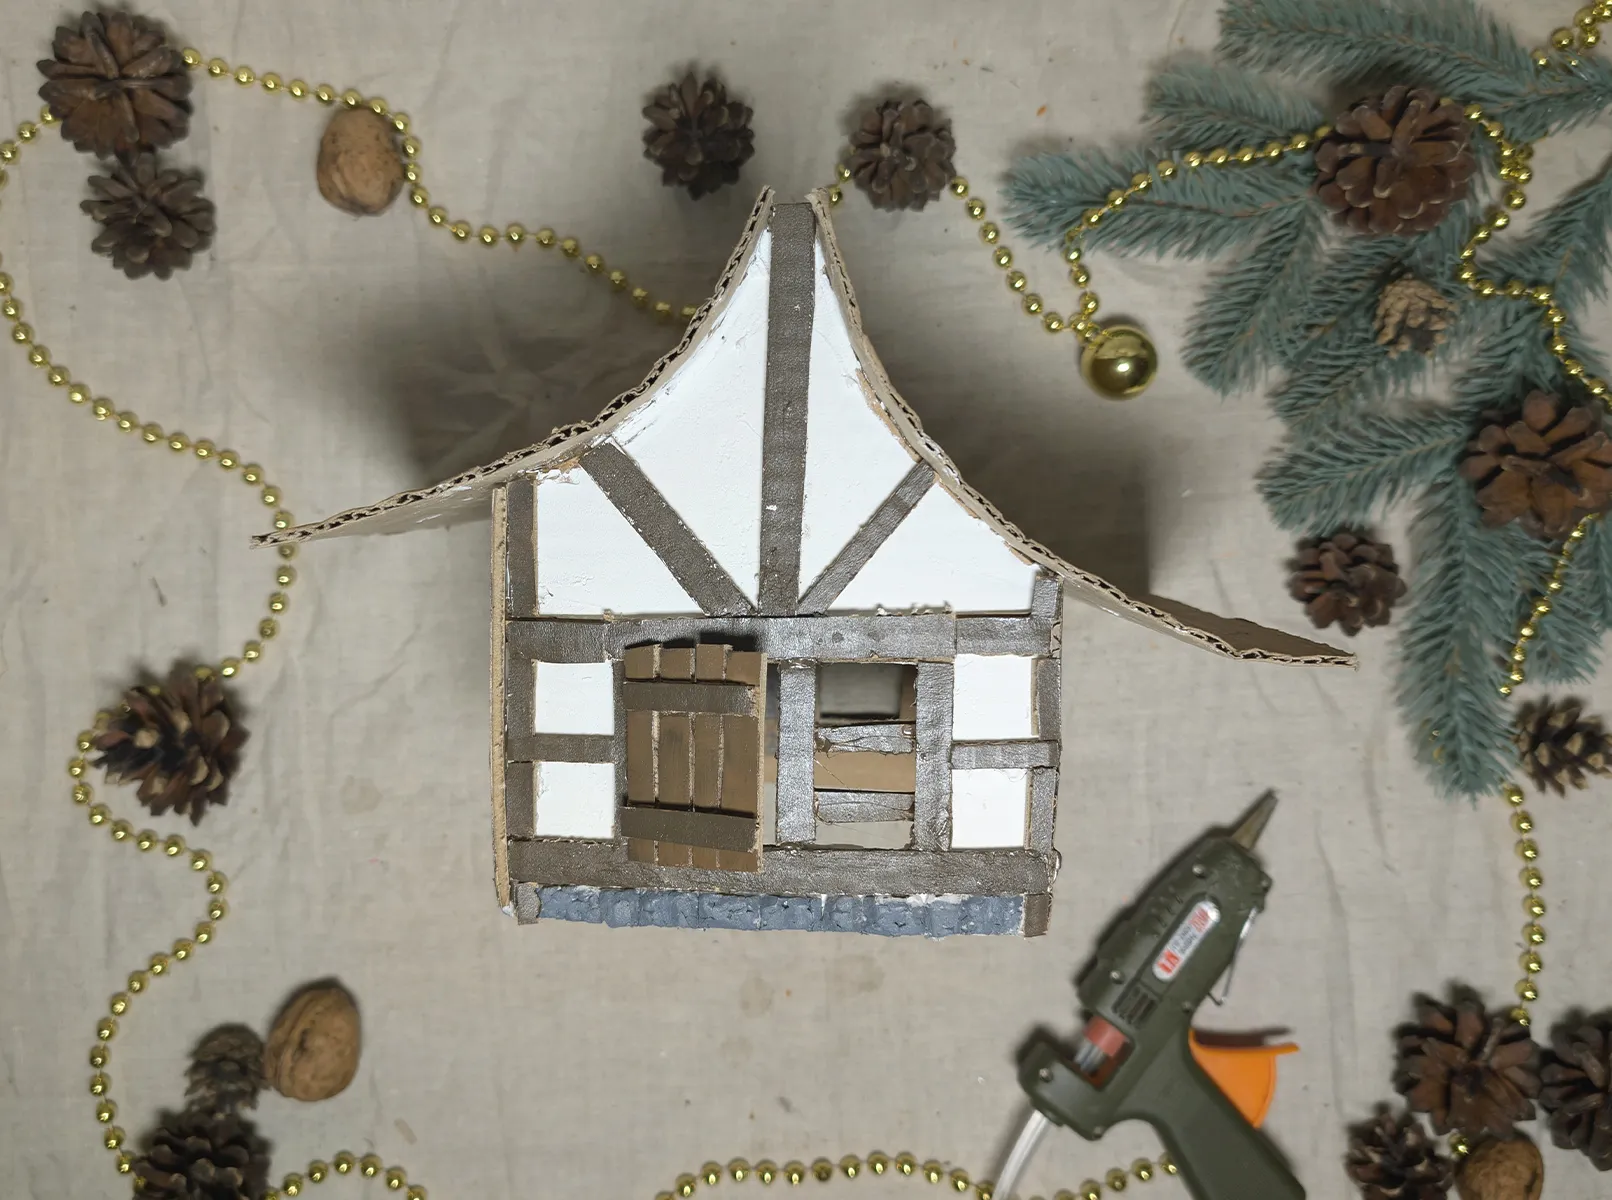
Step 11. Make Roof Tiles
Cut small rectangles (3x2 cm) from cardboard. Begin gluing them onto the roof from bottom to top, slightly overlapping.
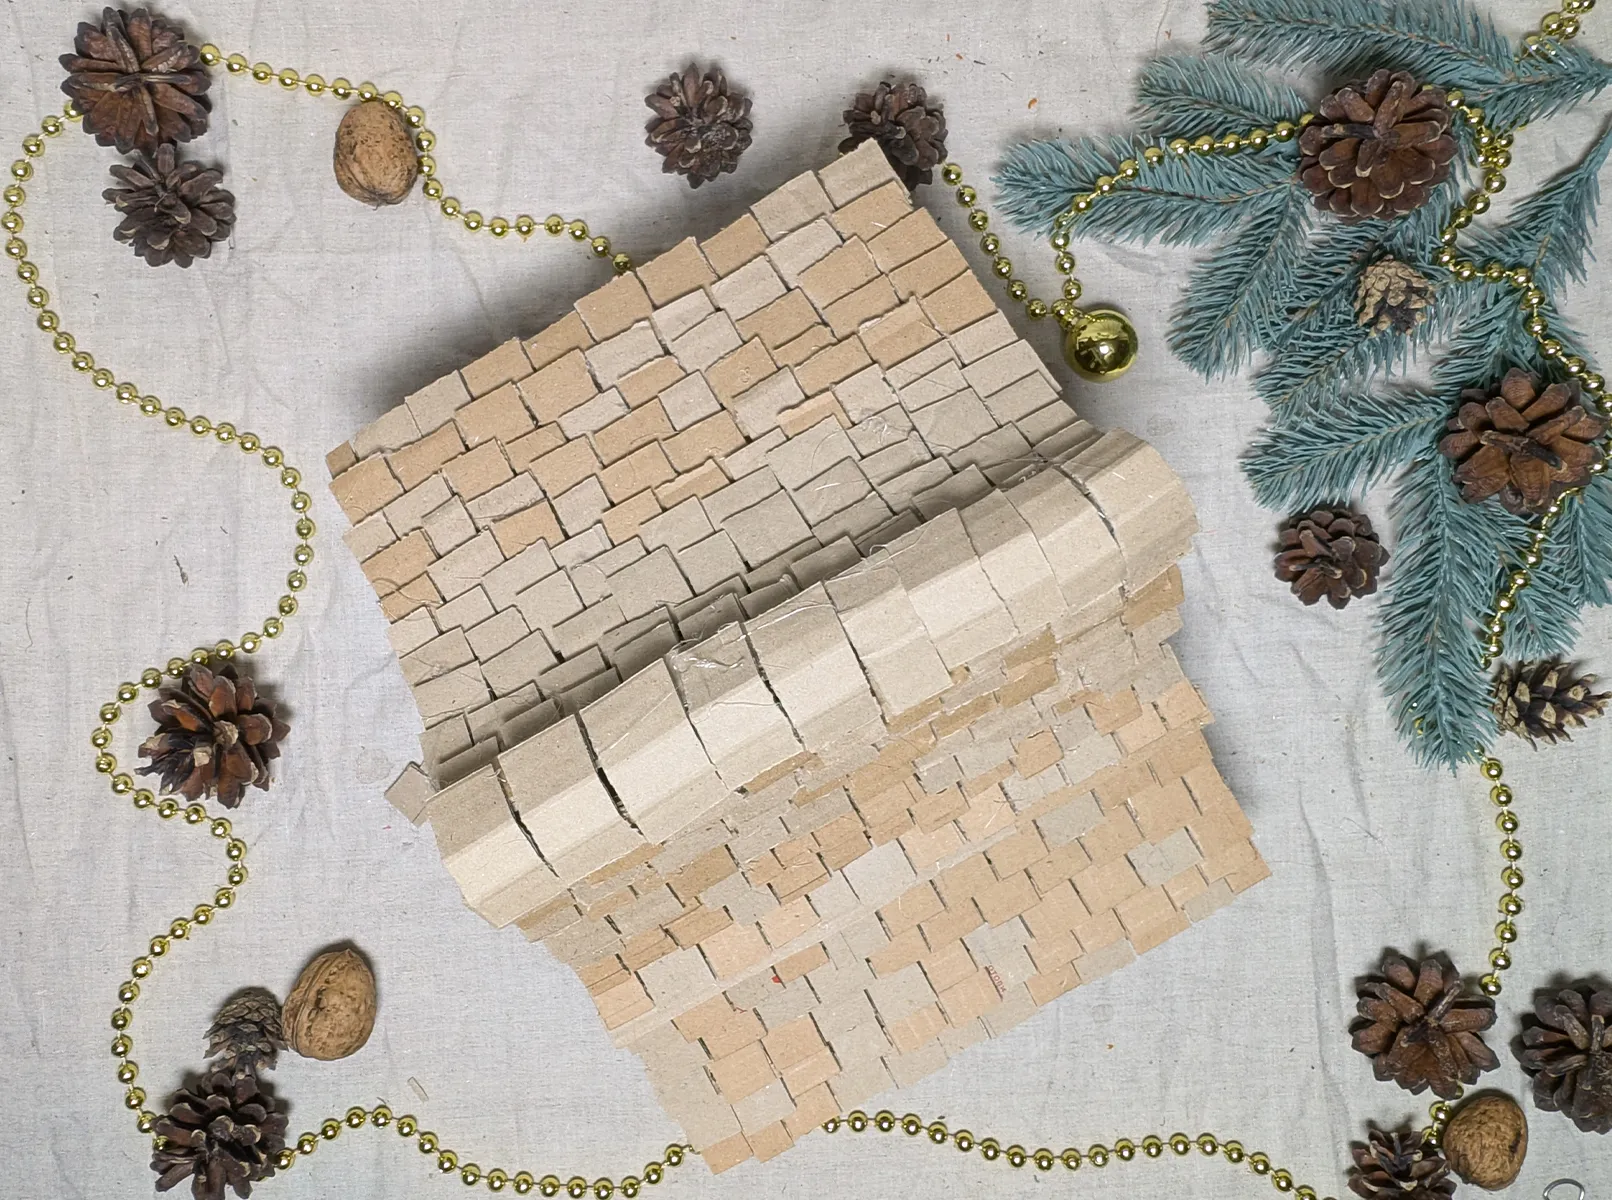
Step 12. Connect First and Second Floor
Glue both floors together. Check if the construction is stable.
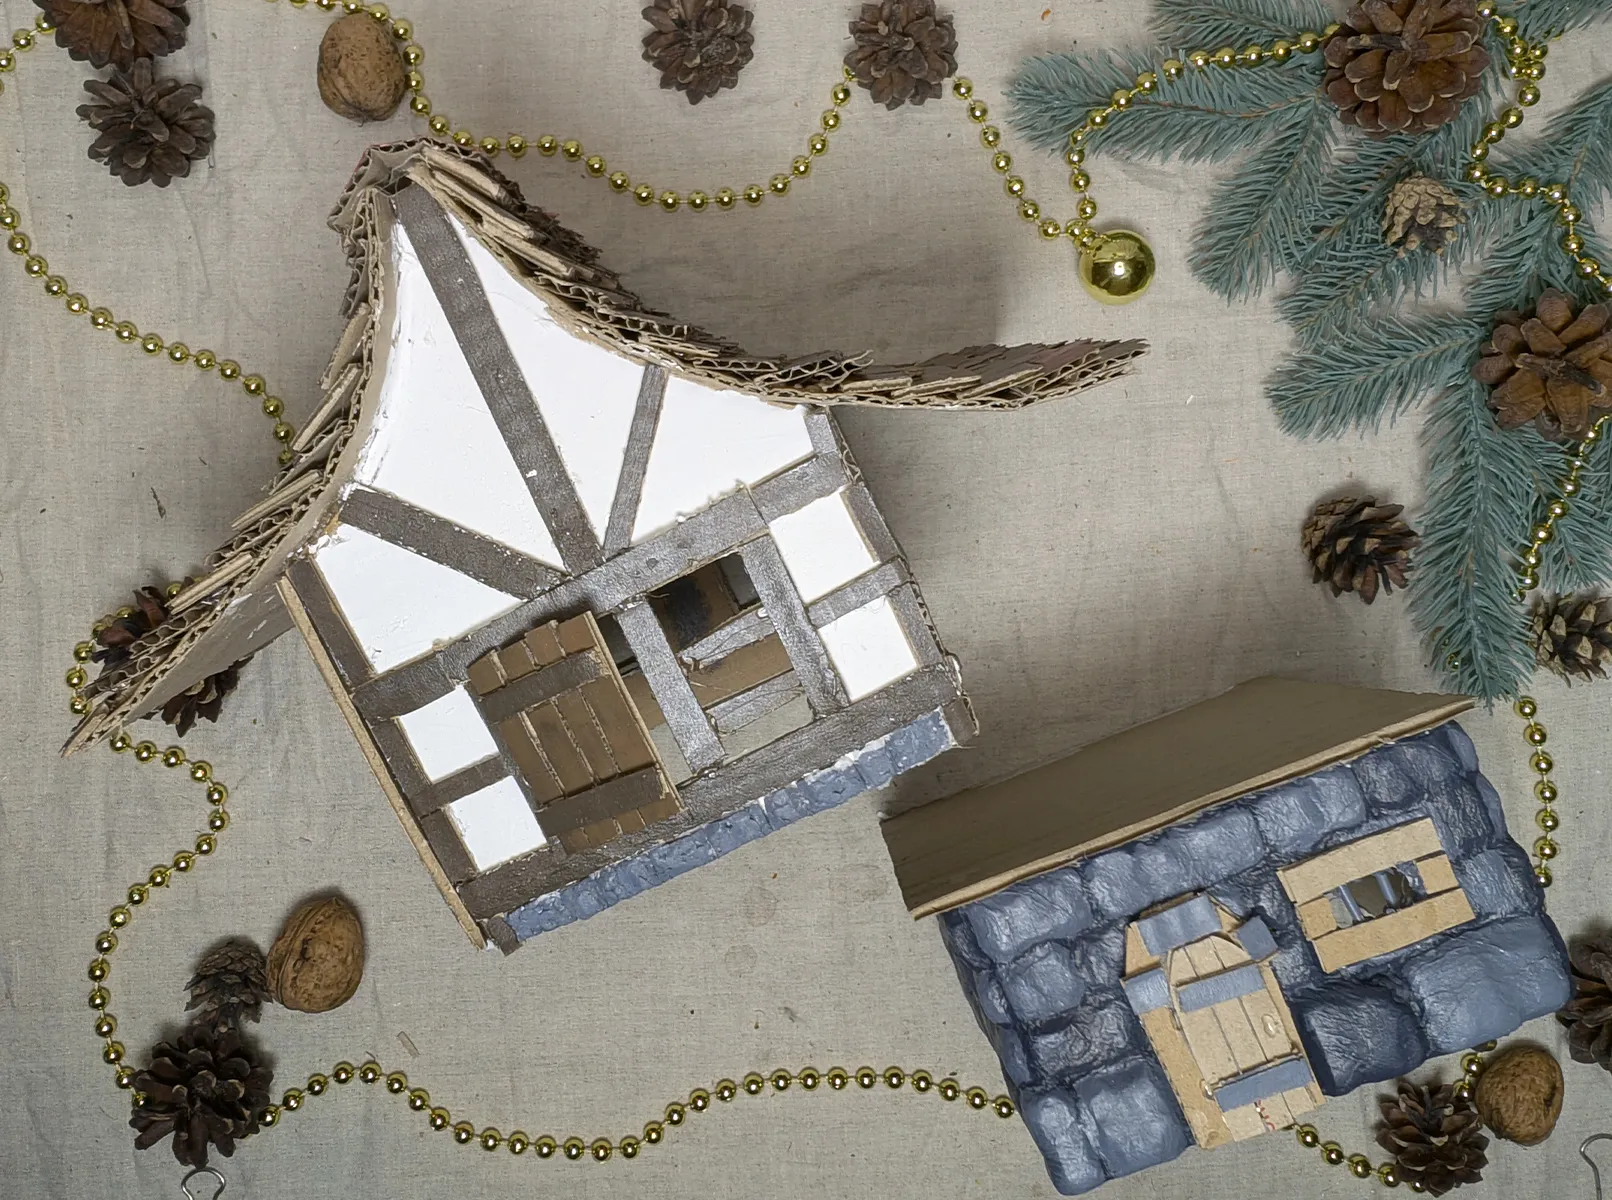
Step 13. Final Touch
Paint the tiles in red-brown or another suitable color. Once the paint is dry, dab white paint on with a sponge to create a snow effect. This gives the house a festive look.
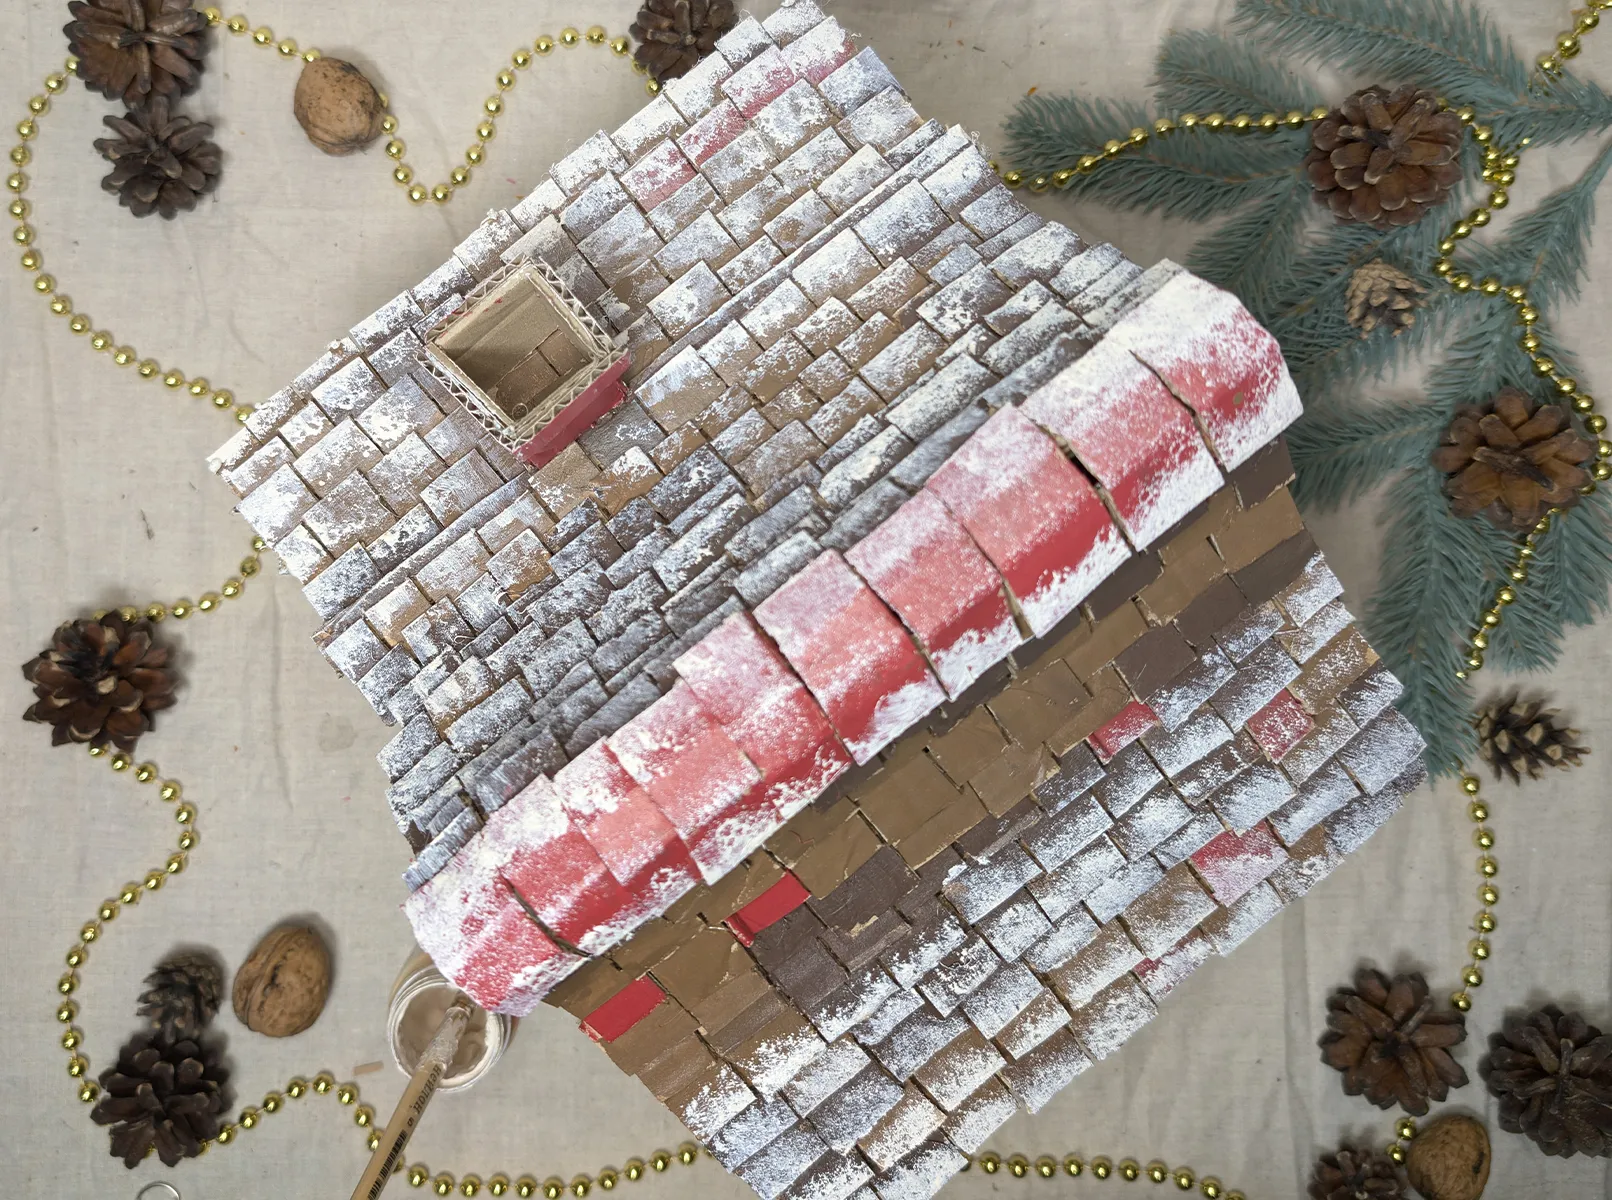
Congratulations! Your Christmas house is ready. You can place a string of lights or a small lantern inside to make the house glow from within. Place it under the Christmas tree, on the shelf, or incorporate it into a composition with other houses and figures.
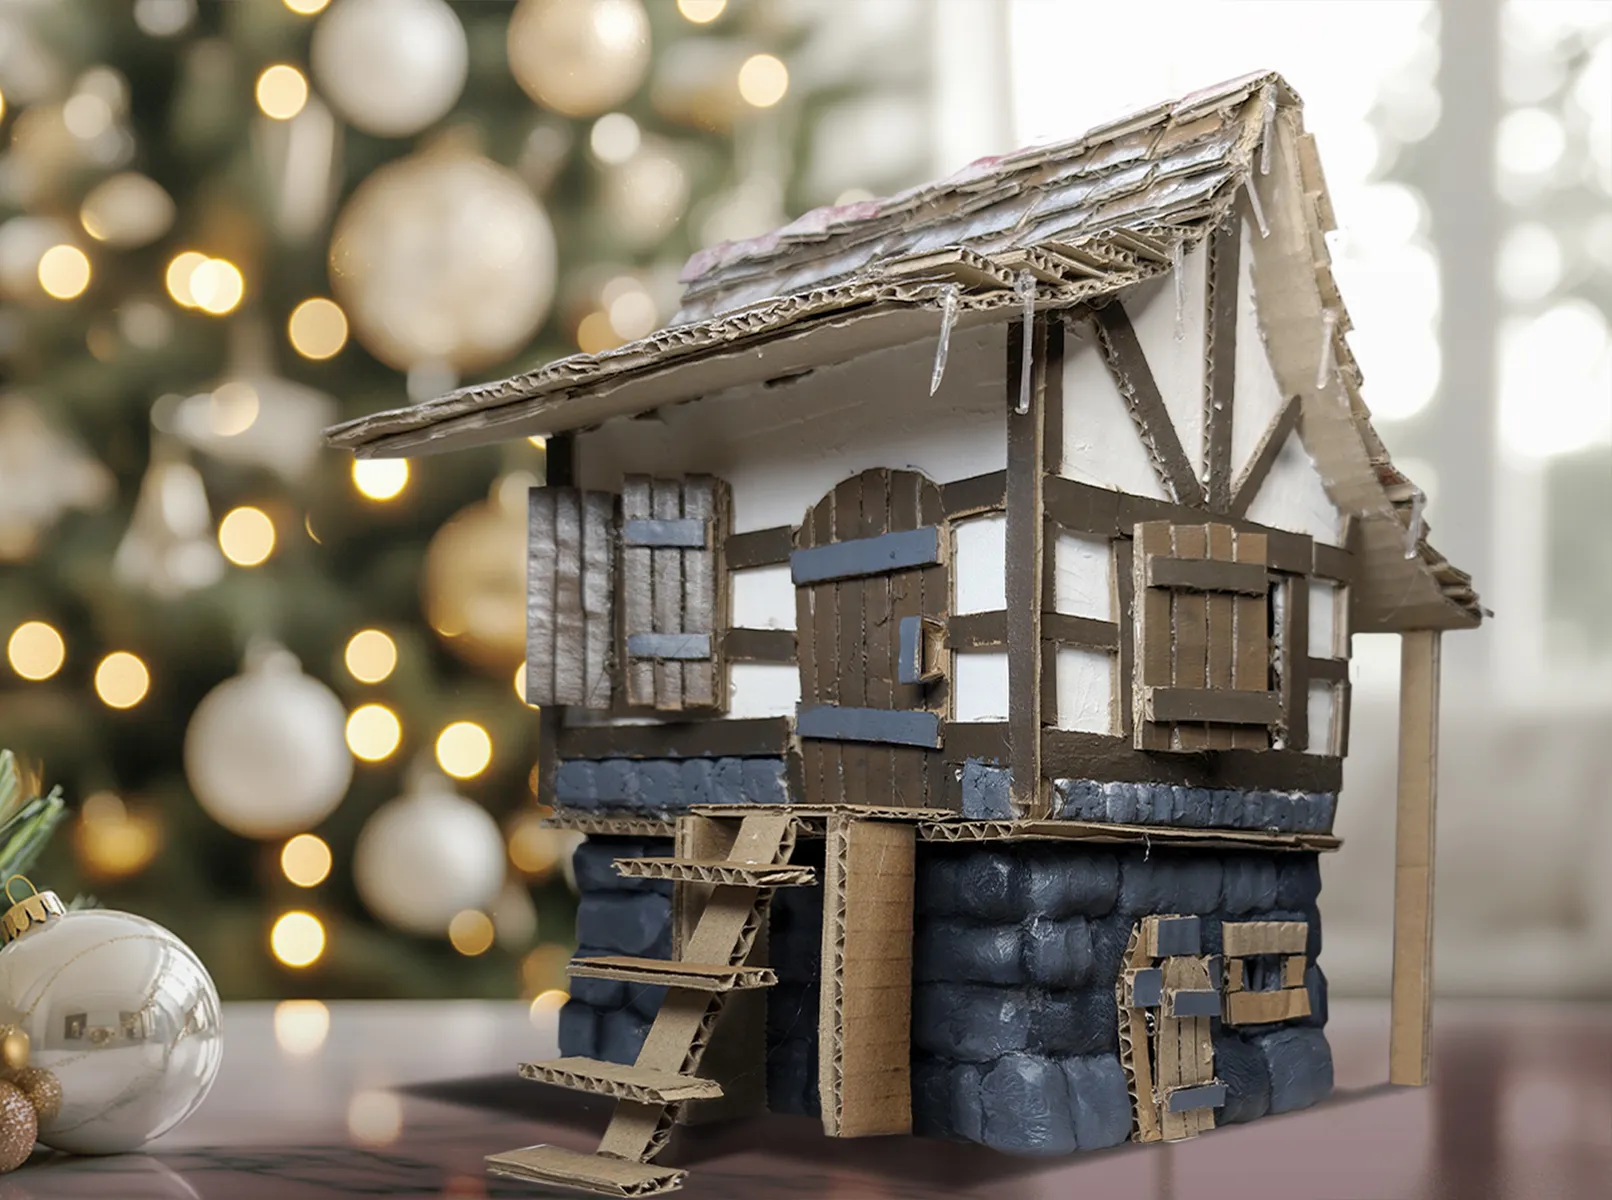
Try crafting several of these houses in different sizes to create a complete Christmas scene.
Final Remarks
Thank you for taking the time to read this article! I hope this workshop has inspired you to create a Christmas house.
On our portal, a great collection of workshops awaits you for every taste: simple crafts for children, original decoration ideas, and projects for the whole family. Discover our diverse tutorials for Christmas crafting - from traditional decorations to modern design ideas. You will also find a wide selection of origami tutorials where you can fold wonderful paper figures. Come by, choose, and keep creating with us!
Merry Christmas and a bright new year! May coziness reign in your home, joy in your heart, and may every day of the new year be filled with happiness.
From Vitalii Shynakov
