Making a Christmas card in the shape of a fir tree: A creative idea for children
Imagine your home smelling of mandarins and being illuminated by the warm light of fairy lights. Enhance this festive mood with some creativity – craft a Christmas card in the shape of a Christmas tree! This fun project is the perfect opportunity to spend time with your child.
A card like this will enchant even the little ones. Together, you will create something special: an original card that brings joy as festive decoration or a personal gift. Let the Christmas mood begin now! With our simple steps, the crafting process will be easy and enjoyable.
Materials for the Christmas Tree Card
Before you get started, prepare all the materials. We have put together a list of simple and easily accessible materials for you:
- Cardstock (green and white)
- Colored paper
- Glue
- Scissors
- Felt-tip pens or colored pencils
When everything is ready, you can start right away!
Instructions: Creating the Christmas Tree Card Step by Step
We will explain in detail how to craft an original Christmas tree card with cardstock and colored paper. This approach is a bit more challenging but a lot of fun, especially if your child enjoys cutting and gluing. If it gets too difficult for the little ones – no problem! At the end of the instructions, you will find a simplified coloring template in the same style.
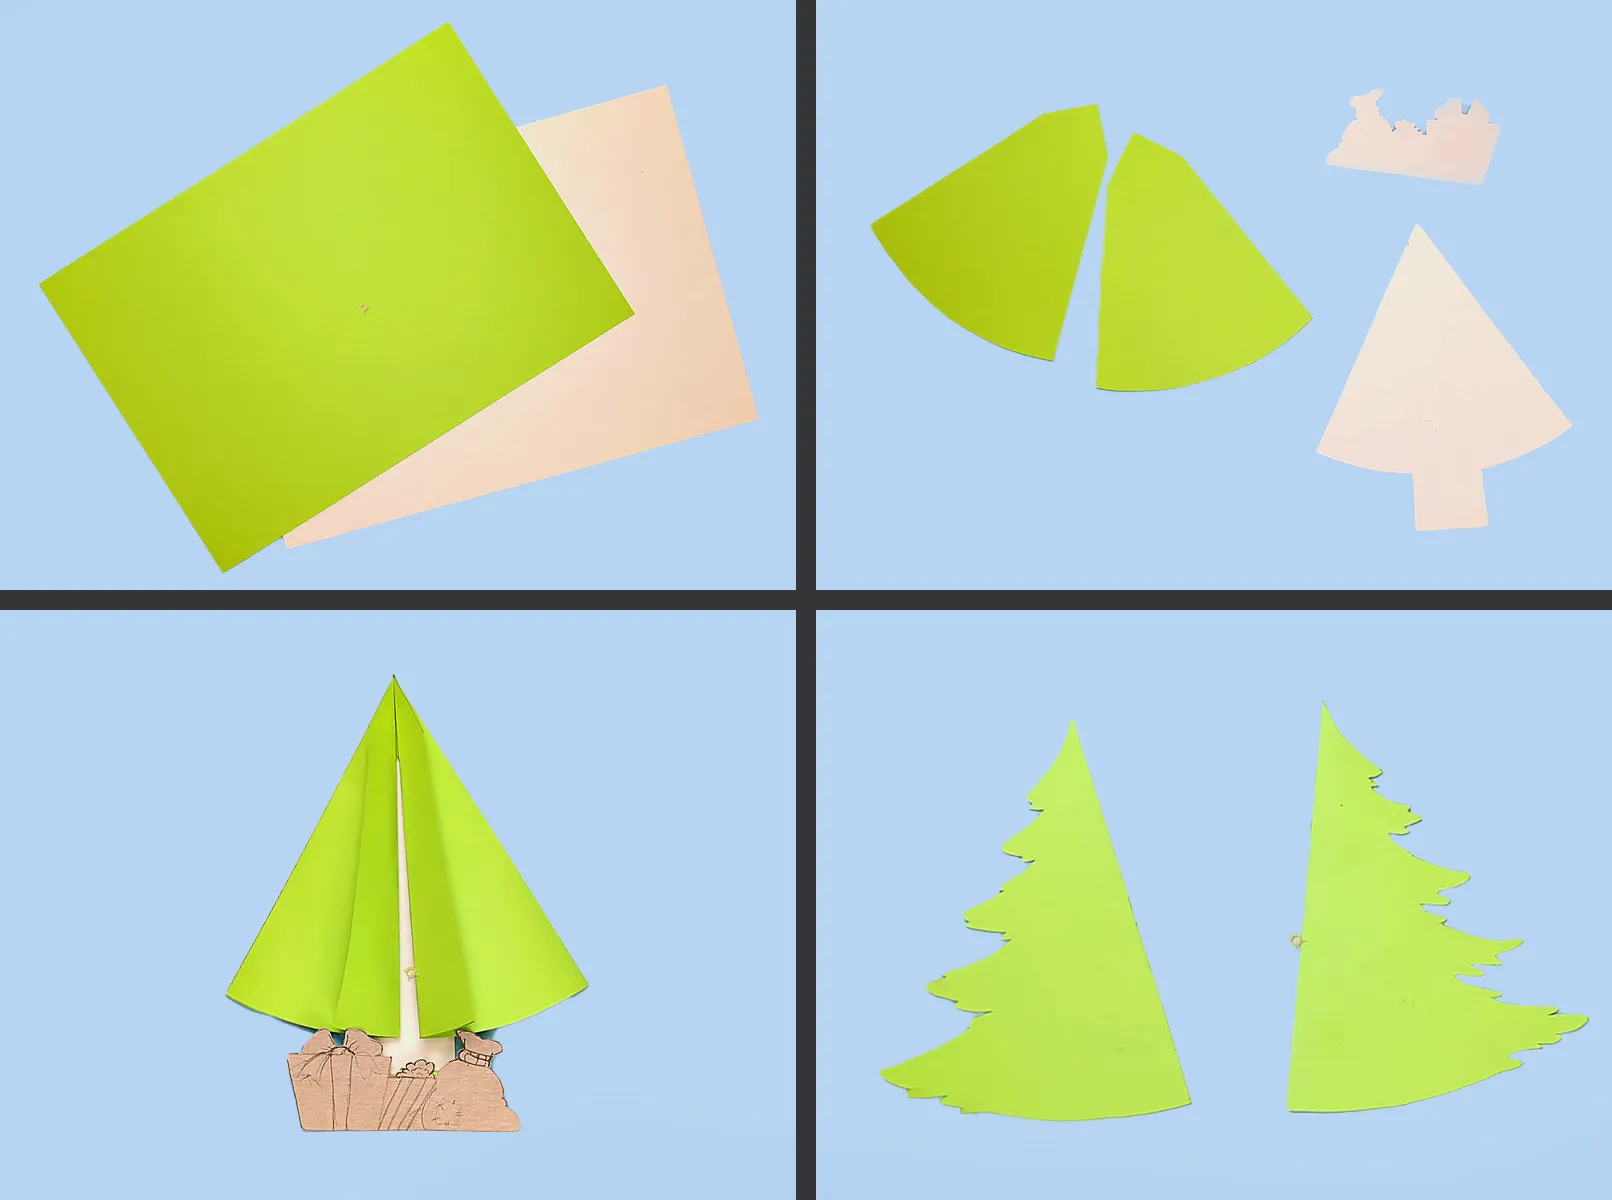
Step 1: Prepare the Base
Cut out the silhouette of a Christmas tree from green cardstock. This will be the base of your card. Additionally, prepare a white background paper to serve as a base.
Tip: Use a template for even lines or draw the Christmas tree freehand with your own creative details.
Step 2: Assemble the Base
Glue the cut-out pieces together: Attach the green Christmas tree to the white background. Make sure the edges are well aligned for a stable and clean-looking card.
Step 3: Design the Front of the Card
Cut a second layer of the Christmas tree from green cardstock (following the template) and carefully glue it onto the base. This creates a three-dimensional look.
Step 4: Decorate the Christmas Tree
Cut out small balls, stars, and gifts from colored paper. Distribute them evenly on the Christmas tree and glue them on. Don't forget the top: A star decoration completes the card.
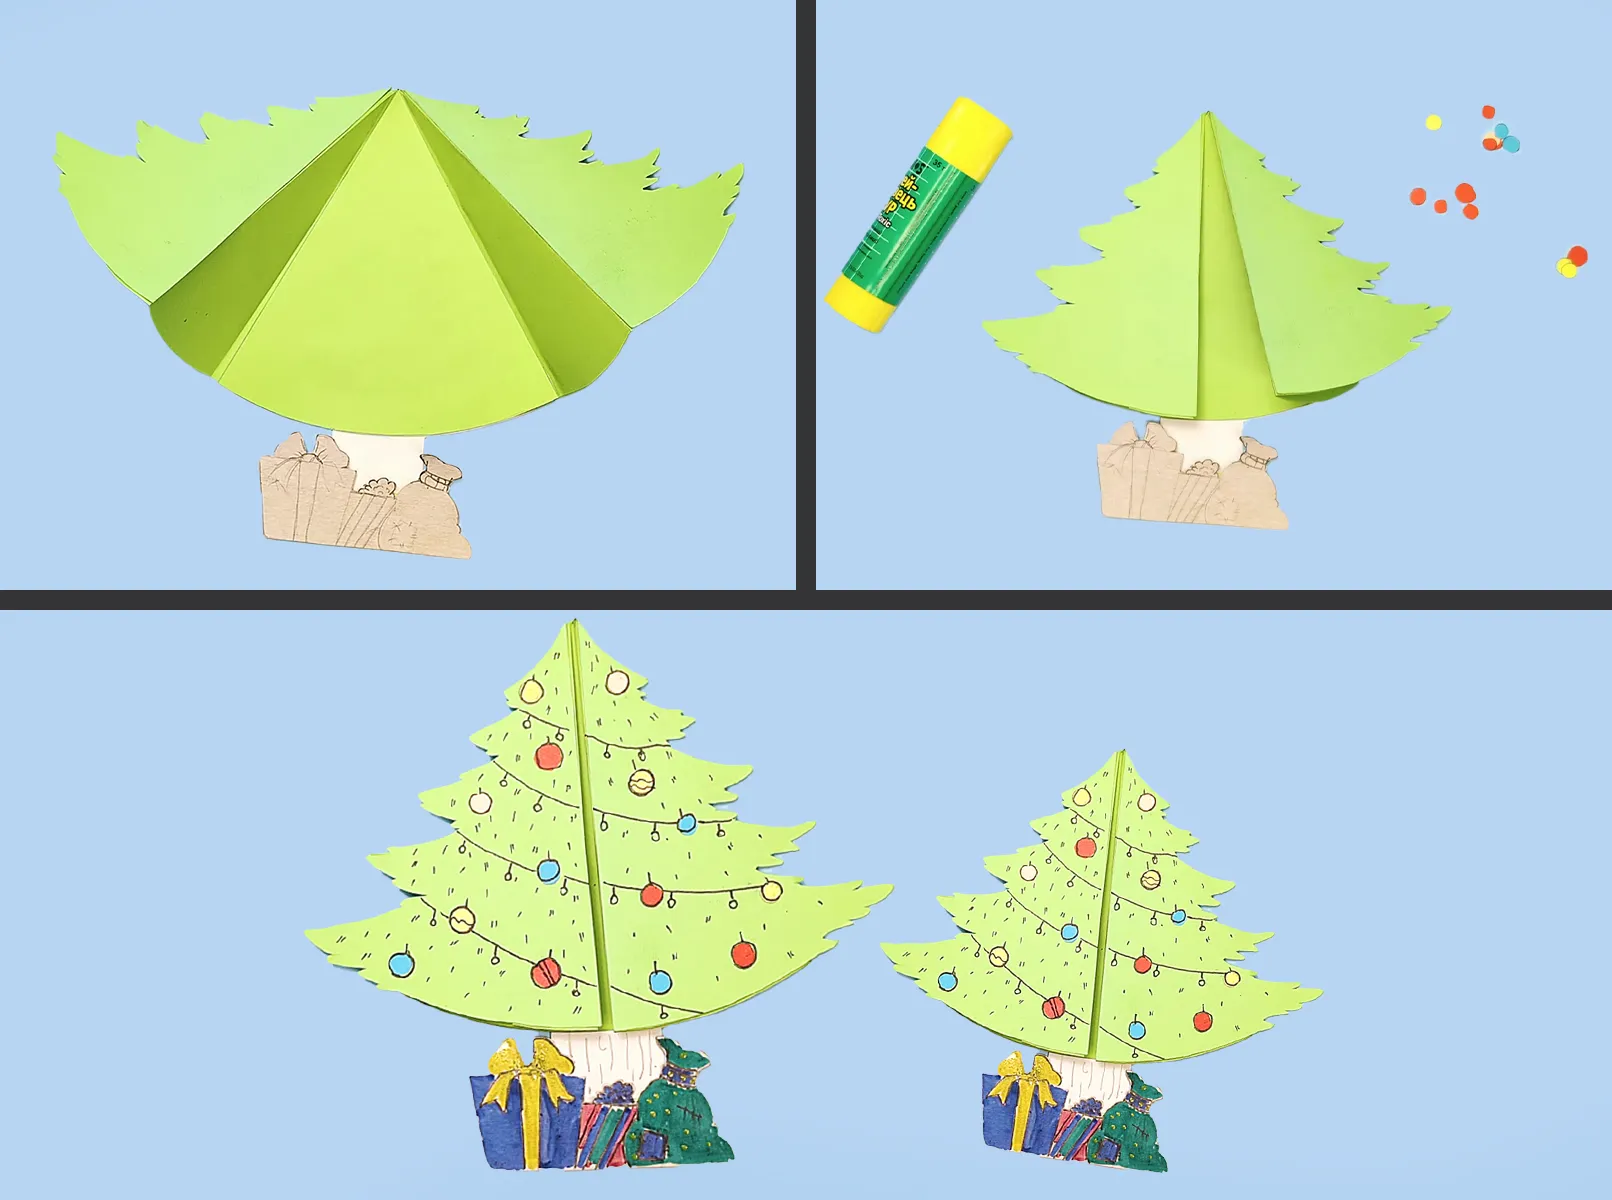
Tip: Let your child decide where to place the decorations – it makes the card extra personal.
Step 5: Color the Details
Grab some felt-tip pens or colored pencils and add colors to the gifts, decorations, and other details. You can include garlands, snowflakes, or small Christmas greetings.
Pre-made Templates for Christmas Cards in the Shape of a Christmas Tree
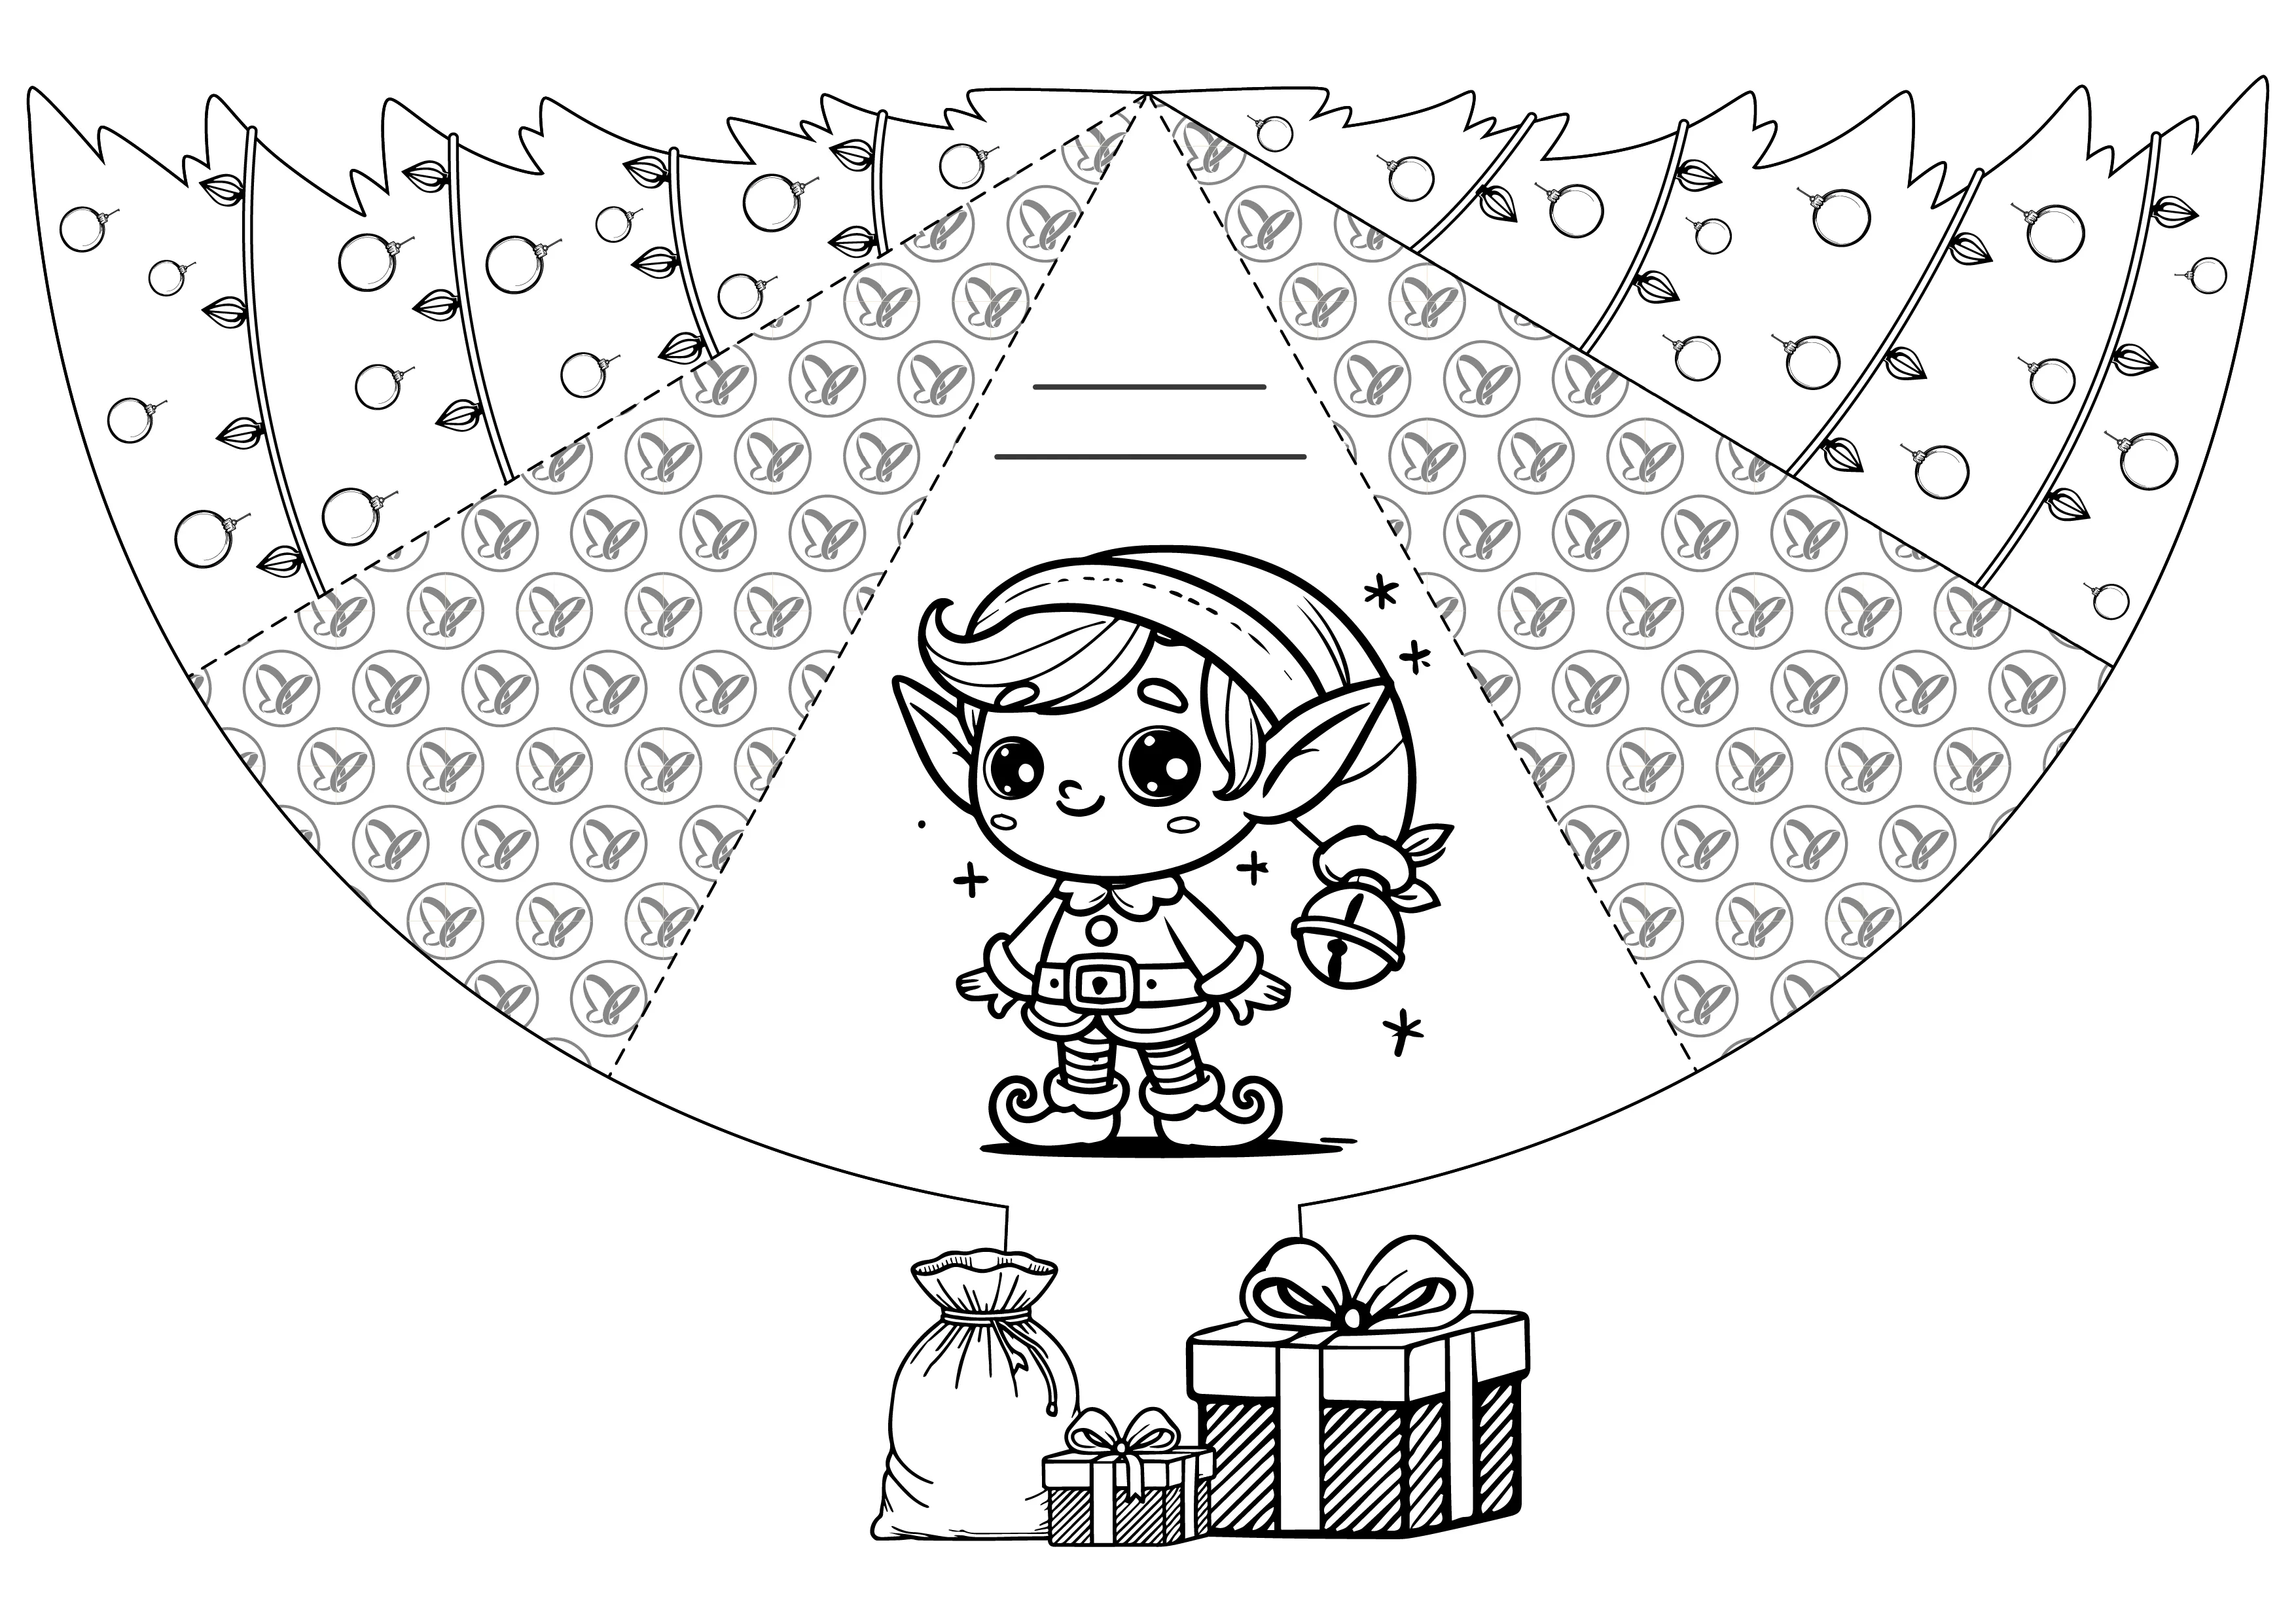
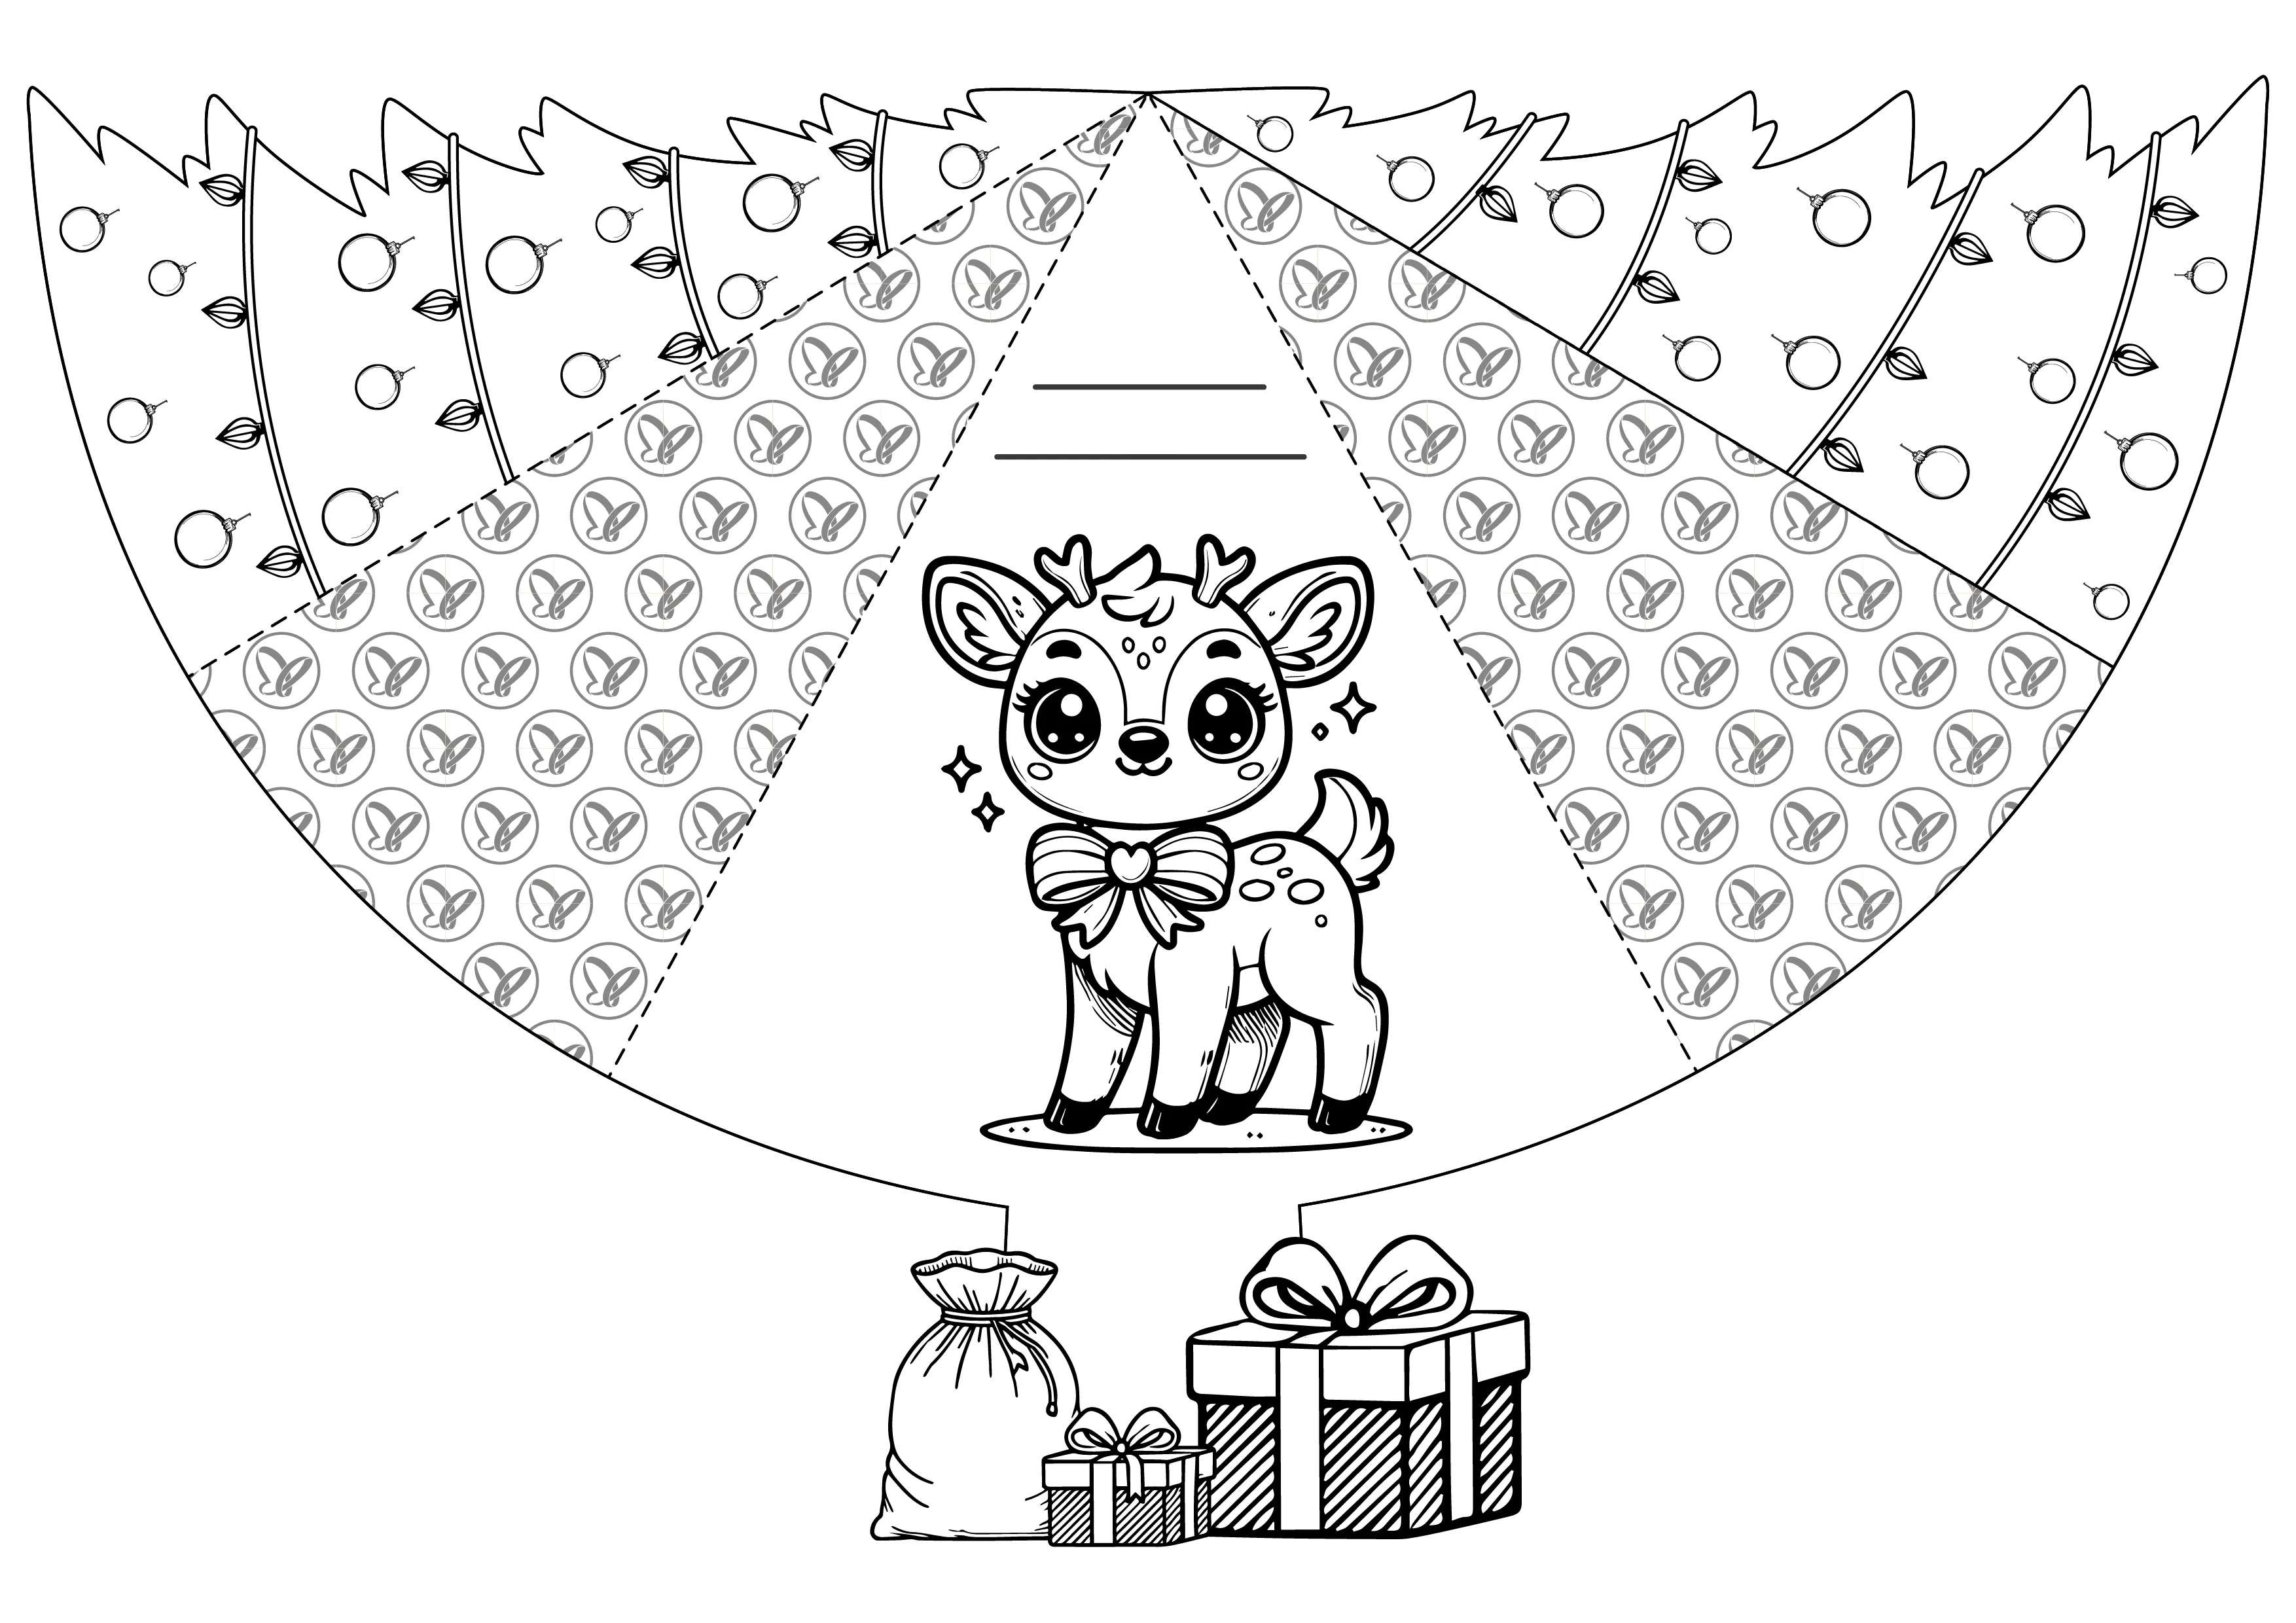
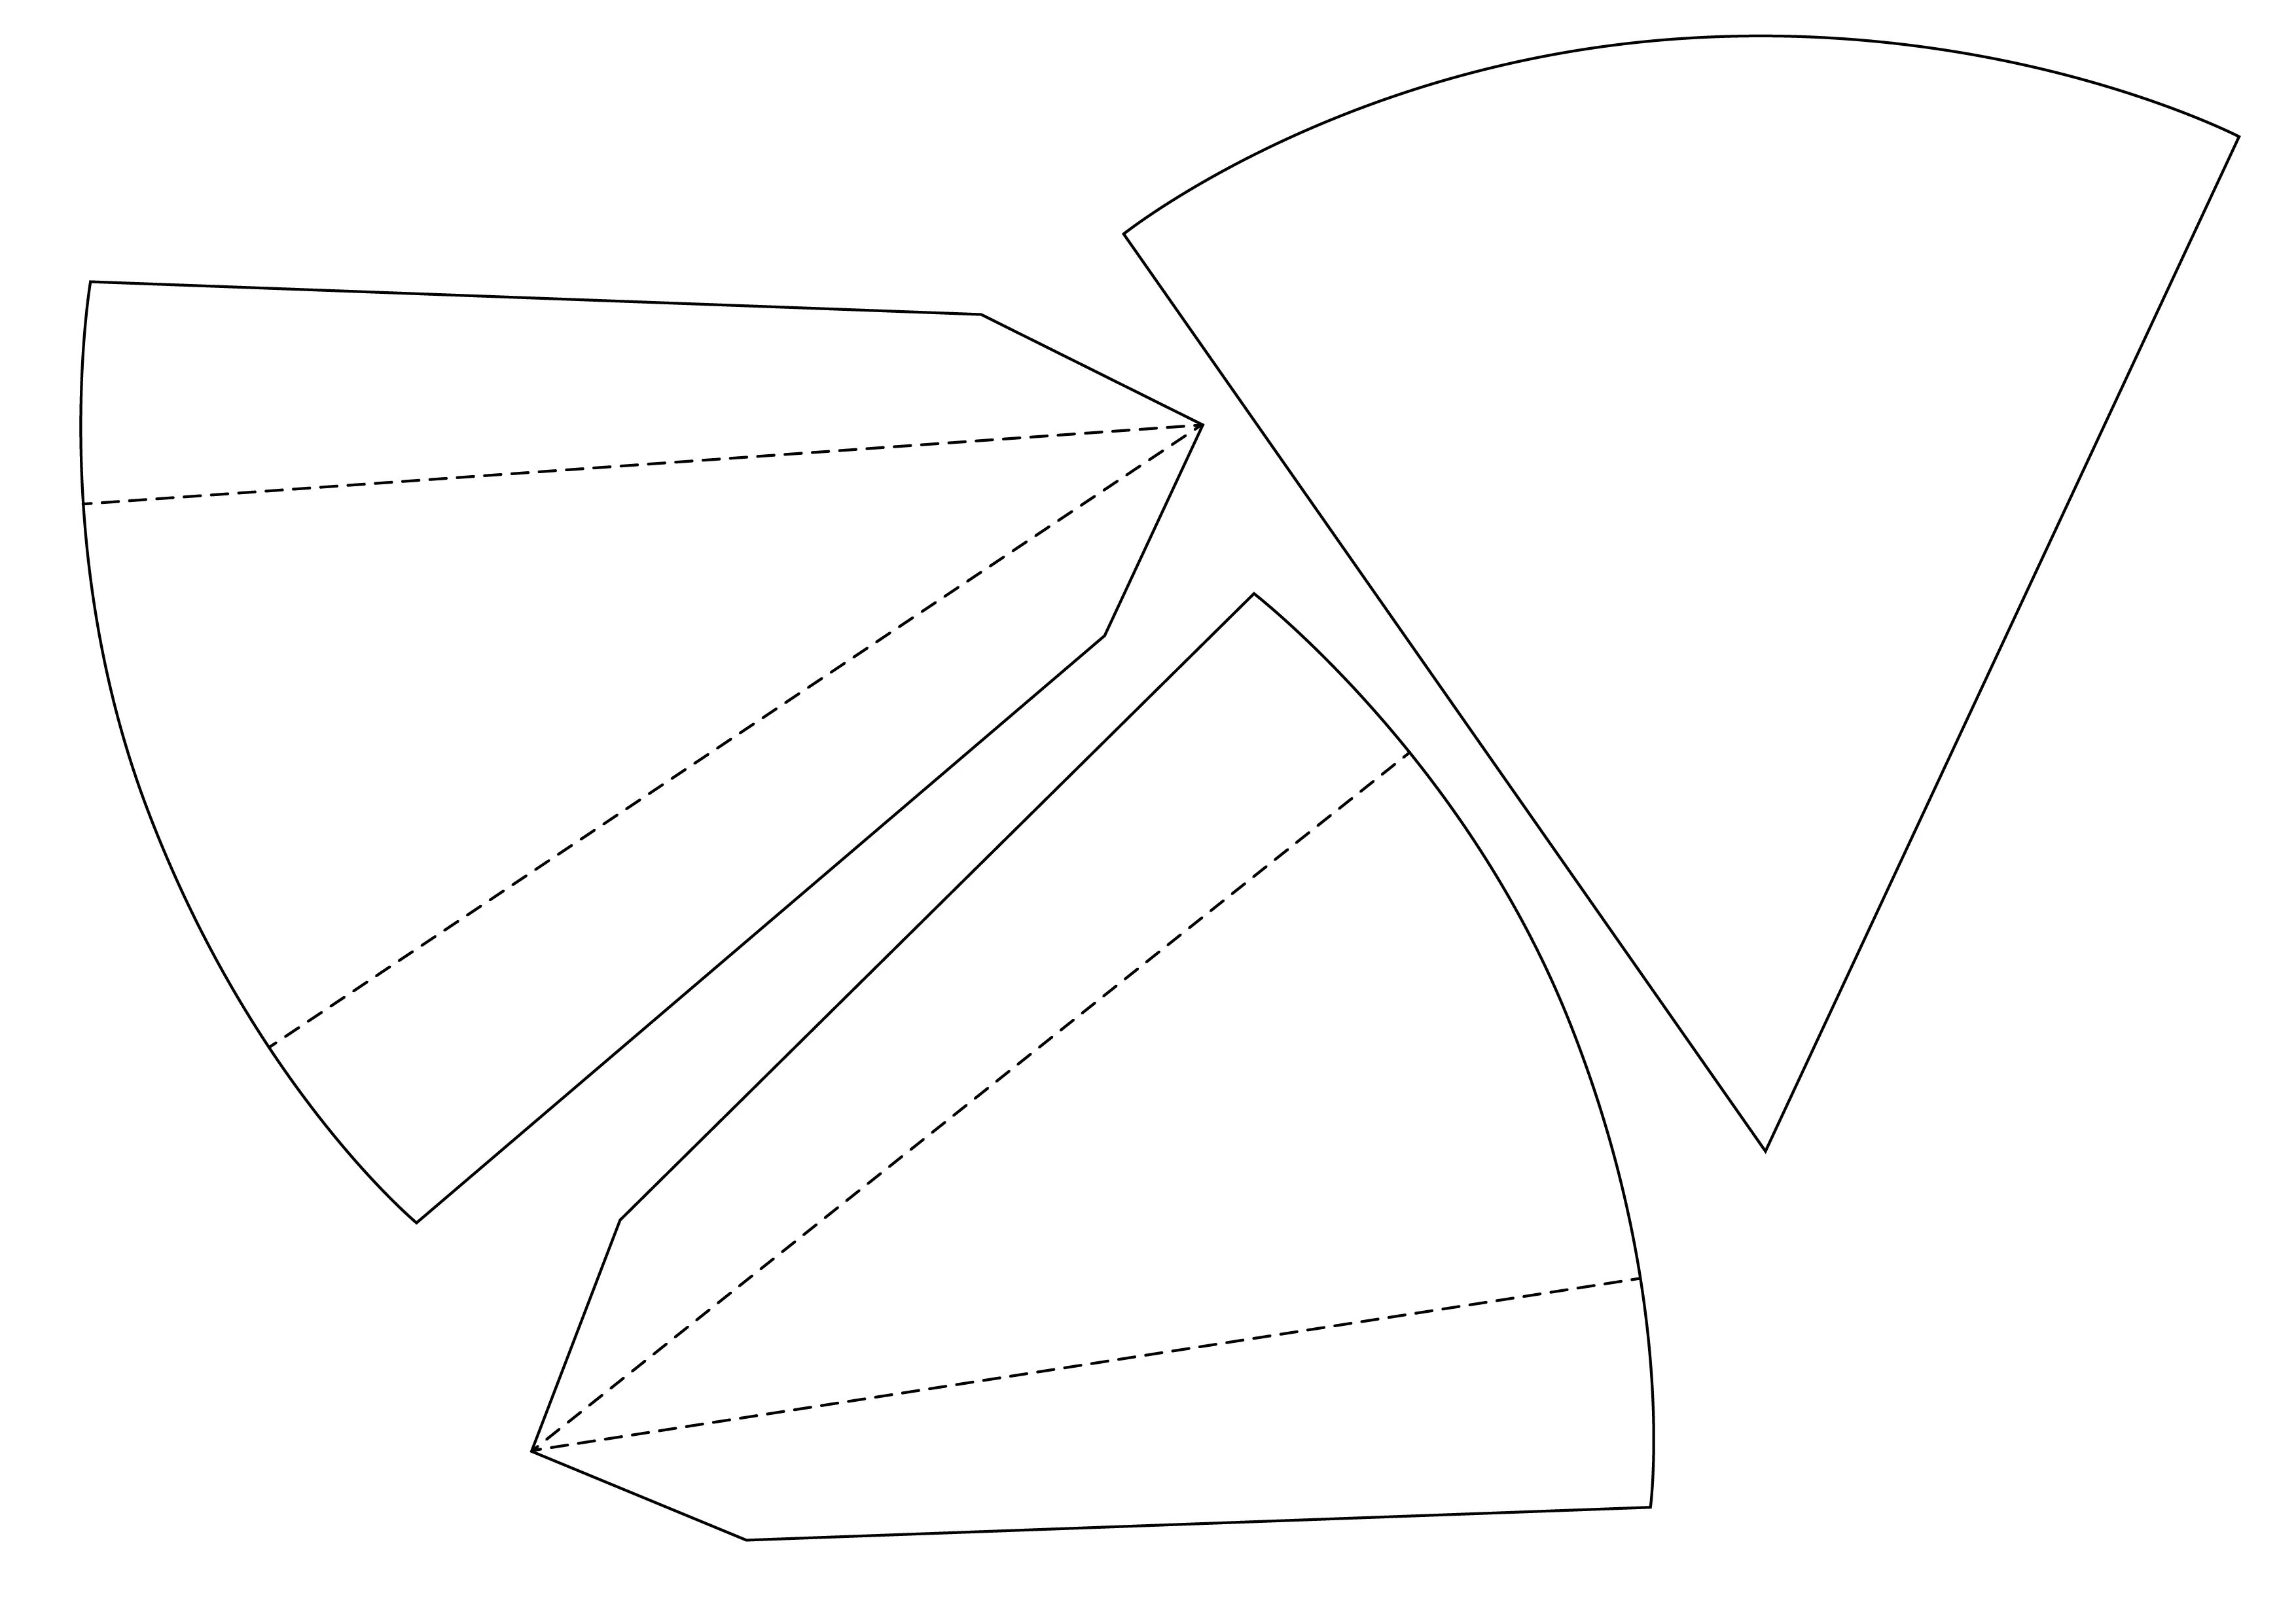
For the little ones, we have prepared a simplified version: a coloring template for the Christmas tree card. Print out the template and let your child color the tree in bright colors. This way, they can unleash their imagination and create an equally beautiful card.
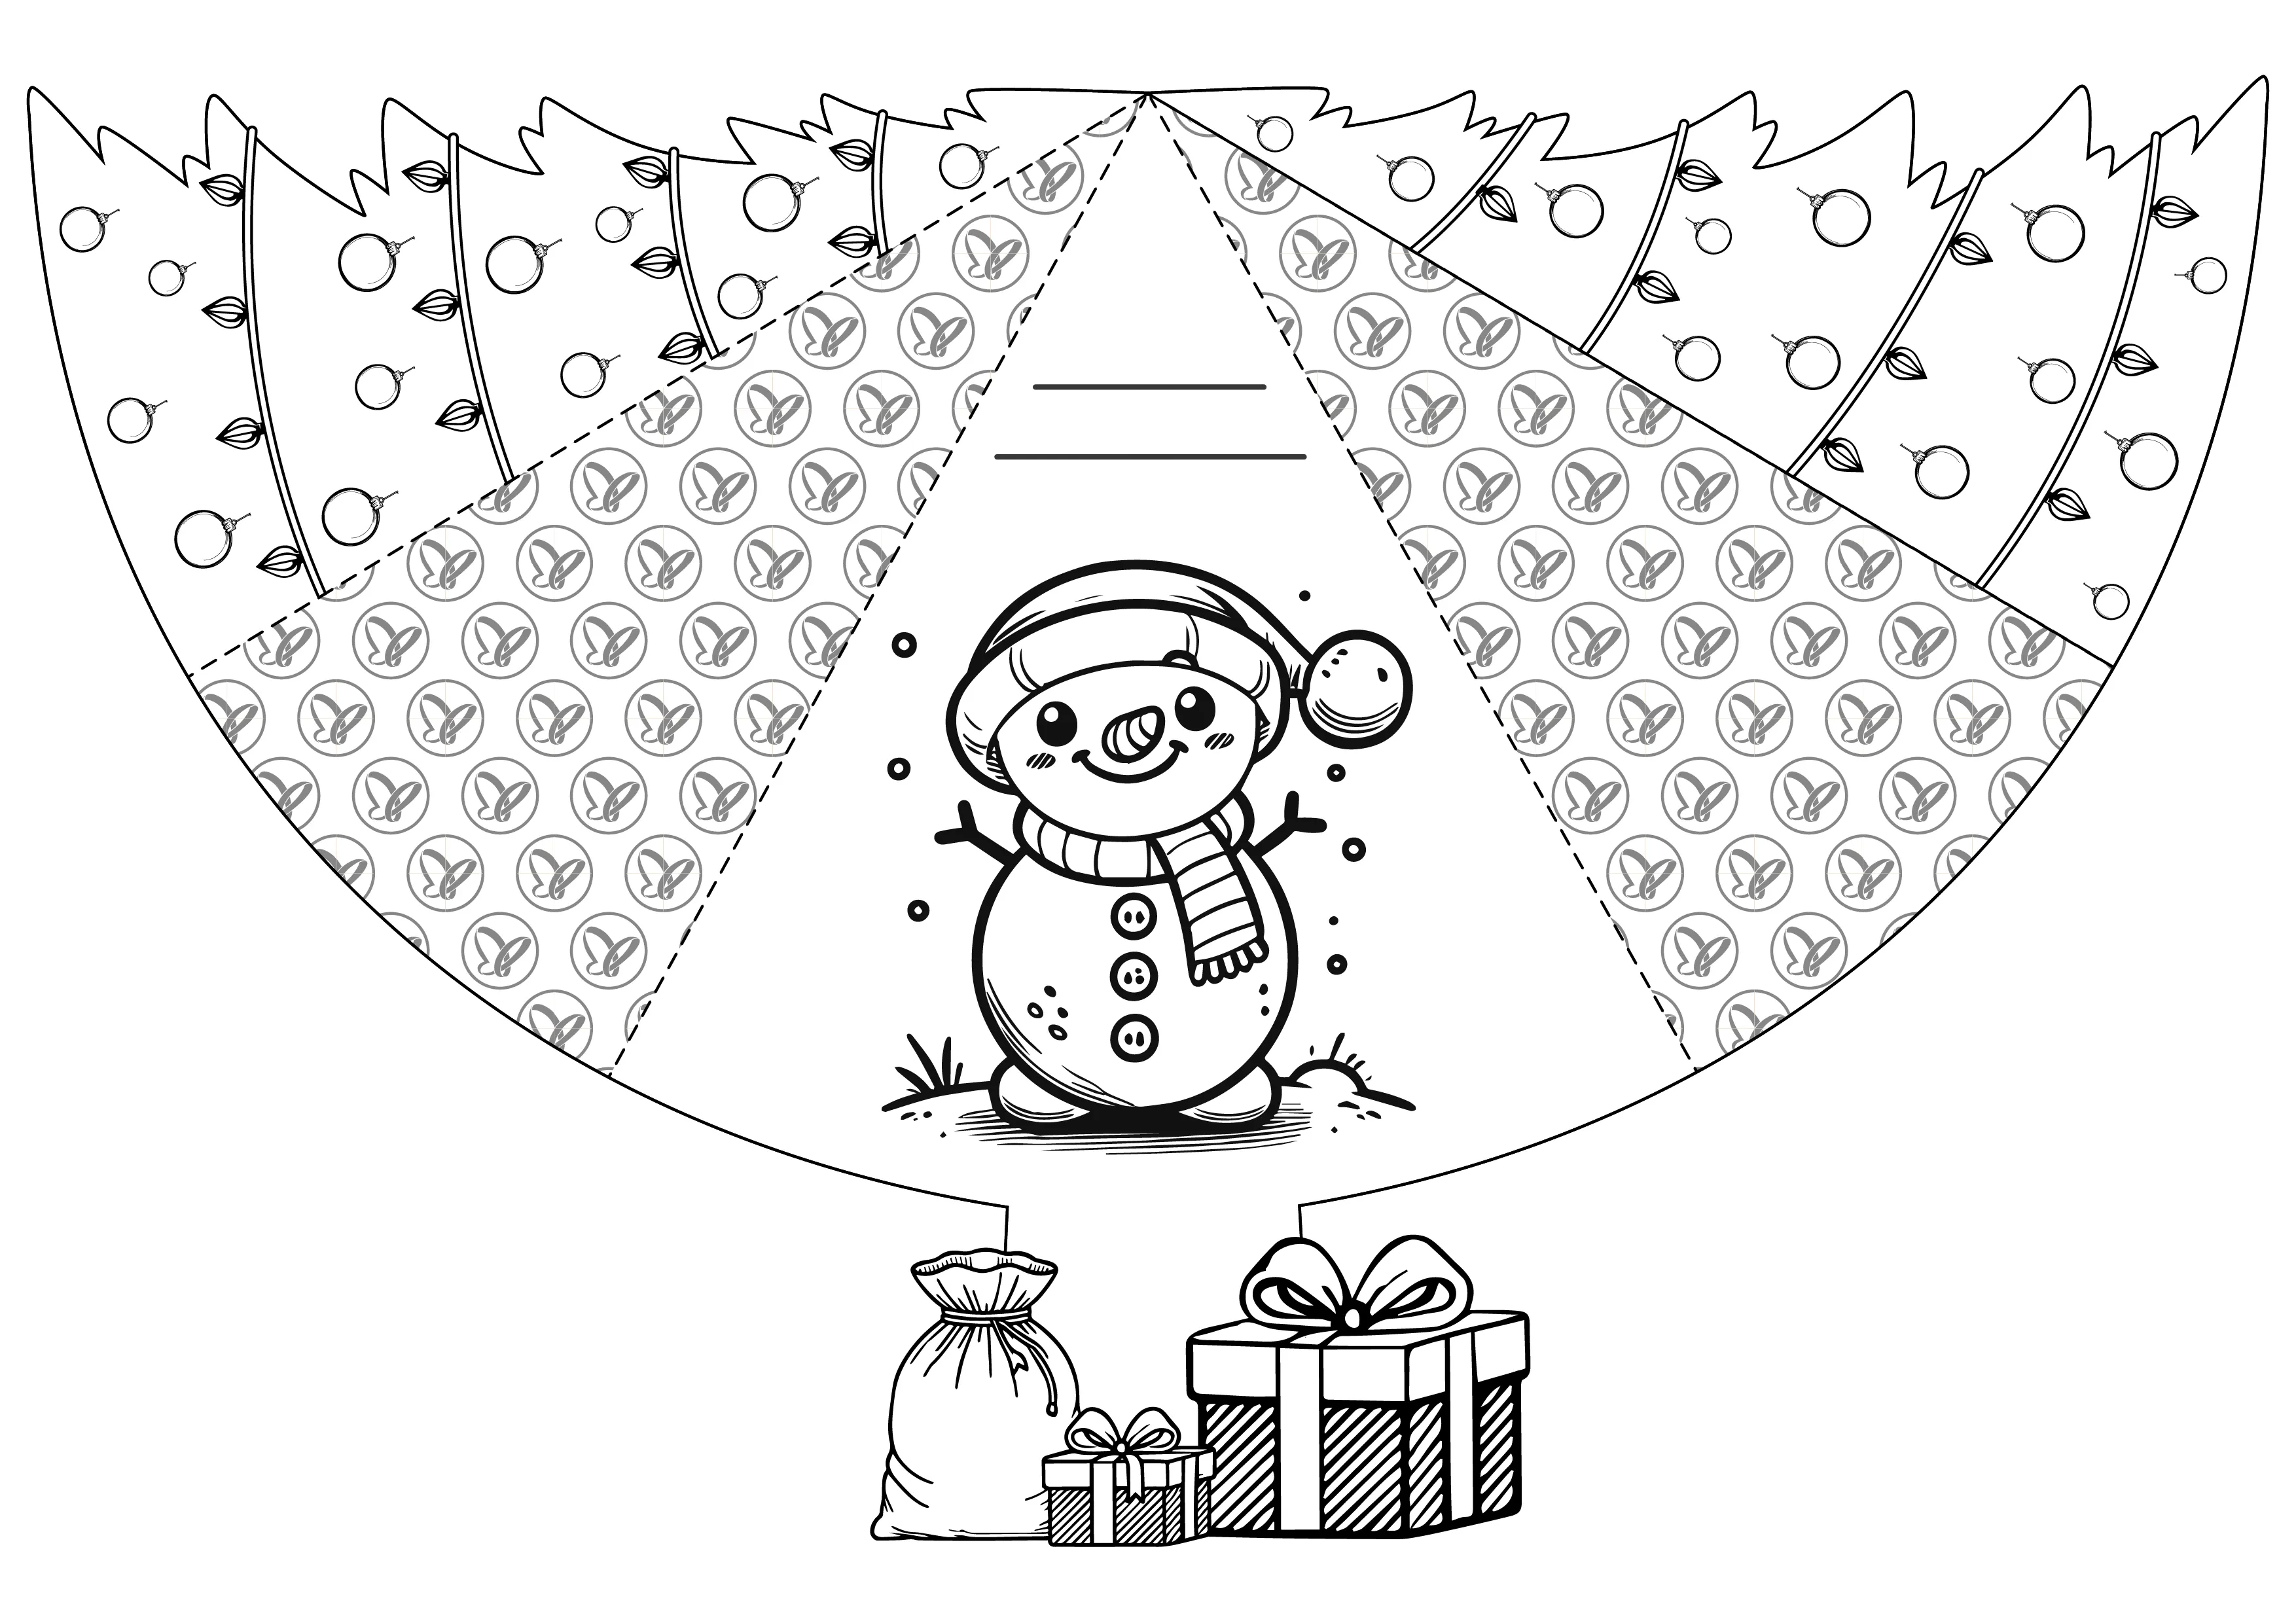
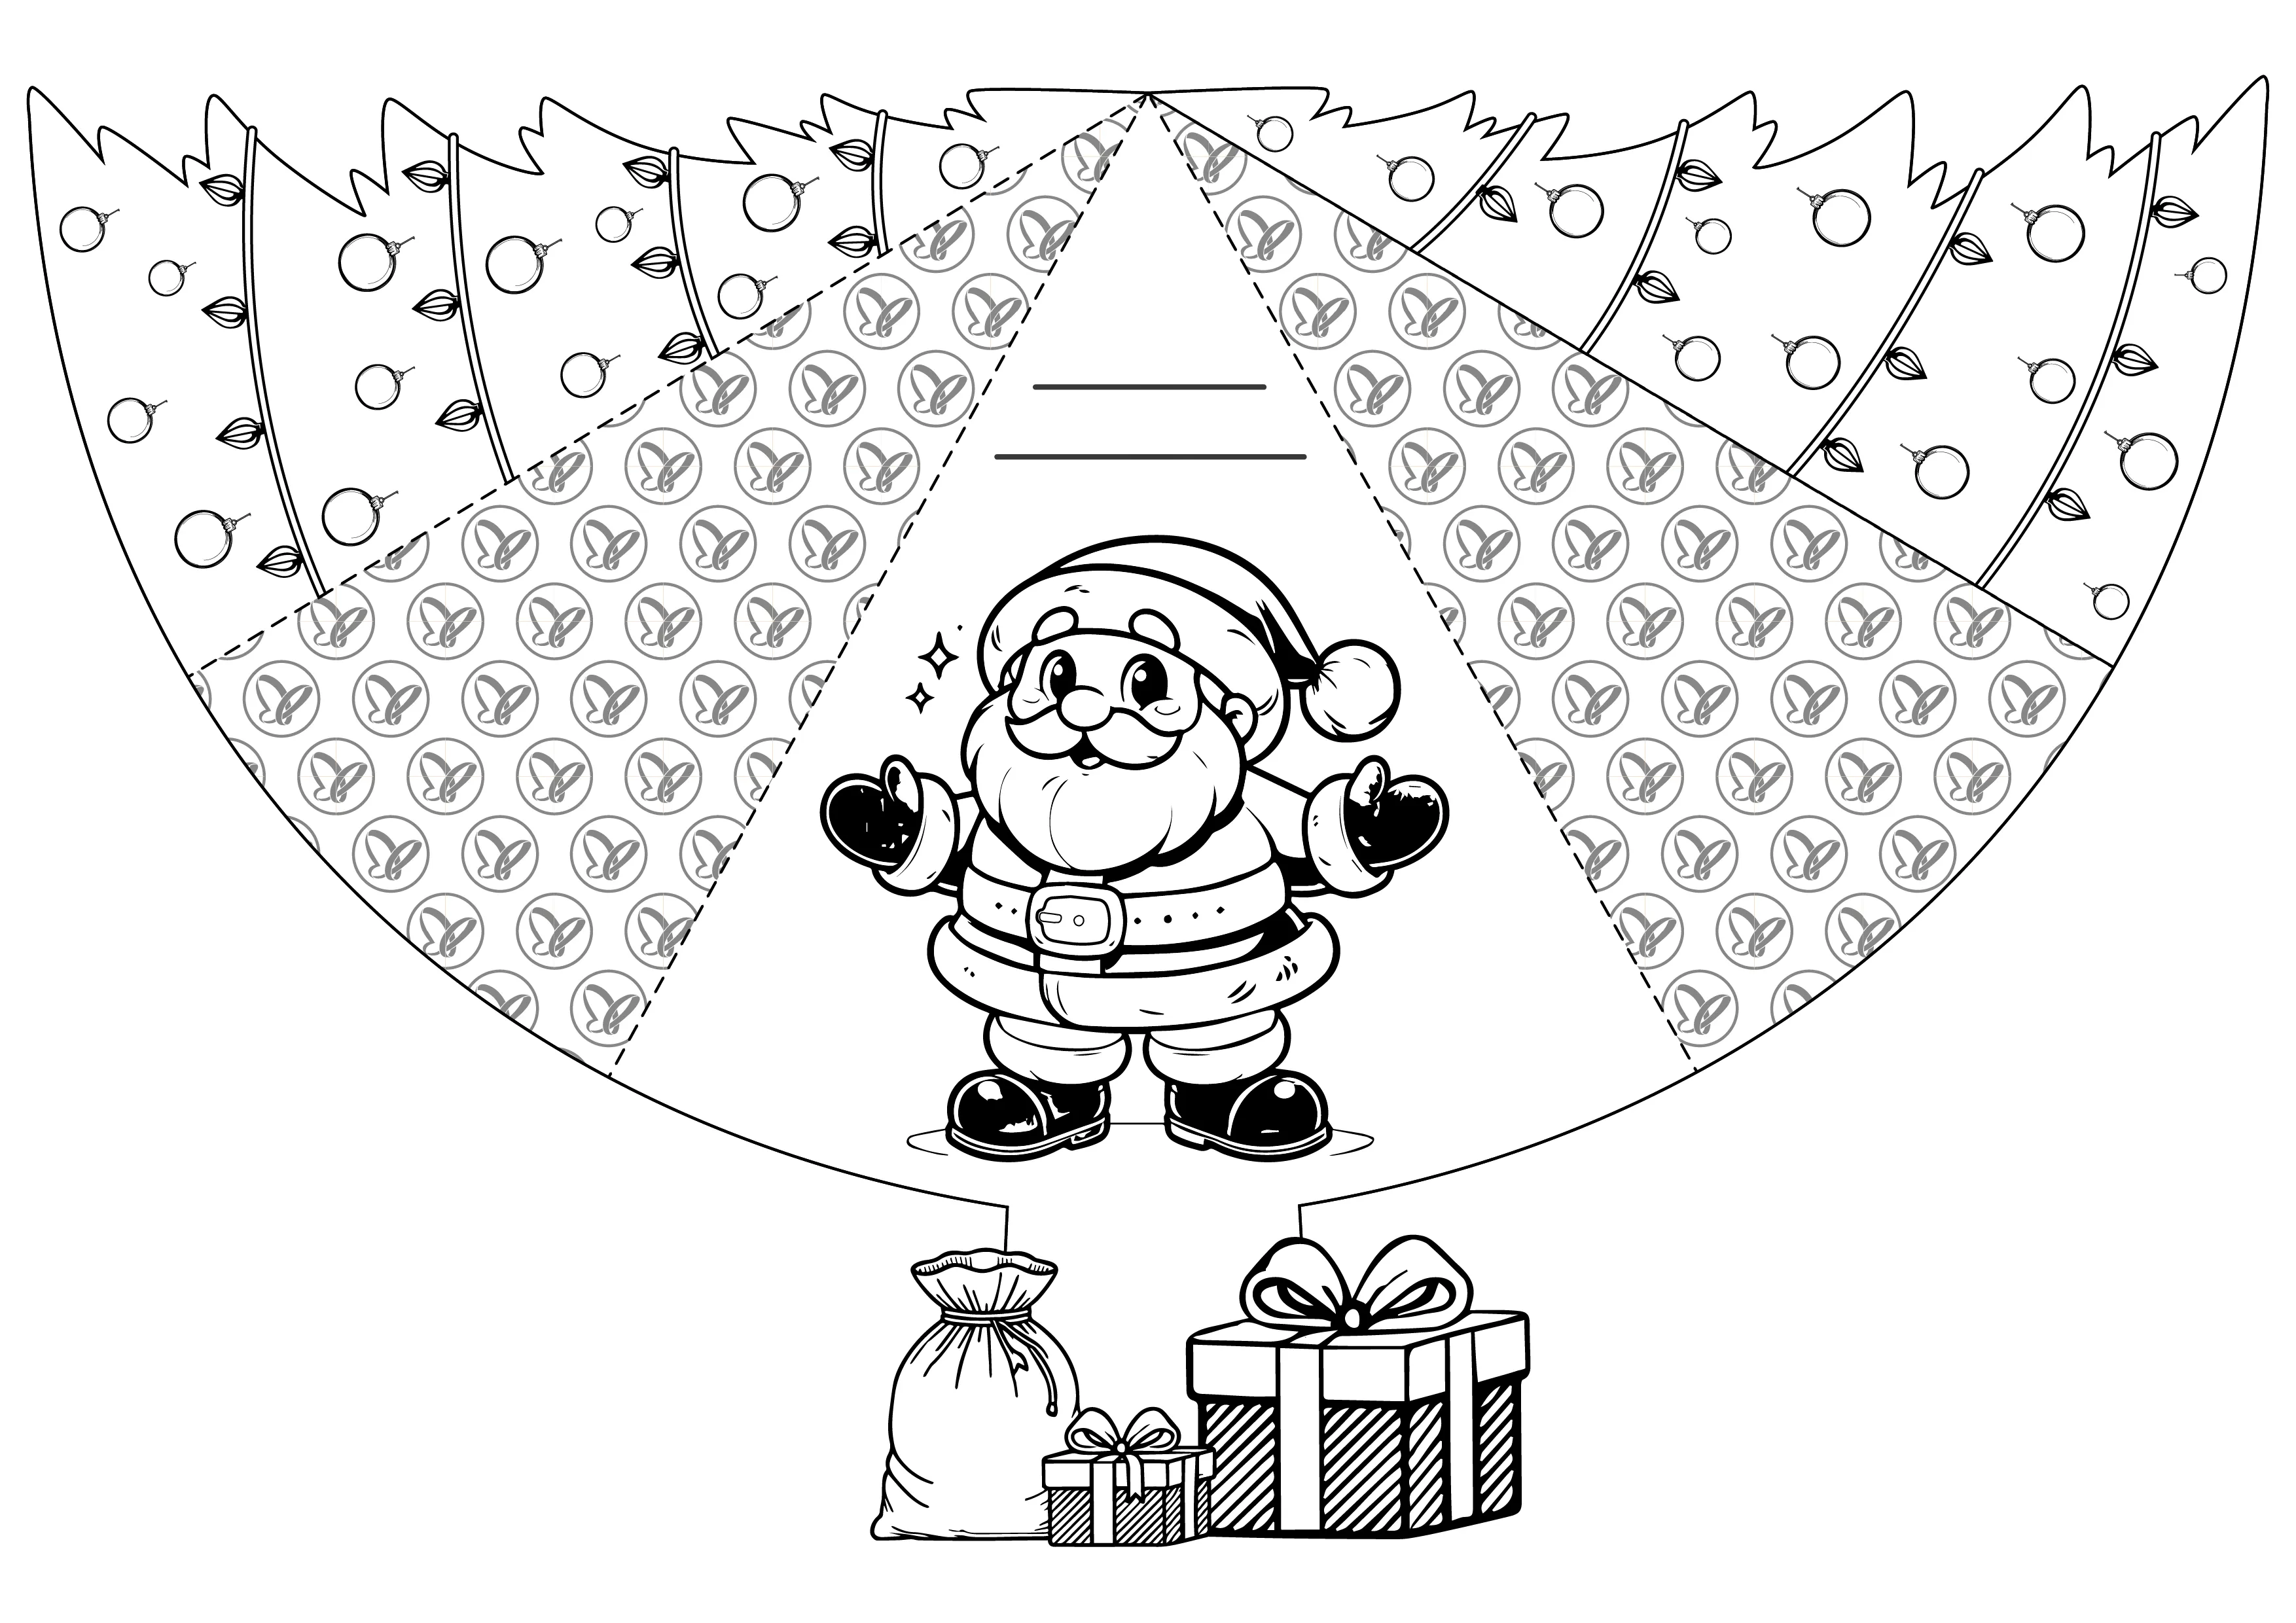
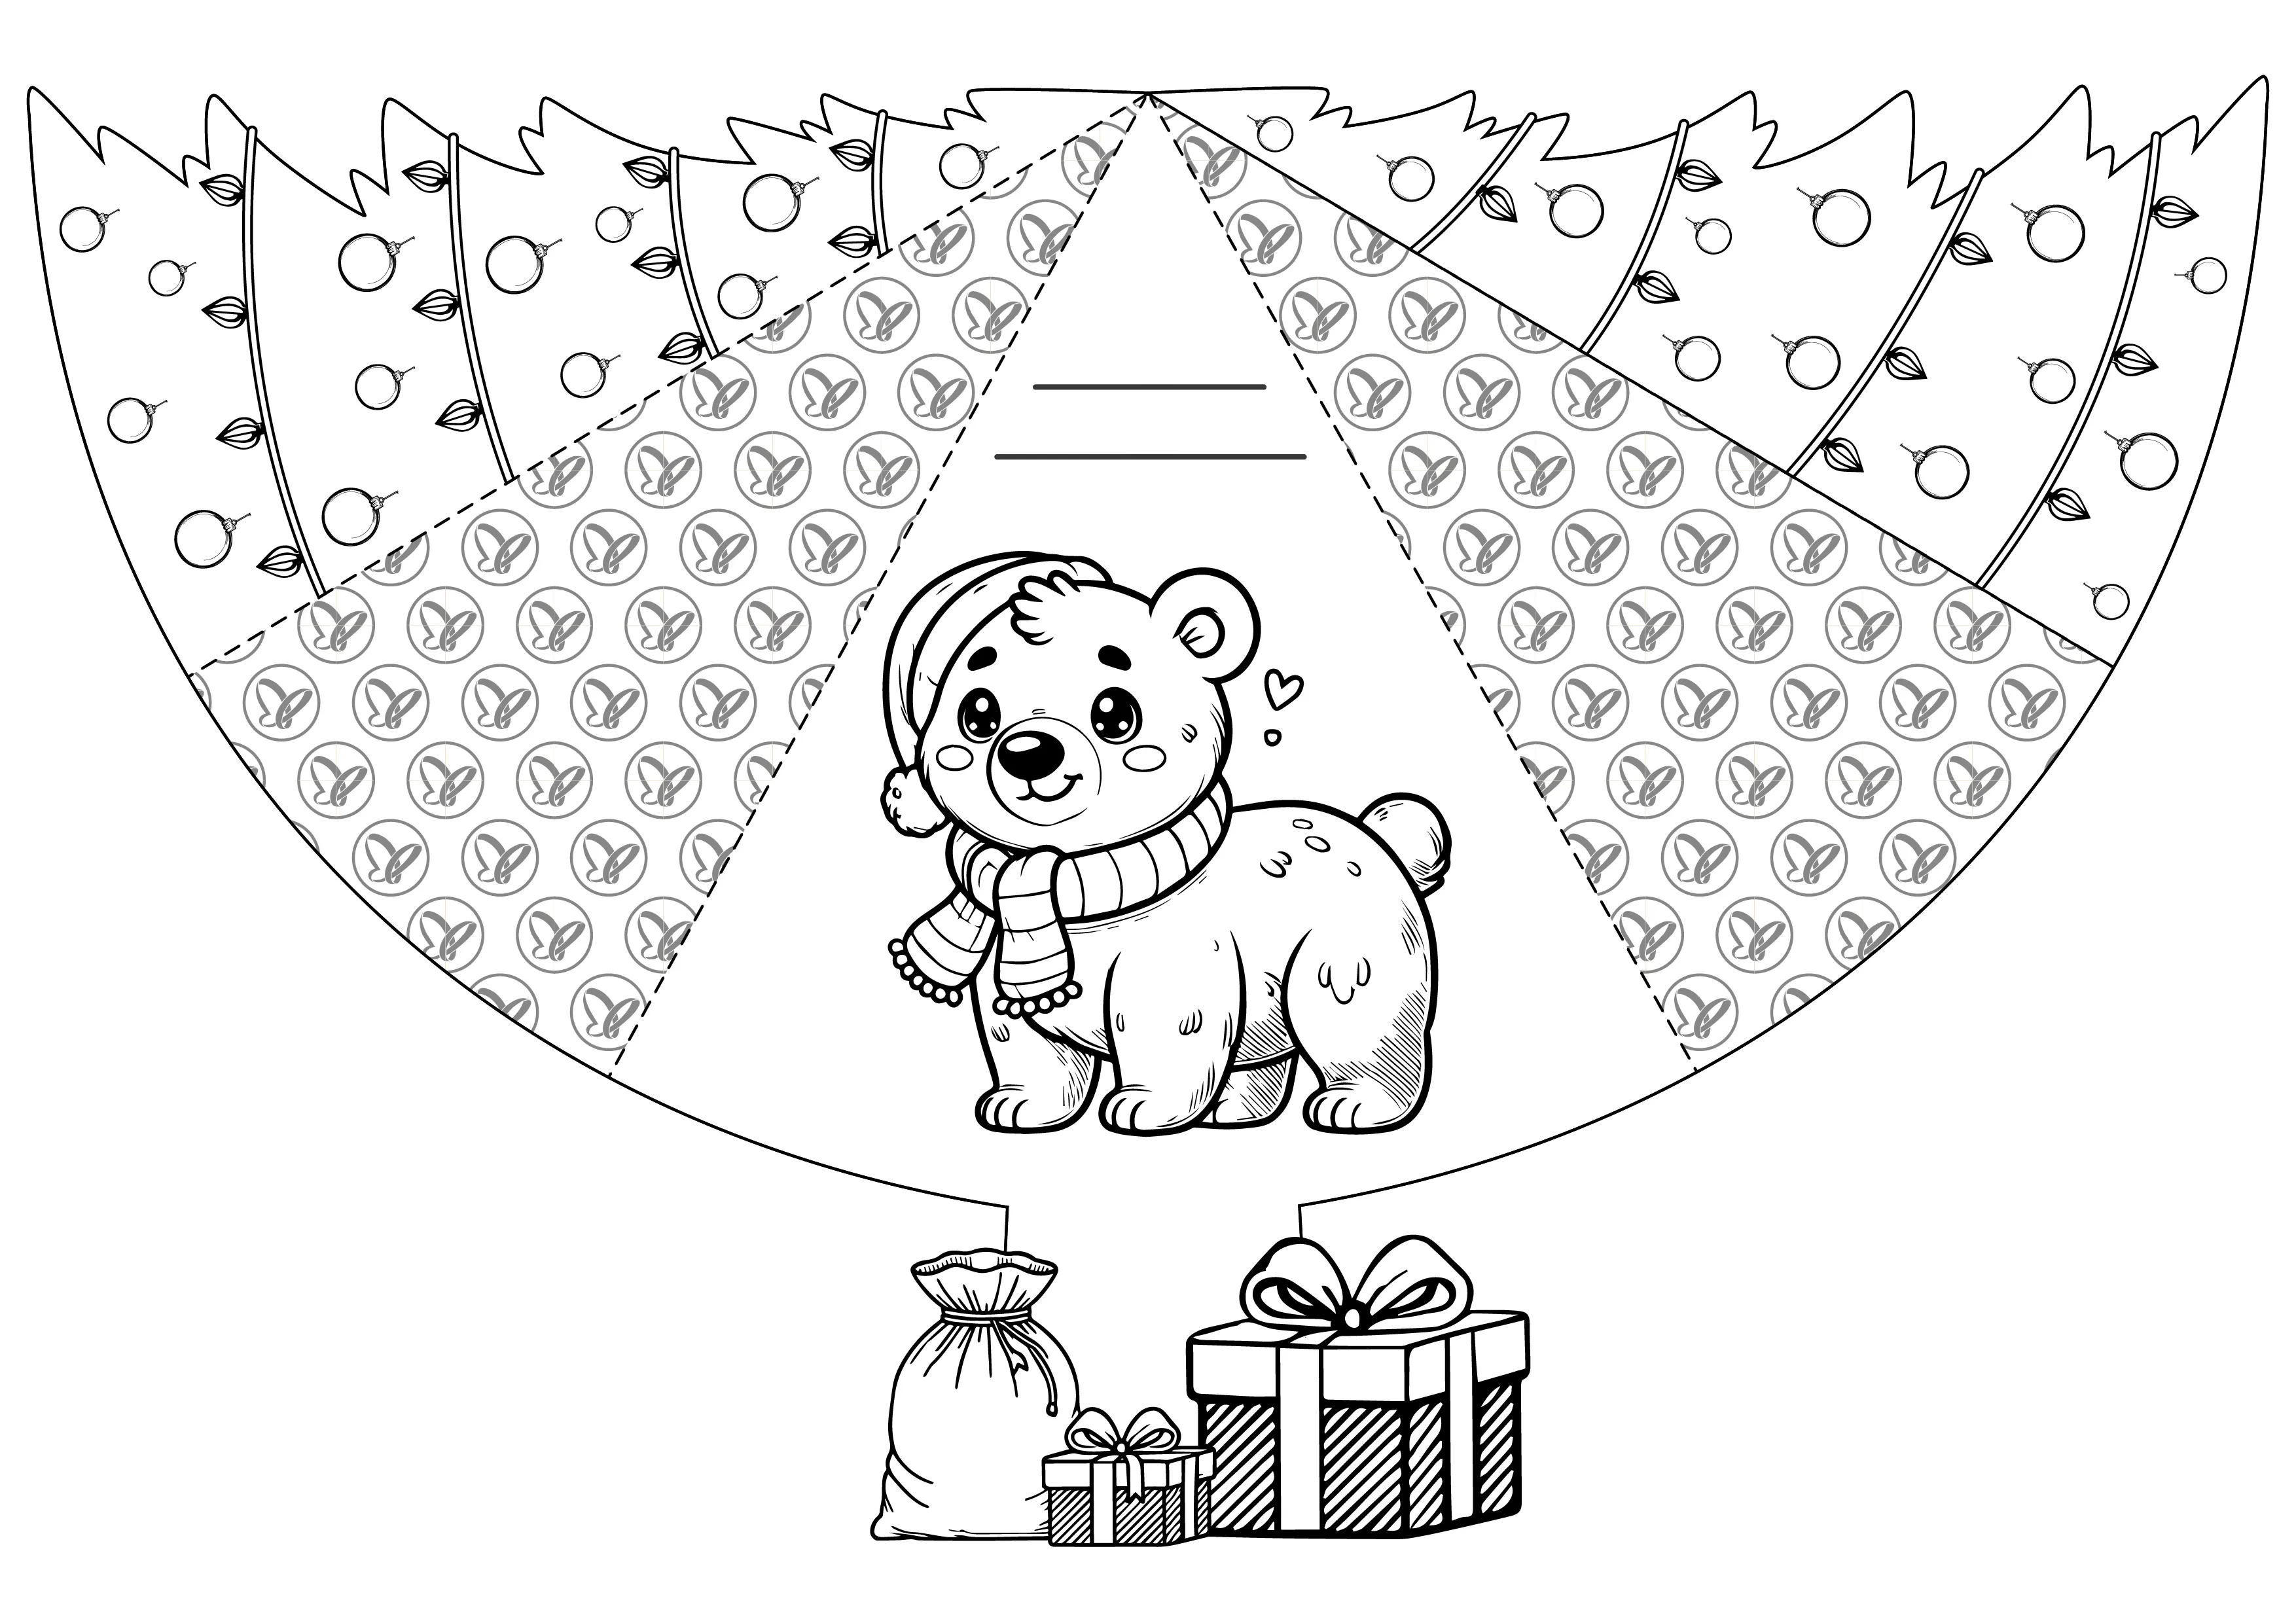
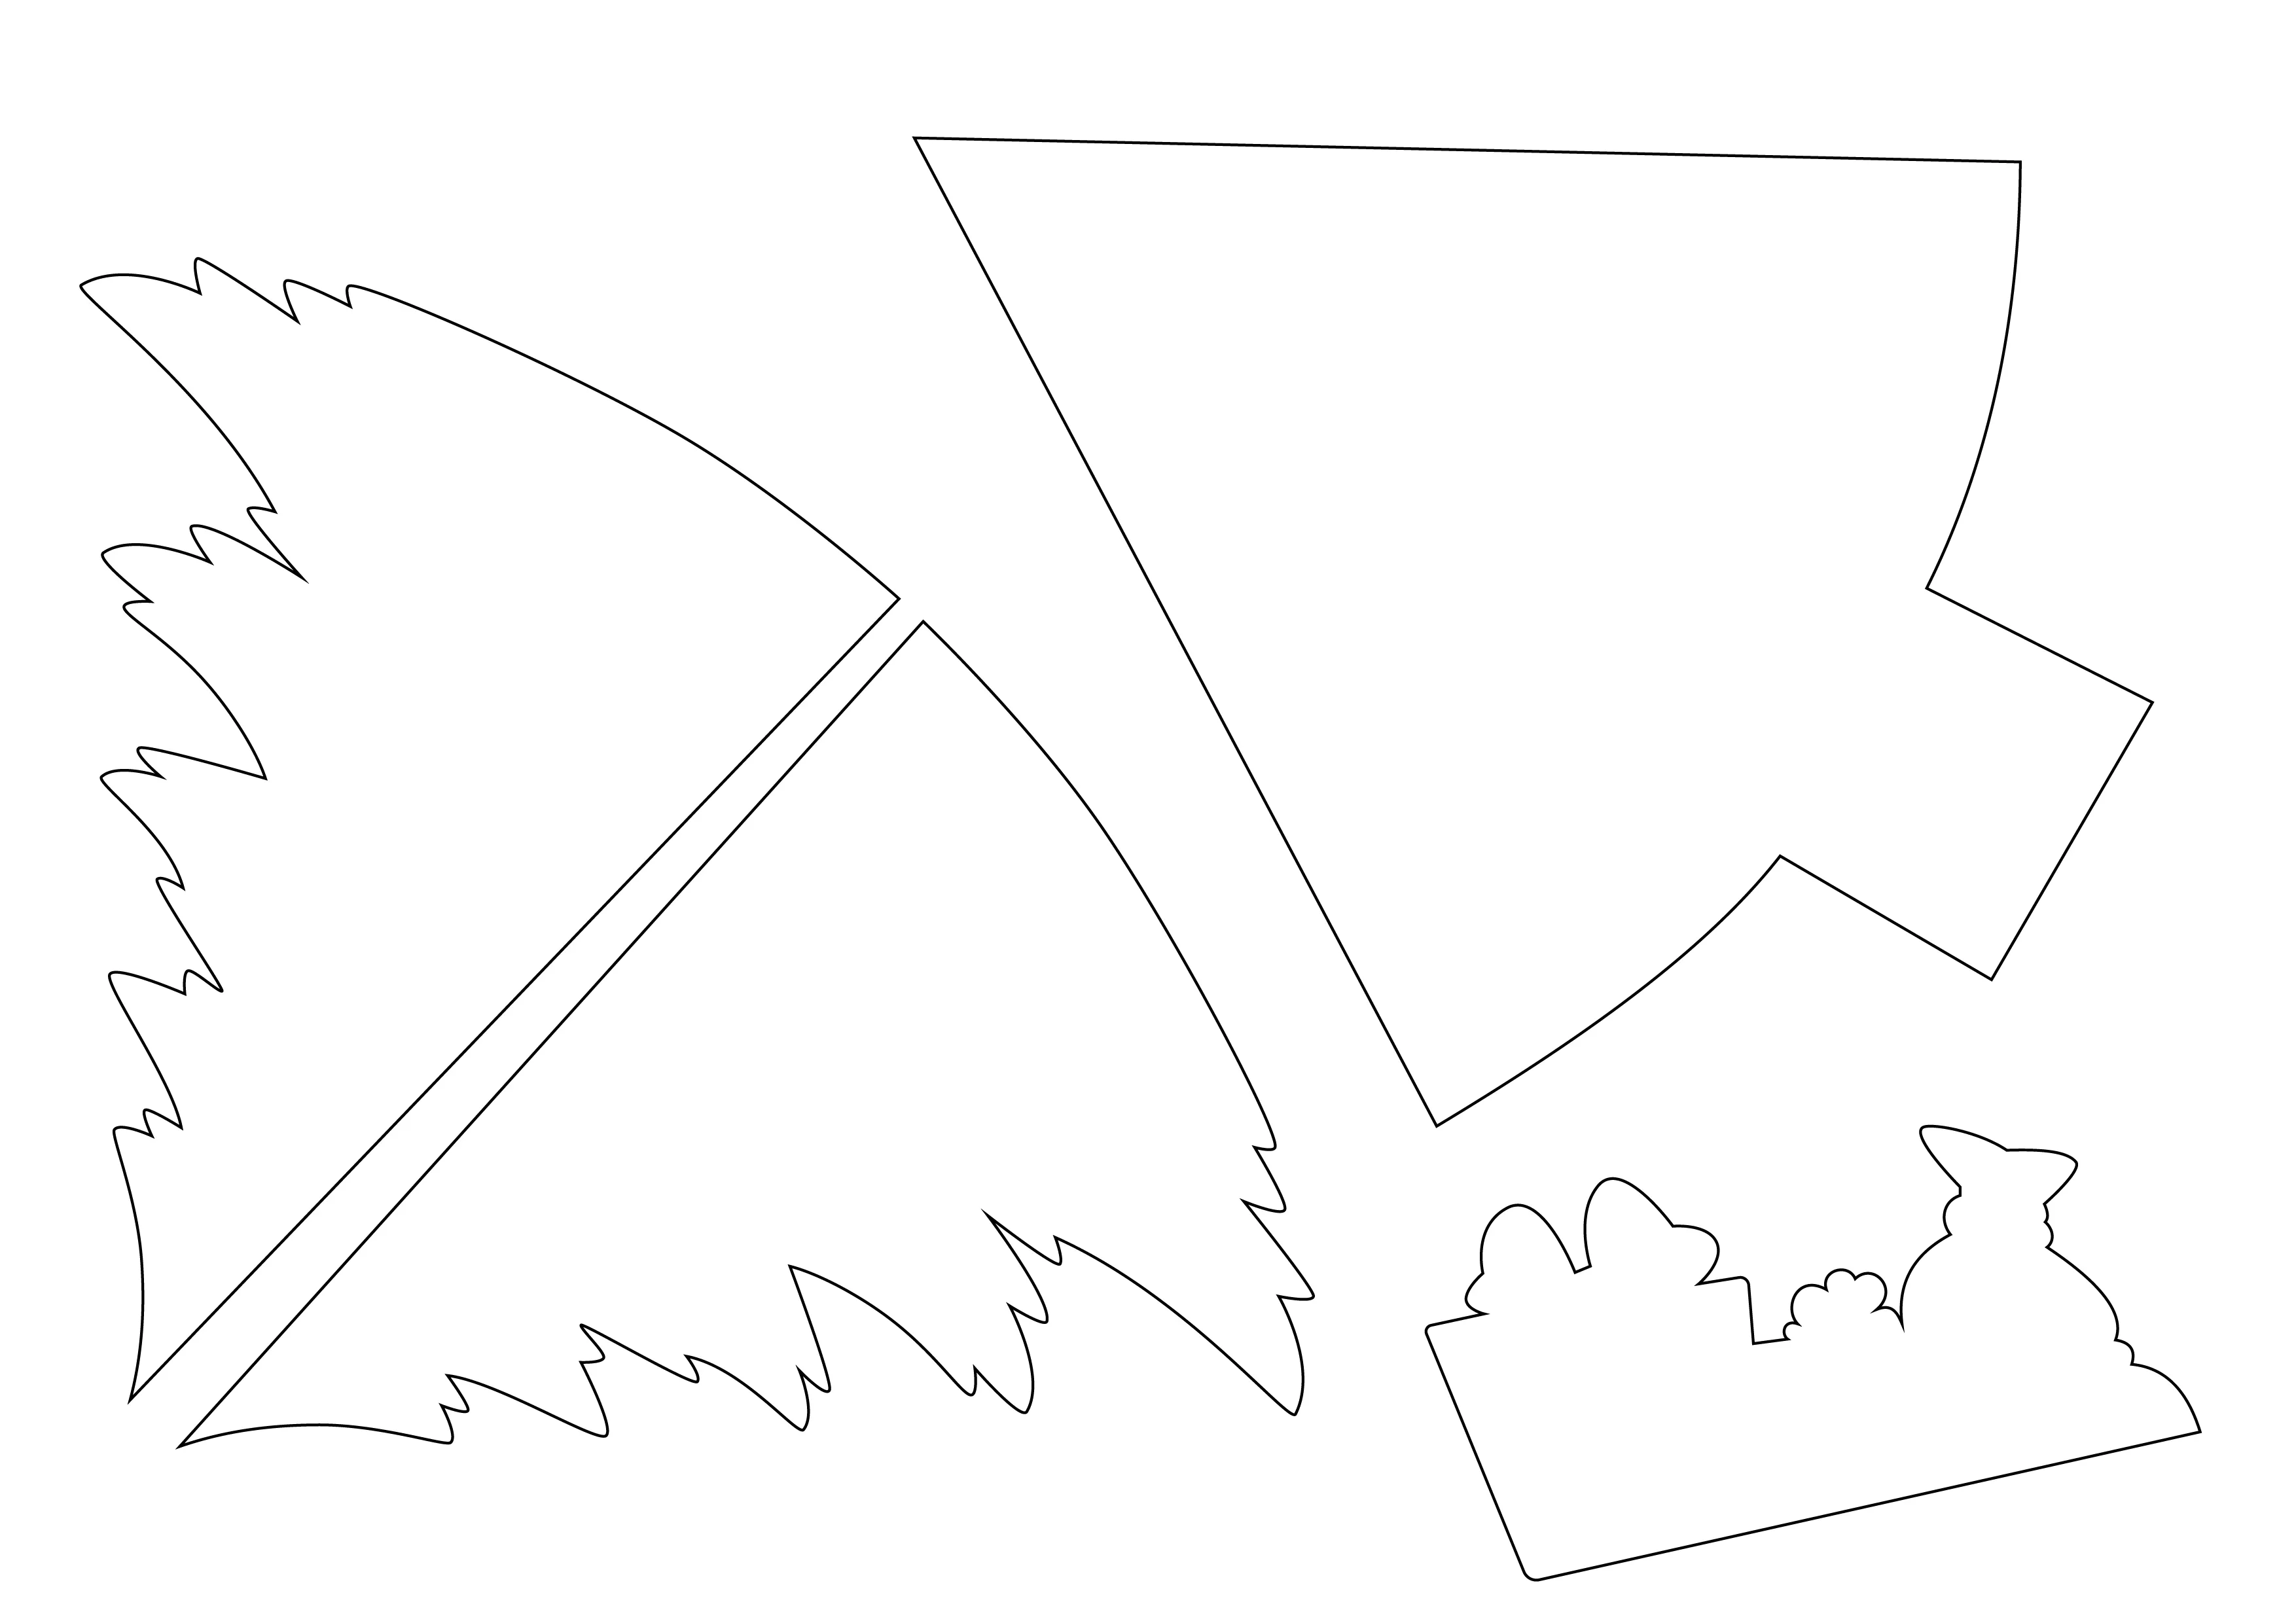
A unique result
If you follow all the steps, you will have crafted a beautiful, festive Christmas tree card. It is not only an eye-catcher, but also a lovely way to convey warm Christmas greetings. Try out different designs and create a small collection of unique Christmas cards!
Interesting facts about Christmas cards
Christmas cards originated in the 19th century and quickly spread throughout Europe. The first printed card was created in 1843 in England by Henry Cole. It was a new, creative idea for holiday greetings that immediately captured hearts. Since then, cards with winter motifs, Christmas trees, angels, and other Christmas symbols have become an integral part of holiday culture.
Conclusion
Thank you for spending this special crafting time with us! We hope that the project has brought joy and brought the Christmas spirit into your home. On our platform, you will find many more craft ideas for kids, including creative Origami projects and guides for folding napkins. As seen here, for each idea, you will find a video, photos of each step, and a detailed description.
Let's create a cozy and creative Christmas time together!
From Vitalii Shynakov
