Origami motorboat: Instructions with video, photos, and description
The Origami Motorboat impresses with its dynamic design. As a portal with over 100 different Origami instructions, we are delighted to present you with this maritime folding guide. Each of our instructions includes self-produced videos, detailed photos, and precise text descriptions for maximum learning success.
An Origami Motorboat immediately sparks the imagination of children. They can envision it gliding over the waves or participating in exciting races. The folded boat is perfect for playing and decorating - you can customize it with markers to give it a unique look.
Folding paper promotes concentration, patience, and precision. You learn that precise work leads to success. The methodical approach trains endurance and discipline. Origami is also ideal for seniors - it keeps fine motor skills and mental agility sharp.
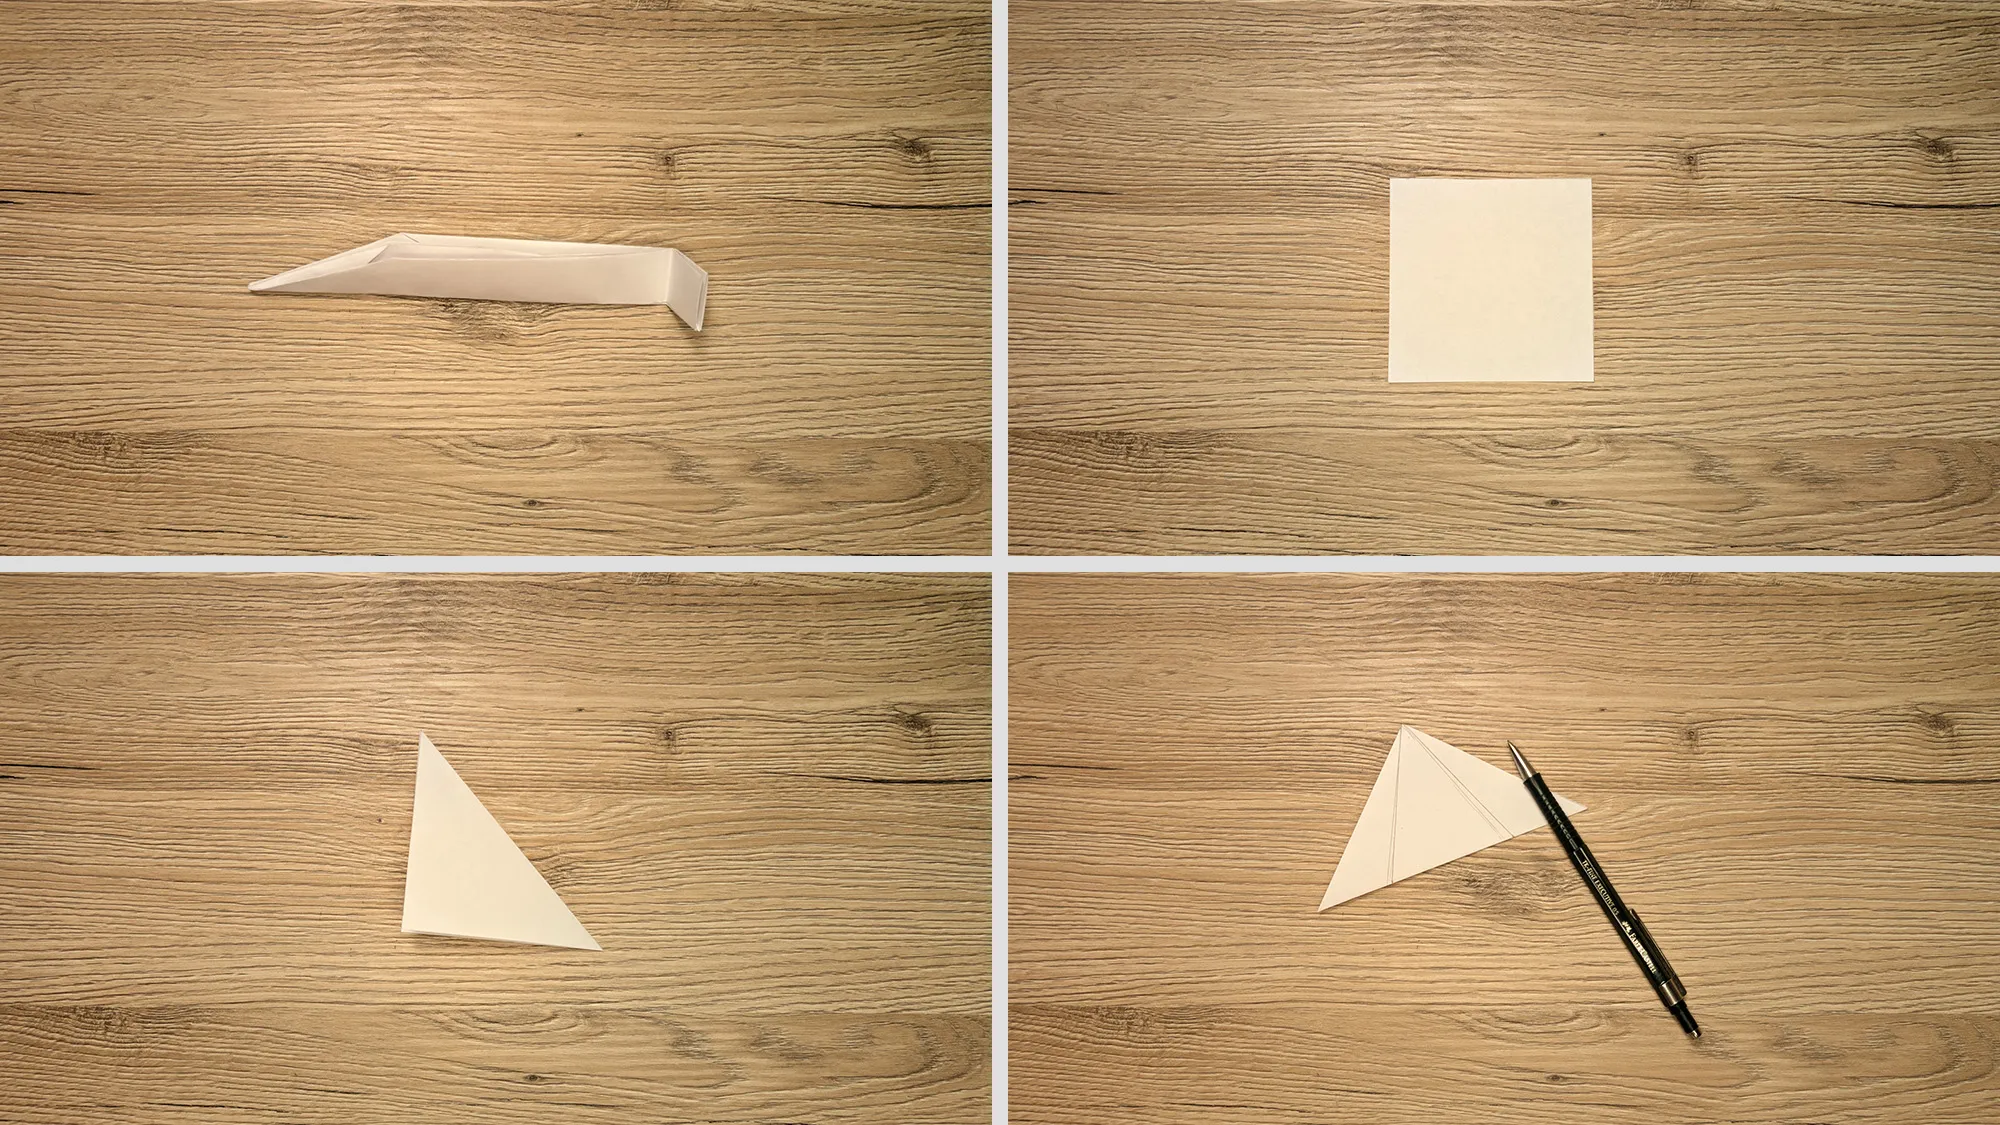
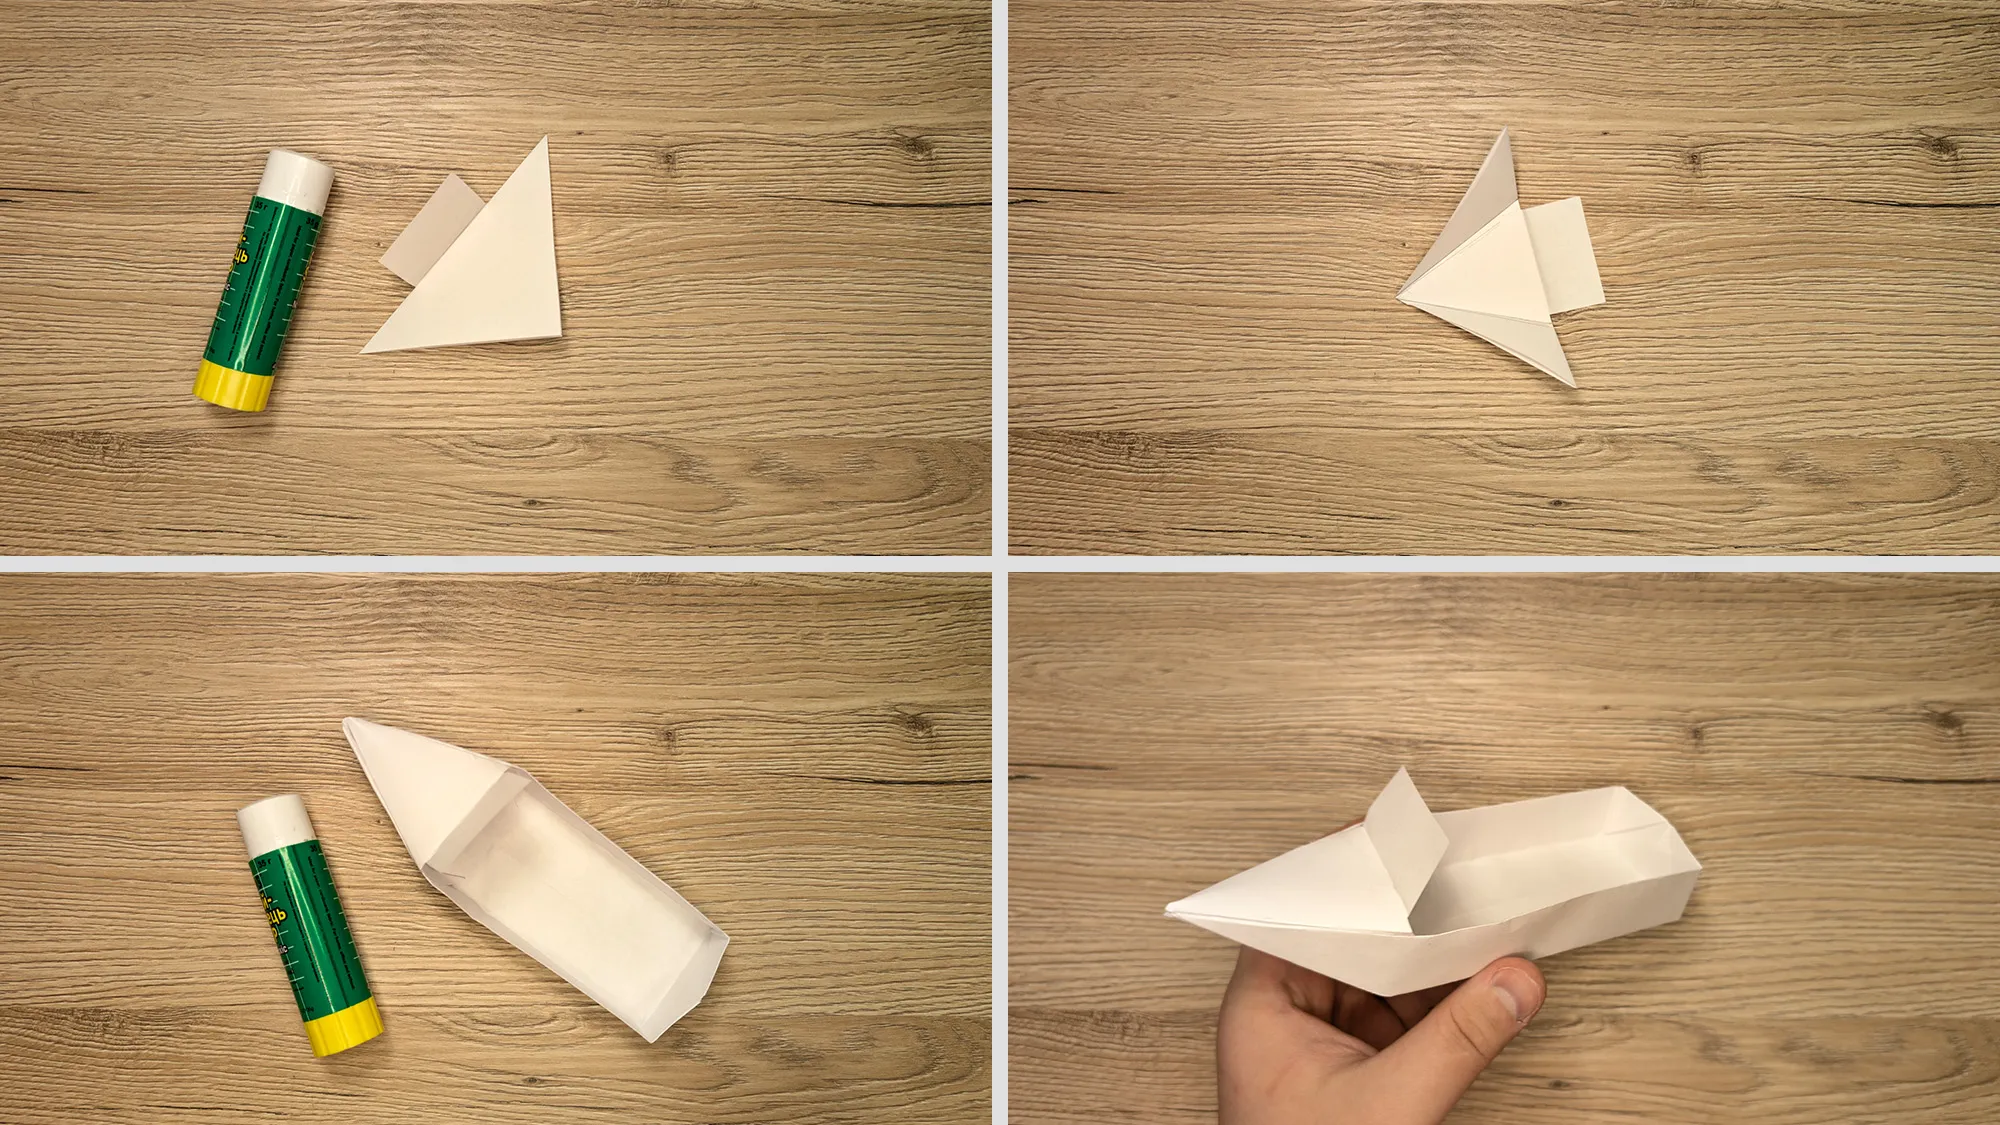
Origami Motorboat: Step-by-Step Guide with Photos and Description
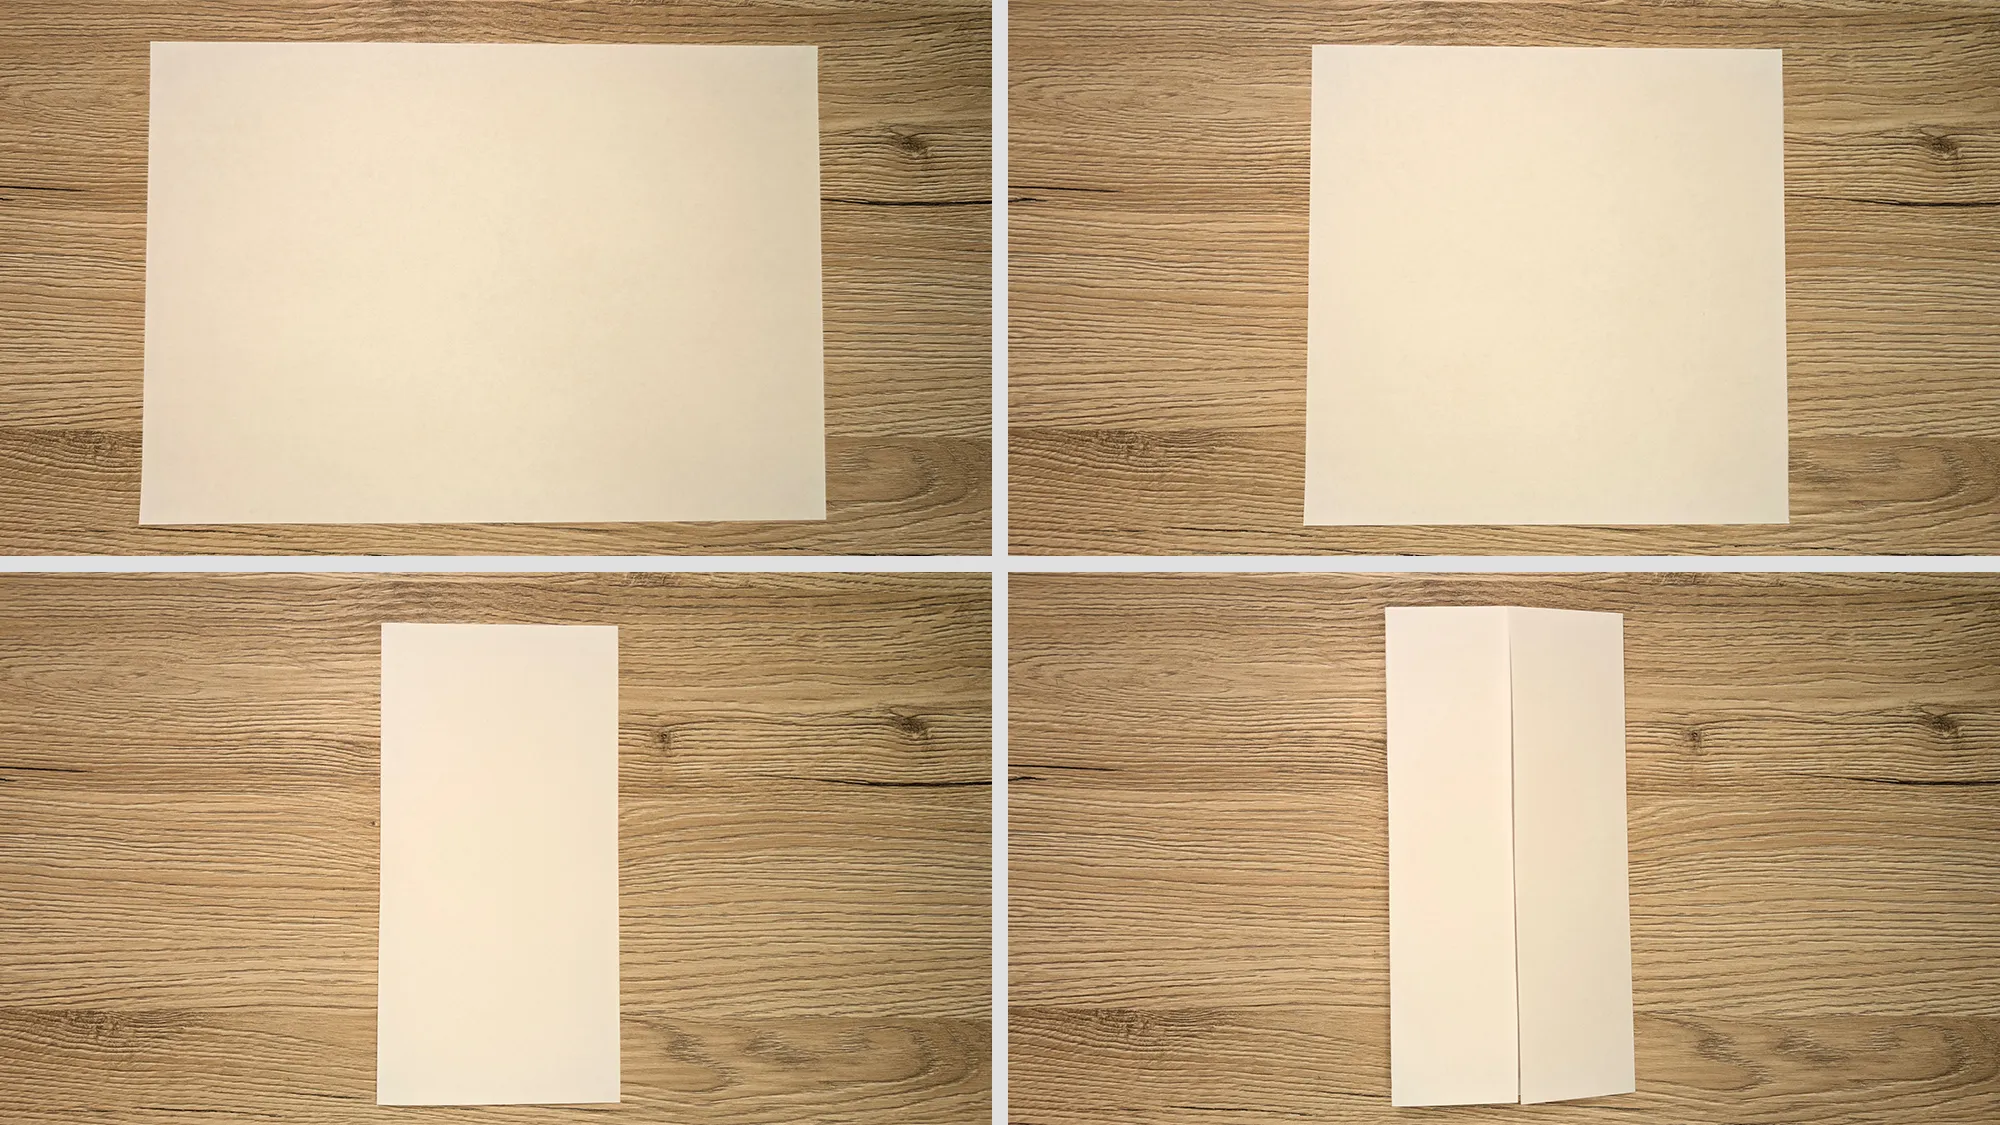
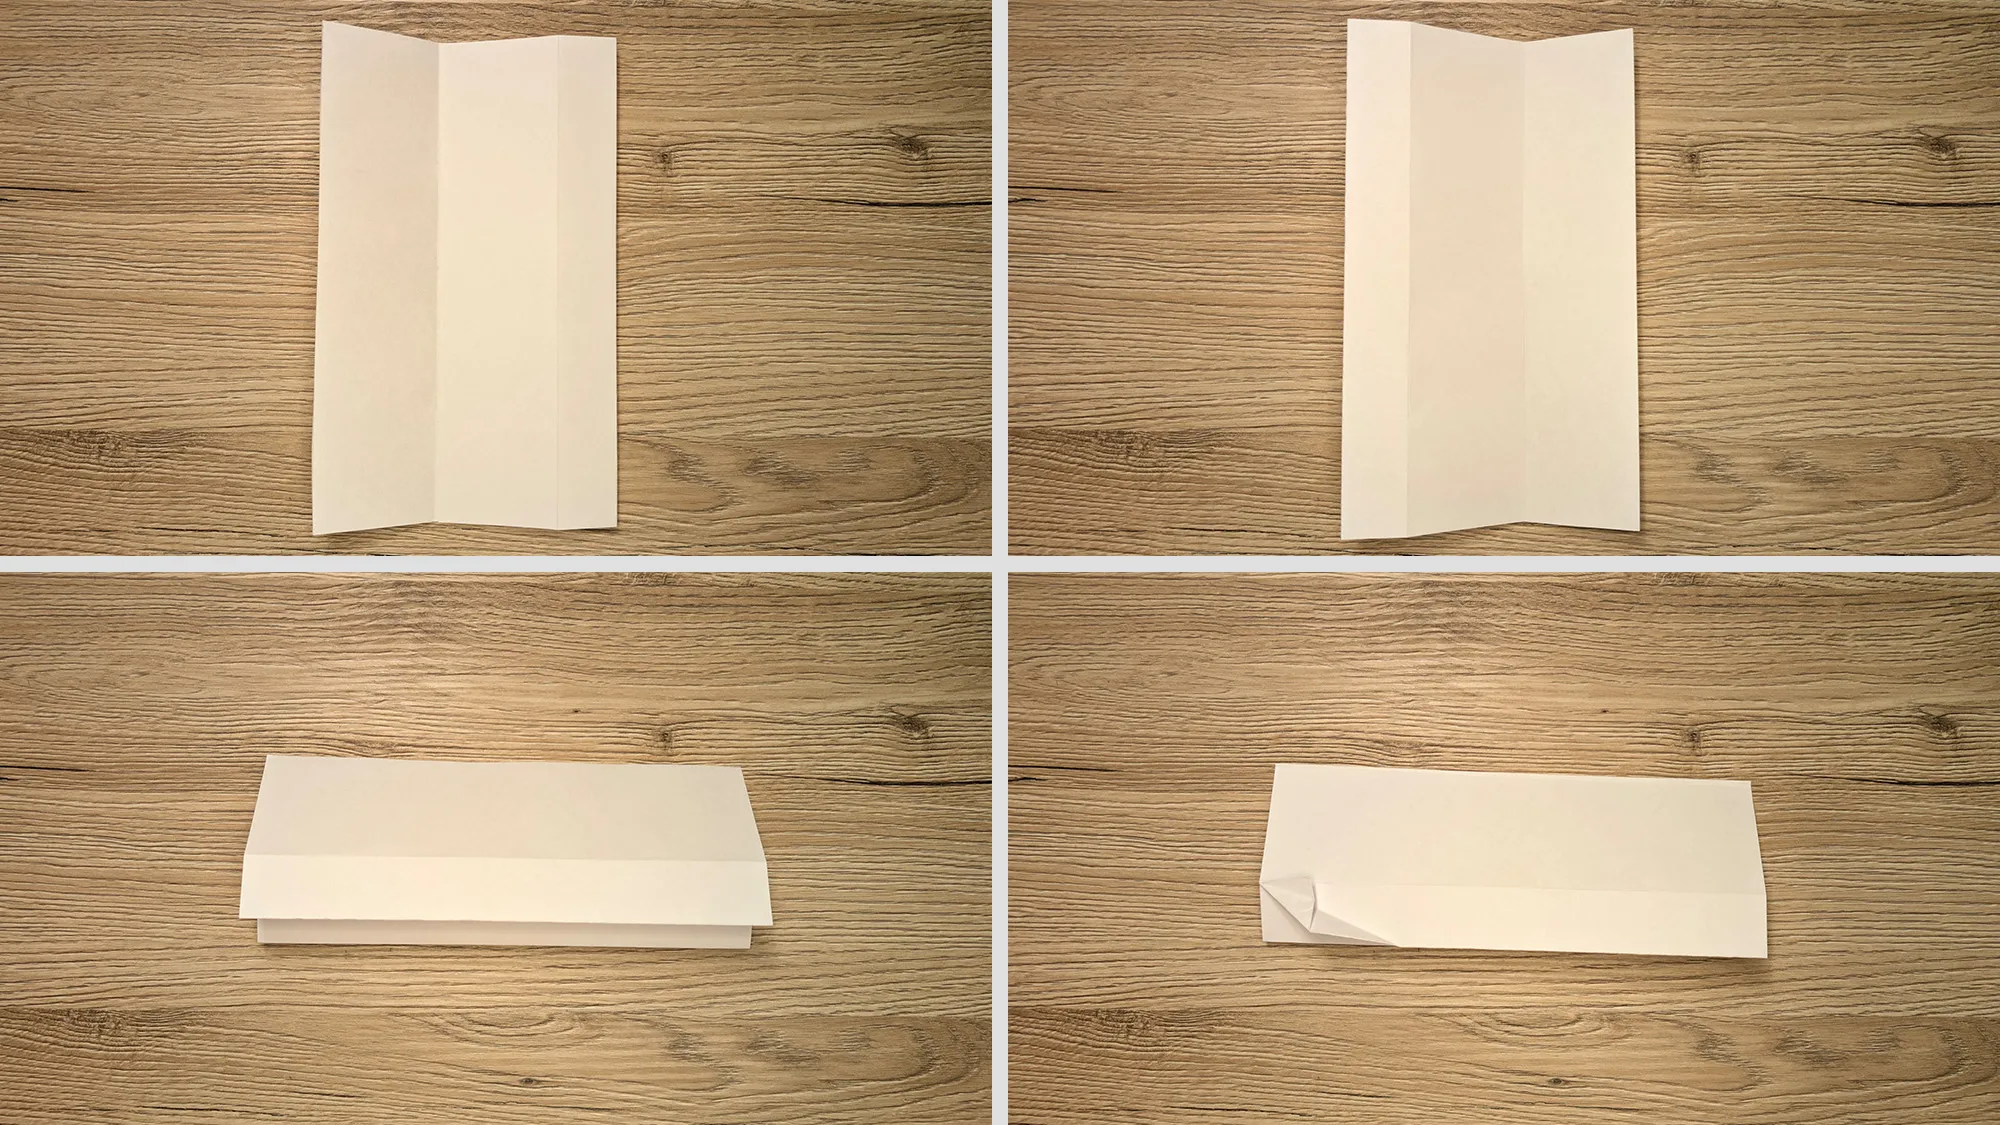
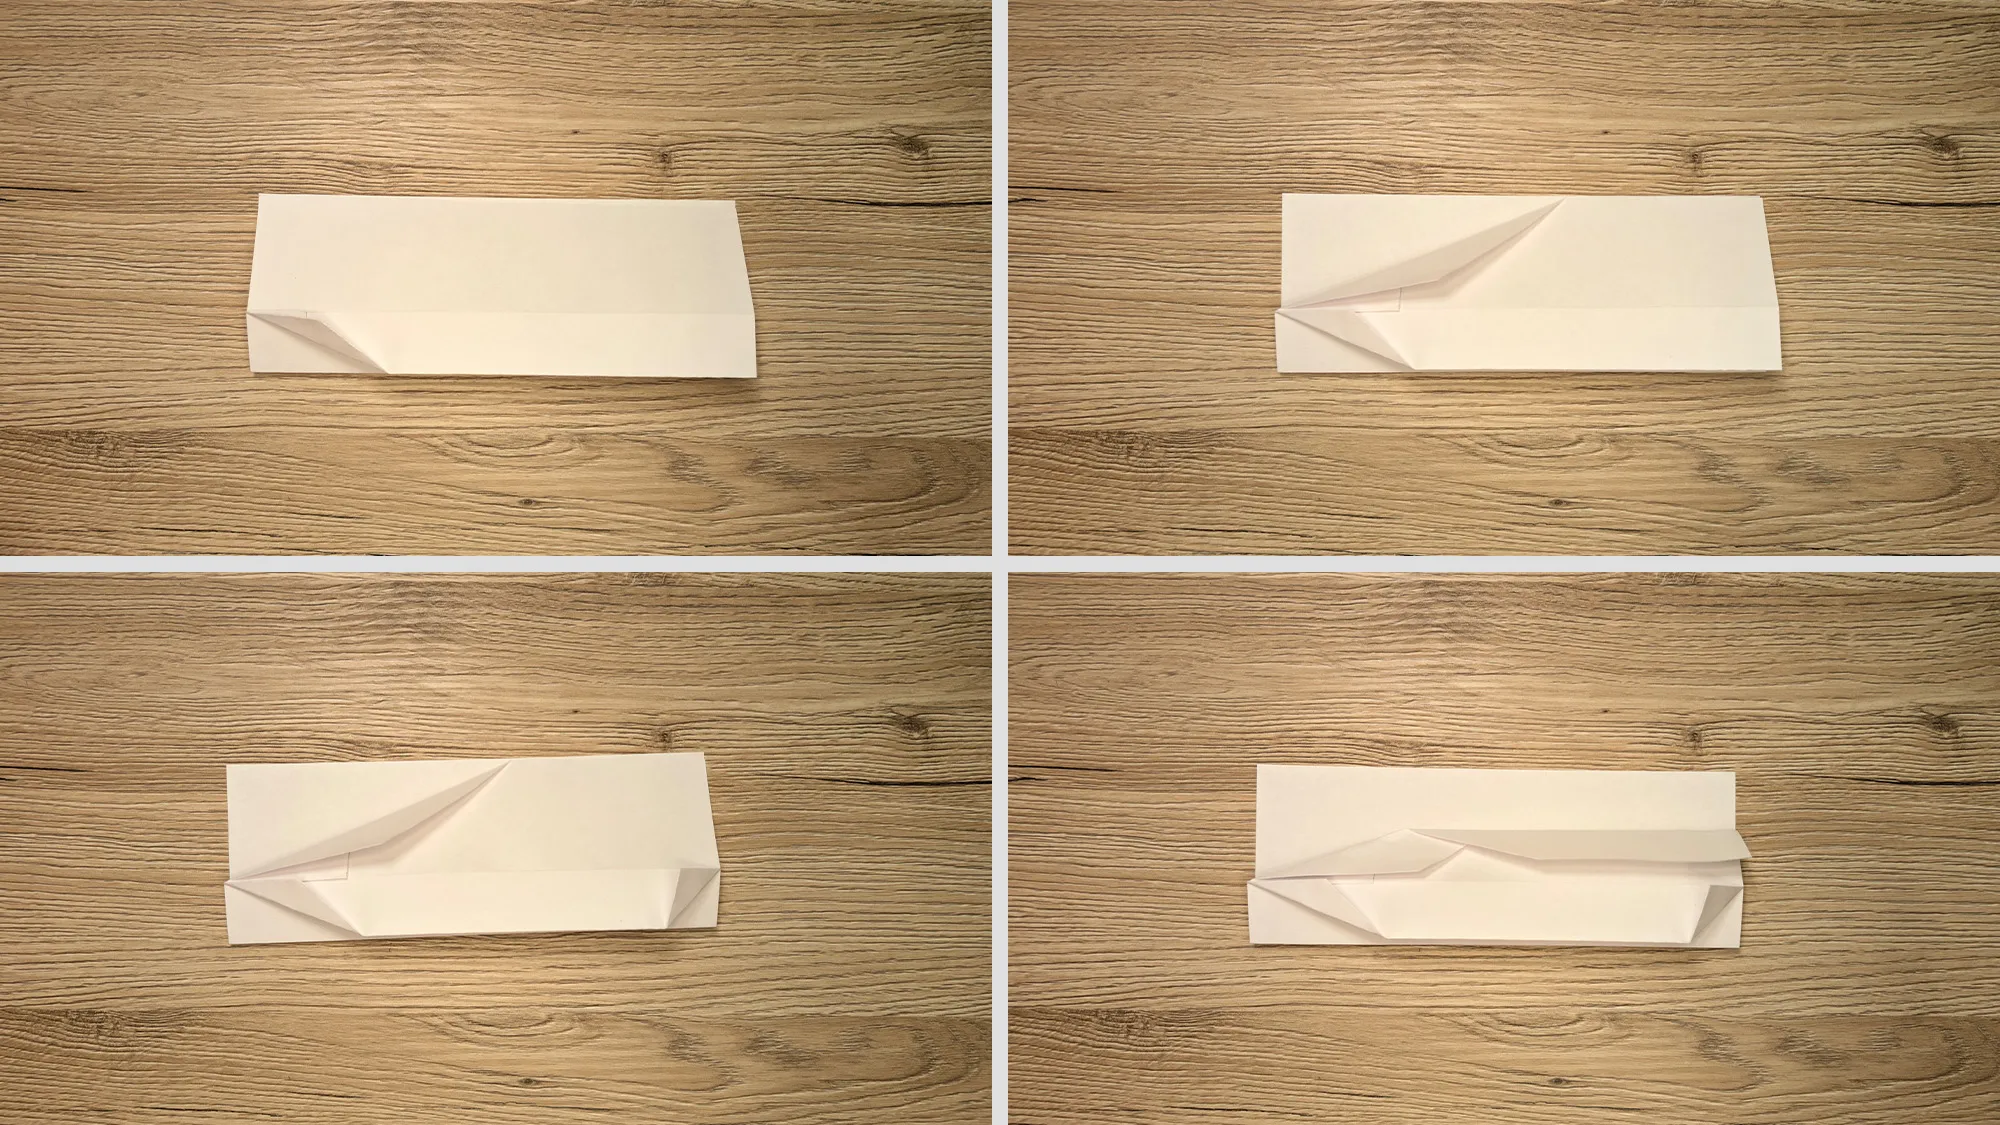
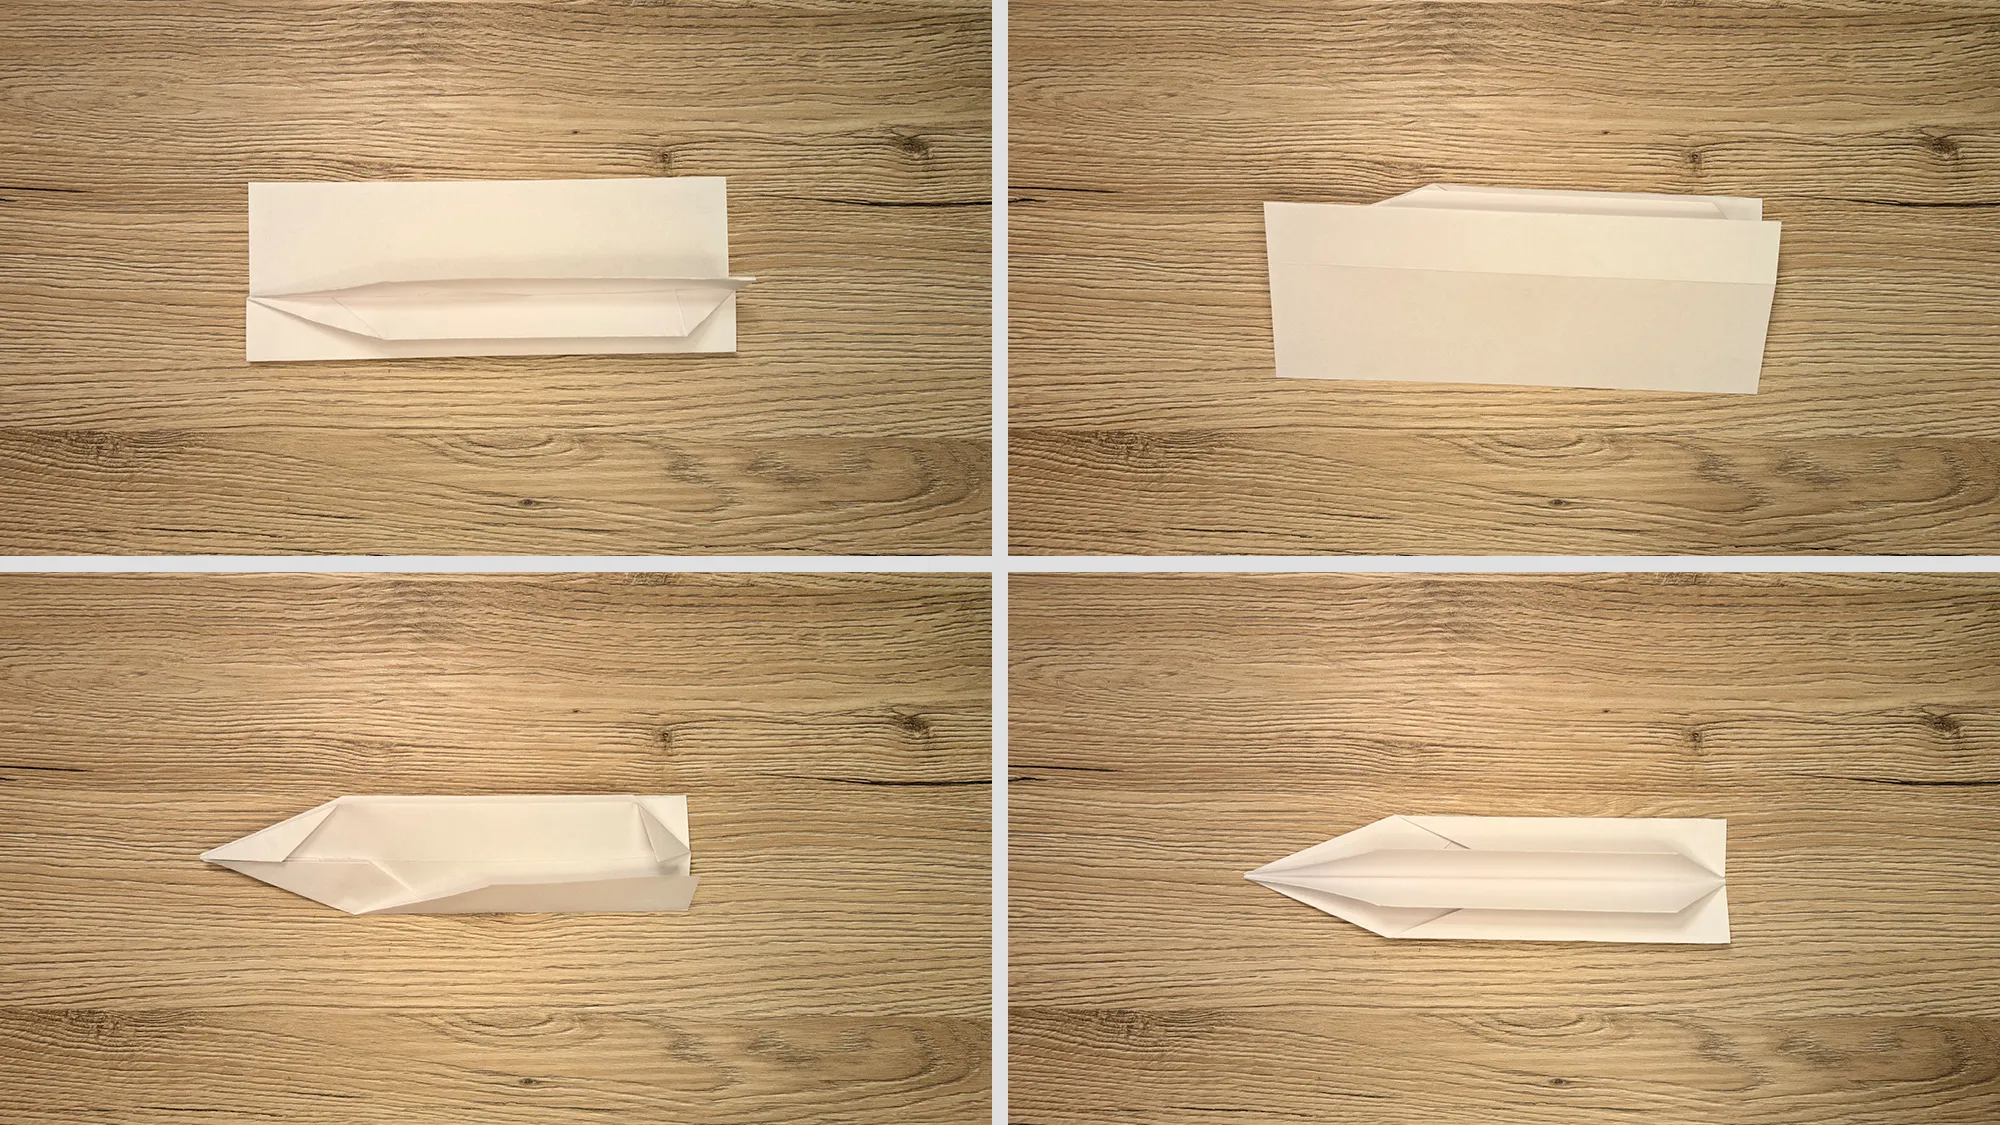
Before you start folding the motorboat, it's best to watch the video once or twice. For optimal results, we recommend special Origami paper from the stationery store. These square, colored sheets are thinner than regular paper and fold more easily.
Origami Motorboat: Closing and Invitation
Thank you for taking the time to follow this guide! We are very pleased that you are interested in folding an Origami Motorboat. We particularly love it when you fold together with your child. Explore our other exciting guides as well - from artistically folded napkins for festive occasions to paper airplanes. For the little ones, we have set up a special section with simple children's Origami.
From Vitalii Shynakov
