Origami Ninja Weapon Version 2: Instructions for a fantasy accessory
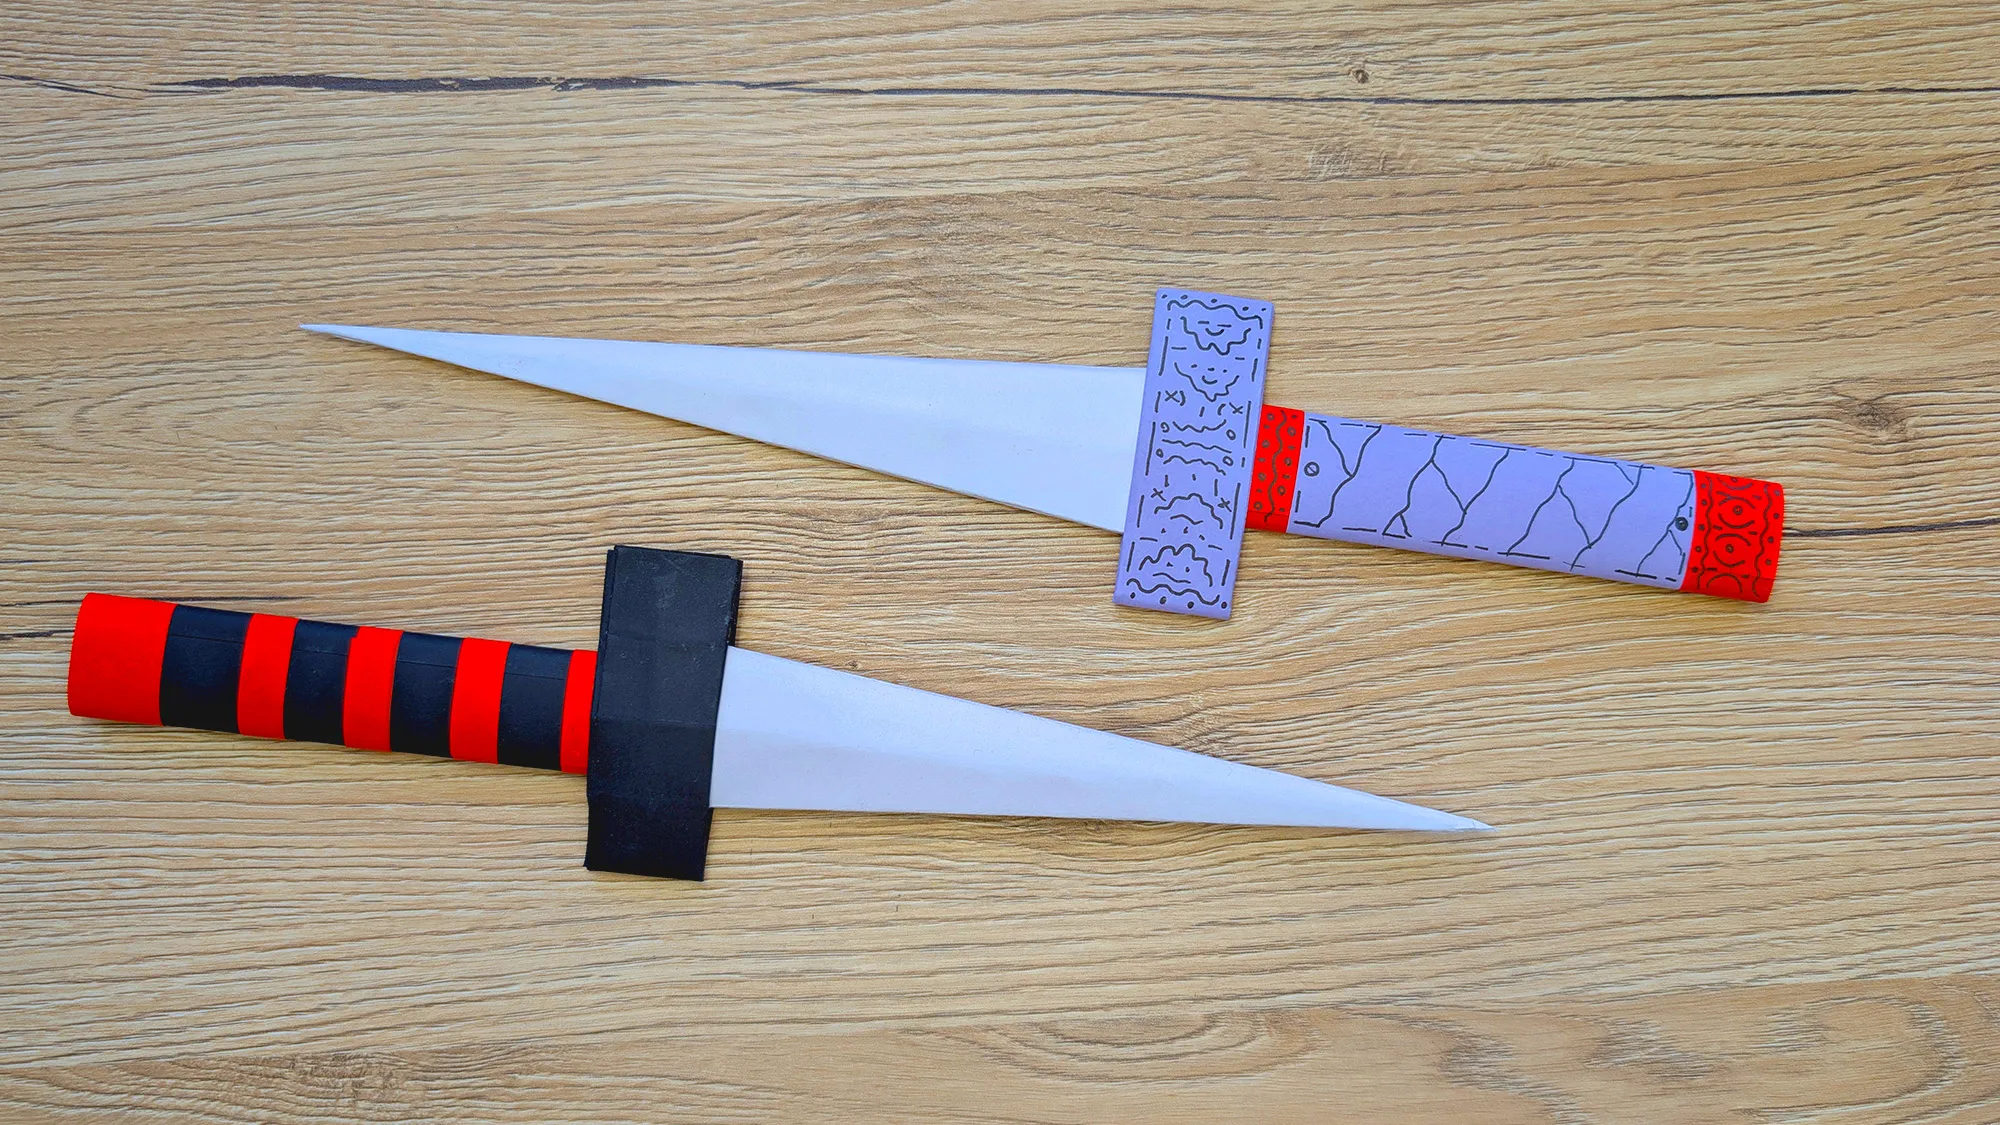
The Ninja Paper Weapon is a fascinating crafting project that combines creativity and dexterity. On our platform, you will find many exciting DIY projects for children of all ages. This simple crafting guide is perfect for role-playing and costume parties. What makes this project special is the combination of basic materials and impressive results.
About this DIY Guide
Each of our crafting guides for the Origami Ninja Weapon includes a self-produced video and detailed step-by-step photos with thorough explanations. This combination makes recreating the project particularly easy: First, watch the video to get an overview, then follow the individual steps with the help of the photos and descriptions. Our proven concept of video, images, and text will help you not miss anything and achieve a perfect result.
Ninja Paper Weapon: Materials List and Preparation
Before you start crafting, gather all the materials you need. You will need:
- Colored paper (white, purple, red)
- Scissors (with rounded tips for children)
- Glue
- Ruler for measuring
- Pencil for tracing
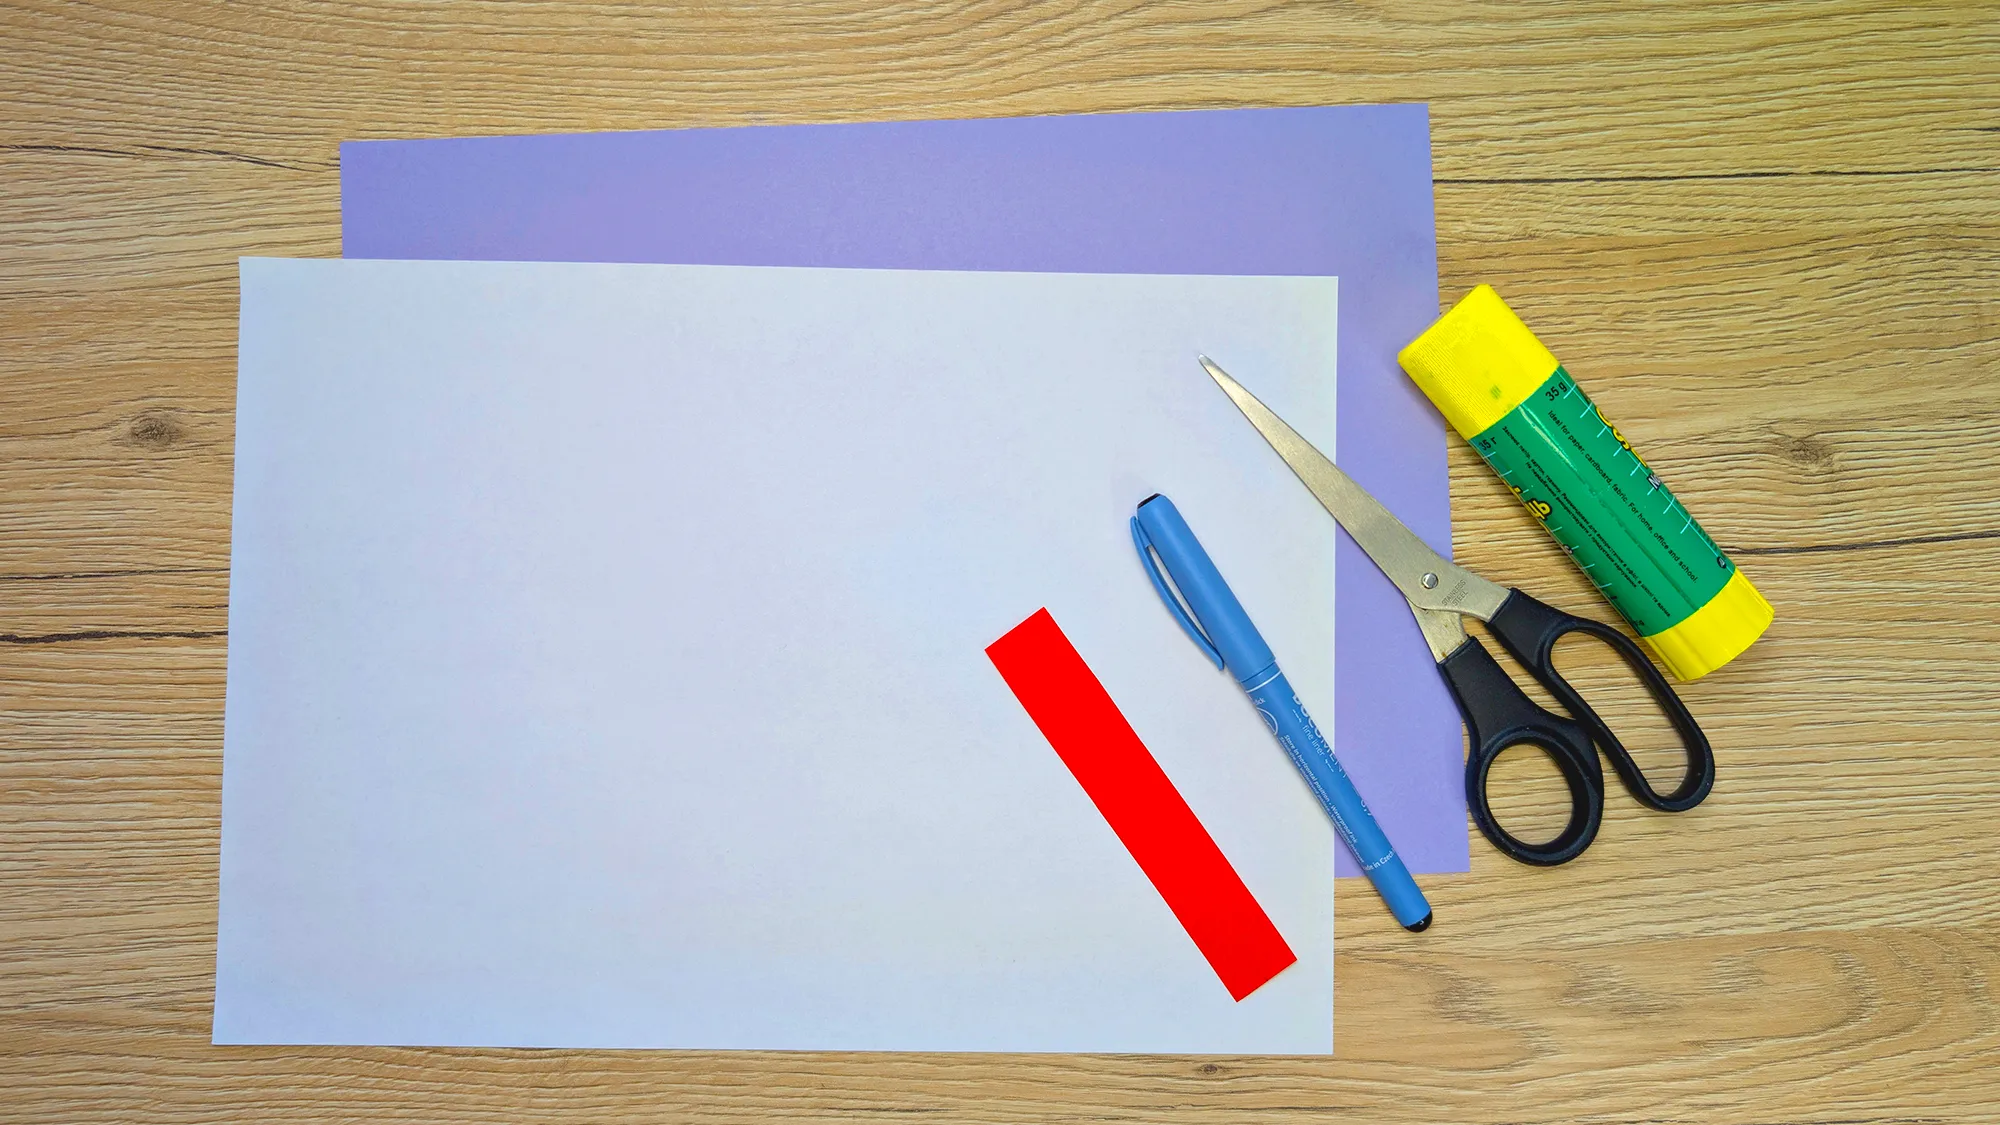
Make sure you have a sufficiently large workspace and all materials are within reach. It's best to prepare a cutting and gluing surface. The crafting process takes about 30 minutes.
Origami Ninja Weapon: Step-by-Step Guide
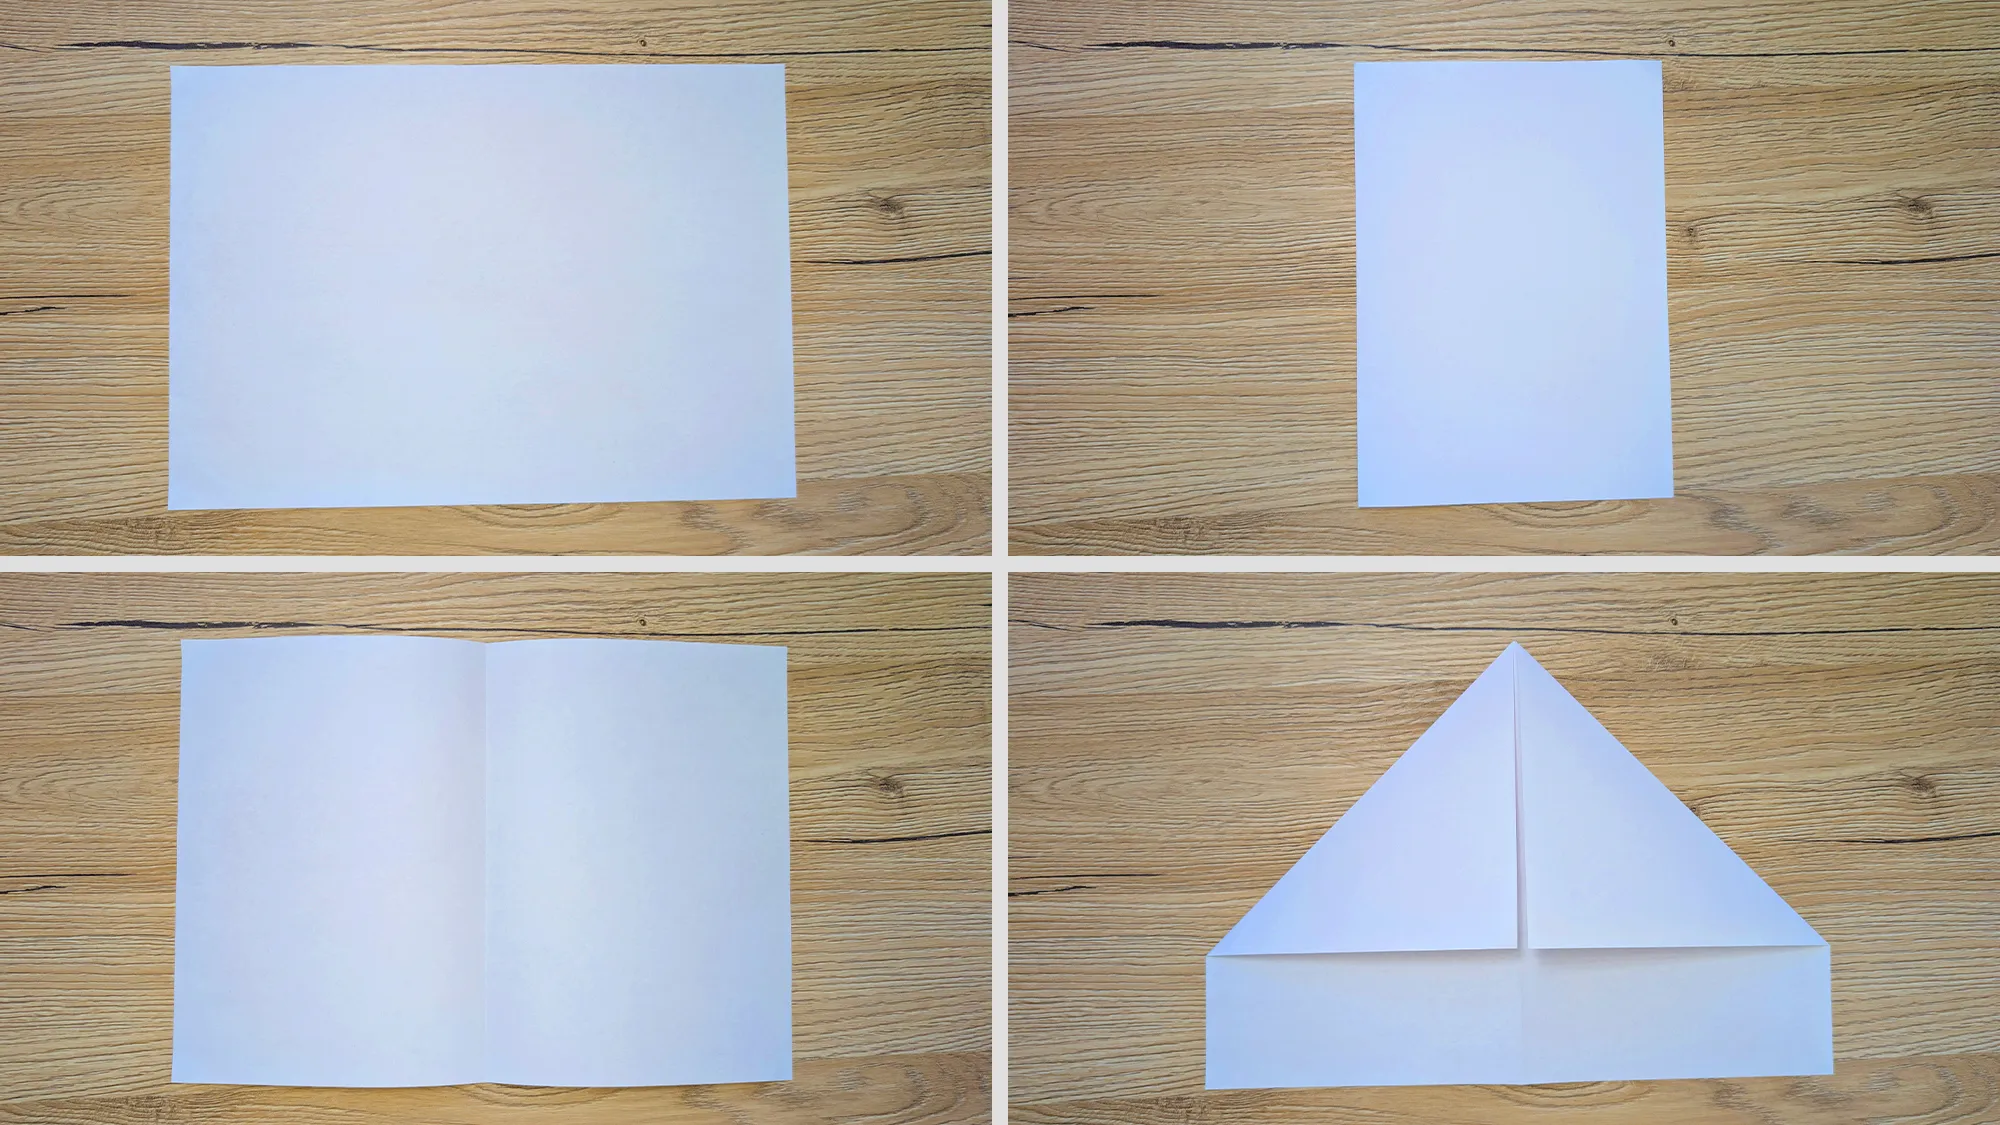
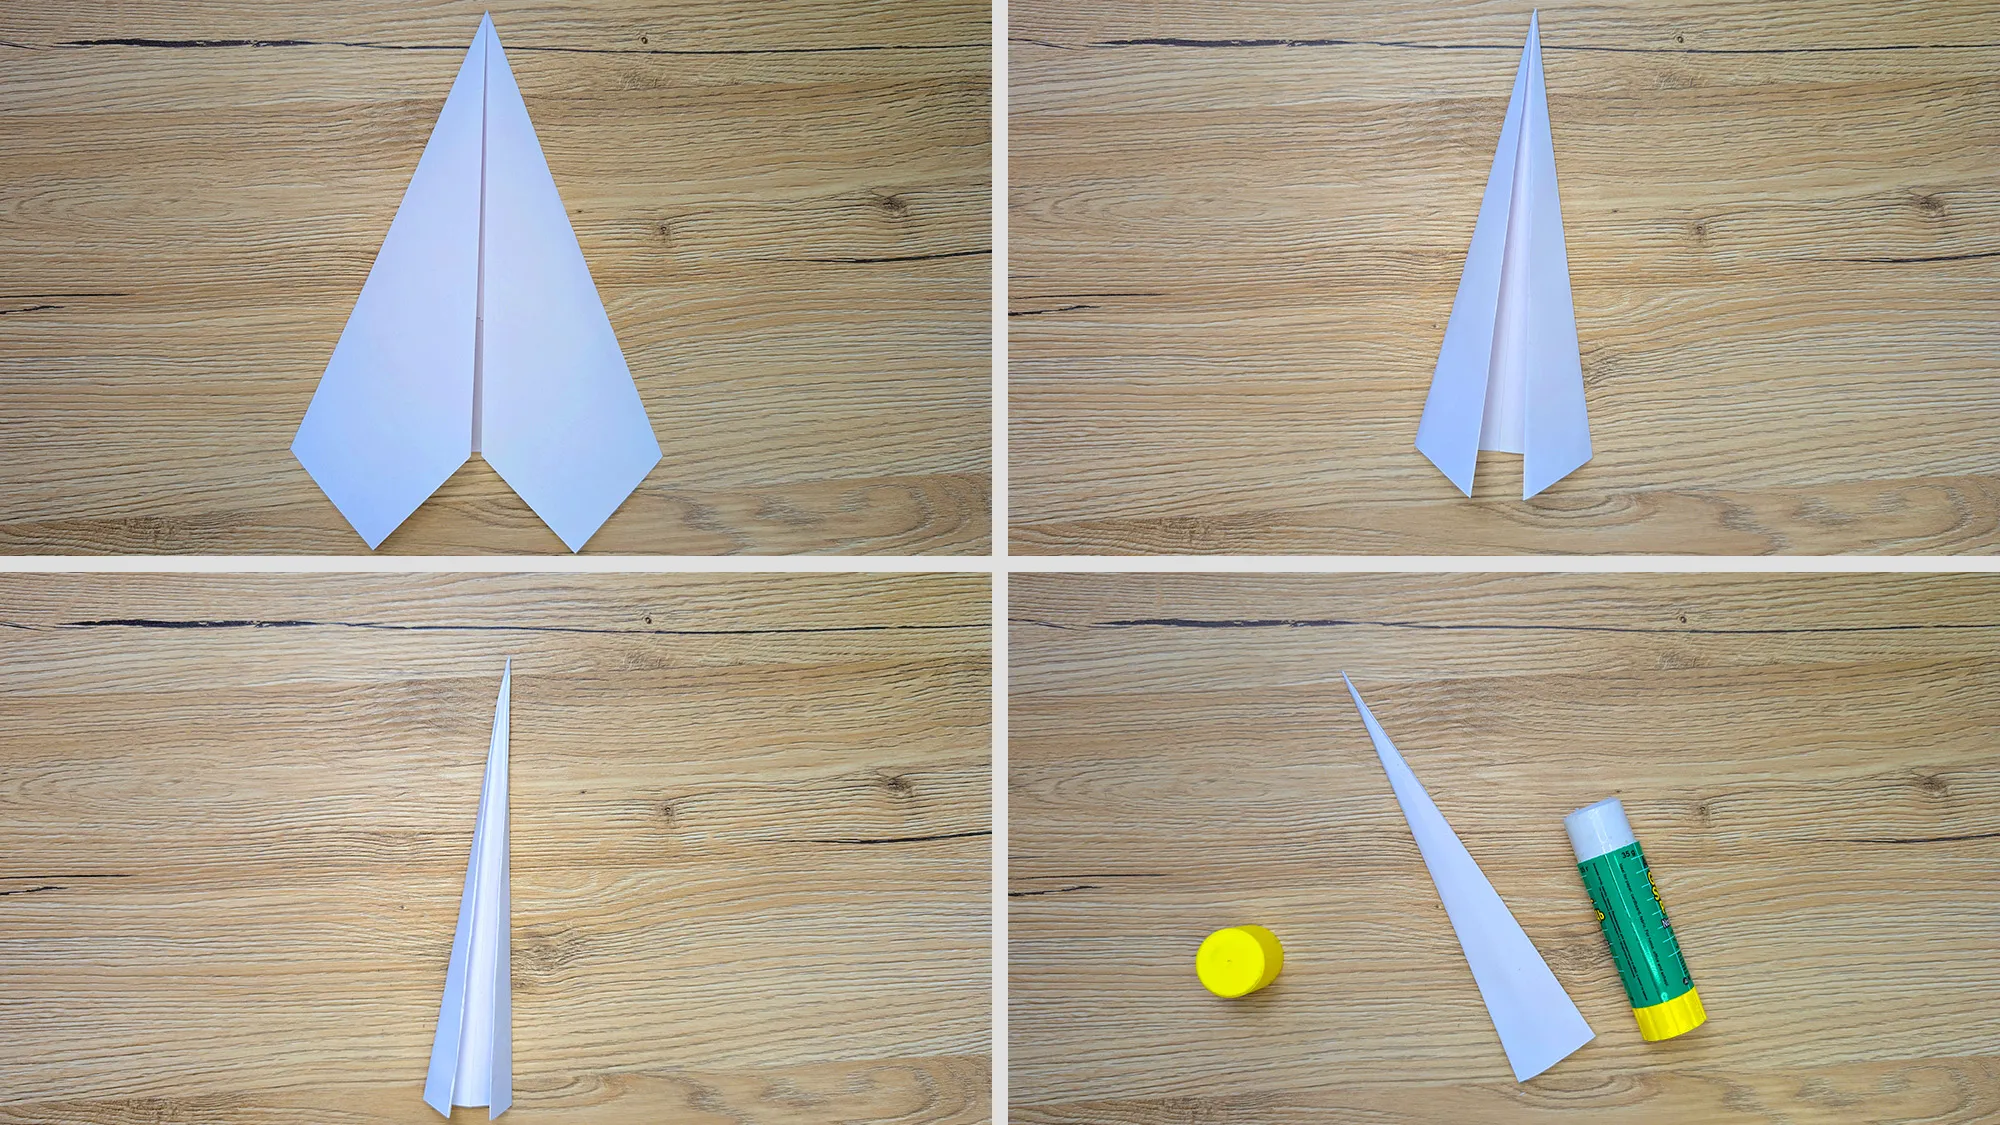
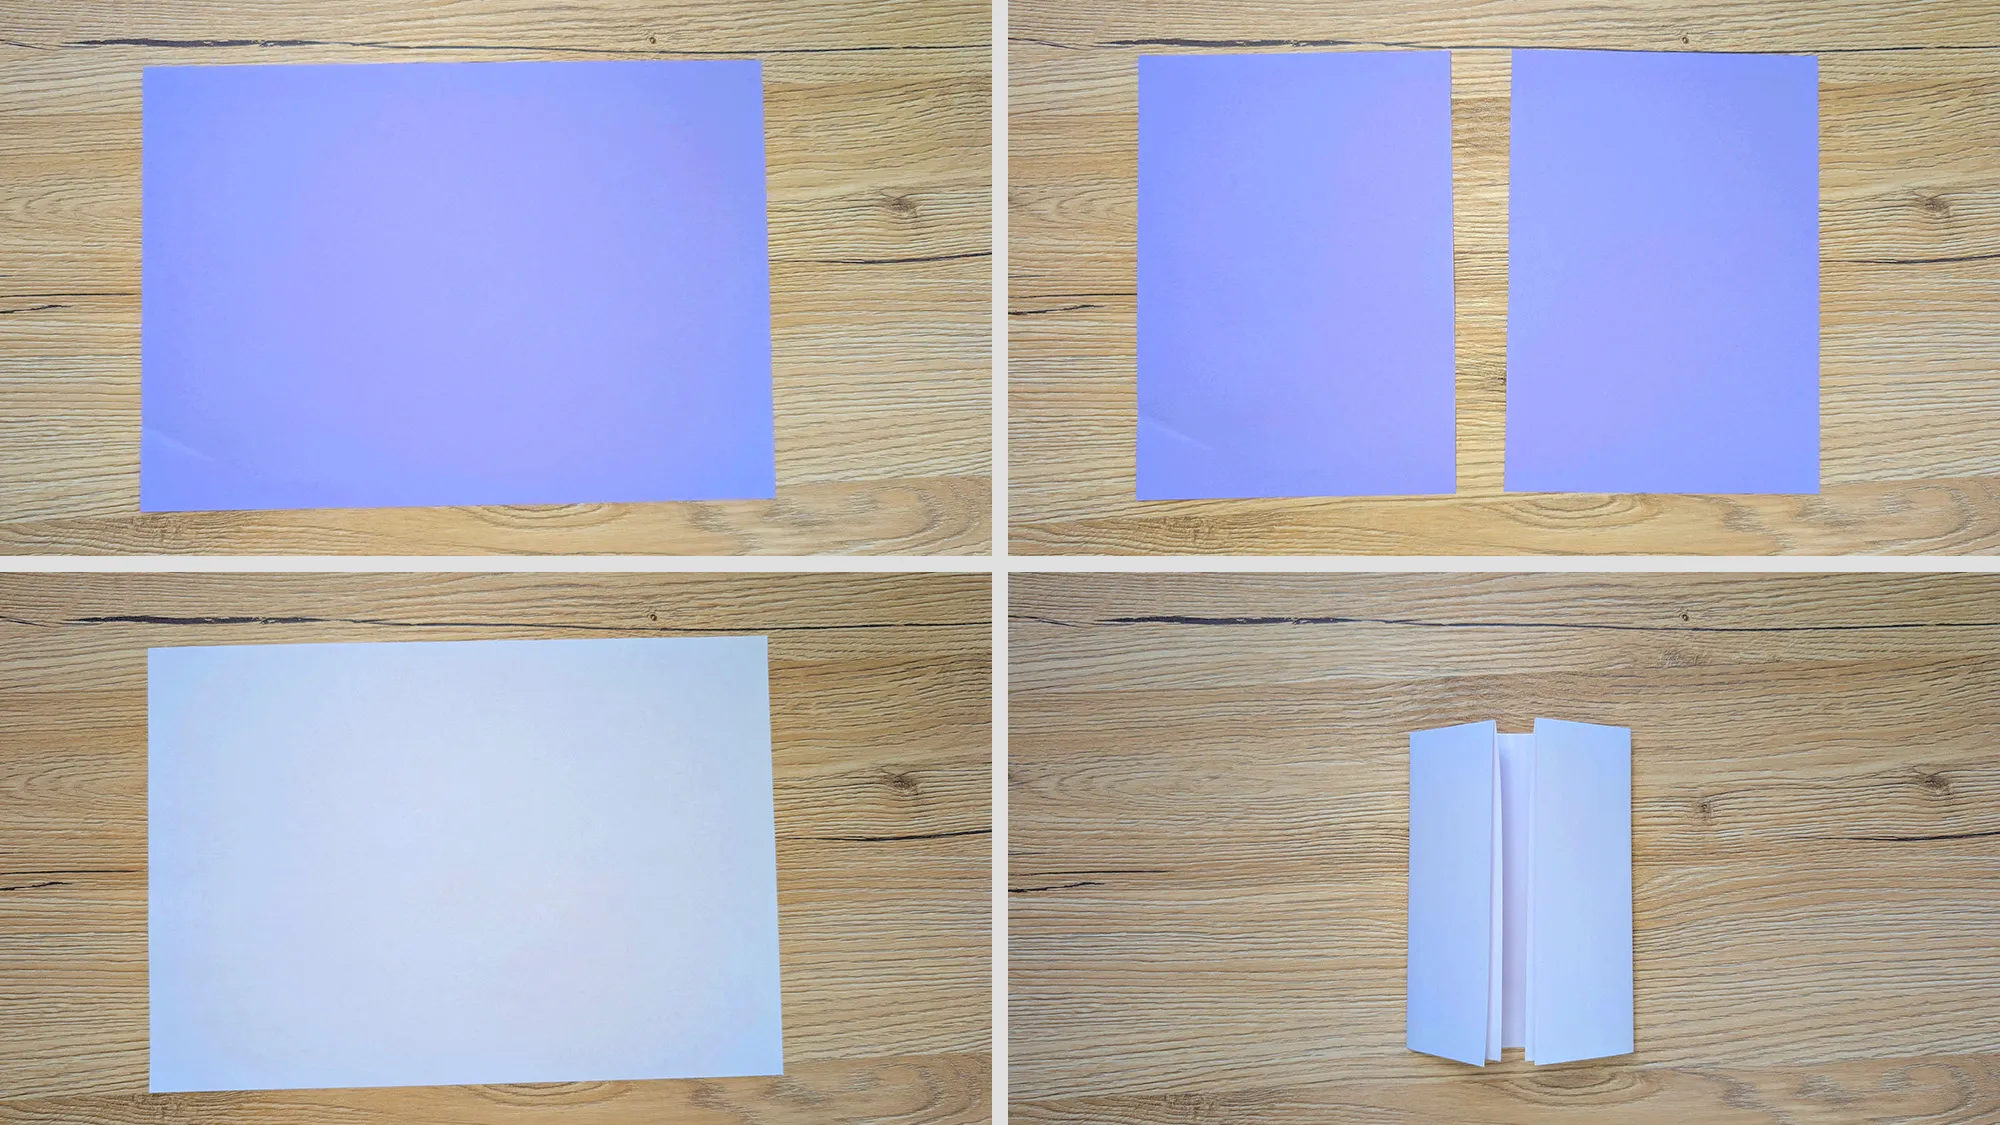
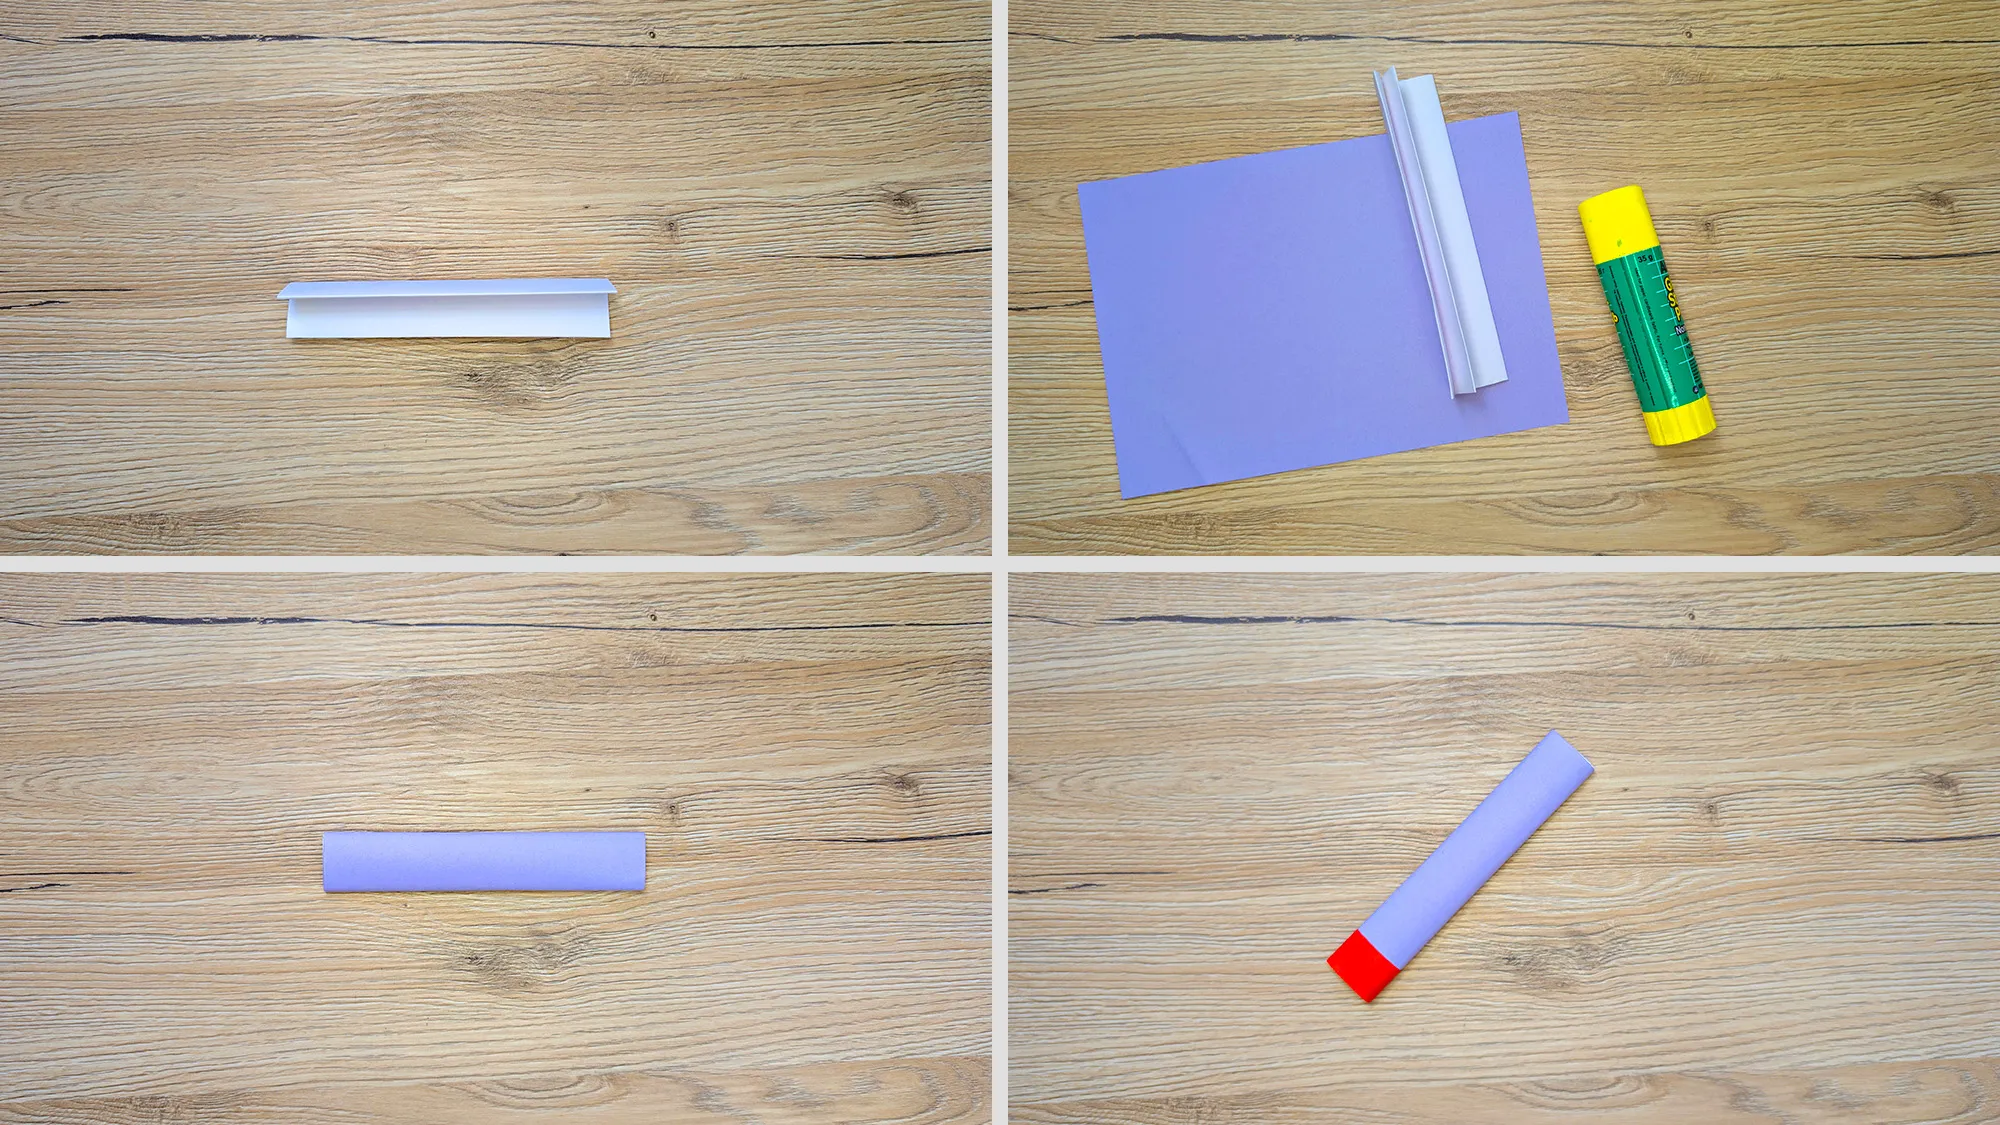
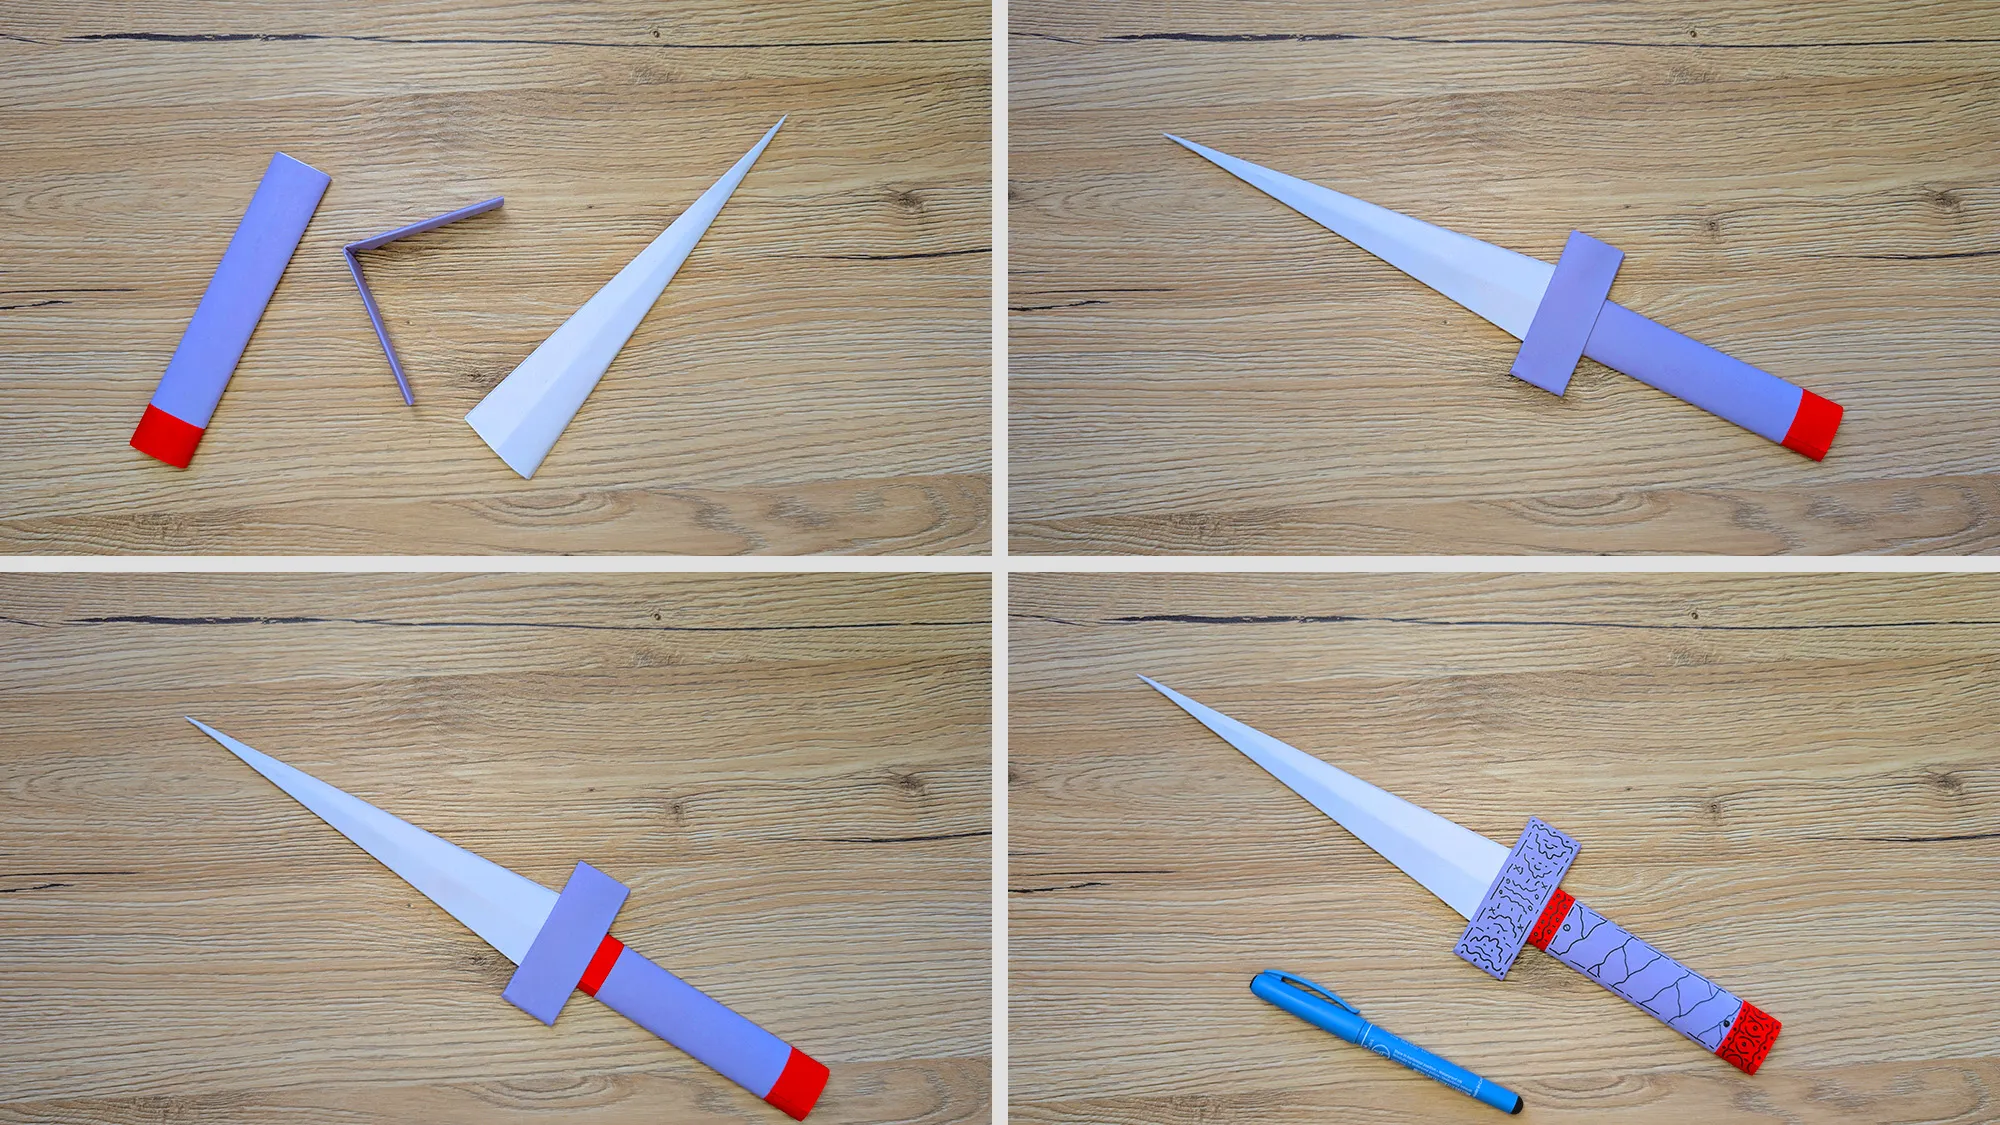
Important: Take your time with each step. Accuracy is more important than speed, especially when folding and gluing.
Ninja Paper Weapon: Conclusion and More DIY Ideas
Thank you for your interest in our crafting guide! We hope that the creative process has brought you joy. In our DIY Ideas section, you will find many more exciting project ideas for the whole family. From simple Origami guides to exciting crafting activities, there's something for everyone.
Explore our categories:
- Creative DIY projects for children
- Origami for beginners and advanced
- Seasonal crafting ideas
- Paper art and decoration
Each guide is child-friendly and accompanied by detailed photos. We regularly update our collection with new, exciting projects. Check out our section for children's birthdays or seasonal decorations. There, you'll surely find your next creative adventure!
From Vitalii Shynakov
