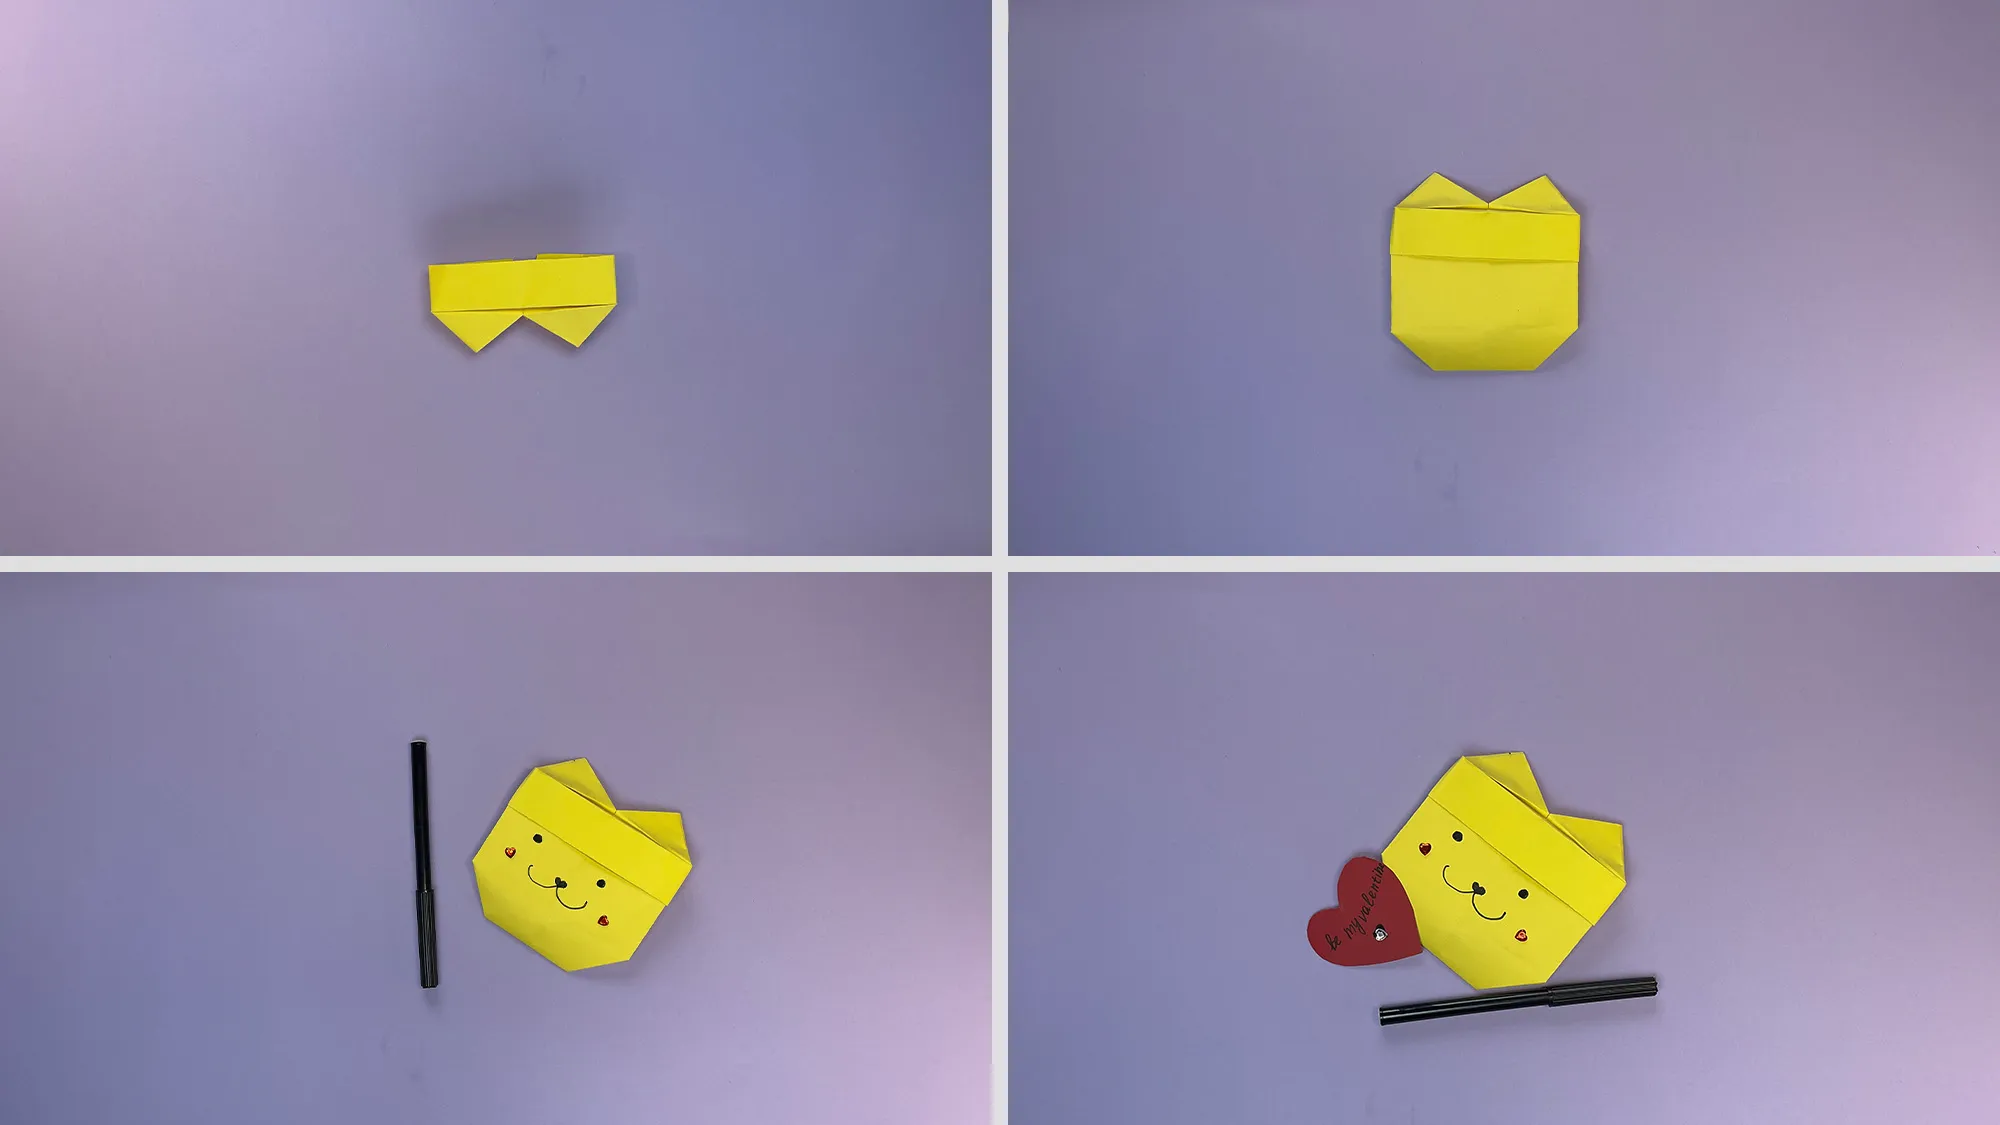
The origami cat envelope is a creative way to package letters or small gifts. With its cute cat face and pointed ears, it transforms every message into a special surprise. This folding guide is perfect for anyone who wants to convey their messages in an original way.

Origami Cat Envelope: About This DIY Guide

Each of our crafting guides includes a self-produced video and detailed step-by-step photos with comprehensive explanations. This combination makes recreating it particularly easy: watch the video first to get an overview, then follow the individual steps with the help of the photos and descriptions.

h_3481,h_987,h_3491,h_3386

List of Materials:

  • Square colored paper
  • Black felt-tip pen
  • Small red felt-tip pen or glitter hearts
  • Glue stick
  • Ruler
  • Smooth work surface
  • Optional: small rhinestones for decoration

Origami Cat Envelope: Step-by-Step Guide with Photos and Description

Before you start folding, choose a nice color for your cat envelope. You can use classic white or, as in our example, cheerful colors like yellow, blue, or orange.
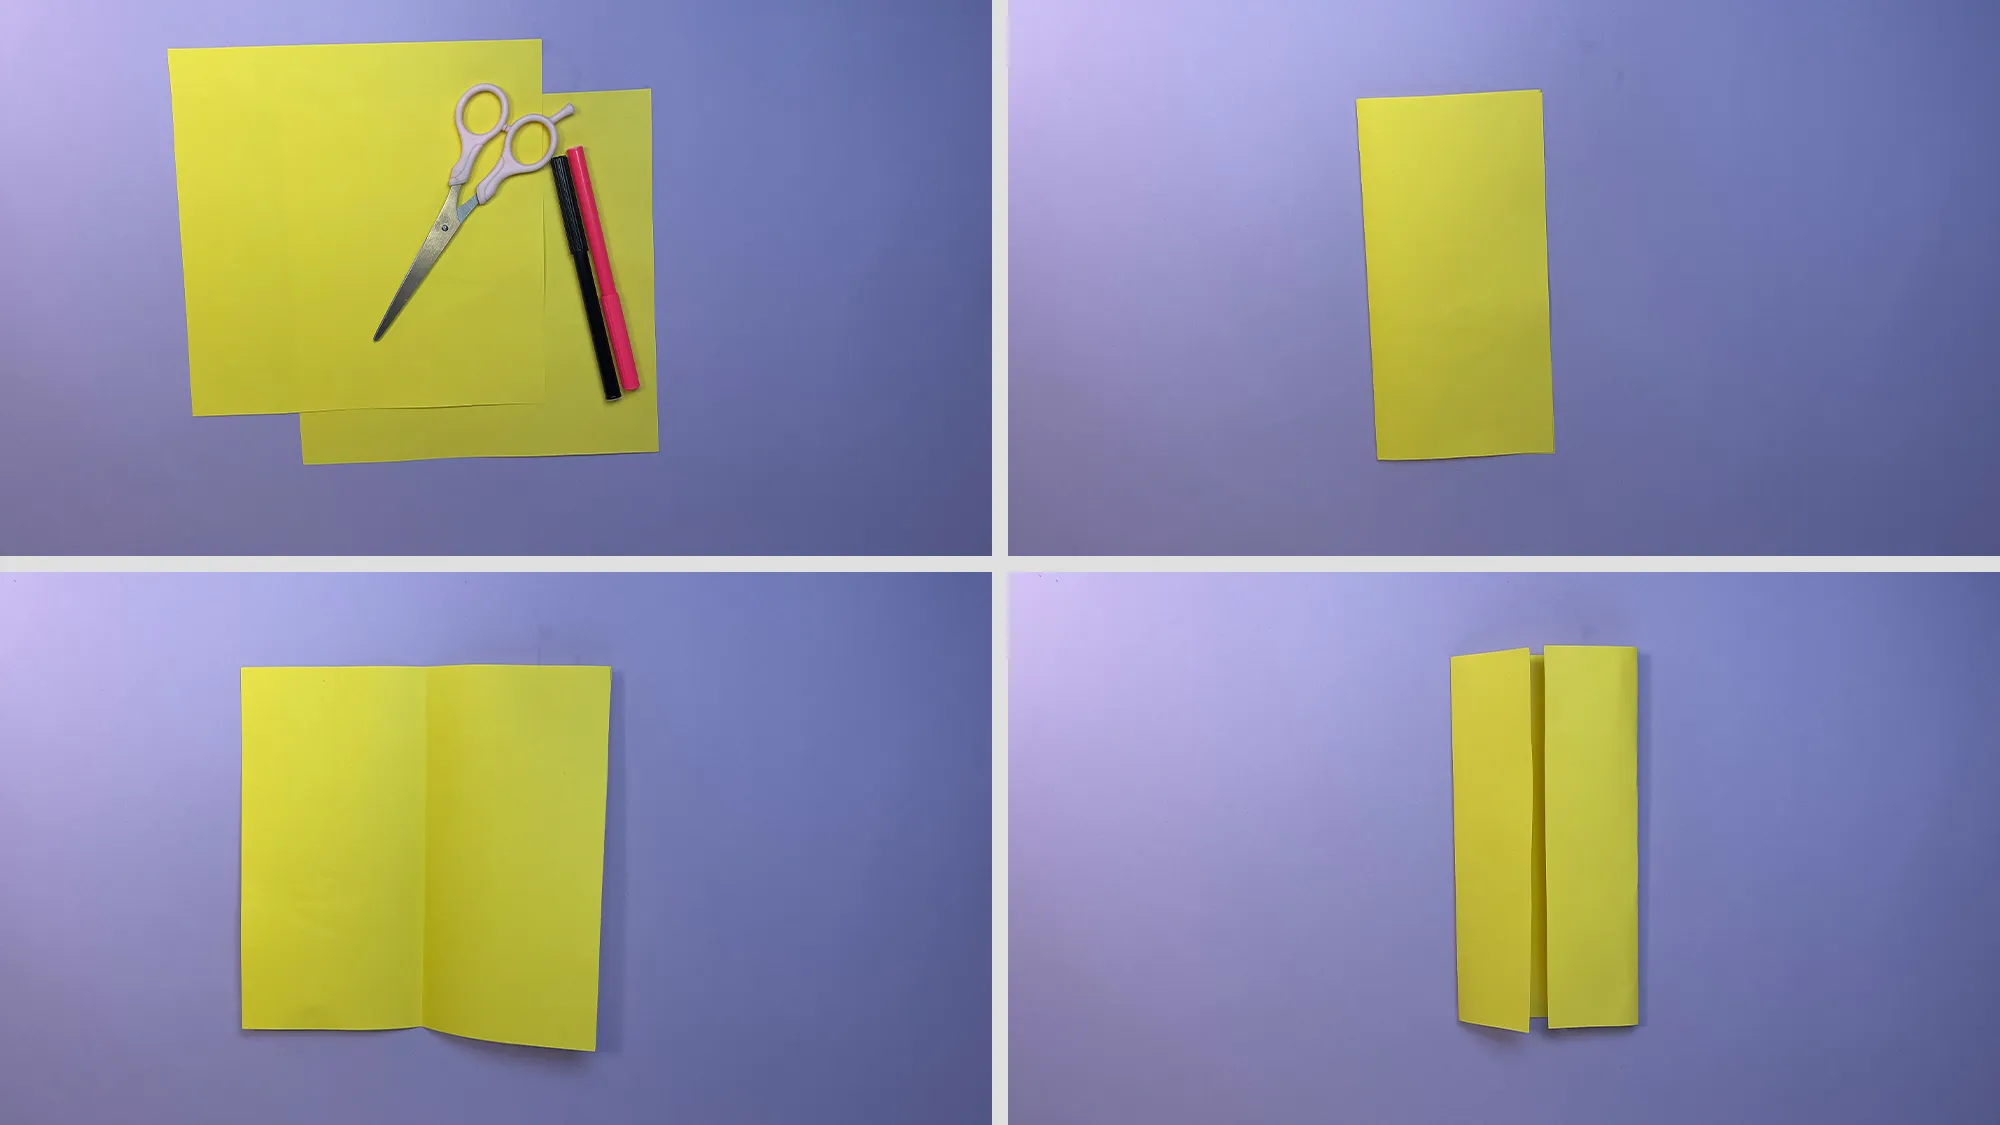
Origami cat envelope: Step-by-step instructions with photos and description. Picture 1
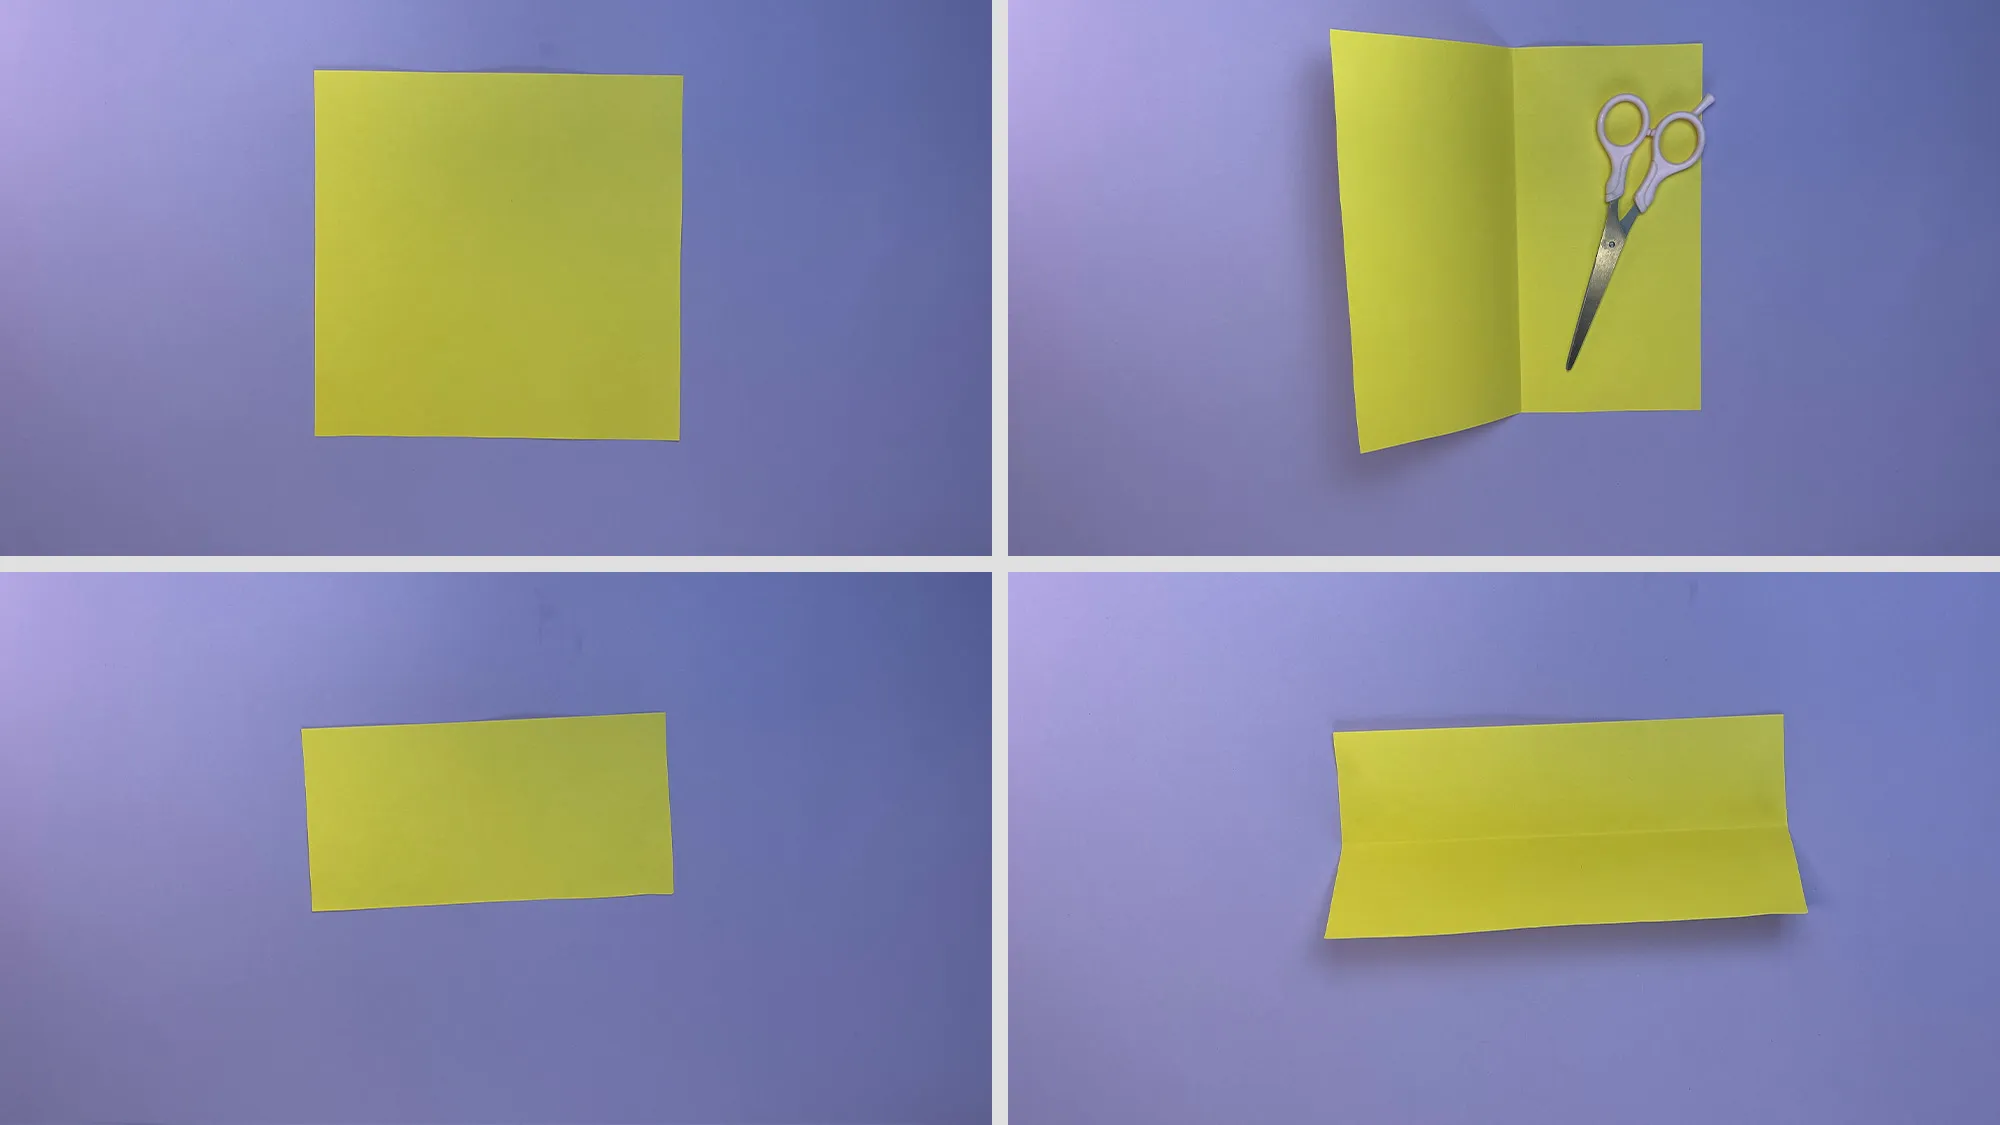
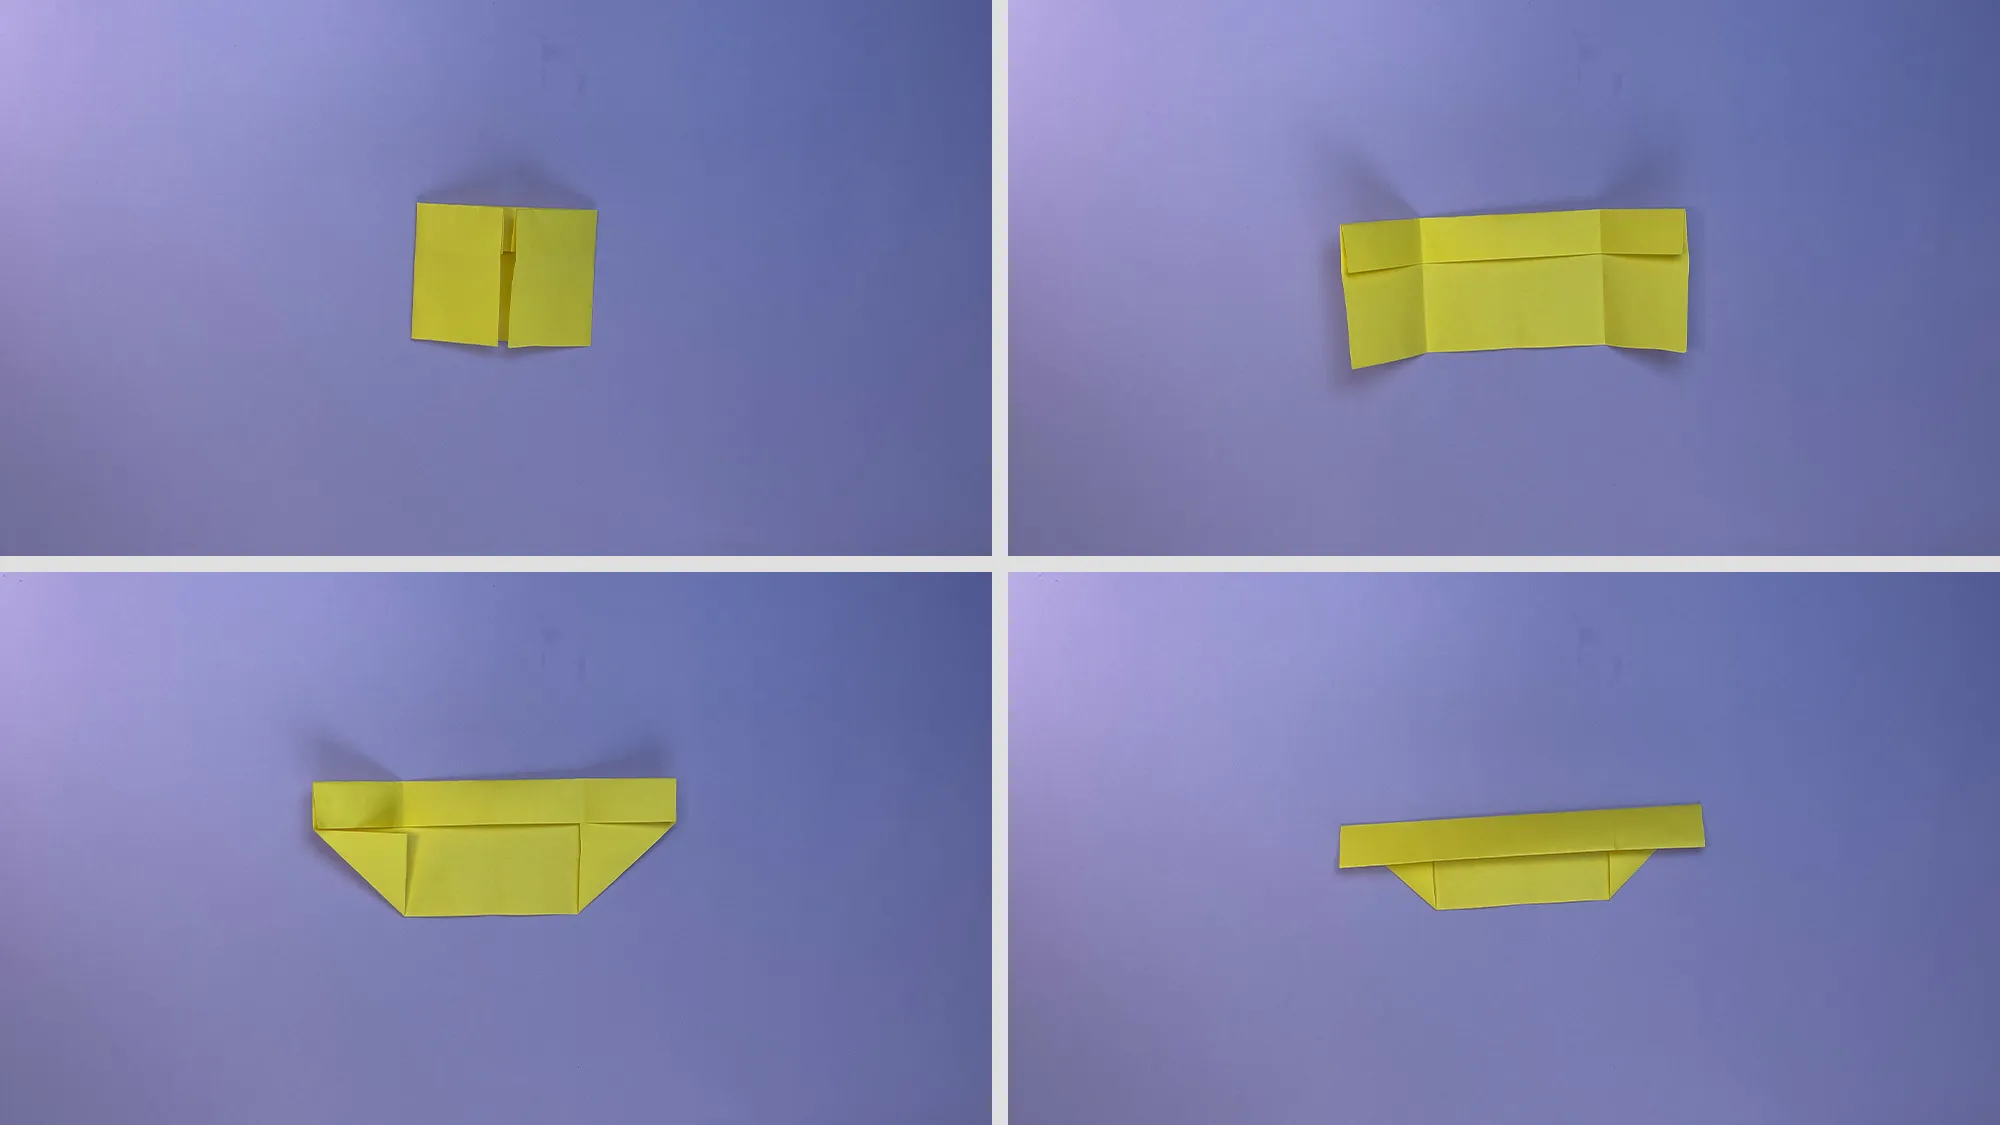
Step 1: Prepare two square sheets, scissors, and a few felt-tip or colored pens. Fold the first sheet in the middle, then fold both opposite edges towards the middle.
Origami cat envelope: Step-by-step instructions with photos and description. The picture 2
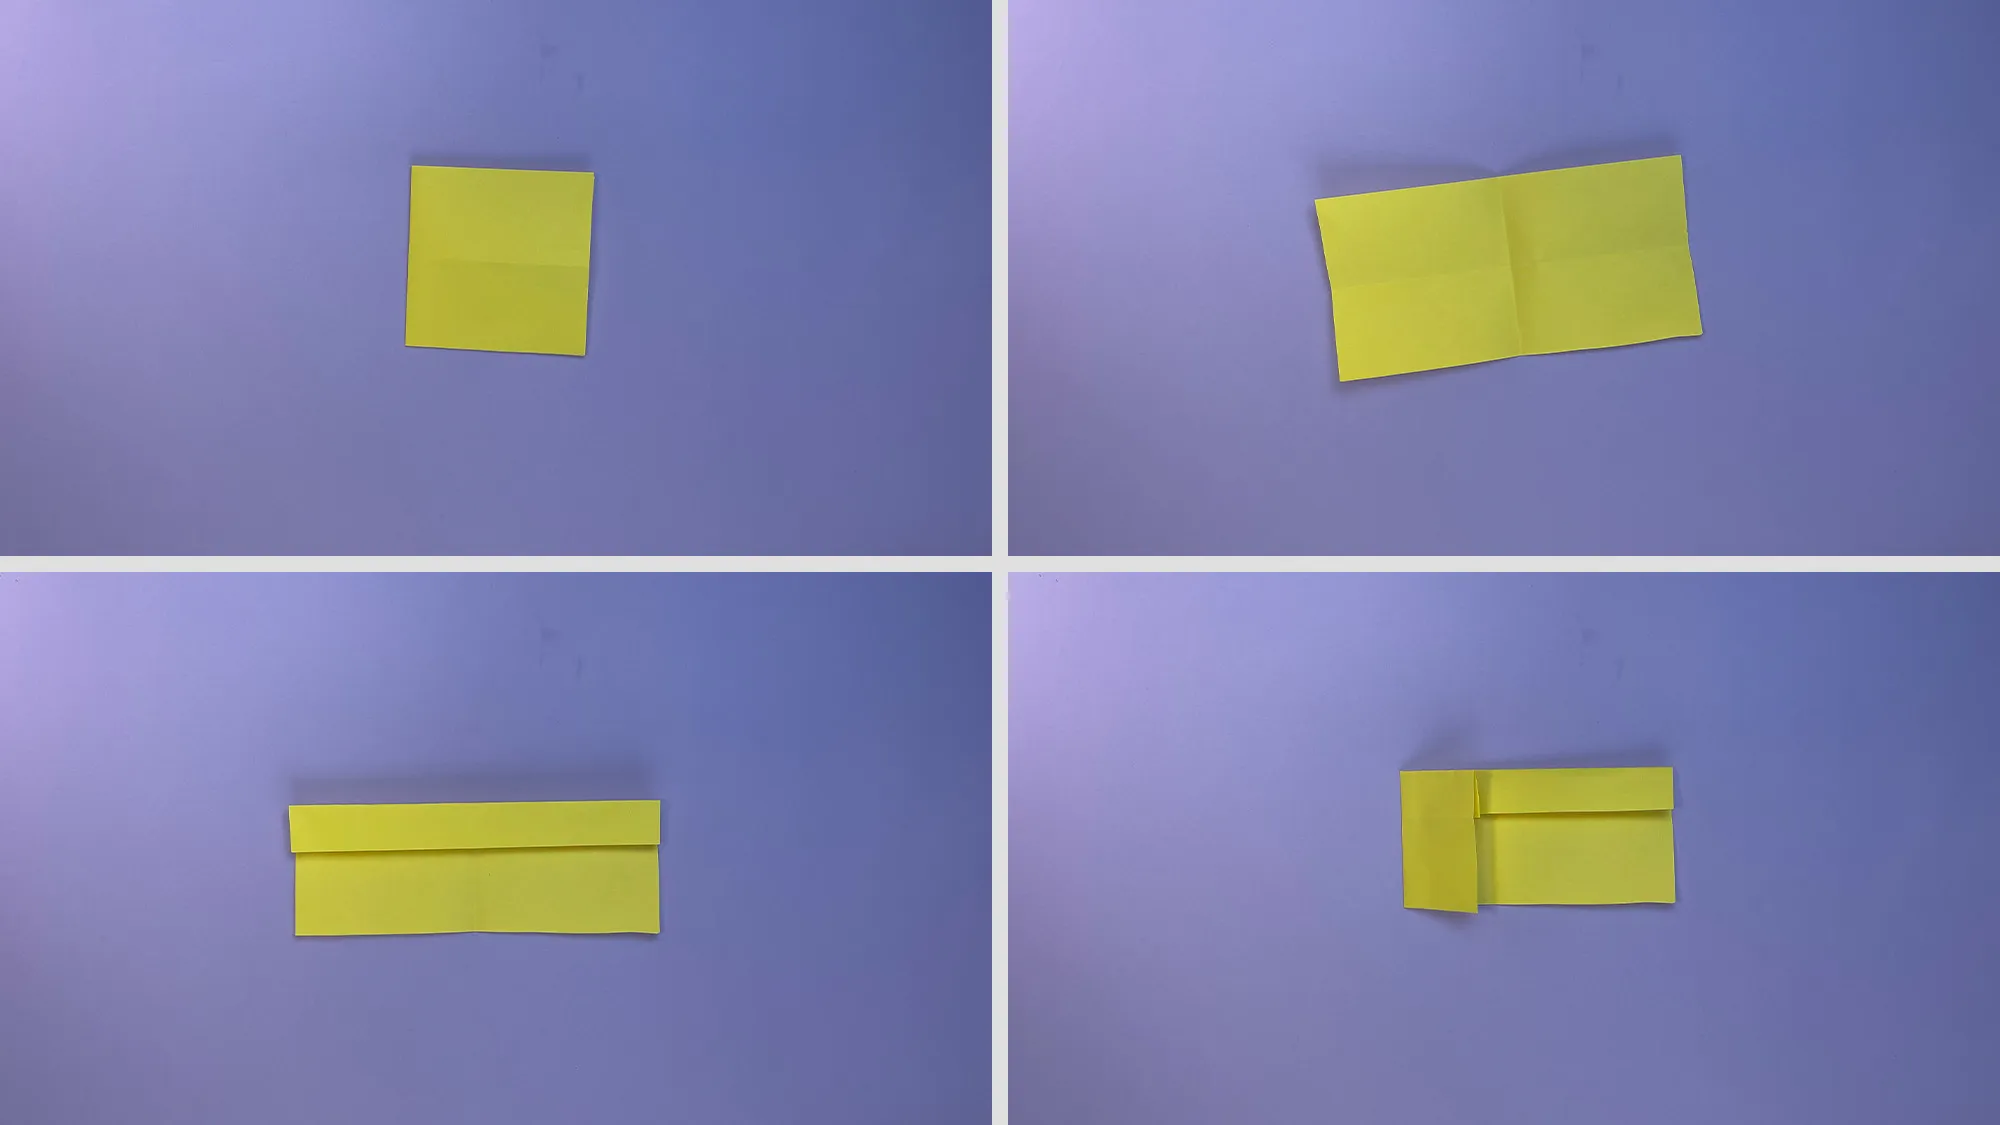
Step 2: Make another fold in the middle. Then fold the bottom part to this middle line.
Origami cat envelope: Step-by-step guide with photos and description. The picture 3
Step 3: Connect the two opposite edges together.
Origami cat envelope: Step-by-step instructions with photos and description. The image 4
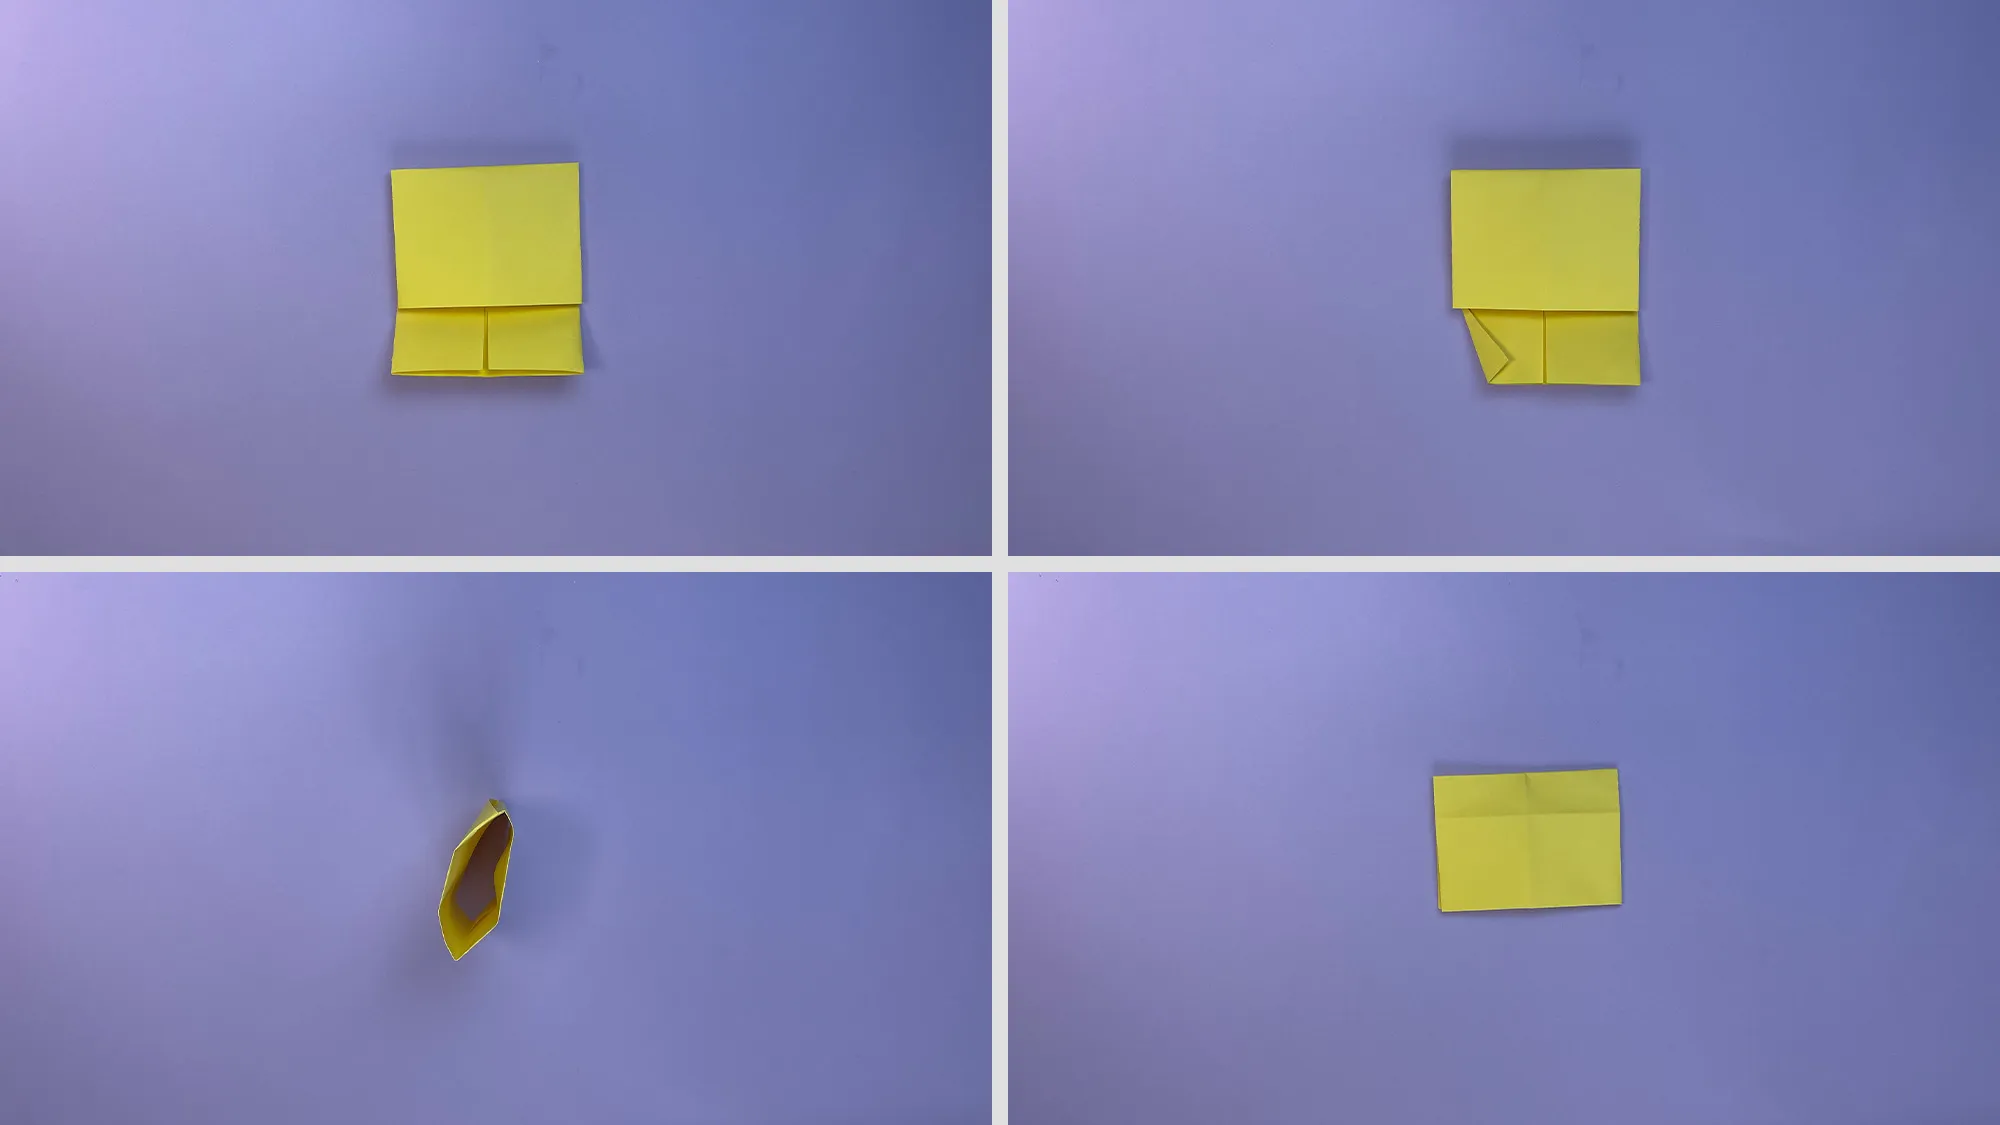
Step 4: Now press the fold flat. Place your future envelope in front of you and fold the two corners in.
Origami cat envelope: Step-by-step instructions with photos and description. The picture 5
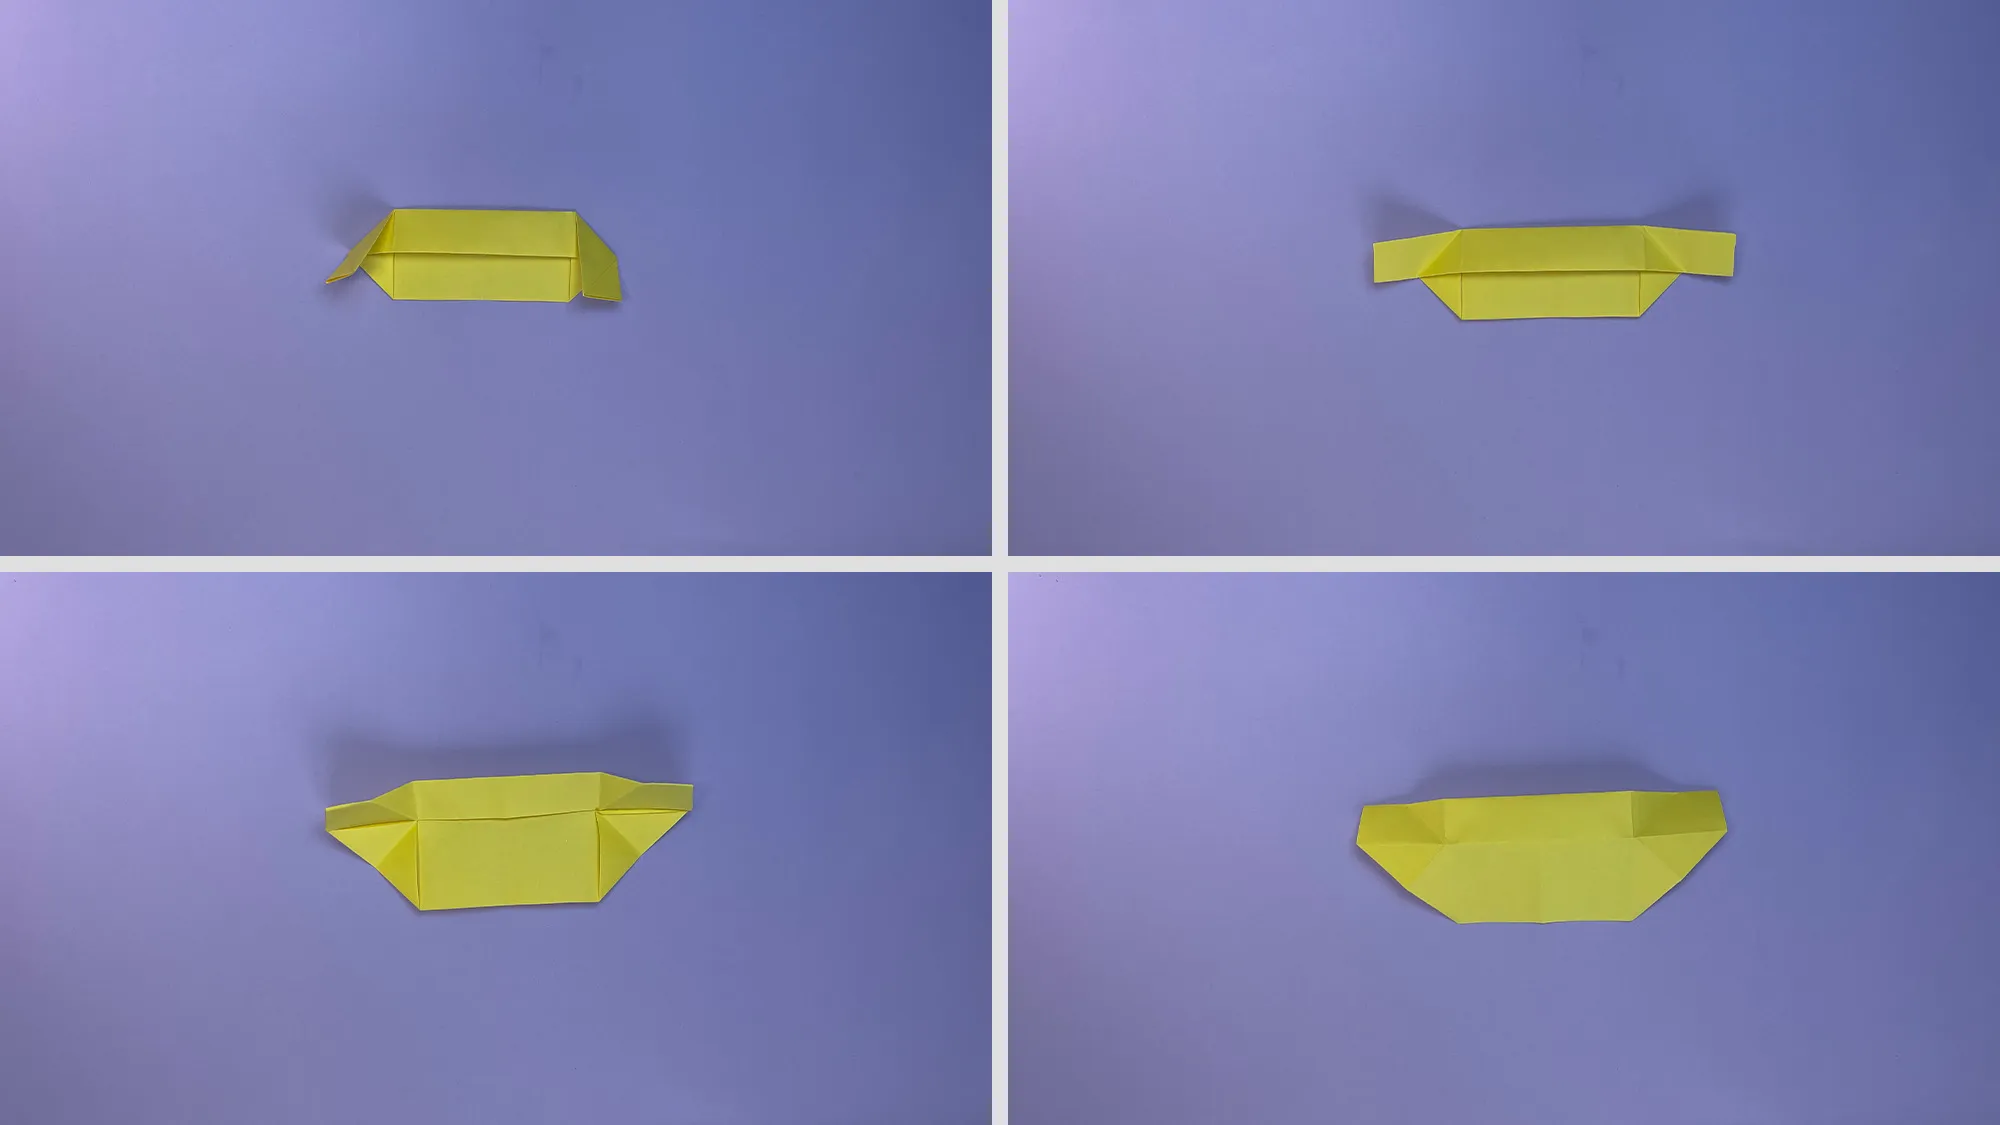
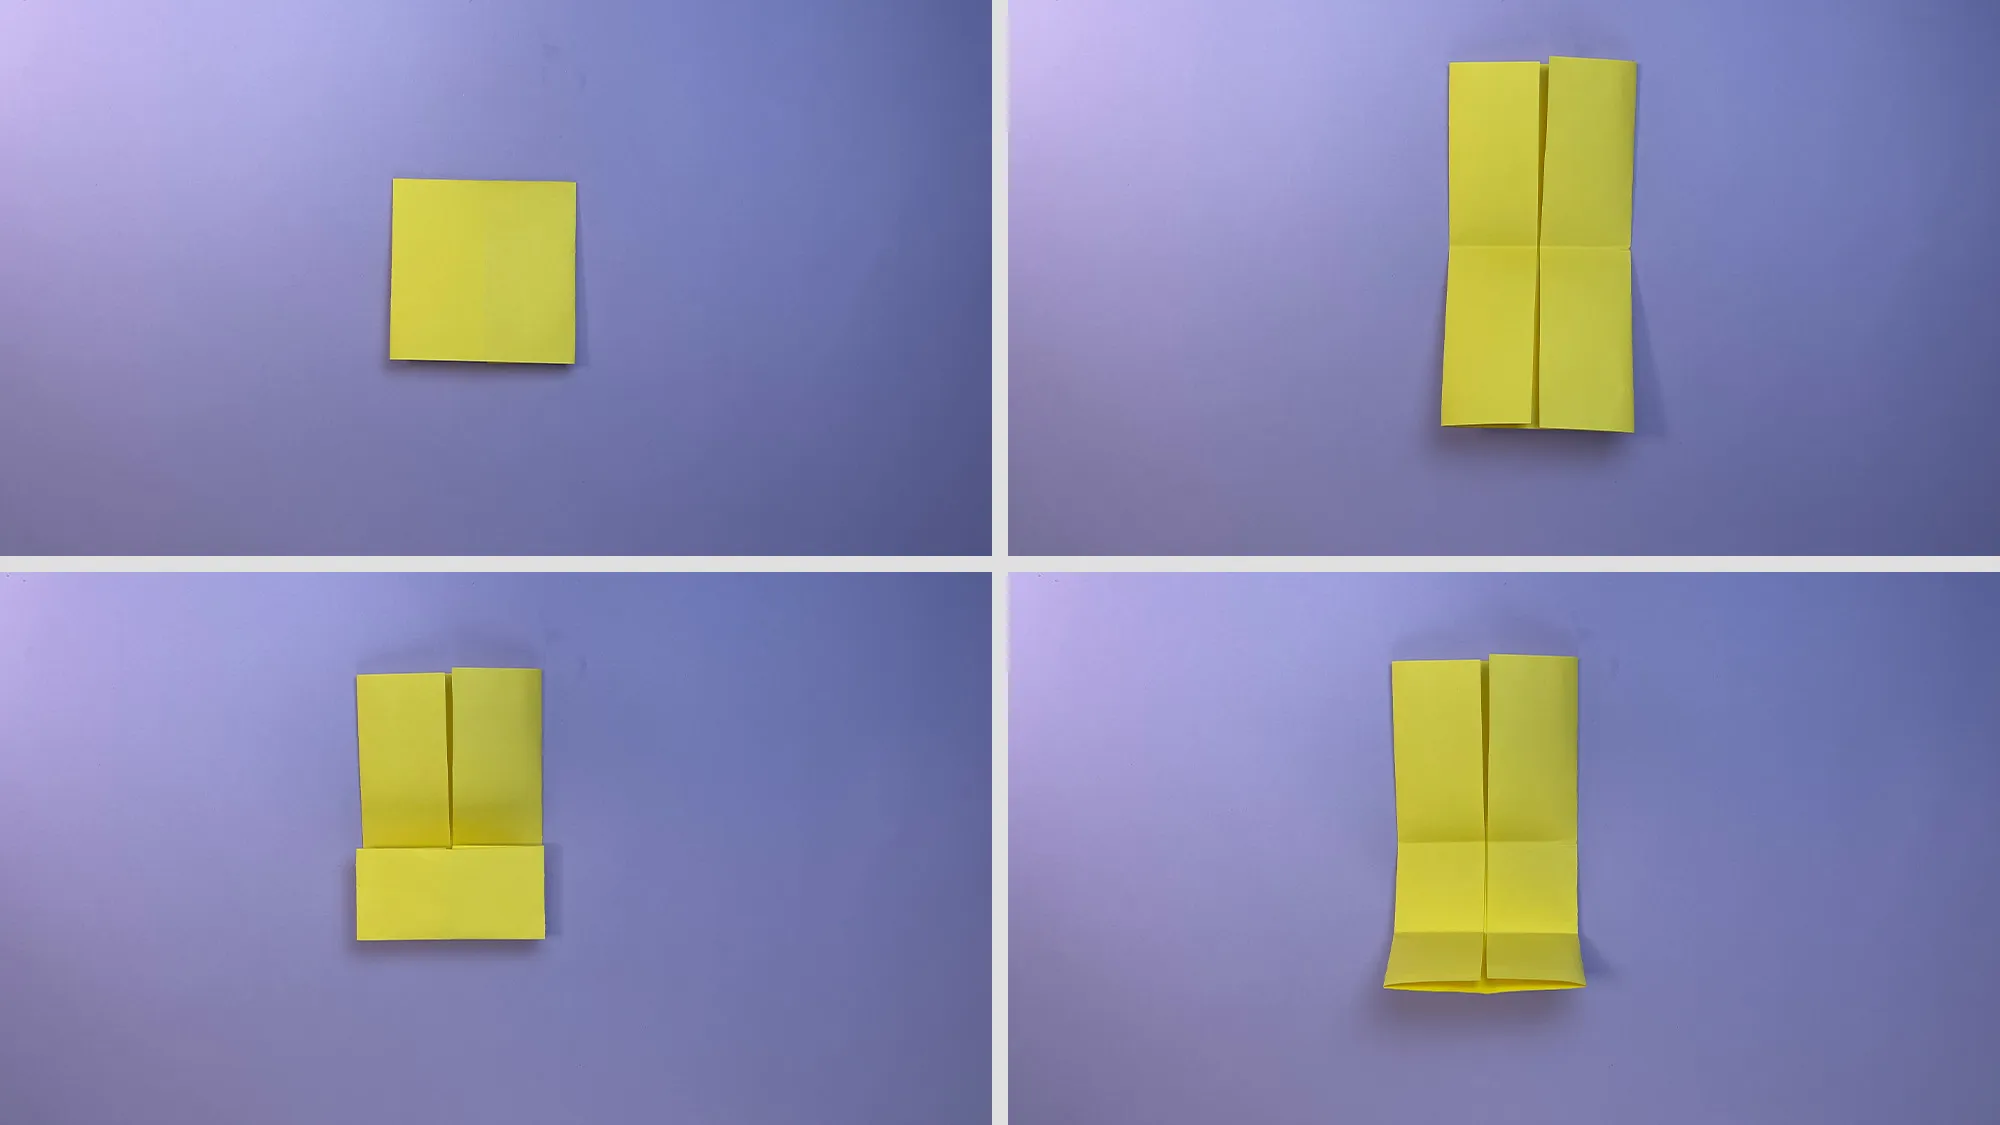
Step 5: Take the second square sheet. Cut half of it. Fold the remaining part in the middle.
Origami cat envelope: Step-by-step instructions with photos and description. The picture 6
Step 6: One of the sides is folded in the middle again. Then make another fold across the middle and press the left and right side to this fold.
Origami cat envelope: Step-by-step instructions with photos and description. The image 7
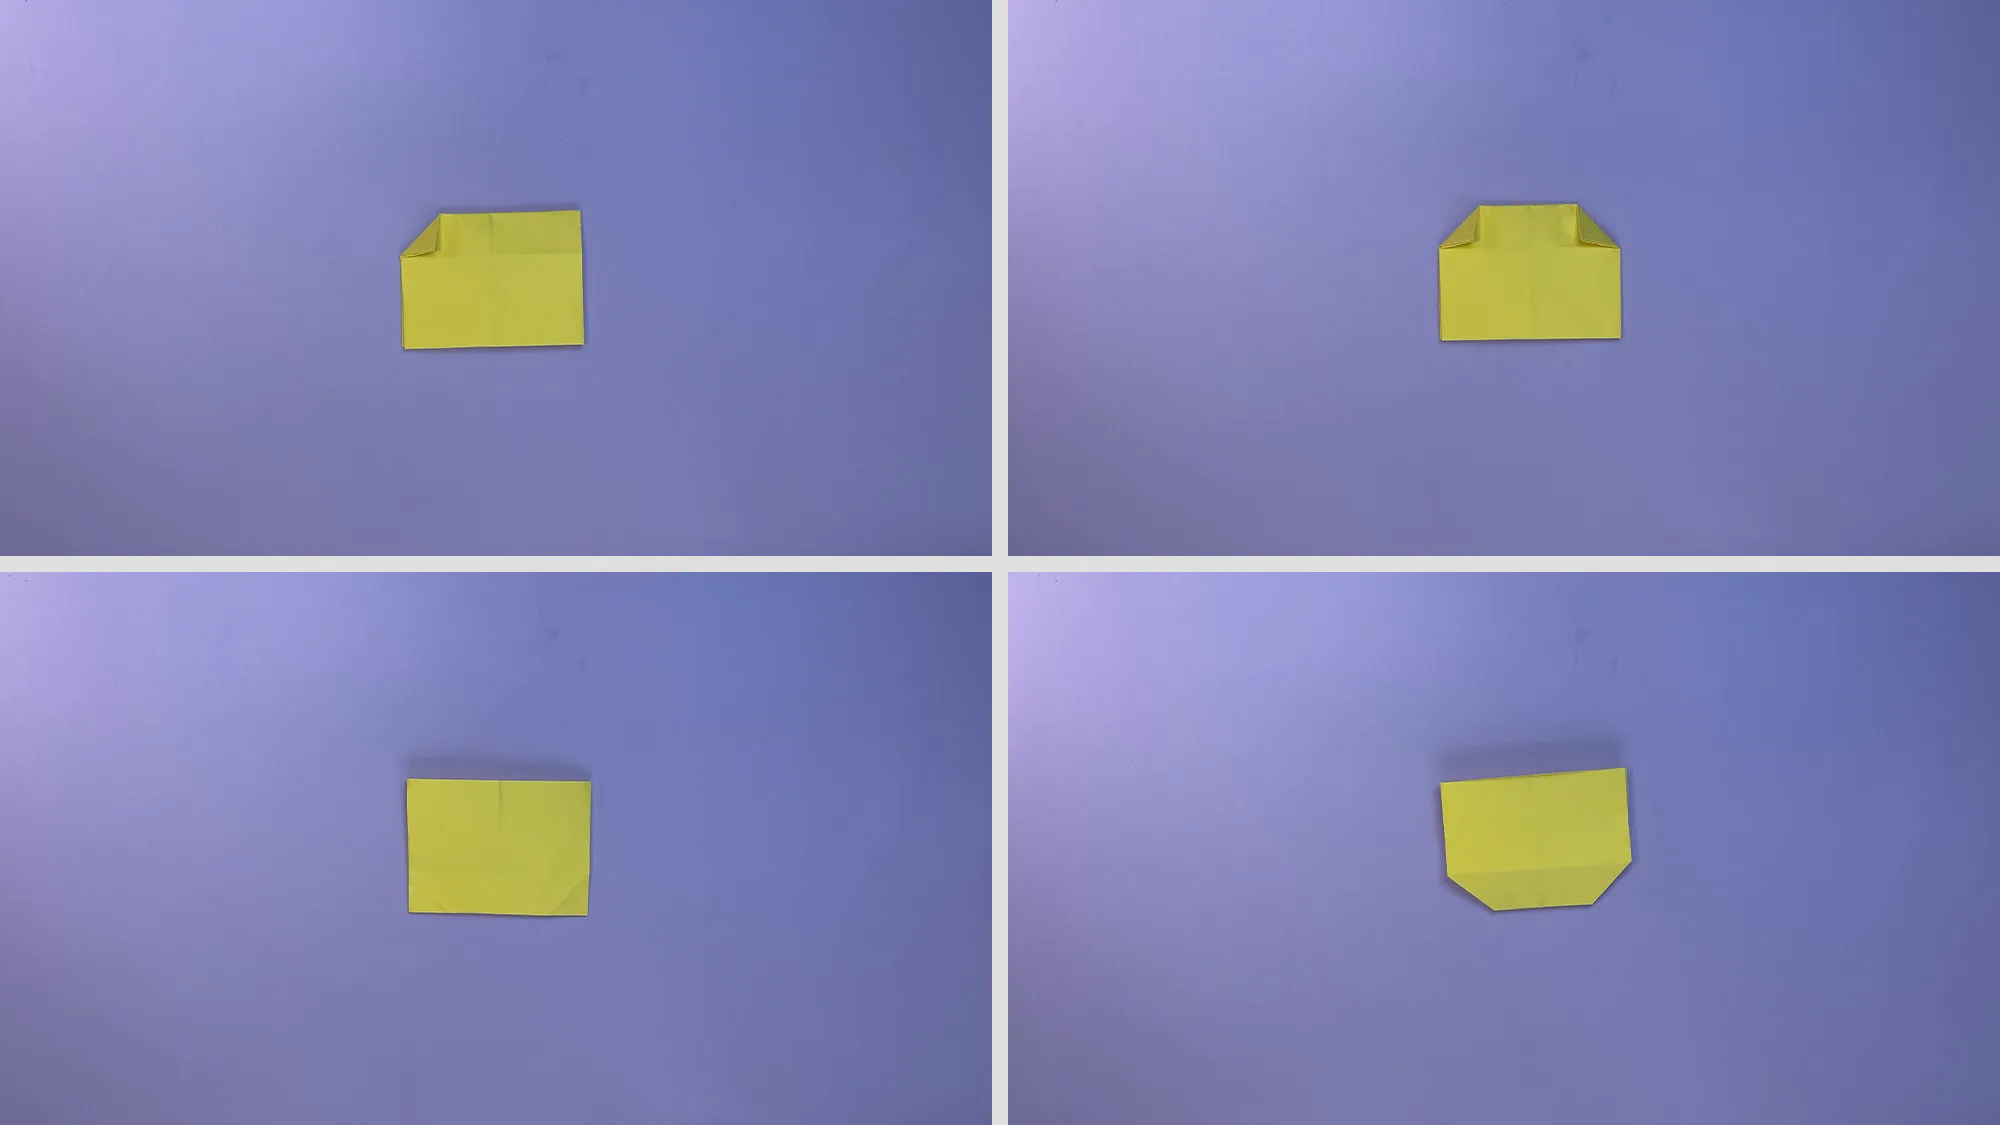
Step 7: Now fold the two bottom edges and fold them inwards.
Origami cat envelope: Step-by-step instructions with photos and description. The picture 8
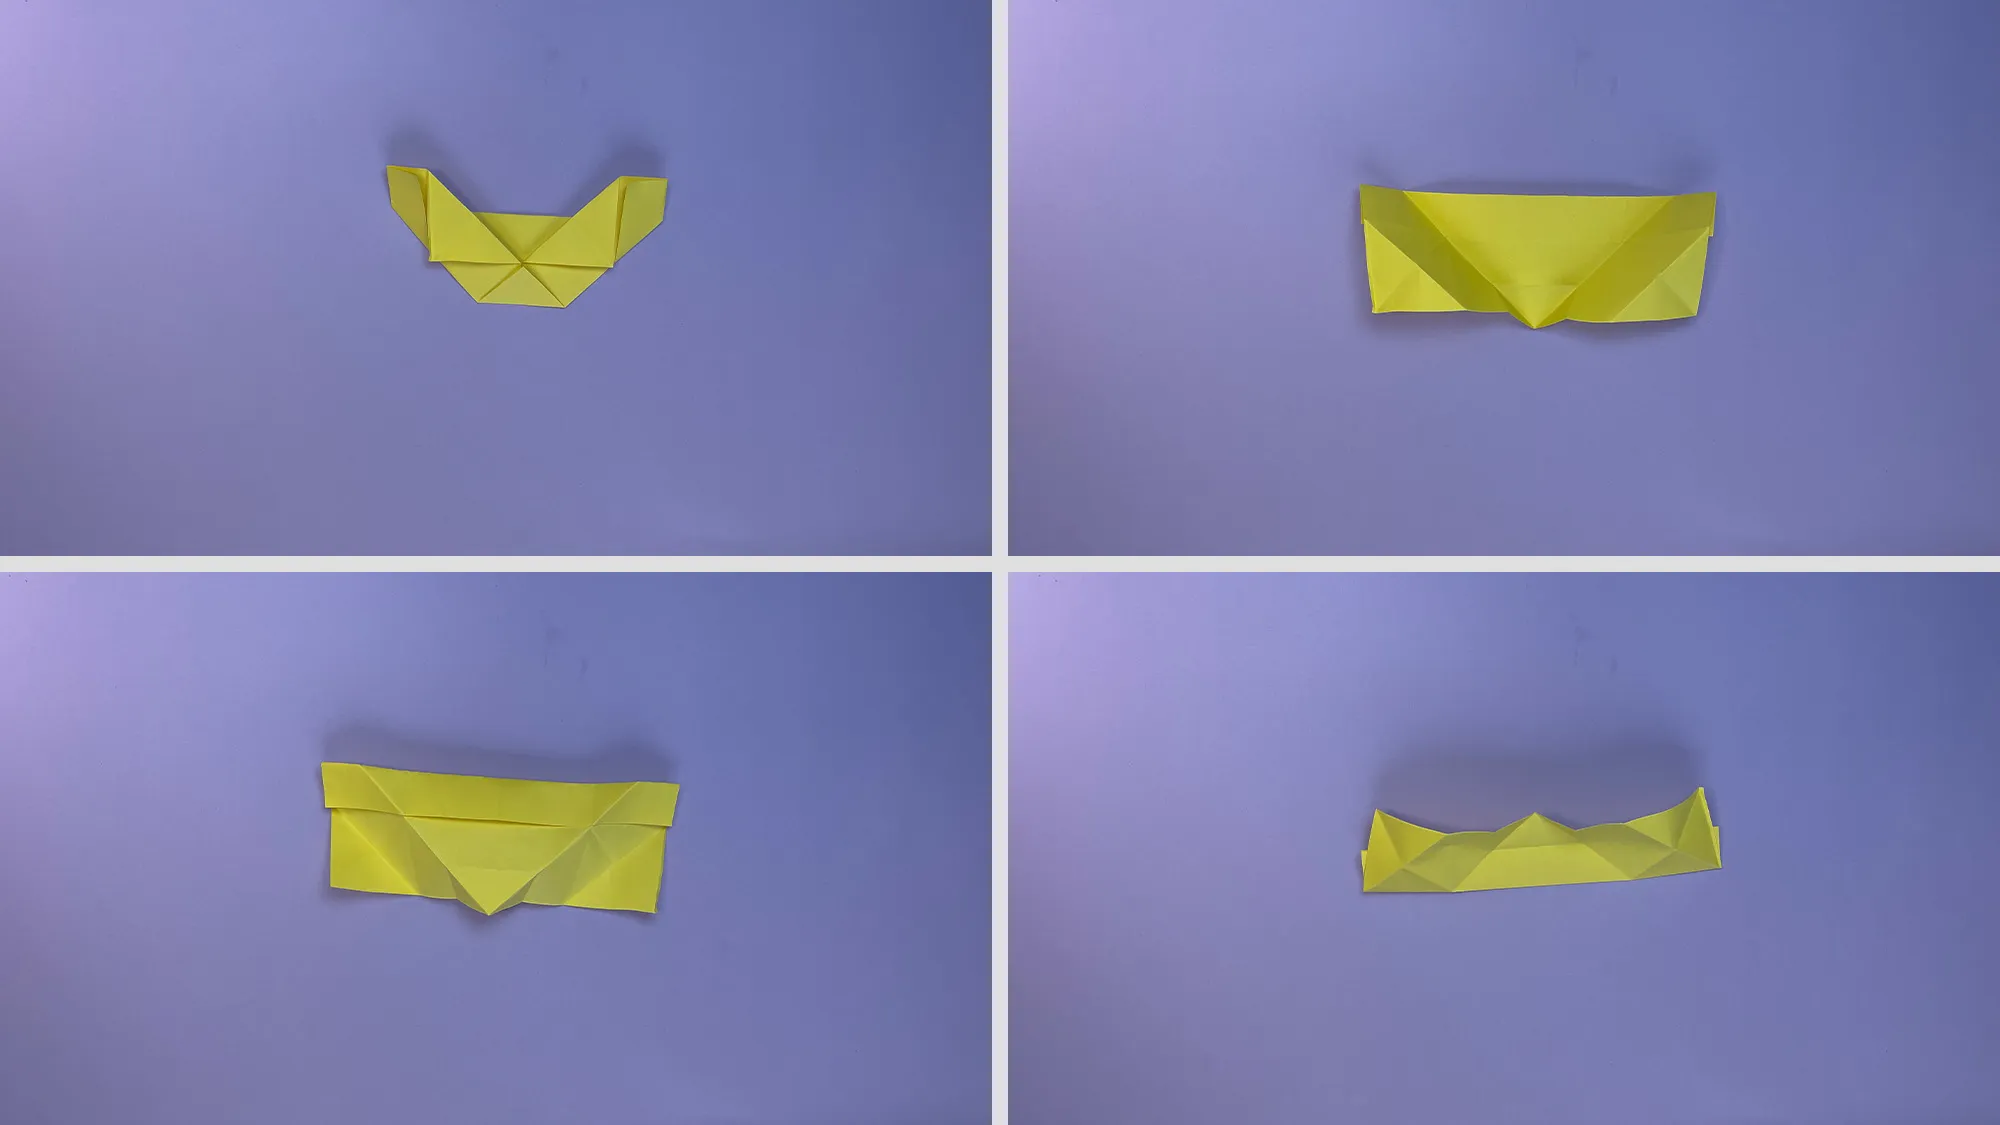
Step 8: Bend the two long sides protruding at a 90-degree angle.
Origami cat envelope: Step-by-step instructions with photos and description. The picture 9
Step 9: Along the existing fold lines, we now begin to shape the upper part of the cat's head.
Origami cat envelope: Step-by-step instructions with photos and description. Picture 10
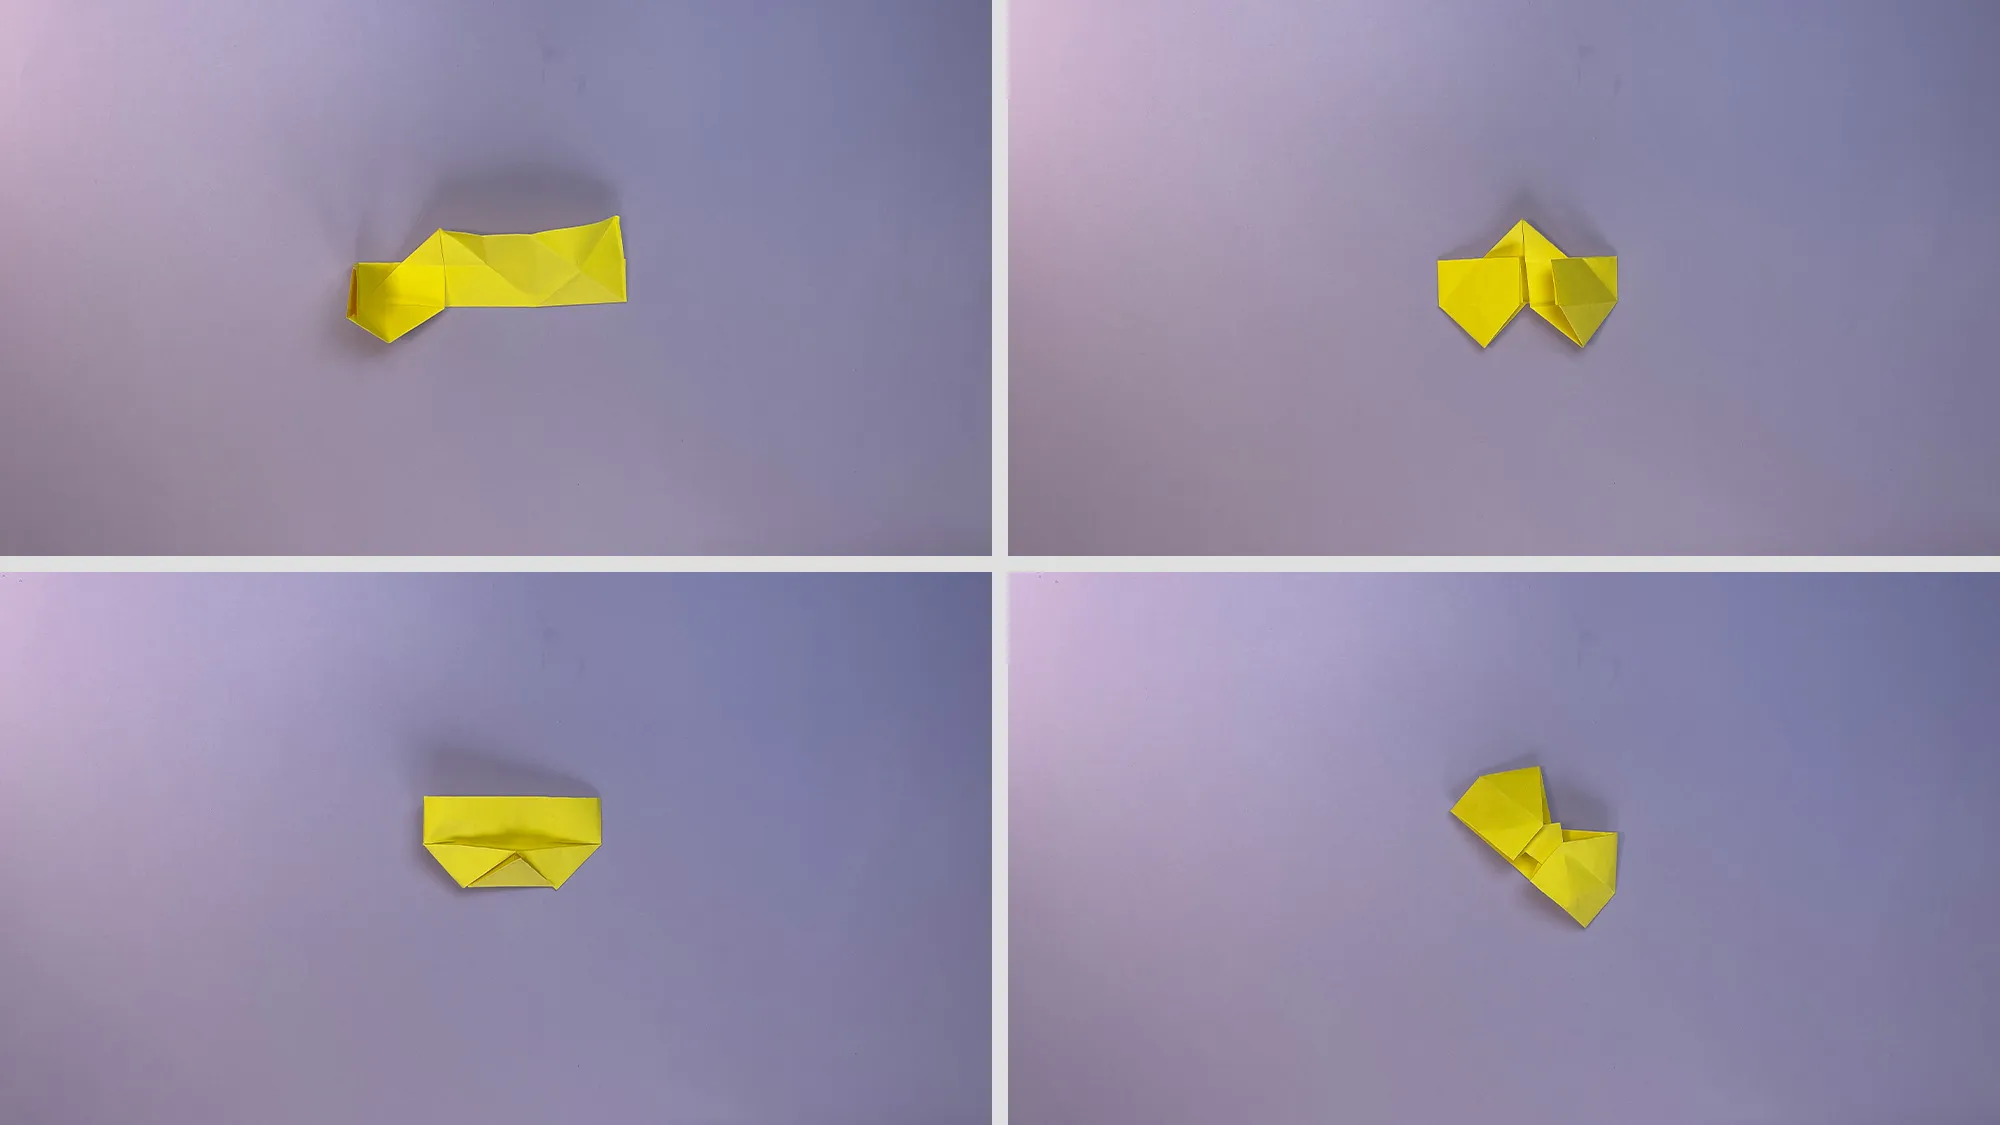
Step 10: Shape the cat's ears.
Origami cat envelope: Step-by-step instructions with photos and description. The picture 11
Step 11: Connect the lower part of the envelope with the upper part - done! Now you just need to draw the cat's face with the markers. Draw eyes, nose, cheeks, and mouth.

Origami Promotes Child Development

Folding origami figures like this cat envelope not only promotes creativity, but also important motor skills. Precise folding trains fine motor skills, while following instructions enhances logical thinking. Successfully creating a cute envelope boosts self-confidence and joy in creative expression.

Discover More Creative Origami Projects

In our Origami section, you'll find many exciting folding guides. From cute animals to practical containers, there's something for everyone. Also, check out our other creative paper projects and get inspired!

Origami cat envelope: Instructions with video, photos, and description

Published on by Vitalii Shynakov
Published on:
From Vitalii Shynakov
Vitalii Shynakov has been working in the areas of online retail, marketing and customer satisfaction since 2012. Until 2022, he was the head of personnel development and online sales department of four successful stores. He has been part of the TutKit.com team since 2024.