Origami Ninja Star: Instructions with video, photos, and description
This Origami Star is a fascinating variation with a special color contrast. The alternating pattern of two colors makes this star a real eye-catcher. This simple but effective folding guide is perfect for Origami fans looking to expand their repertoire.
About this DIY guide
Each of our crafting guides includes a self-produced video and detailed step-by-step photos with thorough explanations. This combination makes it particularly easy to recreate: First watch the video to get an overview, then follow the individual steps with the help of the photos and descriptions.
Materials list:
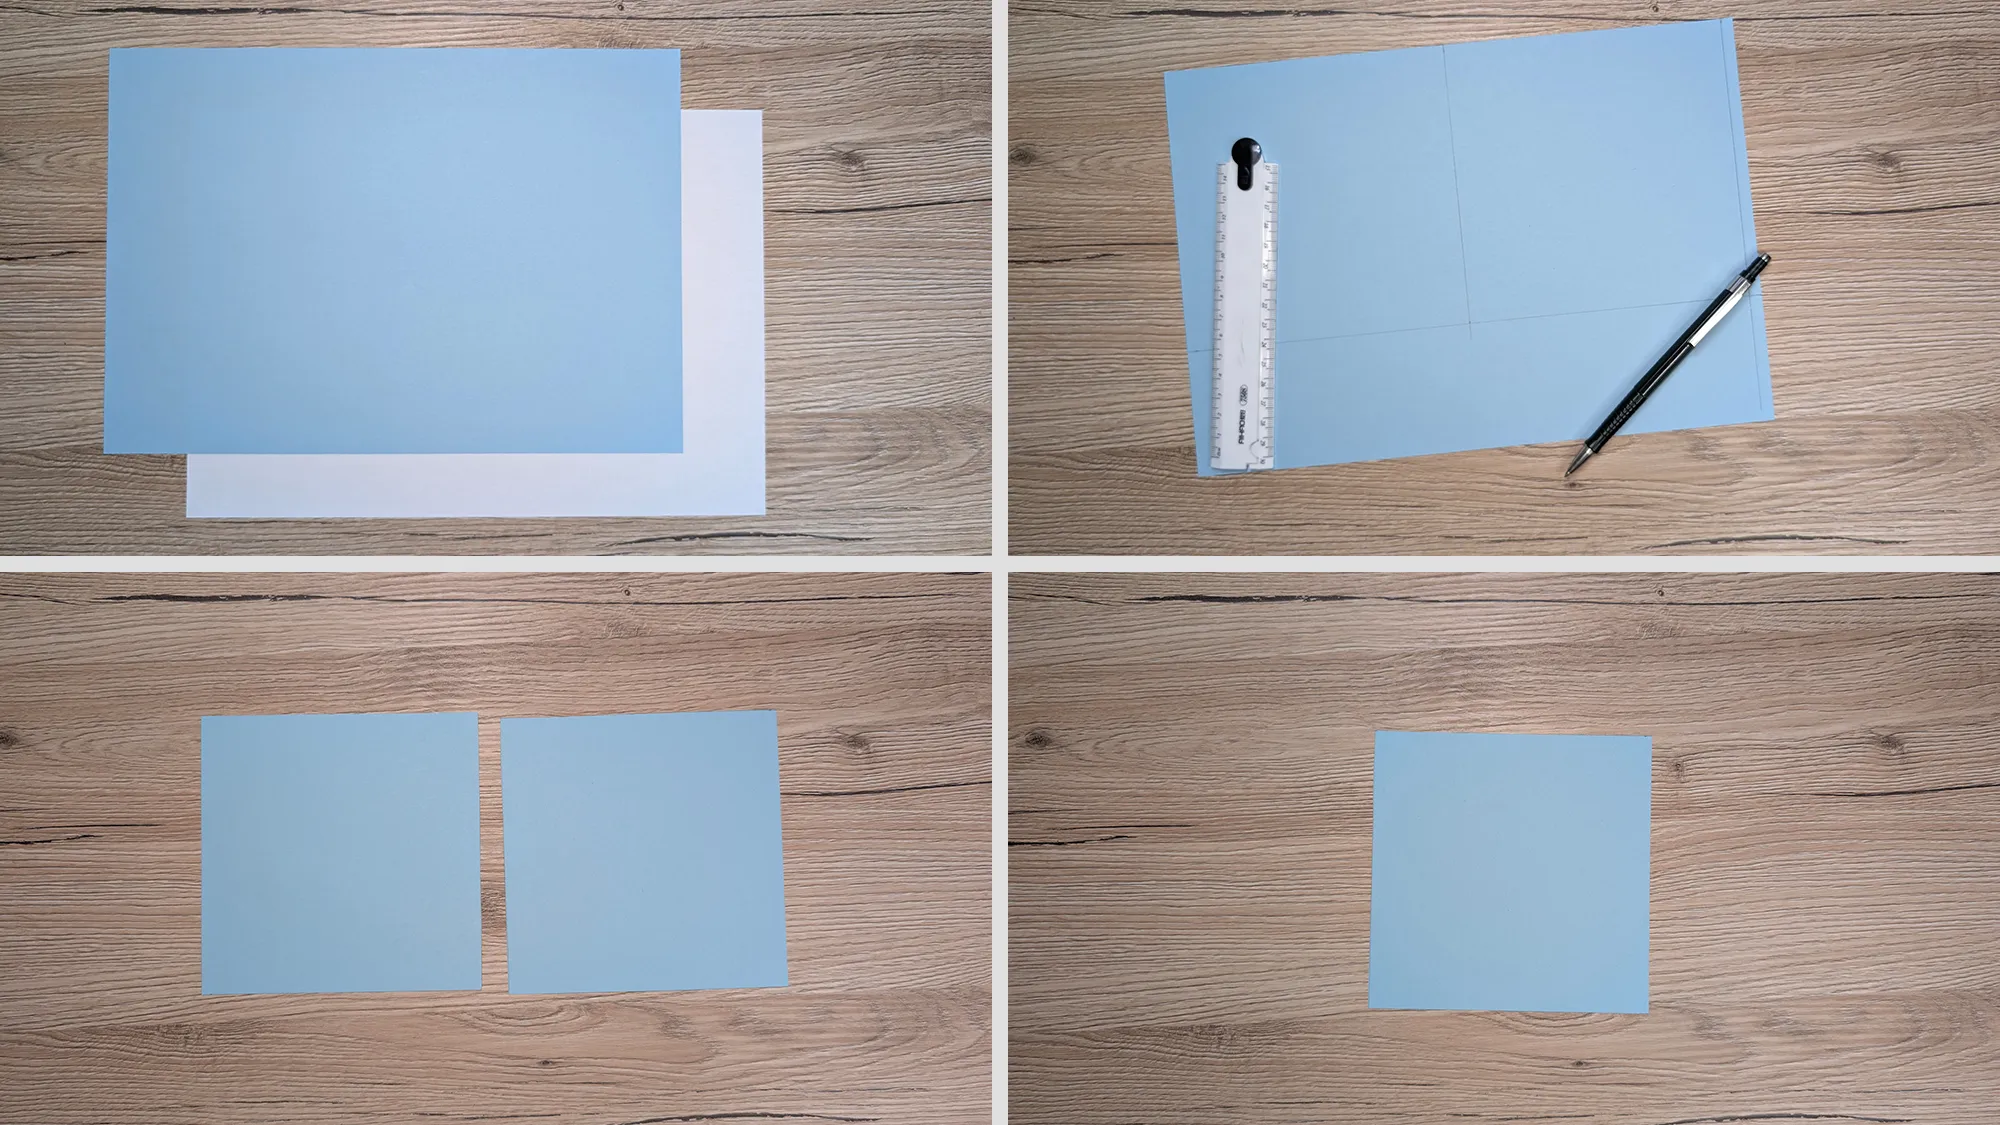
- 4 square sheets in color 1 (e.g. orange)
- 4 square sheets in color 2 (e.g. black)
- A smooth work surface
Origami Ninja Star: Step-by-step guide with photos and description
Before you start folding, choose two contrasting colors for your star. The color combination makes this model particularly interesting. All squares should be the same size.
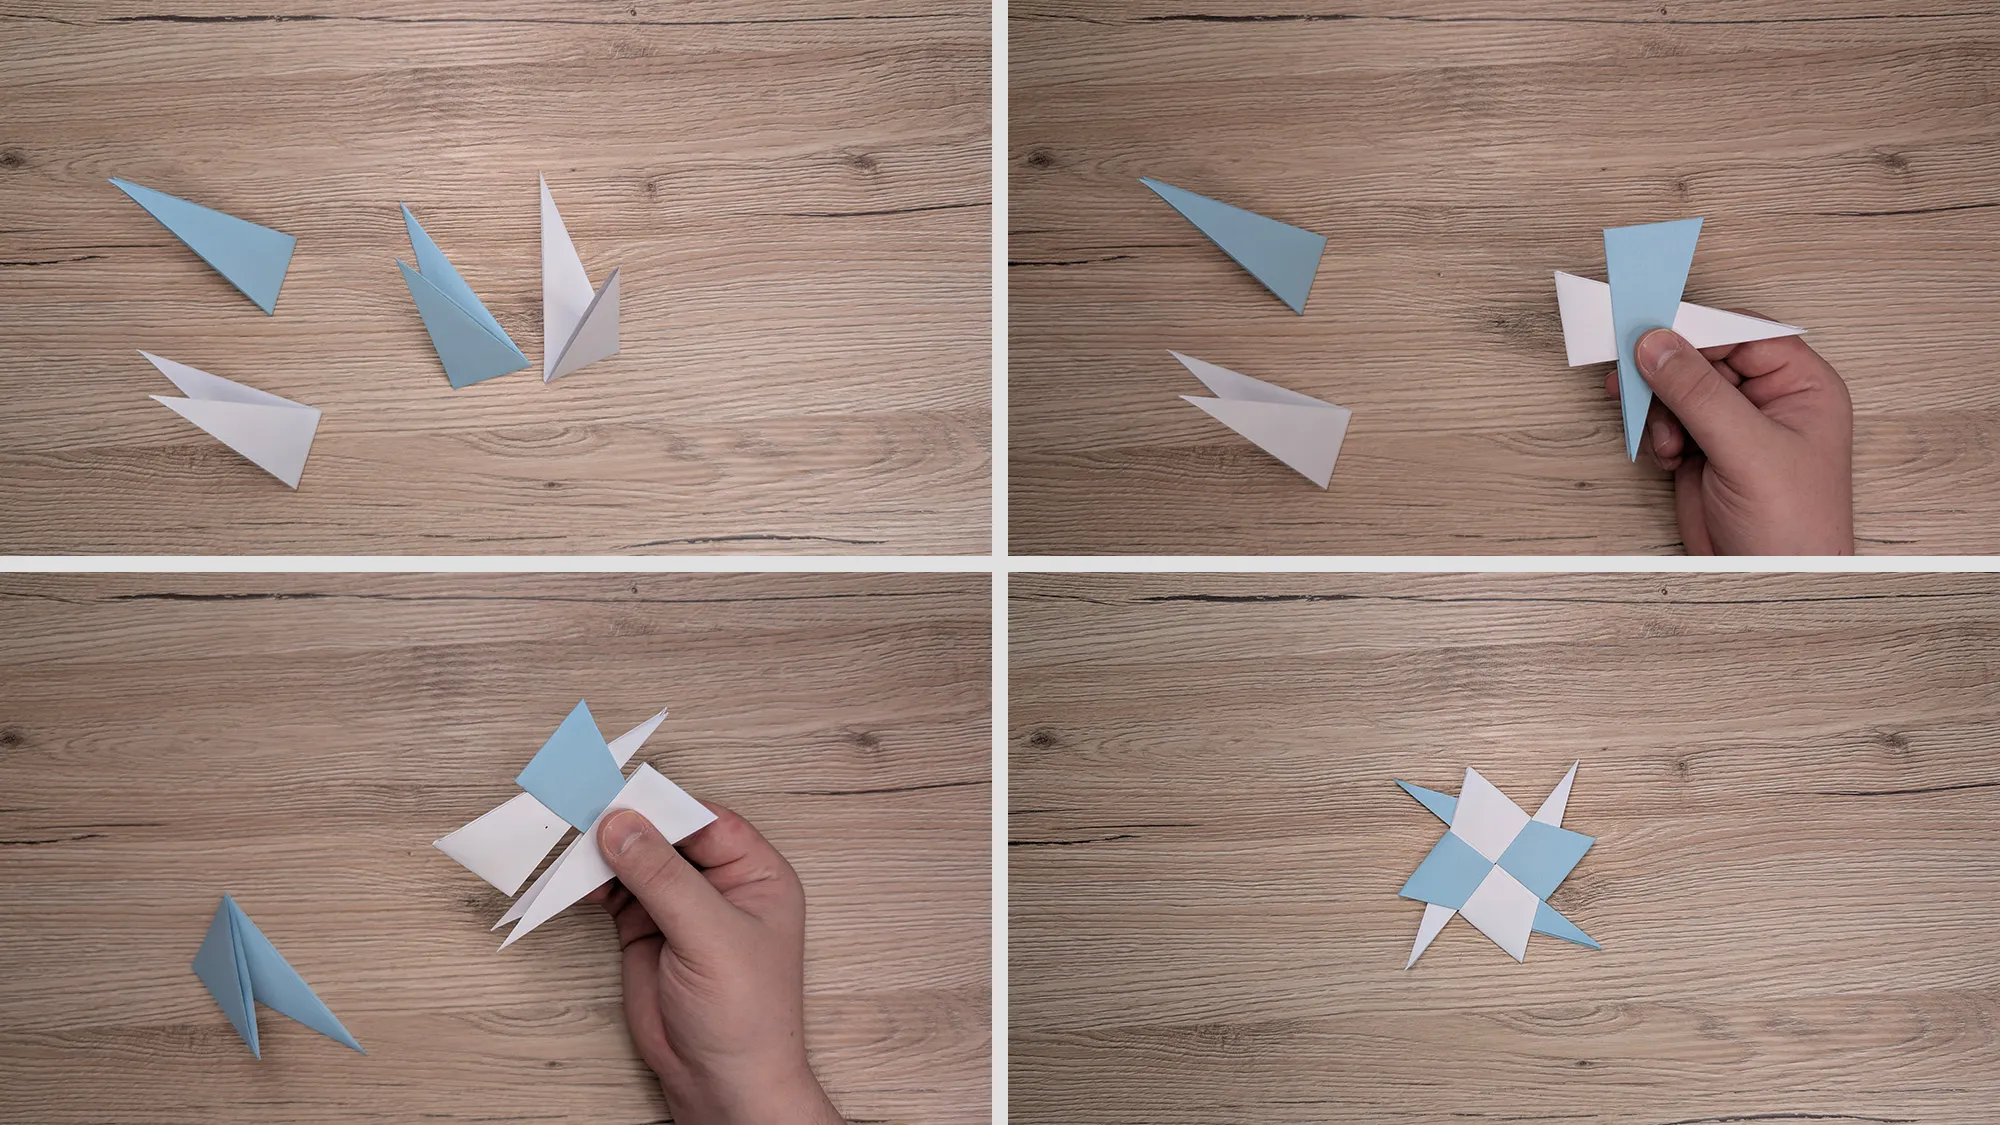
Crafting tips:
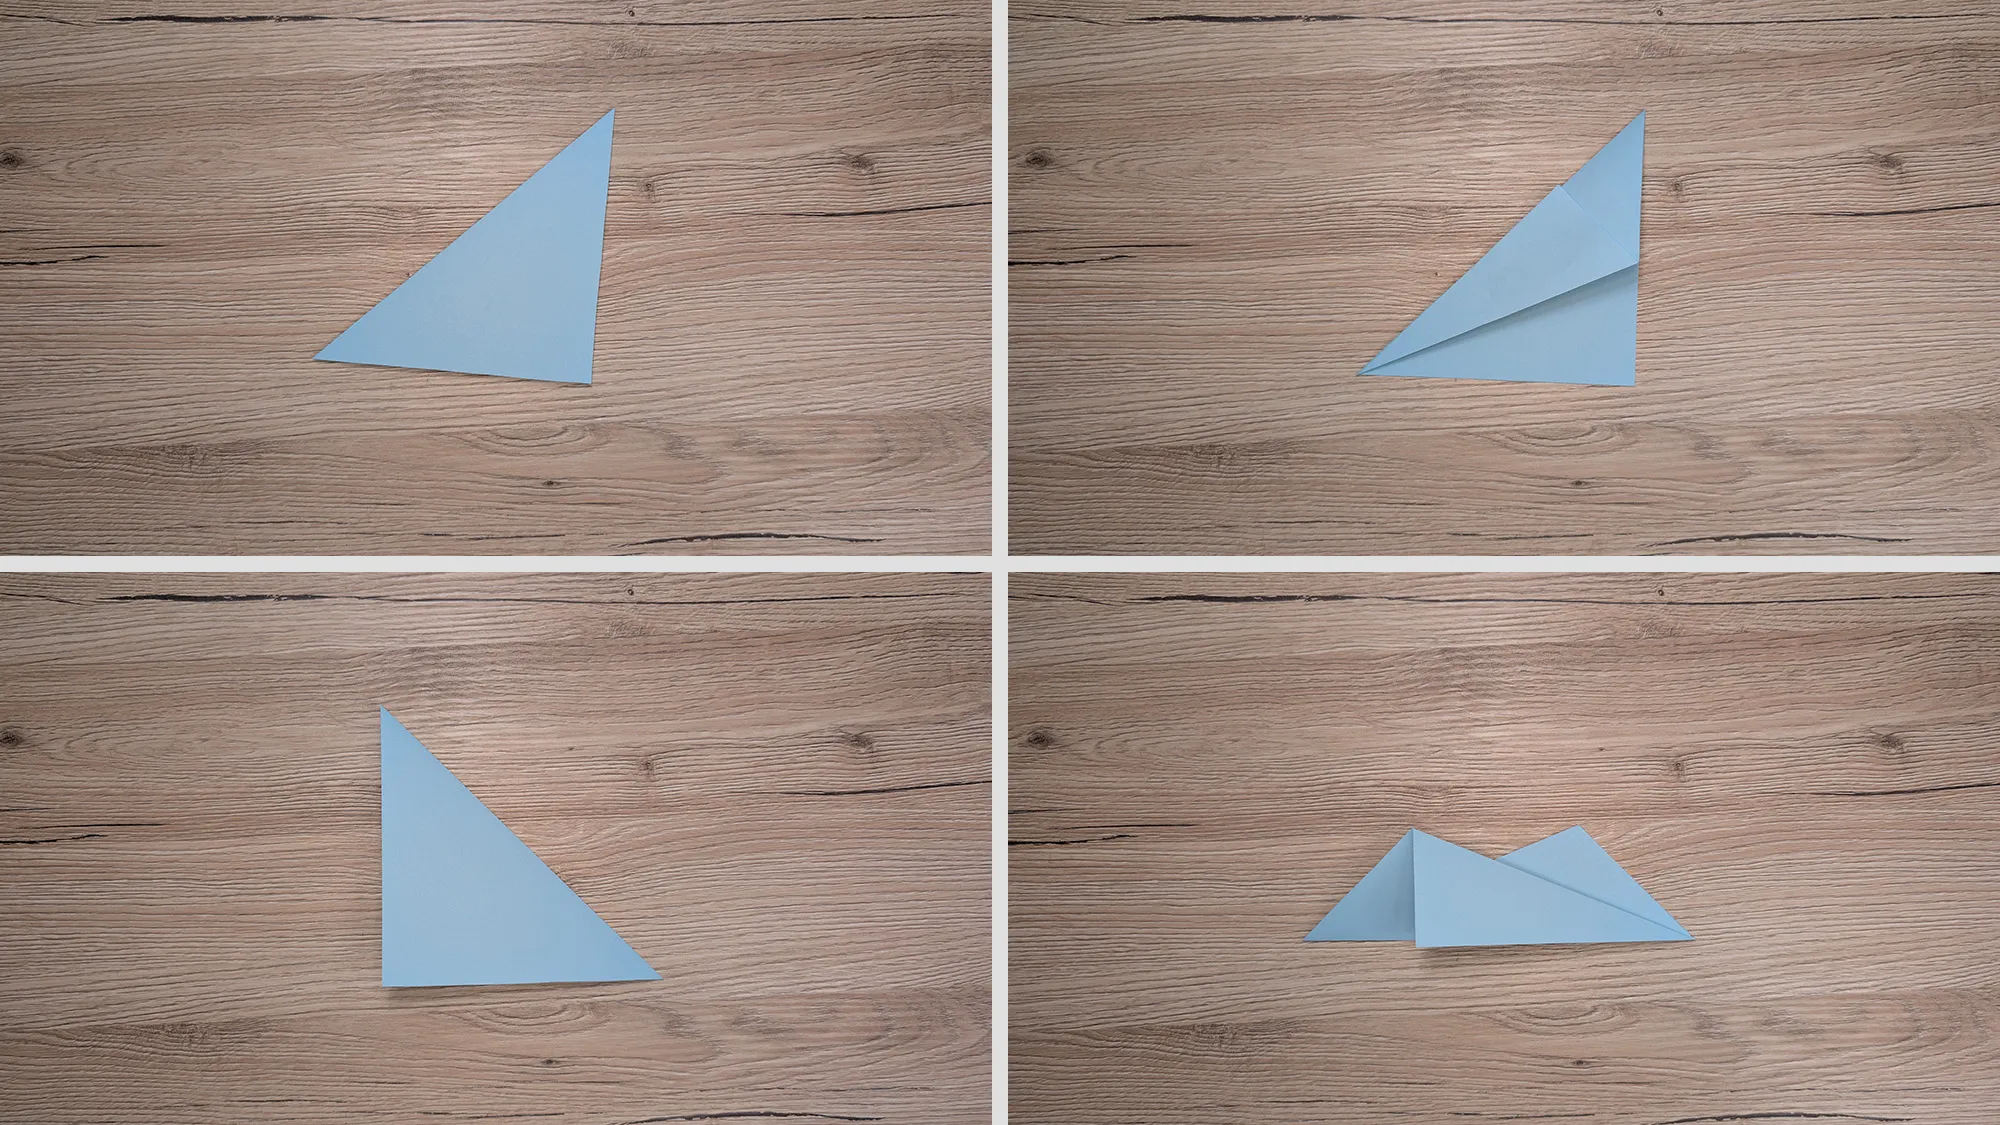
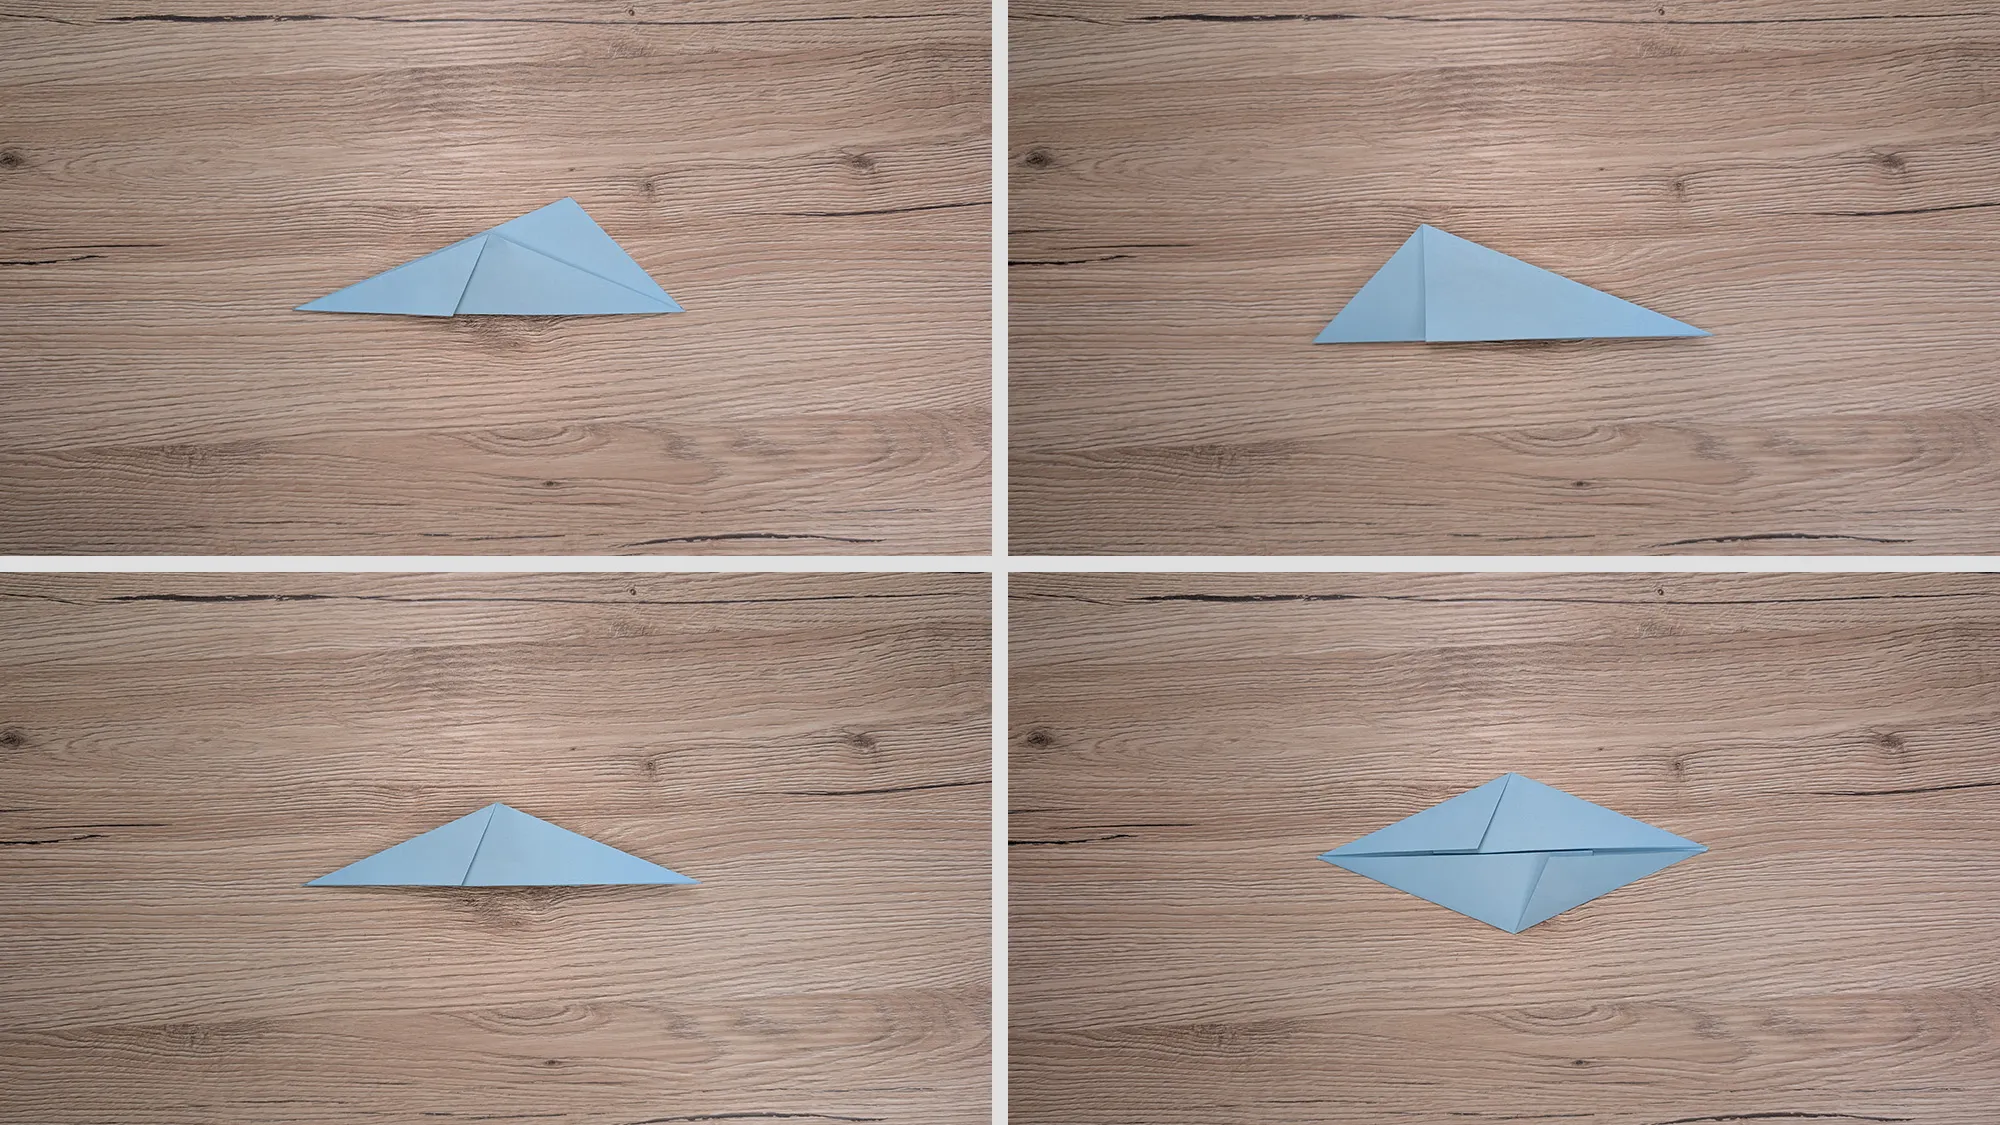
- Pay attention to precise folding edges for a nice result
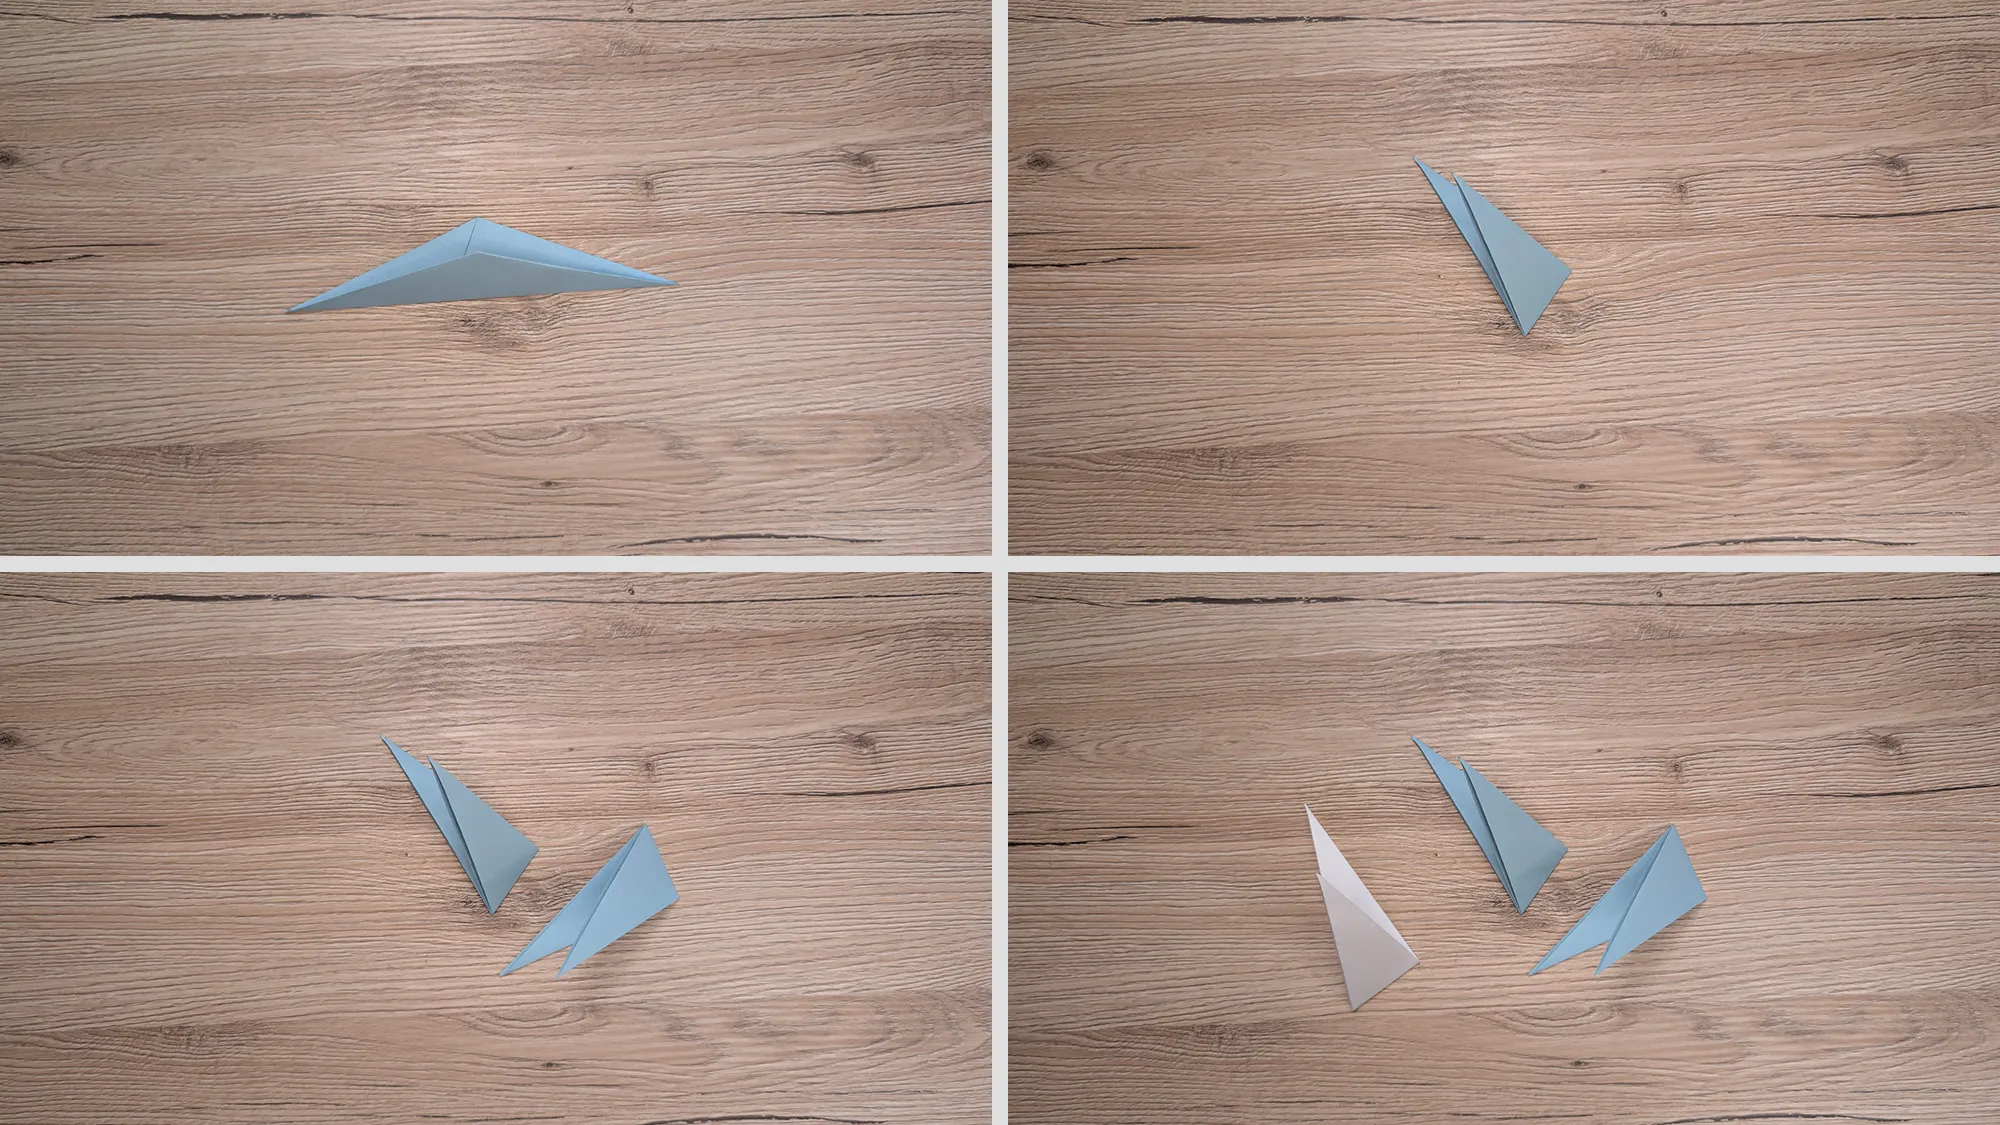
- All parts should be the same size
- The folds must be symmetrical
- Experiment with different color combinations
- The parts should be firmly interlocked
Origami promotes child development
Folding Origami figures not only promotes creativity but also important motor skills. Precise folding trains fine motor skills, while following instructions enhances logical thinking. Working with different colored papers also strengthens understanding of patterns and symmetry.
Discover more creative Origami projects
In our Origami section, you will find many more exciting folding guides. From simple models to complex designs, there is something for every level of difficulty. Let yourself be inspired by our creative ideas!
From Vitalii Shynakov
