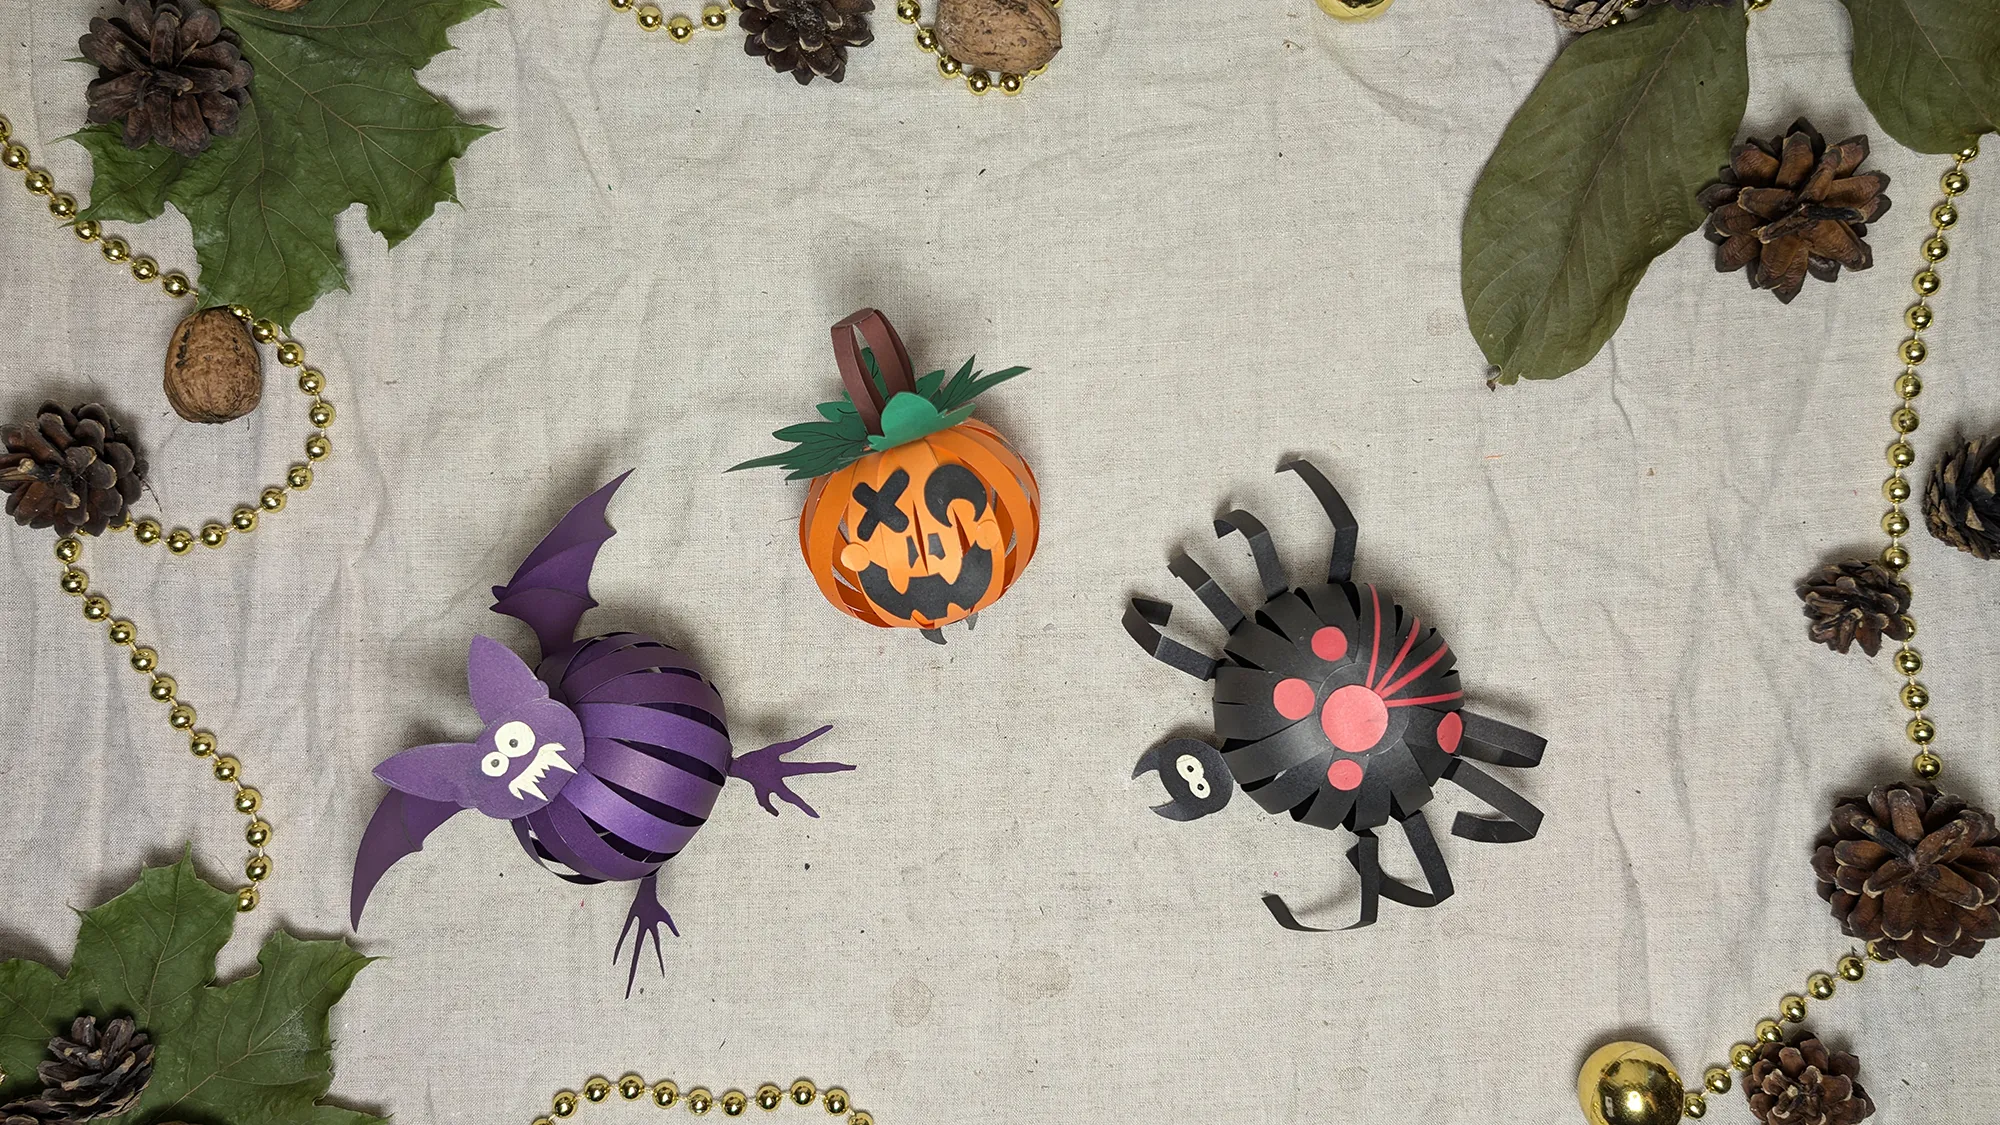
Paper pumpkin for Halloween: Easy crafting instructions with video, photos, and text
Are you looking for a guide on how to craft a pumpkin for Halloween with your child? Then you are in the right place! Halloween is that magical festival that particularly delights children - with spooky costumes, collecting candies, and of course, creating Halloween decorations together. Our children only grow up once, and the time when they want to be creative with us flies by faster than we think. Later, it will be too late for these precious shared moments. We know how enriching it is to create something beautiful with your child. That's why we have put together this detailed step-by-step guide.
Paper Pumpkin: Step-by-Step Guide with Photos and Text Description
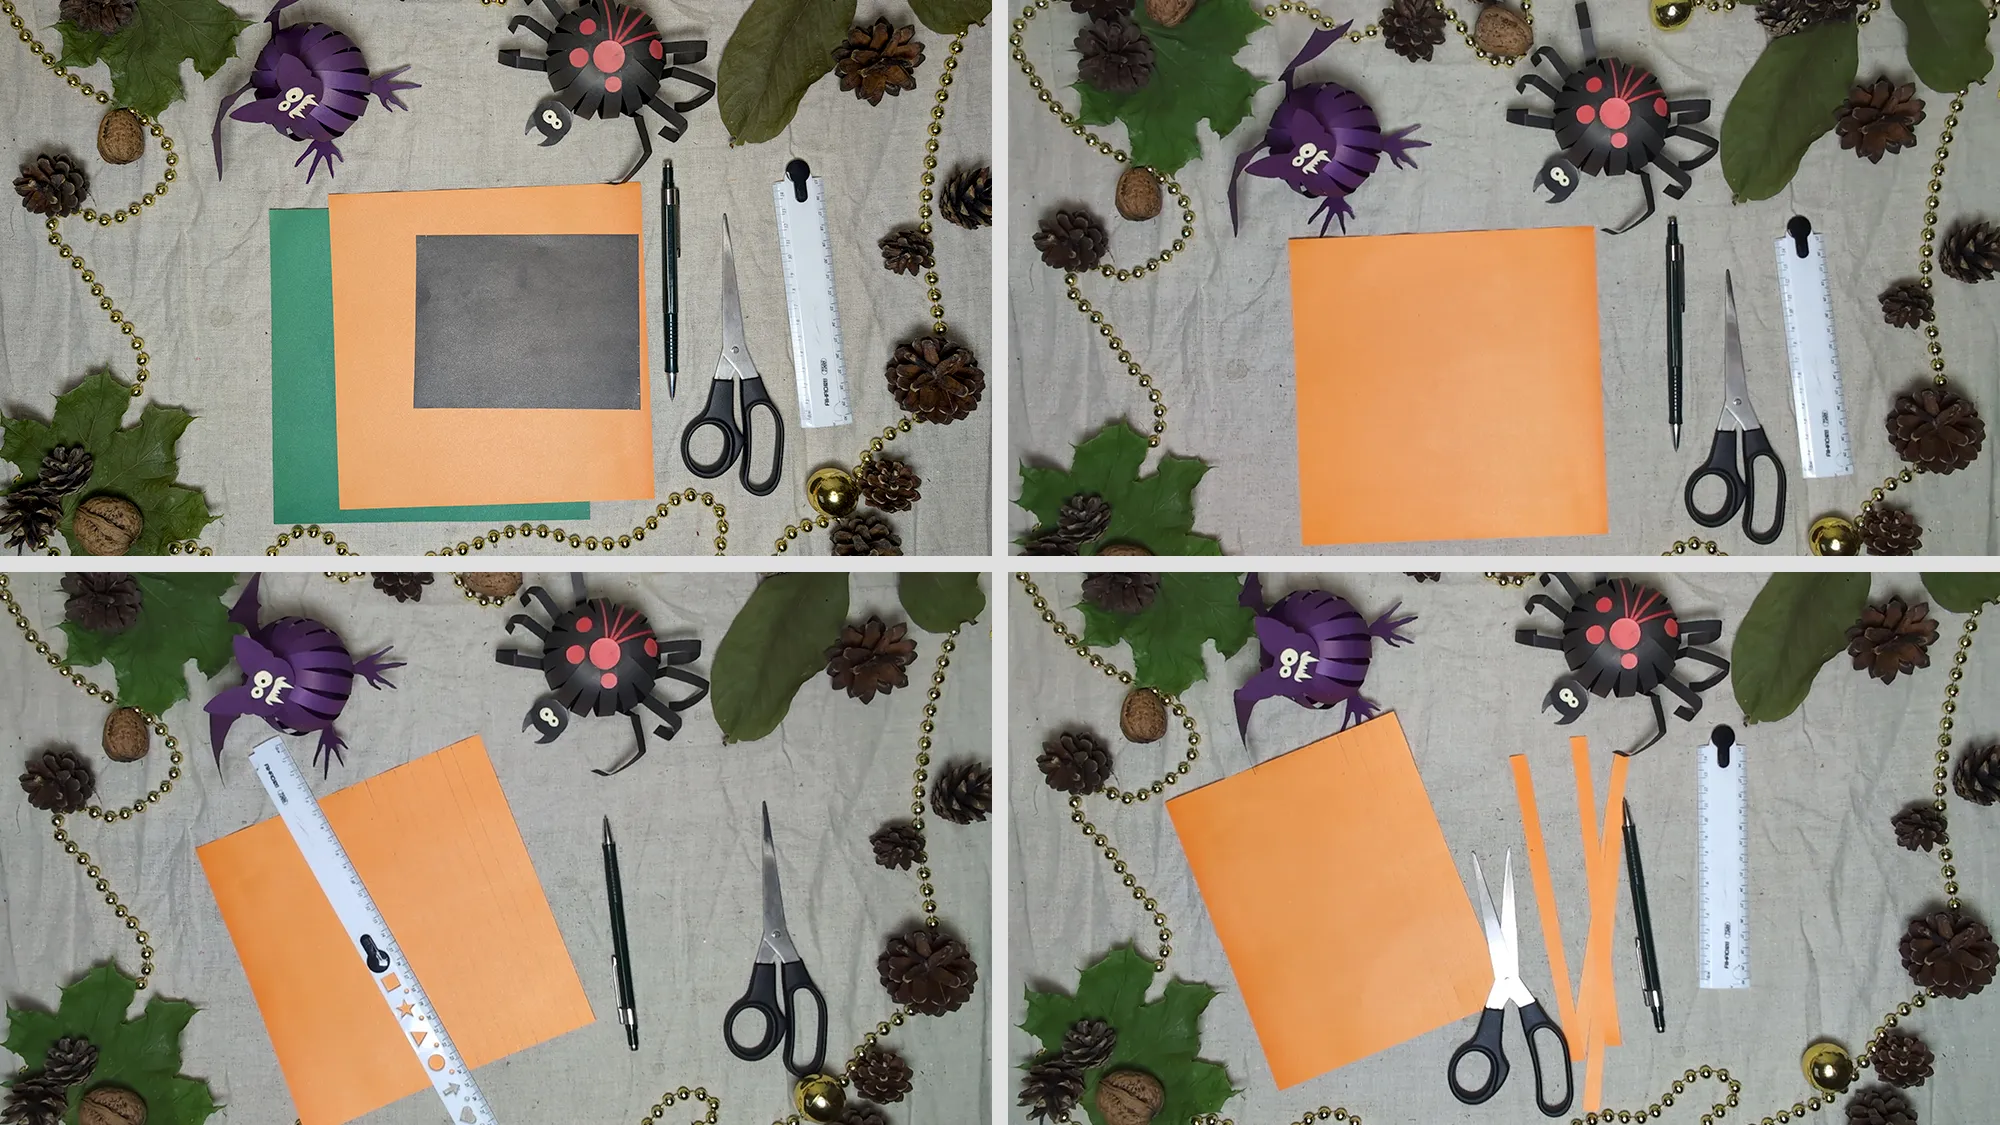
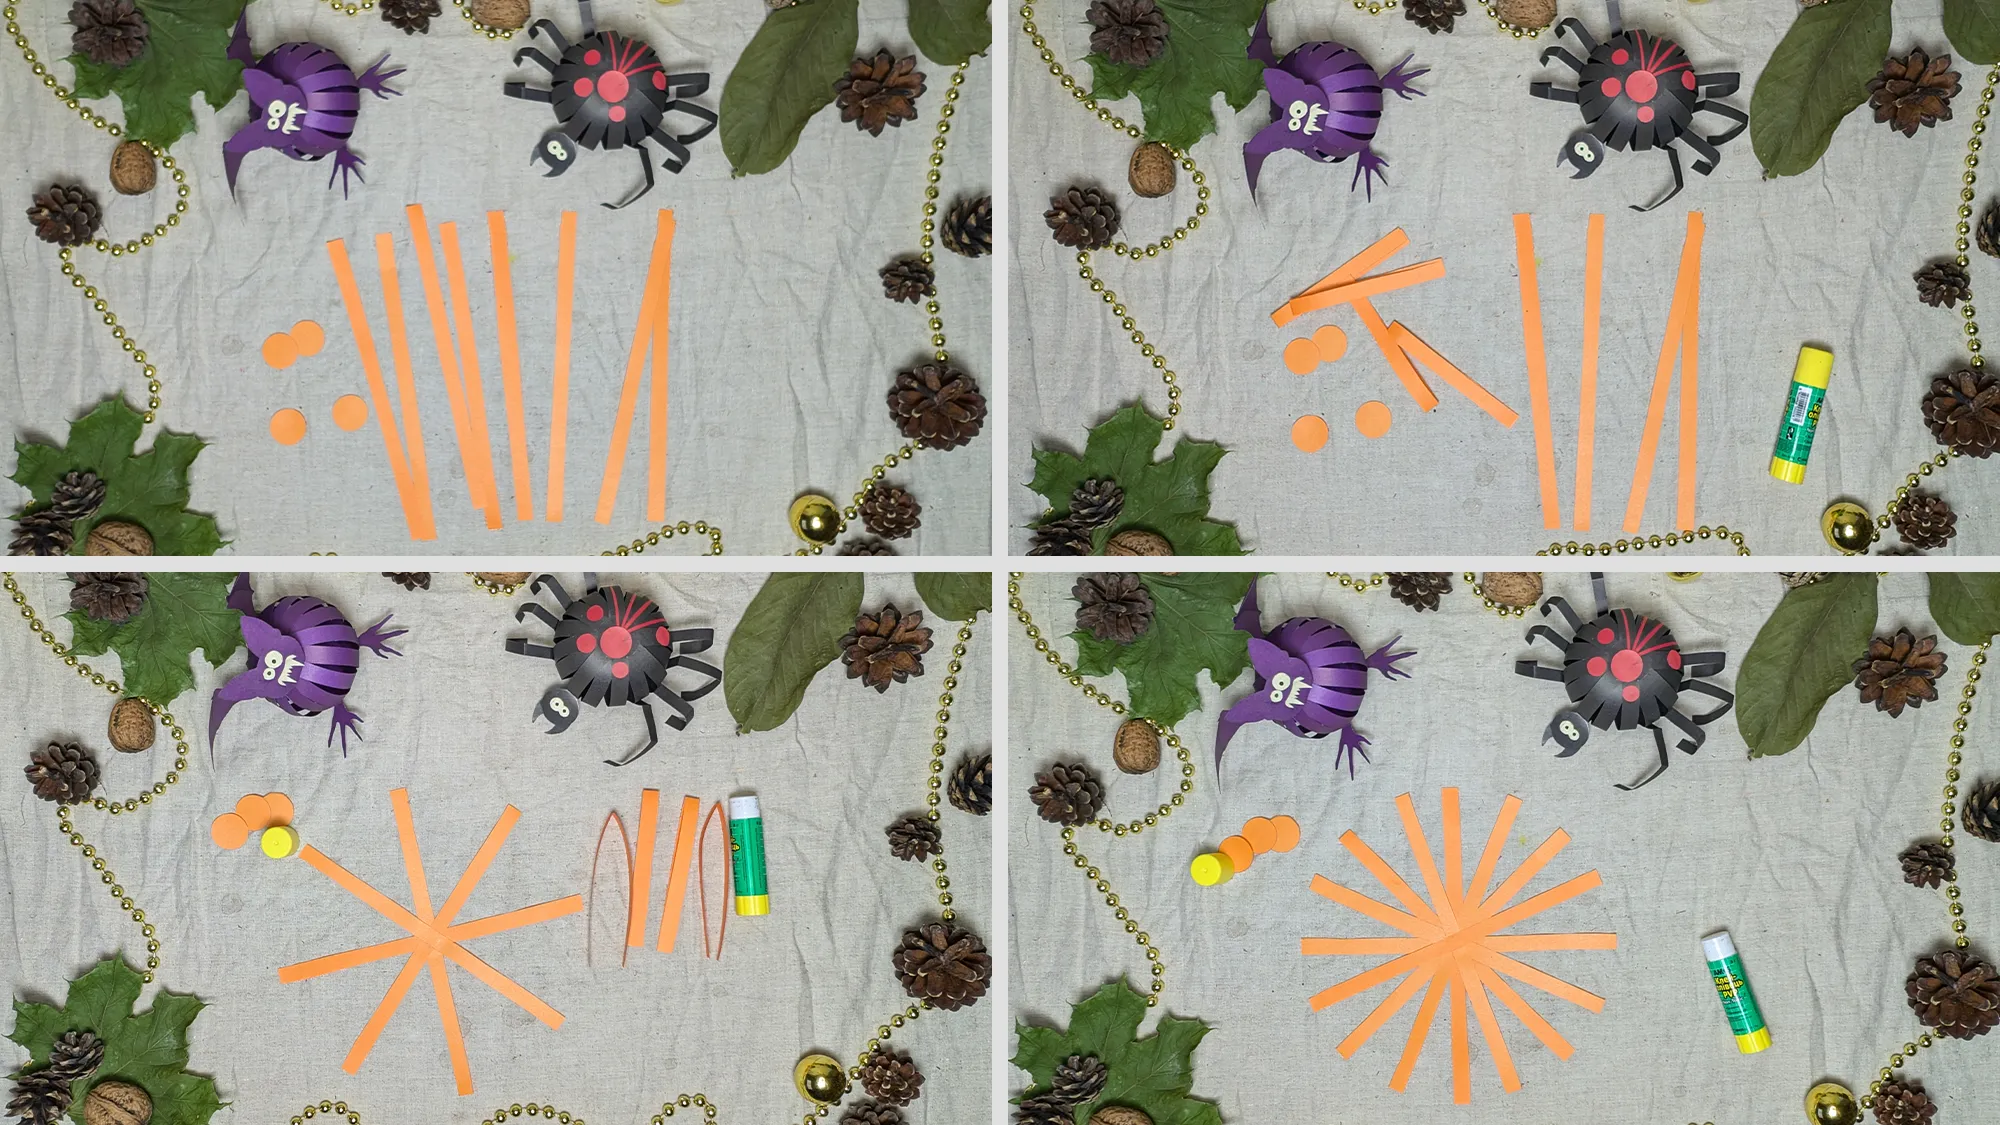
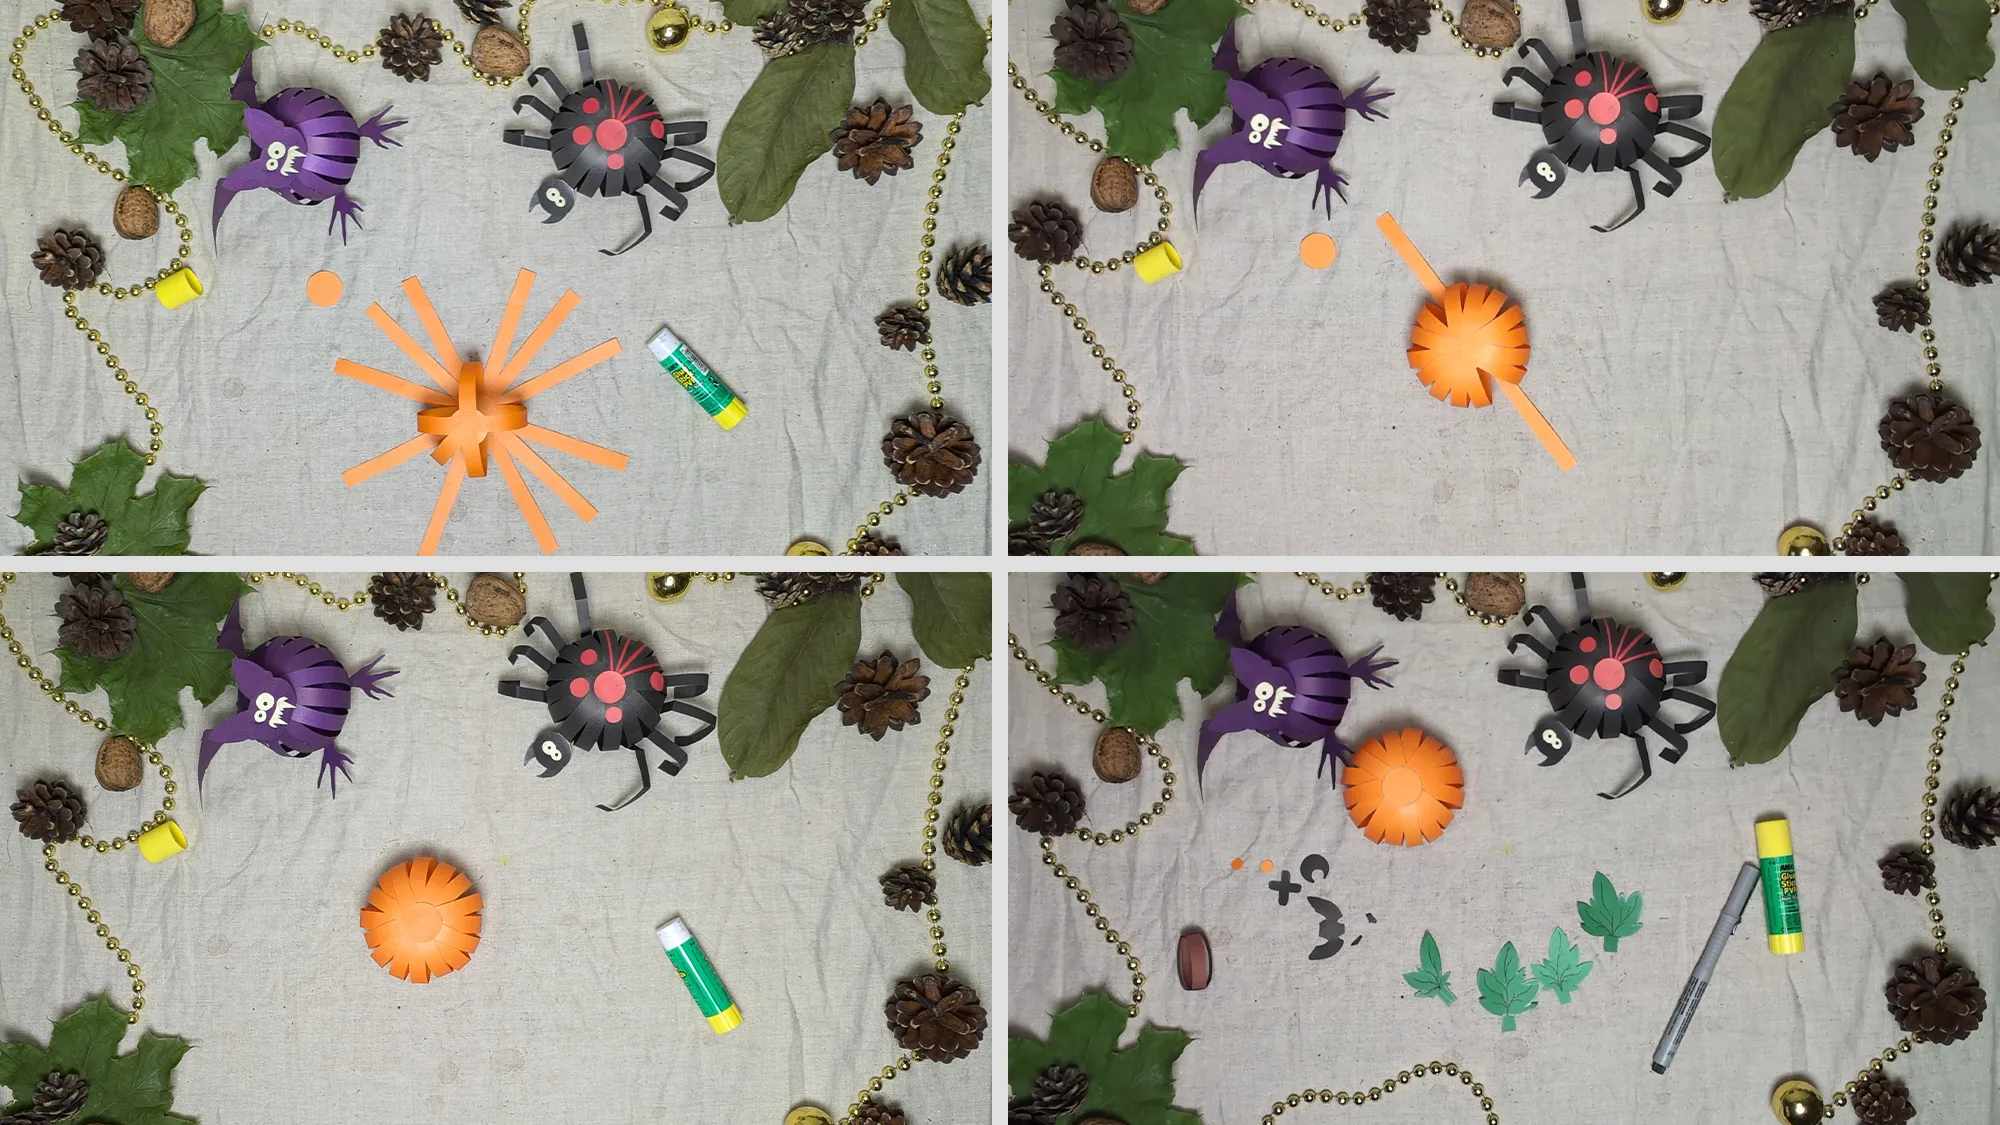
So that you can easily understand how this adorable pumpkin is created, our guide consists of a detailed video, photos for each individual step, and clear text descriptions. This way, you can effortlessly follow along and be well-informed at each step about what to do next.
Materials
For this Halloween paper pumpkin, you will need:
- Colored craft paper (orange, green, black)
- Scissors
- Glue
- A pencil
You can easily find these simple materials in any supermarket in the craft and stationery section, or you may already have them at home. Since this is a child-friendly project, we have intentionally avoided complicated materials. Crafting Halloween decorations should be all about enjoyment and not stress!


Paper Pumpkin: Benefits of Creative Crafting for Child Development
Crafting with hands offers numerous advantages for your child's development. The fine motor skills trained during cutting, folding, and gluing have a direct impact on brain development. Research shows that working with fingers in children stimulates the formation of important neural connections in the brain. These connections are fundamental to their entire cognitive development.
As parents, we have the responsibility to support the development of our children so that they have the best chances for a fulfilling life later on. Naturally, this includes shared reading, mental exercises, balanced nutrition, and physical activity. However, as we can see, engaging in creative projects like crafting Halloween decorations is equally significant. These creative activities not only promote dexterity but also attention, endurance, and a healthy self-esteem.
Paper Pumpkin: Thank You to Our Readers
All the guides on our website are created by us. To produce these photos and videos, we craft each project ourselves, and it brings us joy to know that our efforts are appreciated. Your presence on our platform and your interest in this article is the greatest recognition for us. We thank you for your time and hope that you and your child will be successful when recreating this project.
If you enjoyed our tutorial, also check out our other tutorials on Origami, DIY ideas for children, or Napkin folding for the festive table. At the time of publication of this article, we have created over 400 video tutorials and we have many more ideas. We wish you much success and all the best!
From Vitalii Shynakov
