Paper pumpkin lantern: Simple Halloween crafting instructions with video and photos
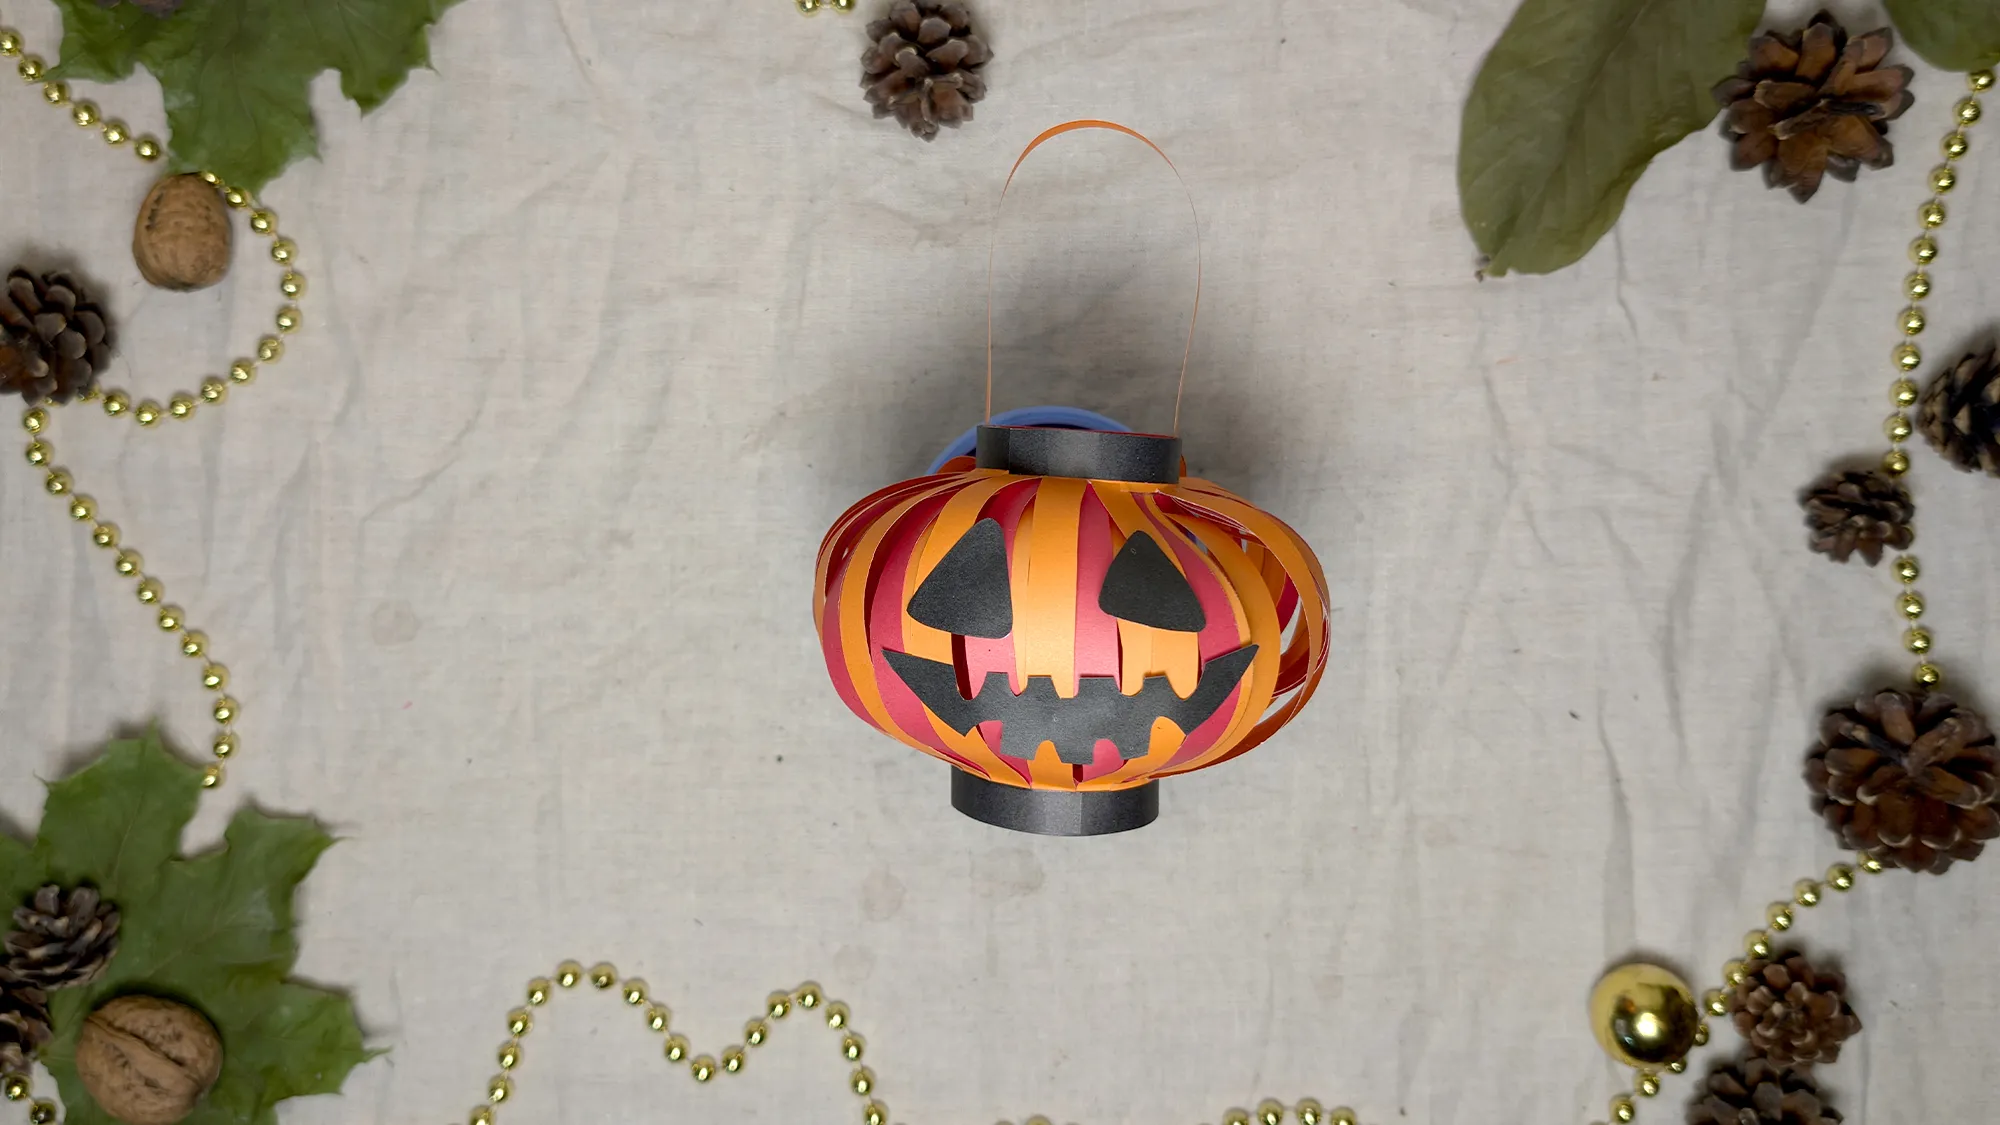
Are you looking for a guide on how to craft a paper lantern in pumpkin shape for Halloween with your child? Then you've come to the right place! Halloween is that special holiday that kids adore - with spooky costumes, trick-or-treating, and of course, creating Halloween decorations together. Our children only grow up once, and the time when they want to craft with us flies by faster than we realize. Later on, it will be too late for these precious shared moments. We know how wonderful it is to create something creative with your child. That's why we have prepared this detailed step-by-step guide.
Paper Pumpkin Lantern: Step-by-Step Guide with Photos and Text Description
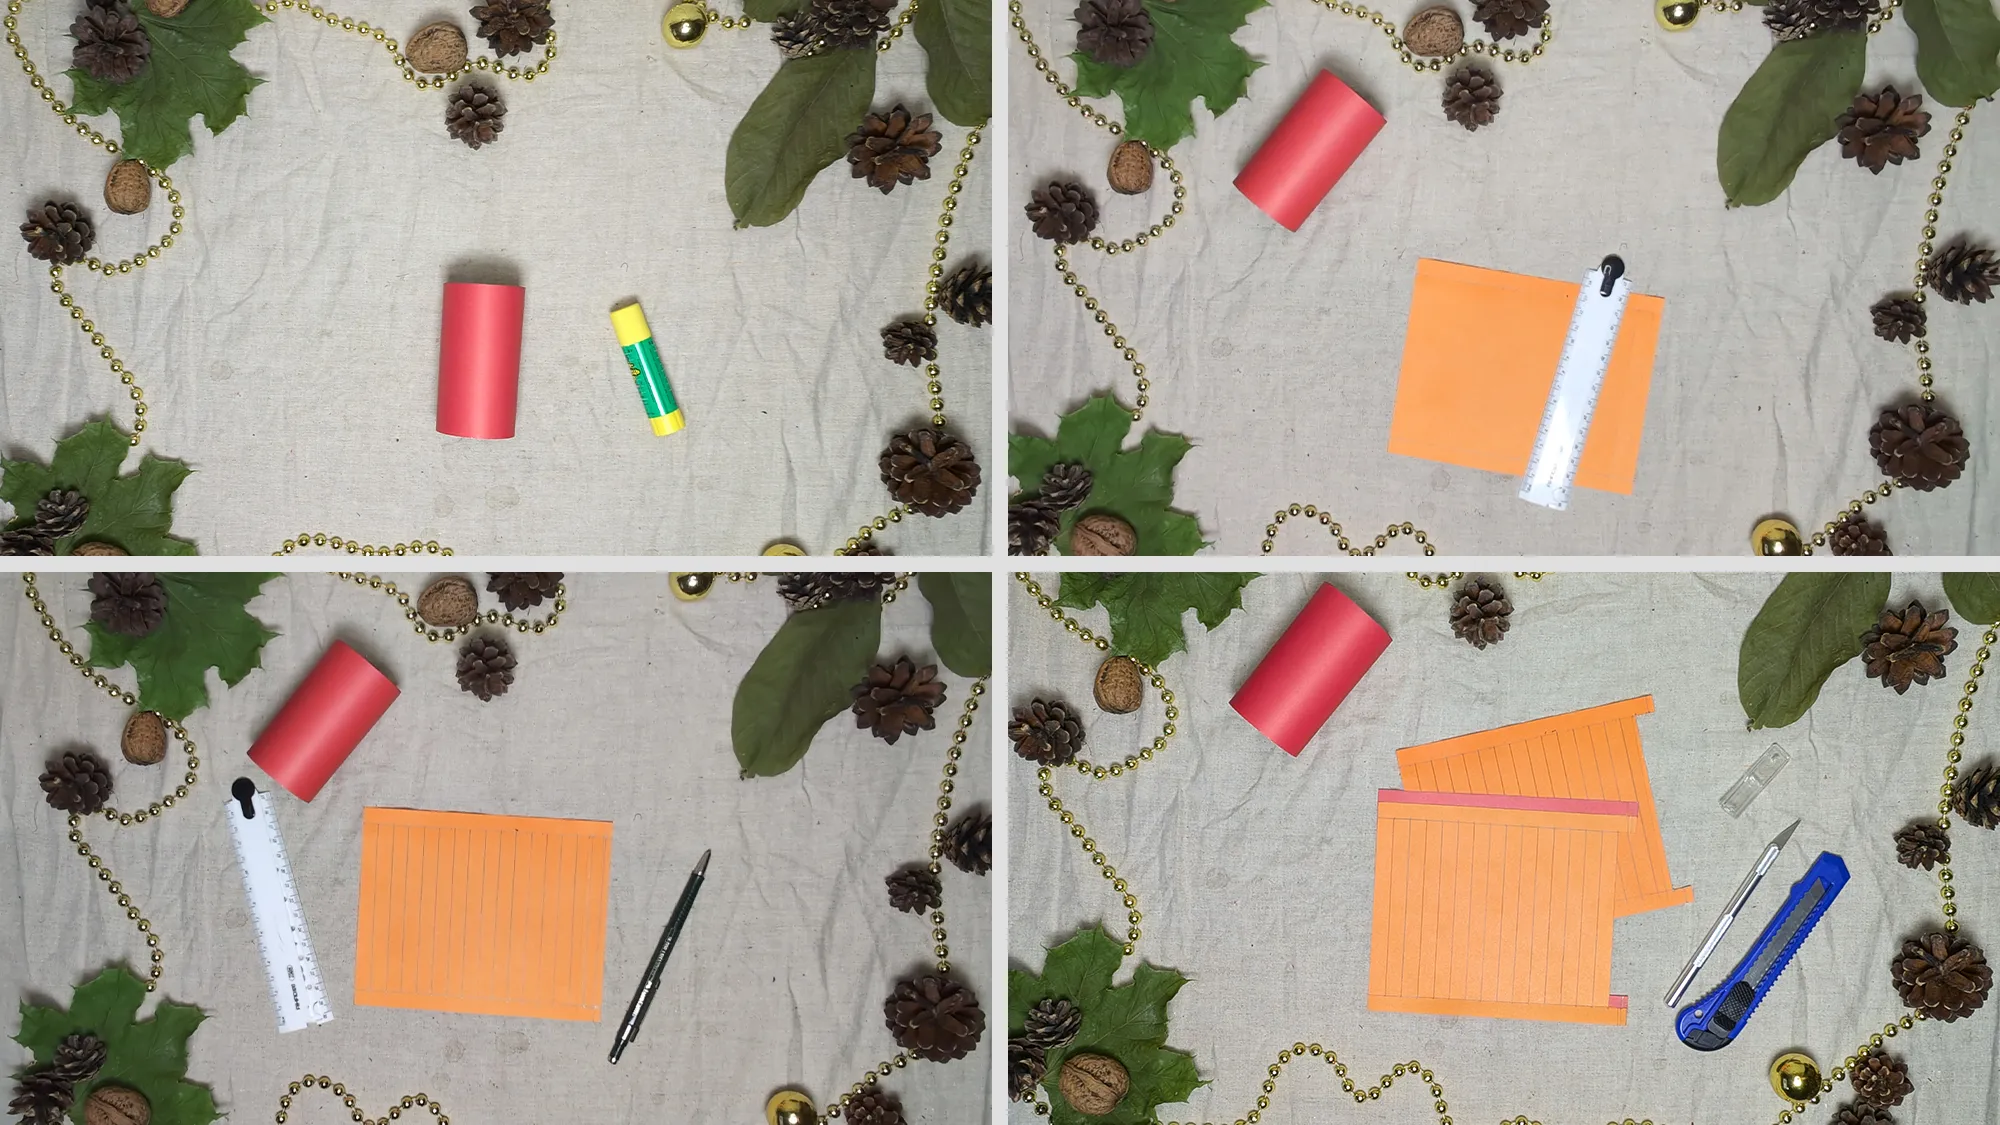
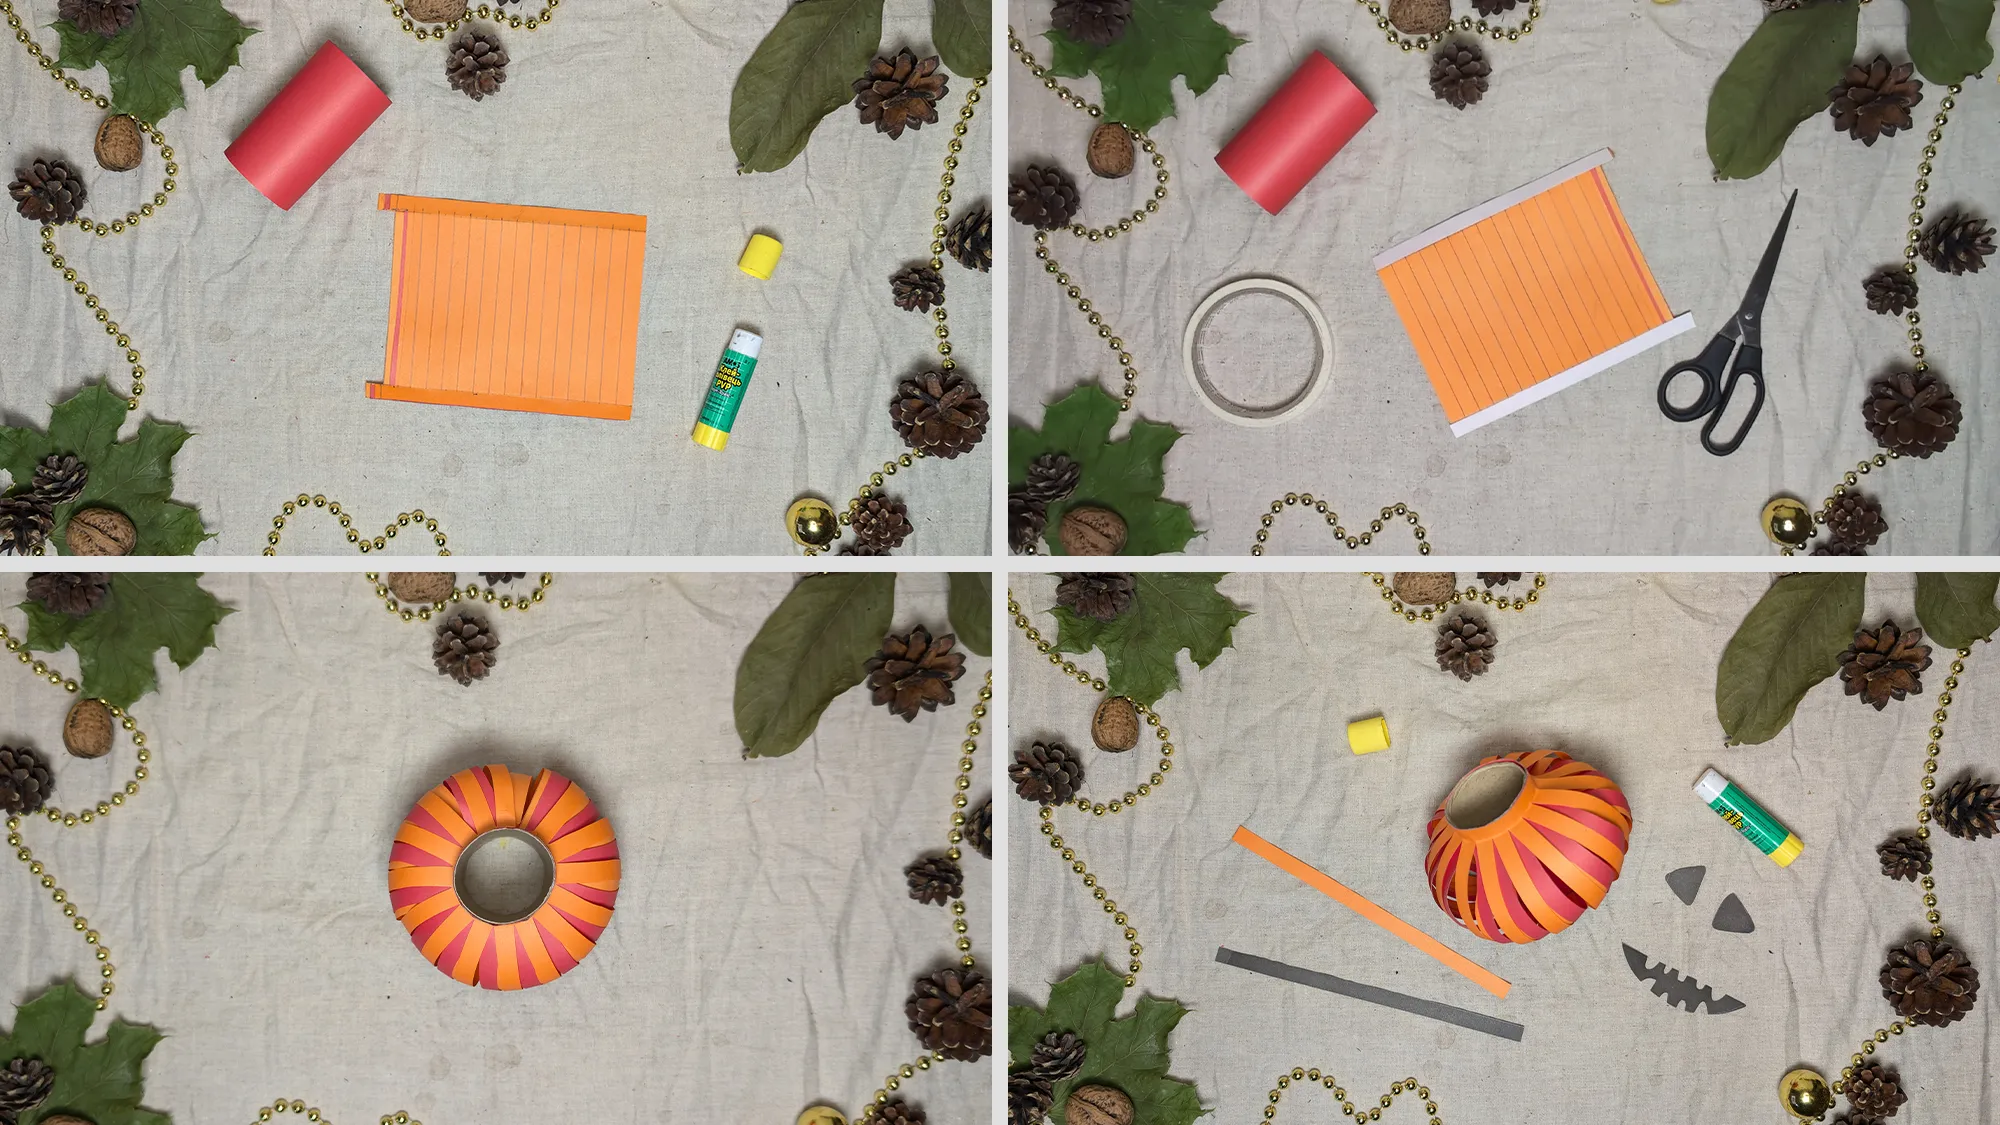
So that you can easily follow how this lovely paper pumpkin lantern is made, our guide includes a detailed video, photos for each step, and clear text descriptions. This way, you can easily follow along and know exactly what to do at each step.
Materials
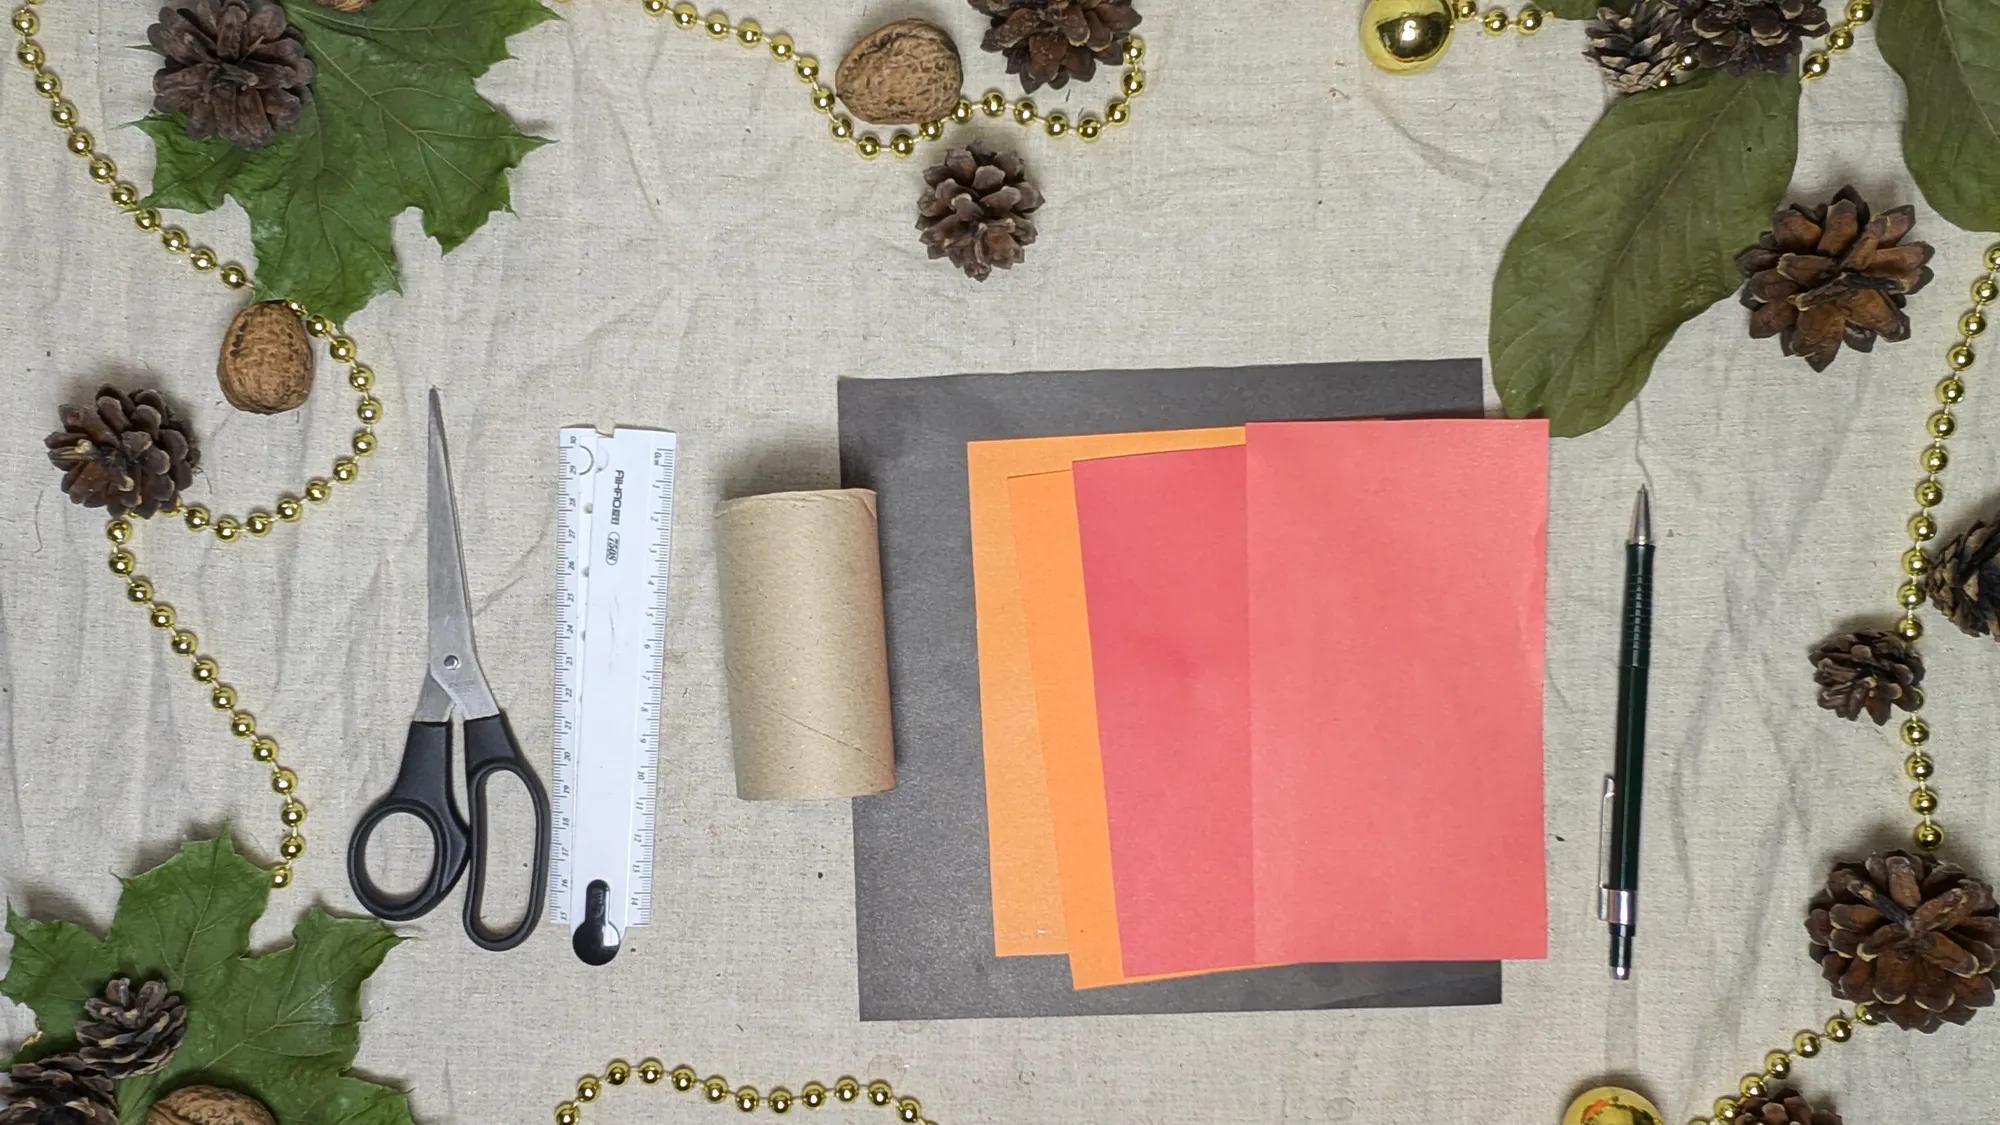
For this Halloween pumpkin lantern, you will need:
- Colored crafting paper (orange, red, black)
- Scissors
- A pencil
- A ruler
- An empty toilet paper roll (the cardboard tube)
- Glue
You can easily find all of these materials in any supermarket's crafting and stationery department, or you may already have them at home. The toilet paper roll is a great example of upcycling! Since this is a kids' project, we intentionally avoided using complicated materials. Crafting Halloween decorations should be fun and easy to do!


Paper Pumpkin Lantern: Benefits of Creative Crafting for Child Development
Crafting with hands offers amazing benefits for your child's development. The fine motor skills practiced through cutting, folding, and gluing are directly related to brain development. Scientific findings show that working with fingers in children stimulates the formation of important neural connections in the brain. These connections are fundamental for overall cognitive development.
As parents, it is our duty to nurture the development of our children so that they will have the best chances for a happy life in the future. This includes shared reading, mental tasks, balanced nutrition, and physical activities. However, as we can see, engaging in creative activities like making Halloween decorations is equally important. These creative processes not only enhance motor skills but also promote concentration, patience, and a healthy self-esteem.
Paper Pumpkin Lantern: Thank You to Our Readers
All the guides on our website are created by us. To produce these photos and videos, we craft each project by hand, and knowing that our work is appreciated brings us joy. Your presence on our platform and finding this content interesting is the greatest reward for us. We thank you for your time and hope that you and your child will be successful when recreating this project.
If our tutorial has inspired you, take a look at our other tutorials on the topic of Origami, DIY ideas for children, or Napkin folding for festive table. At the time of publishing this article, we have created over 400 video tutorials and we have many more ideas in the pipeline. We wish you lots of joy in crafting and all the best!
From Vitalii Shynakov
