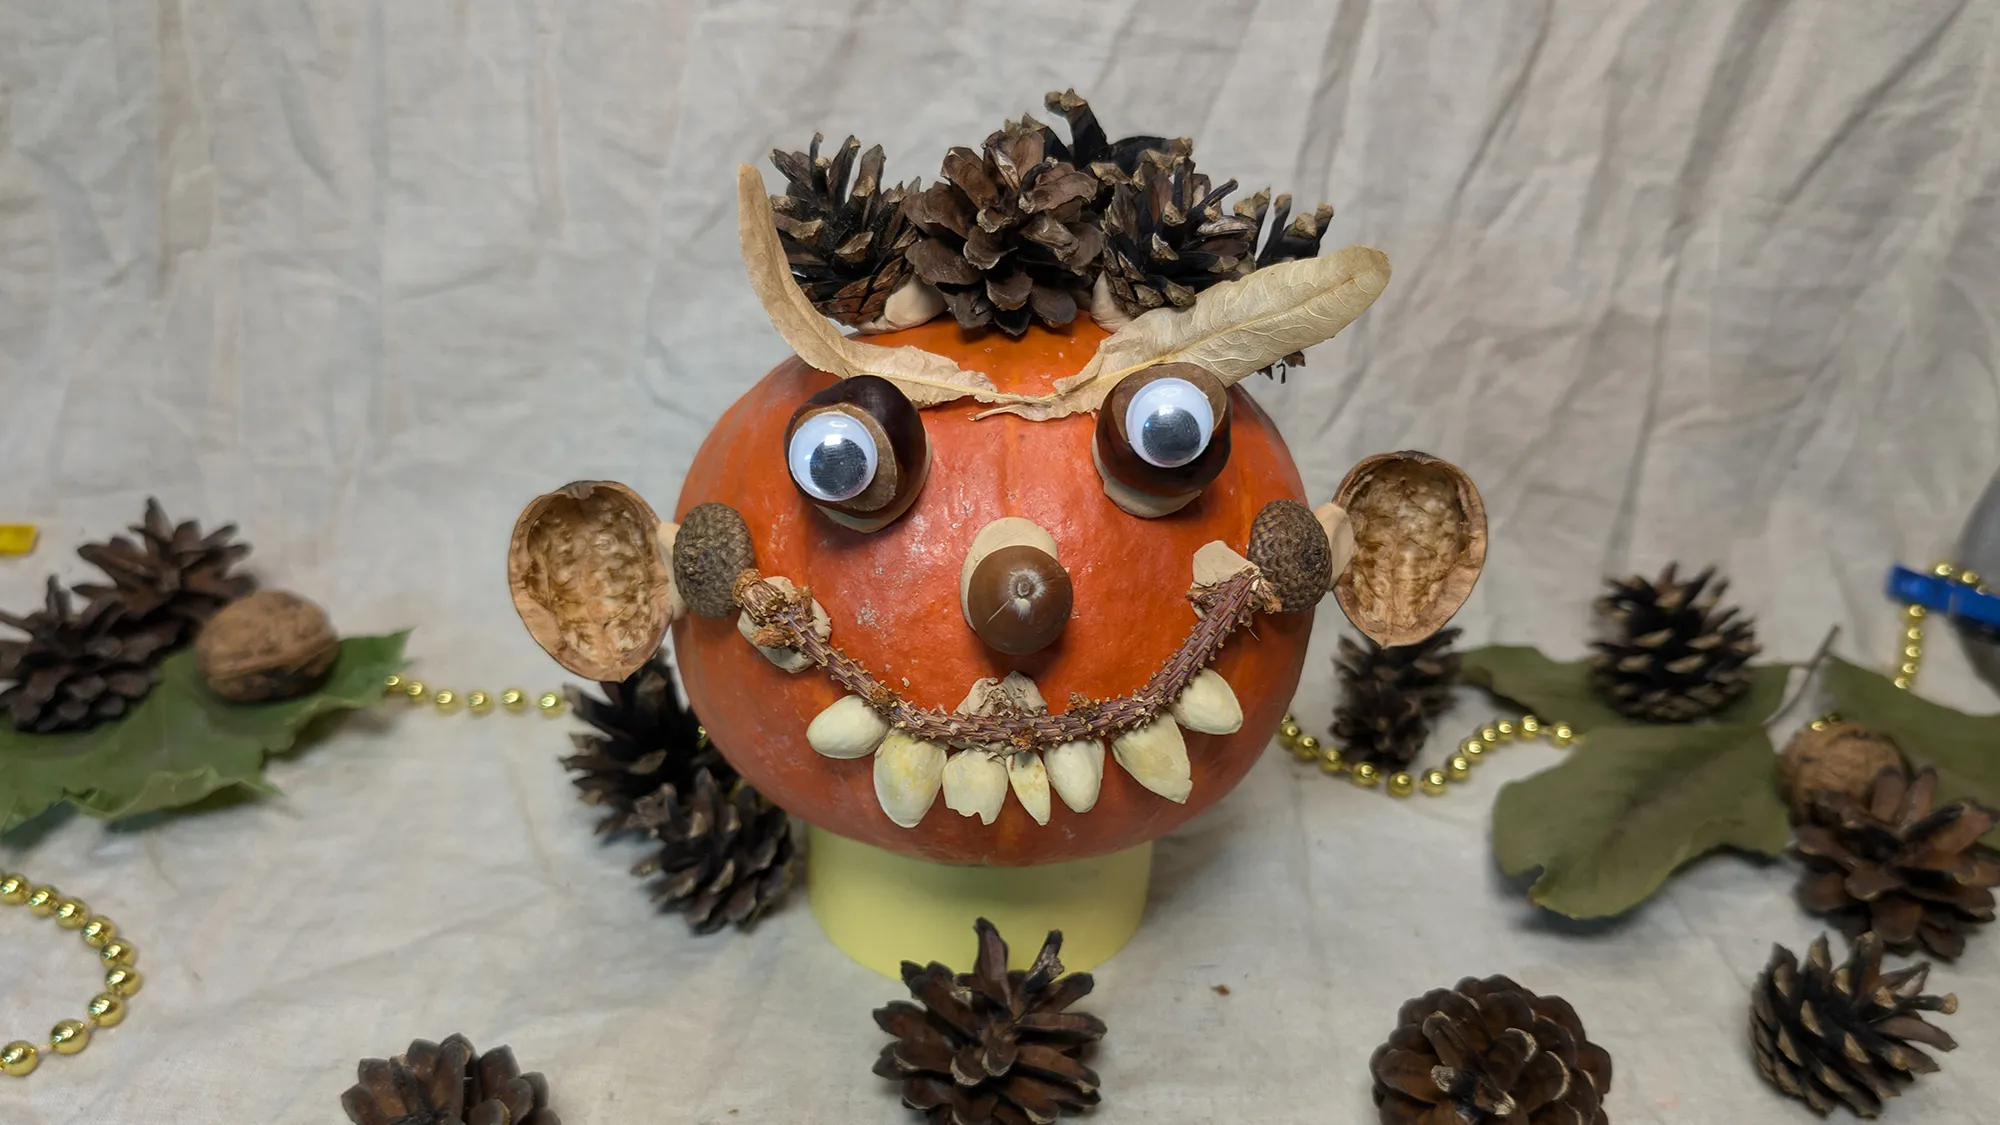
Halloween pumpkin face made from natural materials: Instructions with video and photos
Are you looking for a guide on how to craft a pumpkin face for Halloween with your child? You've come to the right place! Halloween is that magical festival that children adore – with ghostly costumes, collecting sweets, and of course, creating Halloween decorations together. Our children only grow up once, and the time during which they want to craft with us passes quicker than we realize. Later, it will be too late for these special shared moments. We know how wonderful it is to create something creative with your child. That's why we have prepared this detailed step-by-step guide.
Halloween Pumpkin Face: Step-by-Step Guide with Photos and Text Description
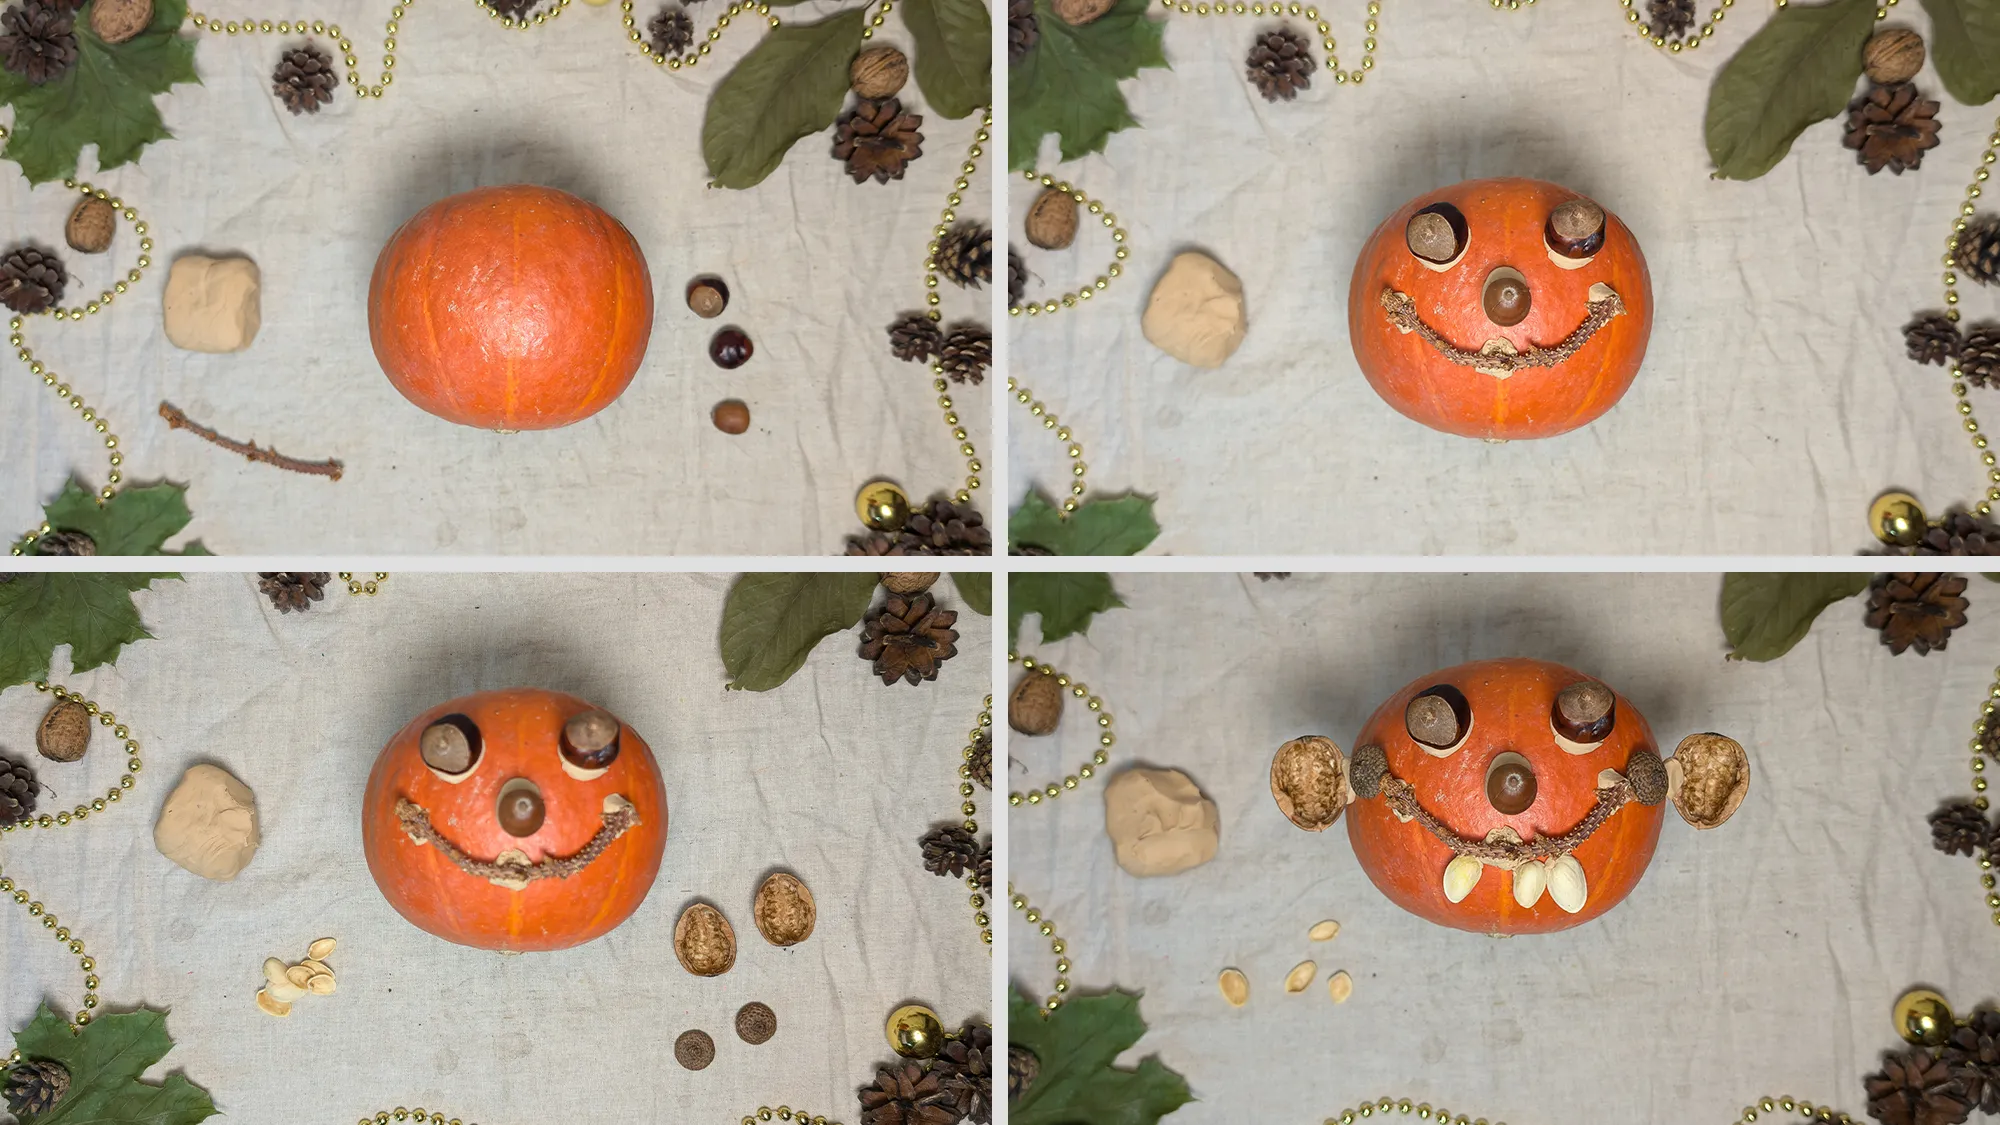
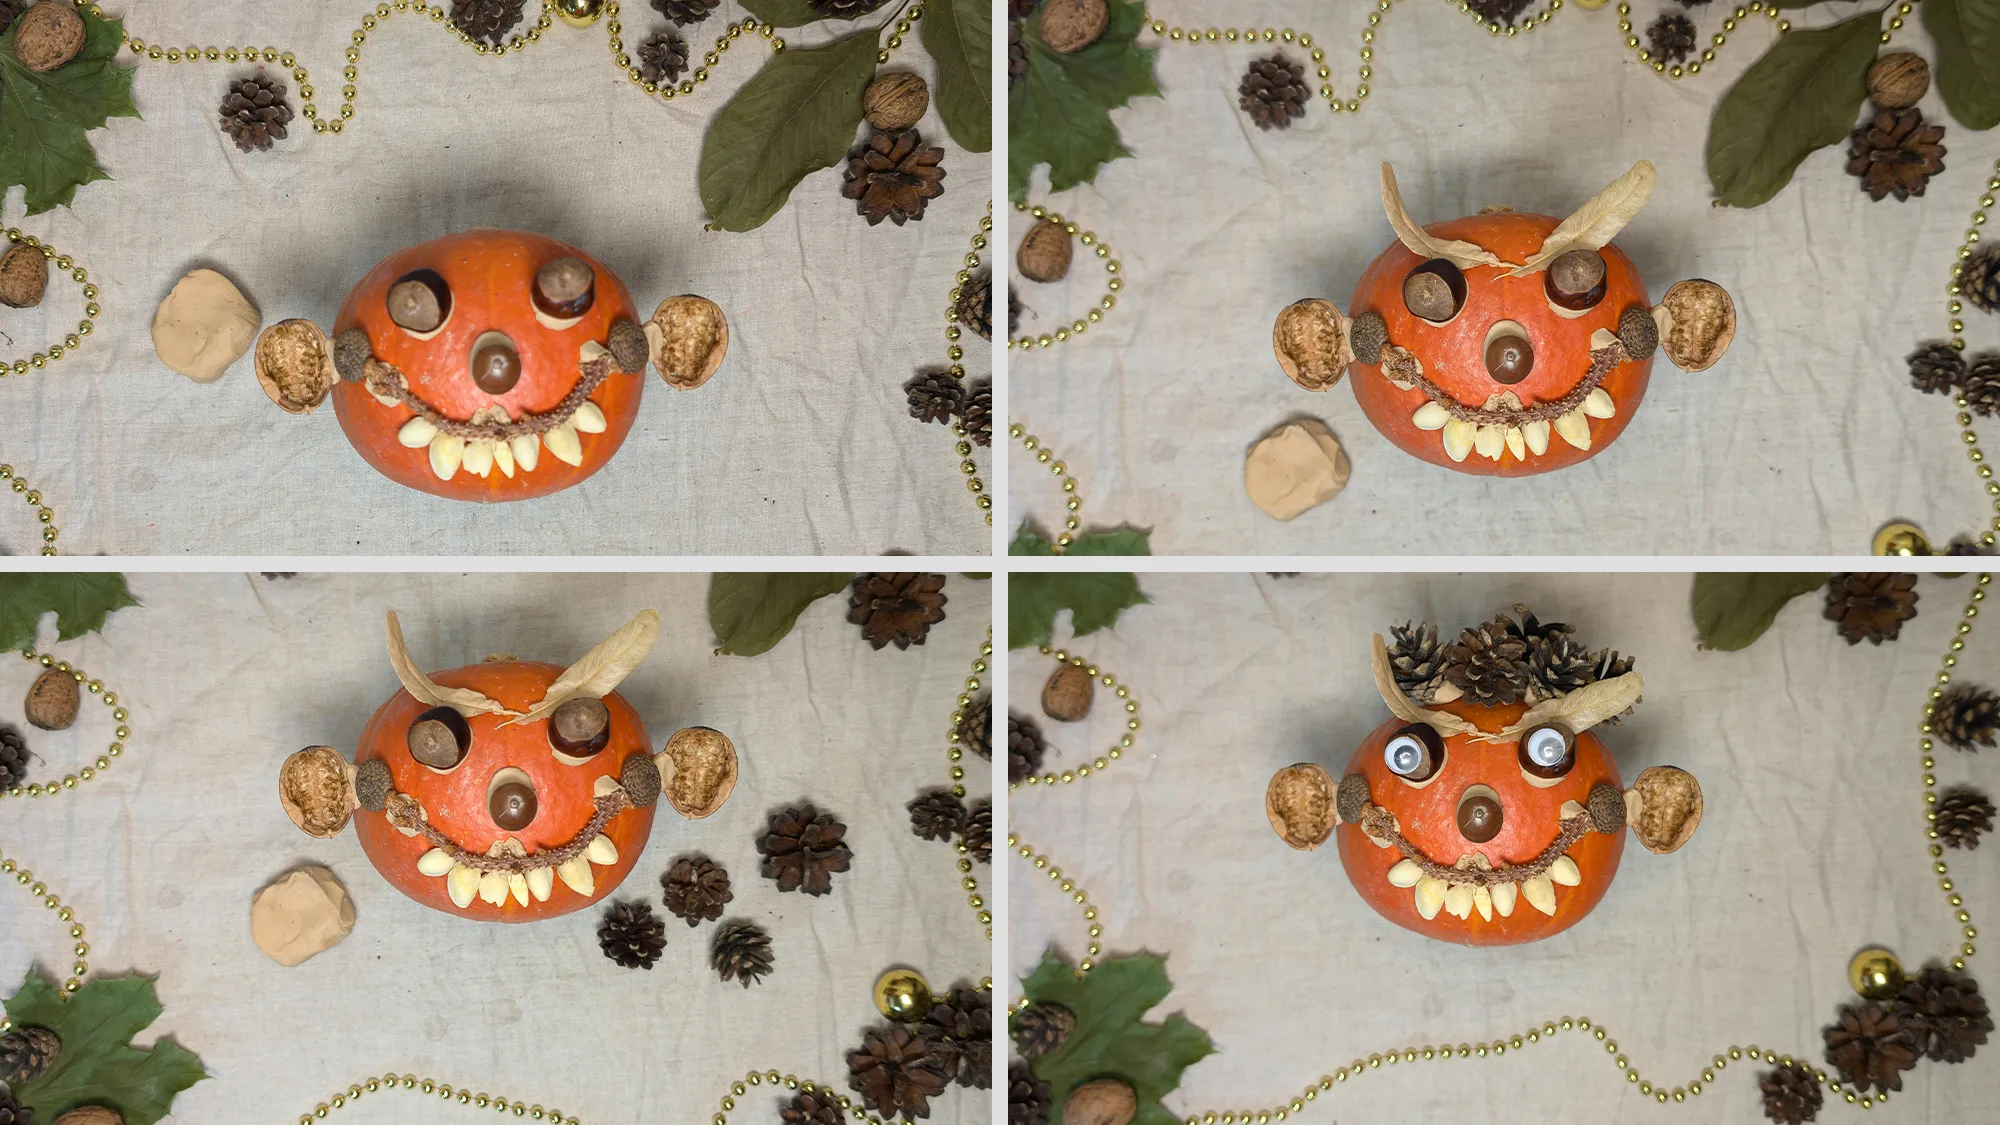
For you to easily understand how this fun pumpkin face is created, our guide includes a comprehensive video, photos for each step, and explanatory text comments. This way, you can easily follow along and know exactly what to do at each step.
Materials
For this Halloween pumpkin face, you will need:
- A small pumpkin (don't worry, we won't be carving!)
- Clay in various colors
- Natural materials for decoration (pine cones, chestnuts, acorns, interestingly shaped twigs, leaves)
- Pistachio shells or other nutshells
- Possibly wiggle eyes (optional)
The special thing about this project: we won't be using a sharp knife and carving is unnecessary! This way, even young children can safely participate in crafting. You can collect all the natural materials together with your child on an autumn walk – an additional adventure before actually crafting the Halloween decorations!


Halloween Pumpkin Face: Benefits of Creative Crafting for Child Development
Crafting creatively with natural materials offers numerous benefits for your child's development. The fine motor skills trained while shaping the clay and placing the small decorative elements are directly linked to brain development. Scientific research shows that working with fingers stimulates the formation of crucial neural connections in children's brains. These connections are fundamental for overall cognitive development.
As parents, it is our duty to foster our children's development so that they have the best chances of a happy life in the future. Naturally, this includes shared reading, brain teasers, healthy eating, and physical activities. However, as we can see, engaging in creative activities like crafting Halloween decorations is equally important. These creative processes not only enhance motor skills but also boost concentration, patience, and a healthy self-esteem.
Halloween Pumpkin Face: Thank You to Our Readers
We create all the guides on our website ourselves. To produce these photos and videos, we craft everything by hand, and it brings us great joy to know that our efforts were not in vain. Your presence on our portal and finding this post interesting is the most rewarding for us. We thank you for your time and hope that you and your child will succeed when recreating this project.
If you were inspired by our guide, why not explore our other creative projects! In our category of Craft Ideas for Kids, you will find seasonally appropriate guides – from cute Christmas figures made of felt to autumnal leaf wreaths to fun Valentine's Day cards. Our original paper ninja stars and colorful Squid Game masks for children's birthdays are particularly popular.
Our origami instructions offer the right project for every age. For beginners, we have simple paper planes and boats, while advanced users can try their hand at detailed animal models such as frogs, birds, or even dragons. During the Christmas season, our festive stars and angels are particularly popular, while our heart folds are suitable for birthdays or Mother's Day all year round.
In the napkin folding category, we showcase elegant techniques for every occasion - from romantic roses for wedding celebrations to festive Christmas trees and practical cutlery pouches for everyday meals. Our New Year's Eve special folds in the form of lucky charms are a highlight every year.
At the time of writing this article, we have created over 400 video tutorials and we do not intend to stop there. We wish you good luck and all the best!
From Vitalii Shynakov
