DIY origami tulips and bee: Cute gift for March 8th or Mother's Day gift
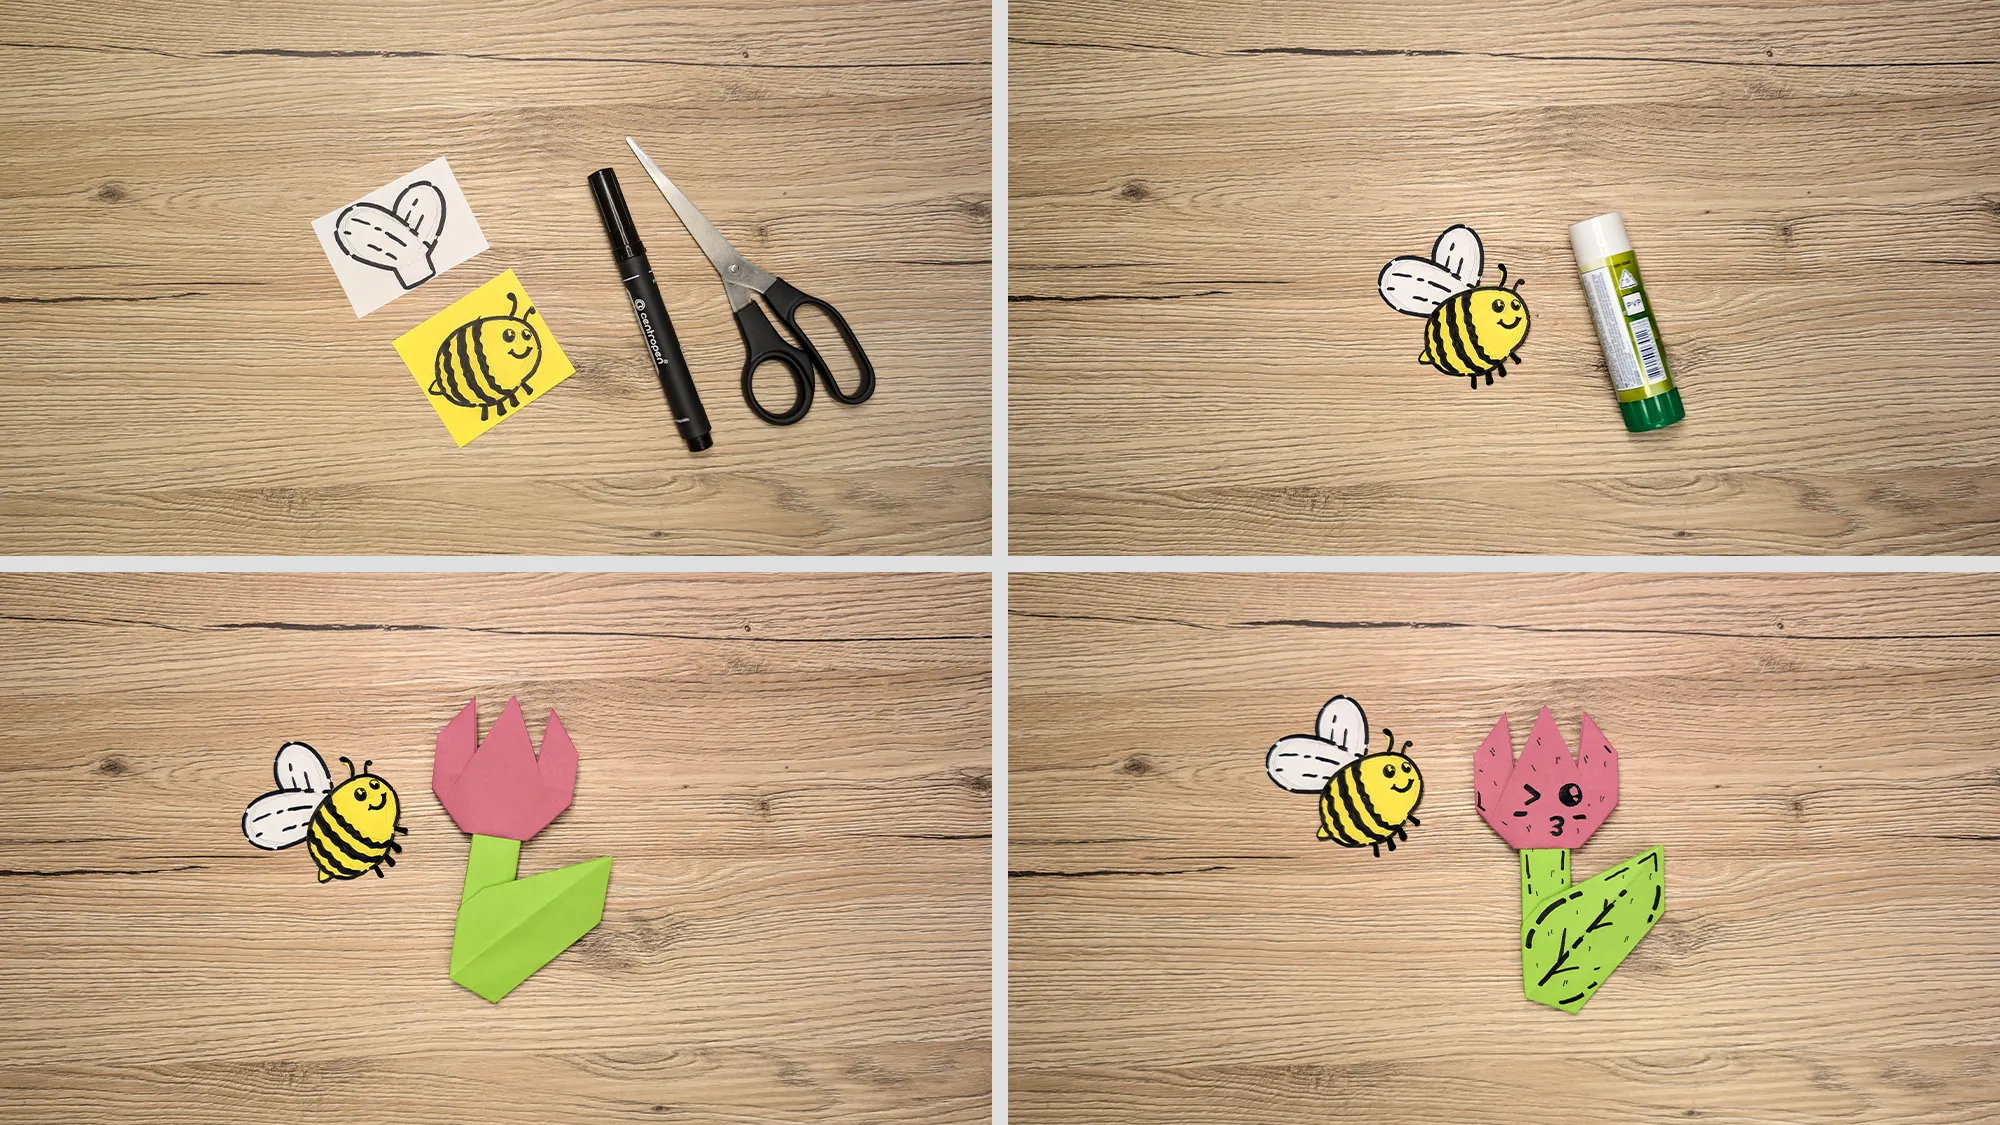
Are you looking for a creative craft idea for March 8th for your mom? Or do you need a special gift for Mother's Day that you can craft together with your child? Then you are exactly right here! We will show you how to fold cute origami tulips in different colors and a little bee.
This craft idea is perfect for elementary school children! The colorful paper tulips are easy to fold and look beautiful. A handmade paper flower arrangement is a great gift for March 8th or a Mother's Day gift – it comes from the heart and shows that you took your time.
Our instructions on TutKit.com always include videos, photos, and detailed text descriptions with tips for each step. We do everything ourselves – we craft, film, and photograph every project before we share it with you.
Origami Tulips and Bee: Video
Before you start crafting, please watch the video. We strive to show every step in our videos as detailed as possible. Videos are often much more informative than photos and help you better understand the folding technique.
Origami Tulips and Bee: Step-by-Step Instructions with Photos and Descriptions
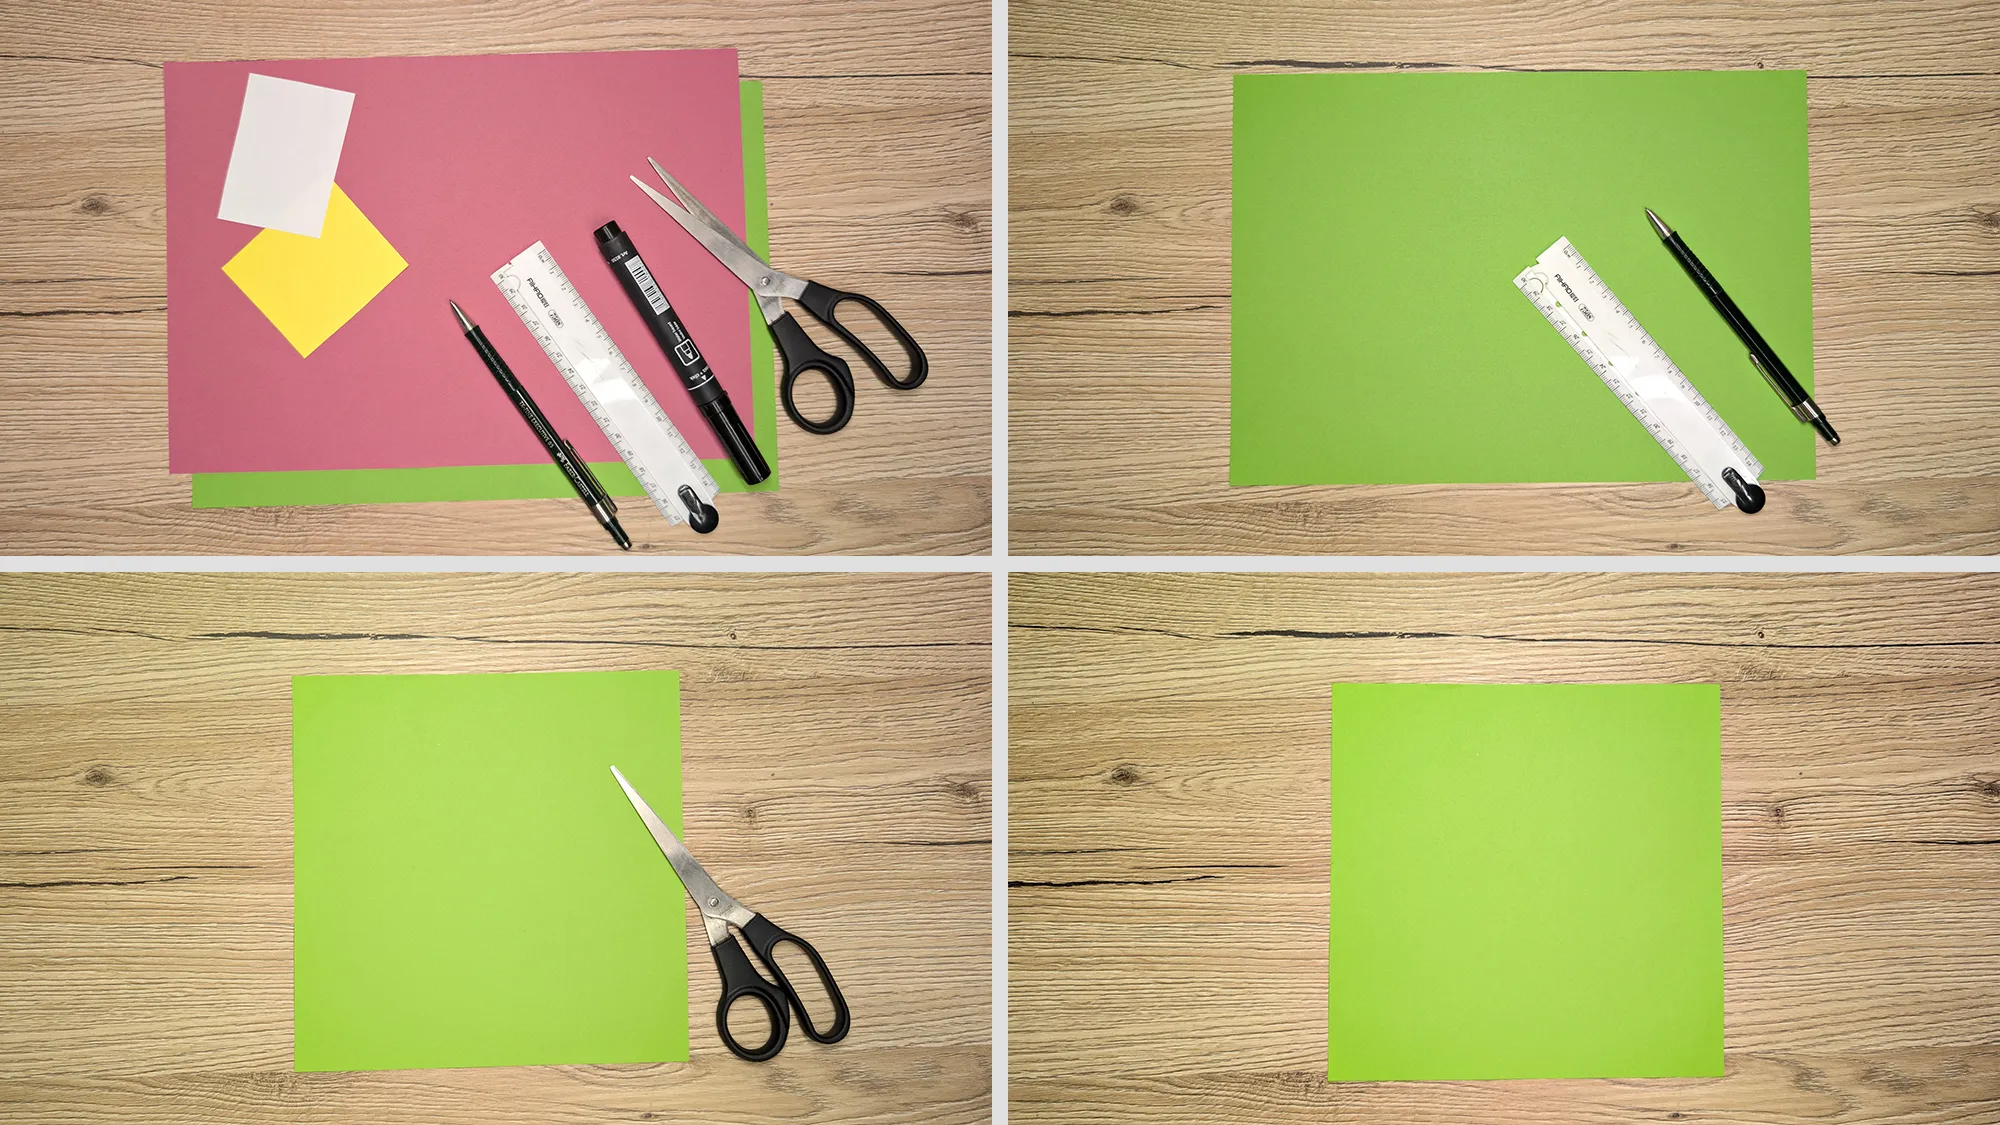
Before you start, you should prepare all the materials. Do you have everything ready?
Required materials:
- Colored paper (green for the stems and leaves)
- Colored paper for the flowers (red, yellow, or other colors)
- Colored paper for the bee (yellow, white, black, or you can also draw the details)
- Scissors
- Ruler
- Pencil
- Black felt tip pen
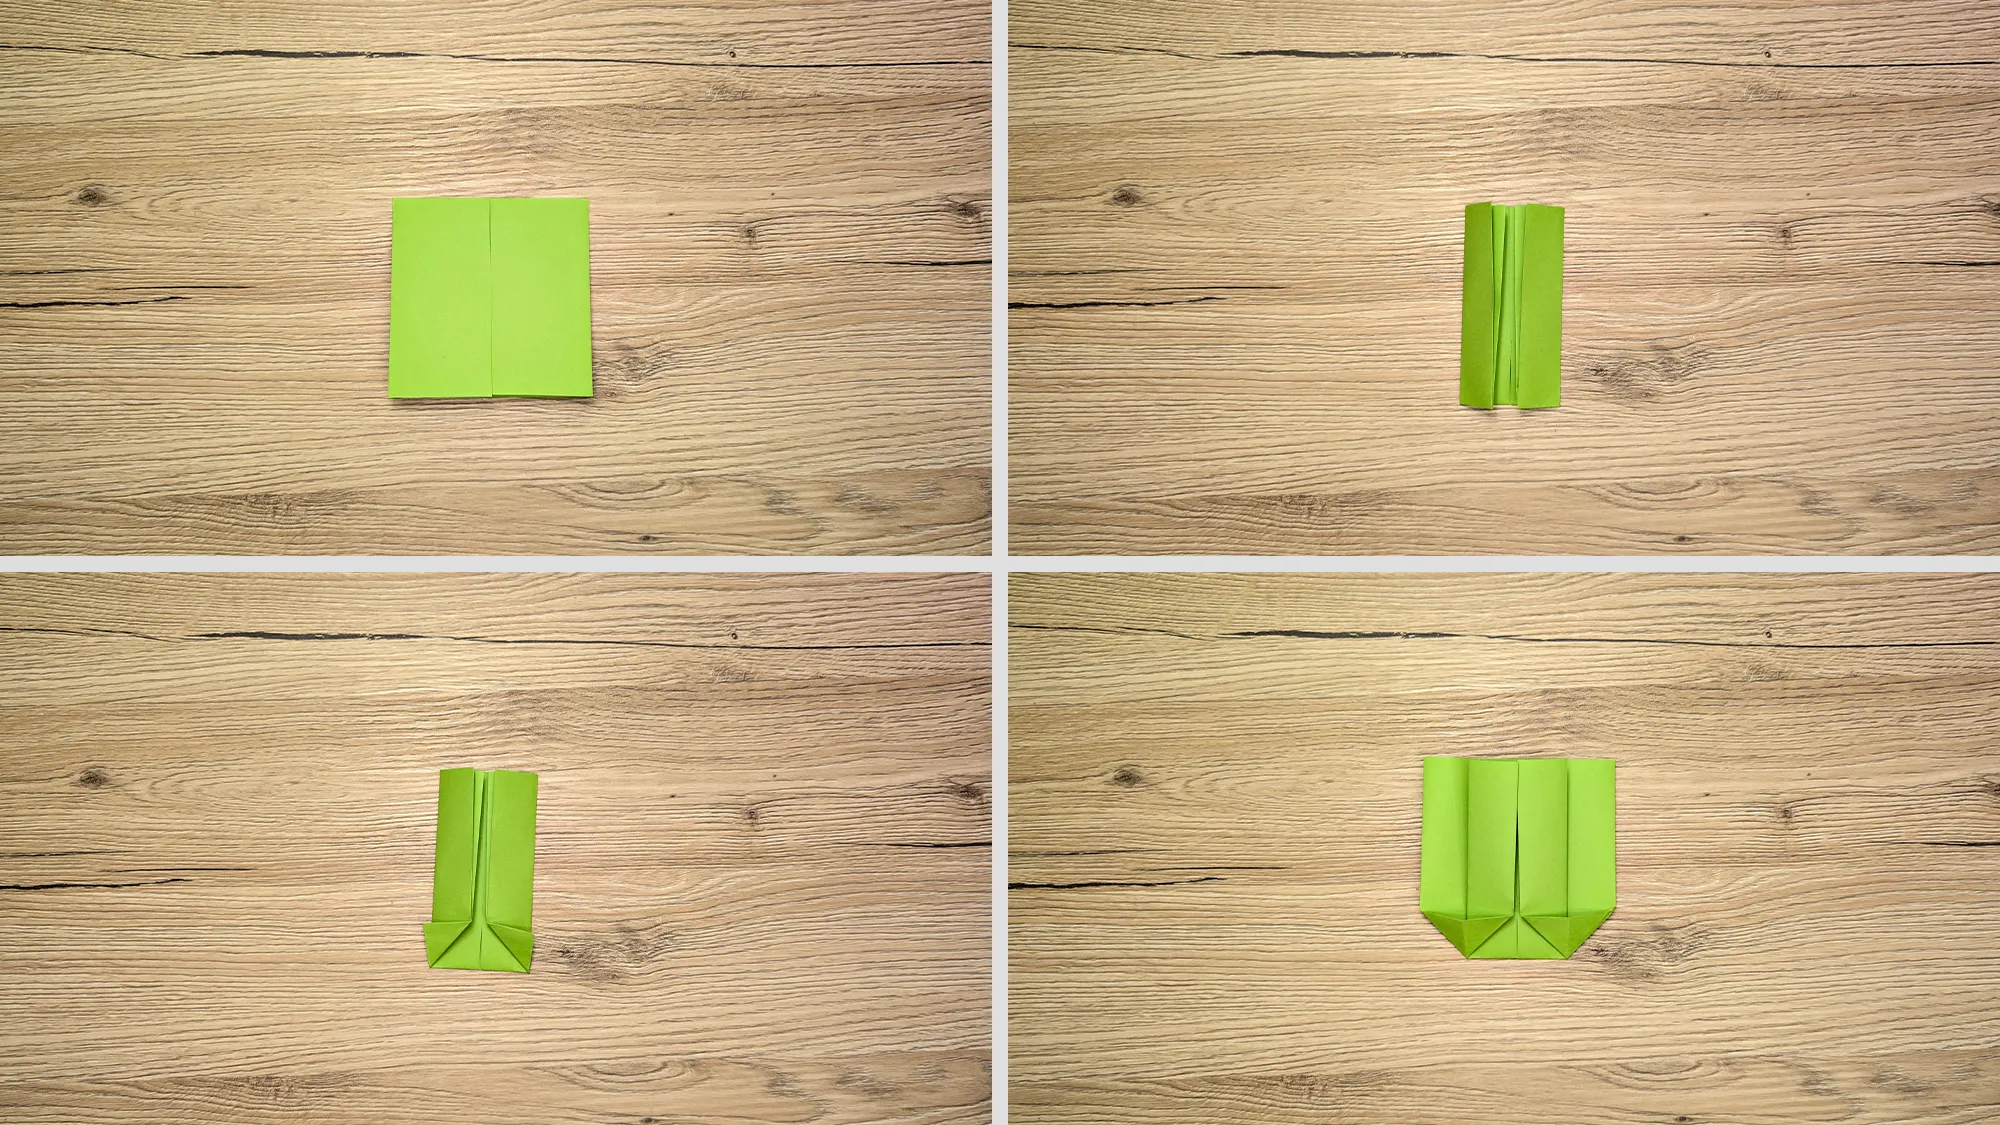
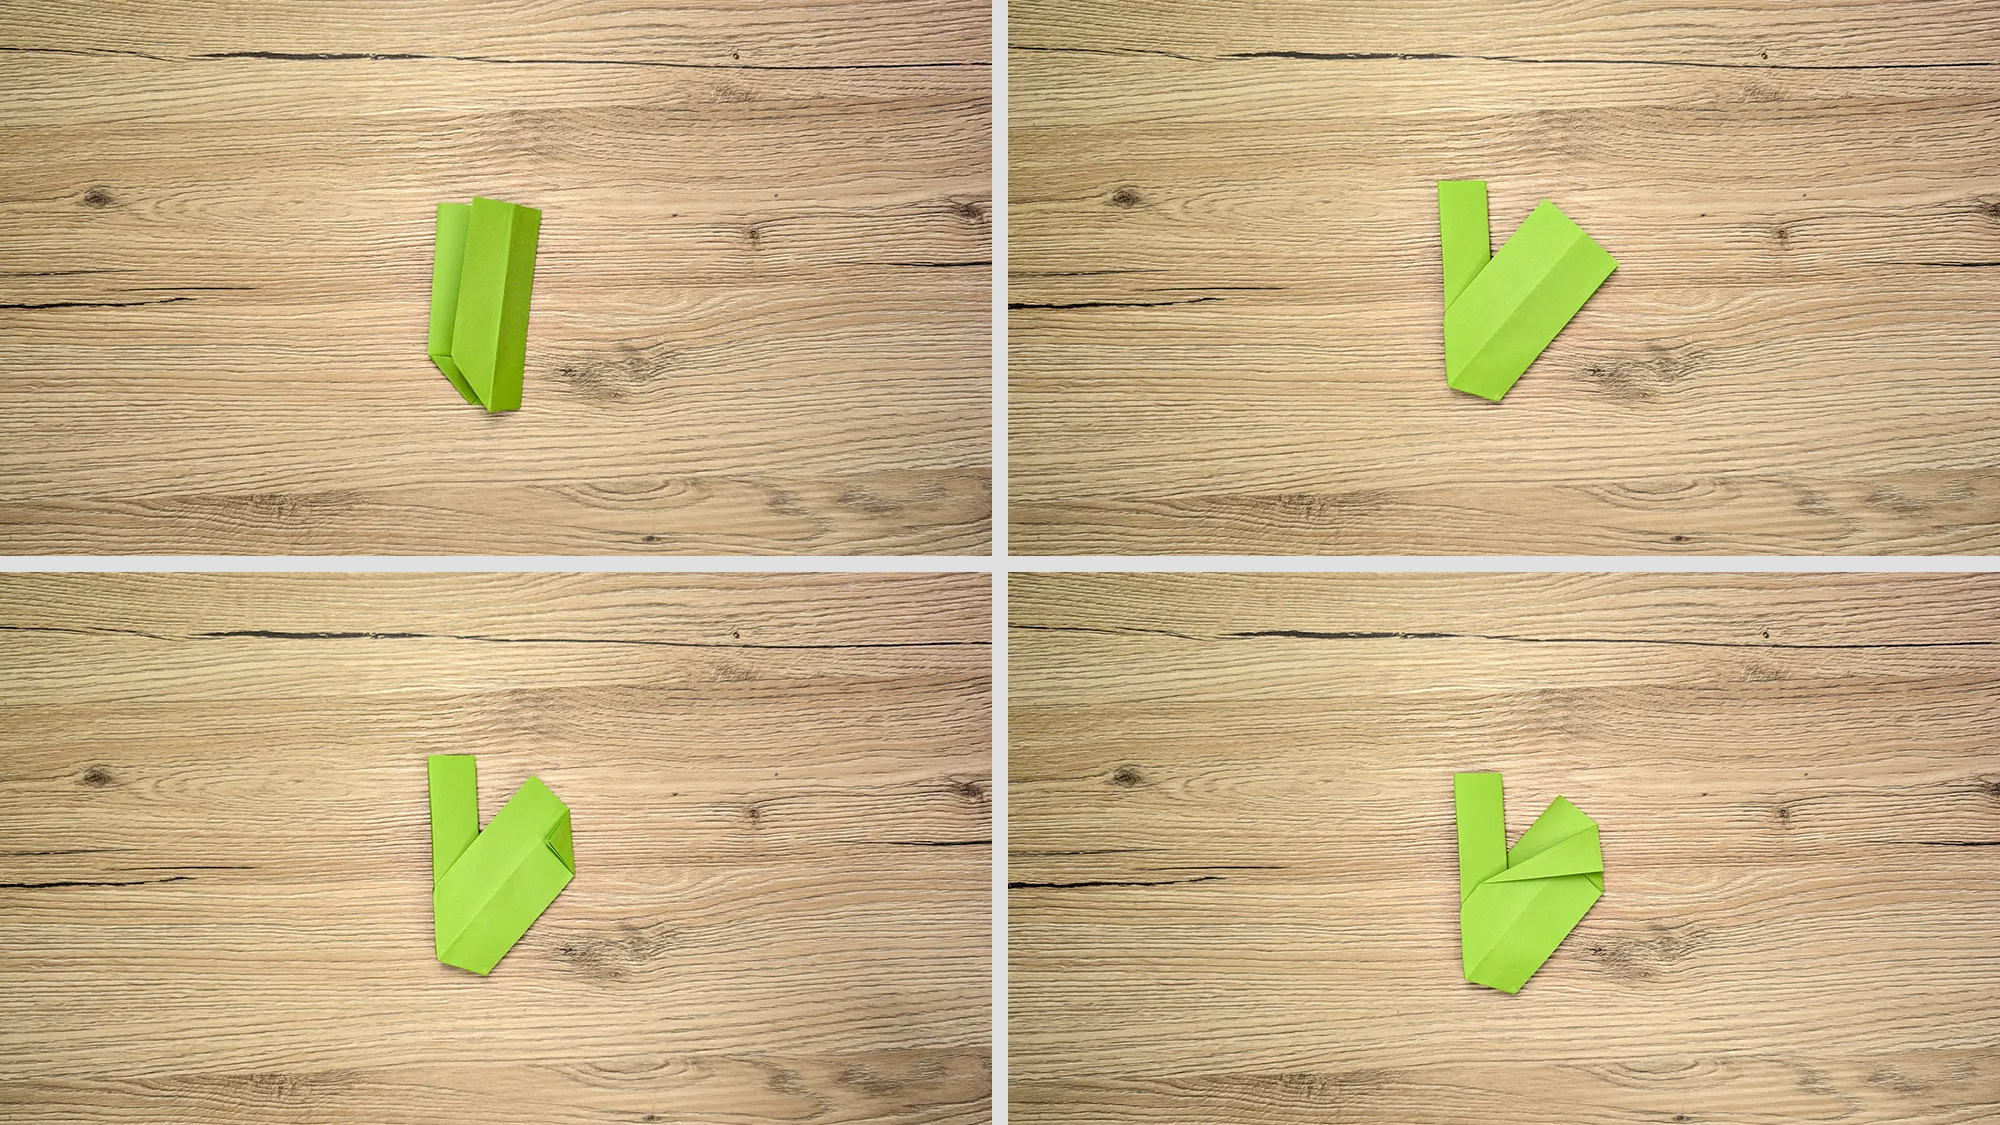
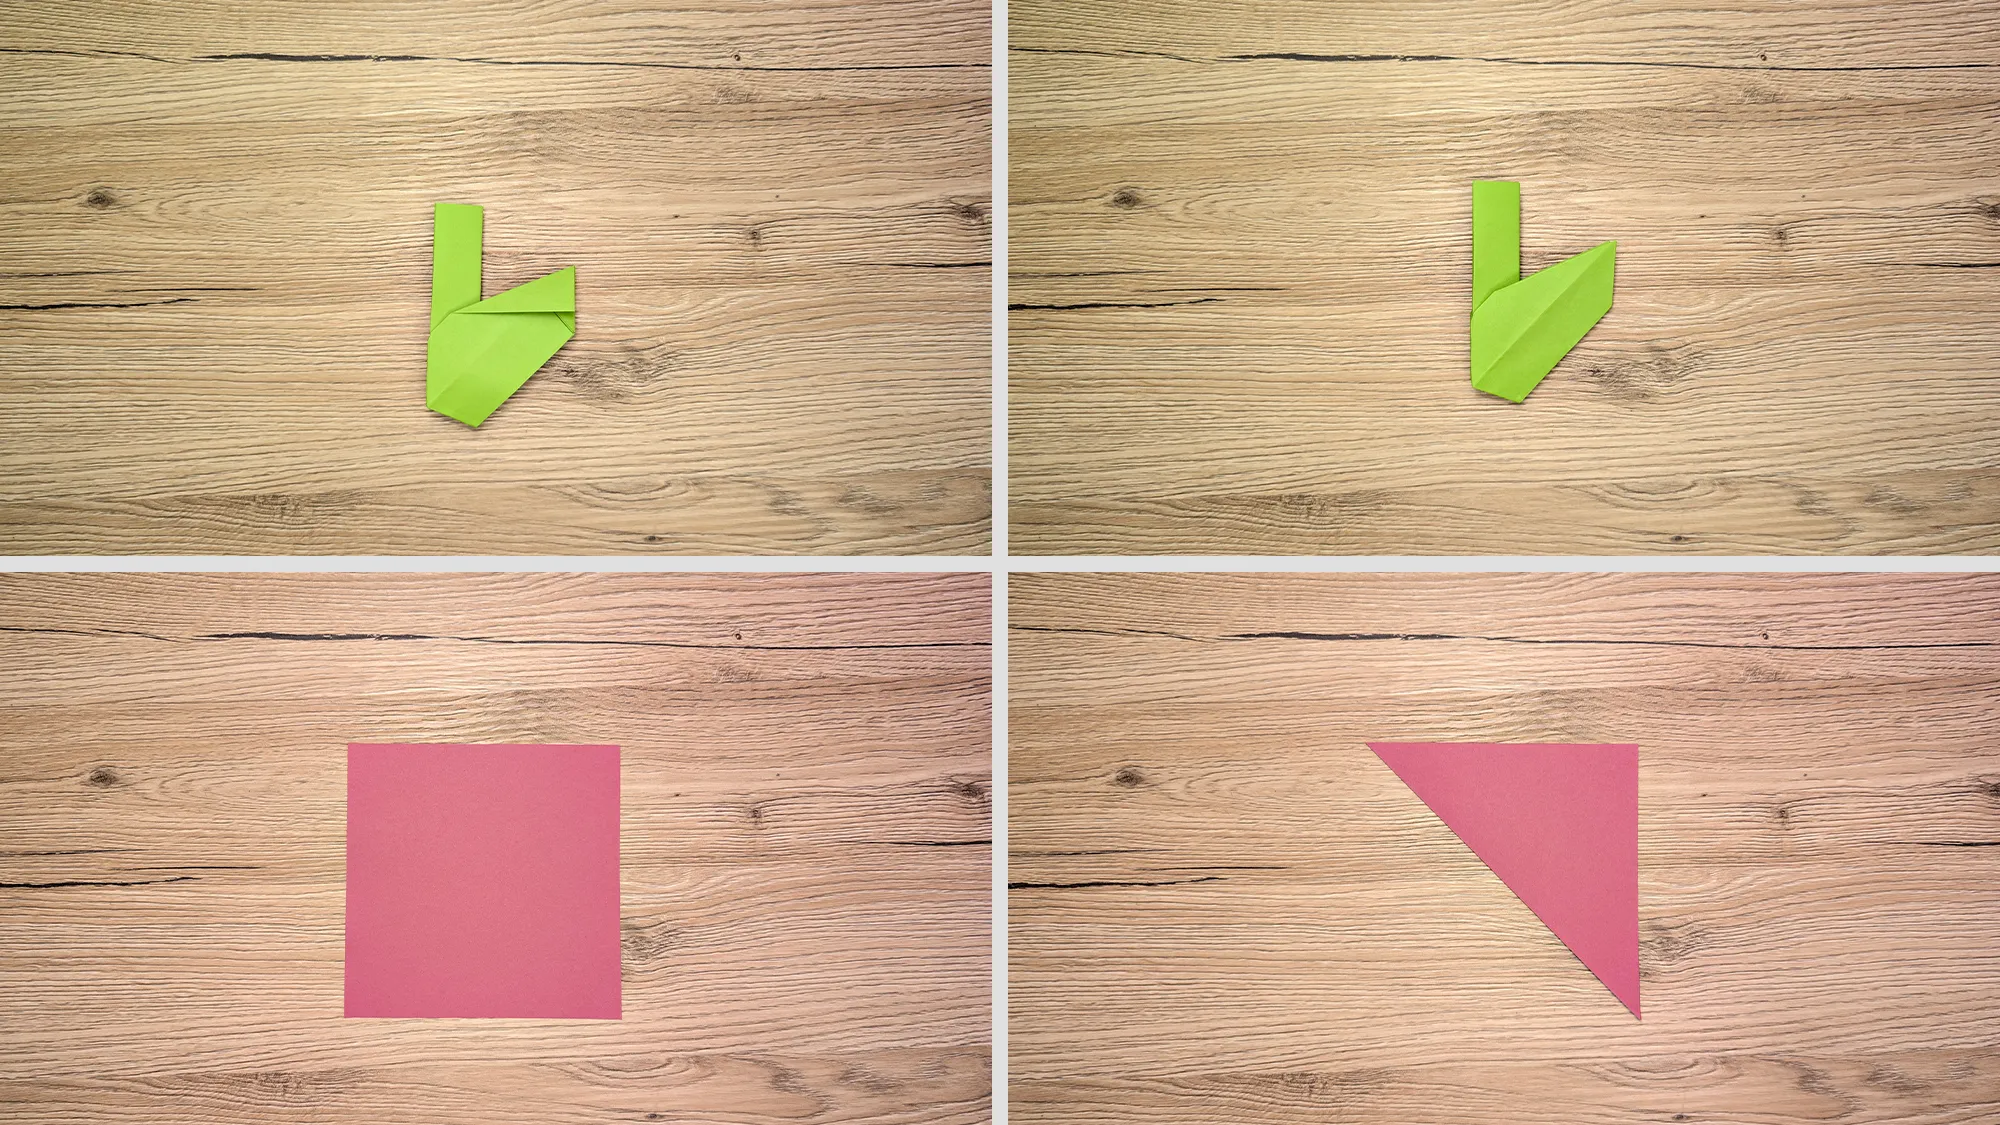
Preparation of materials: For this craft idea, you will need square papers in different colors. If you do not have square paper, you can cut it yourself:
- Place a sheet of paper in front of you.
- Measure the desired length on one side with the ruler.
- Draw a straight line with the pencil.
- Cut along the line to obtain a square.

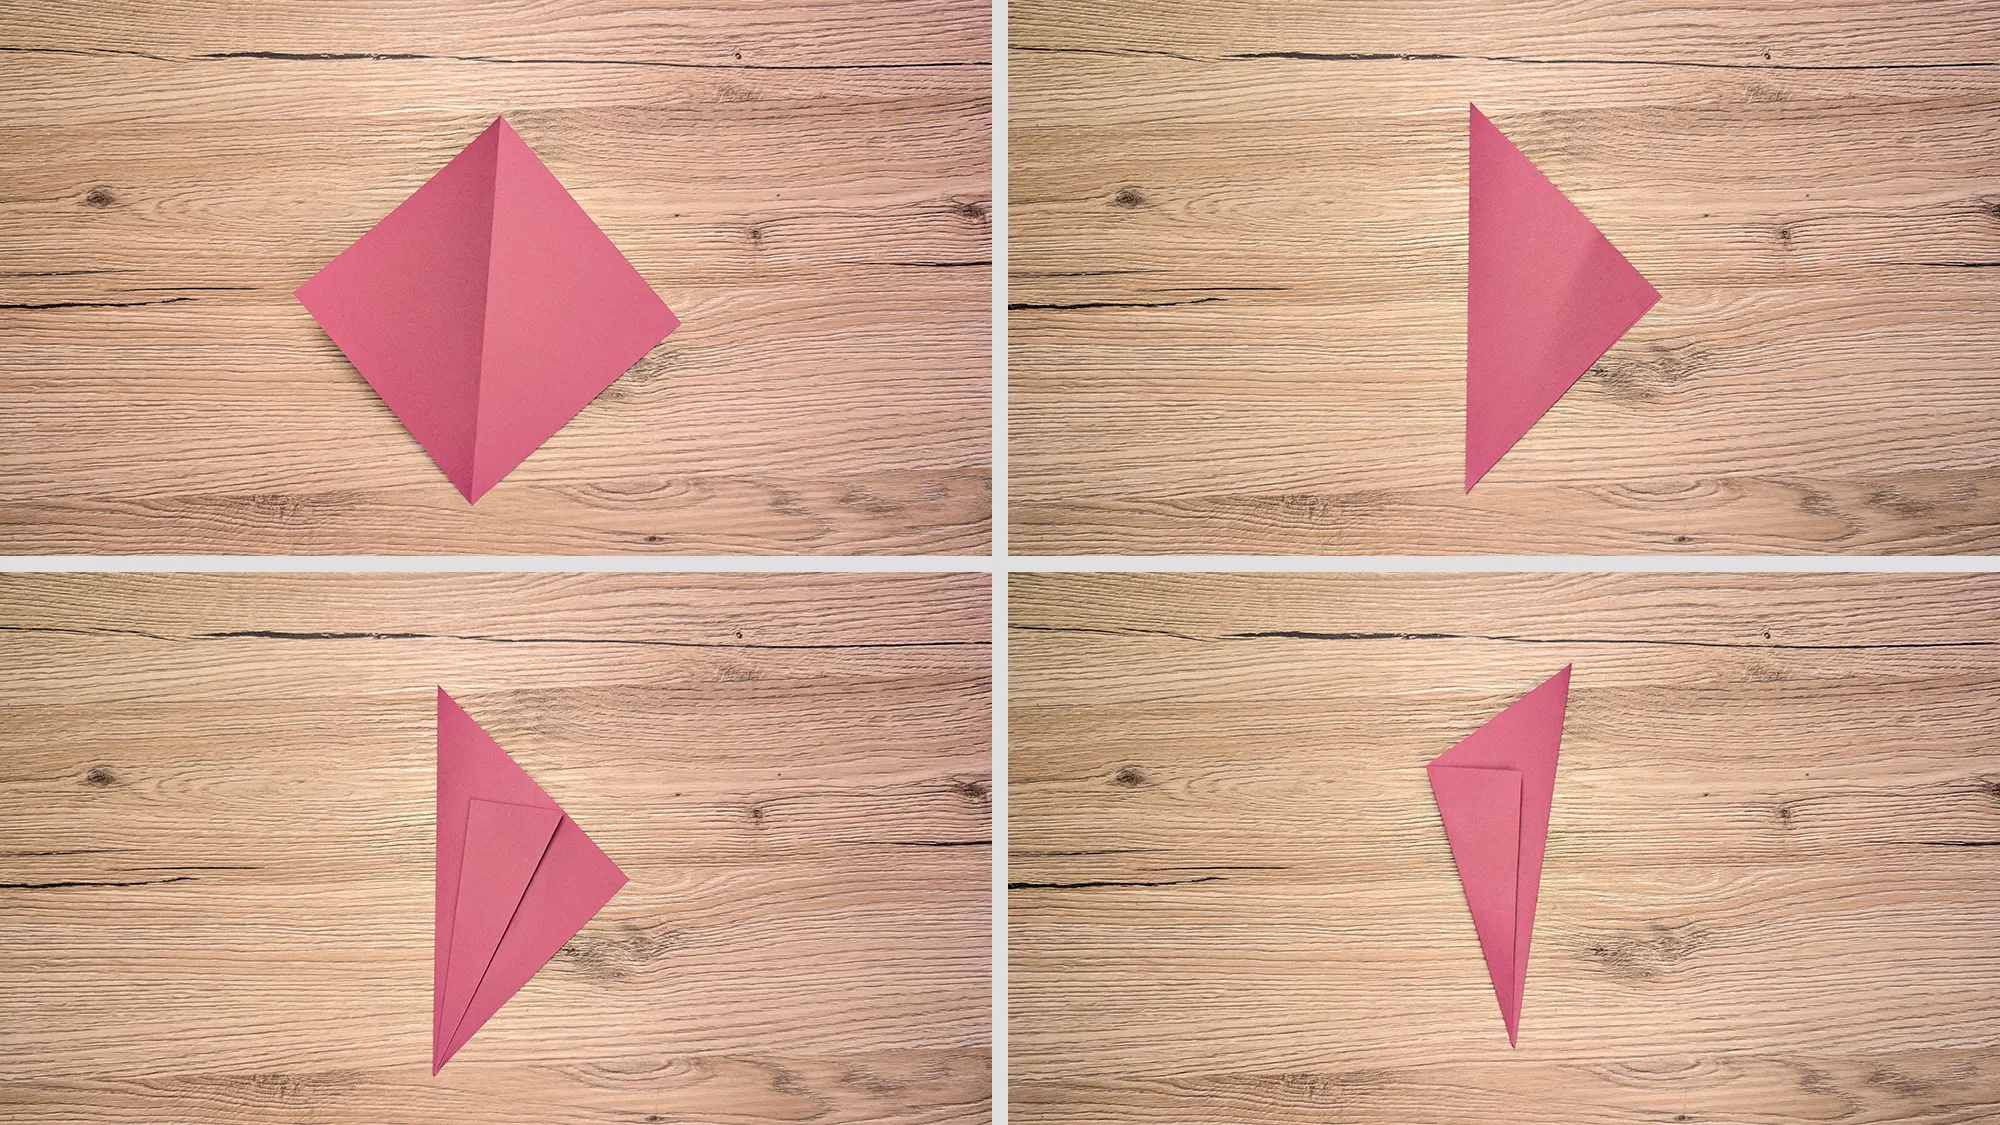
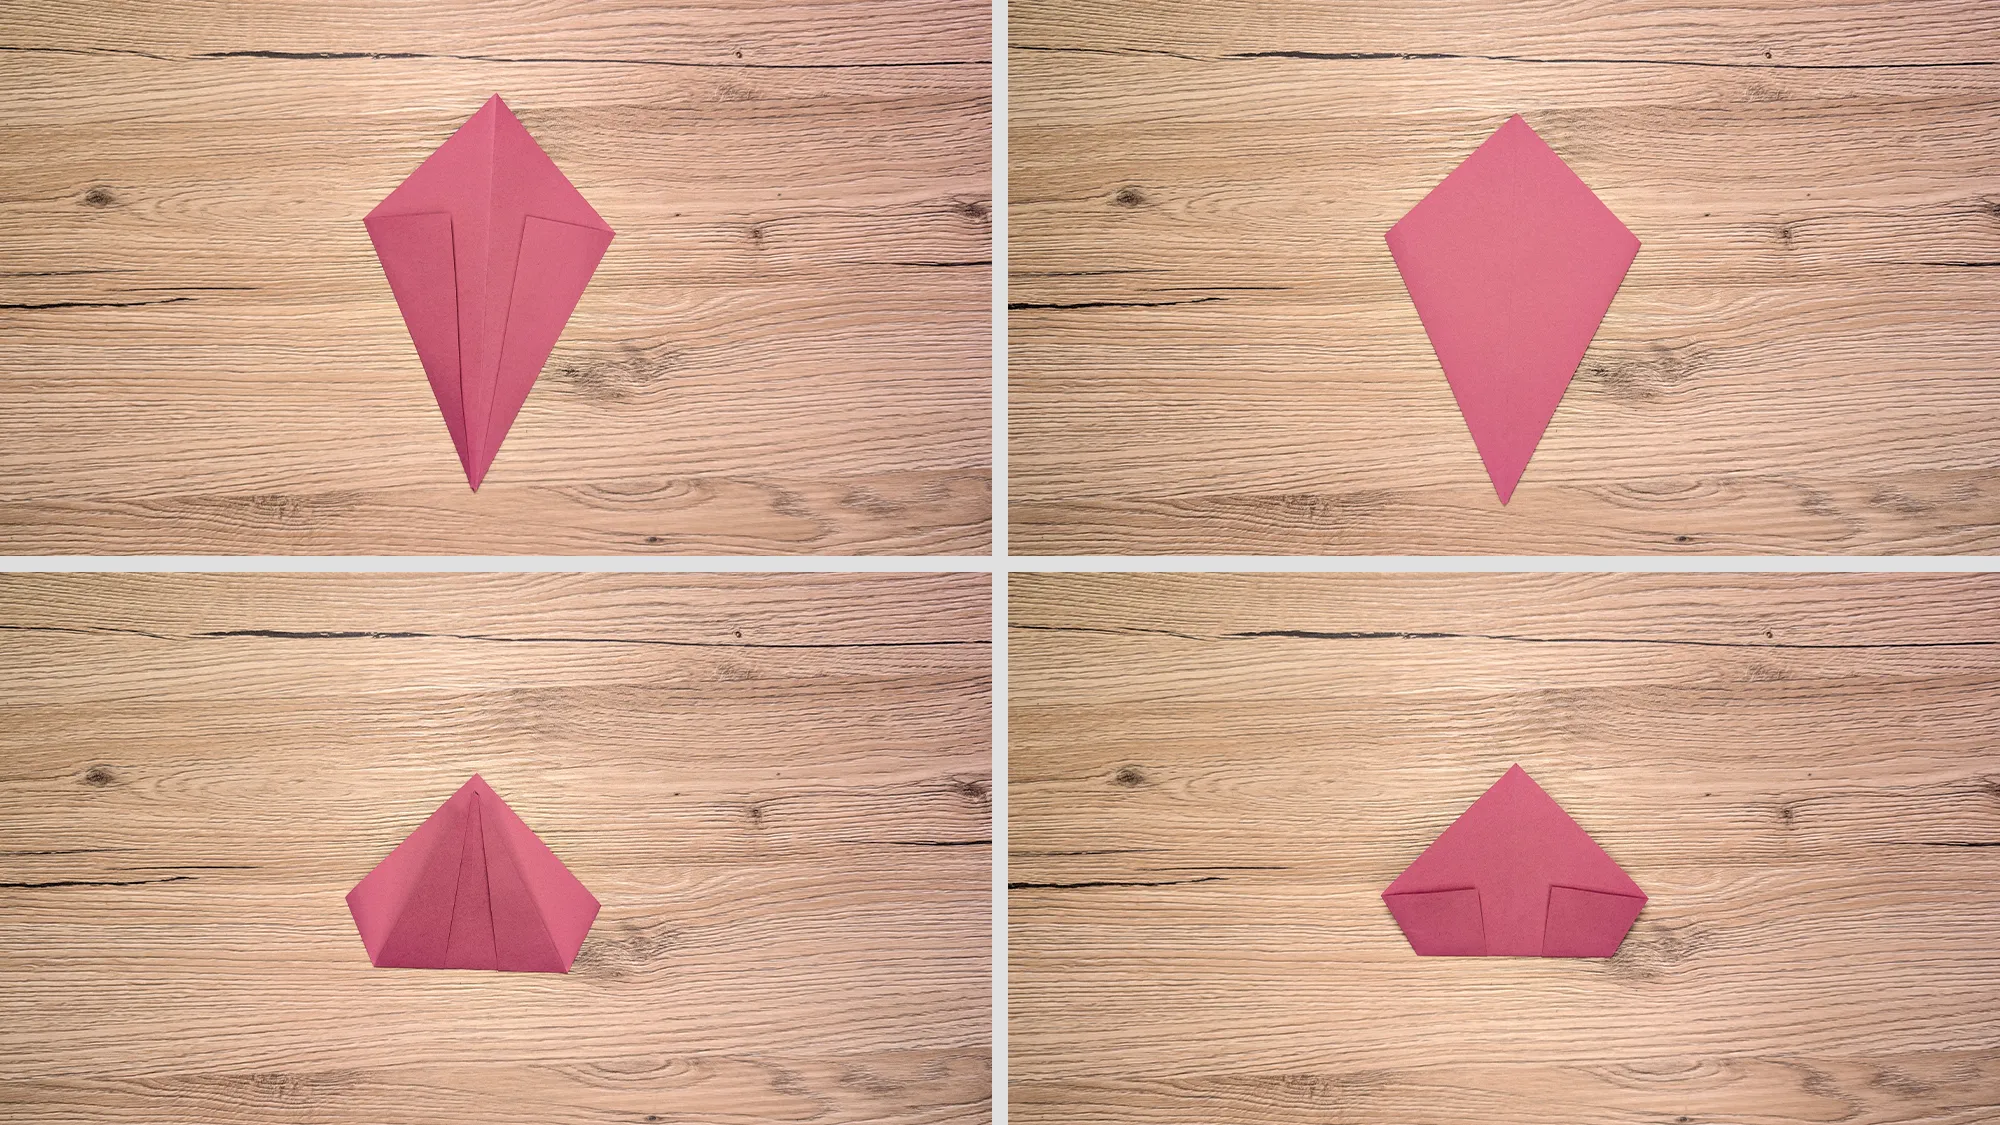
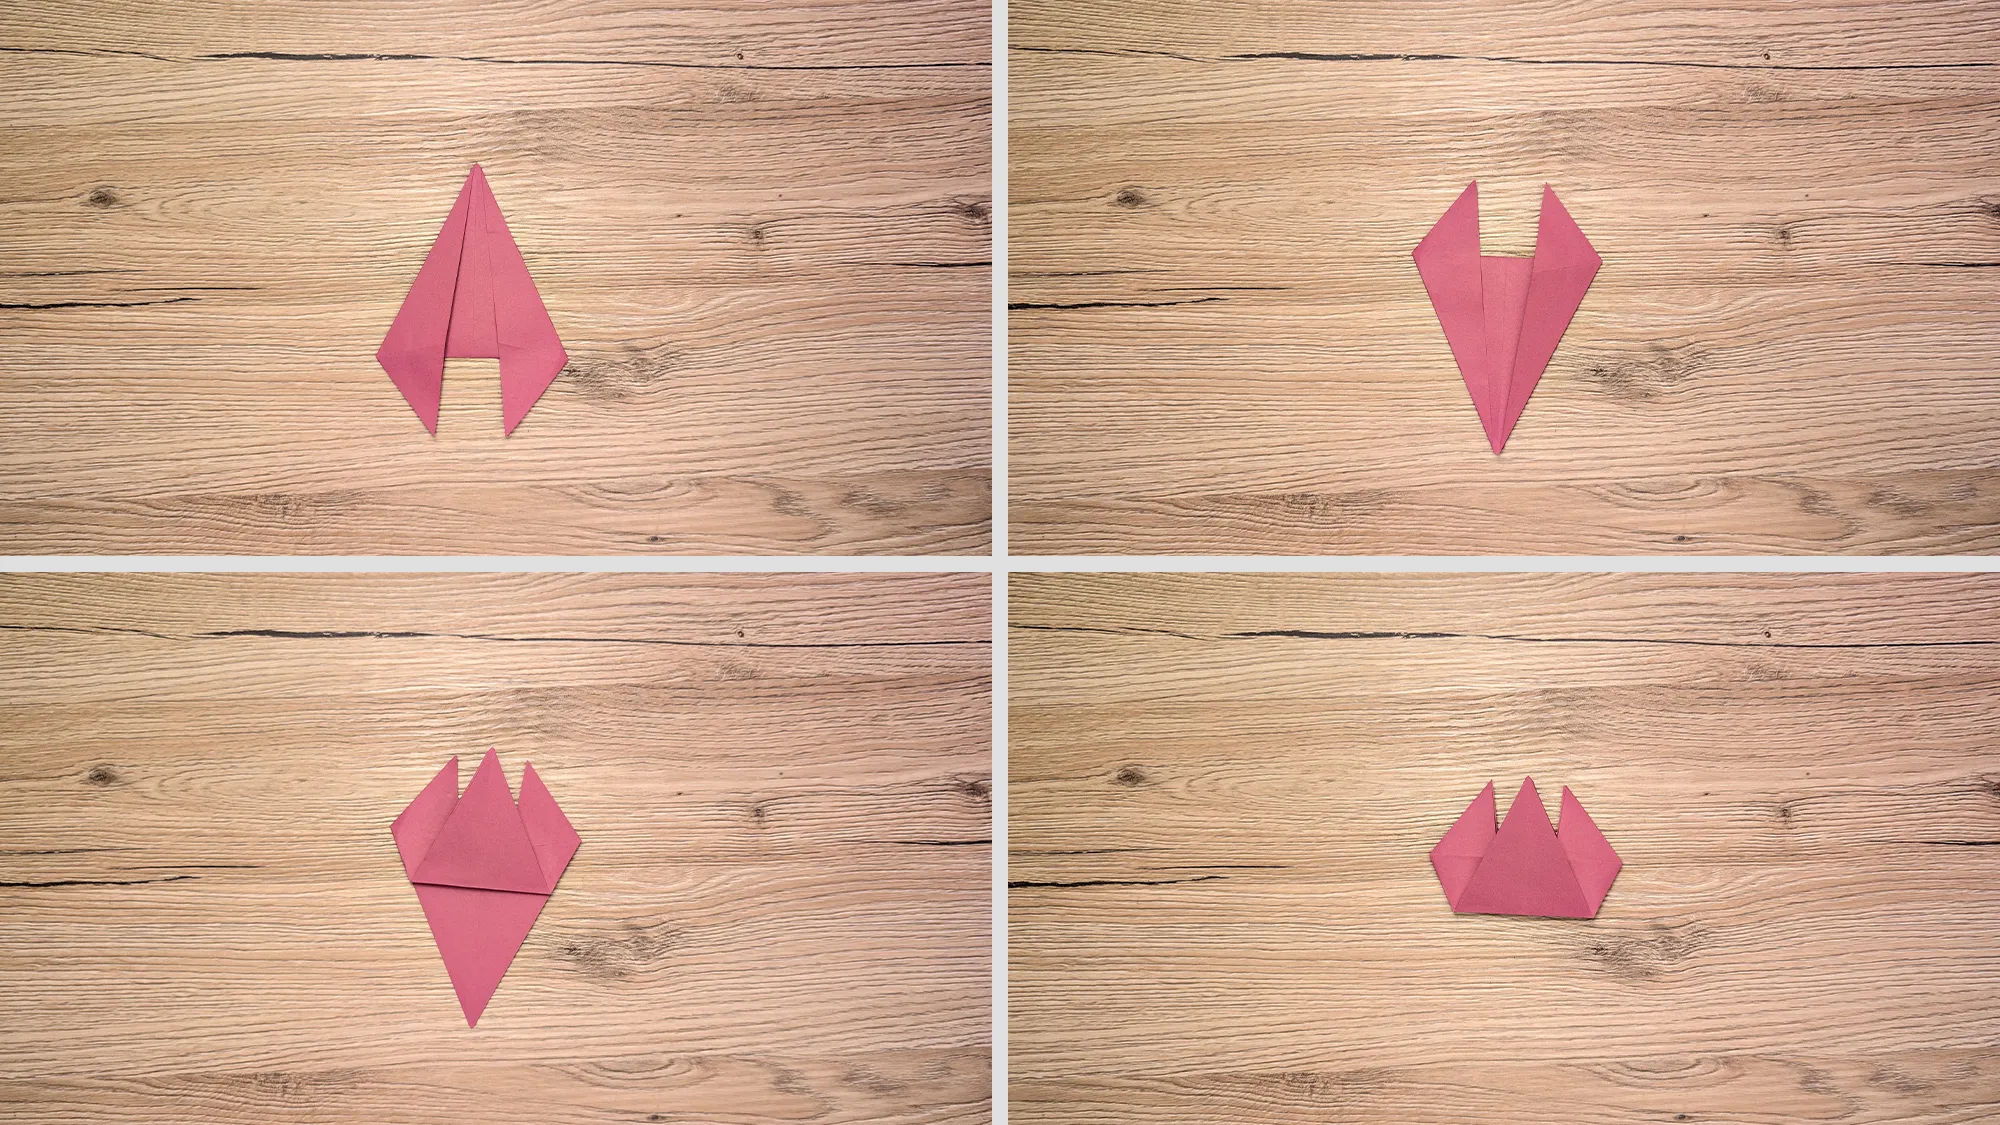
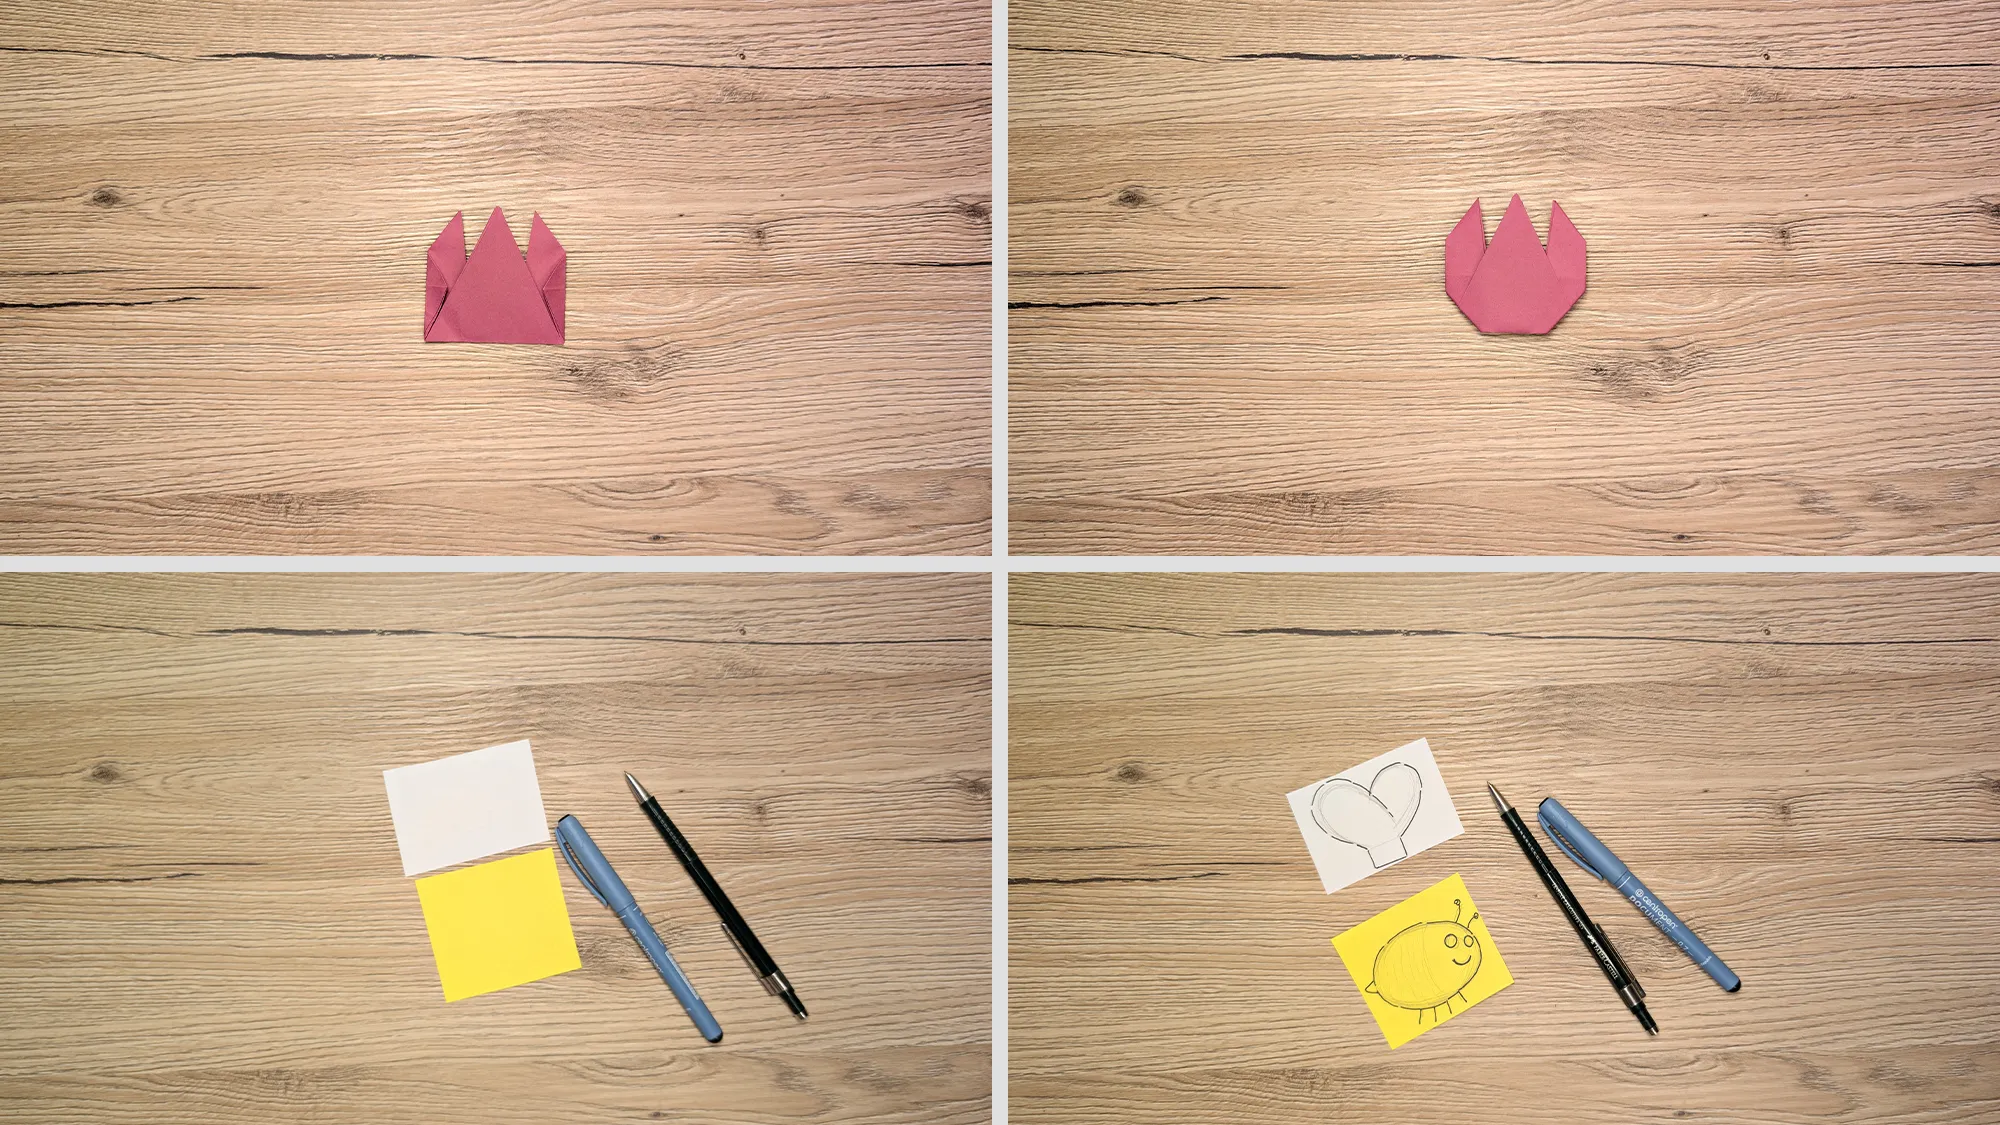
The Wonderful World of Origami for Child Development
Origami is much more than just a pastime – it is a powerful tool for your child's development! When children fold paper, they are simultaneously training several important skills.
The art of folding not only promotes fine motor skills through the precise folding and shaping of the paper but also strengthens hand-eye coordination. As children learn various folding techniques, they improve their spatial awareness and three-dimensional thinking – skills that are very beneficial later in mathematics and geometry.
Especially interesting is that origami activates both hemispheres of the brain: The left hemisphere processes the logical sequences of steps, while the right hemisphere takes over the creative and visual component. This simultaneous activation of both hemispheres creates new neural connections and fosters holistic thinking.
While folding together with parents or siblings, children also learn important social skills like patience, perseverance, and the joy of creating together. The success experiences from completing an origami project strengthen self-confidence and motivate to engage in further creative activities.
For elementary school children, origami provides a perfect balance between clear instructions and creative freedom – while they learn the basic shapes, they can later add their own variations and embellishments, like our cheerful tulips with faces.
Origami Tulips and Bee: Thank You to Our Readers
We have invested a lot of time and heart into this project – from folding the tulips and the little bee to filming, photographing, and creating this detailed guide. We sincerely hope you enjoyed this craft idea and that you were able to fold beautiful paper tulips together with your child.
Thank you for taking the time to read our instructions! We wish you much success in crafting and hope that your homemade gift for March 8th or gift for Mother's Day brings you joy.
If you are looking for more craft ideas, also check out our other instructions. We have over 40 instructions for folding paper airplanes and more than 50 instructions for folding napkins for festive occasions. There is always something new to discover at TutKit.com!
From Vitalii Shynakov
