DIY paper lantern: Simple craft idea for children
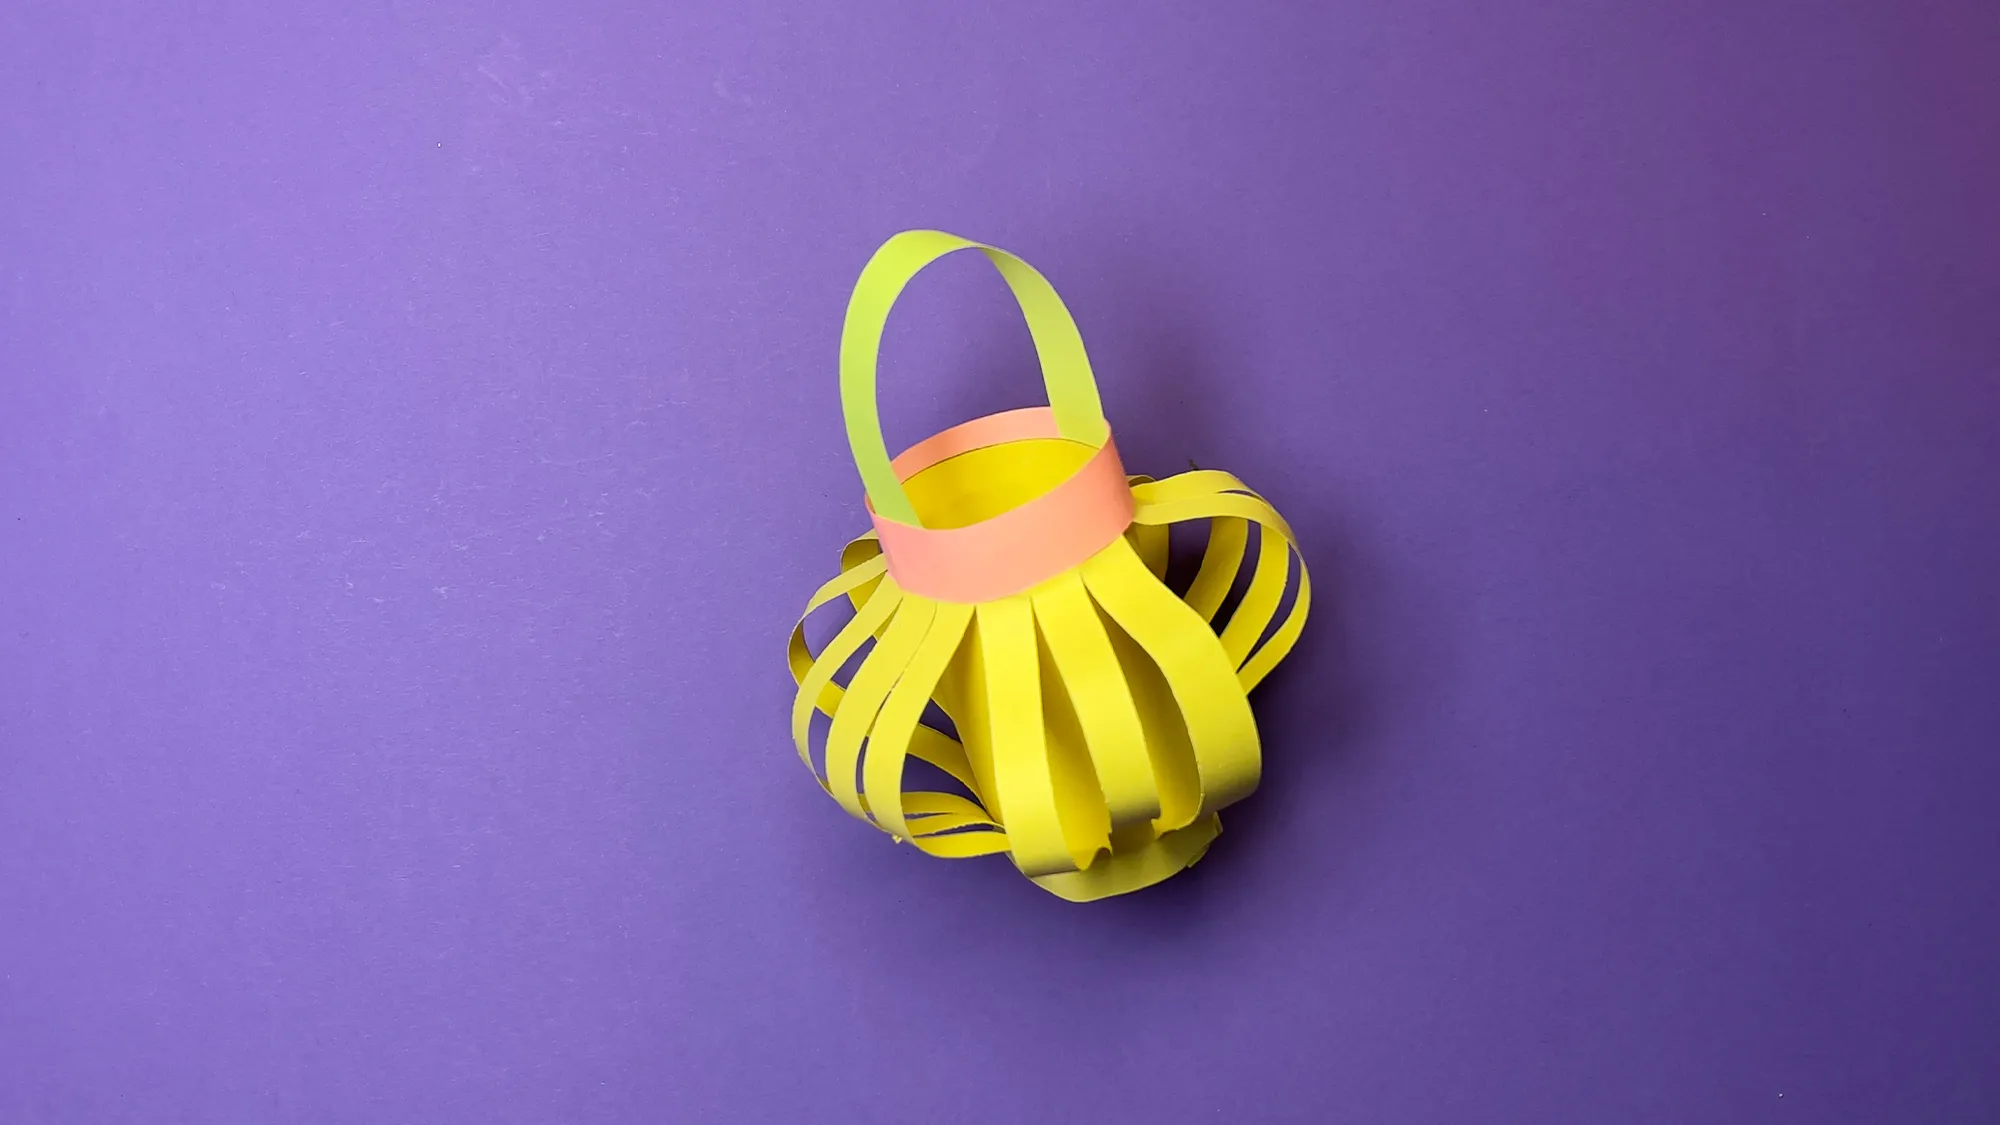
Kids love light and glowing objects! This simple yellow paper lantern is a perfect crafting project for preschool-aged children. The glowing lantern with pink accents is not only easy to make, but also brings a lot of joy when it is lit up with a small string of lights afterwards.
This crafting project is especially suitable for little children, as it promotes their creativity while also training fine motor skills. Children are fascinated by glowing objects and the play of light and shadow. With this self-made lantern, they can create their own little light source and proudly present their work.
Our instructions on TutKit.com always consist of videos, photos, and detailed text descriptions with tips for each step. We do everything ourselves - we craft, film, and photograph each project before we share it with you.
Paper Lantern: Video
Before you start crafting, please watch the video. We strive to show every step in our videos as detailed as possible. Videos are often much more informative than photos and help you understand the technique better.
Paper Lantern: Step-by-Step Instructions with Photos and Descriptions
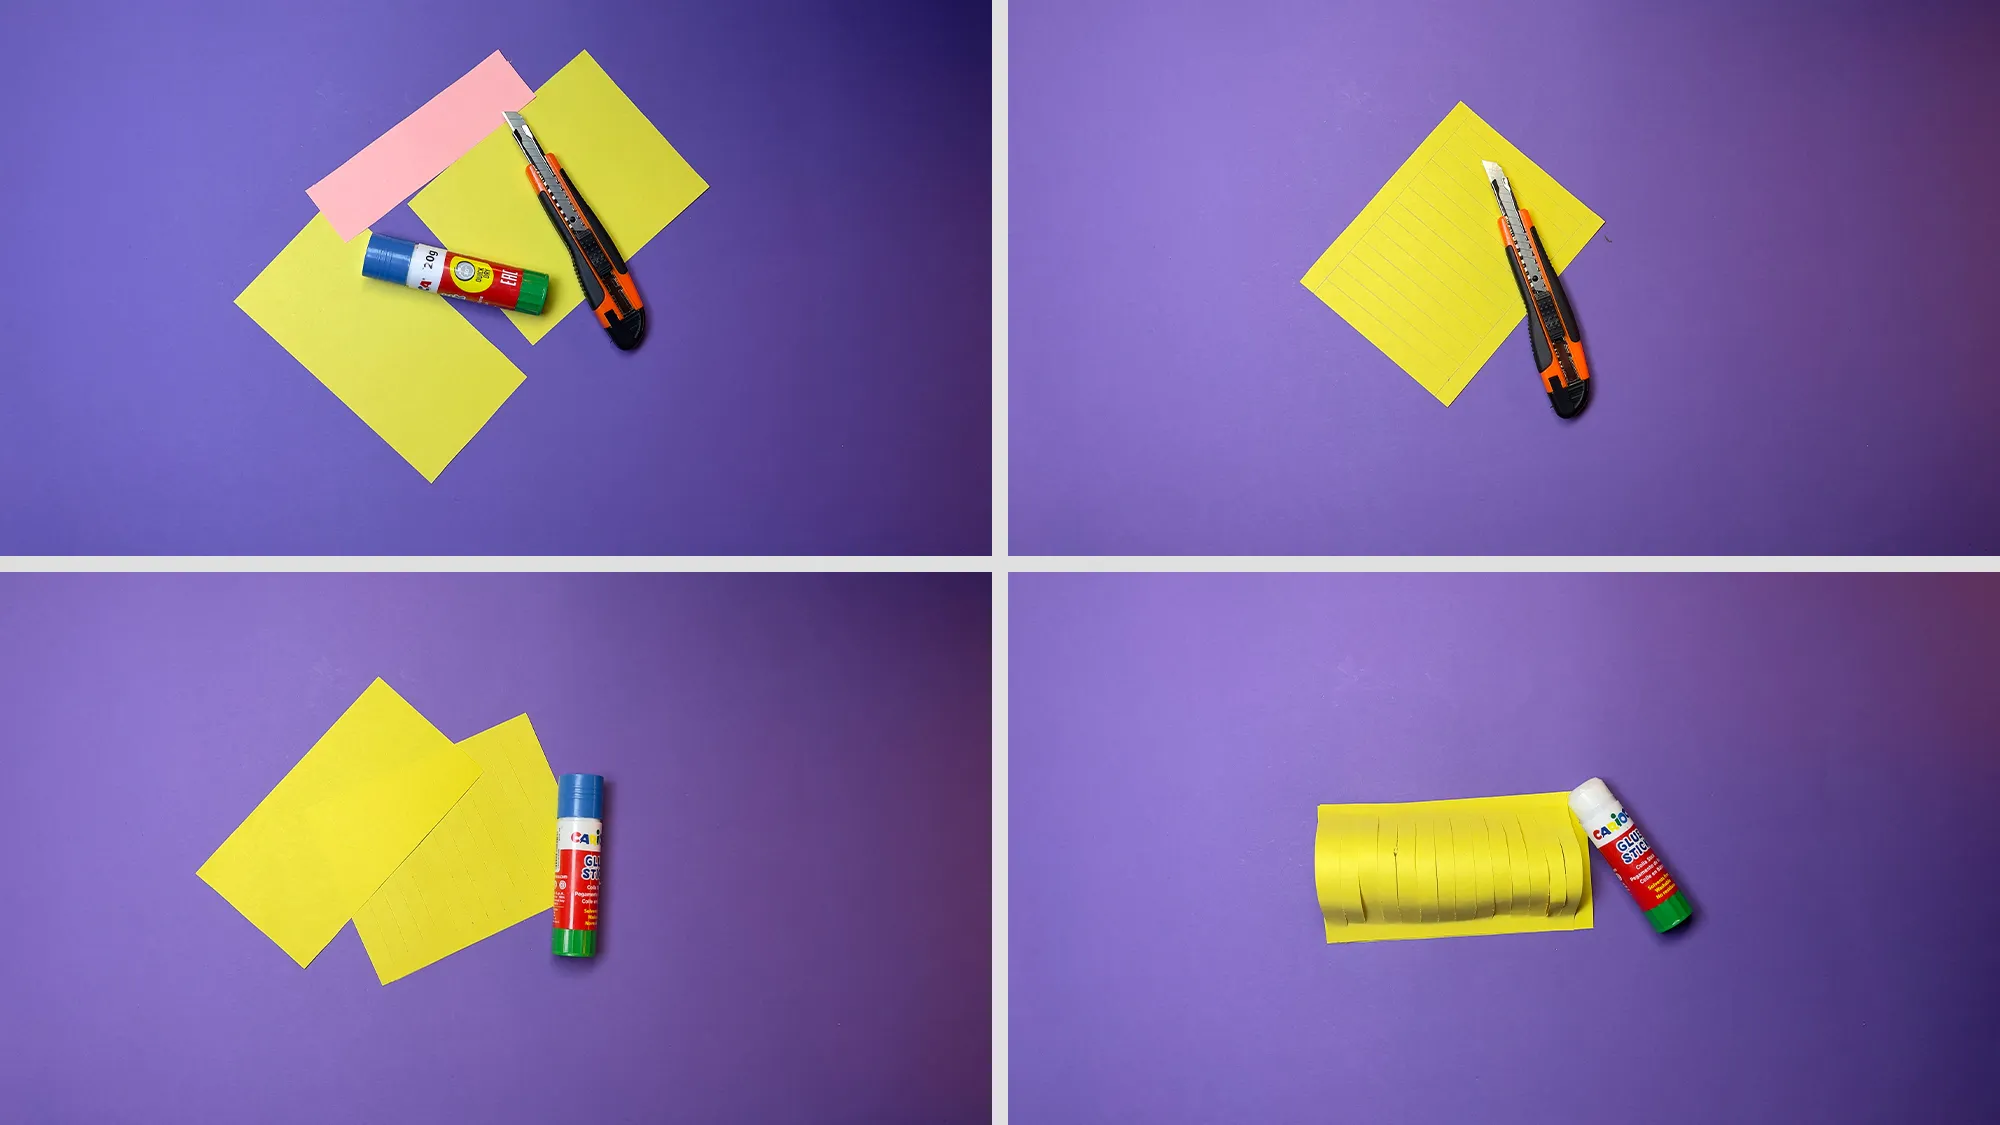
Before you start, you should prepare all materials. Do you have everything together?
Required materials:
- Yellow and pink craft paper
- Scissors or craft knife (for adults)
- Glue
- Ruler
- Optional: small battery-operated string lights for the finished lantern


Why Kids Love Lanterns
Light has a special appeal to children. Especially in preschool age, children are fascinated by glowing objects and the magical play of light and shadow. This natural curiosity makes crafting lanterns a particularly popular children's project.
When children create a lantern, they are making something that goes beyond an ordinary crafting project - they are creating a light source! The finished object can fully unfold its effect in a darkened room and casts magical shadows on the walls. This "transformation" from a simple crafting project to a glowing object is like a small miracle for children.
Crafting a lantern together also provides a wonderful opportunity for conversations about light and darkness, day and night, or the different light sources in our everyday lives. Thus, playful learning and creative design merge naturally.
The Developmental Benefits of Crafting for Preschool Children
Crafting activities like creating this simple paper lantern are valuable for the development of preschool children in many ways:
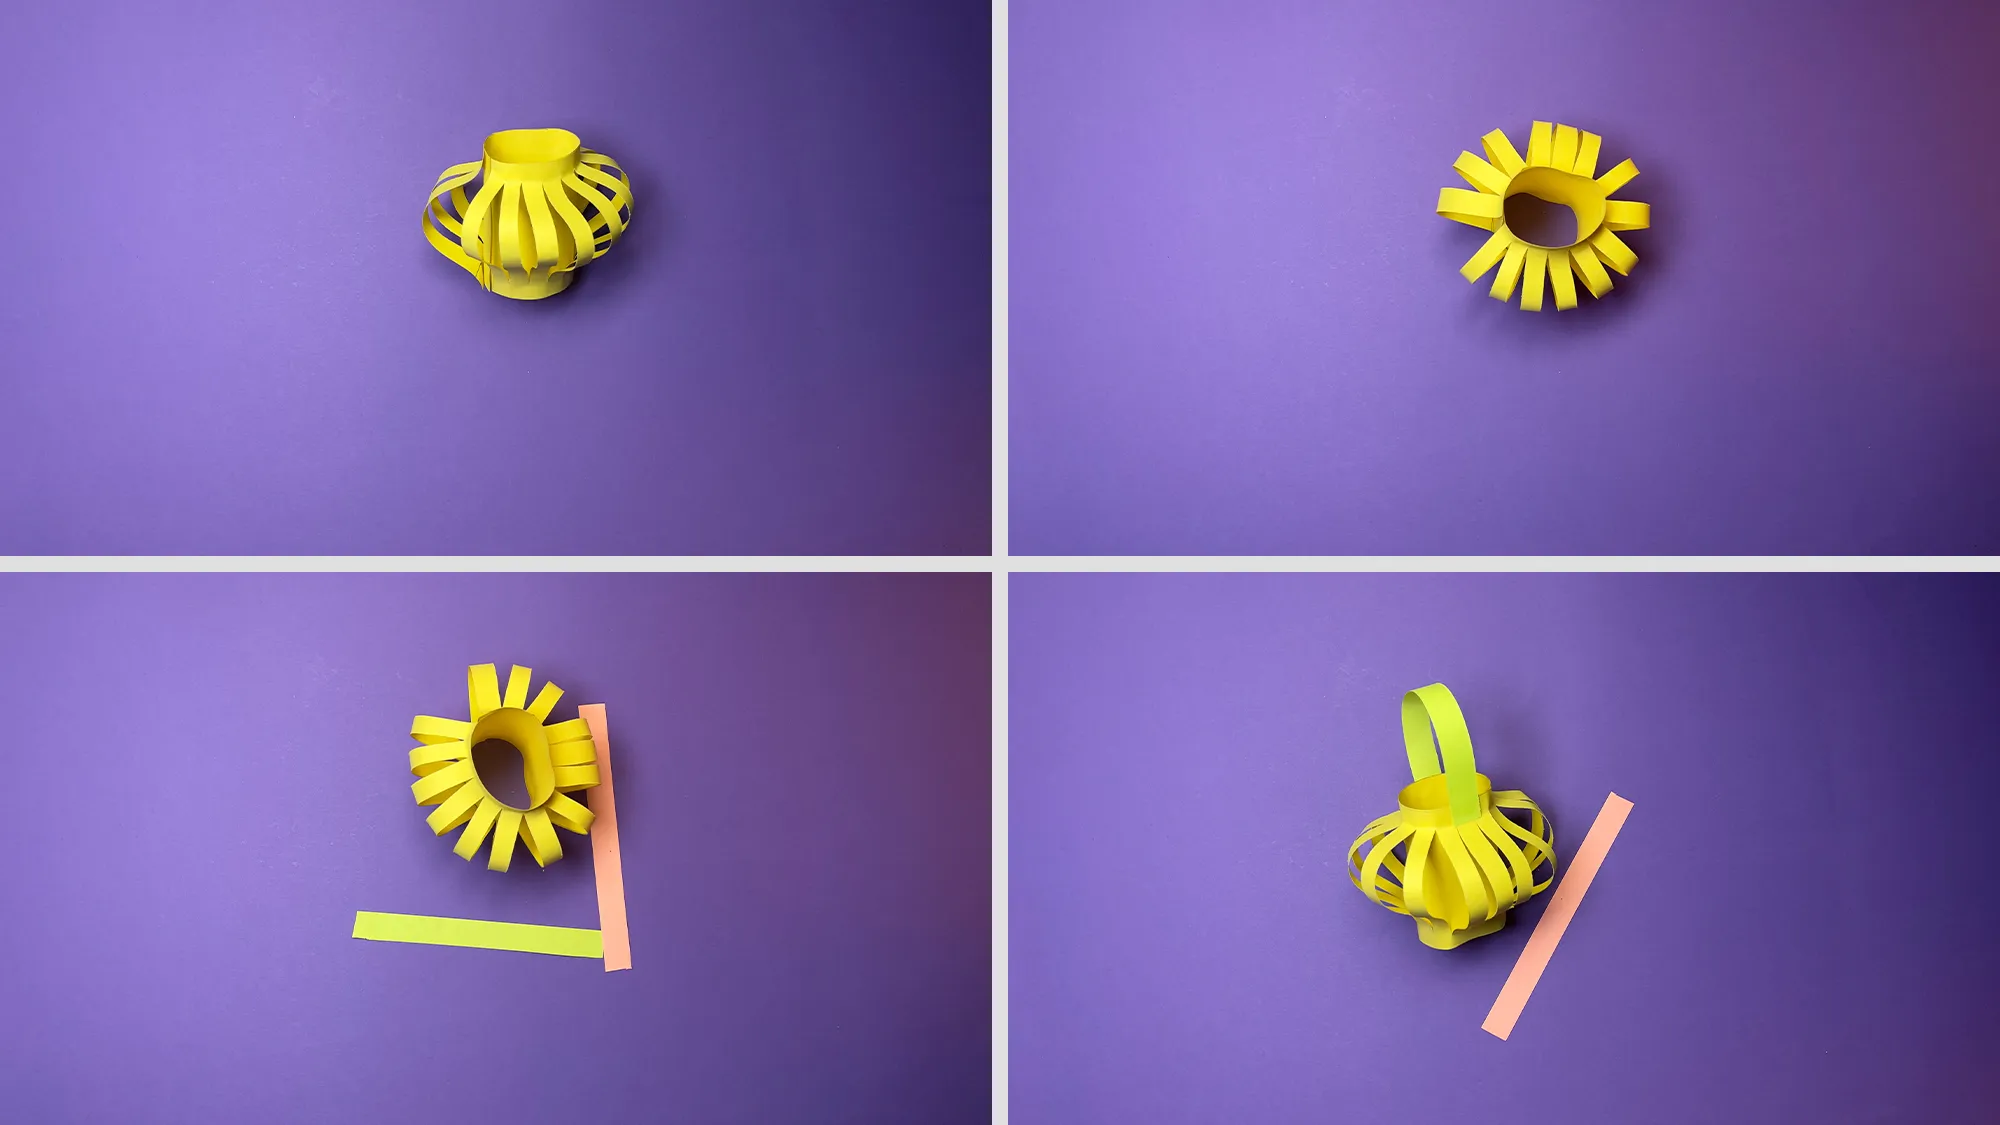
Cutting along lines and careful gluing train fine motor skills and hand-eye coordination - important skills that will later assist in learning to write. When designing the lantern, children also practice their spatial perception as they create a three-dimensional object from a flat piece of paper.
When children choose their own color combinations or decide how tight or wide the paper strips should be, they develop their aesthetic sense and make independent creative decisions. This experience of self-efficacy strengthens their self-confidence and problem-solving skills.
Last but not least, crafting together provides valuable time of undivided attention between parents and children - an important building block for a strong bond and emotional security.
Thank You to Our Readers
We hope you enjoy this simple crafting idea for a yellow paper lantern and have a lot of fun crafting together with your children! The shining eyes of the children when they see their handmade lantern light up for the first time is the greatest reward.
Thank you for taking the time to read our instructions. We always appreciate feedback and photos of your finished lantern!
If you are looking for more crafting ideas, be sure to check out our other instructions. Discover our extensive collection of more than 60 origami instructions for paper folding and our popular more than 50 instructions for folding banknotes for creative money gifts. There is always something new to discover on TutKit.com!
From Vitalii Shynakov
