Crafting Fun Paper Bunnies: Simple DIY Guide for Kids
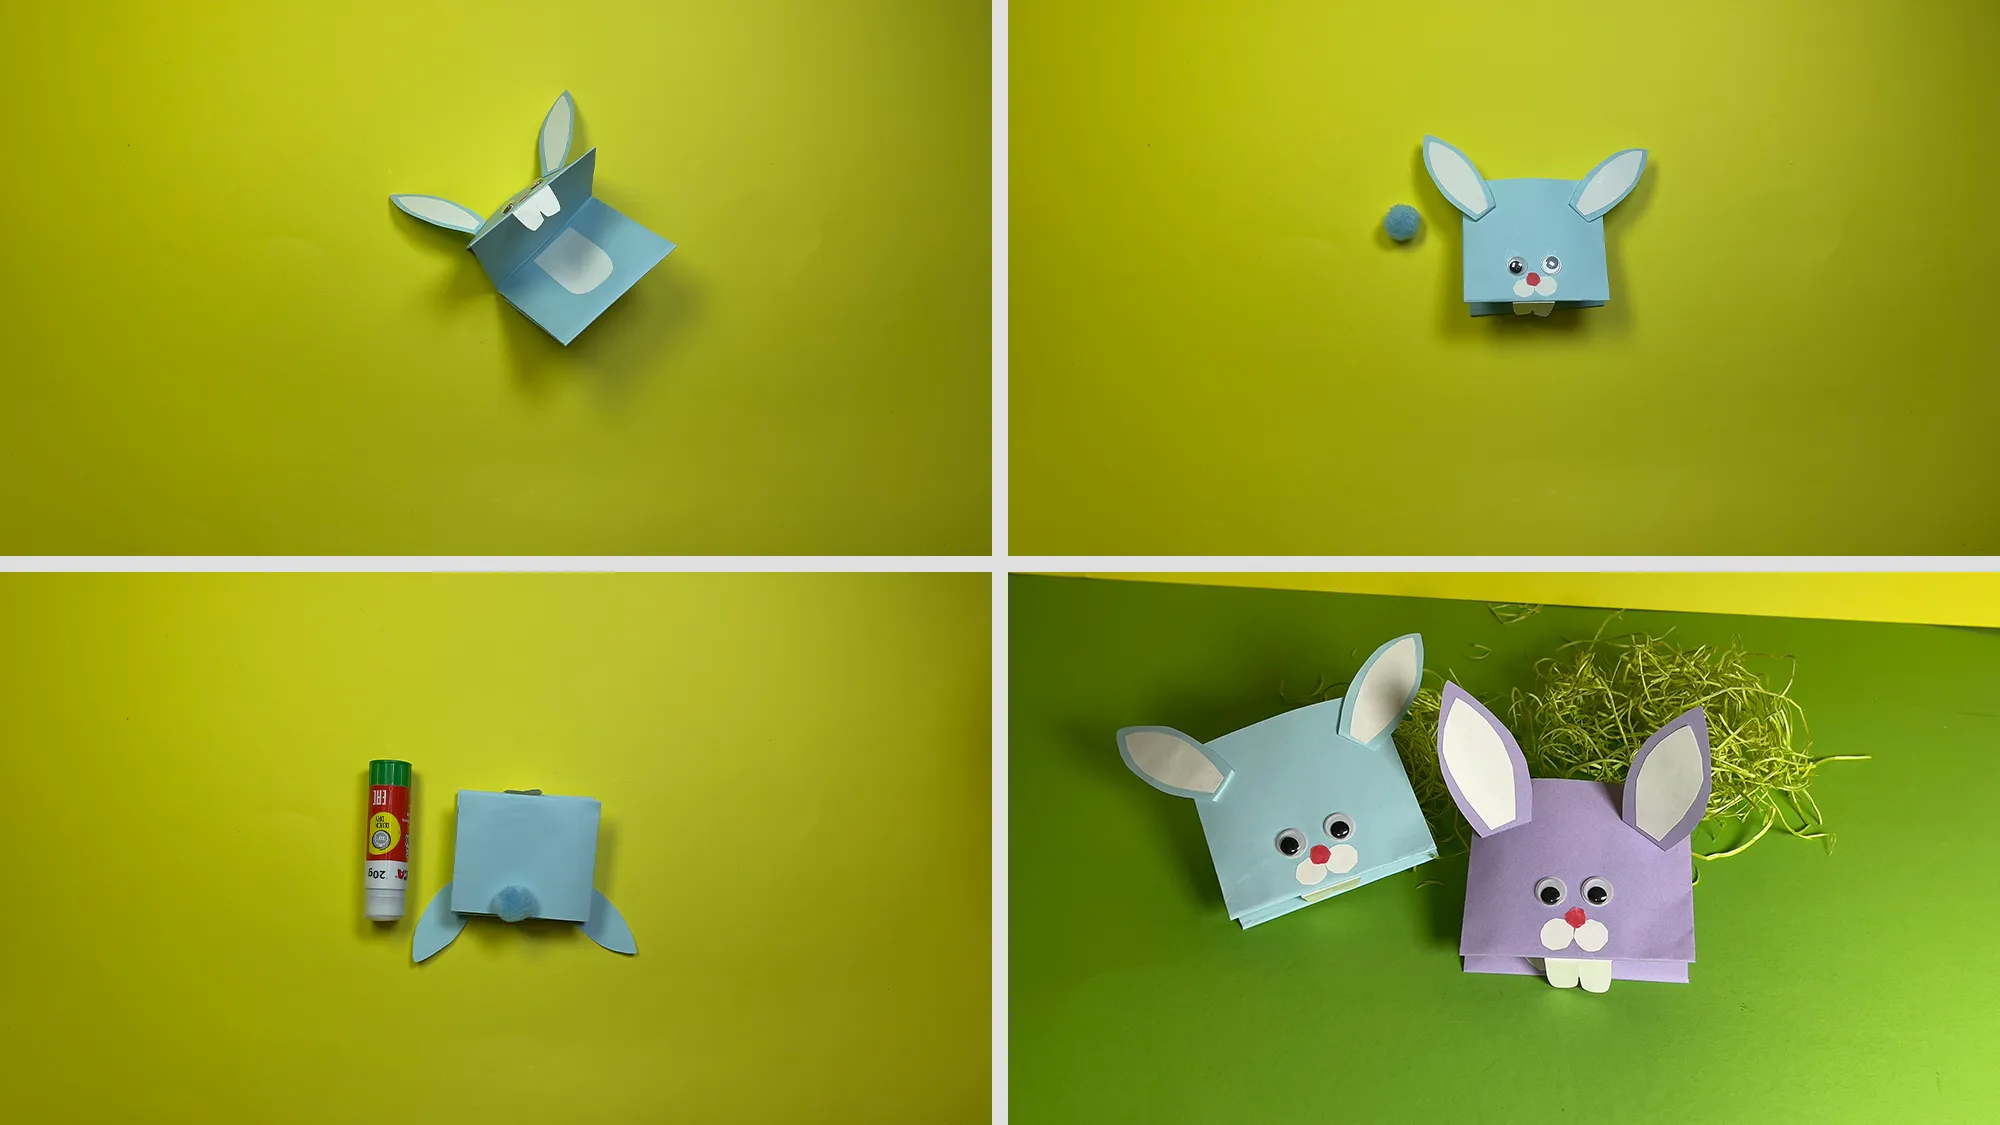
Hello! Are you looking for a creative DIY idea that you can do with your child? Then we are glad that you found us. In this guide, I will show you how you can create a fun movable paper bunny together – a great project that brings children a lot of joy!
All the videos and photos you find here have been created specifically for you by us. Each of our guides consists of a video tutorial, photographs, and a detailed description of the individual steps. This way, you have no chance of not understanding what and how you need to do it. Before you start creating this cute paper bunny, check out the video.
If you like how we explain this crafting idea, feel free to visit our channel and subscribe. We add new instructions for DIY ideas to our channel daily.
Movable Paper Bunny: Step-by-Step Guide with Photos and Text Description
We always strive to use only everyday, easily accessible materials. That is why you can find everything you need at the nearest supermarket or stationery store.
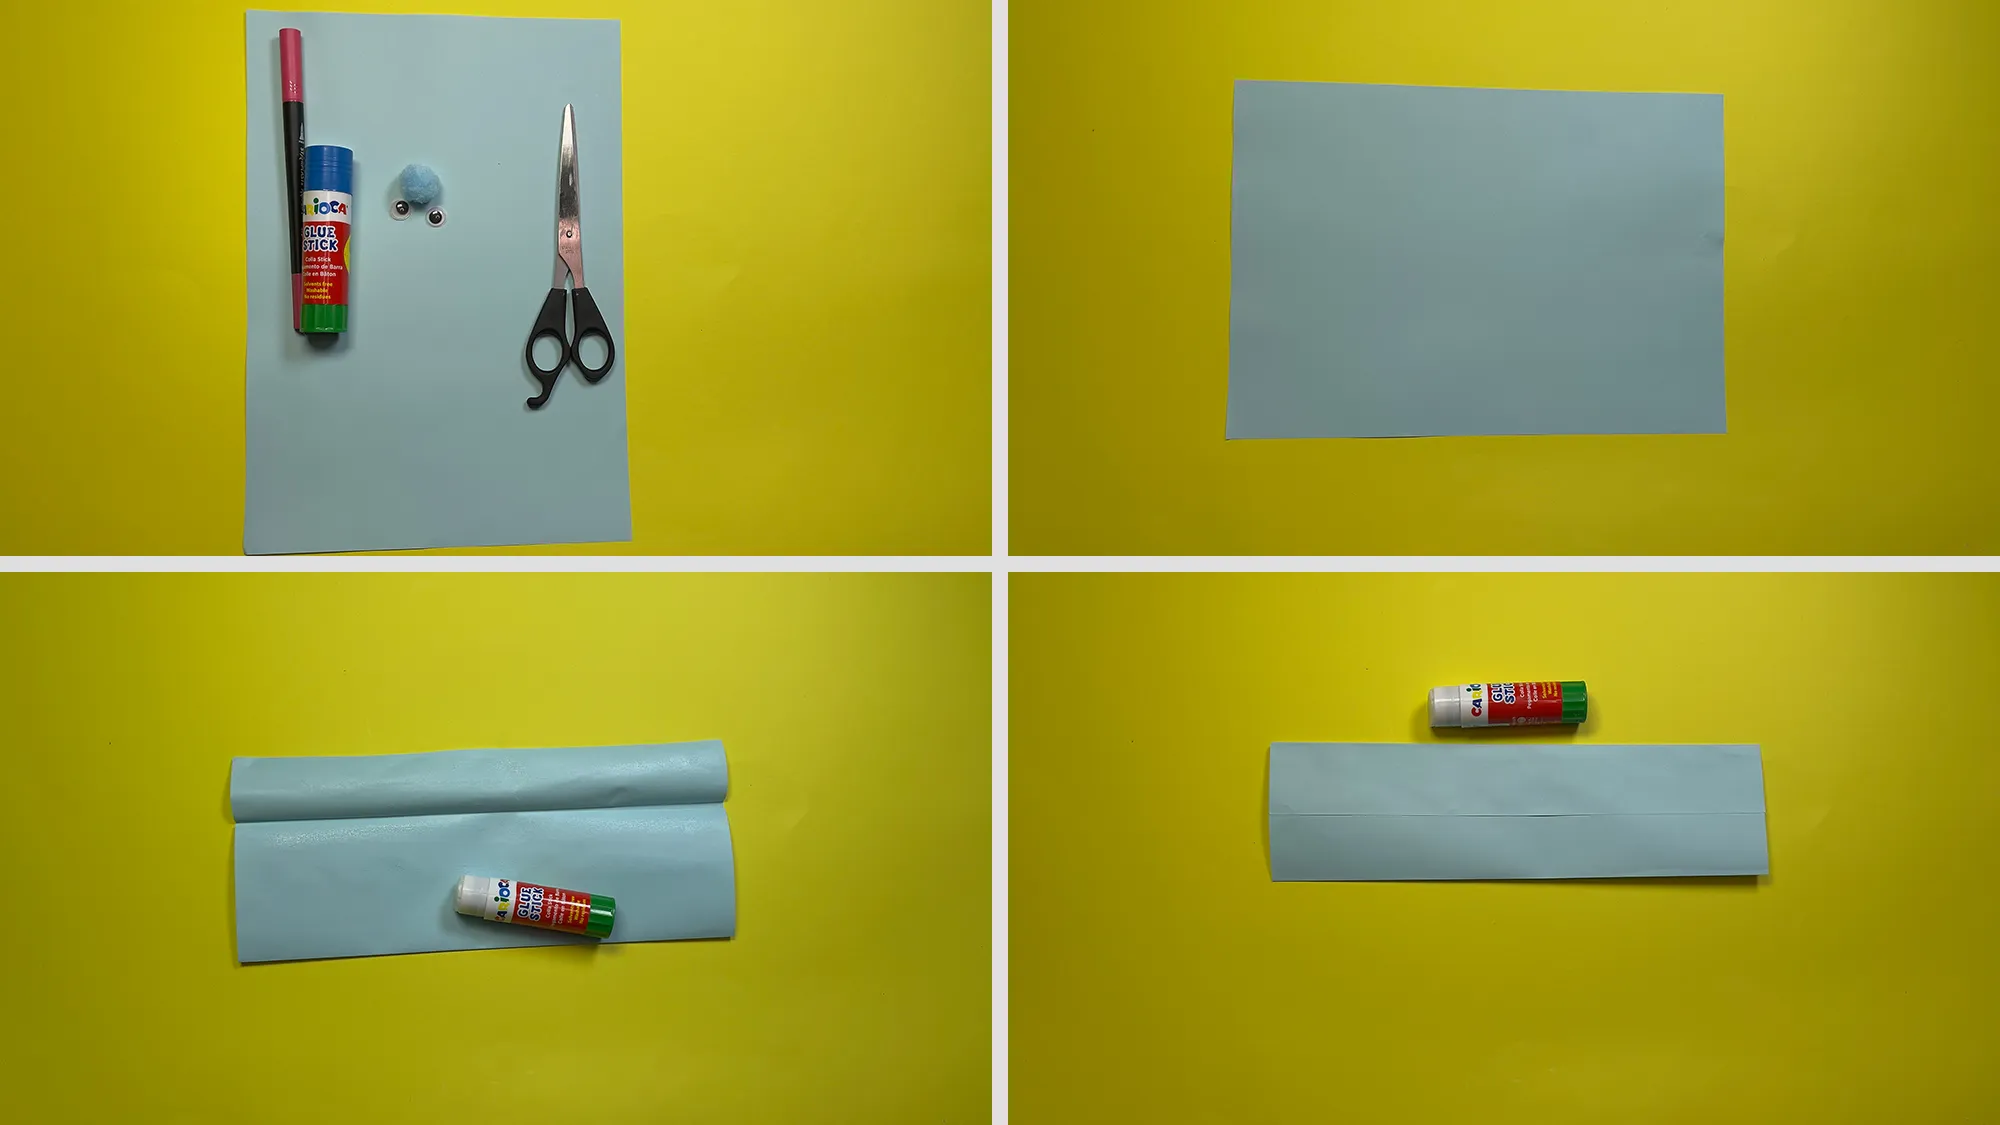
Required materials:
- Colored paper (blue, white, and other colors as desired)
- Scissors
- Glue stick
- Pencil
- Felt-tip pens
- Wiggly eyes to stick on (alternatively, you can also draw them yourself)
The Importance of Crafting for Child Development
Crafting promotes the development of fine motor skills in children in a playful way. When children cut, glue, and paint, they train the coordination between their hands and eyes and strengthen the muscles in their fingers and hands. These skills are essential later on when learning to write and in many other everyday activities.
Creative activities also stimulate mental development. They foster spatial thinking, concentration ability, and problem-solving skills. Through crafting together, you also get to know your child's strengths and interests better and can support them individually. Particularly for preschoolers, the promotion of motor skills through crafting, cutting, and painting is an important preparation for school.
This movable paper bunny is excellent for teaching children not only crafting skills but also for stimulating their imagination. With the finished bunny, they can invent stories and perform small puppet plays, which further enhances their linguistic abilities and creativity.
Thank you for your interest!
Creating crafting instructions, videos, photos, and writing this guide takes a lot of time, and we really hope that you enjoyed this crafting idea. Thank you for taking the time to read our guide!
If you're interested in more creative projects, check out our other guides. Perhaps you are interested in our Origami tutorials or you want to look into our section DIY ideas and craft ideas for children. In total, we have over 400 different guides on our portal, and new ones are added each week.
We wish you and your children a lot of fun crafting!
From Vitalii Shynakov
