Cool origami jet made of paper – craft idea for kids
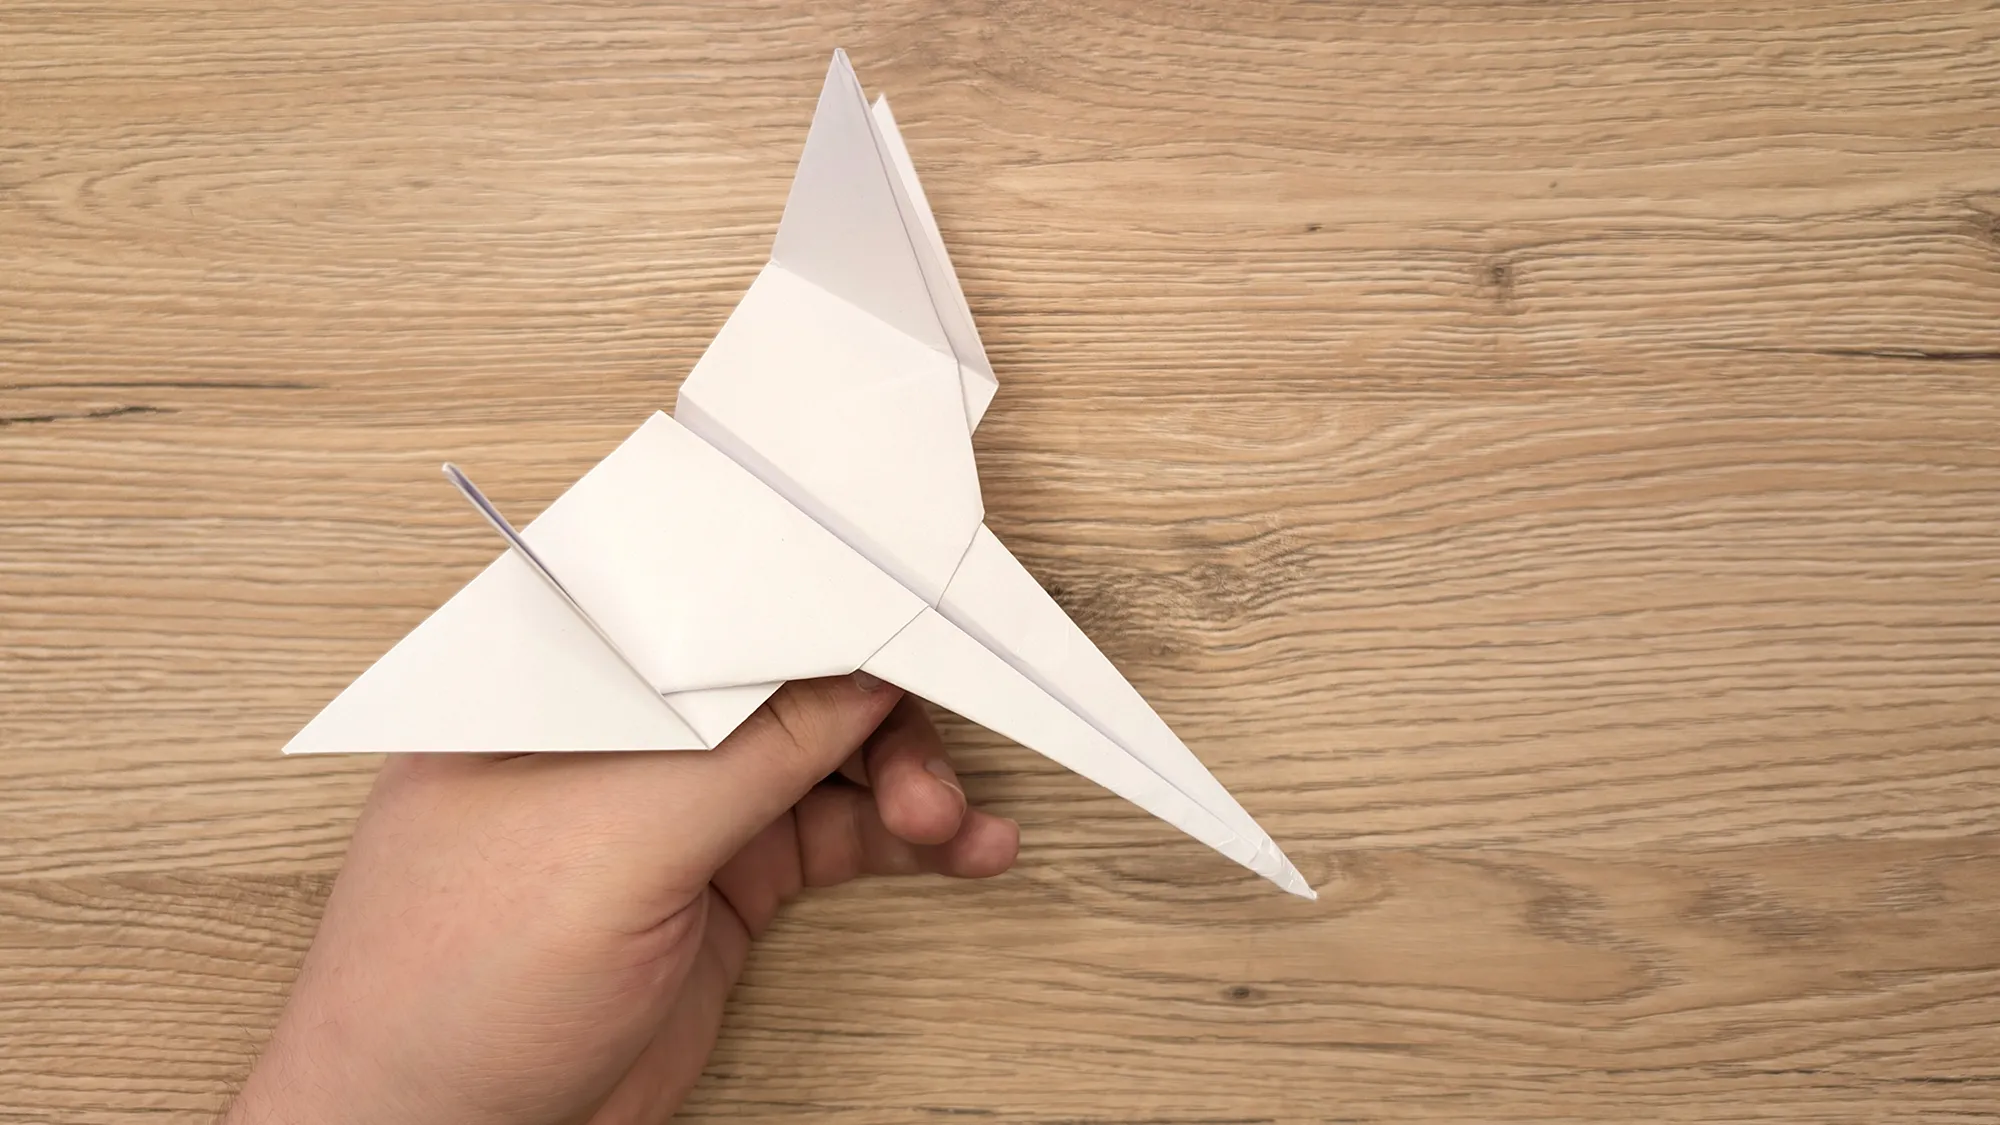
Hey! Are you looking for a cool DIY idea with paper for your child or for yourself? Then you are exactly right here. In this post, I will show you how to fold a paper airplane in the style of a jet from the movie Top Gun – quick, cool, and super easy to implement.
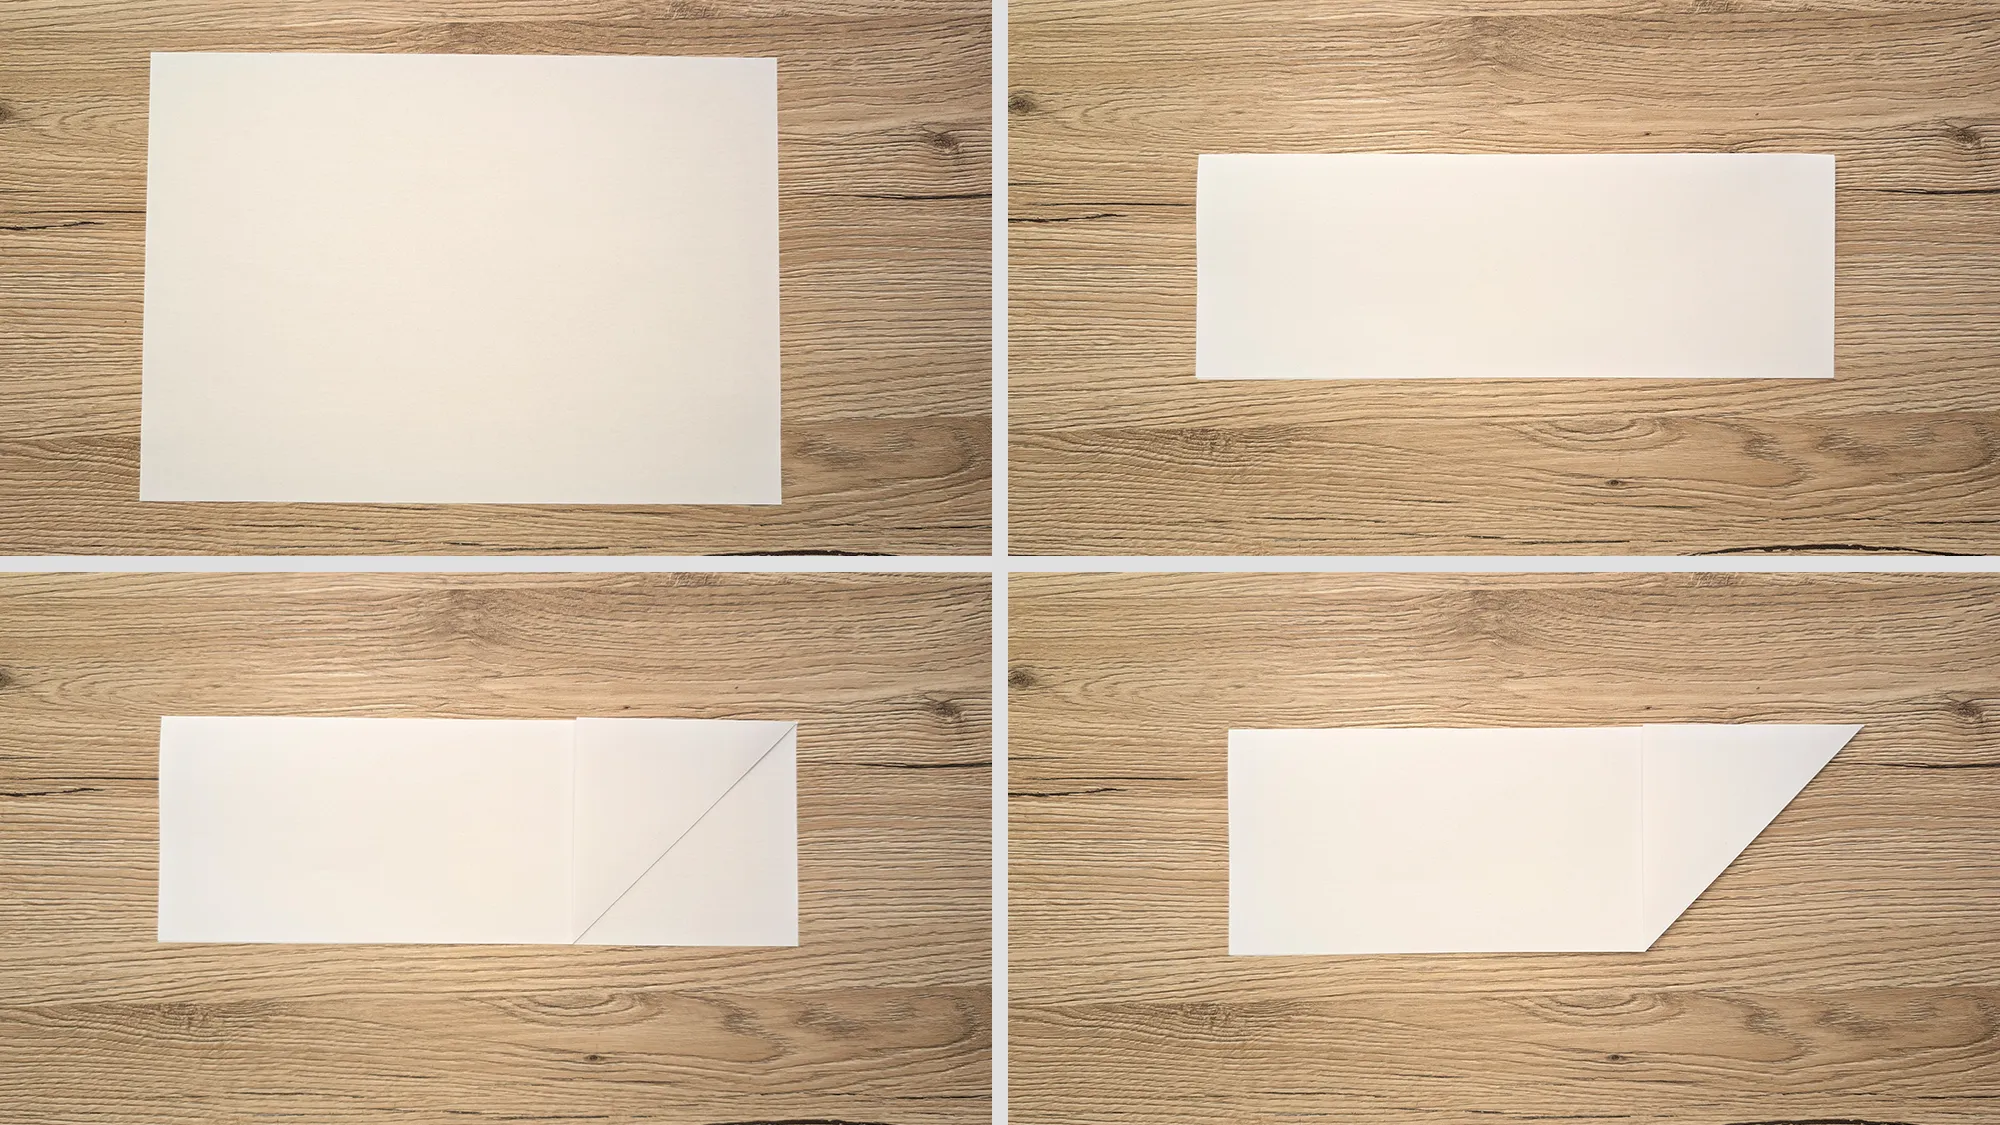
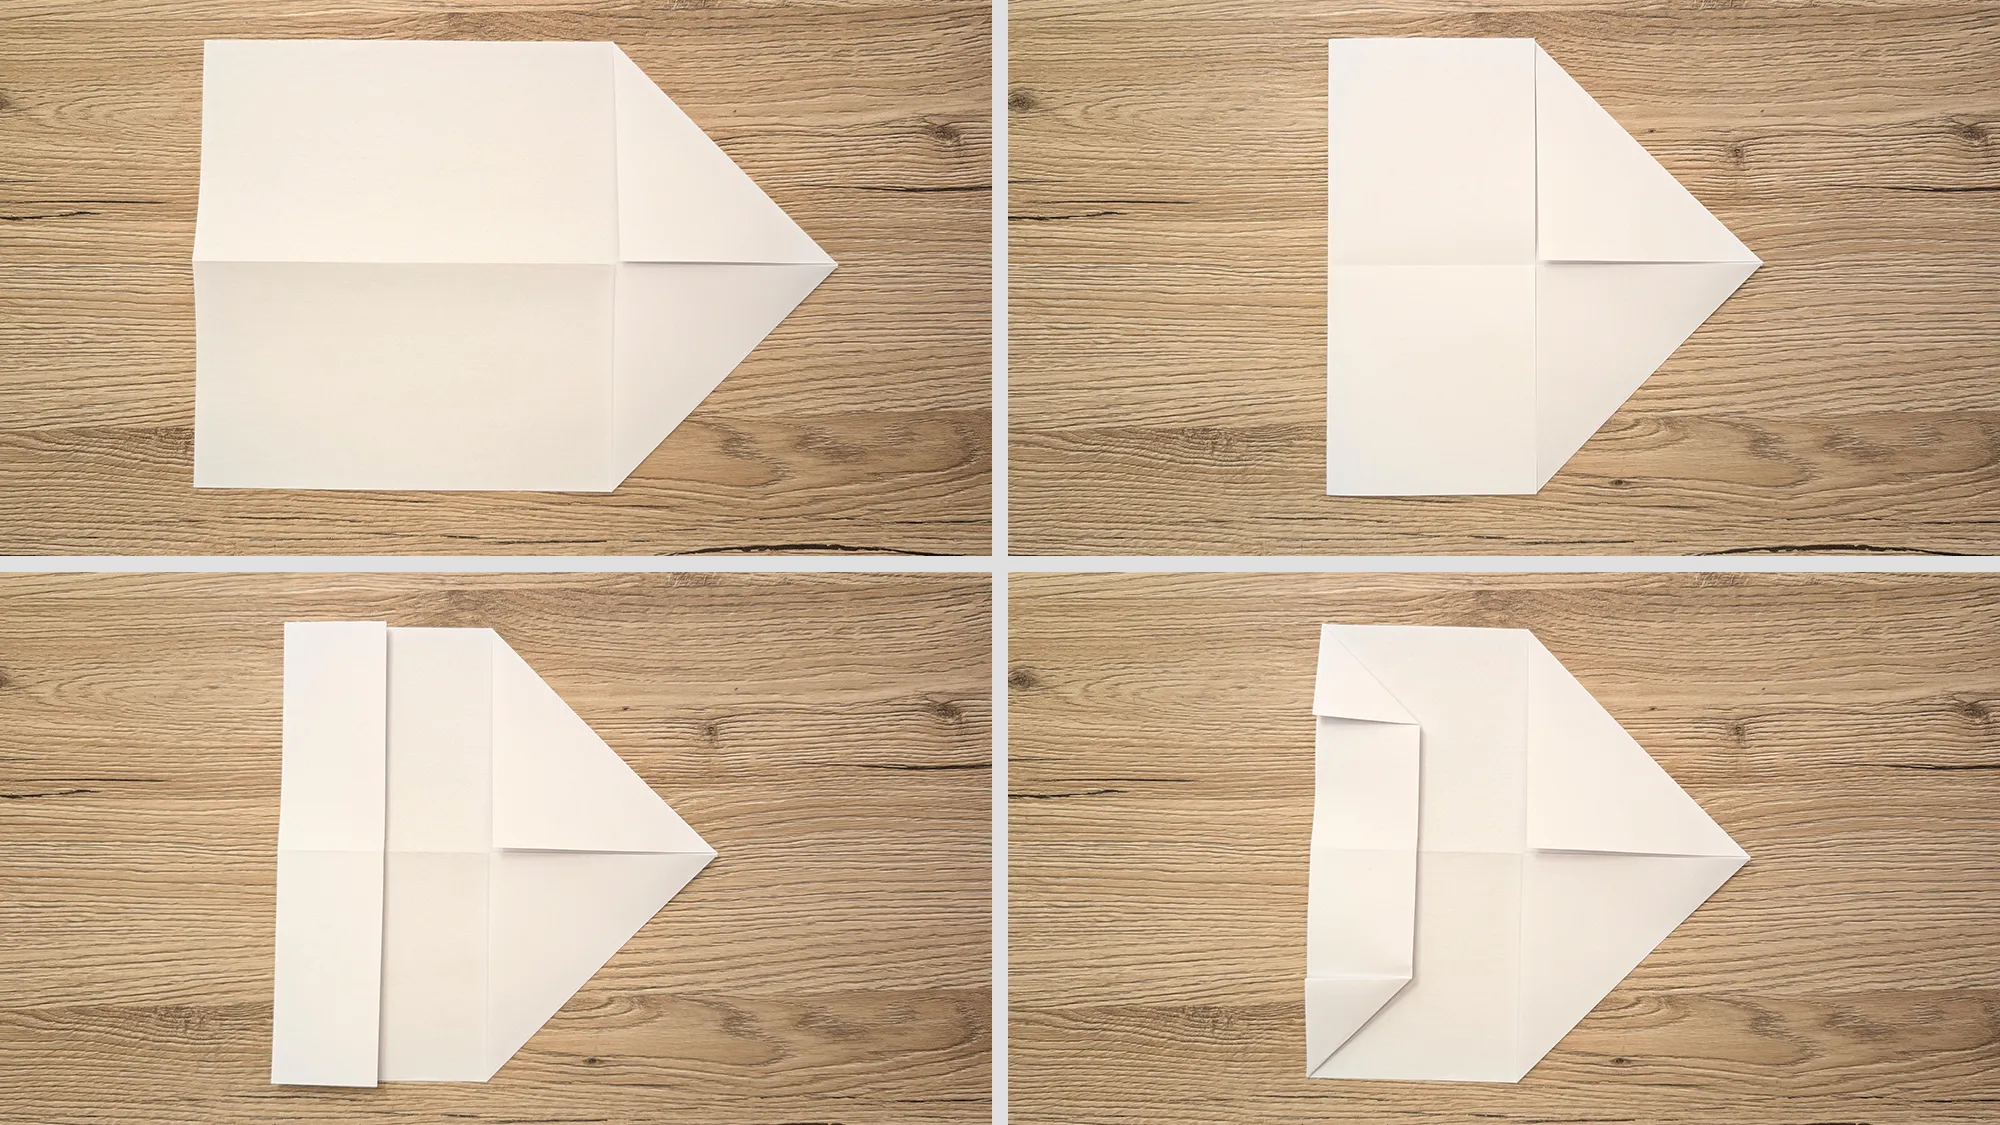
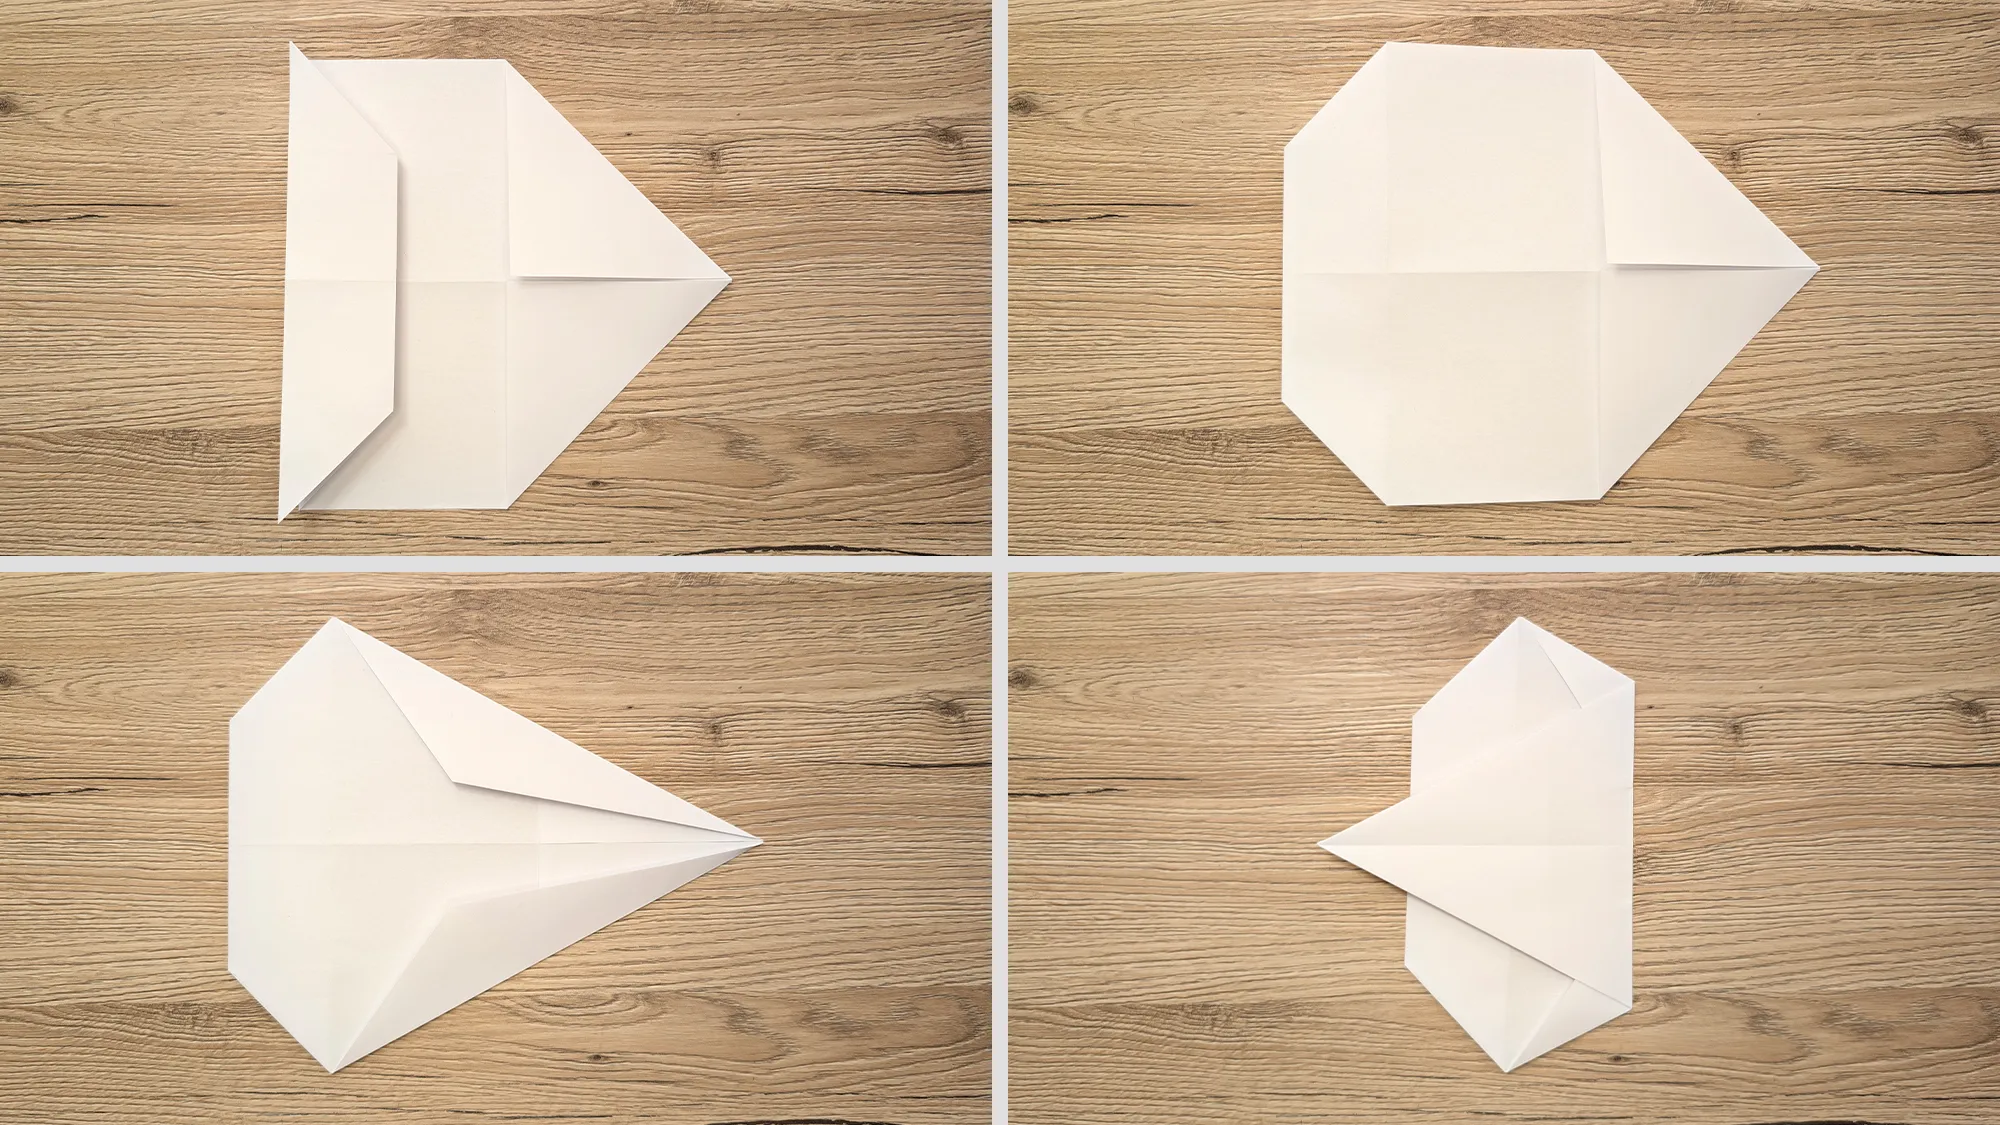
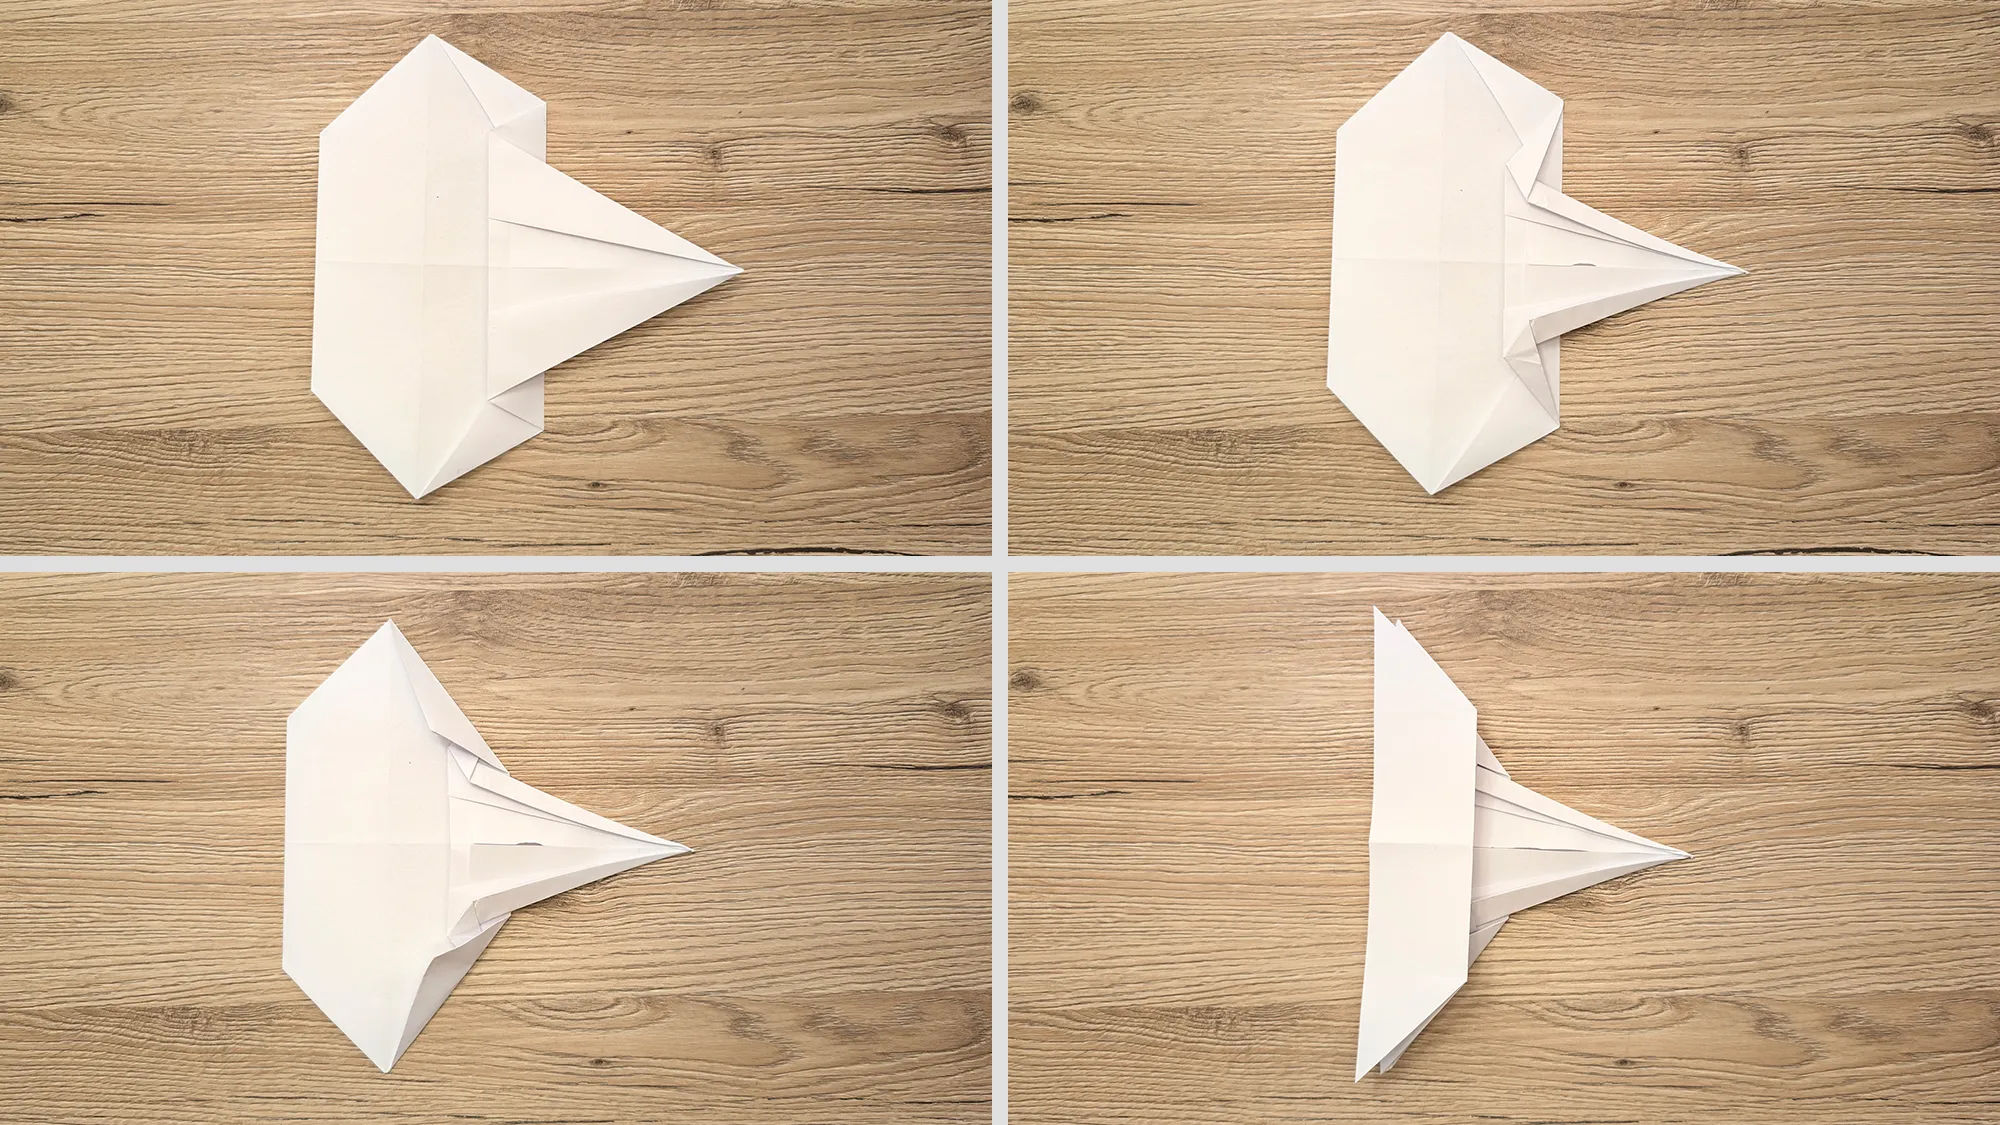
All the photos and the video for this crafting idea were made by us, especially for you. Our instructions always consist of a short video, several images, and a simple explanation for each step. With this, you’re guaranteed to go wrong in nothing!
Before you get started, please watch our video first. This way, you will get a good feeling for the folds:
If you like how we show origami, make sure to check out our YouTube channel. There you will find new ideas and creative DIY projects for children and adults every day. Leave a subscription – we are looking forward to it!
✂️ Origami Jet: Step-by-Step Instructions with Photos and Description
For this crafting project, you need almost nothing – just a piece of origami paper or regular printing paper. No glue, no scissors – just your hands and a little concentration.
📦 You need:
- A sheet of paper
- A desire to fold
- A bit of patience
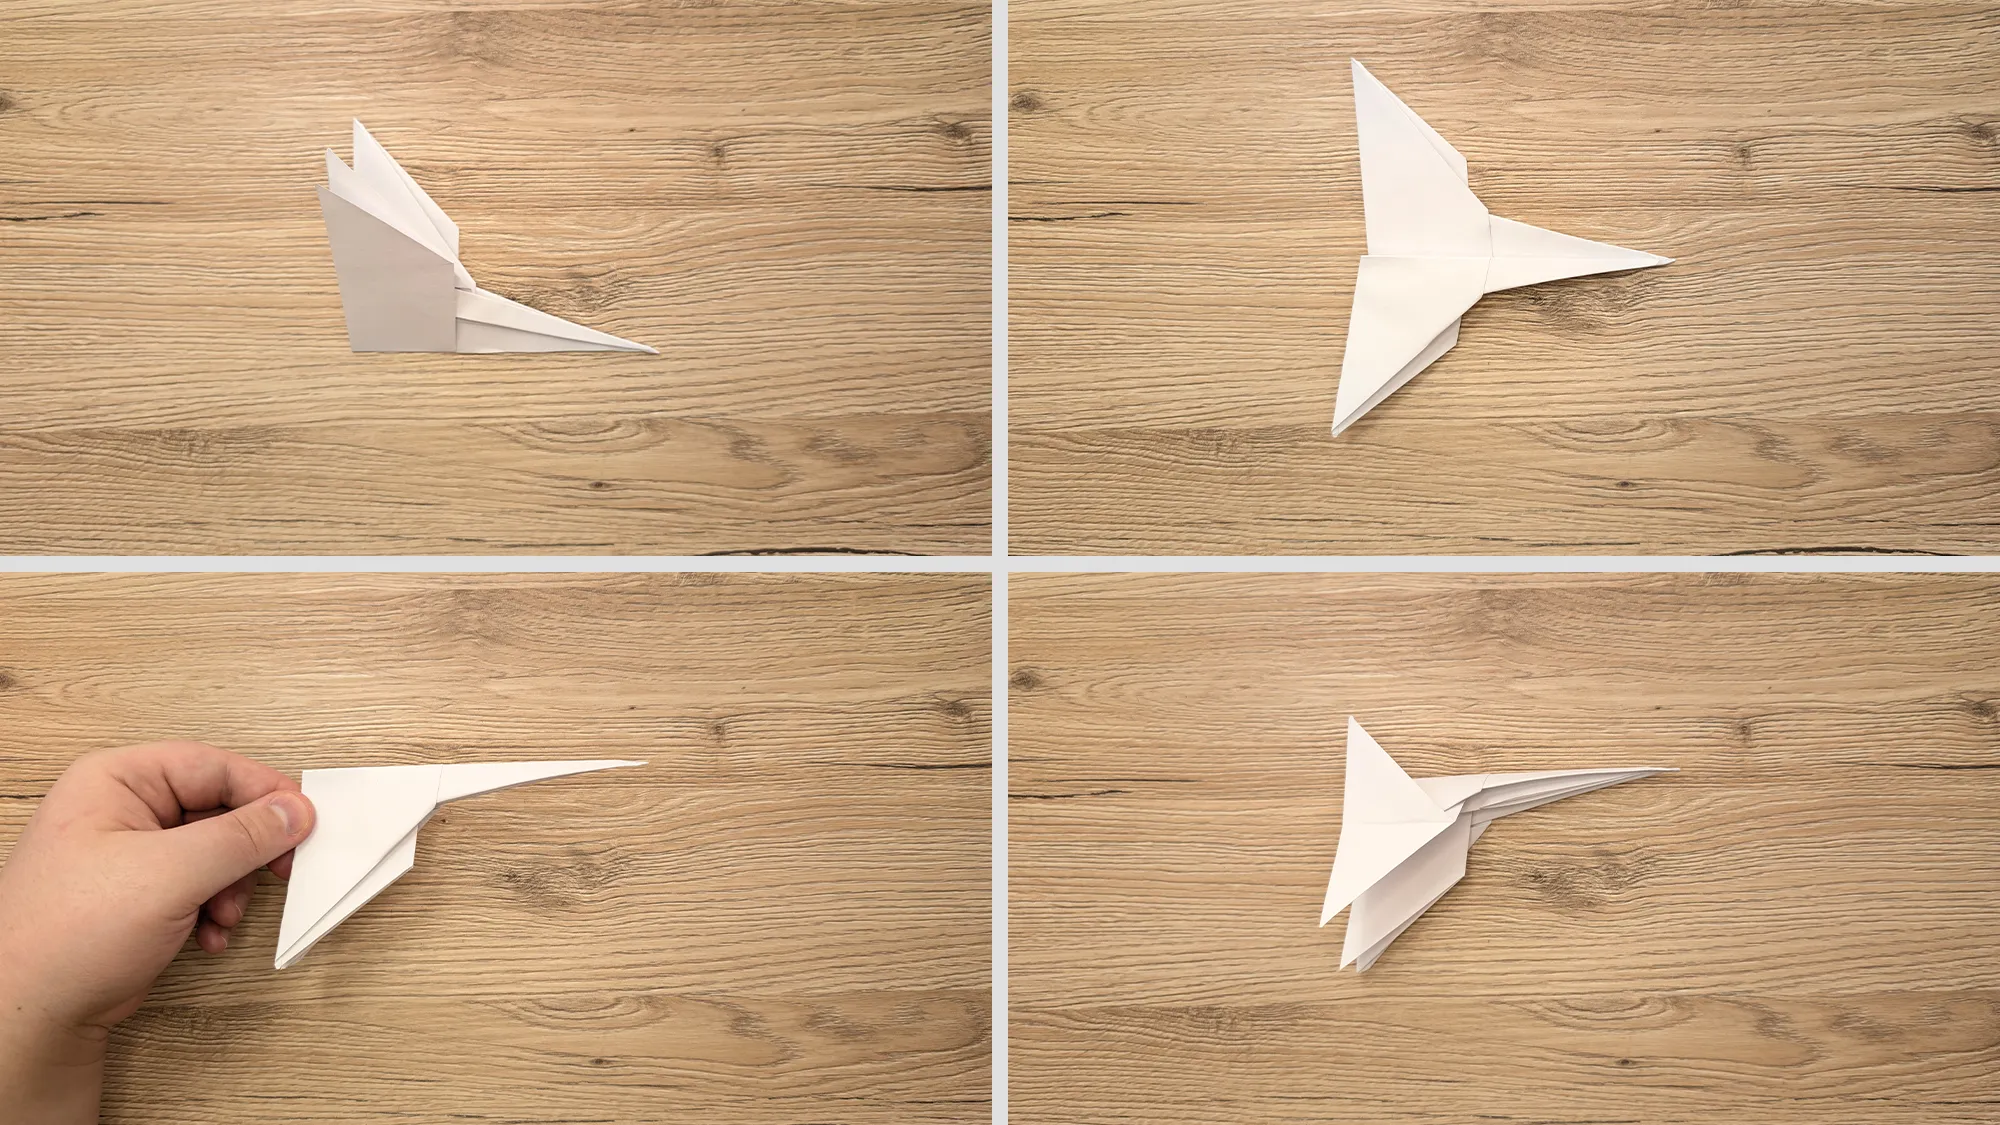
🧠 Why Origami Is Good for Kids
Origami is not only relaxing but also specifically promotes concentration, spatial thinking, and fine motor skills. Especially children in preschool and primary school age benefit greatly from such exercises. And the best part: Origami is fun because you can create whole worlds with just one sheet of paper – like this cool jet!
A paper airplane that looks like a jet from an action movie? Kids love that! This model doesn’t fly as far as classic planes, but it looks really impressive – especially when you paint it colorfully or combine it with a homemade flight deck. An ideal crafting project for rainy days, kids' birthdays, or just in between.
💛 Thank you for being here!
Thank you for taking the time to craft with us! We hope you enjoyed folding your origami jet. Creating videos, photos, and instructions takes a lot of love and effort – that’s why we are so happy when you try our ideas.
If you now feel like doing more, check out our other crafting ideas – such as our instructions for origami for kids, creative DIY ideas for home, or seasonal projects like:
👉 Making a paper flower
👉 Crafting decoration for Christmas
In total, you will find over 400 creative crafting ideas on our platform – and new ones are added every week. Have fun exploring!
From Vitalii Shynakov
