Origami Yacht: Instructions with video, photos, and description
Origami Yacht folding is one of the most popular crafting activities for children of all ages. Everyone knows what Origami is, and as a child, it is really exciting to fold different origami figures from paper. On our portal, we have put together over 400 different step-by-step guides on various origami topics. Each guide on our website includes a video that we filmed ourselves, photos for each step, and a textual description.
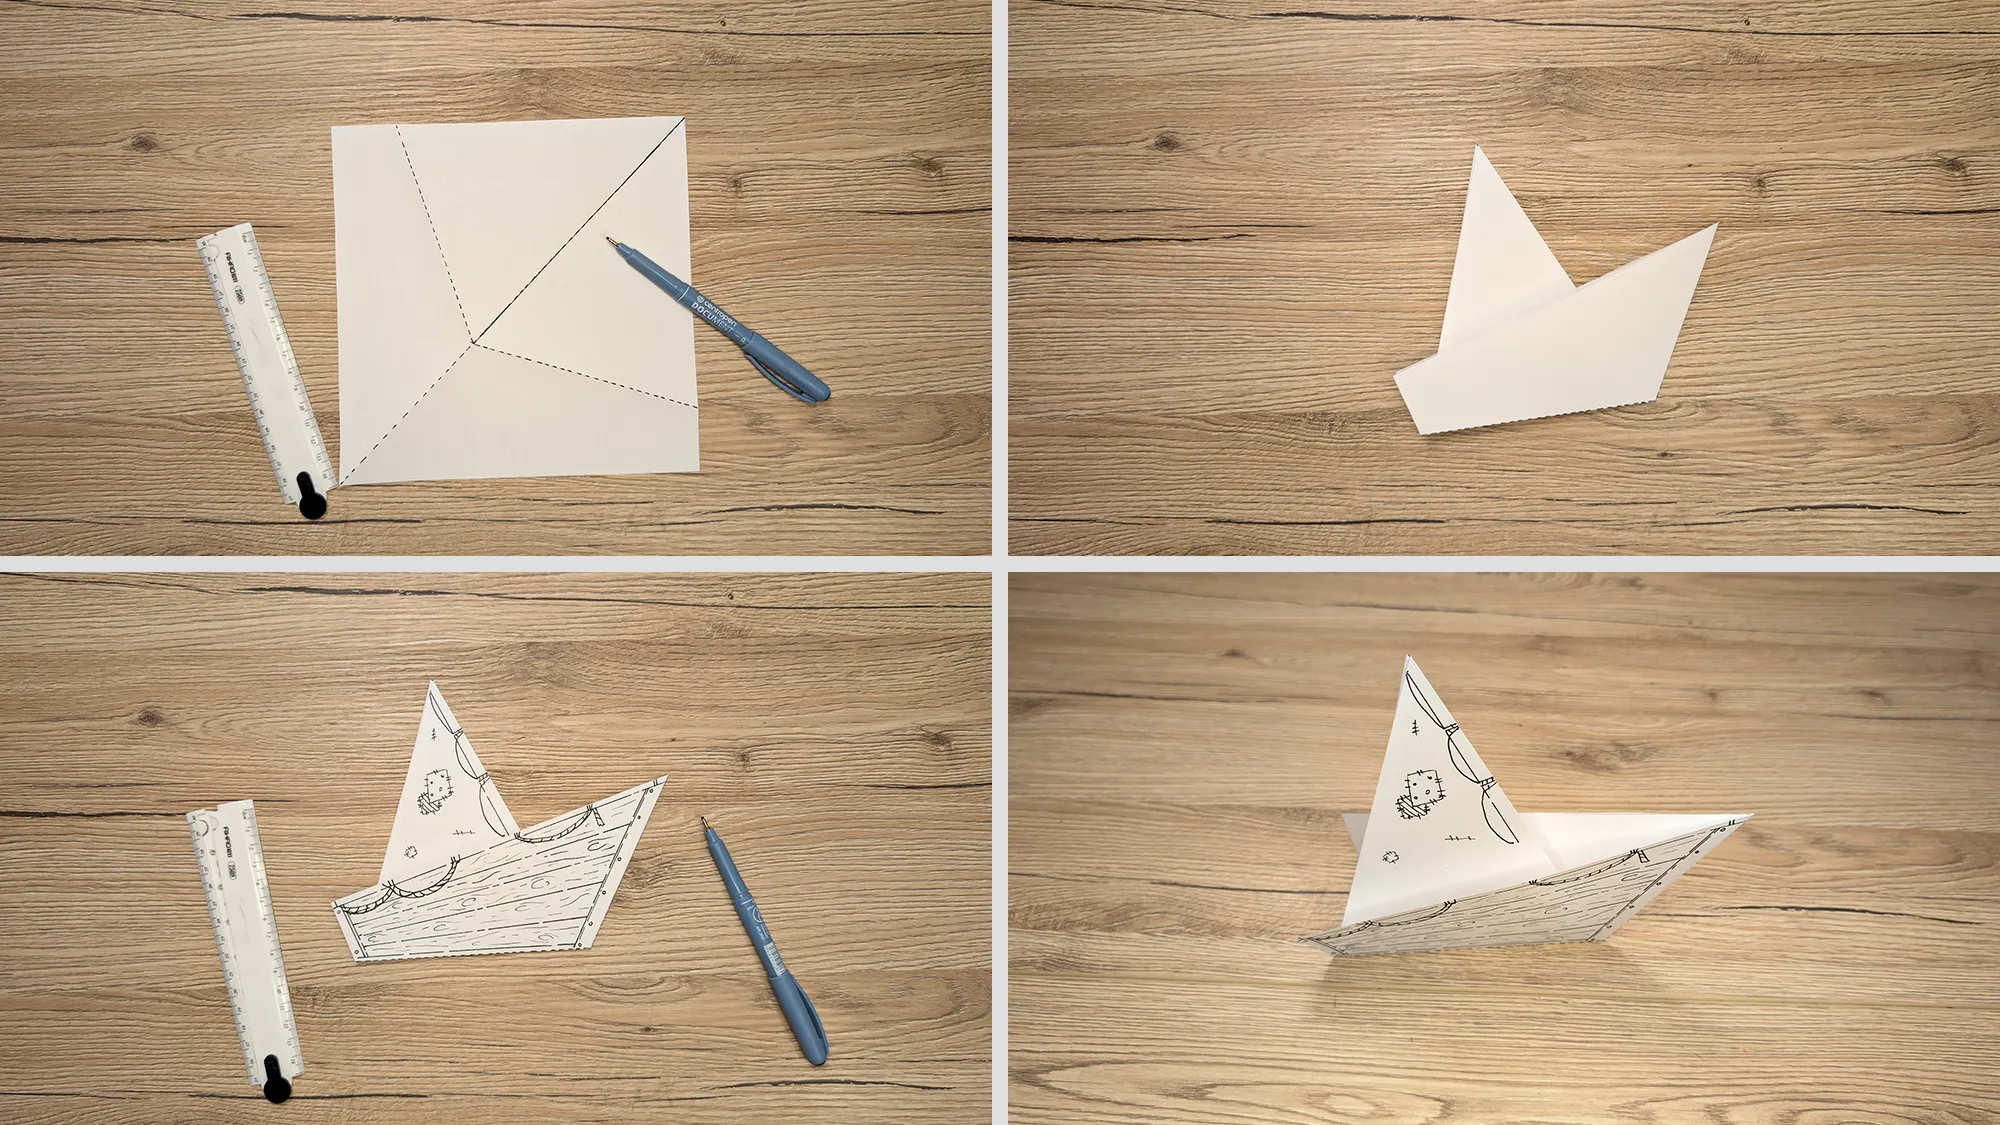
An Origami Yacht instantly evokes associations with adventures at sea, explorations, and exciting stories for children. Kids love folding these paper boats because they can then play with them in the bathtub, in puddles, or in small water basins. The folded yacht can also be beautifully painted and decorated to create a whole fleet or serve as part of a creative story.
Folding paper promotes perseverance, concentration, and attention to detail. Most importantly, it teaches the understanding that one must start over if a step is executed incorrectly. It teaches us to work slowly but thoroughly. When we fold origami, we are essentially training our persistence in learning something new, as well as our discipline. Origami is beneficial not only for children but also for older adults. It keeps the fingers agile, improves fine motor skills, and is a wonderful exercise for the brain, which can counteract age-related cognitive decline.
Origami Yacht: Instructions with Photos and Text Description
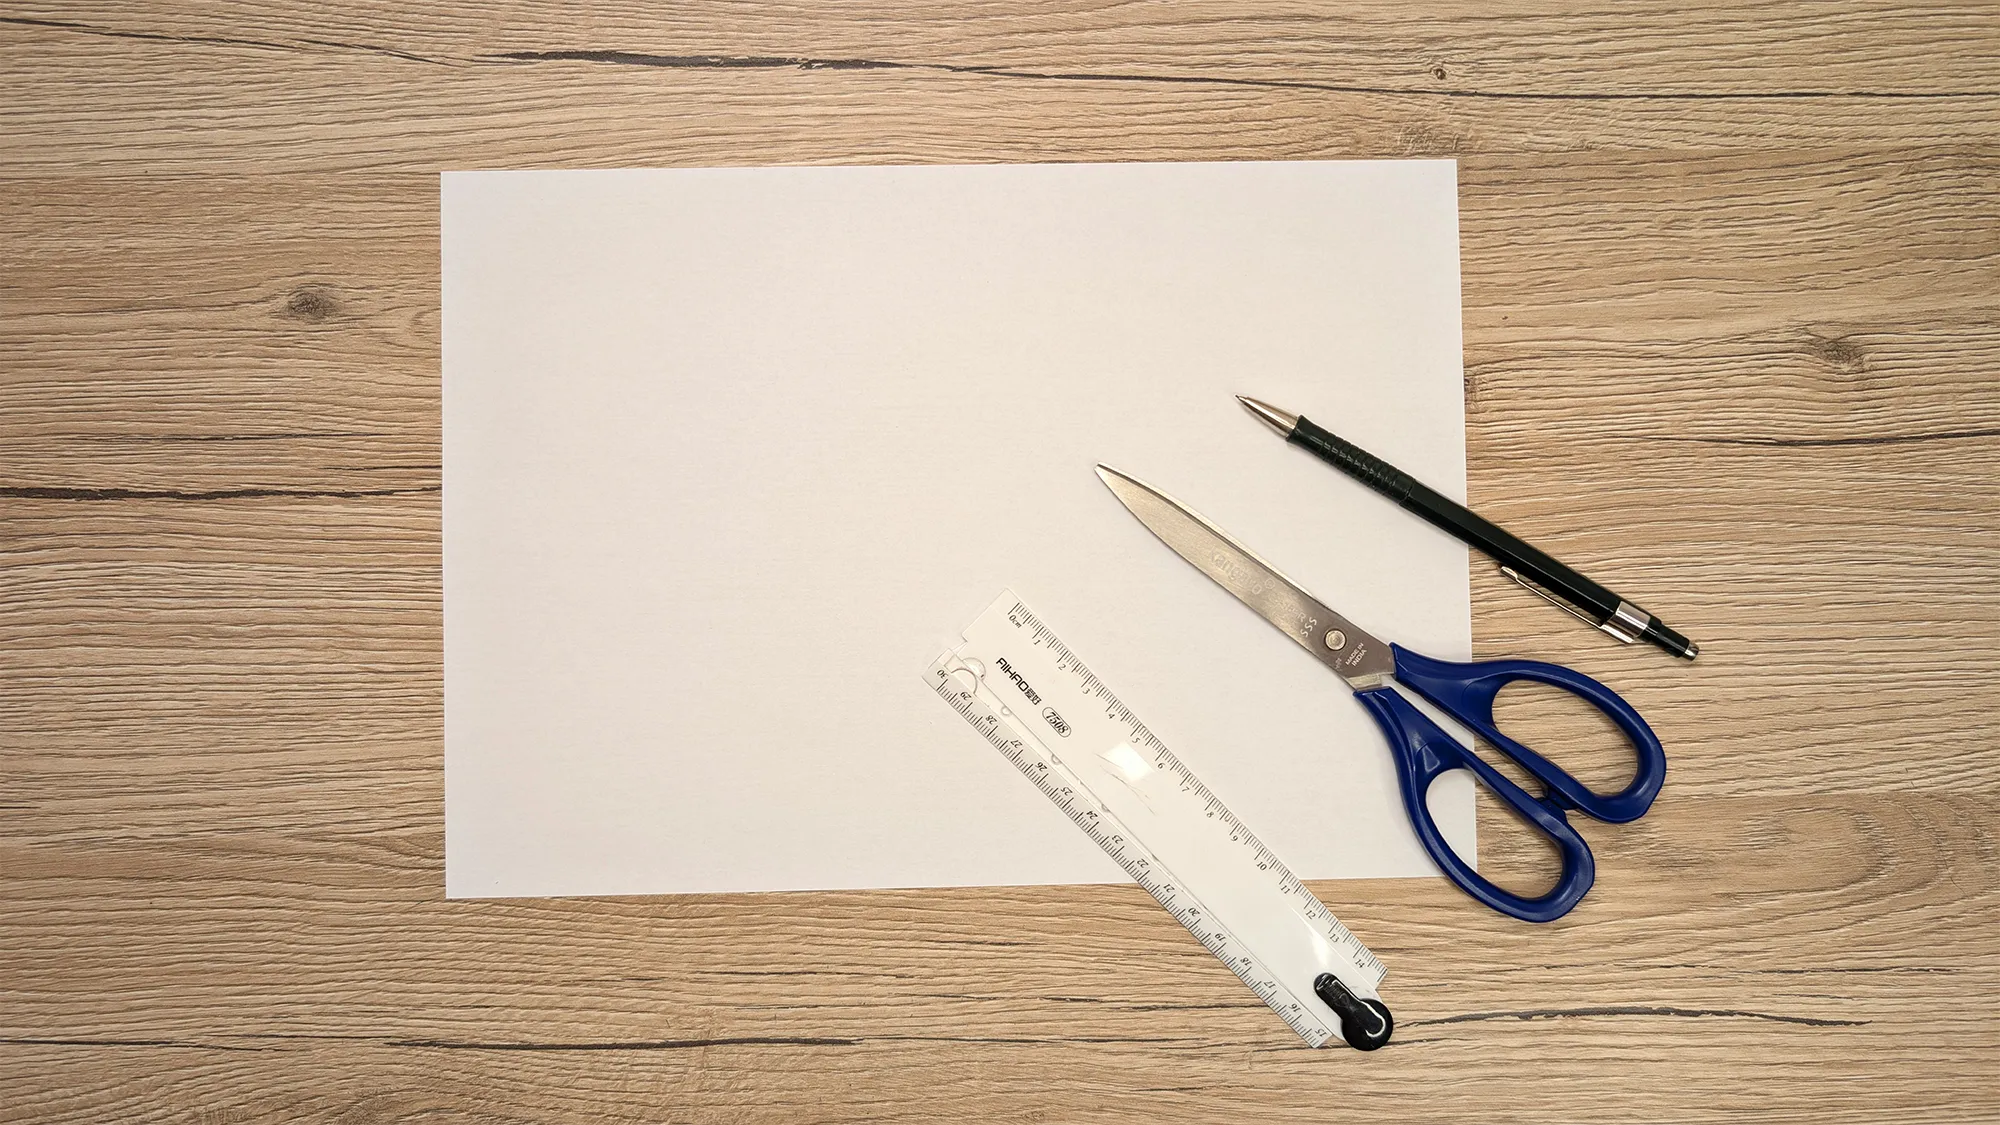
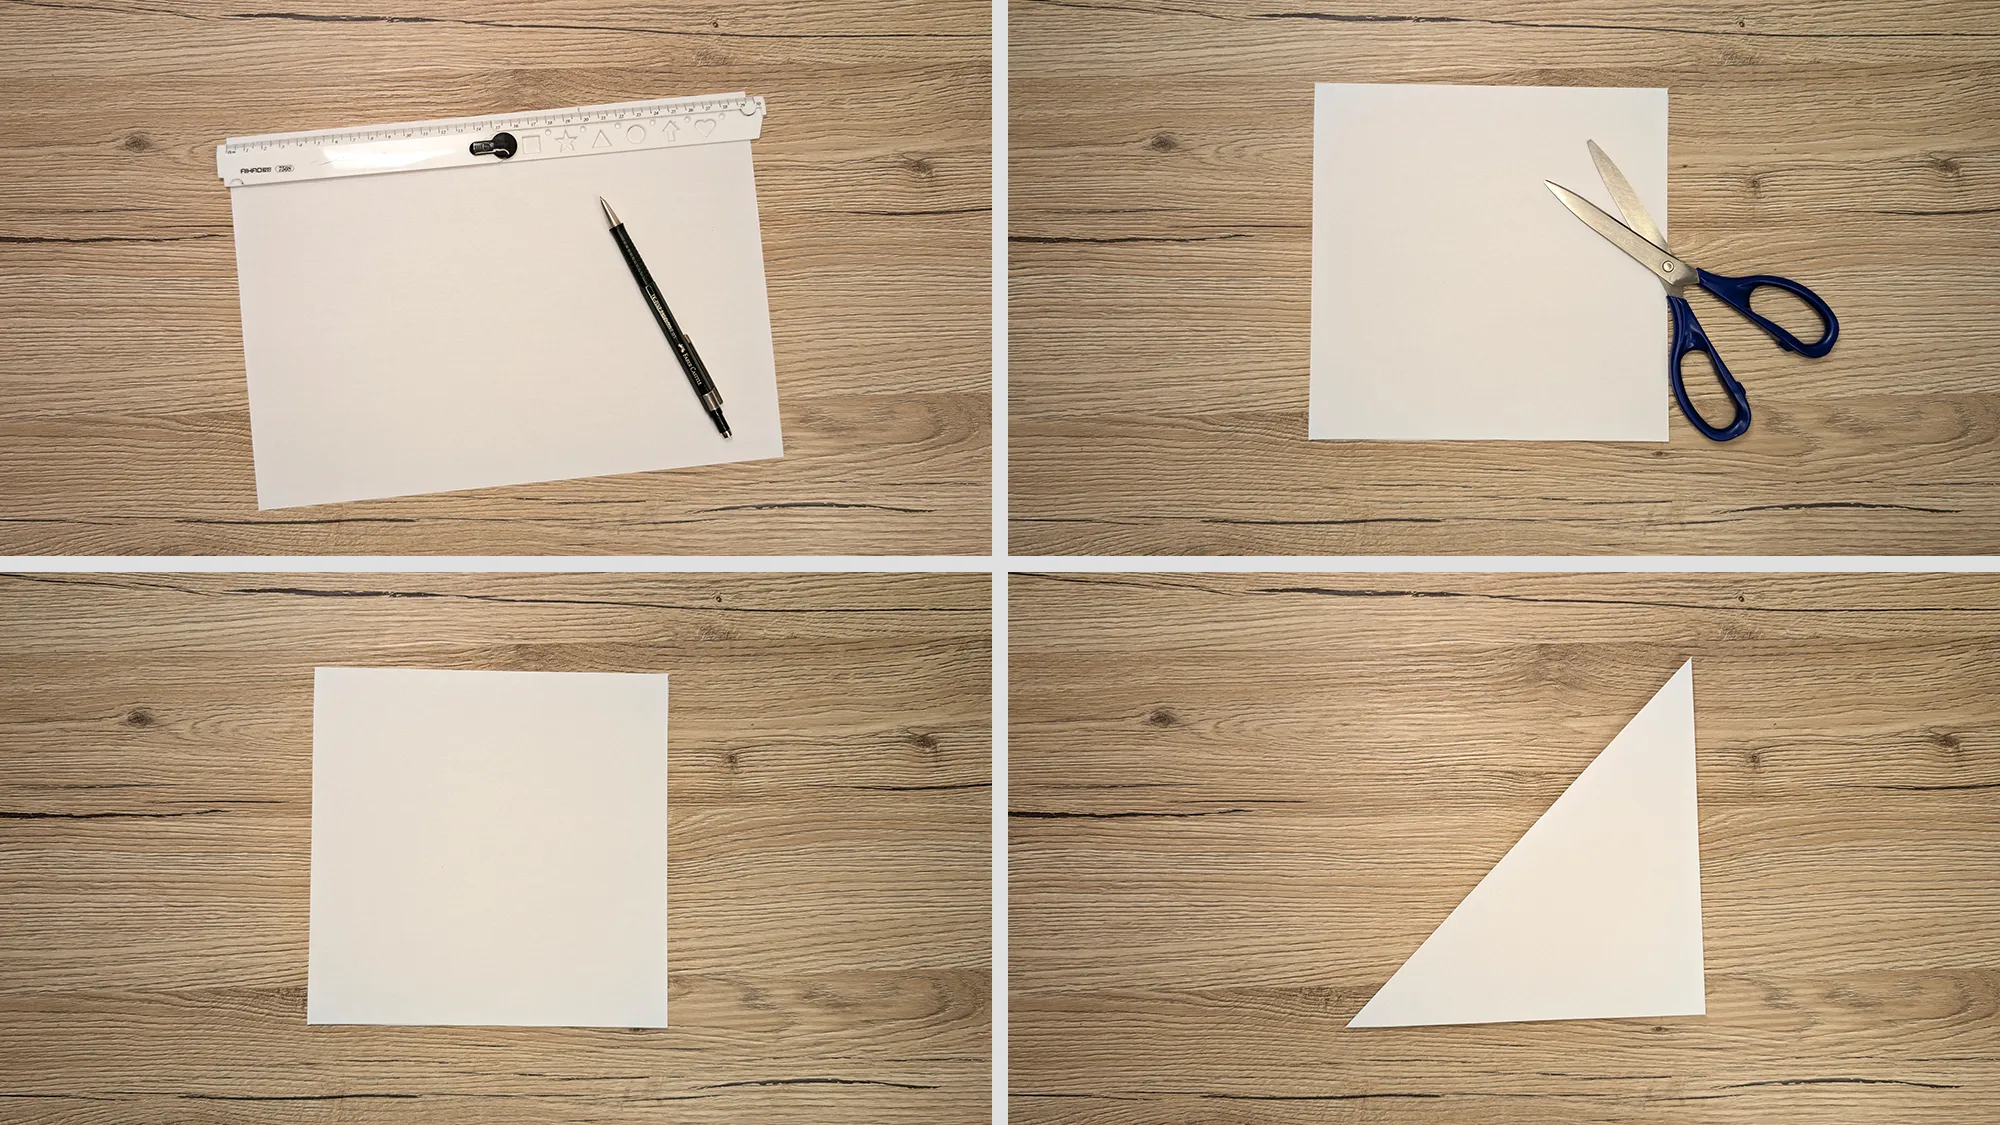
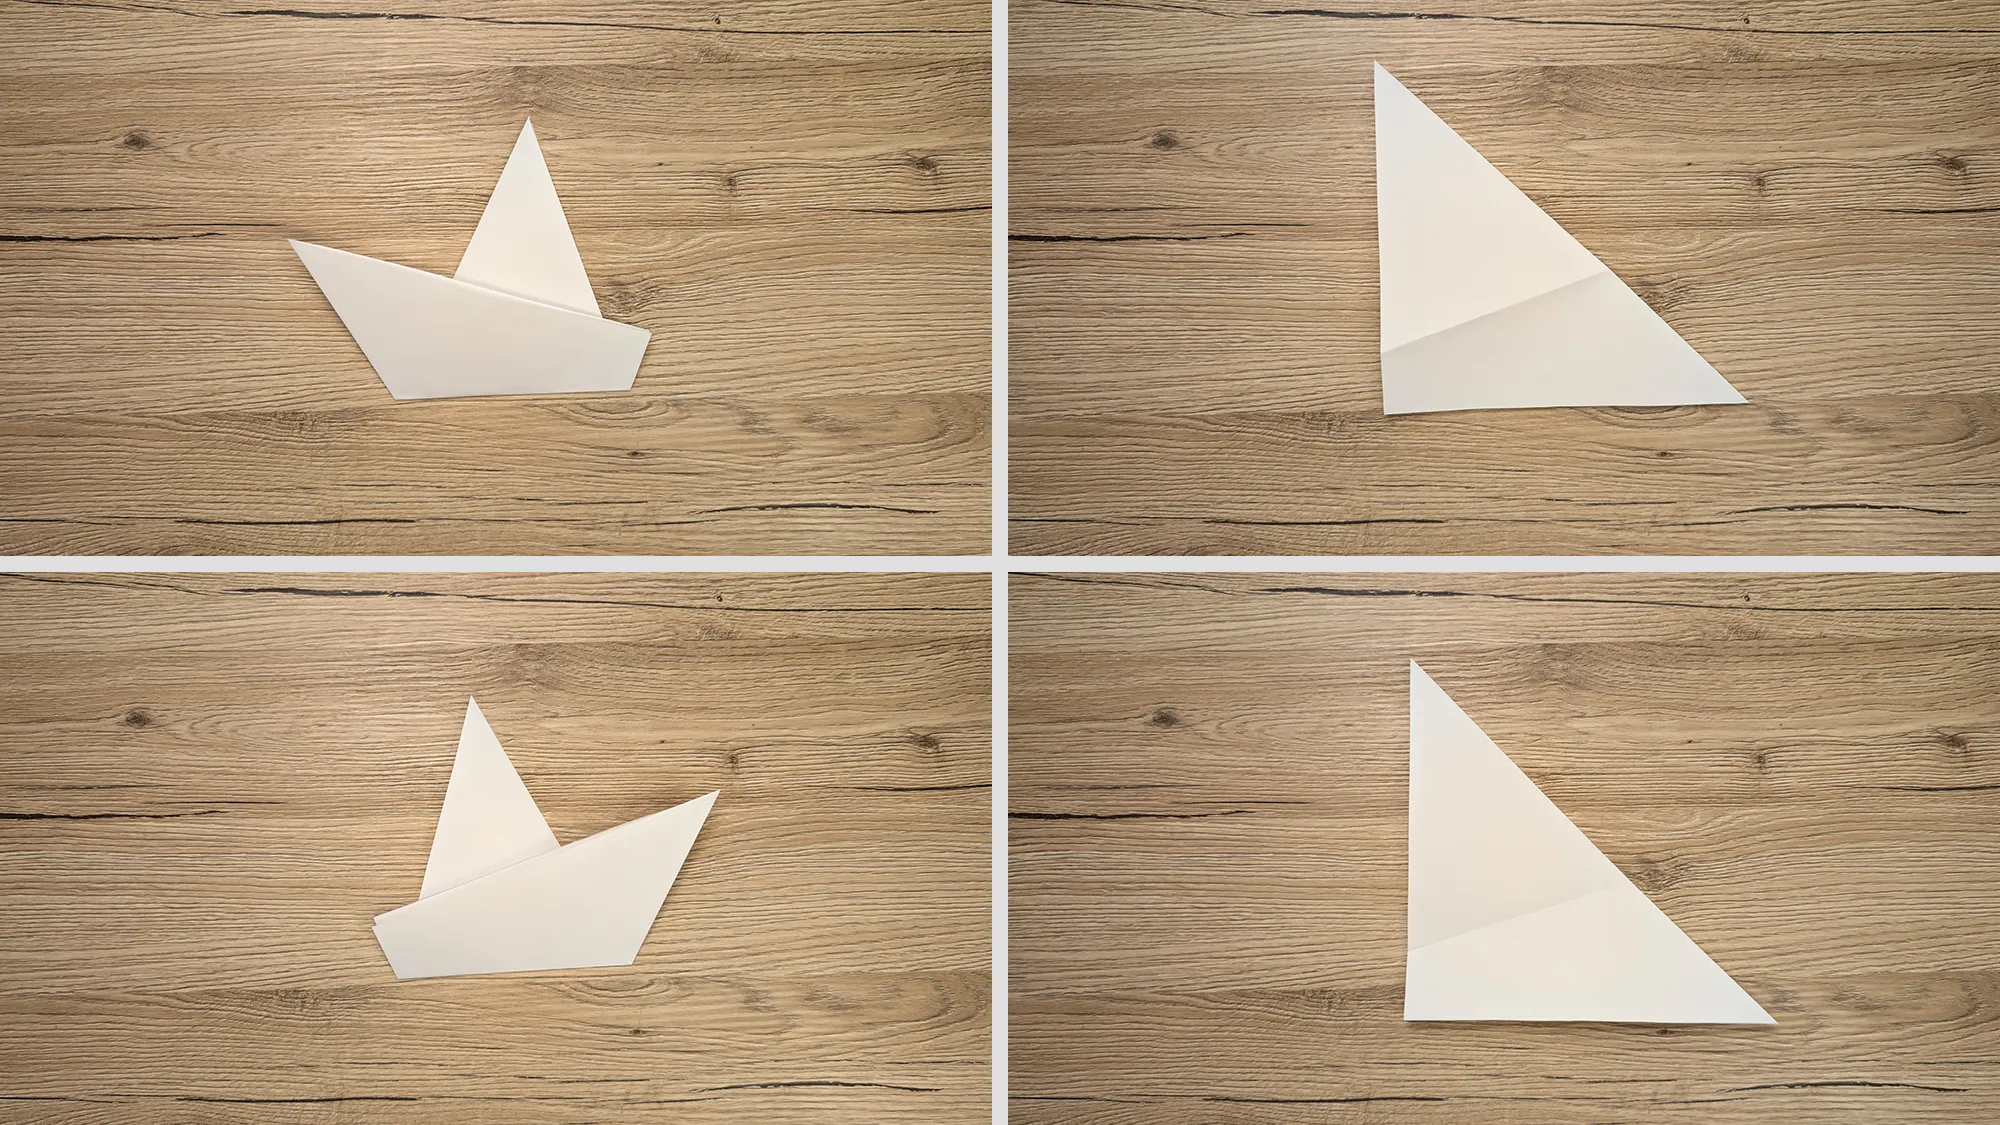
Before you start folding your Origami Yacht, we recommend watching the video once or twice. For a better result, you can use special origami paper. This is sold in almost all stationery stores. A pack usually contains square sheets in different colors. The advantage of origami paper is its thinner thickness, making it easier to fold.


Origami Yacht: Conclusion and Message to the Reader
Thank you very much for trying our guide to folding an Origami Yacht! We are very pleased if you enjoyed the crafting and are satisfied with your result.
Are you interested in more creative projects? Then feel free to browse through our other guides. Check out our DIY ideas for kids or discover more exciting origami figures to fold. You might also be interested in our guide, How to Fold Money for Gifts - particularly handy for special occasions!
We create each of our guides with great care ourselves - we test every fold, film the videos by hand, and take all photos step by step. This really takes a lot of time, but when we see that our guides bring joy to you and perhaps your child, then all the effort was worth it and truly makes us happy!
We would be happy to welcome you back to our portal soon!
From Vitalii Shynakov
