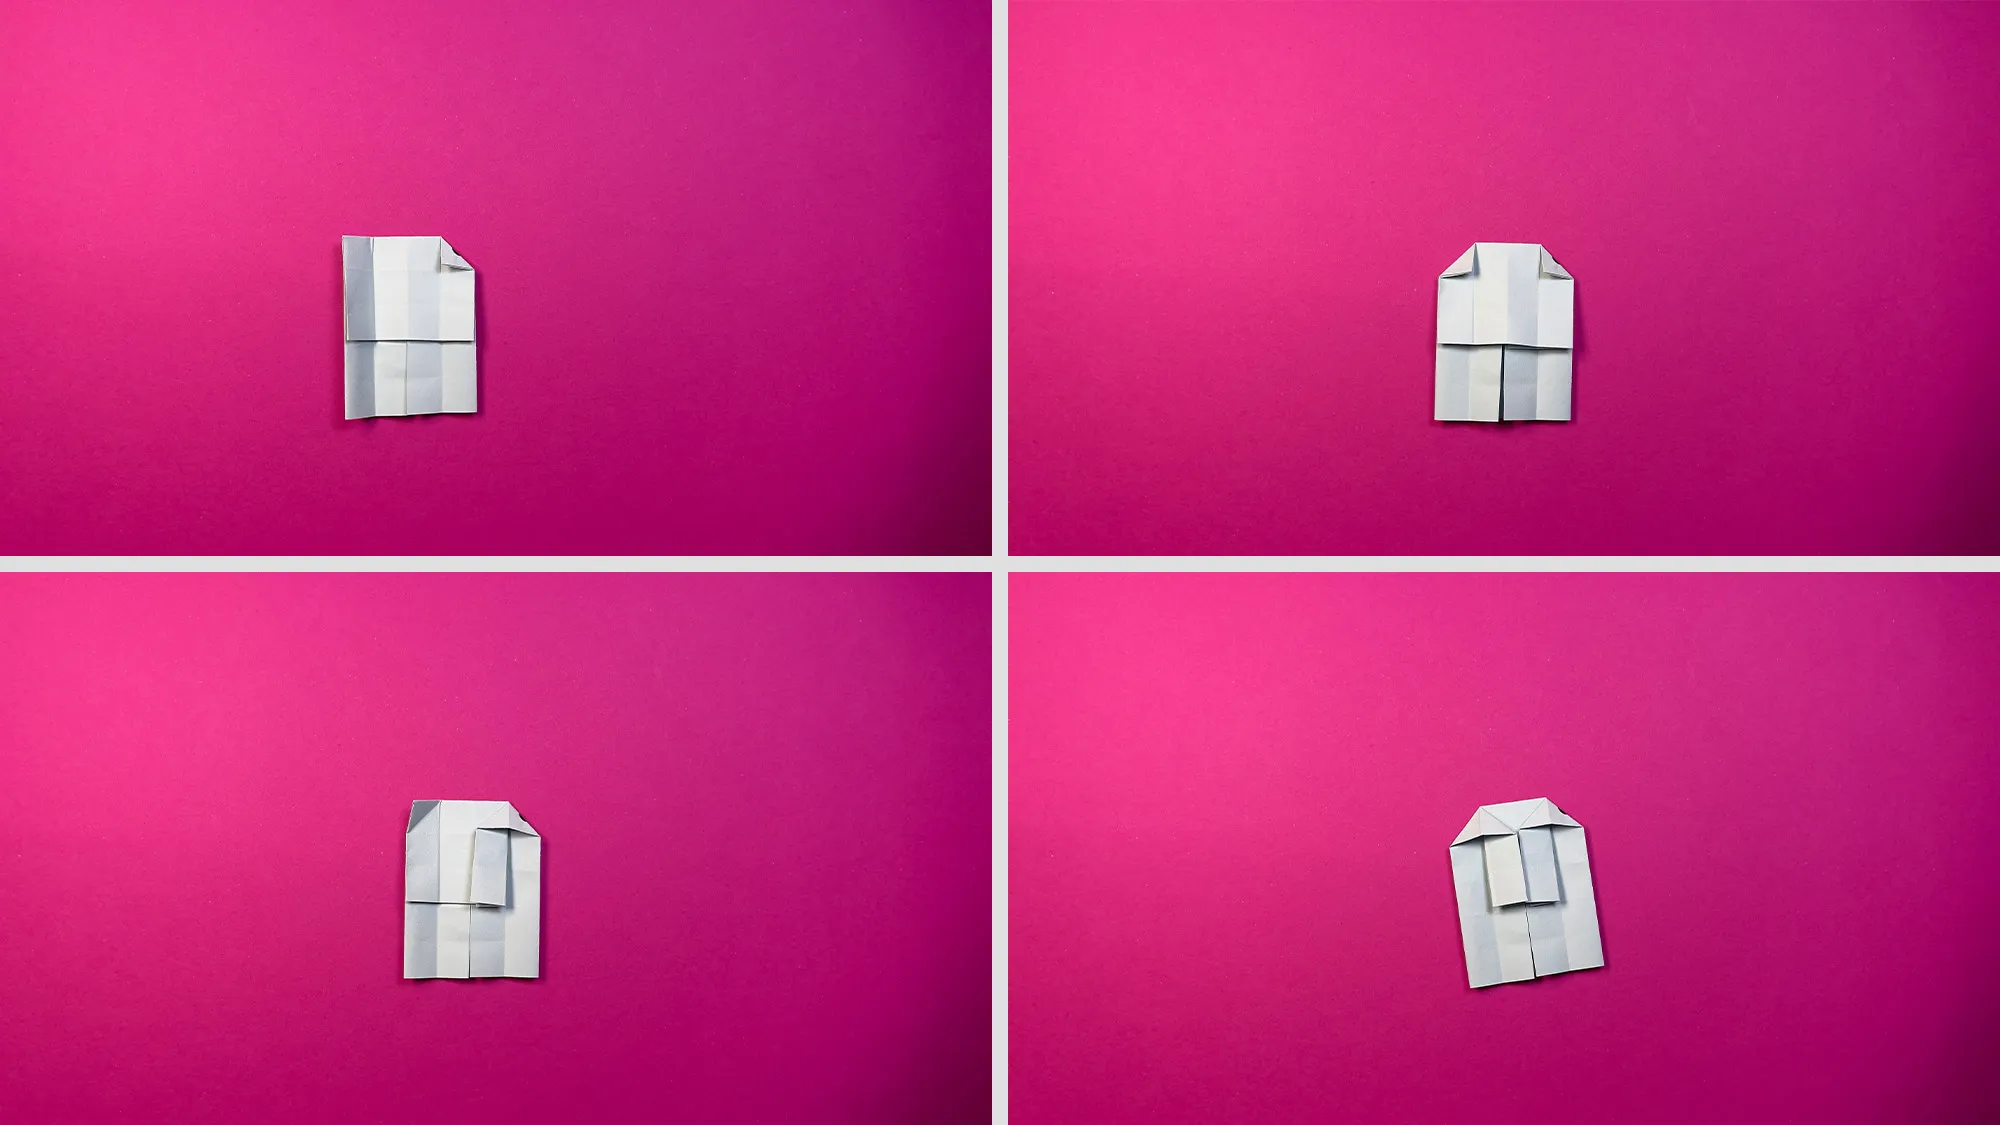
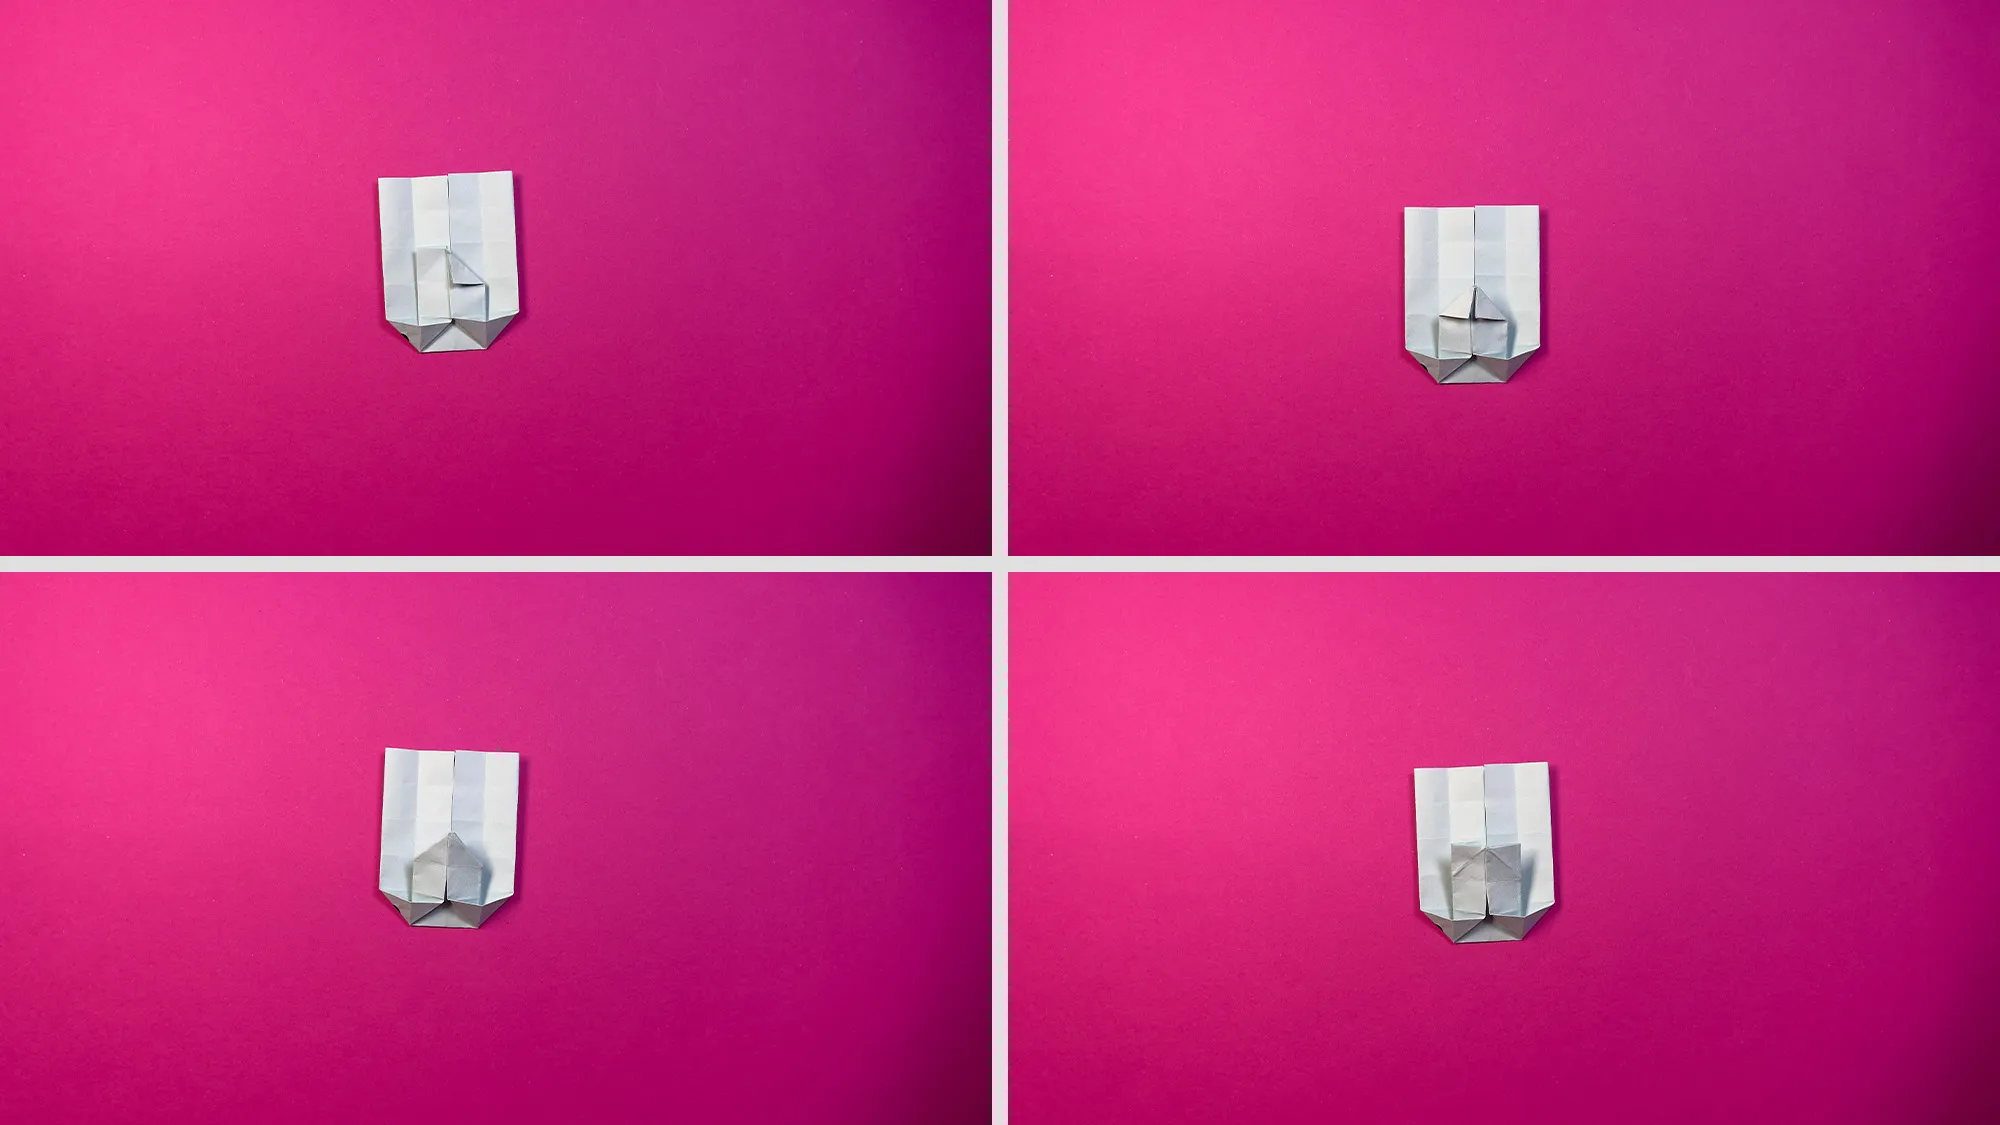
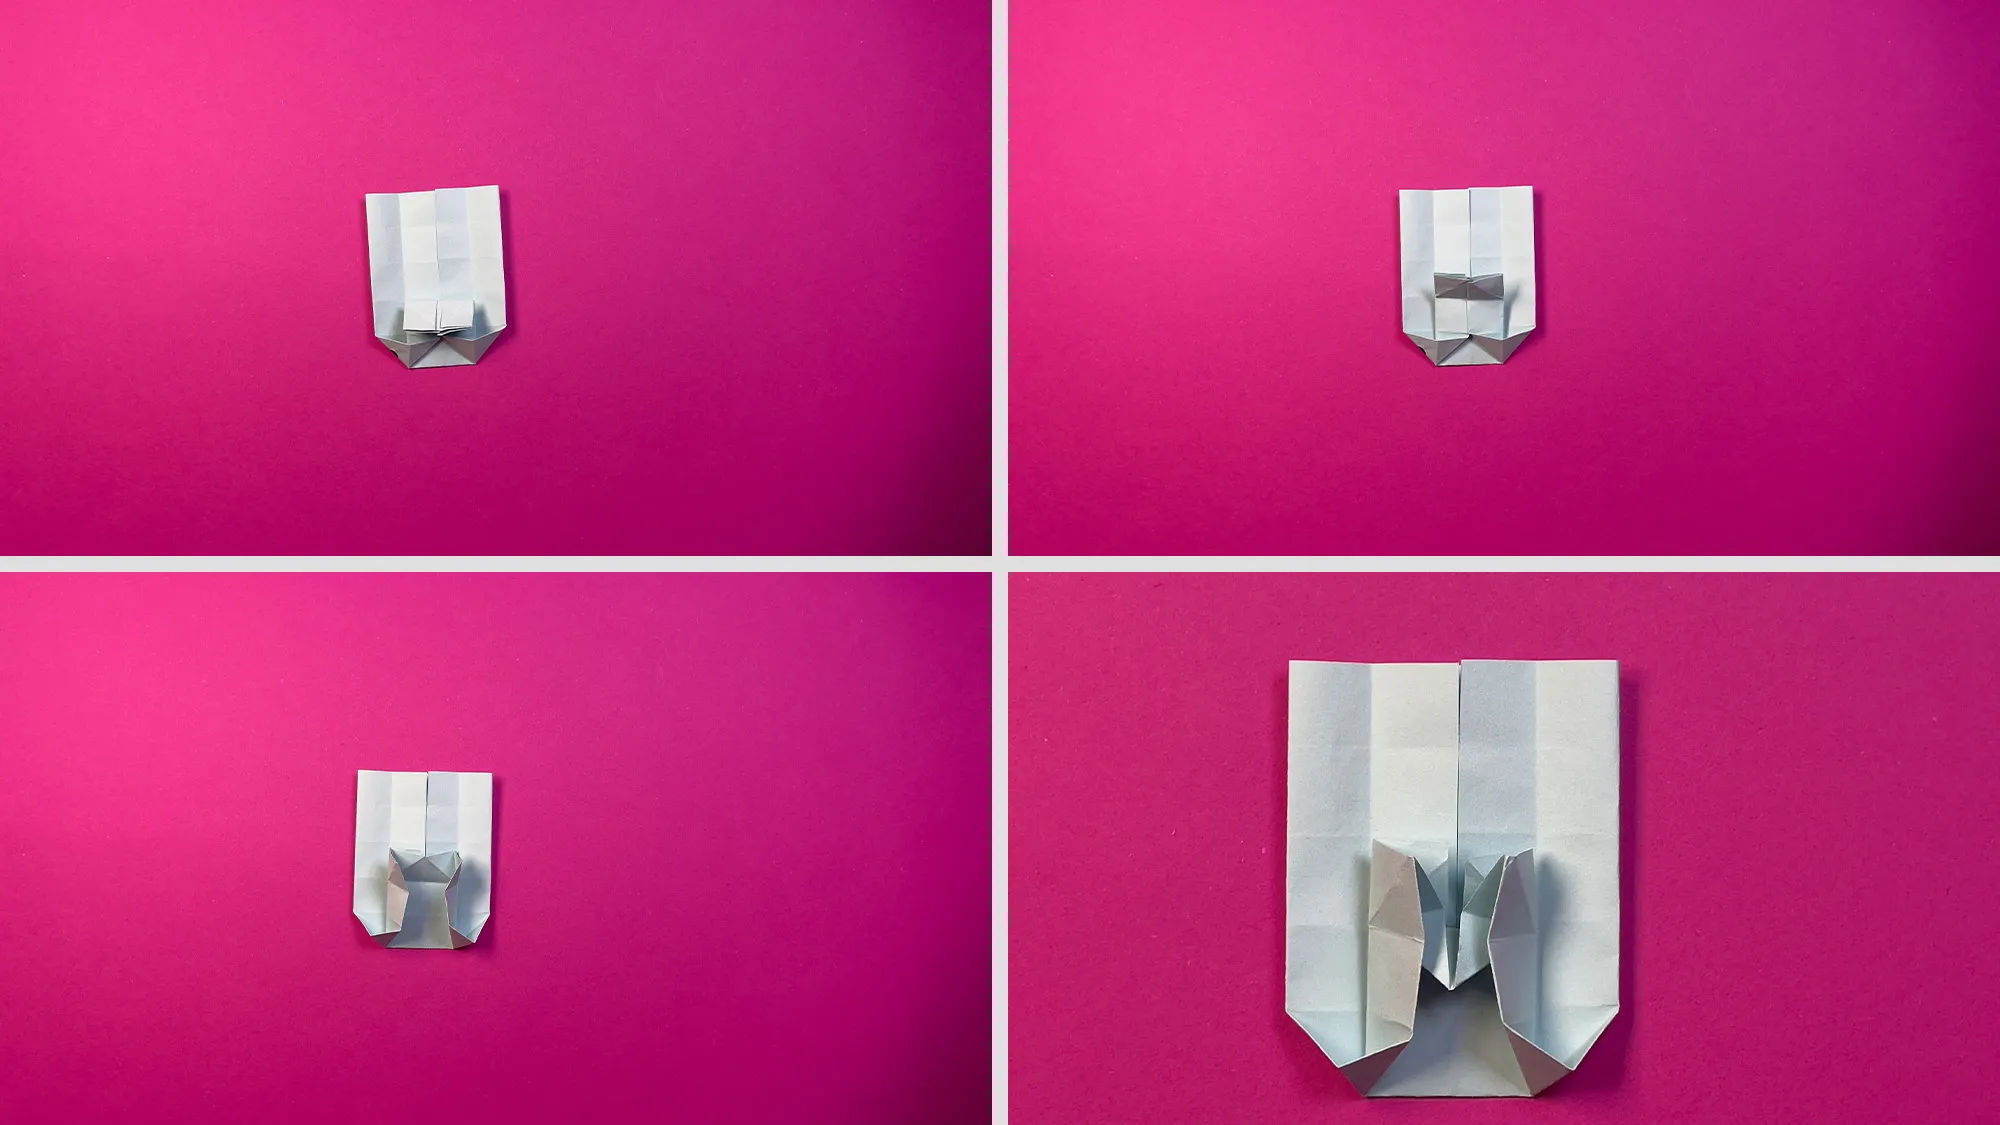
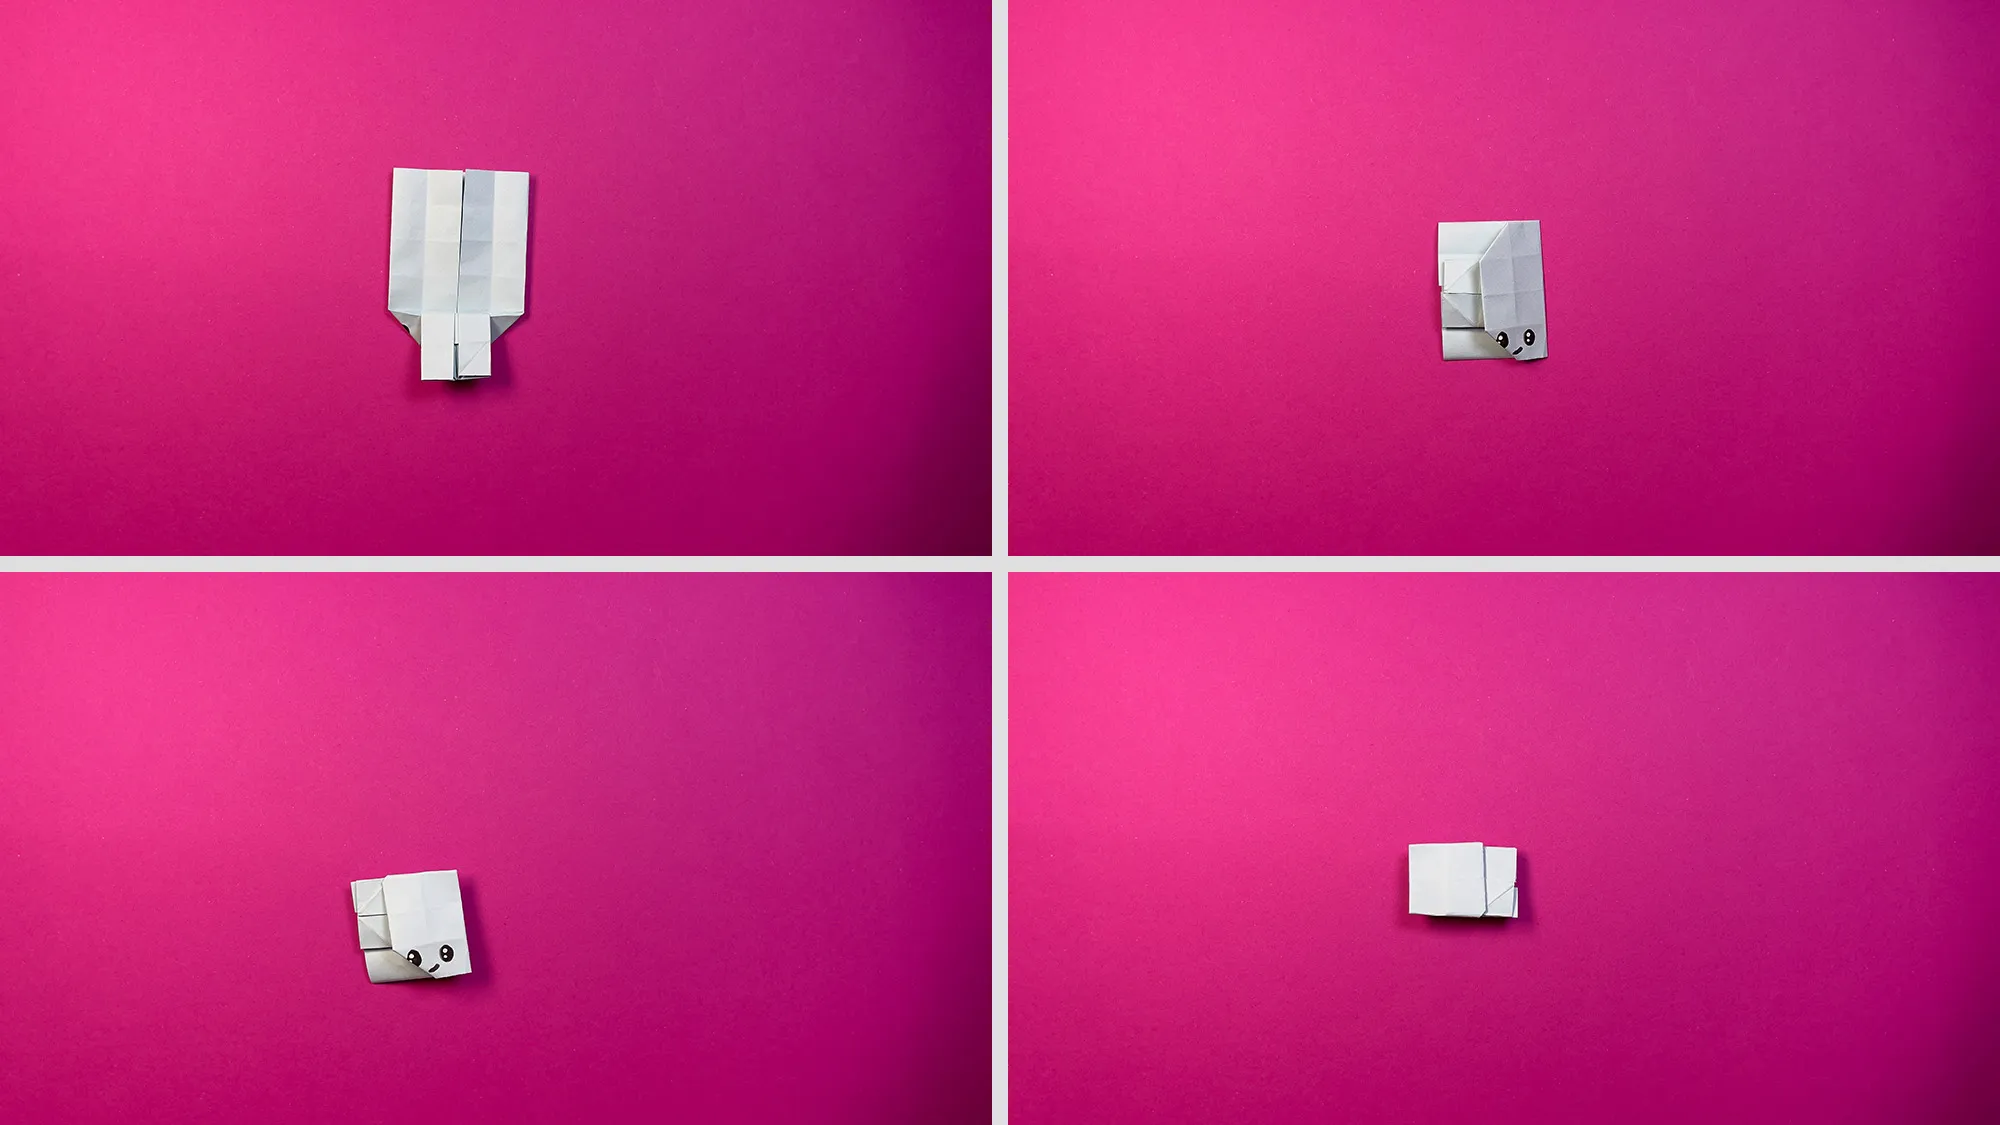
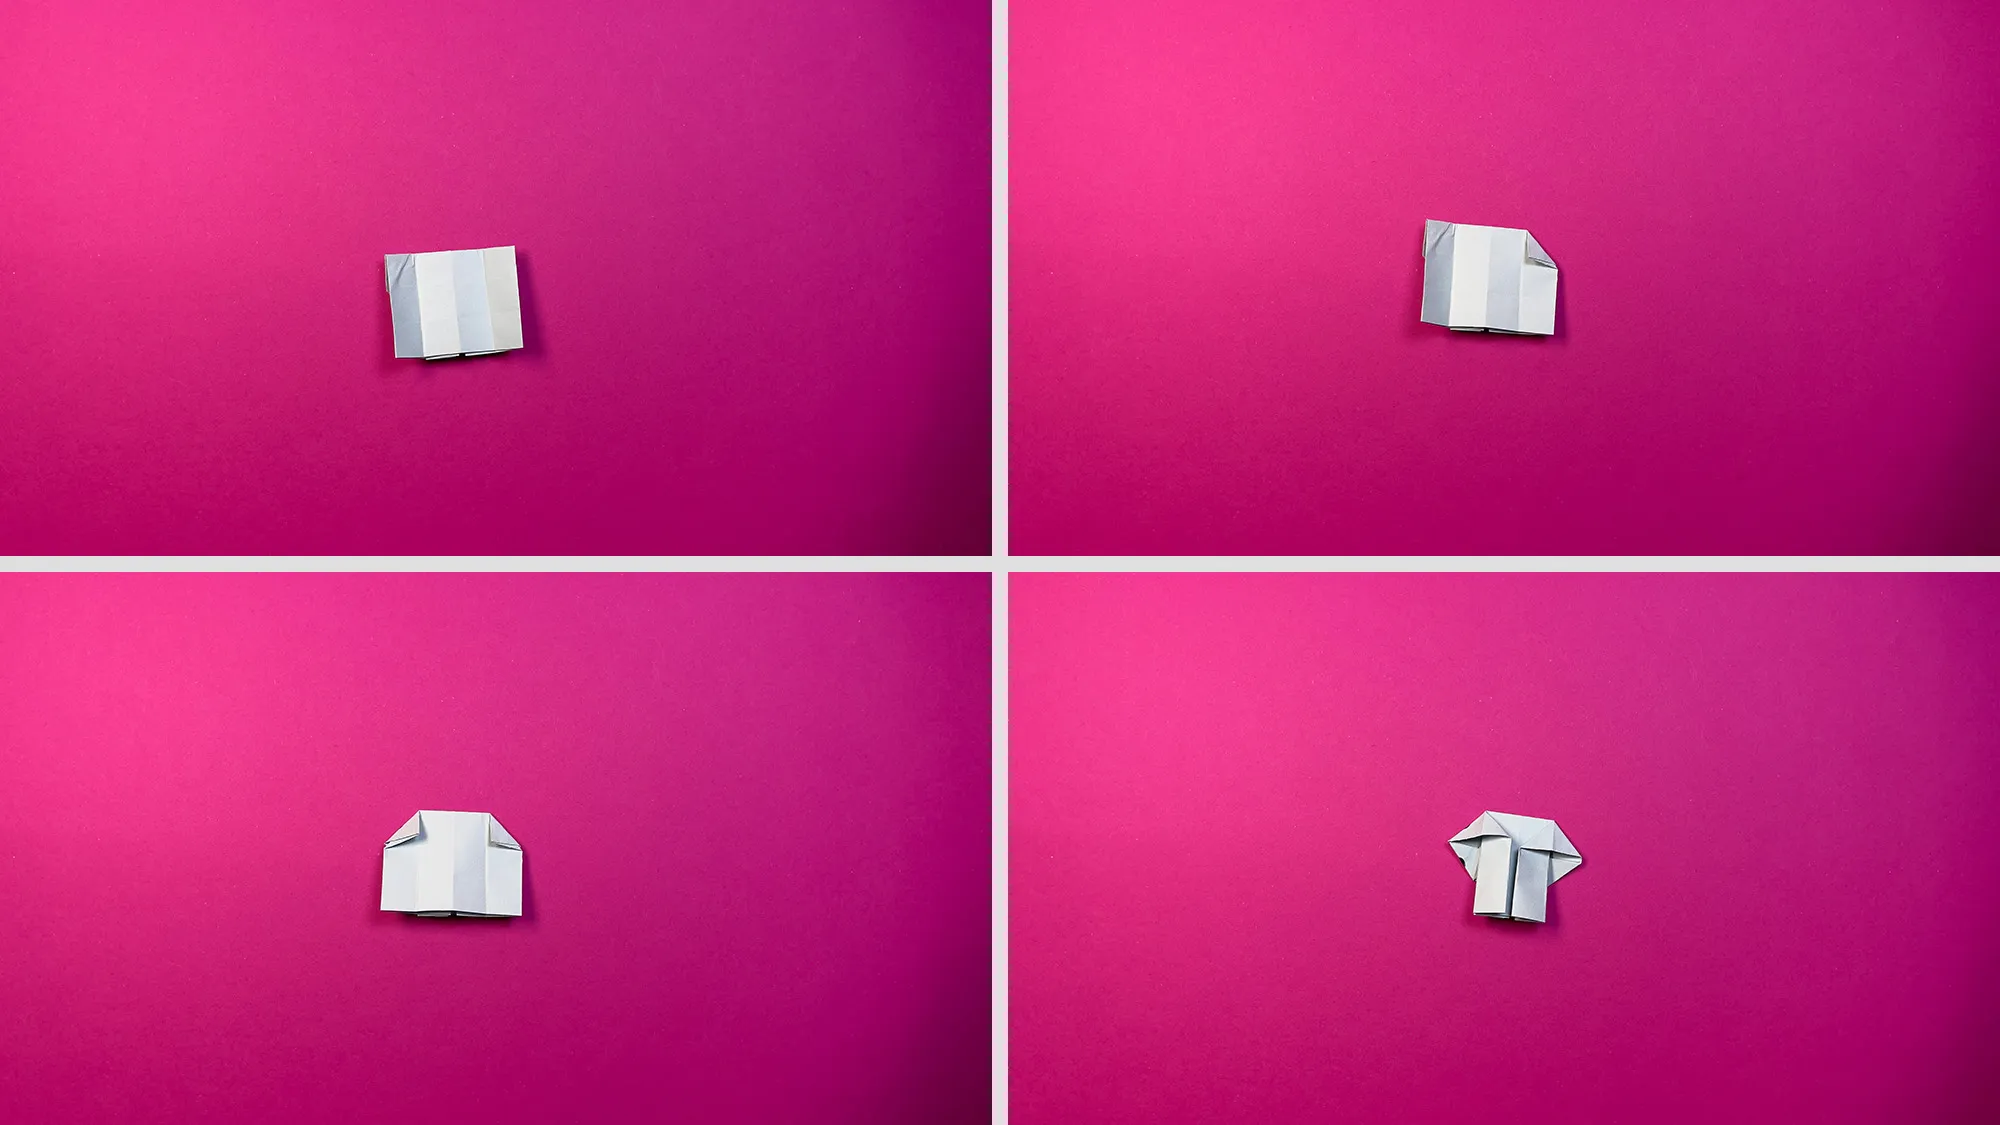
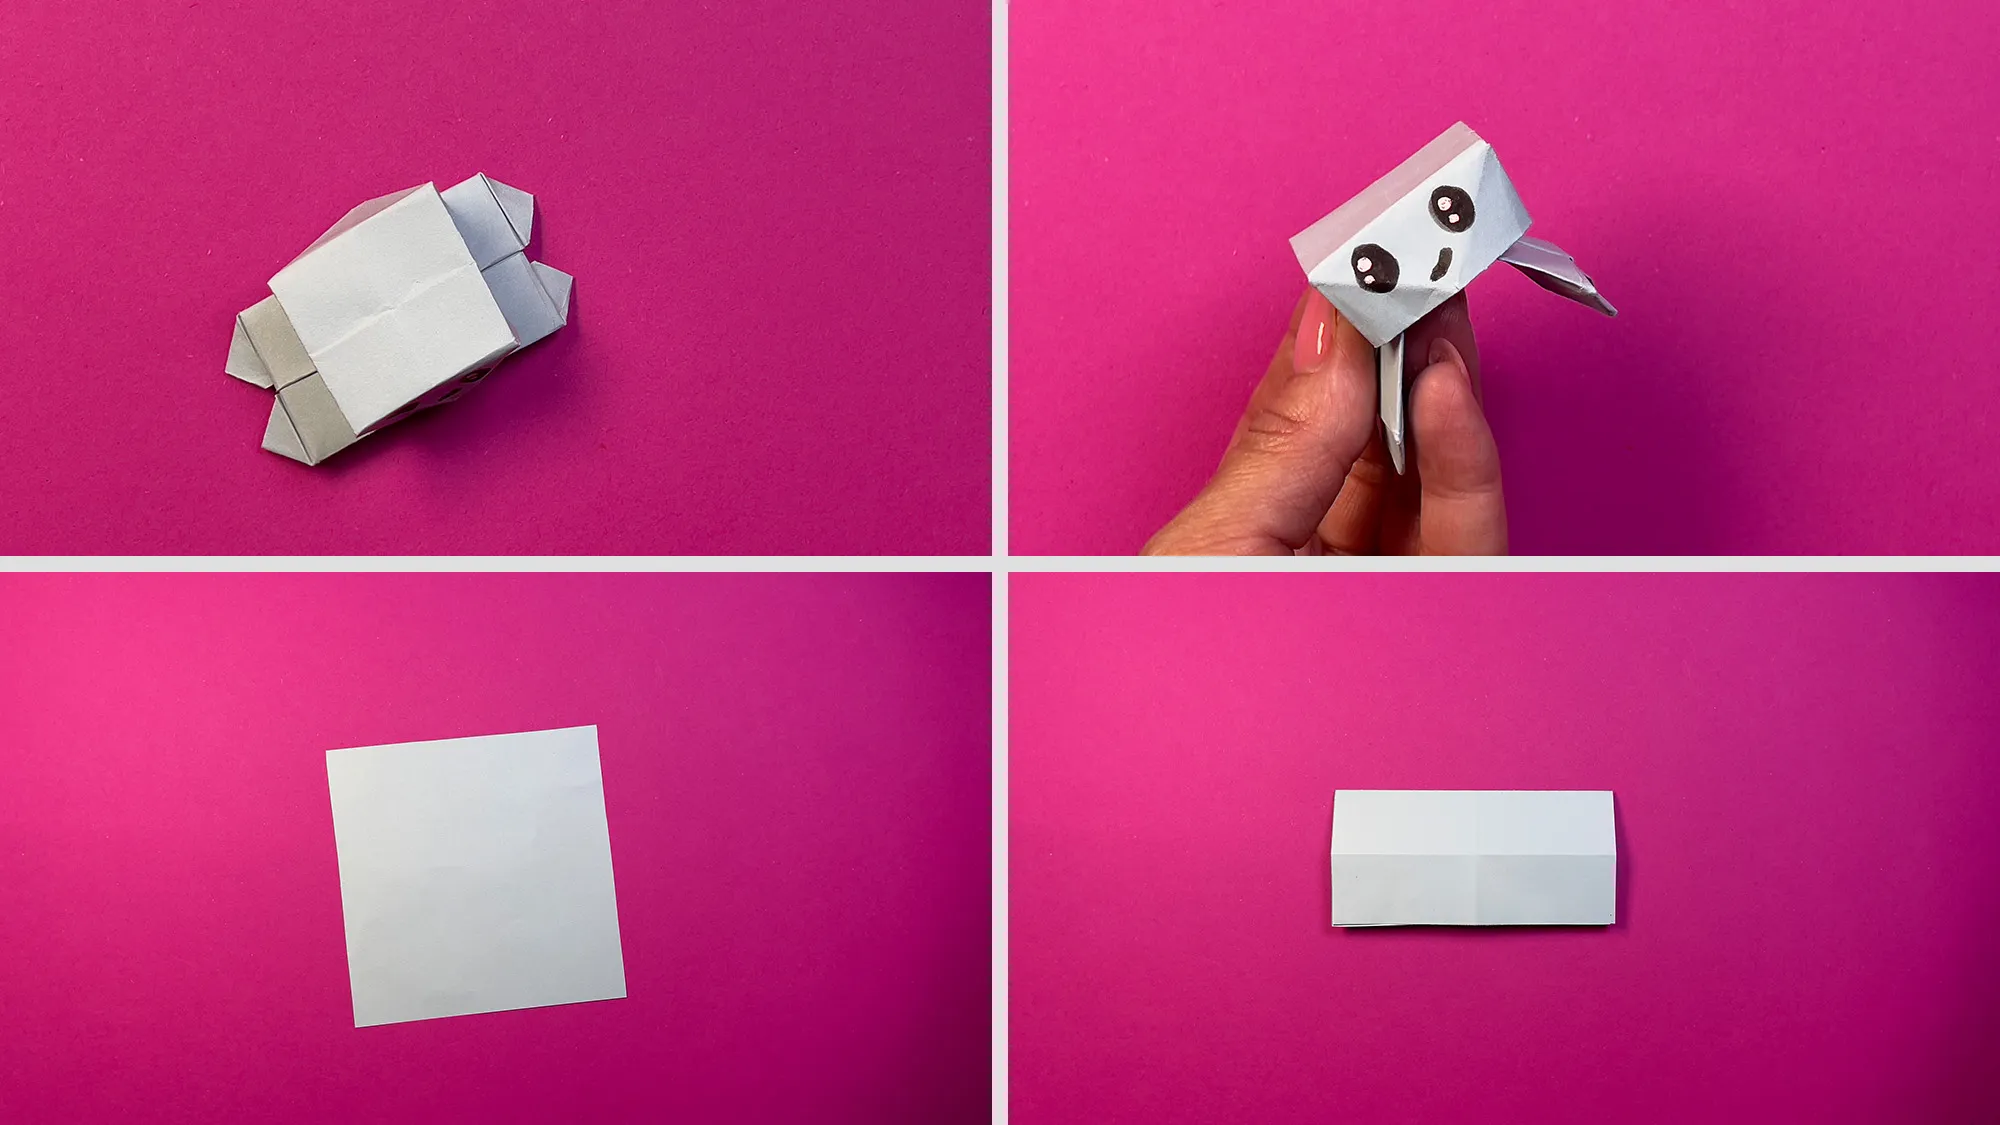
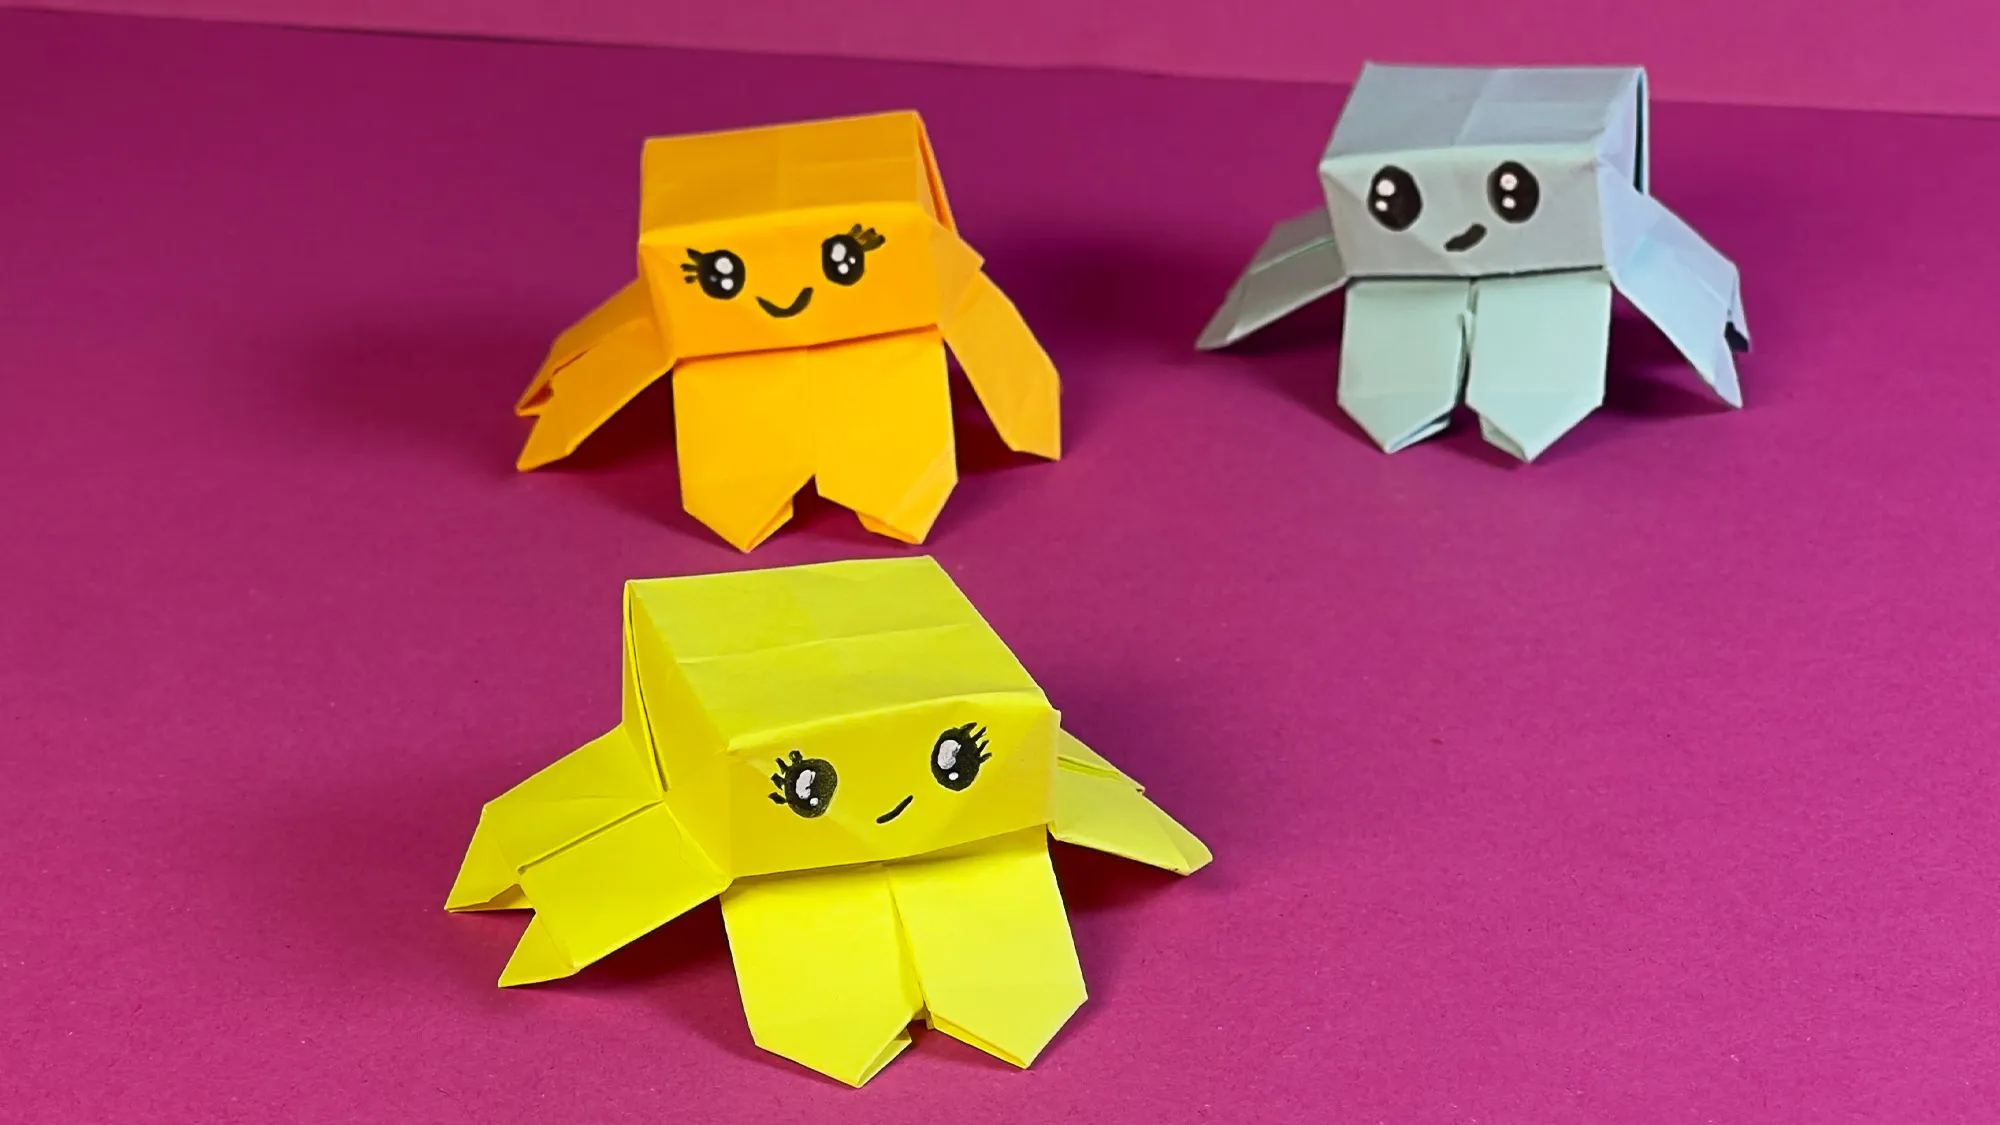
Create a jumping Origami octopus: Simple instructions for children

Hello! Are you looking for a simple yet fascinating origami idea for children? Then we are glad you found us. In this tutorial, I will show you how you can together create a bouncing origami octopus that jumps when you press it!

All the videos and photos you find here have been specially created by us for you. Each of our guides consists of a video tutorial, photographs, and a detailed description of the individual steps. This way, you have no chance of not understanding what and how you need to do it. Before you start folding this fun octopus, watch the video.

If you like how we explain this craft idea, feel free to visit our channel and subscribe to us. We add new instructions for interesting DIY ideas to our channel daily.

Bouncing Octopus: Step-by-Step Guide with Photos and Text Description

For this project, you only need two materials:

  • Square paper in your favorite color
  • Marker to draw the eyes and the smile
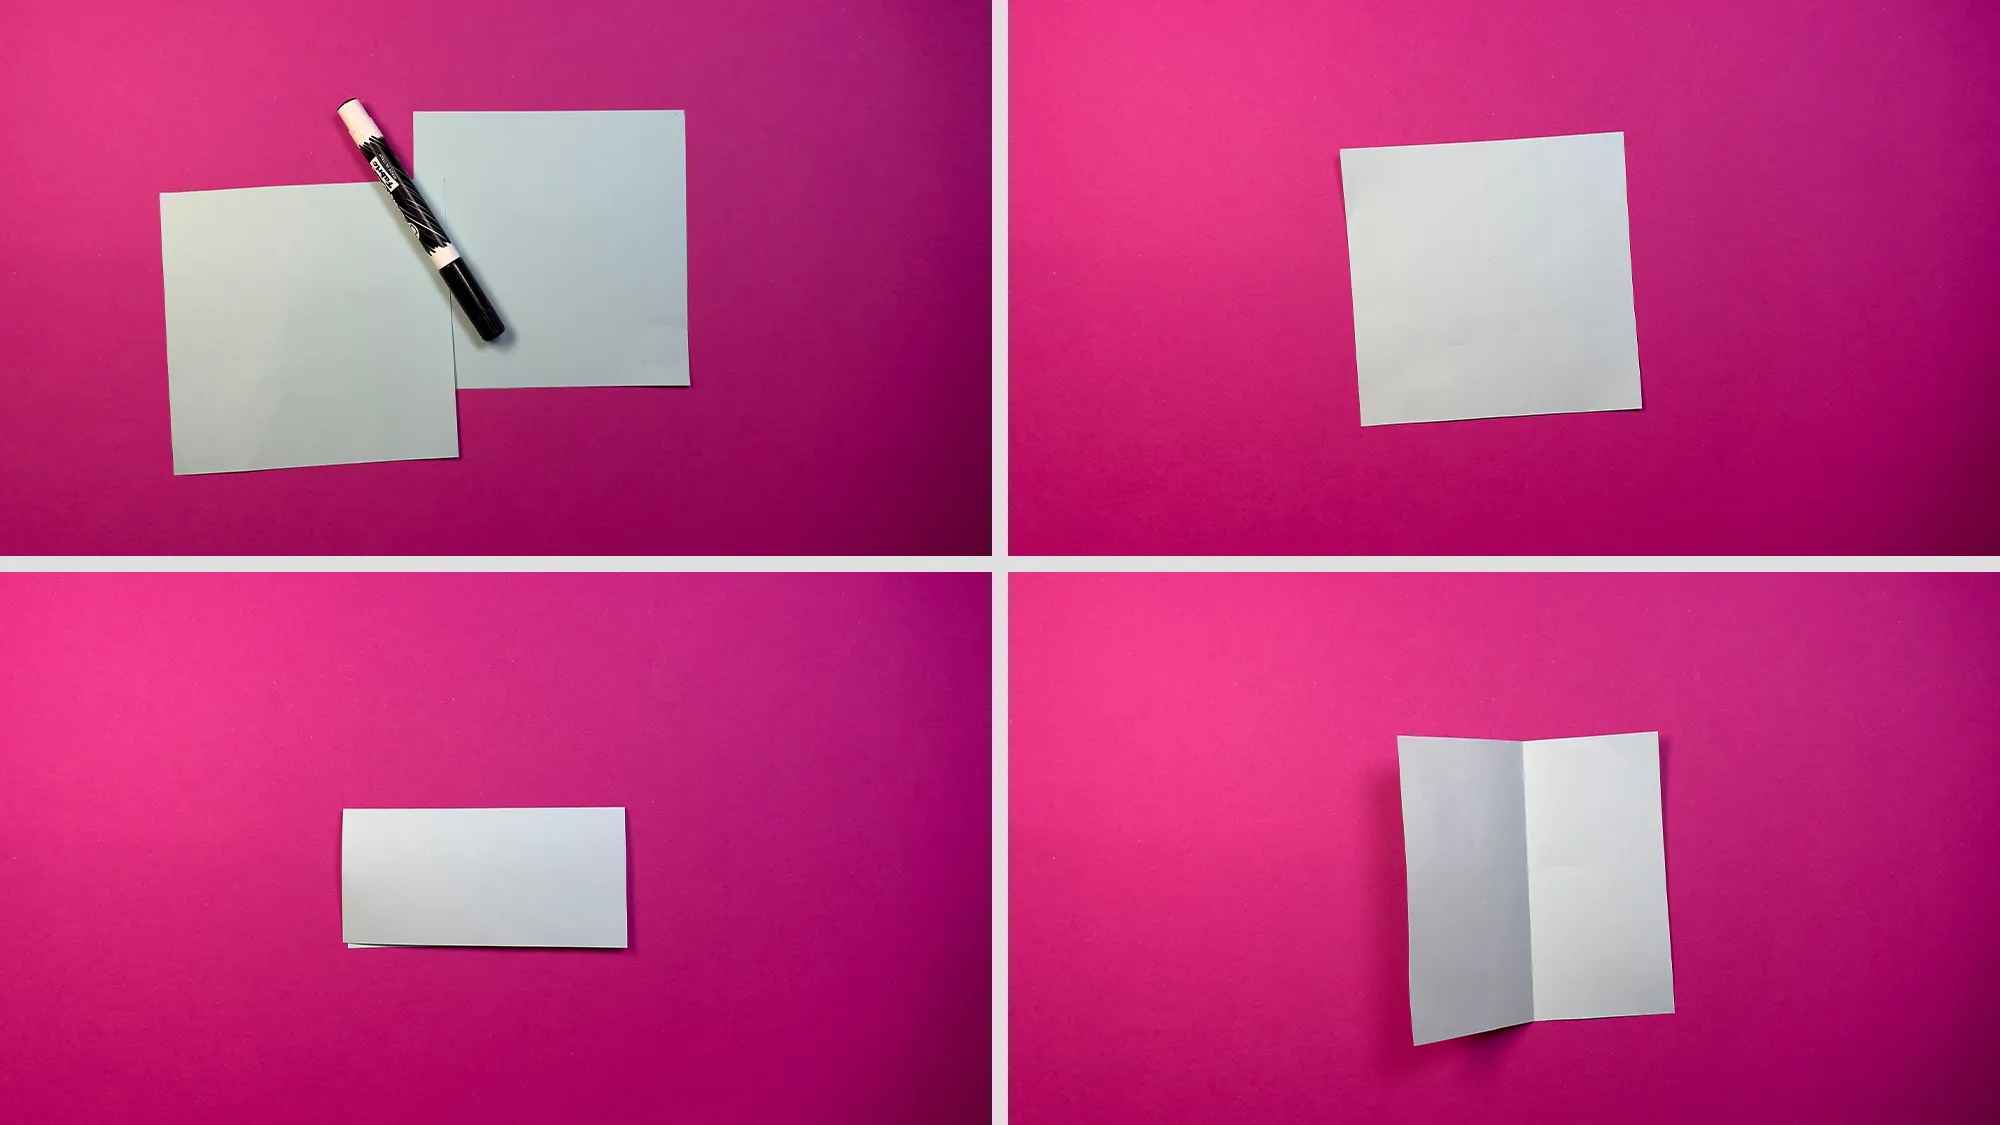
Jumping octopus: Step-by-step guide with photos and text description. The image 1
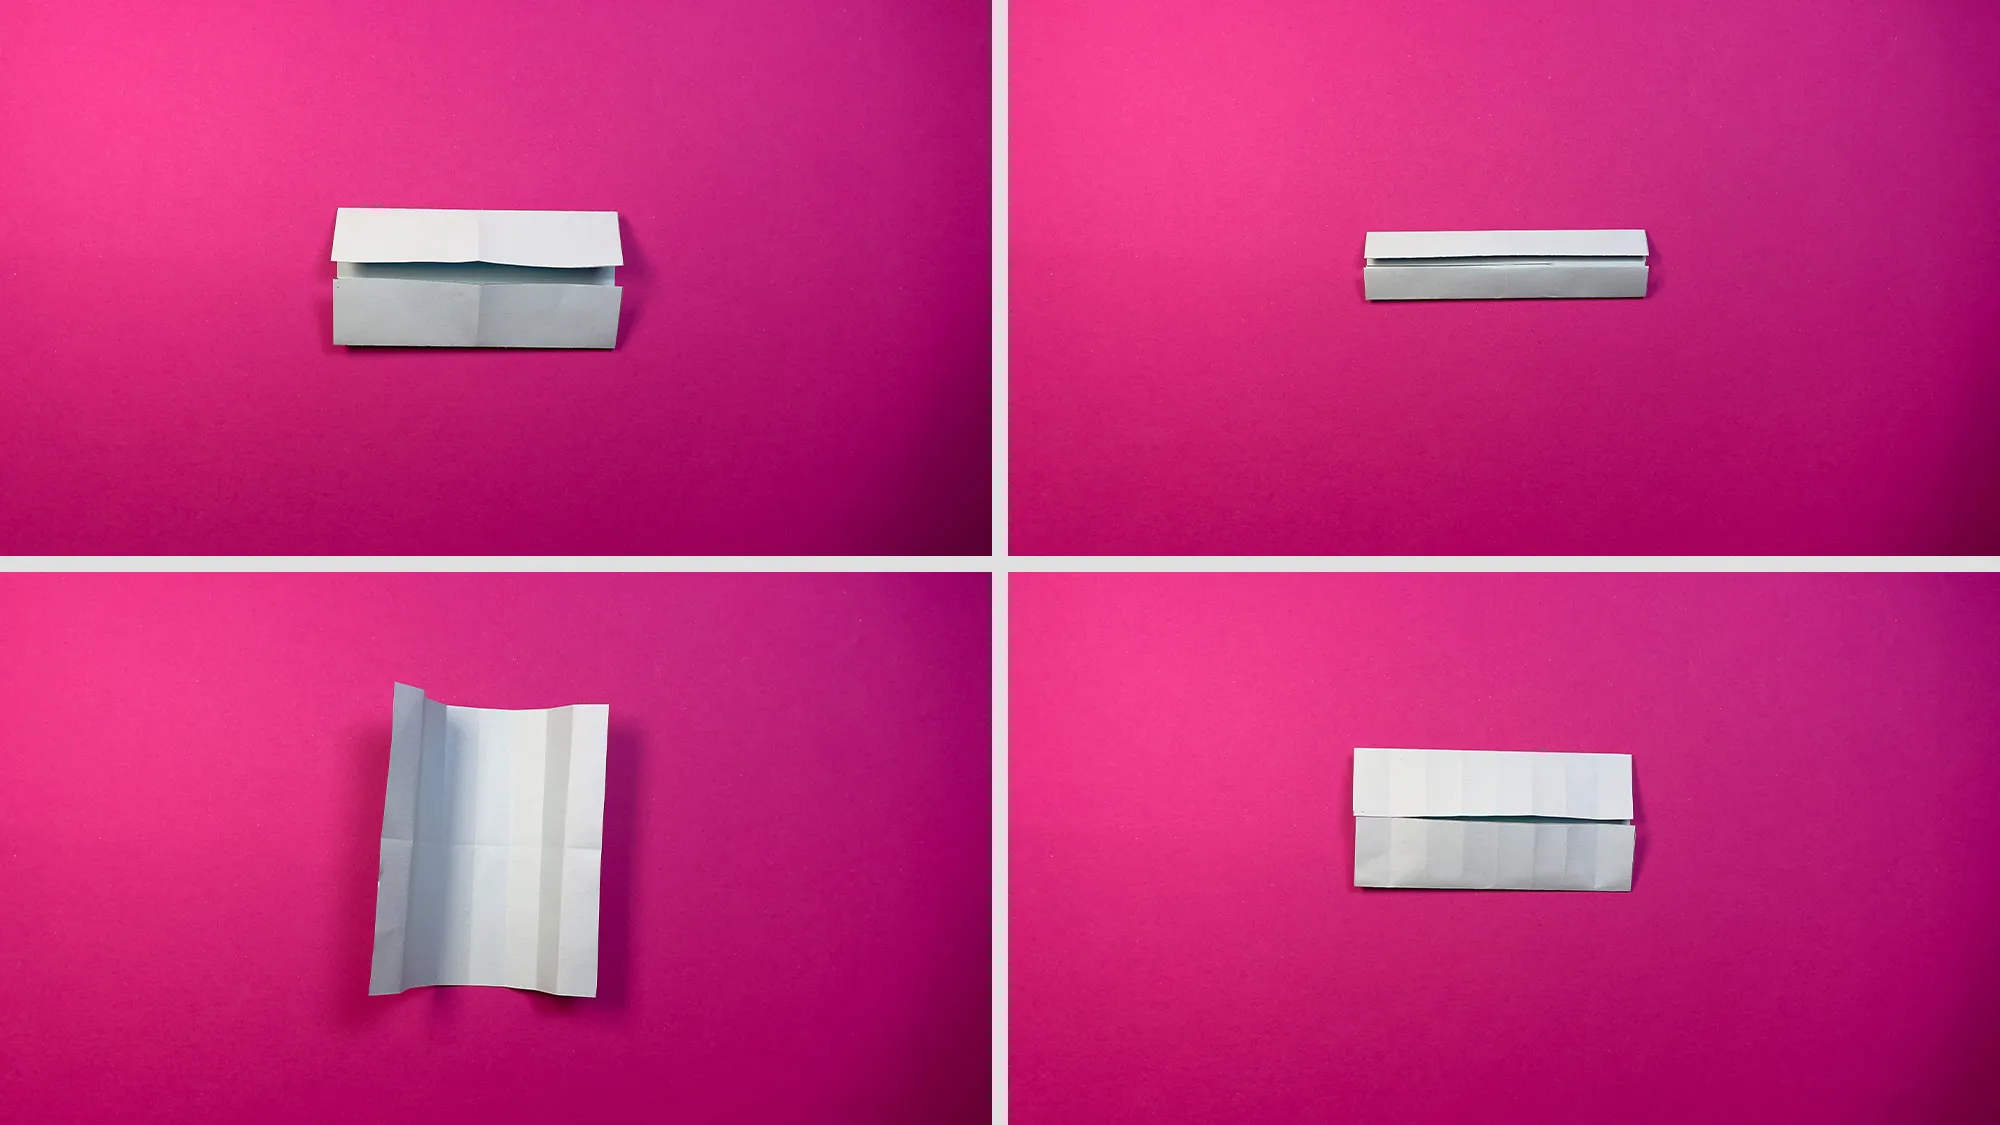
Step 1: To make a paper octopus, you need two square sheets. If you are doing this for the first time or do not have much experience with origami, it is better to take larger sheets.
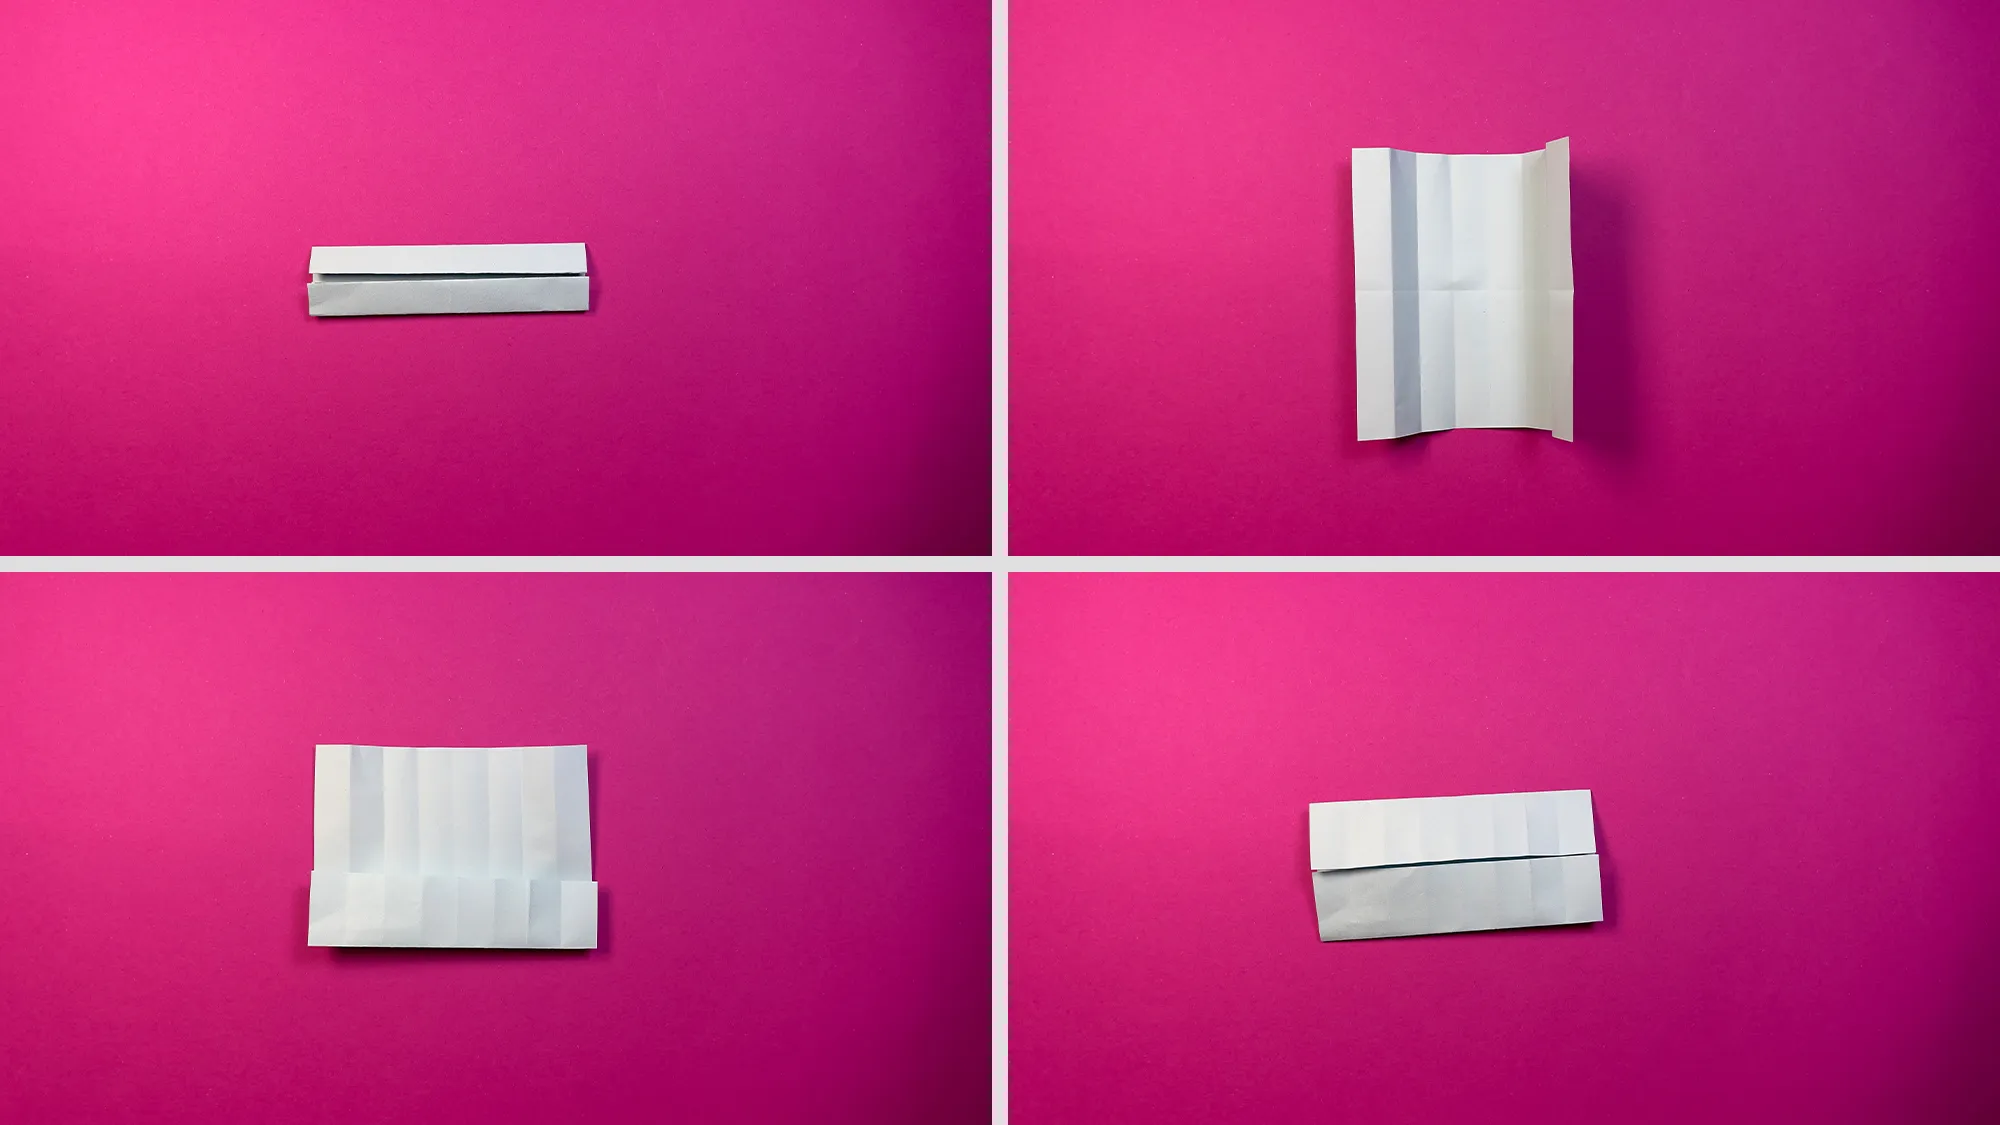
Jumping octopus: Step-by-step guide with photos and text description. The image 2
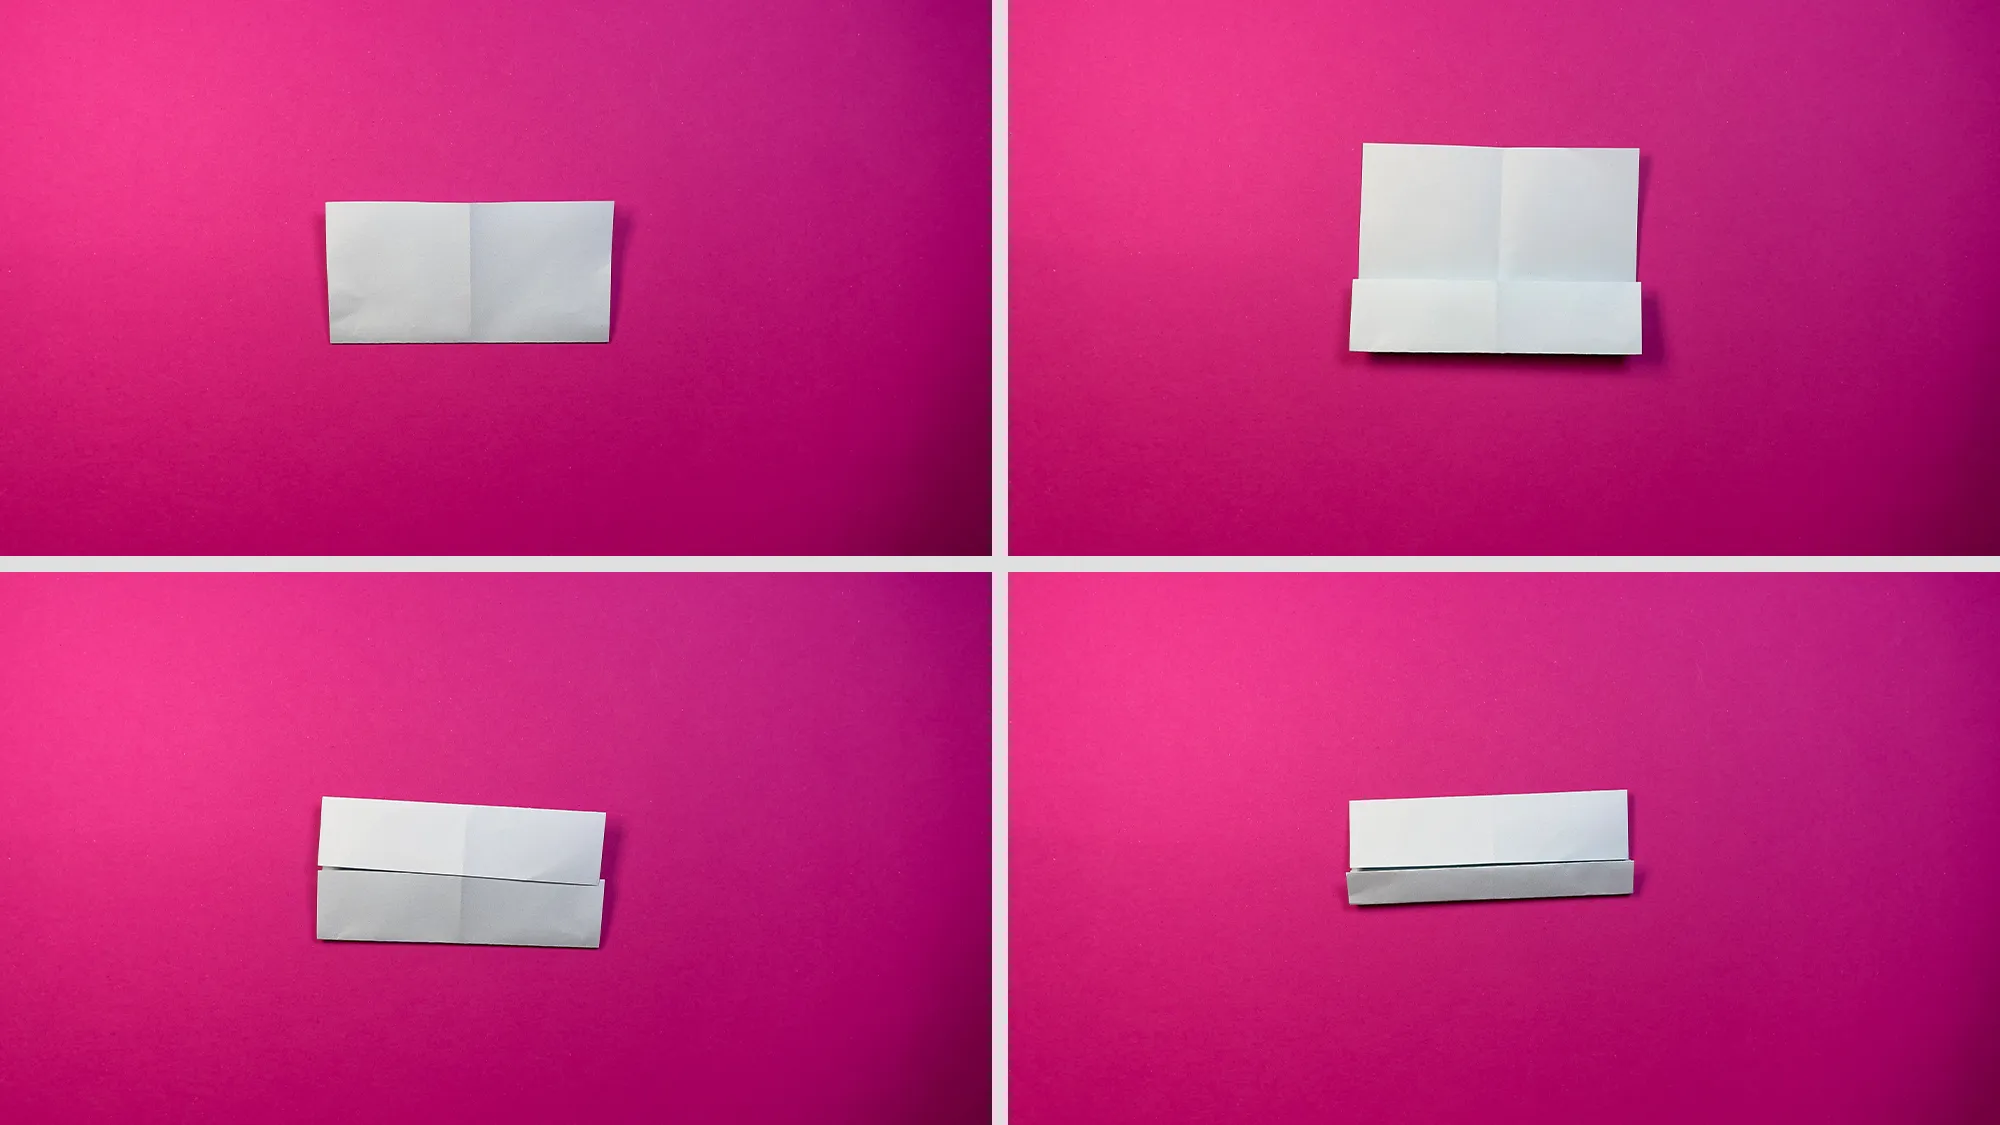
Step 2: Fold them vertically and horizontally. Then fold 2 edges to the center.
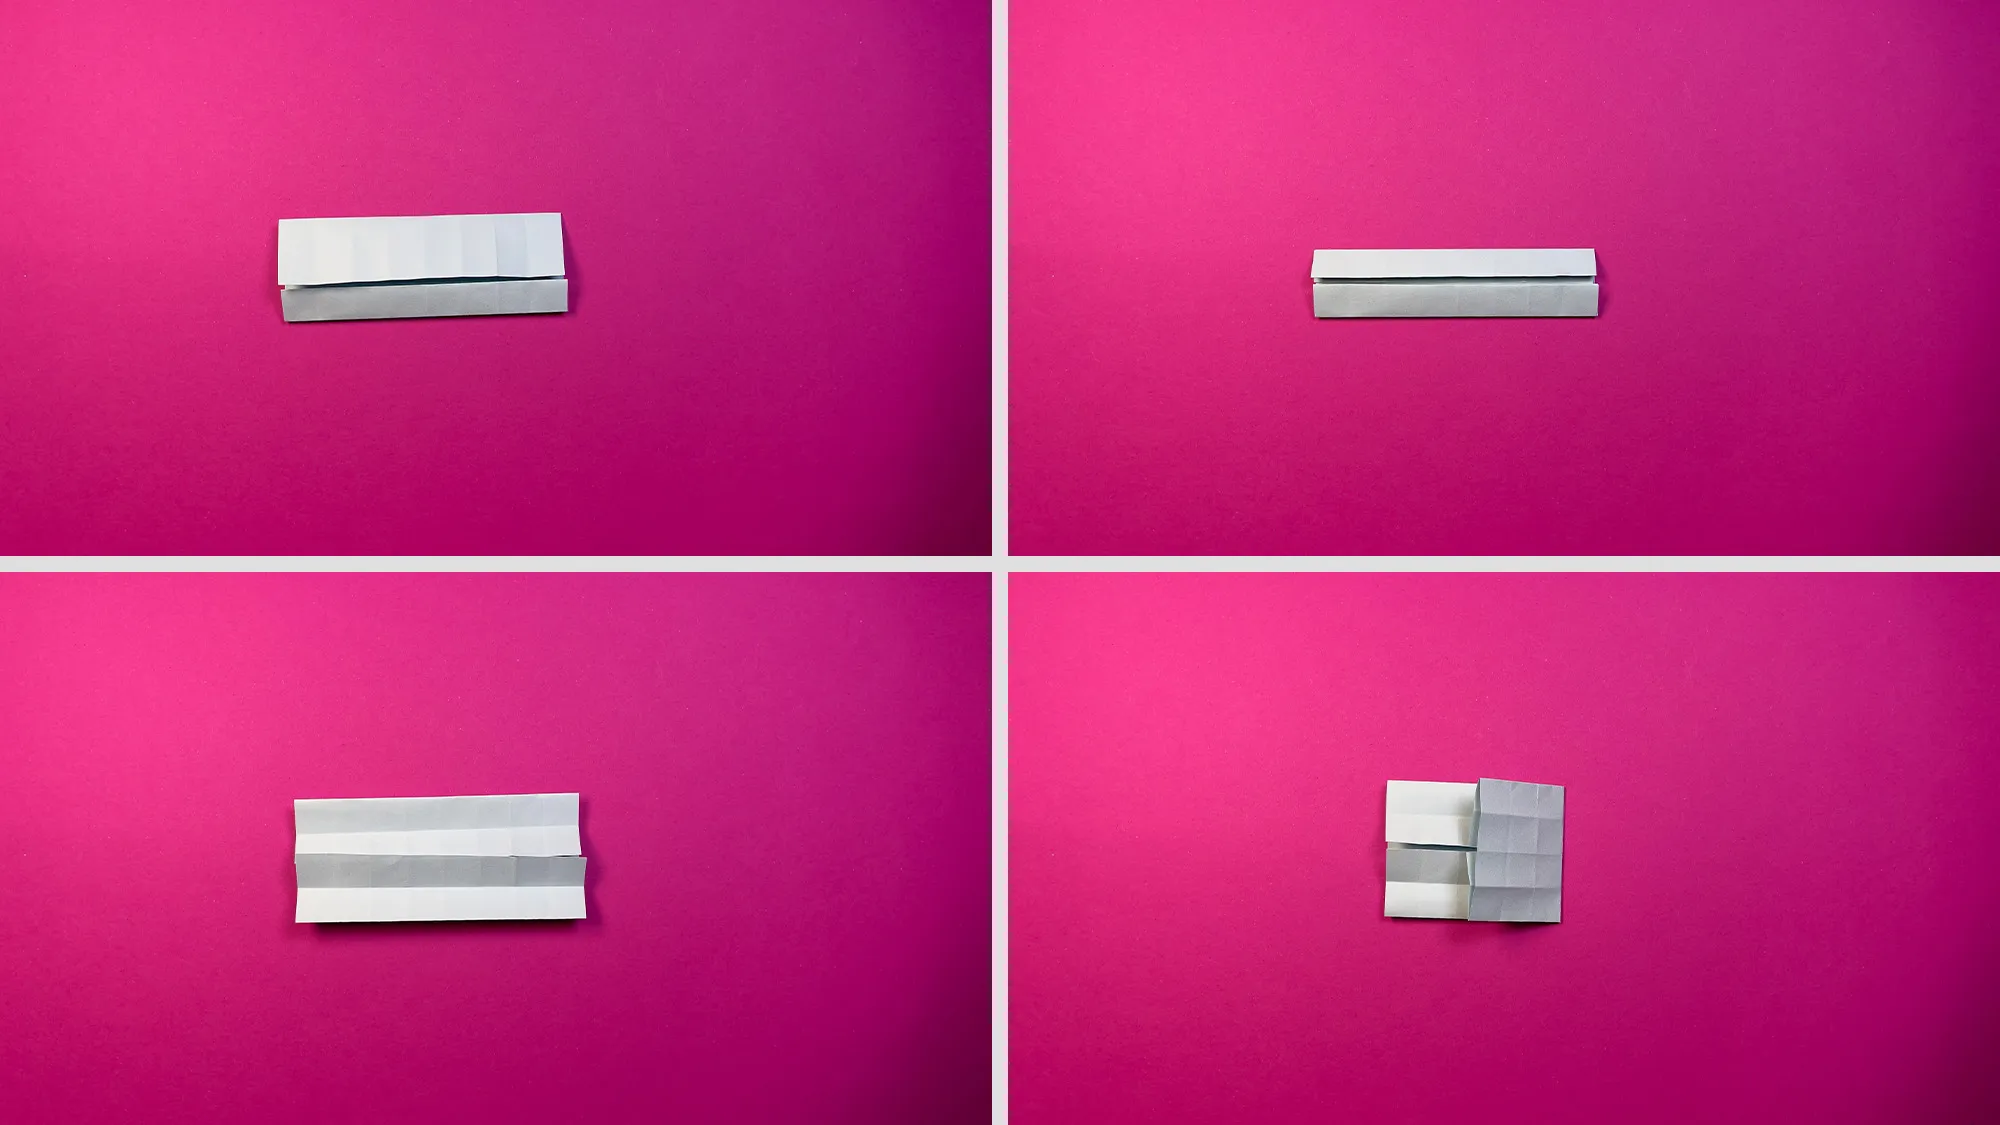
Jumping Octopus: Step-by-step guide with photos and text description. The image 3
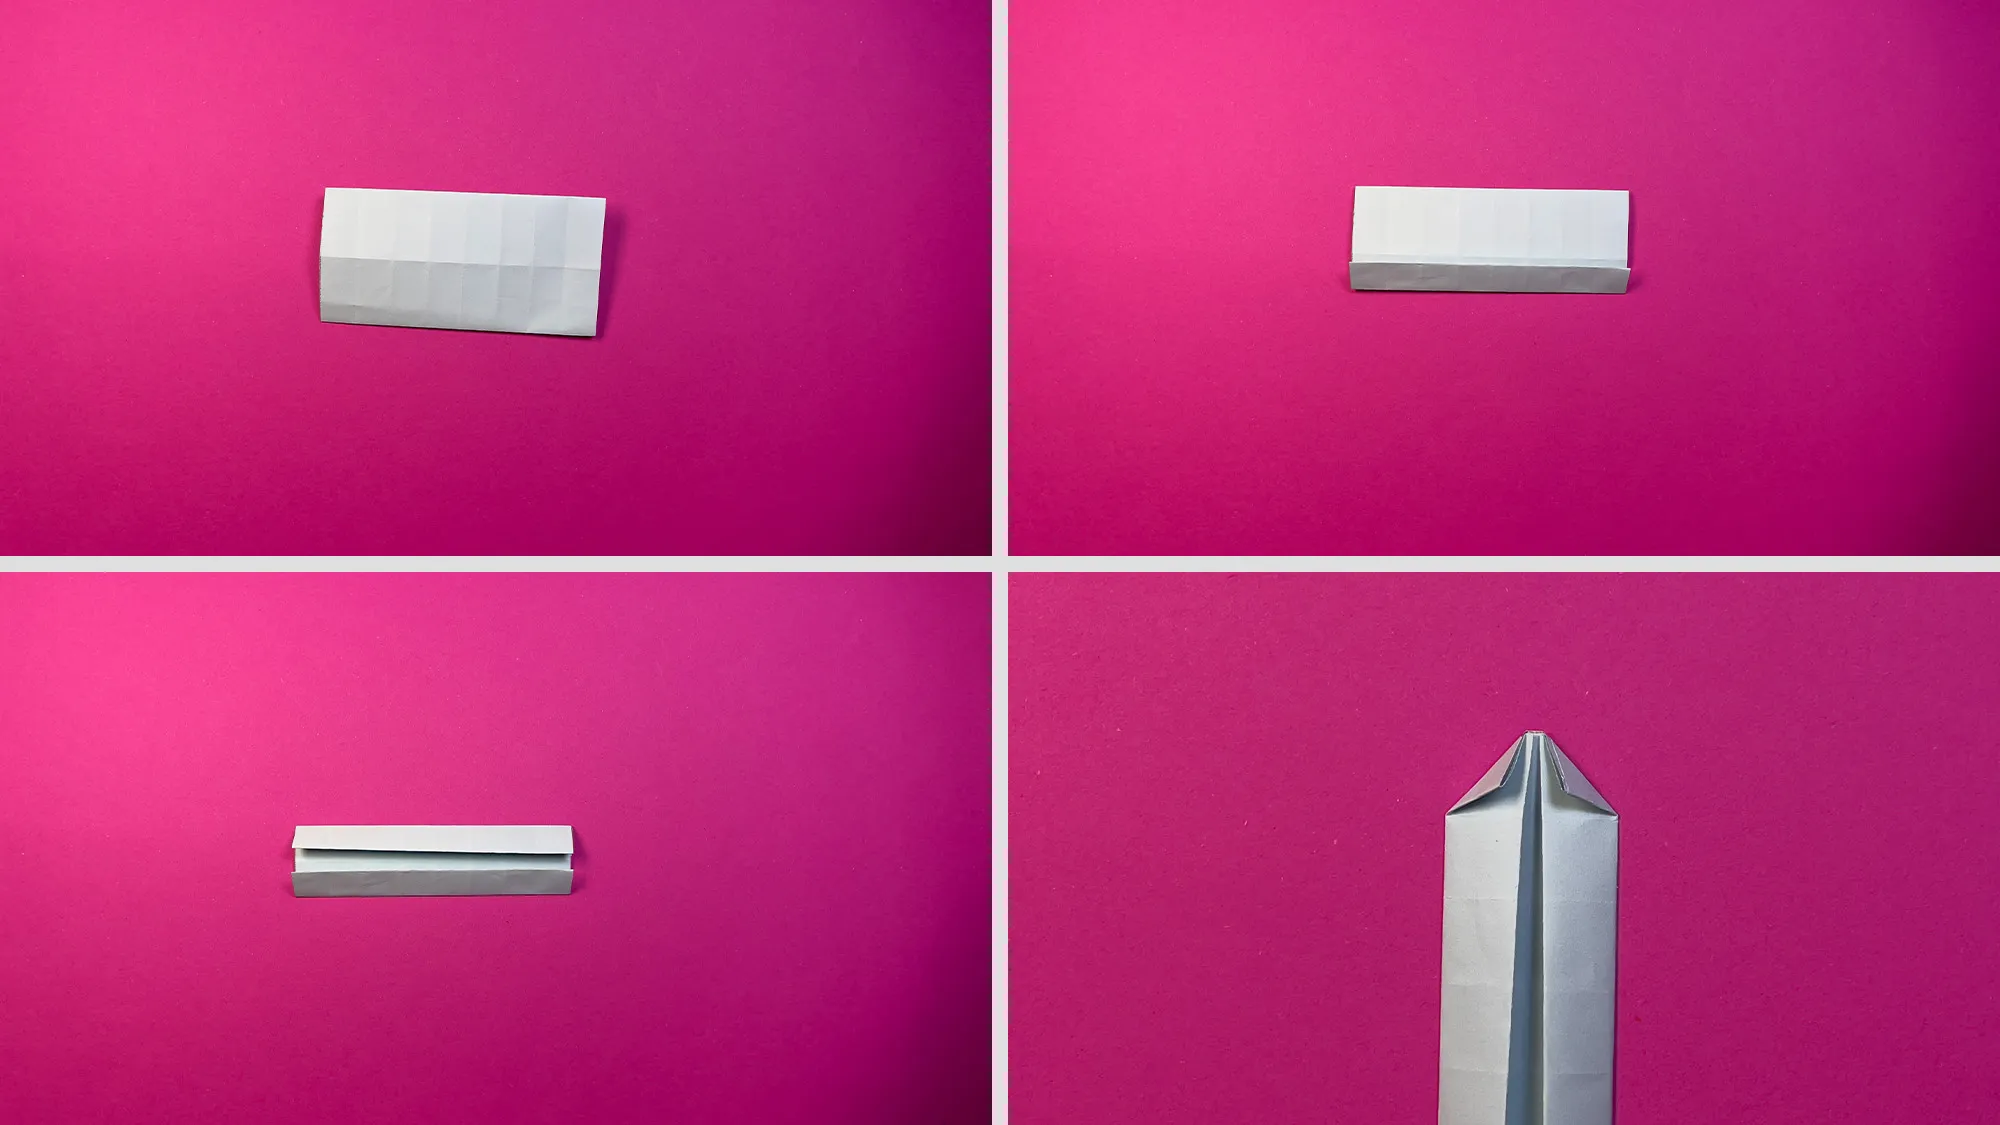
Step 3: Then fold the edges again to the center.
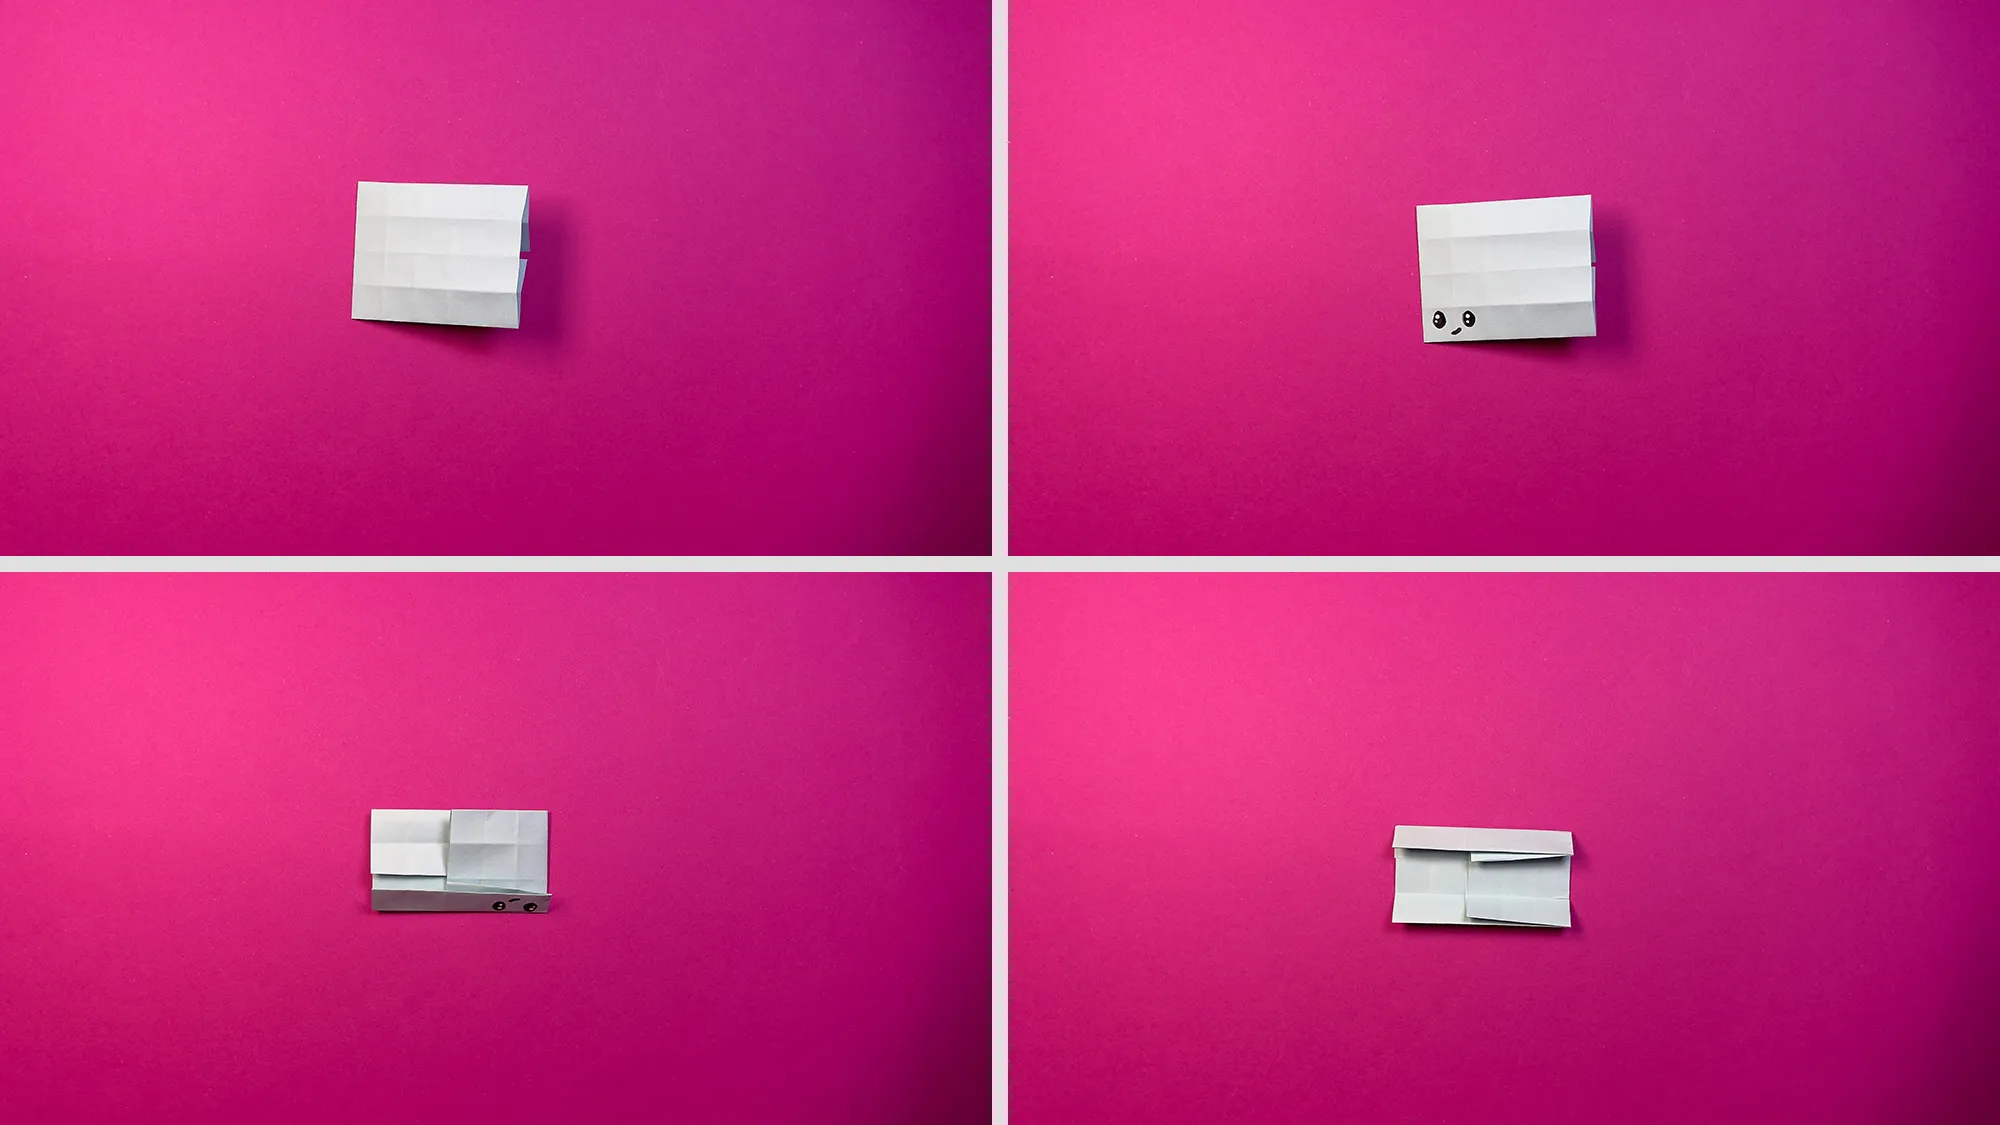
Jumping octopus: Step-by-step guide with photos and text description. The image 4
Step 4: When you have folded the sheet vertically, repeat everything, but now horizontally.
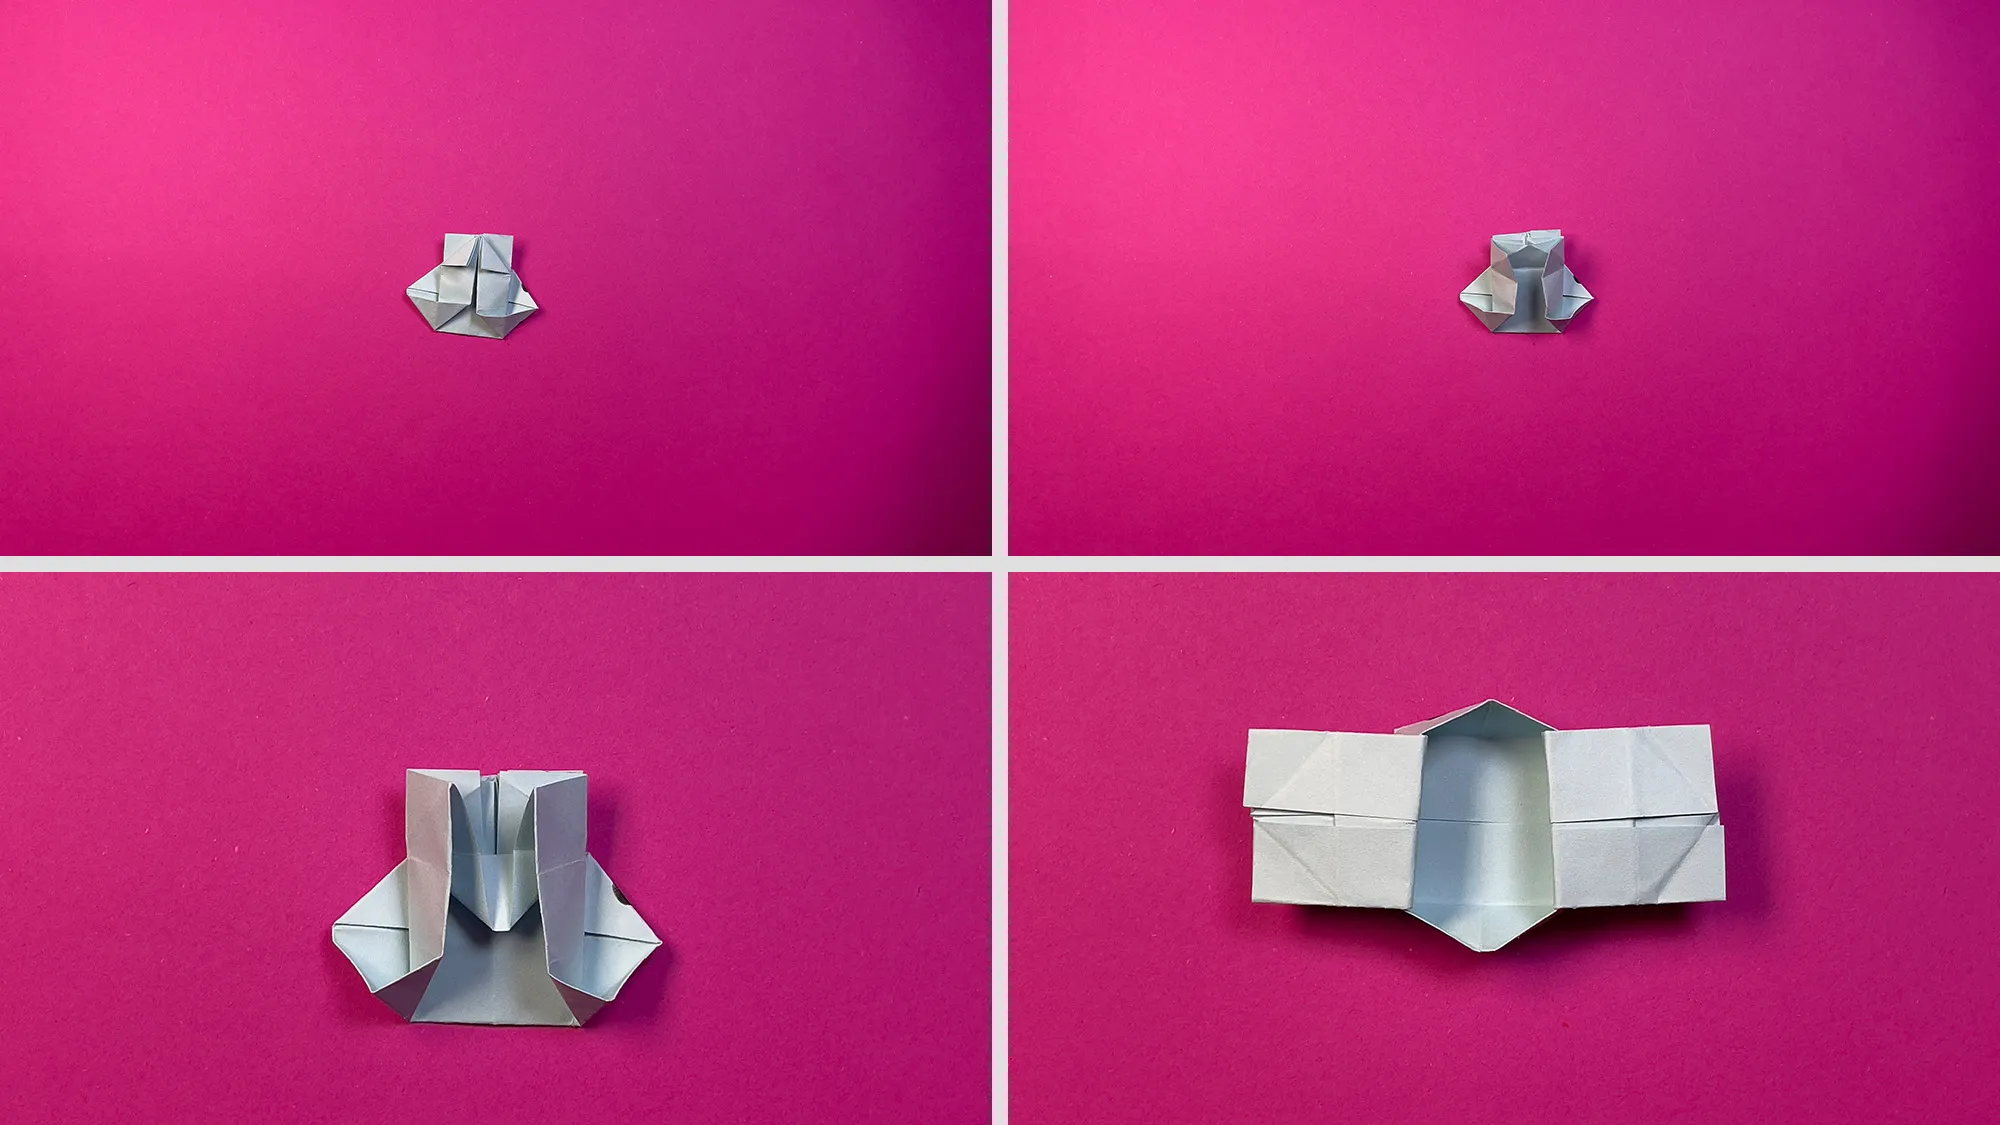
Jumping octopus: step-by-step guide with photos and text description. The image 5
Step 5: Look at how I do it. Count 3 rows and make a fold. Then turn the sheet over and crease one side.
Jumping octopus: Step-by-step guide with photos and text description. The image 6
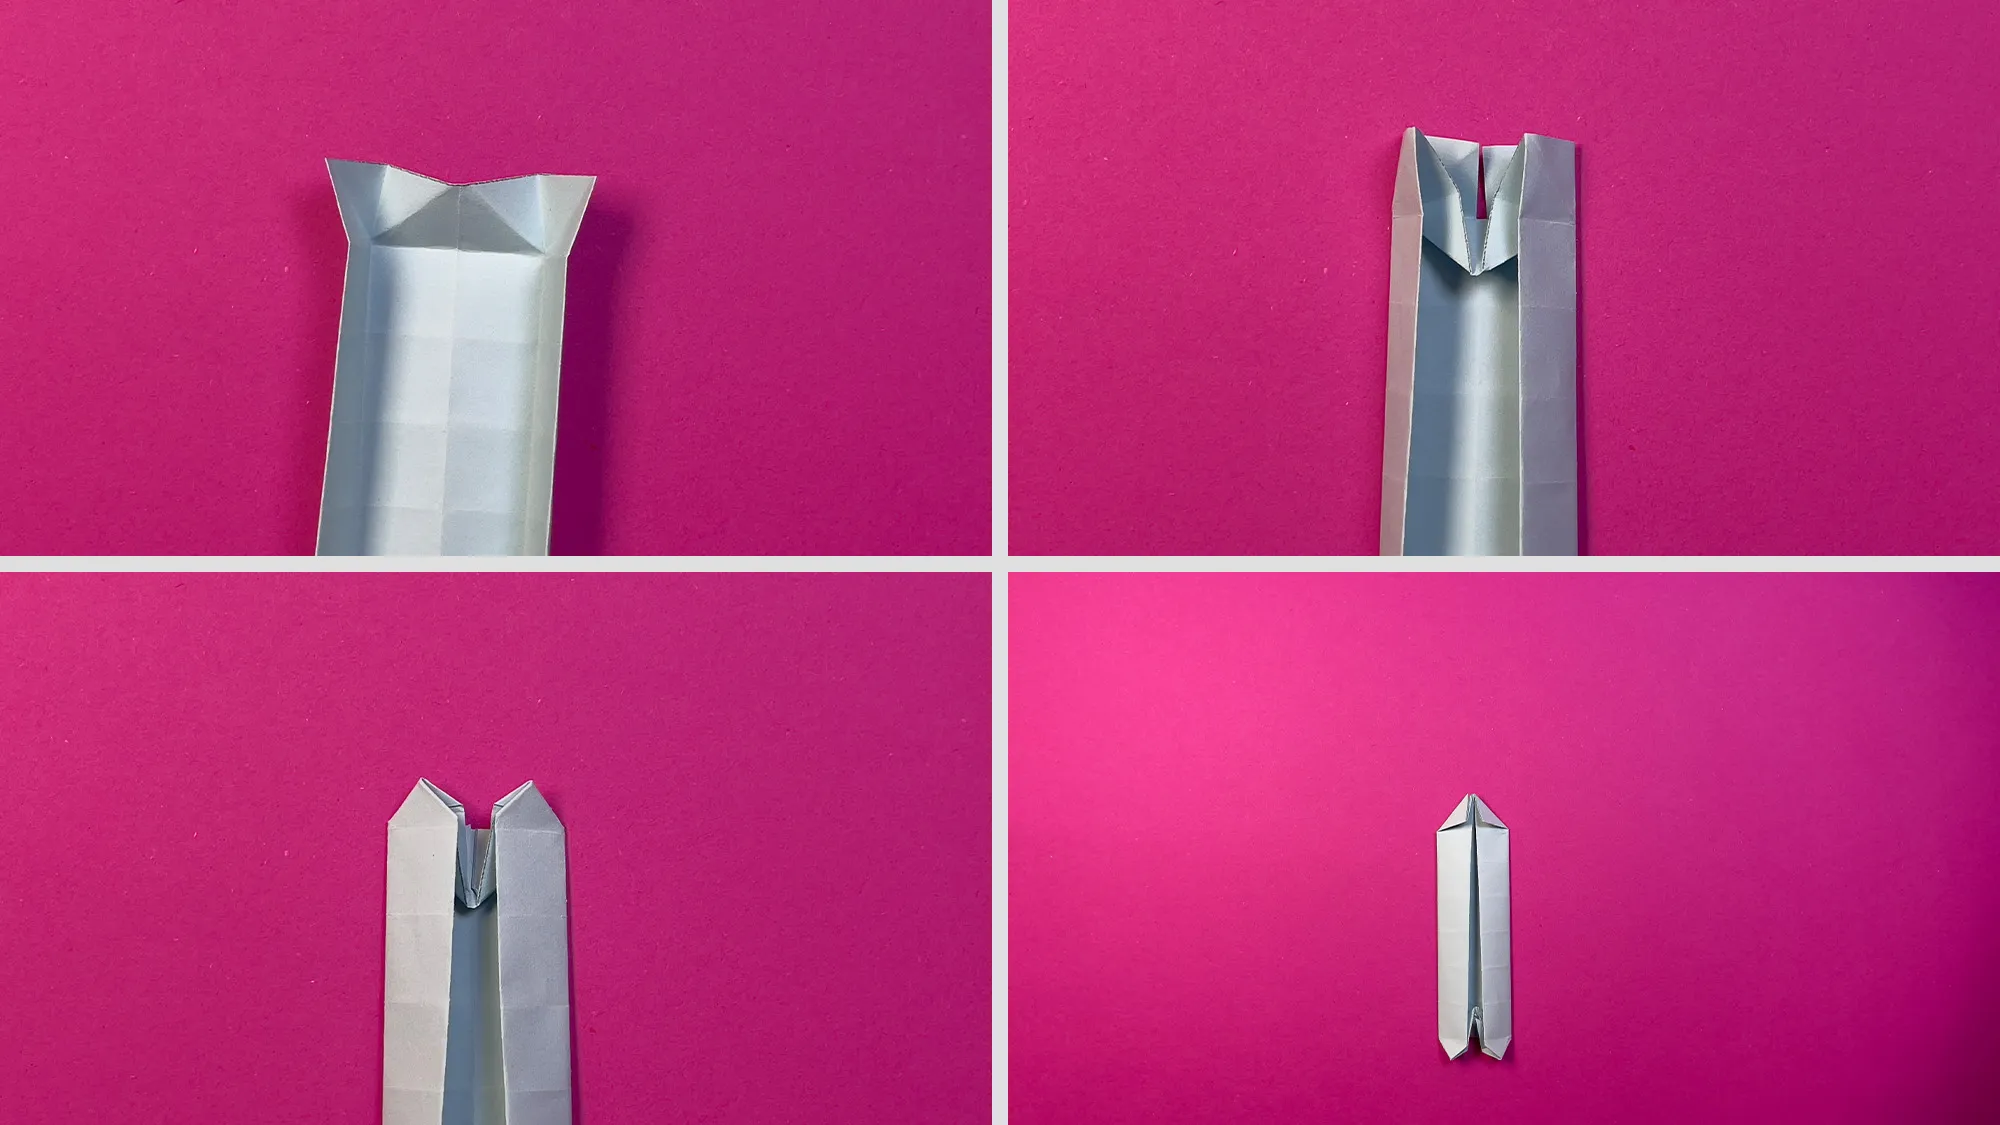
Step 6: Rotate the sheet 90 degrees and fold 2 corners. Then you need to smooth the sides at the place where you made the folds. See how I do this in the video.
Jumping octopus: step-by-step guide with photos and text description. The image 7
Step 7: Turn the craft piece 180 degrees and fold the corners on the protruding part.
Jumping octopus: Step-by-step guide with photos and text description. The image 8
Step 8: Tuck the corner inside.
Jumping octopus: Step-by-step guide with photos and text description. The image 9
Step 9: Now fold this protrusion upwards and fold the craft piece in half.
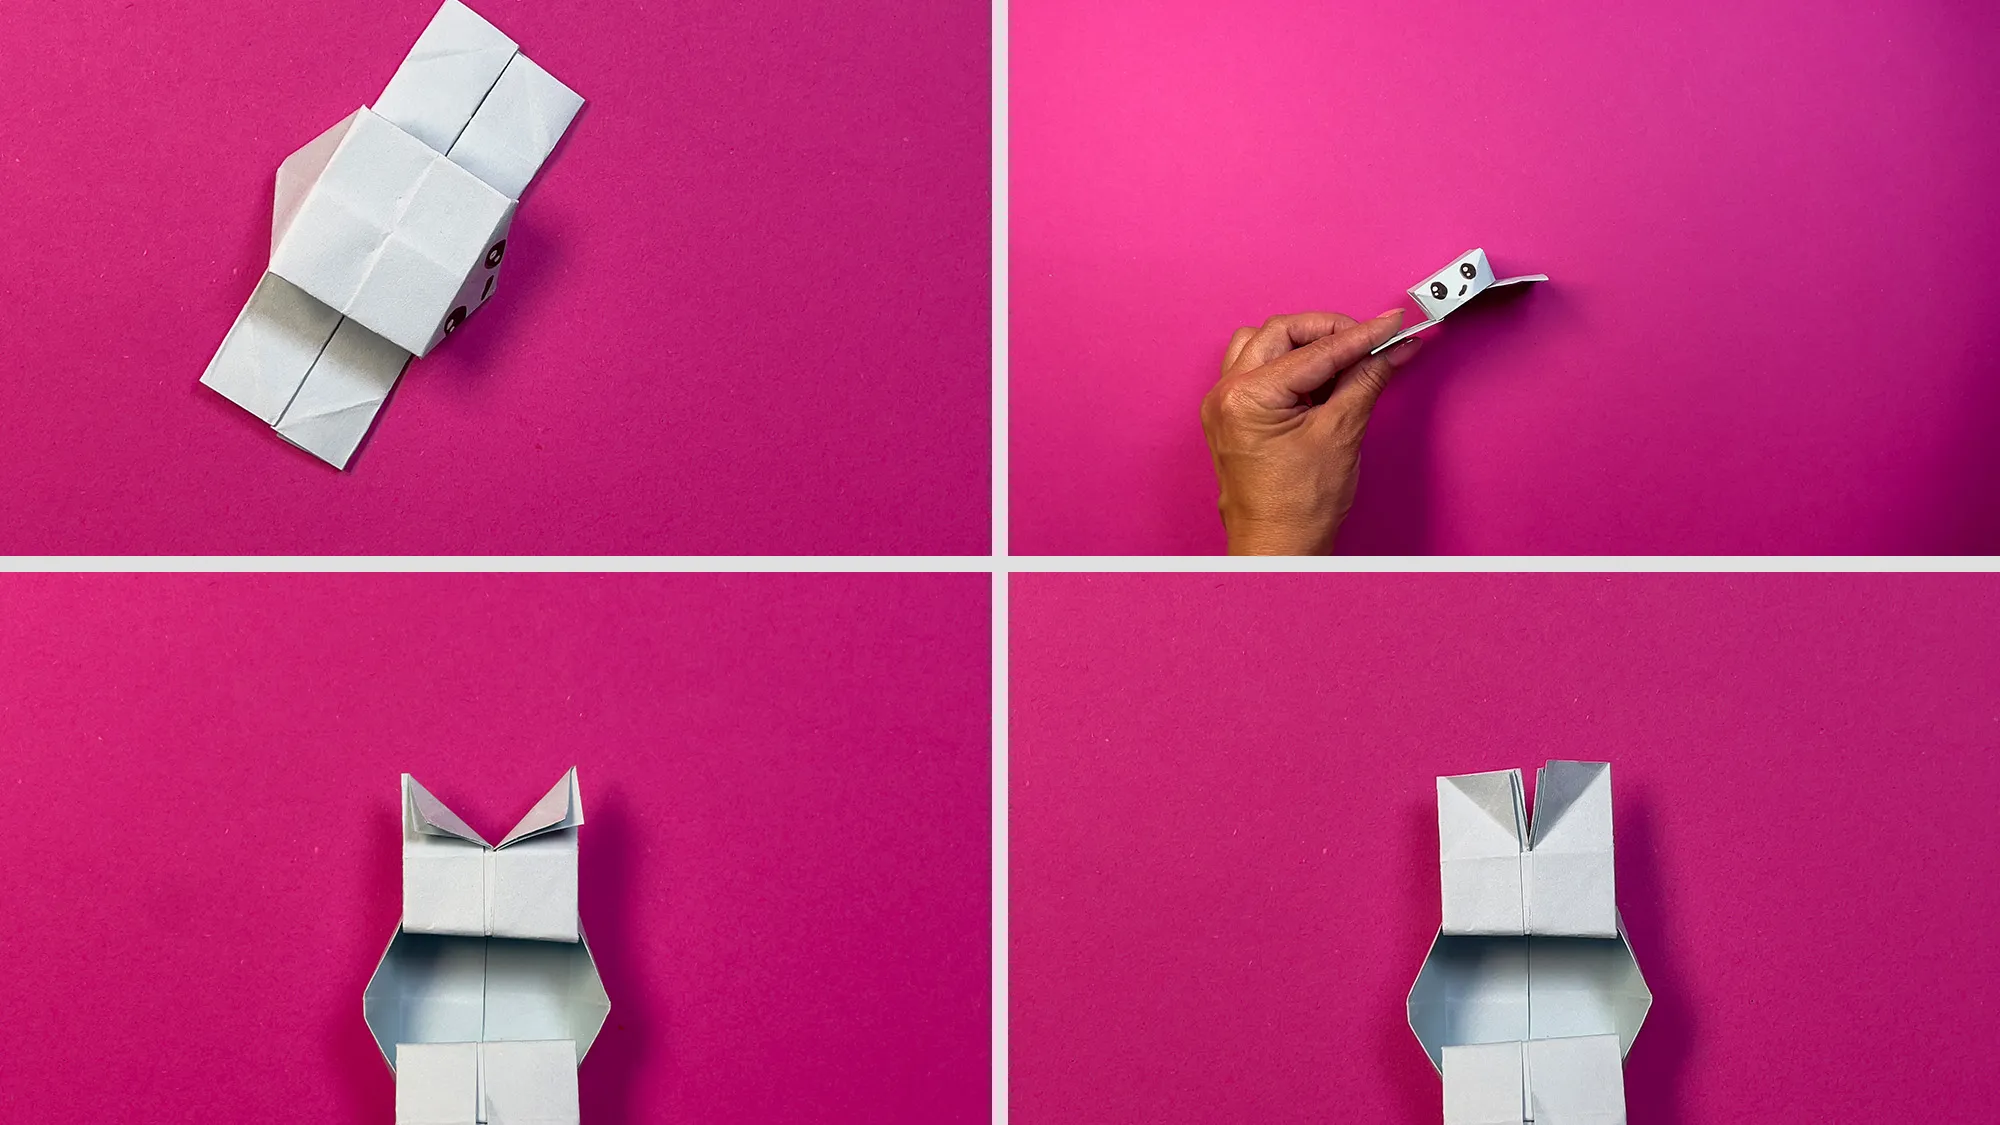
Jumping octopus: step-by-step guide with photos and text description. The image 10
Step 10: Turn the sheet with the craft piece over and smooth 2 corners.
Jumping octopus: Step-by-step guide with photos and text description. The image 11
Step 11: Open the octopus as if it were a little box.
Jumping octopus: Step-by-step guide with photos and text description. The picture 12
Step 12: The first part of the octopus is almost done.
Jumping octopus: Step-by-step guide with photos and text description. The image 13
Step 13: You just need to make the bends on its tentacles.
Jumping Octopus: Step-by-Step Guide with Photos and Text Description. The image 14
Step 14: Draw the octopus eyes and a mouth and start folding another part. The octopus should have 8 tentacles. Ours only has 4 so far.
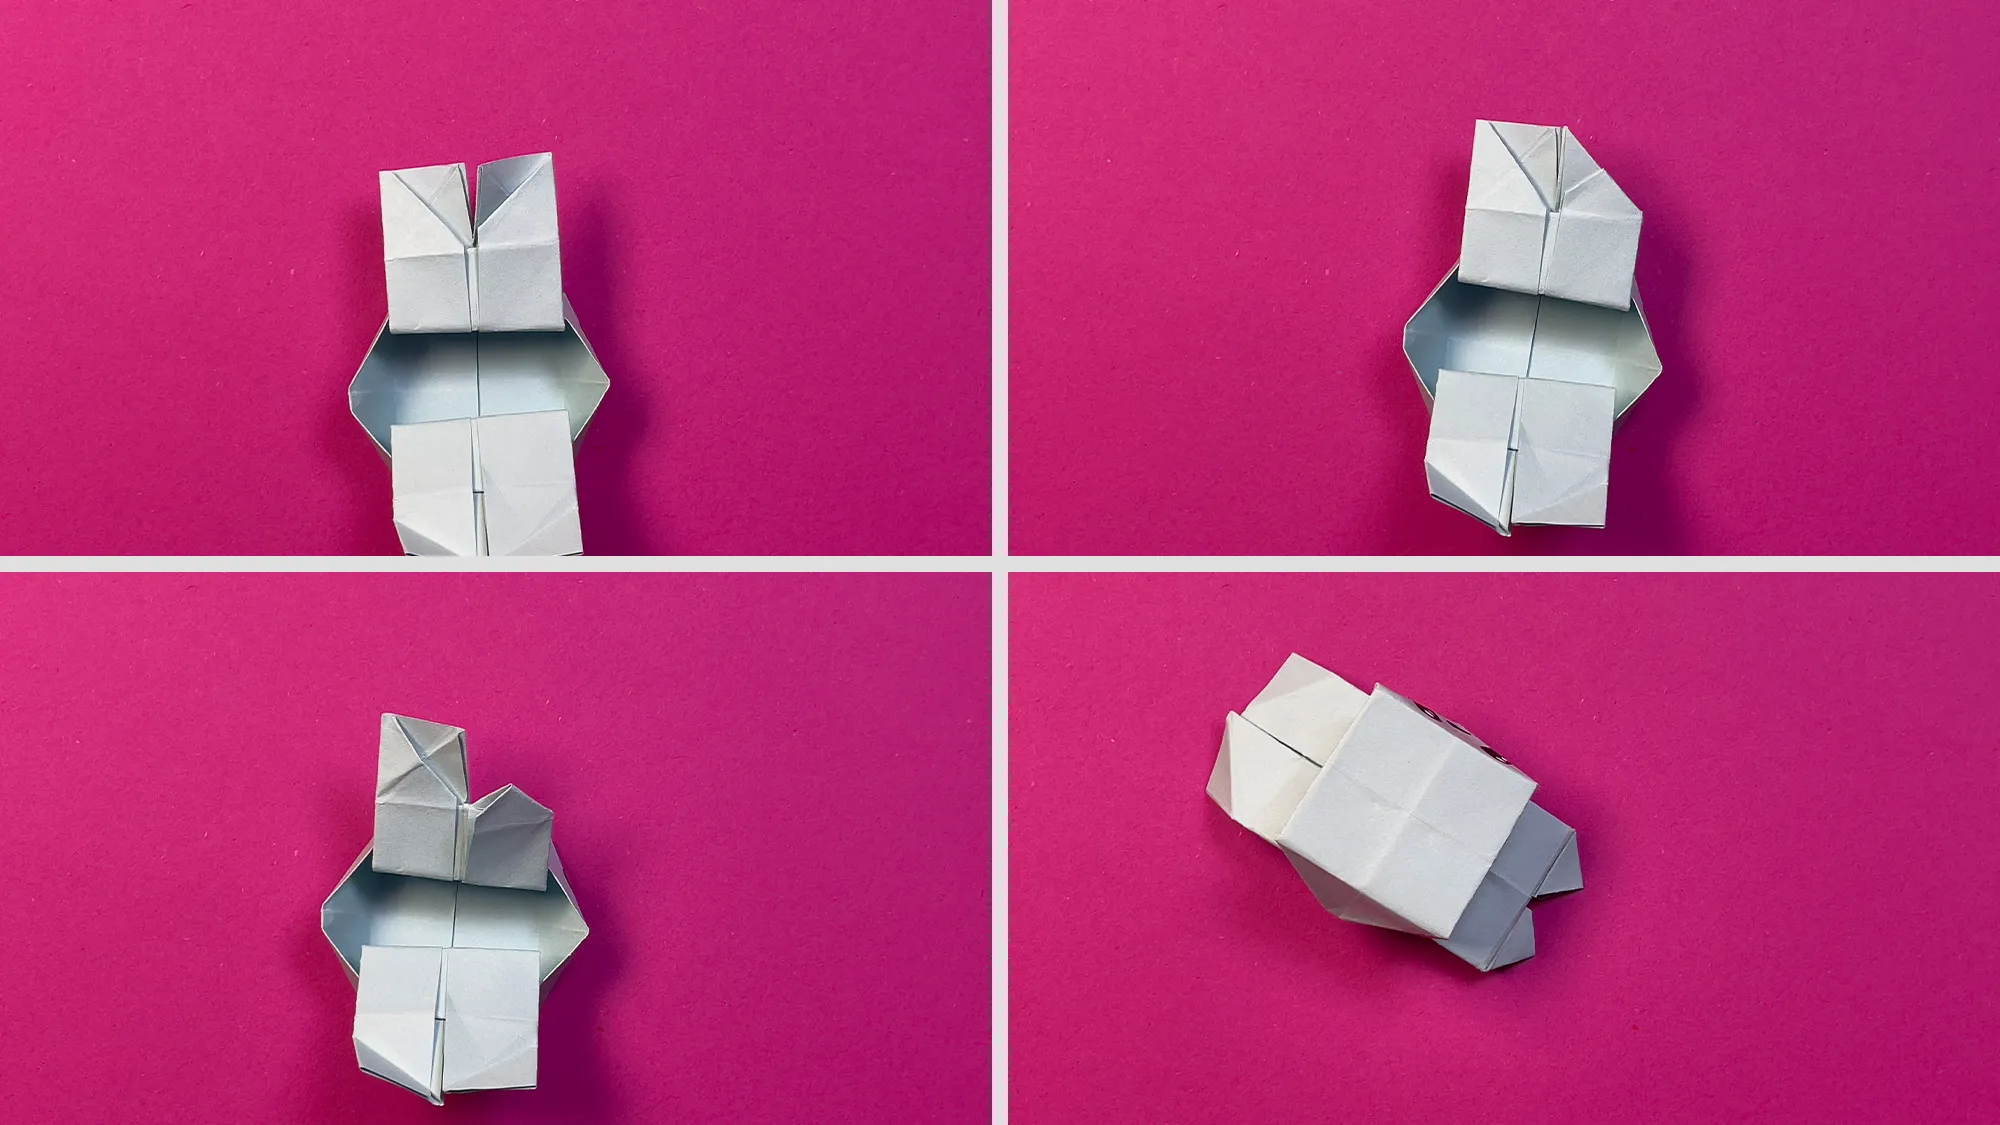
Jumping octopus: Step-by-step guide with photos and text description. The image 15
Step 15: At the beginning, everything is the same. We make folds vertically and horizontally.
Jumping octopus: Step-by-step guide with photos and text description. The image 16
Step 16: But now we fold the edges twice to the center and then the 2 upper corners to the center.
Jumping octopus: Step-by-step guide with photos and text description. The image 17
Step 17: We fold the corner inside and repeat these steps again on the other side of the sheet.
Jumping octopus: Step-by-step guide with photos and text description. The image 18
Step 18: We tuck the new legs inside and it's done!

The Importance of Origami for Child Development

Origami encourages the development of fine motor skills in children in a playful way. When children fold paper, they train the coordination between hands and eyes and strengthen the muscles in their fingers and hands. These skills are very important later when learning to write and in many other everyday activities.

Creative folding activities also stimulate mental development. They promote spatial thinking, concentration, and problem-solving skills. Through crafting together, you also get to know your child's strengths and interests better and can support them individually.

h_1150,h_1153,h_3513,h_3934

The special thing about this bouncing octopus is that it not only makes crafting fun, but it also becomes an interactive toy! Children love to make the finished octopus jump, which provides additional motivation.

Thank you for your interest!

Creating craft instructions, videos, photos, and writing this guide takes a lot of time, and we really hope you enjoyed this craft idea. Thank you for taking the time to read our guide!

If you're in the mood for more creative projects, check out our other instructions too. You might be interested in our origami tutorials or want to look at our section DIY ideas for kids. Overall, we have already over 400 different instructions on our portal, and new ones are added every week.

We wish you and your children lots of fun crafting!

Published on by Vitalii Shynakov
Published on:
From Vitalii Shynakov
Vitalii Shynakov has been working in the areas of online retail, marketing and customer satisfaction since 2012. Until 2022, he was the head of personnel development and online sales department of four successful stores. He has been part of the TutKit.com team since 2024.