Crafting a butterfly clip from foam rubber: Simple DIY instructions for children
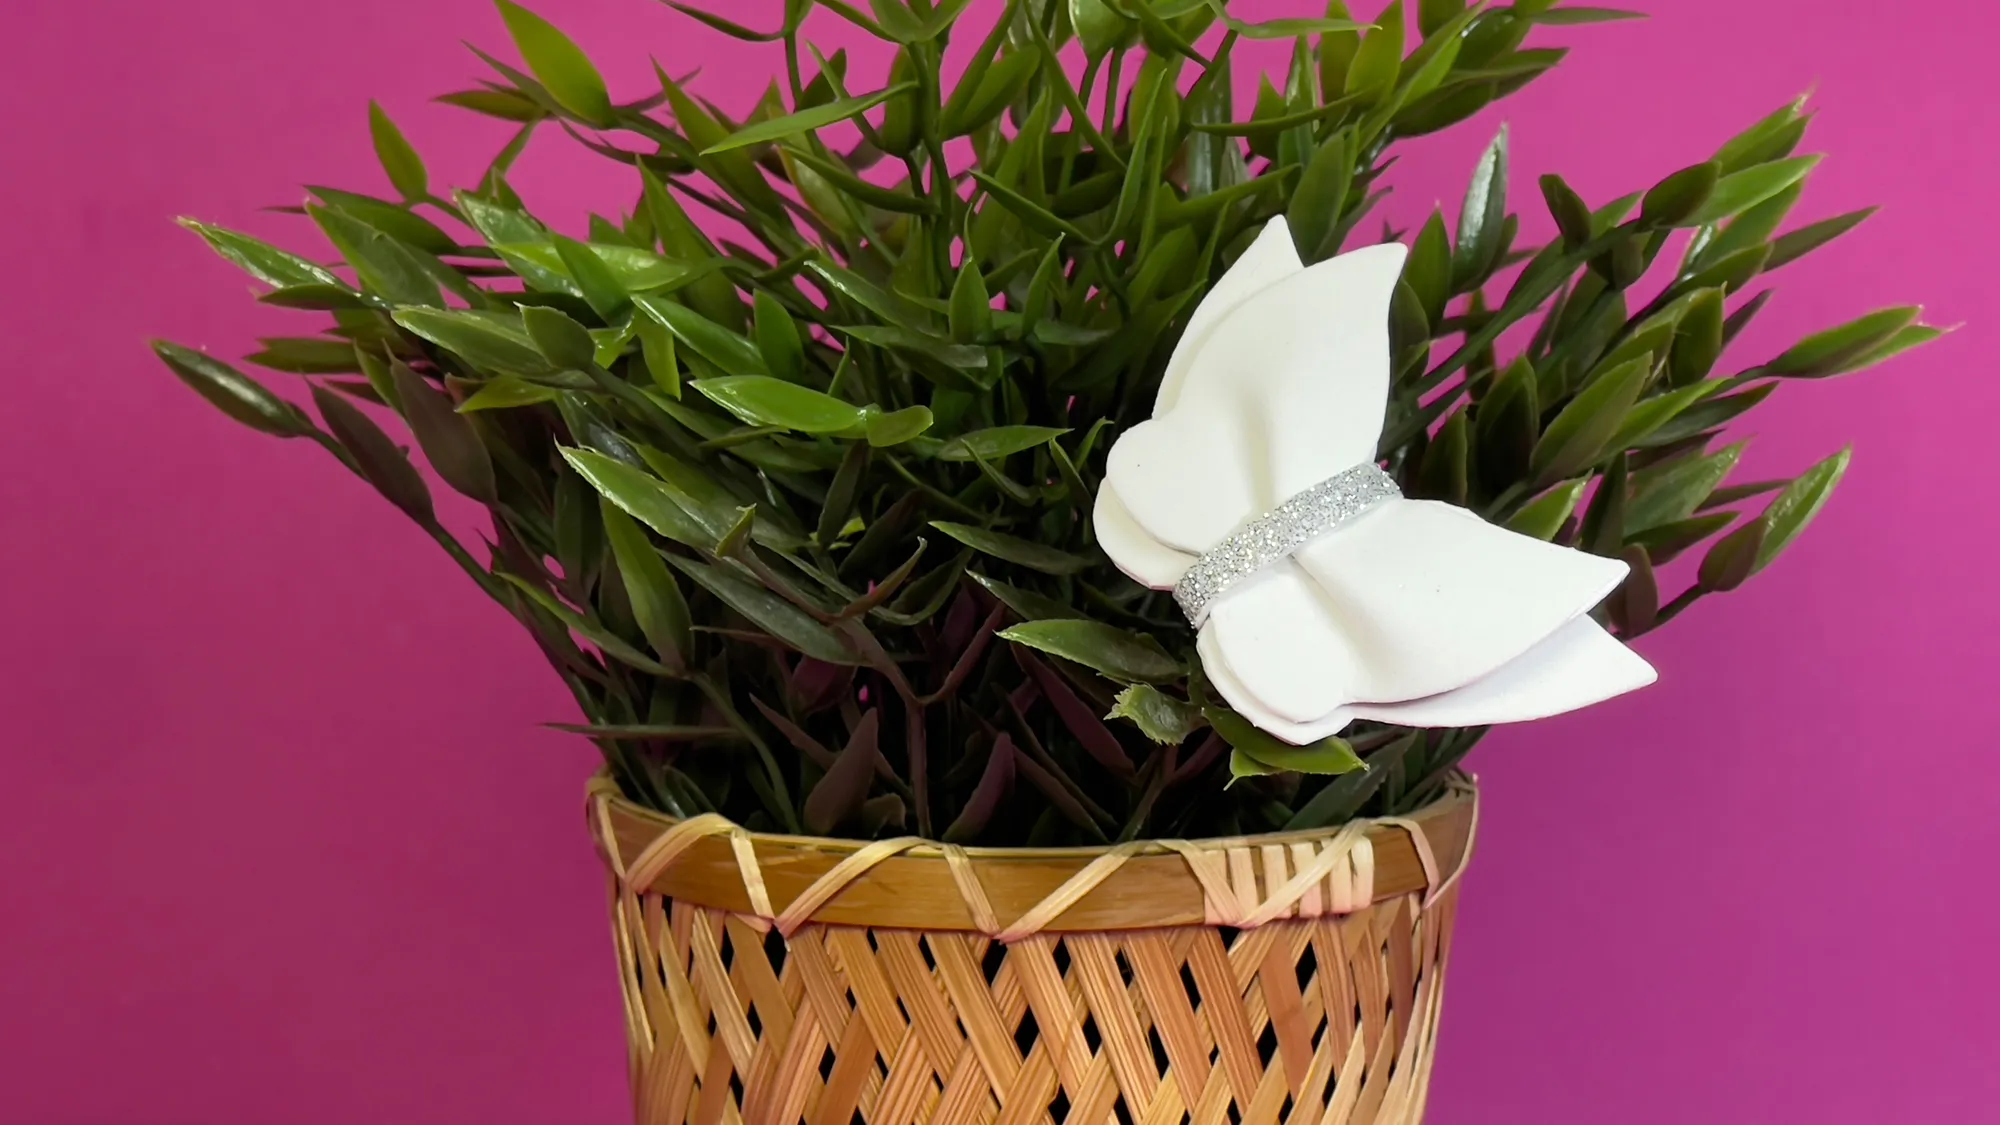
Hello! Are you looking for a creative craft idea for a pretty accessory? We're glad you found us. In this guide, I will show you how to create a beautiful butterfly clip out of foam rubber together - a fascinating project that is particularly popular among girls!
All the videos and photos you find here have been created specifically for you. Each of our guides consists of a video tutorial, photographs, and a detailed description of the individual steps. This way, you have no chance of not understanding what and how you need to do it. Before you start crafting this cute butterfly clip, watch the video.
If you like how we explain this craft idea, feel free to go to our channel and subscribe to us. We add new tutorials for interesting DIY ideas to our channel daily.
Butterfly Clip: Step-by-Step Guide with Photos and Text Description
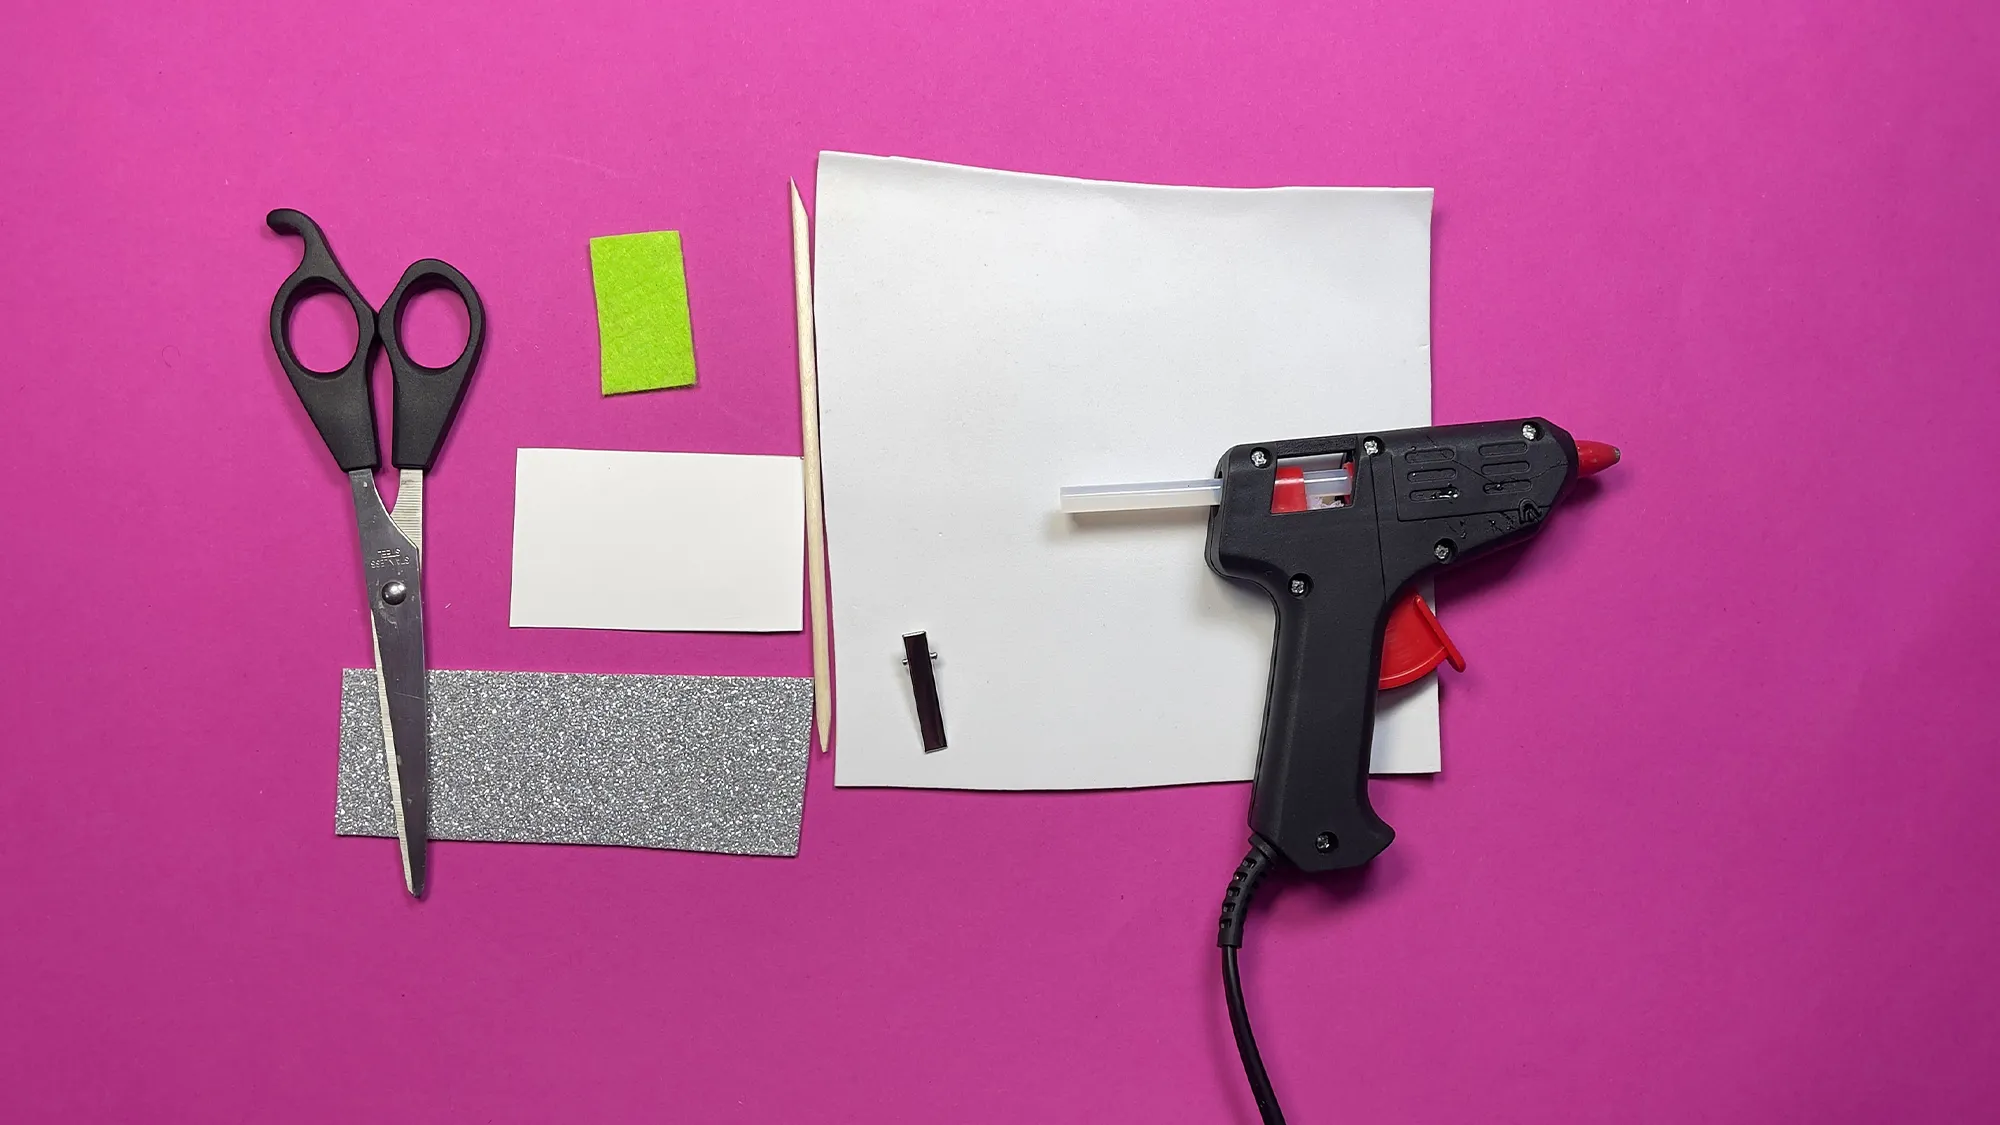
For this project, you will need the following materials:
- White foam rubber (or other colors as desired)
- Green felt paper for the leaf
- Silver glitter paper for the body
- Scissors
- Hot glue gun
- Wooden skewer for shaping
- Hair clip for attaching

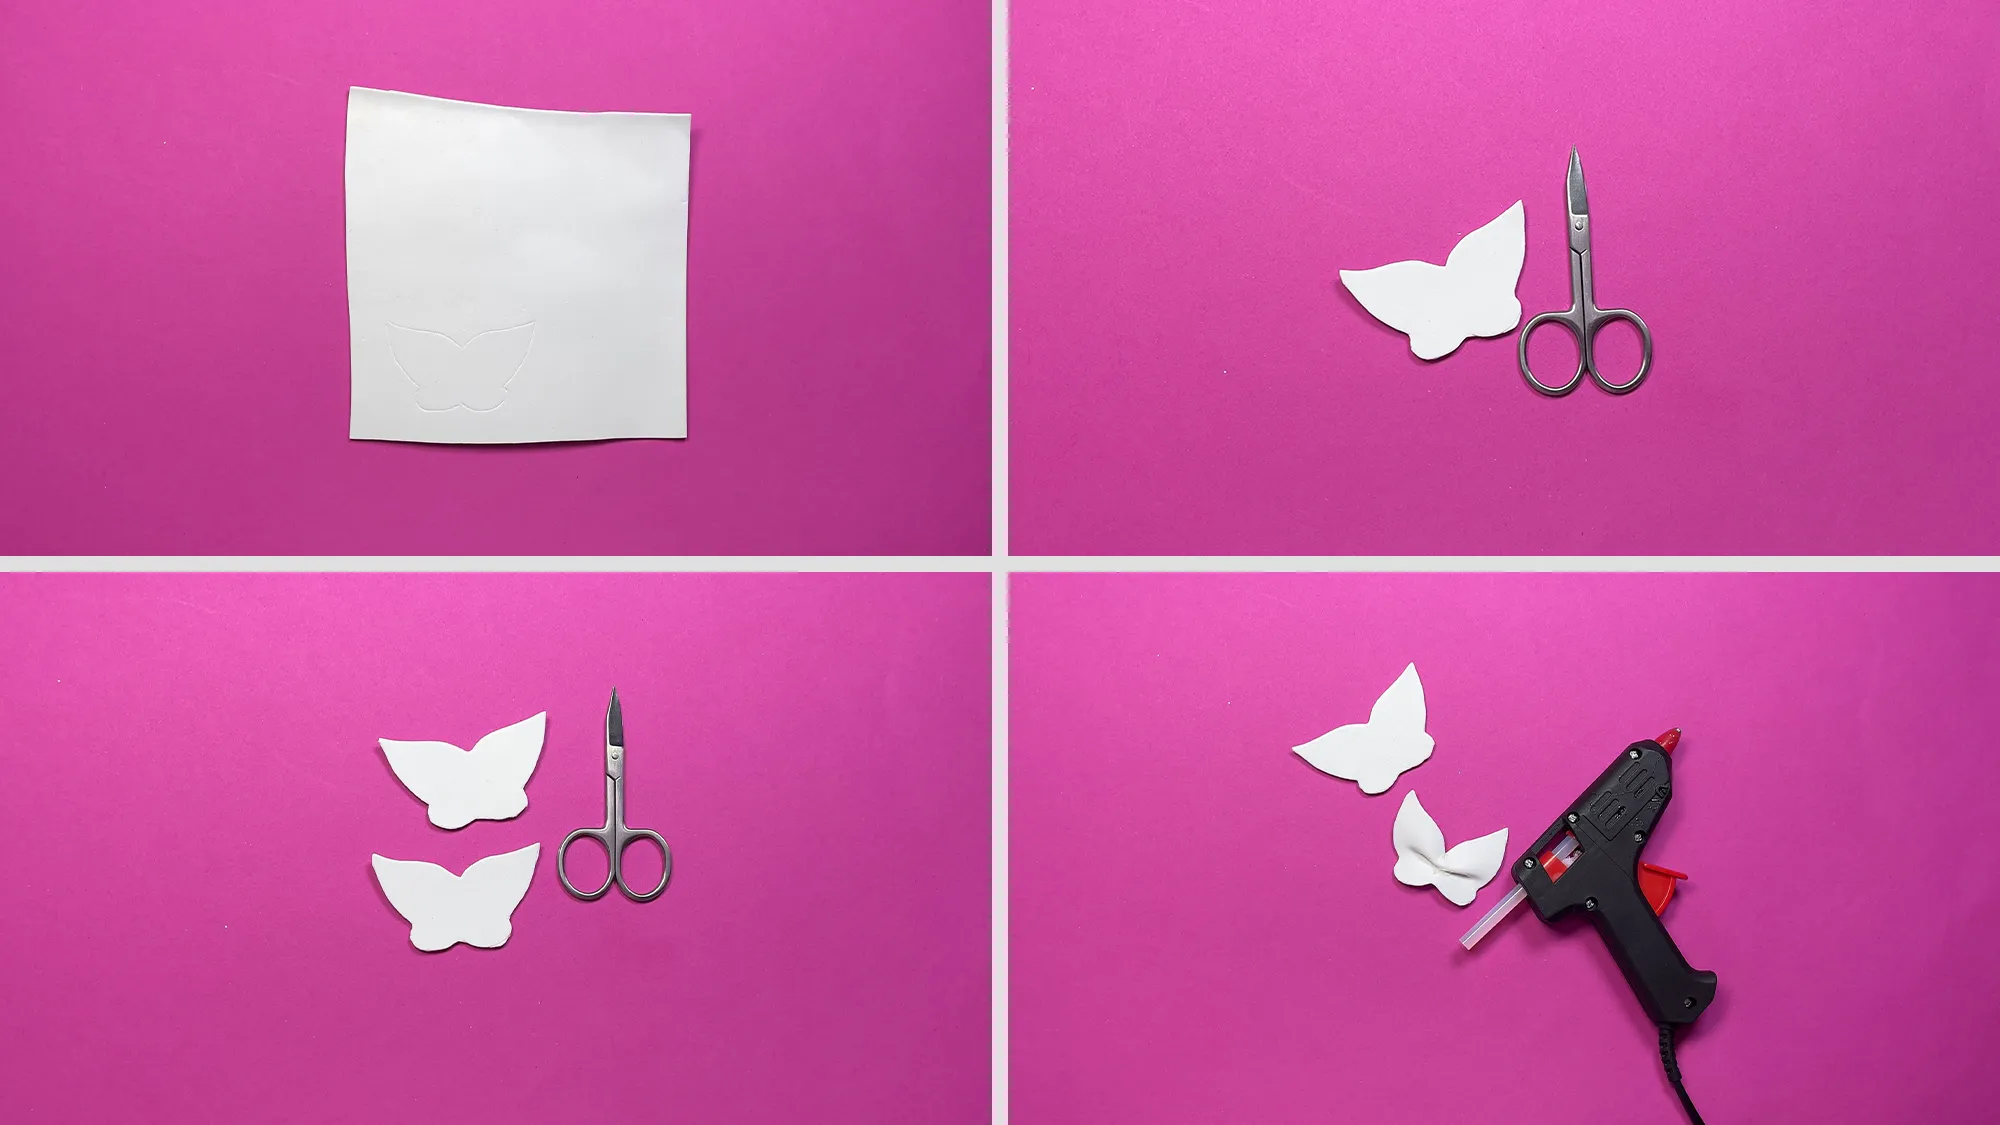
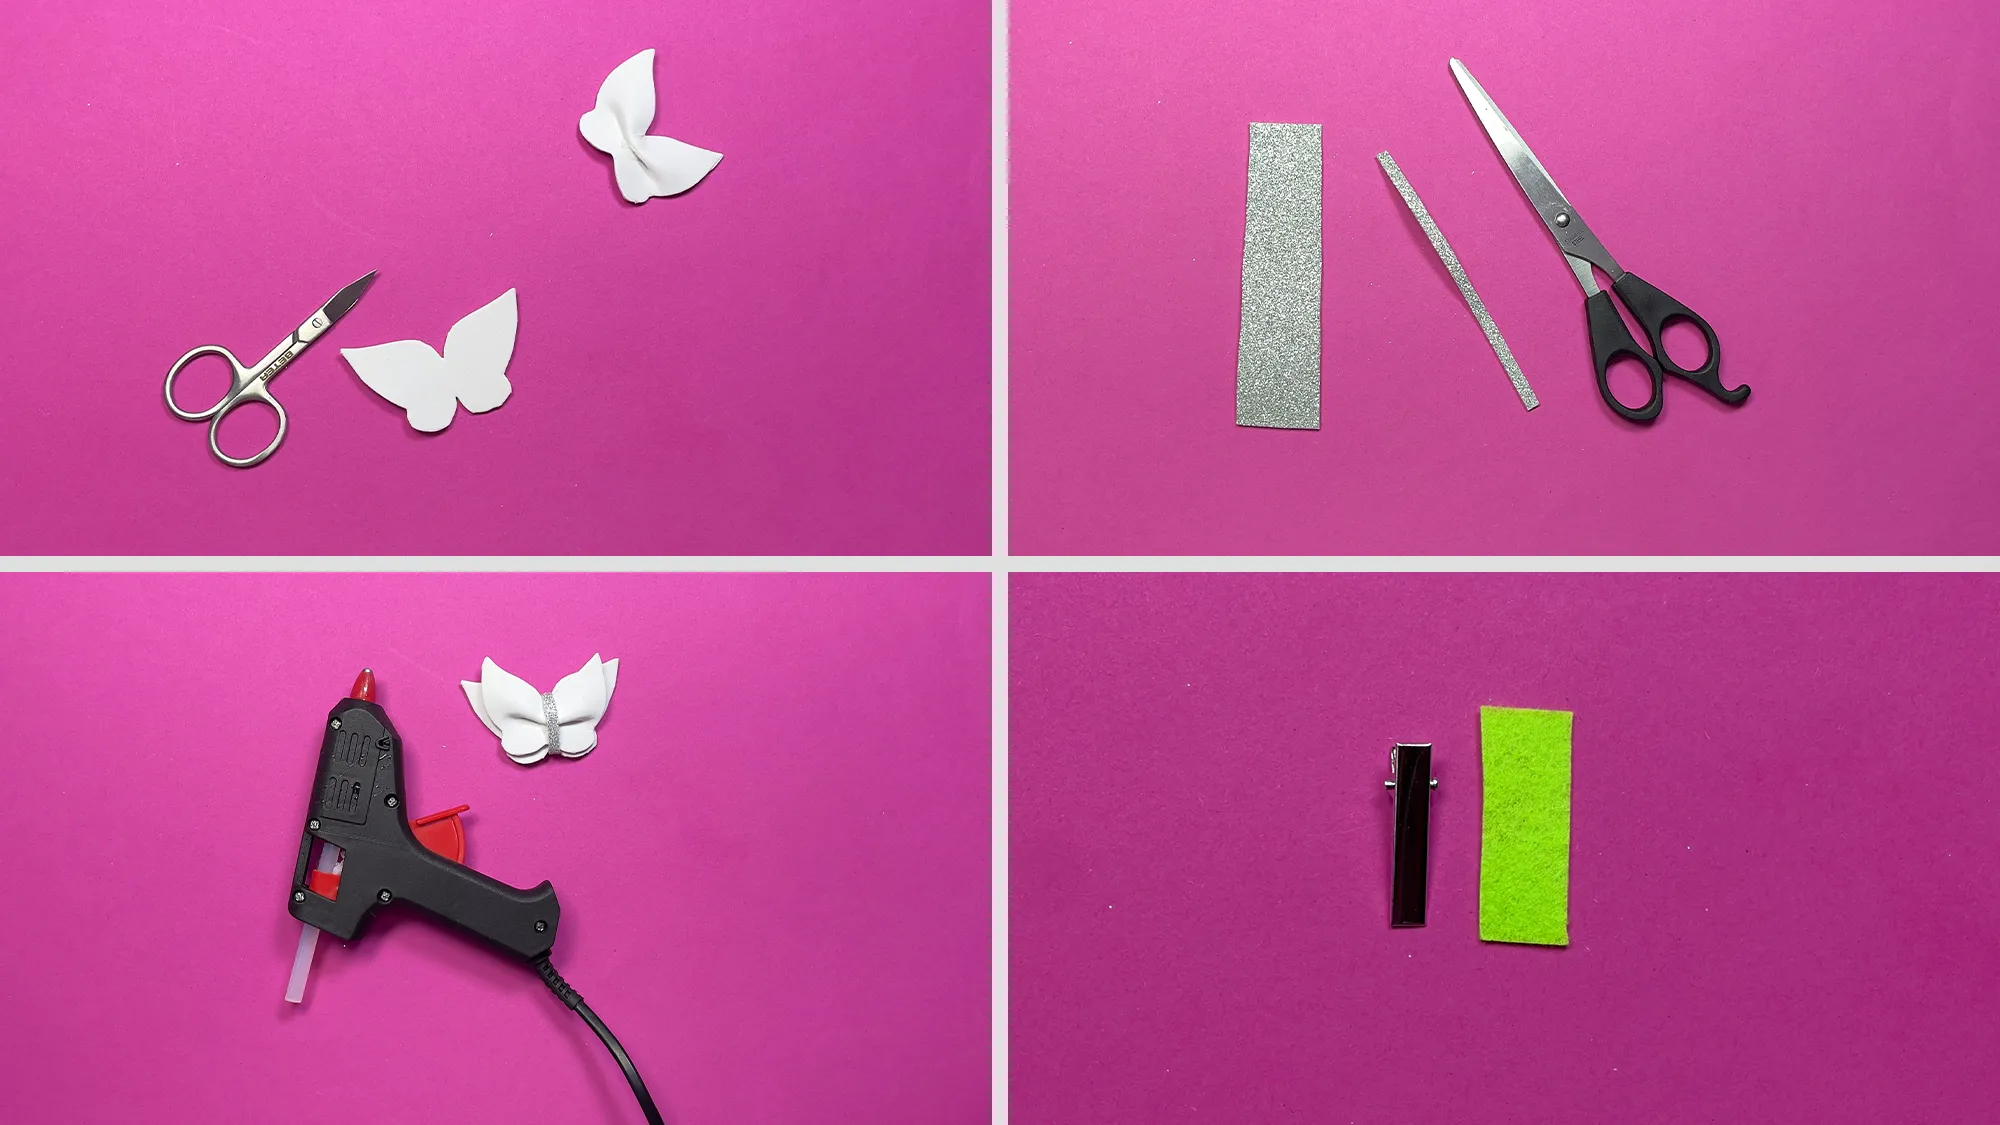
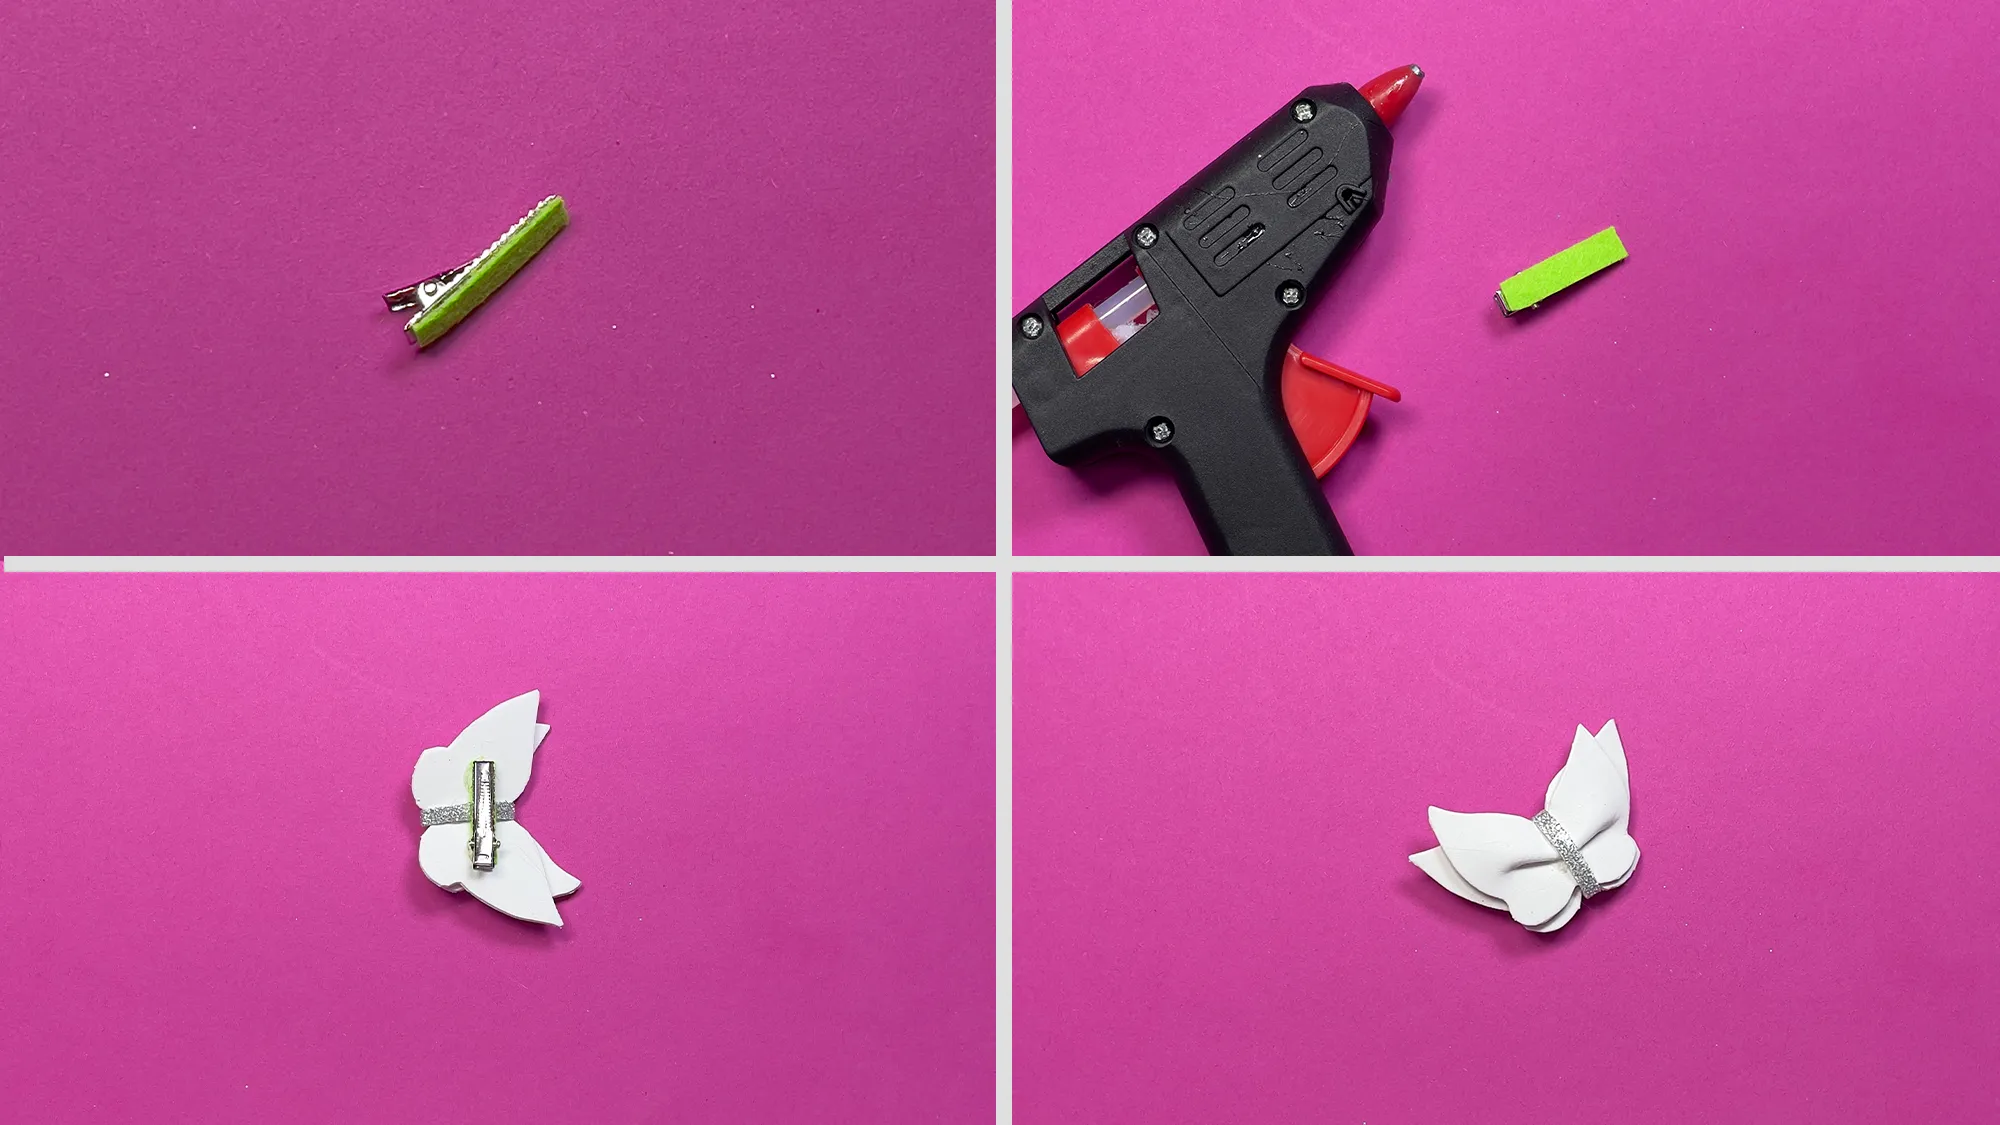
The Importance of Creative Crafting for Child Development
Crafting promotes fine motor skills in children in a playful way. When children cut, glue, and shape, they train the coordination between hands and eyes and strengthen the muscles in their fingers and hands. These skills are very important later when learning to write and in many other everyday activities.
Creative activities also stimulate mental development. They promote spatial thinking, concentration, and problem-solving skills. Through crafting together, you also get to know your child's strengths and interests better and can support them individually.
This butterfly clip is not only a great crafting project but also a homemade accessory that children can wear with pride. It’s a wonderful way to show them that they can create beautiful things with their own creativity.
Thank you for your interest!
Creating craft instructions, videos, photos, and writing this guide takes a lot of time, and we really hope you enjoyed this craft idea. Thank you for taking the time to read our guide!
If you’re interested in more creative projects, check out our other guides as well. You might be interested in our origami tutorials or want to look into our area of DIY ideas for children. In total, we already have over 400 different tutorials on our portal, with new ones added every week.
We wish you and your children lots of fun crafting!
From Vitalii Shynakov
