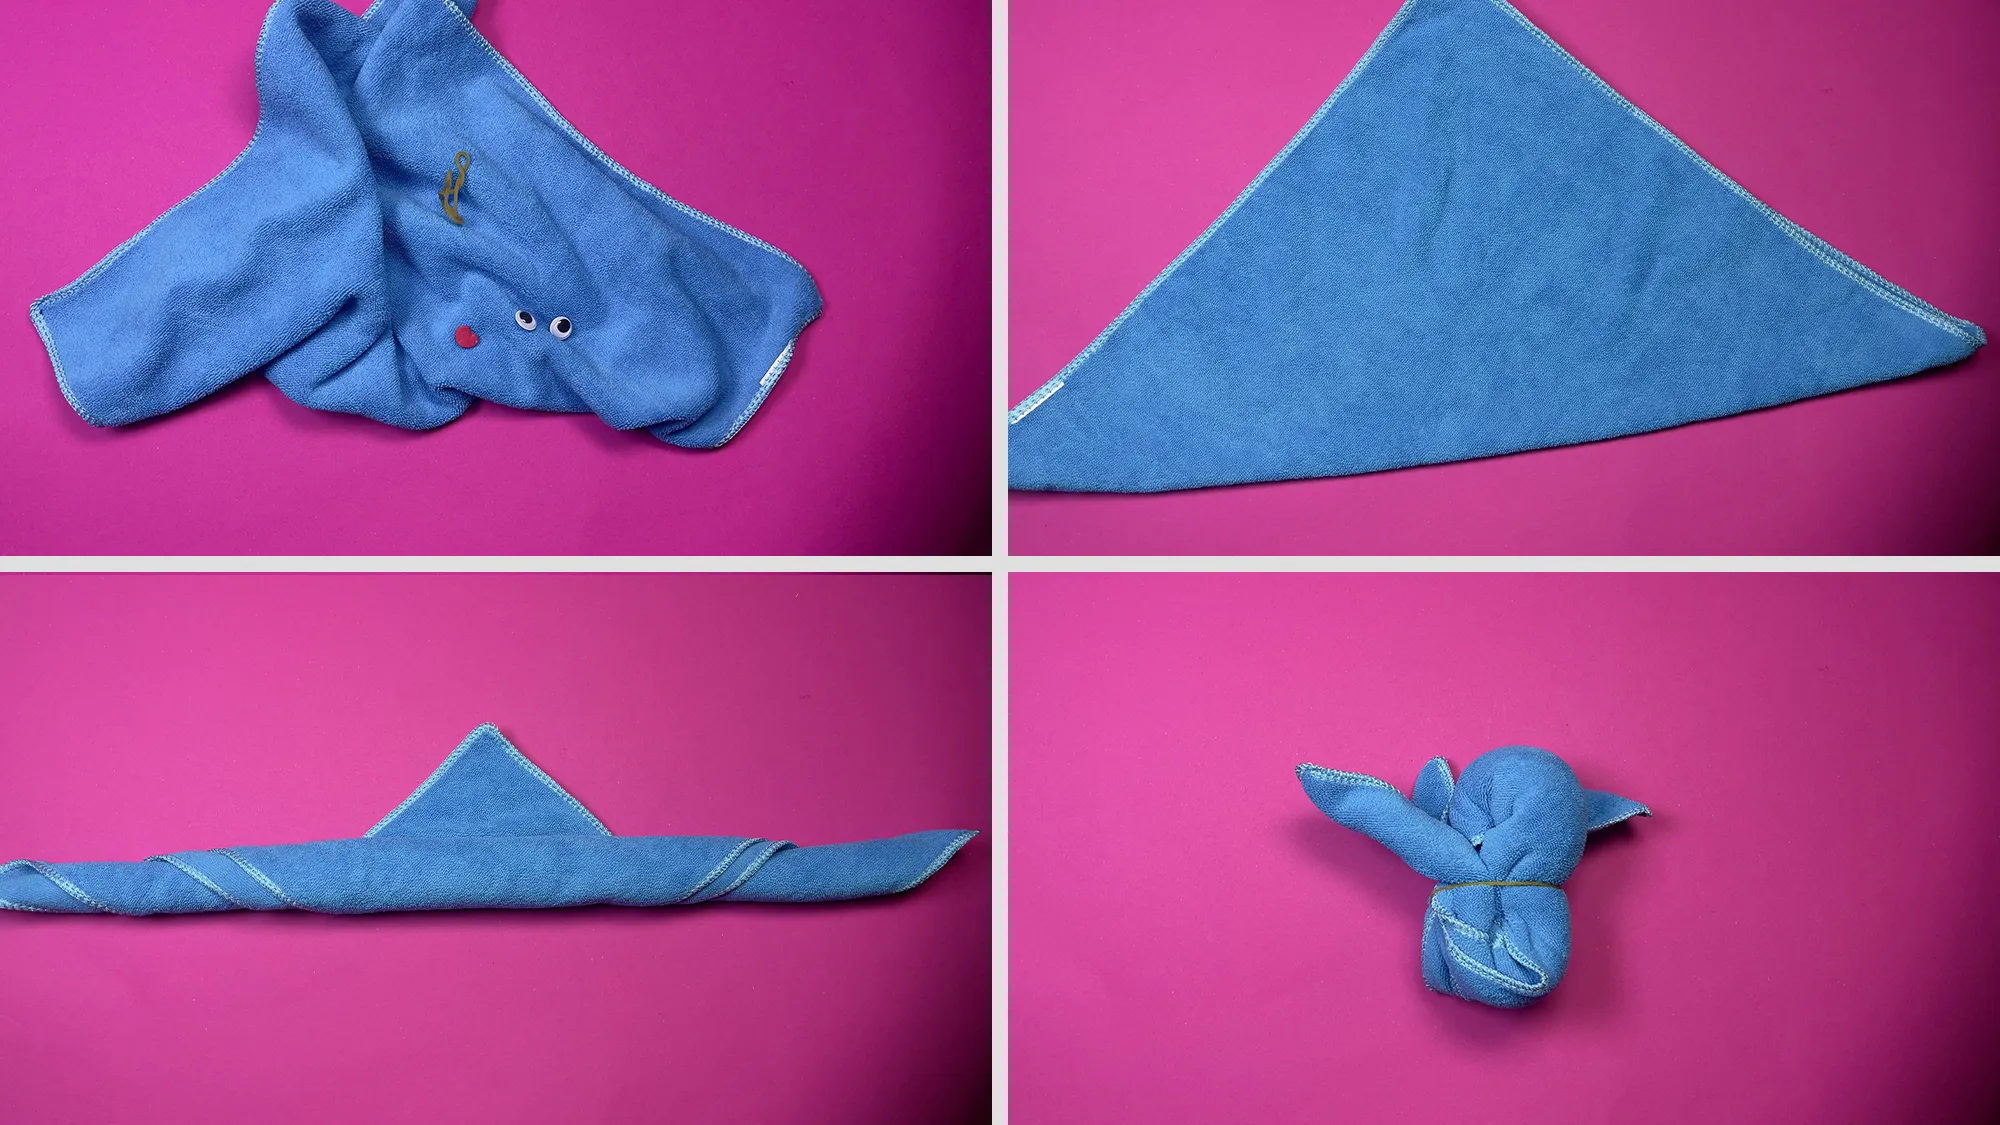
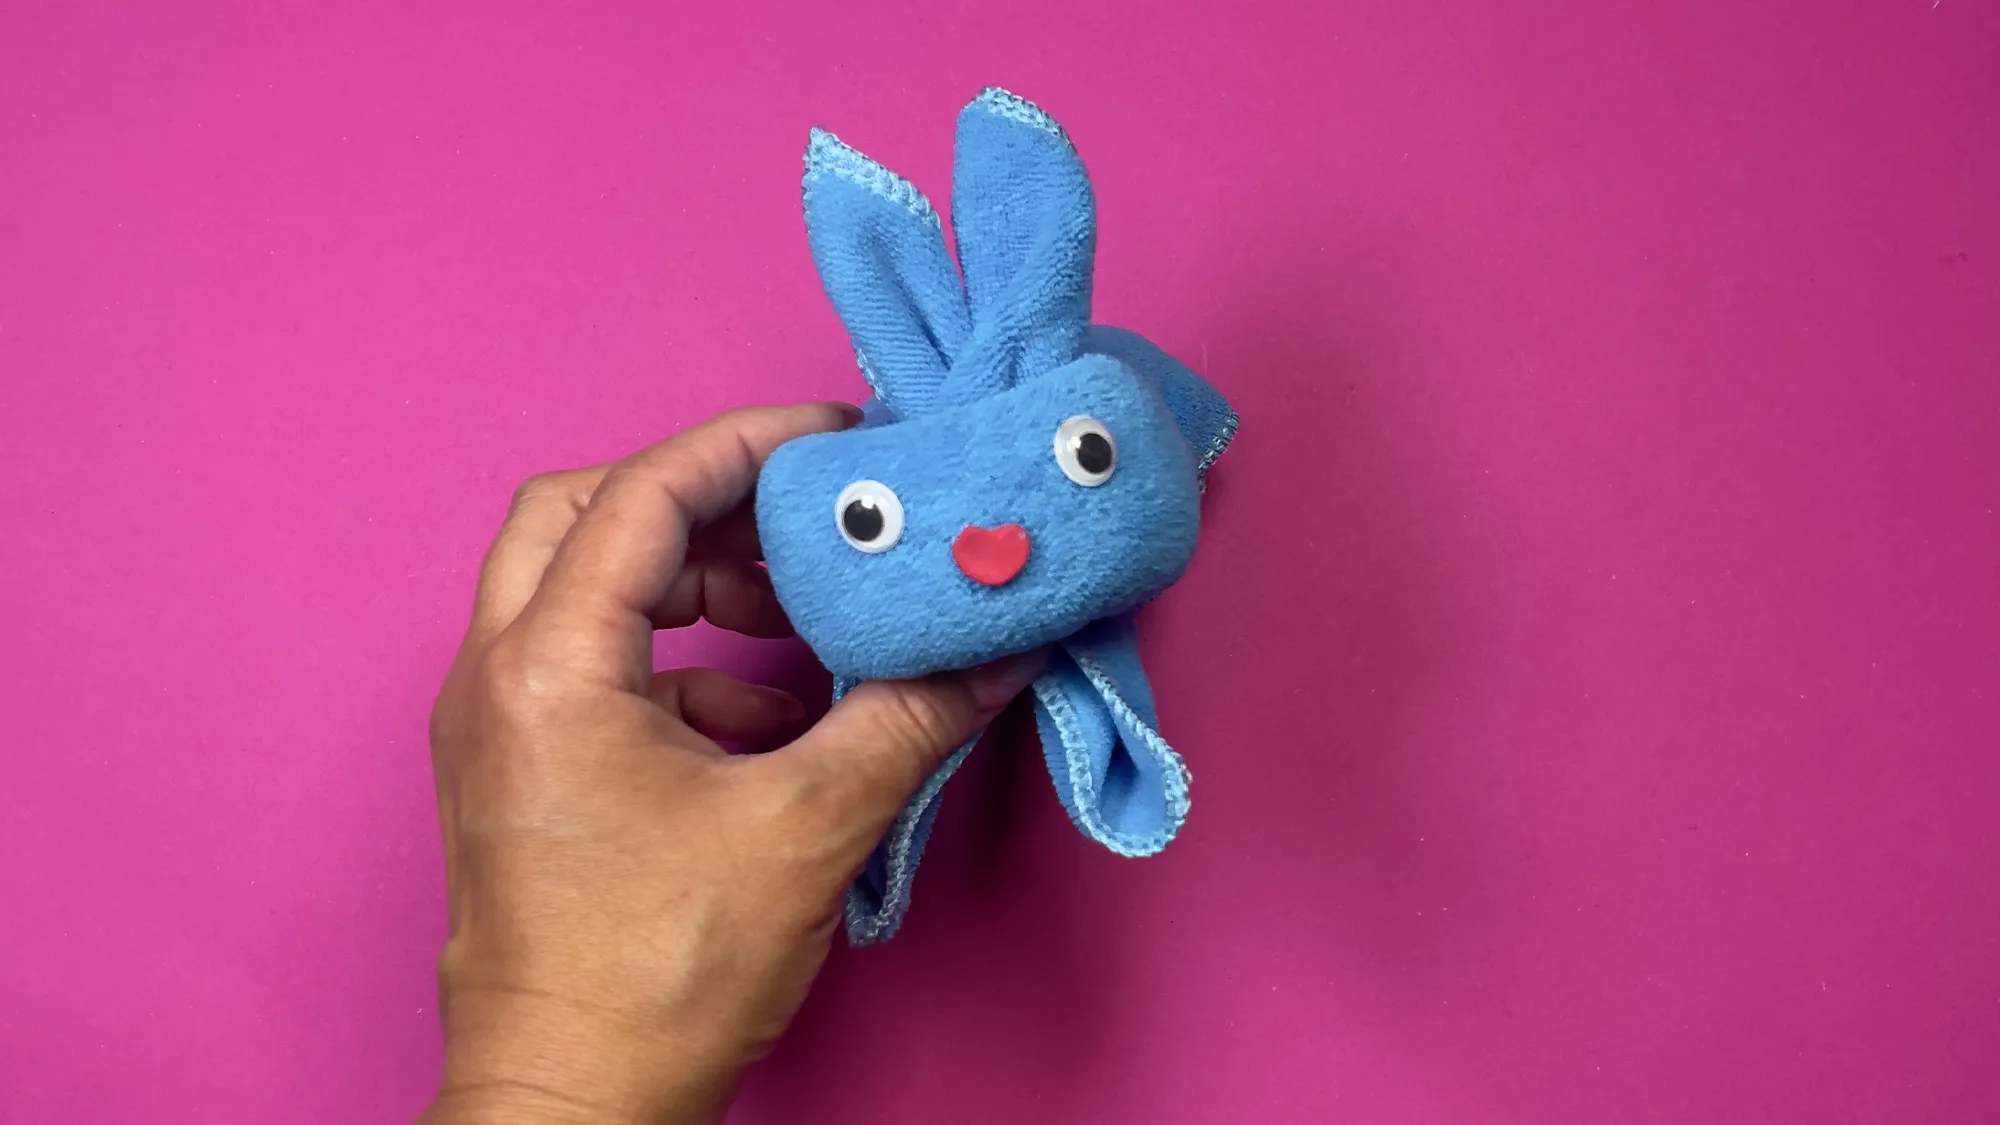
Towel rabbit folding – instructions with photo and video
Hello! Are you looking for a great idea on how to make something fun out of a simple towel? Then the towel bunny is just right for you! This cute figure is super easy to make and brings smiles not only to kids. Our step-by-step instructions consist of a video, photos, and short comments with tips, so you can be sure to get everything right – even without much crafting experience!
The best part? Everything you need can probably be found at home. And if not, you can get it at any supermarket or drugstore. This way, crafting with towels becomes a creative activity for you and your child.
All the photos and videos you find here are, by the way, produced by us. You can also find them on our YouTube channel. Just click on the video title to go directly to our channel – and if you like our ideas, we would be happy about your subscription!
Towel Bunny: Step-by-step instructions with photos and comments
For this and all our instructions, we ensure that all materials are easy to obtain – ideally at the nearest supermarket or craft store. For the towel bunny, you only need a simple, thin guest towel. The thinner the towel, the easier it is to fold and shape – a little trick that makes a big difference!
If you're crafting with small children, make sure to assist when securing the shape – especially when using elastic bands or glue.
You need:
- 1 small, thin guest towel (about 30 x 30 cm or 40 x 40 cm)
- 1 household rubber band or small hair tie
- Wiggly eyes and a piece of felt or paper for the face (optional)
- possibly some hot glue or double-sided tape


Towel Bunny and the Promotion of Fine Motor Skills in Children
This crafting idea falls into our category of towel folding, but is particularly great for creative moments with children. Through folding, rolling, and decorating, fine motor skills are playfully promoted – and real little works of art are created in the process. The towel bunny not only brings joy but also supports dexterity and concentration – ideal for children aged 5 and up.
Thank you for being here!
We put a lot of heart into each individual instruction and have compiled over 400 creative projects for children and adults. If you enjoyed this crafting idea, that is the best reward for us. Perhaps you will find more inspirations in our categories Origami or DIY Ideas for Kids – just take a look!
Have fun crafting and best of luck with your own towel bunny! 🐰
📝 P.S.
The bunny is one of the most well-known symbols of Easter – and a real eye-catcher on the table! When you fold your towel into a cute bunny, it quickly becomes a loving part of your Easter decorations. Simple, quick, and truly festive!
From Vitalii Shynakov
