Folding paper boat - Origami boat
Folding a paper boat is a timeless pastime and an entry into the fascinating world of Origami. It is often the first project that children attempt when they discover the art of paper folding. The appeal lies in creating something of their own from a simple sheet of paper.
This activity promotes fine motor skills and patience - skills that are valuable for both children and seniors as they stimulate brain activity. Our instructions are designed so that you can easily follow each step. With detailed videos and photos for every phase of the process, we support you. The beginning may seem challenging, but we assure you: with some perseverance, you will succeed!
It would be no surprise if studies showed that the paper boat is one of the most popular paper craft activities worldwide. It evokes associations with adventures and carefree days by the water, making it particularly popular among children. Through paper folding, they develop concentration and precision. They learn that careful and patient work leads to better results - a valuable lesson for many areas of life.
Folding a paper boat – Origami boat: Step-by-step guide with photos and description
Before you start folding the paper boat, we recommend watching the video once or twice. Additionally, it is helpful to use special Origami paper, which is available in almost all stationery stores. These square sheets come in many different colors and are often thinner to facilitate folding.
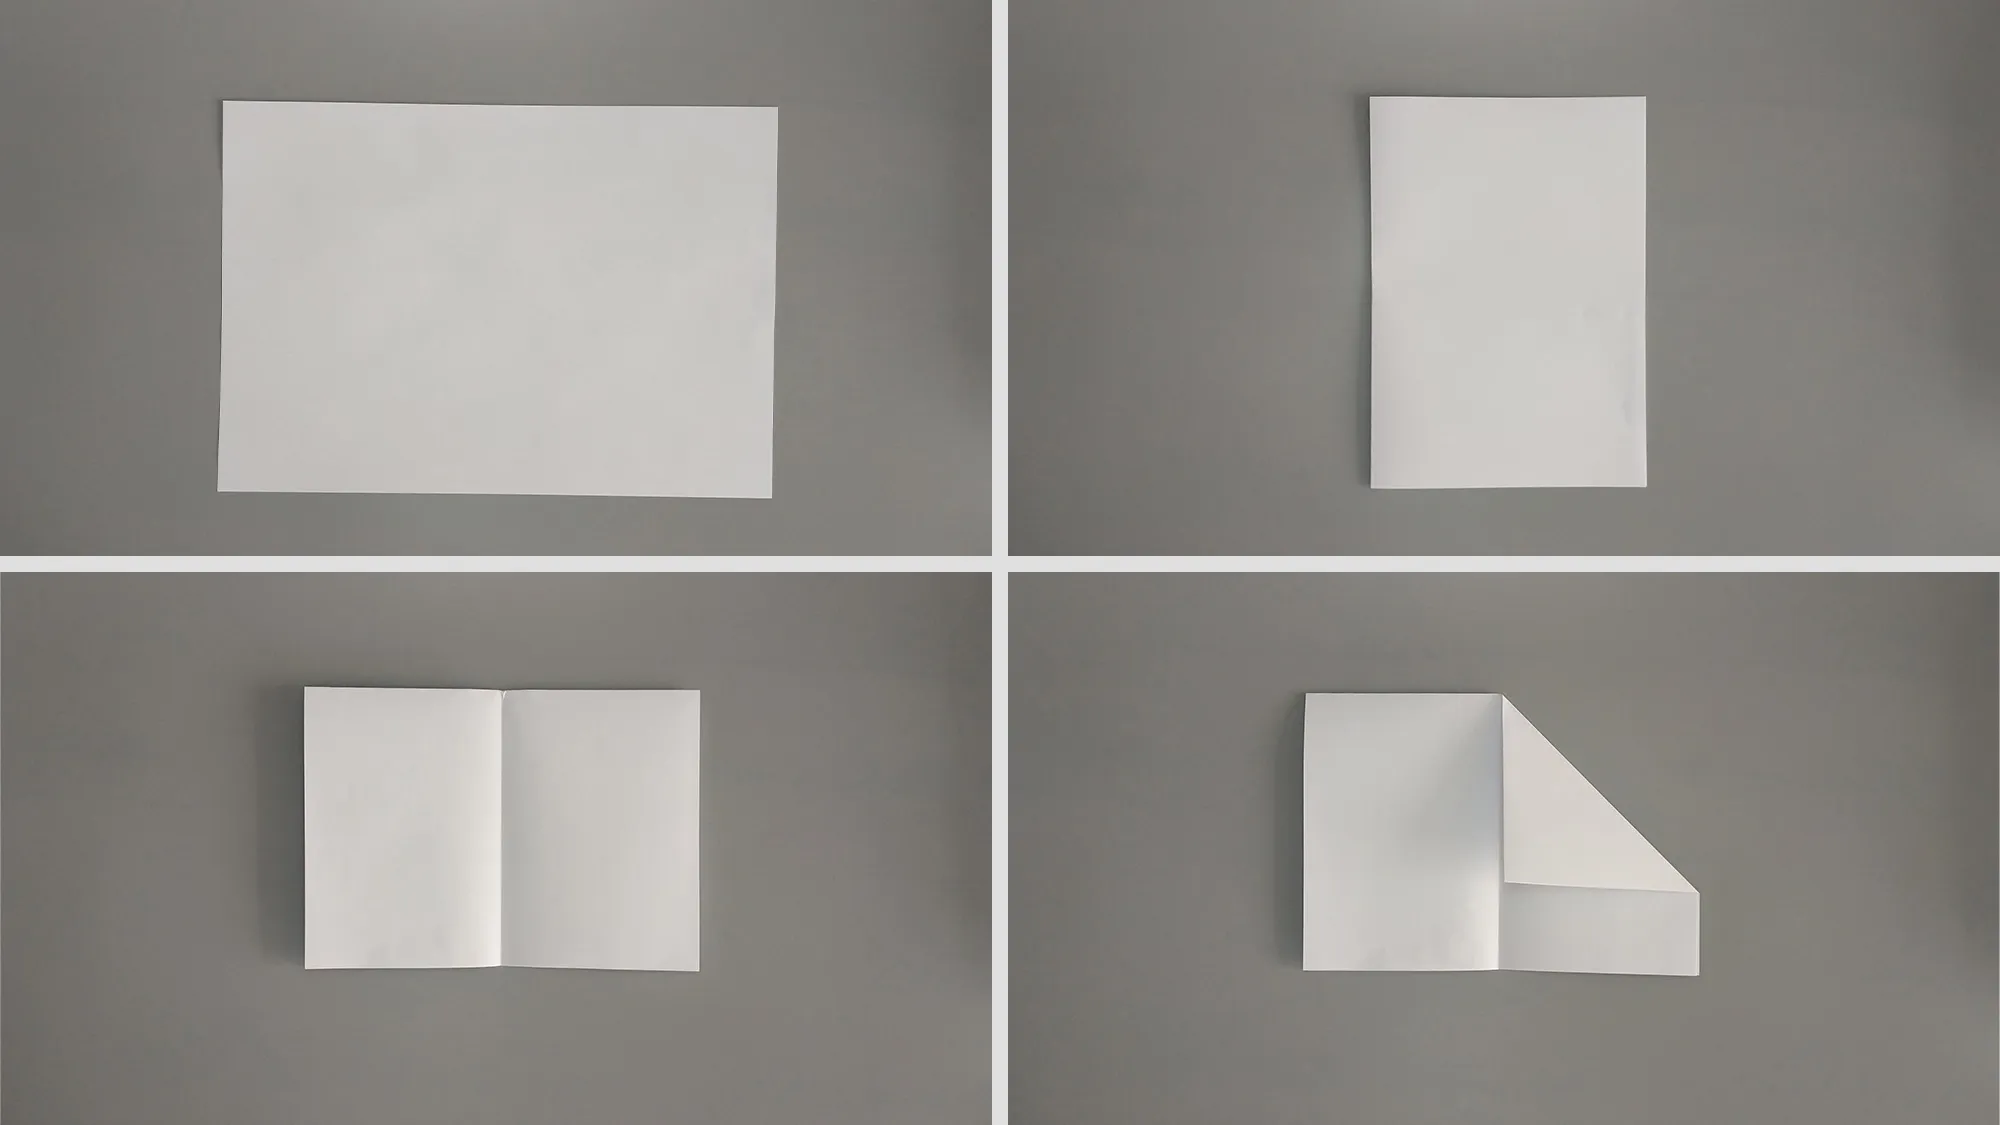
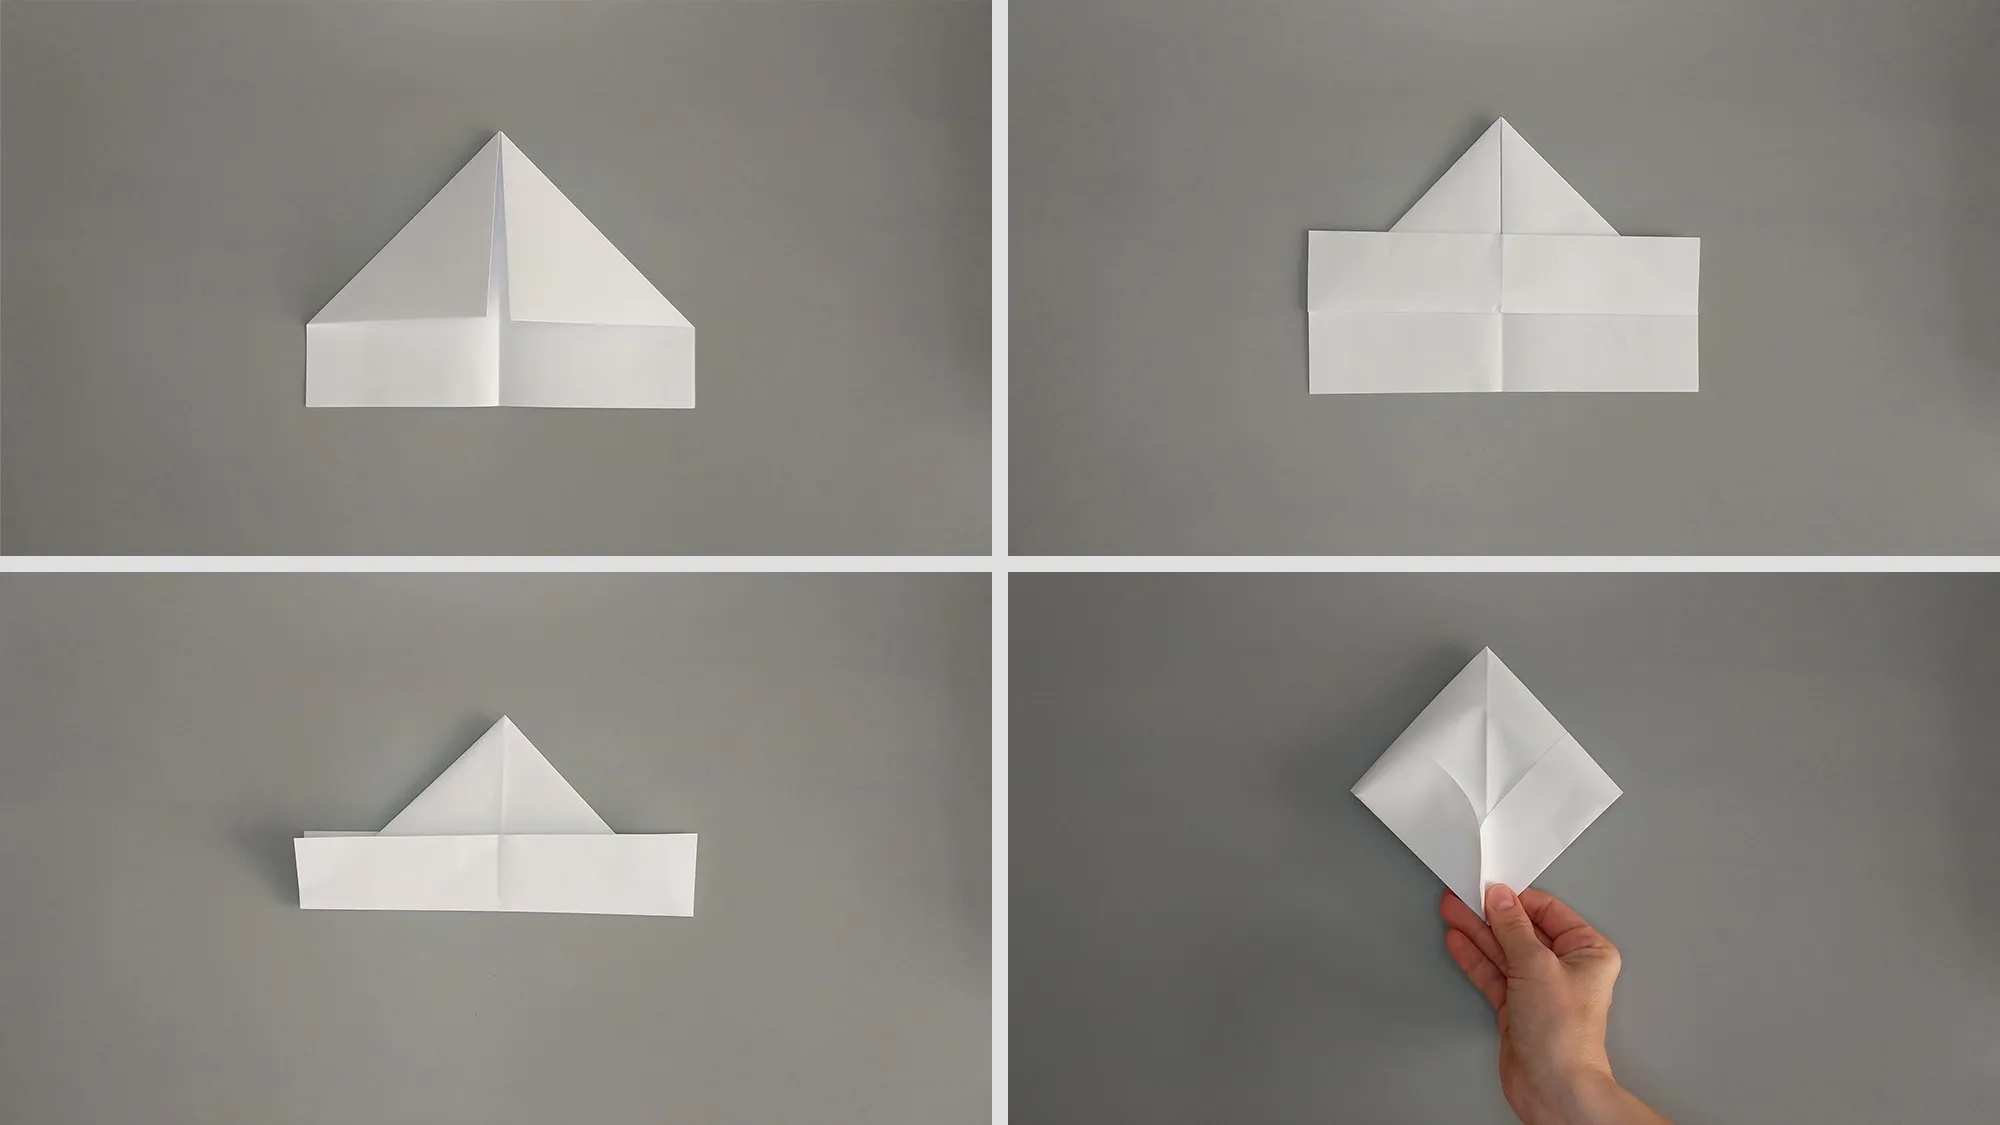
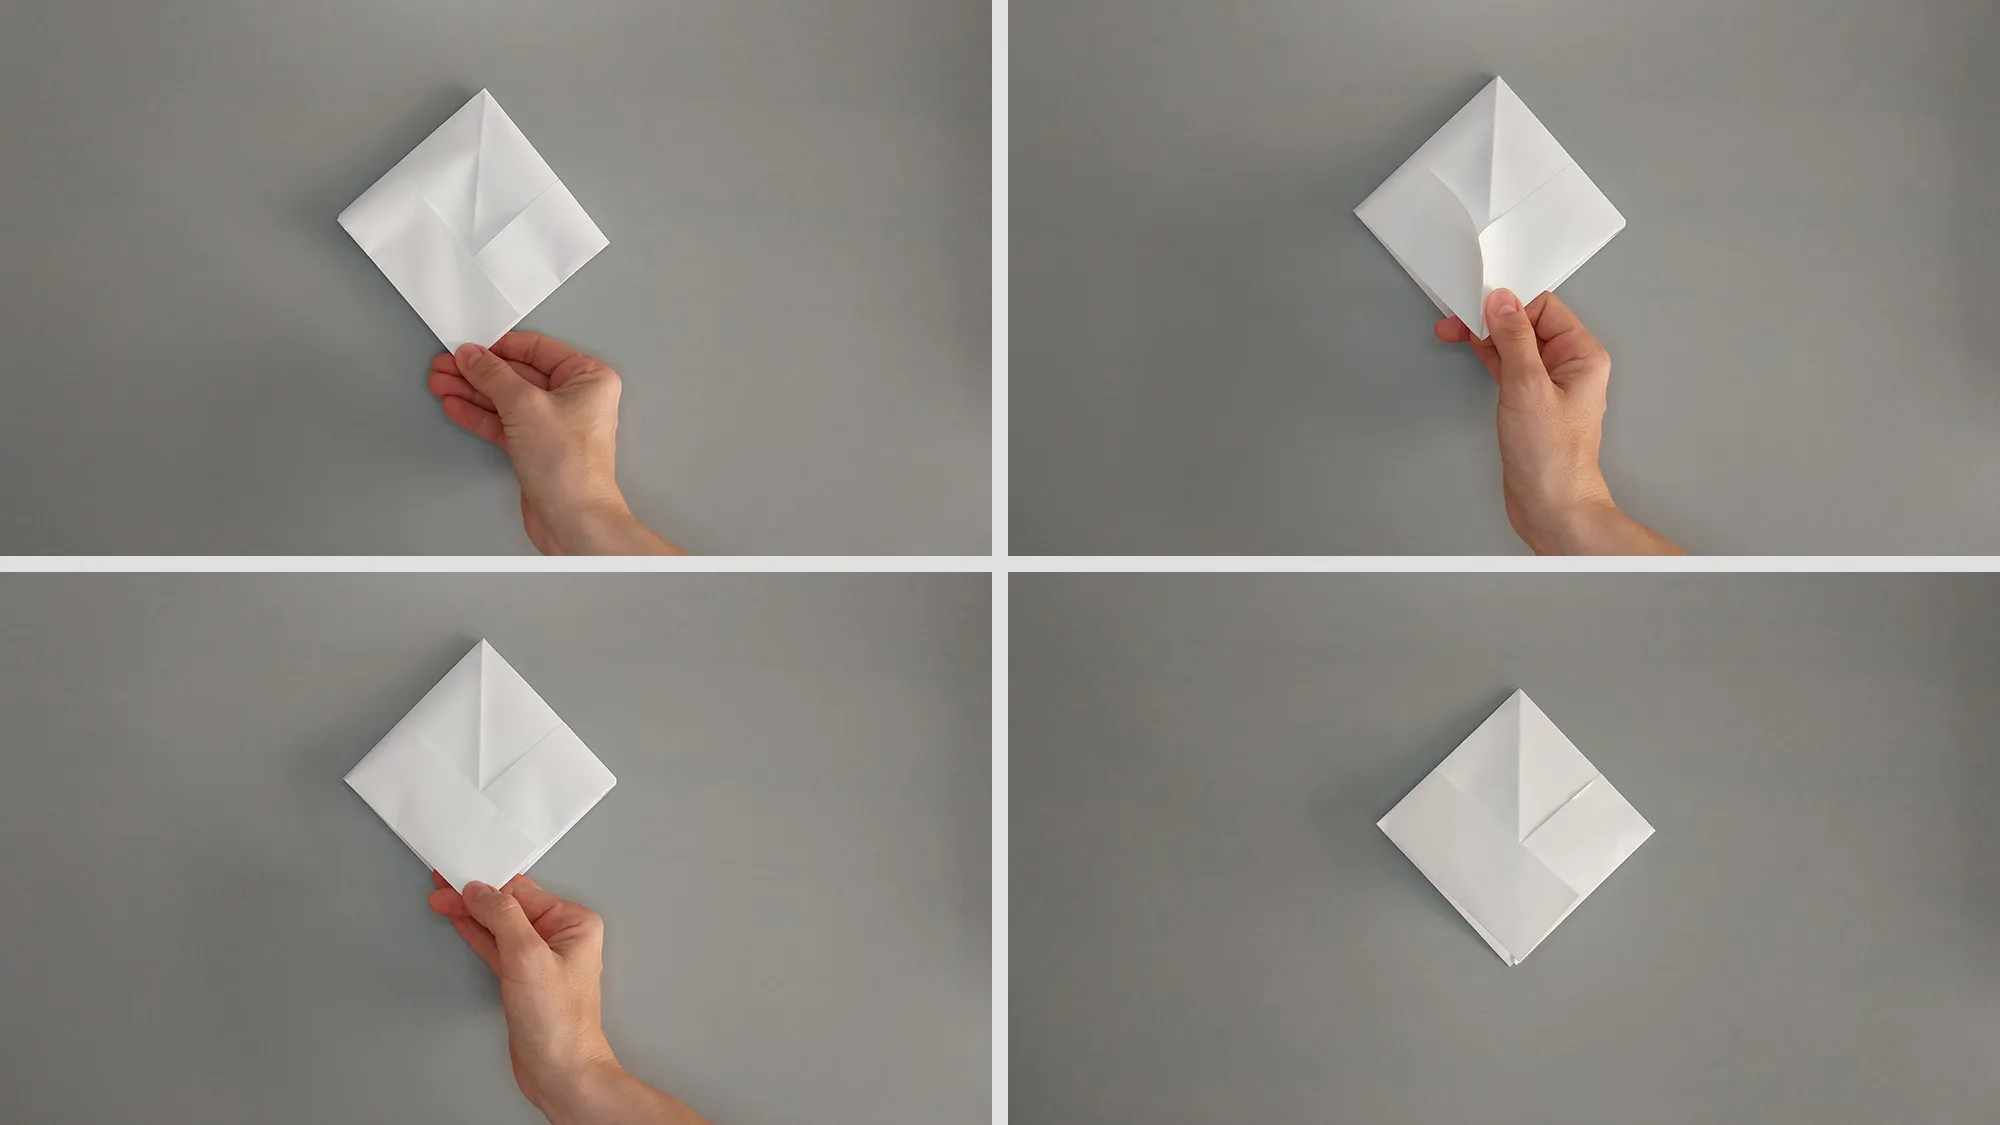
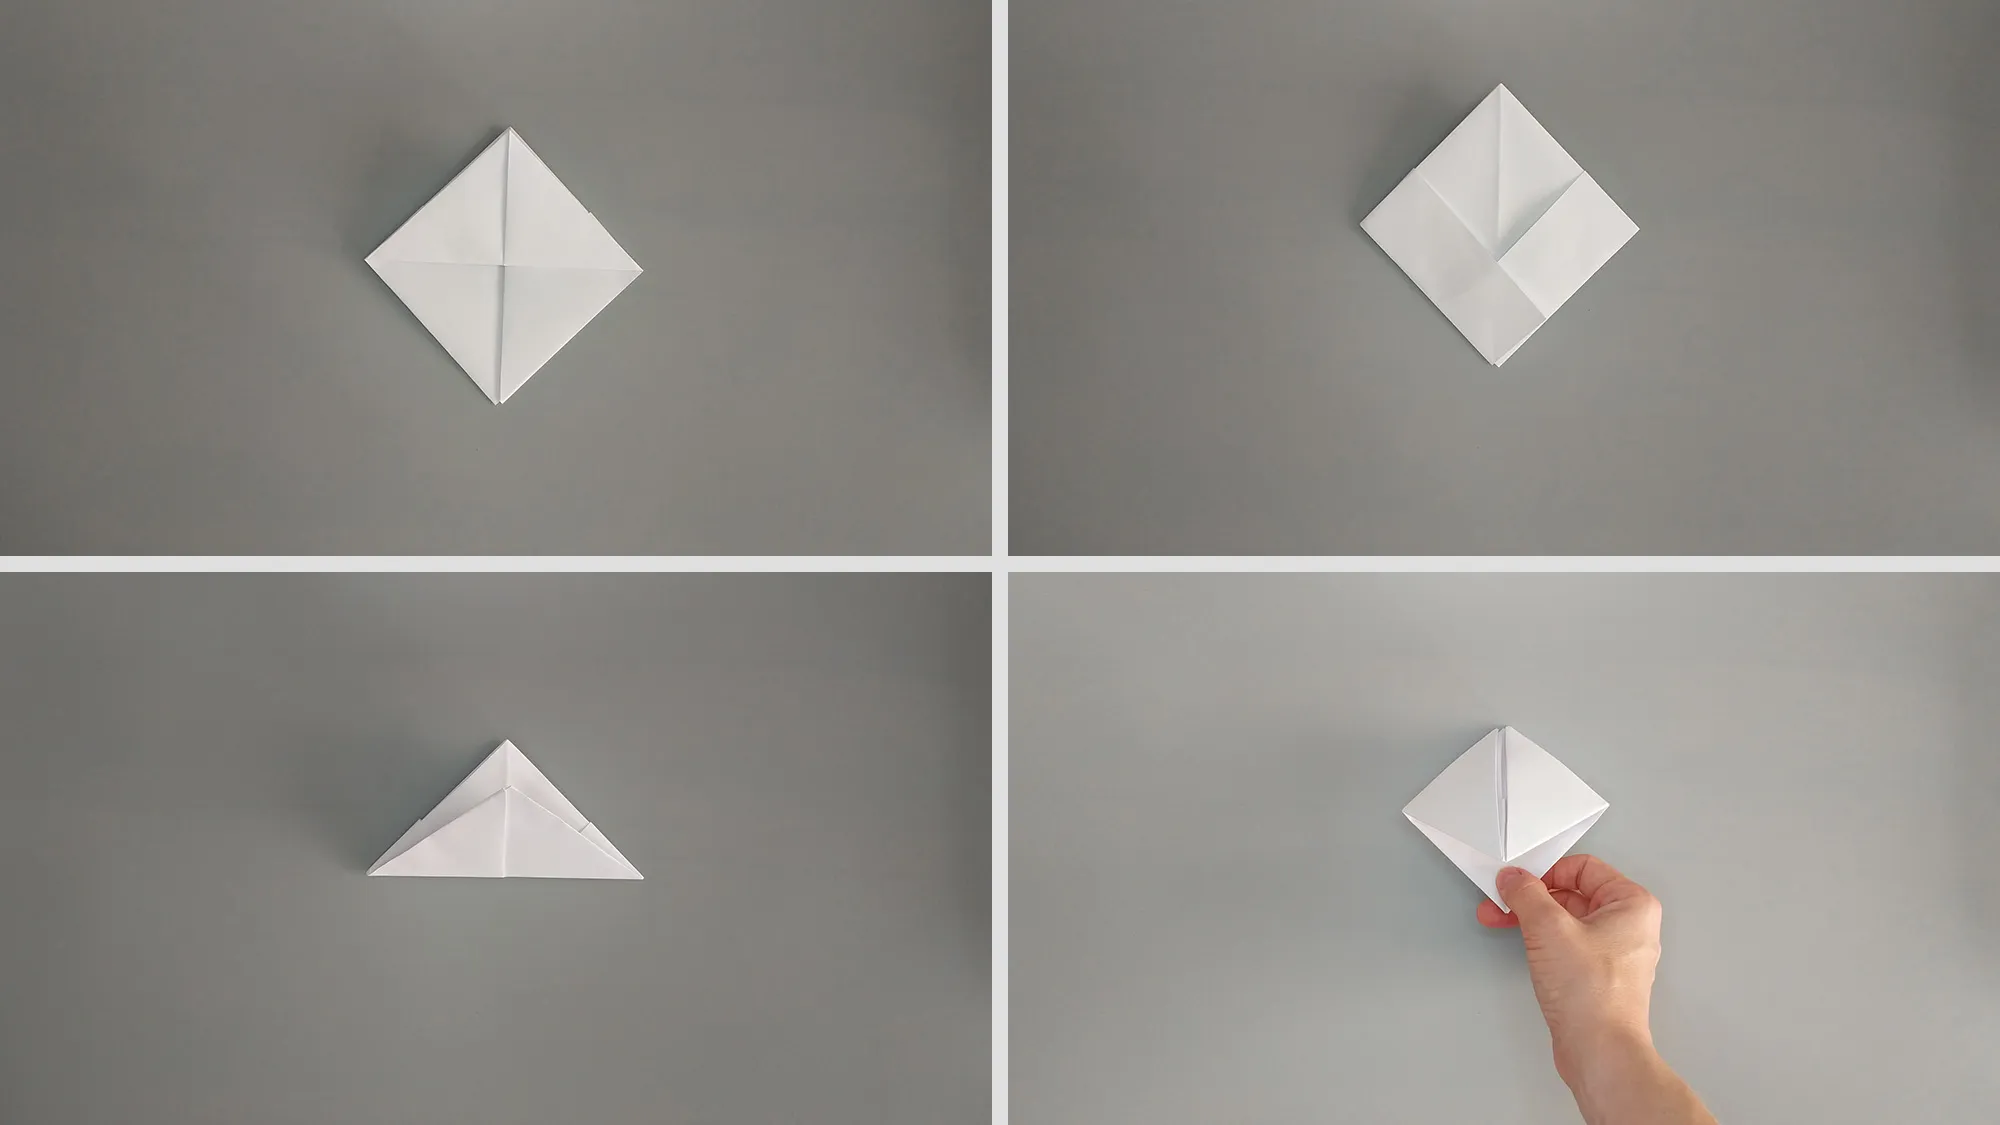
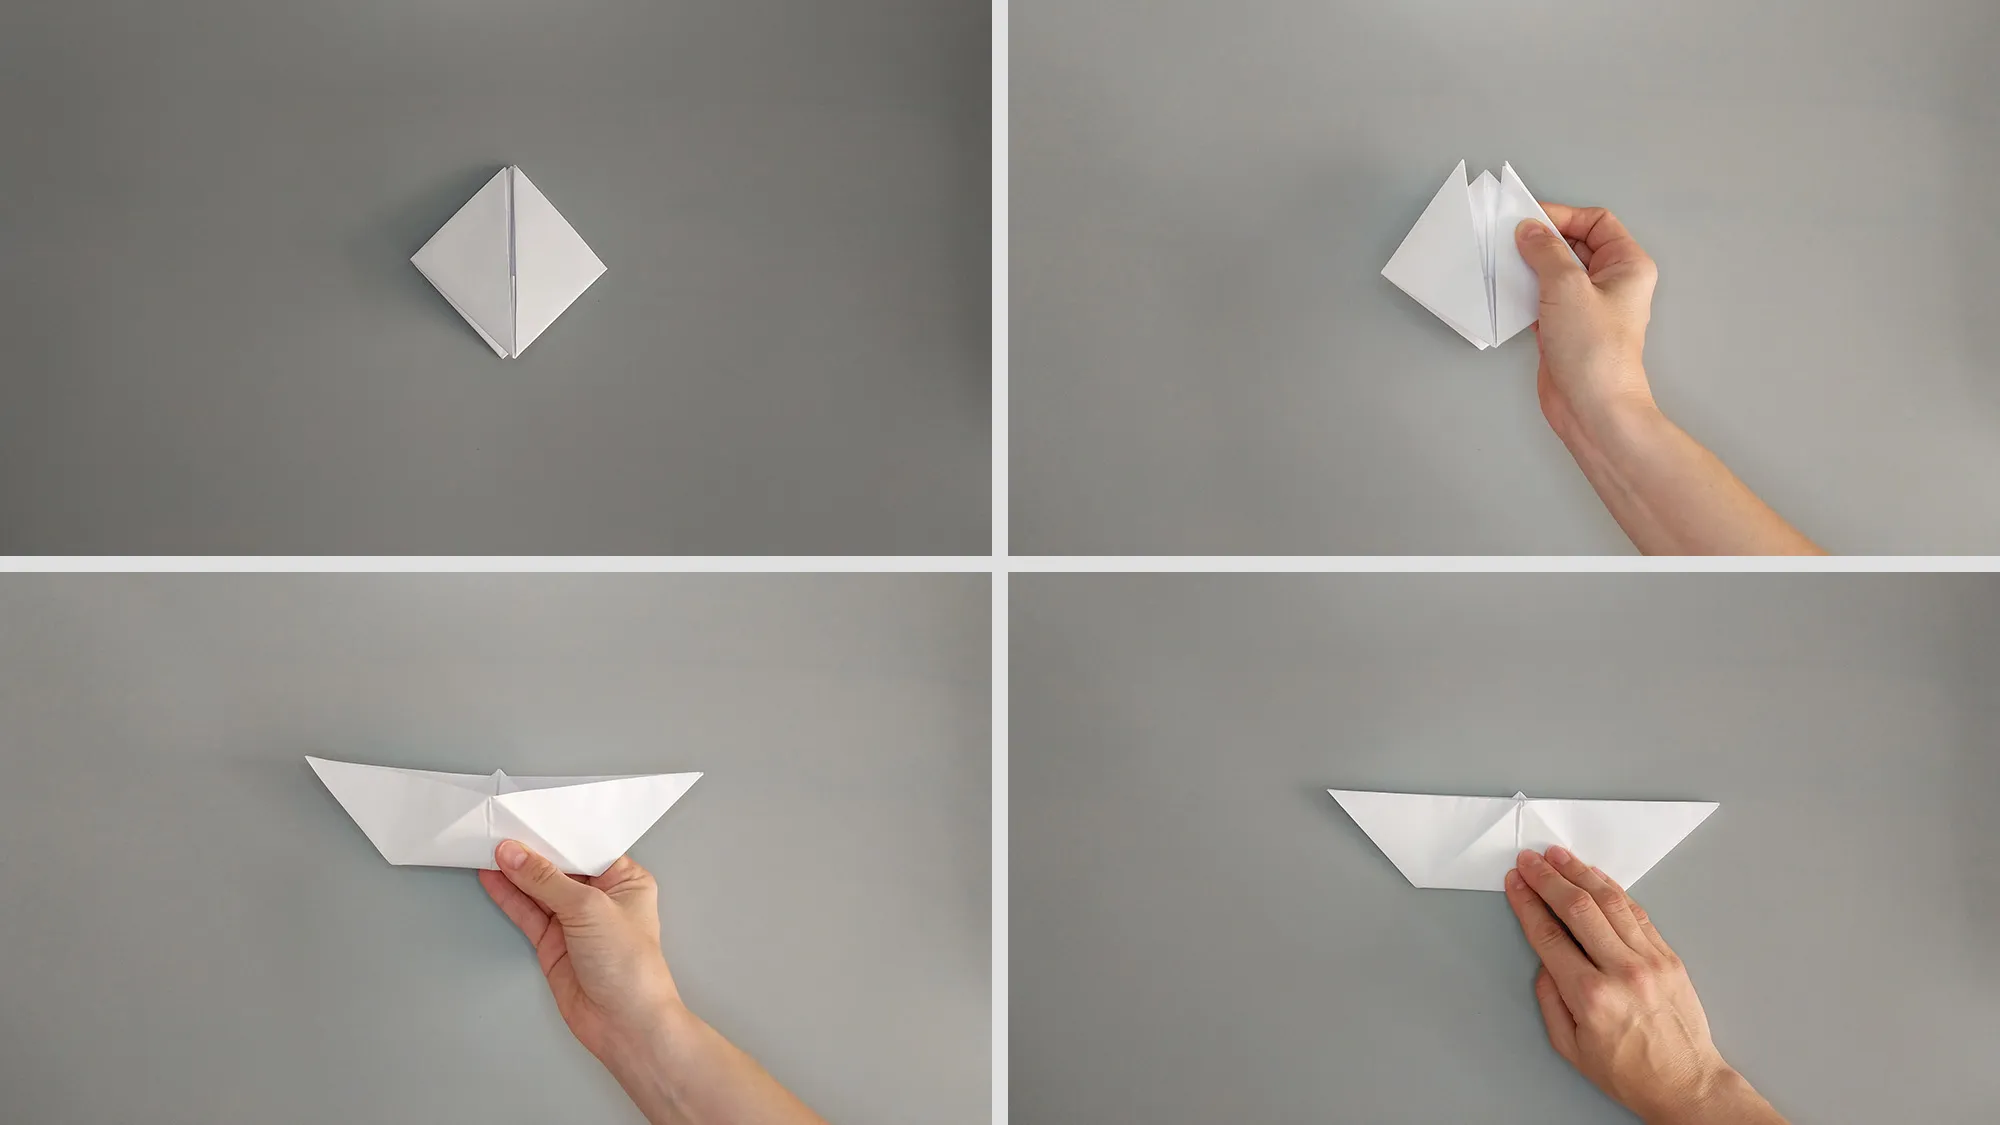
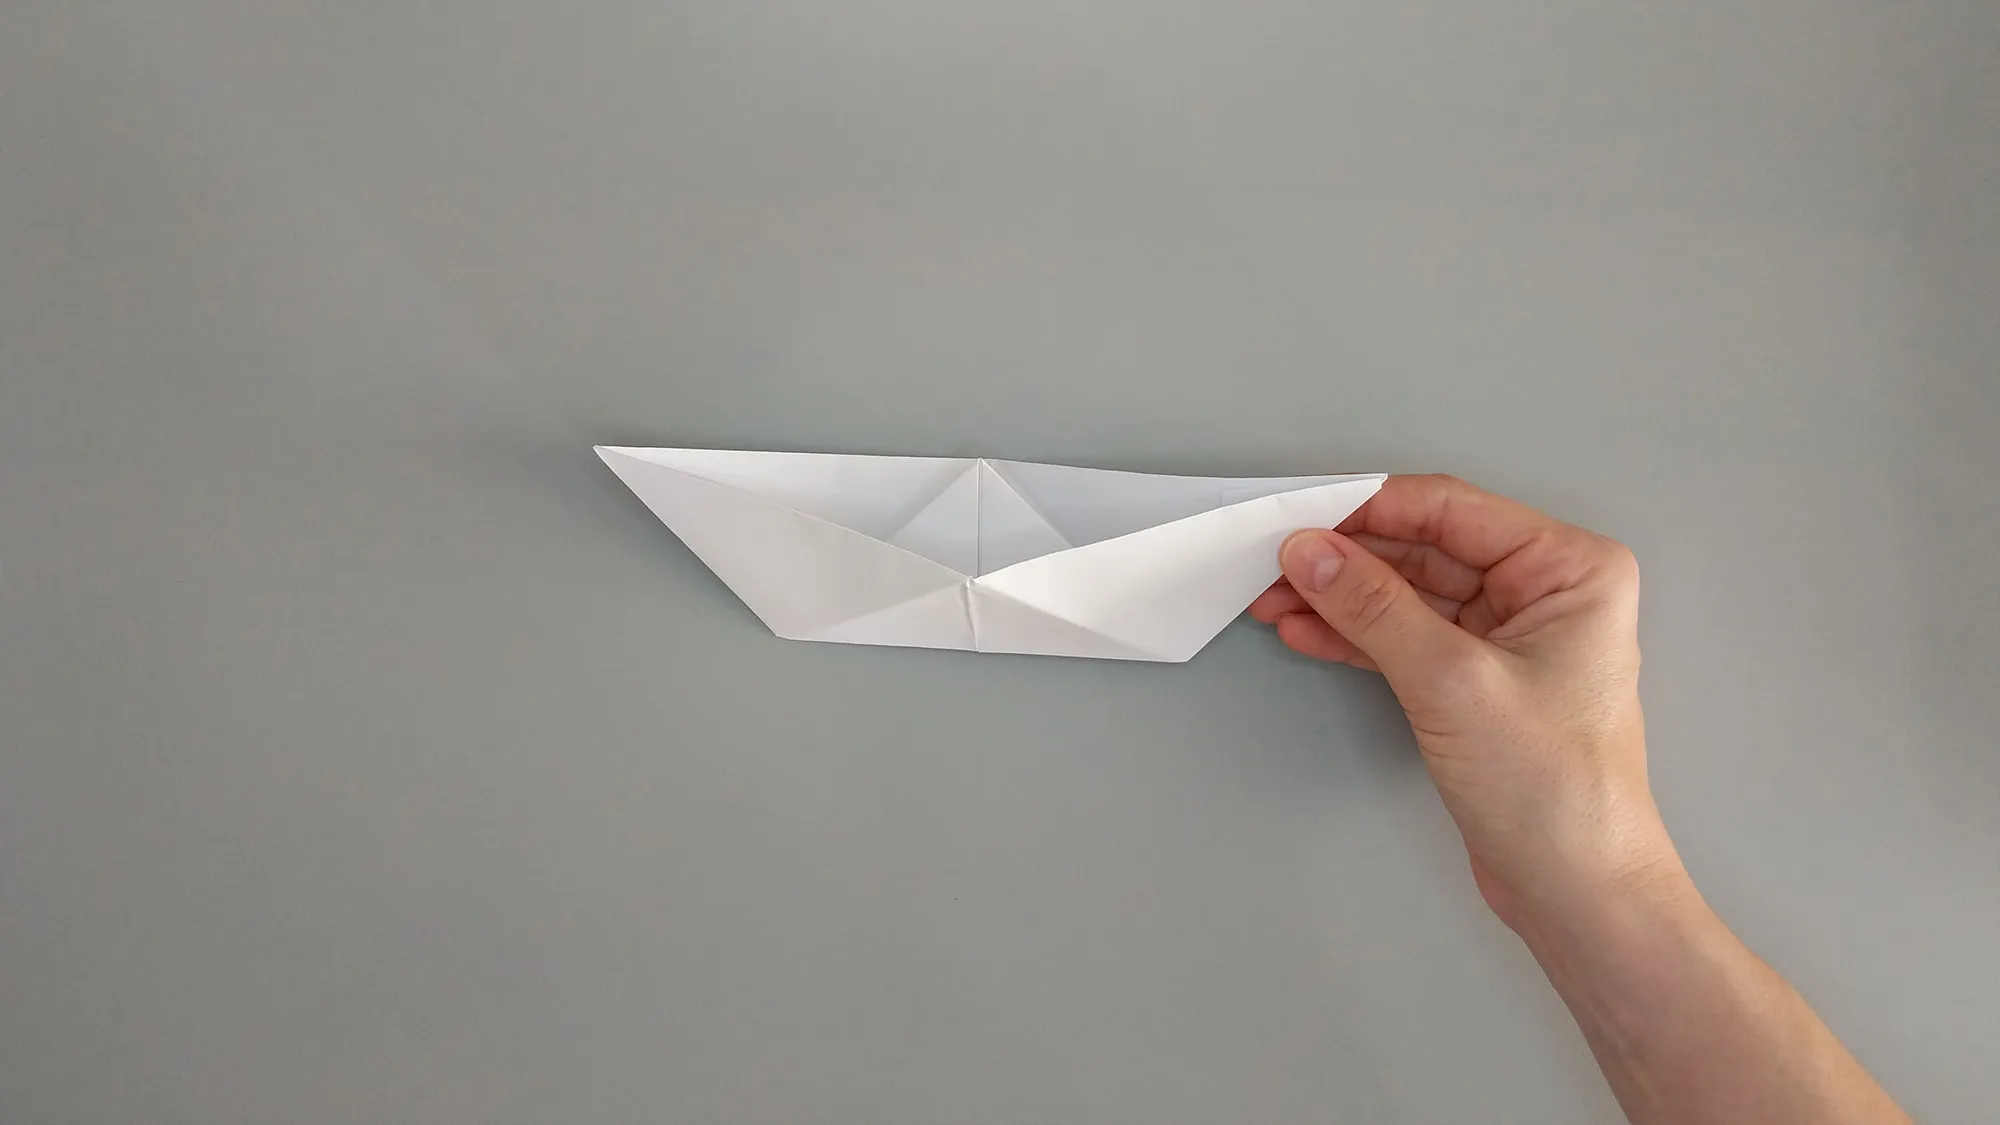
Afterword on making the Origami paper boat
Thank you for your interest in folding paper into a ship! We are delighted that you are enthusiastic about this enchanting folding art. If you have completed this project with your child, we congratulate both of you on your success! Why not continue right away? We offer numerous video tutorials for Origami and other crafting activities with children. Discover with us the diverse world of paper folding art!
From Vitalii Shynakov
