Christmas ornament made of string for the Christmas tree: We are crafting together with the child, step by step
Christmas is a magical time. The air is filled with a festive atmosphere, and you want to decorate every corner of the house with something special. A great way to feel the spirit of Christmas is to craft Christmas ornaments together with the child yourself. Such moments stay in memory for many years and can become a family tradition passed down from generation to generation.
Crafting a Christmas ornament together with the child
Today we will craft a beautiful and simple Christmas ornament for the Christmas tree. This crafting project is so easy that even a child can do it. However, you may need to help with some steps.
Materials
Make sure you have all the necessary materials:
- Styrofoam ball
- String
- Glue
- Lace
- Scissors
- Decorative elements (beads, sequins)
Lay everything out on the work surface so you have everything within reach.
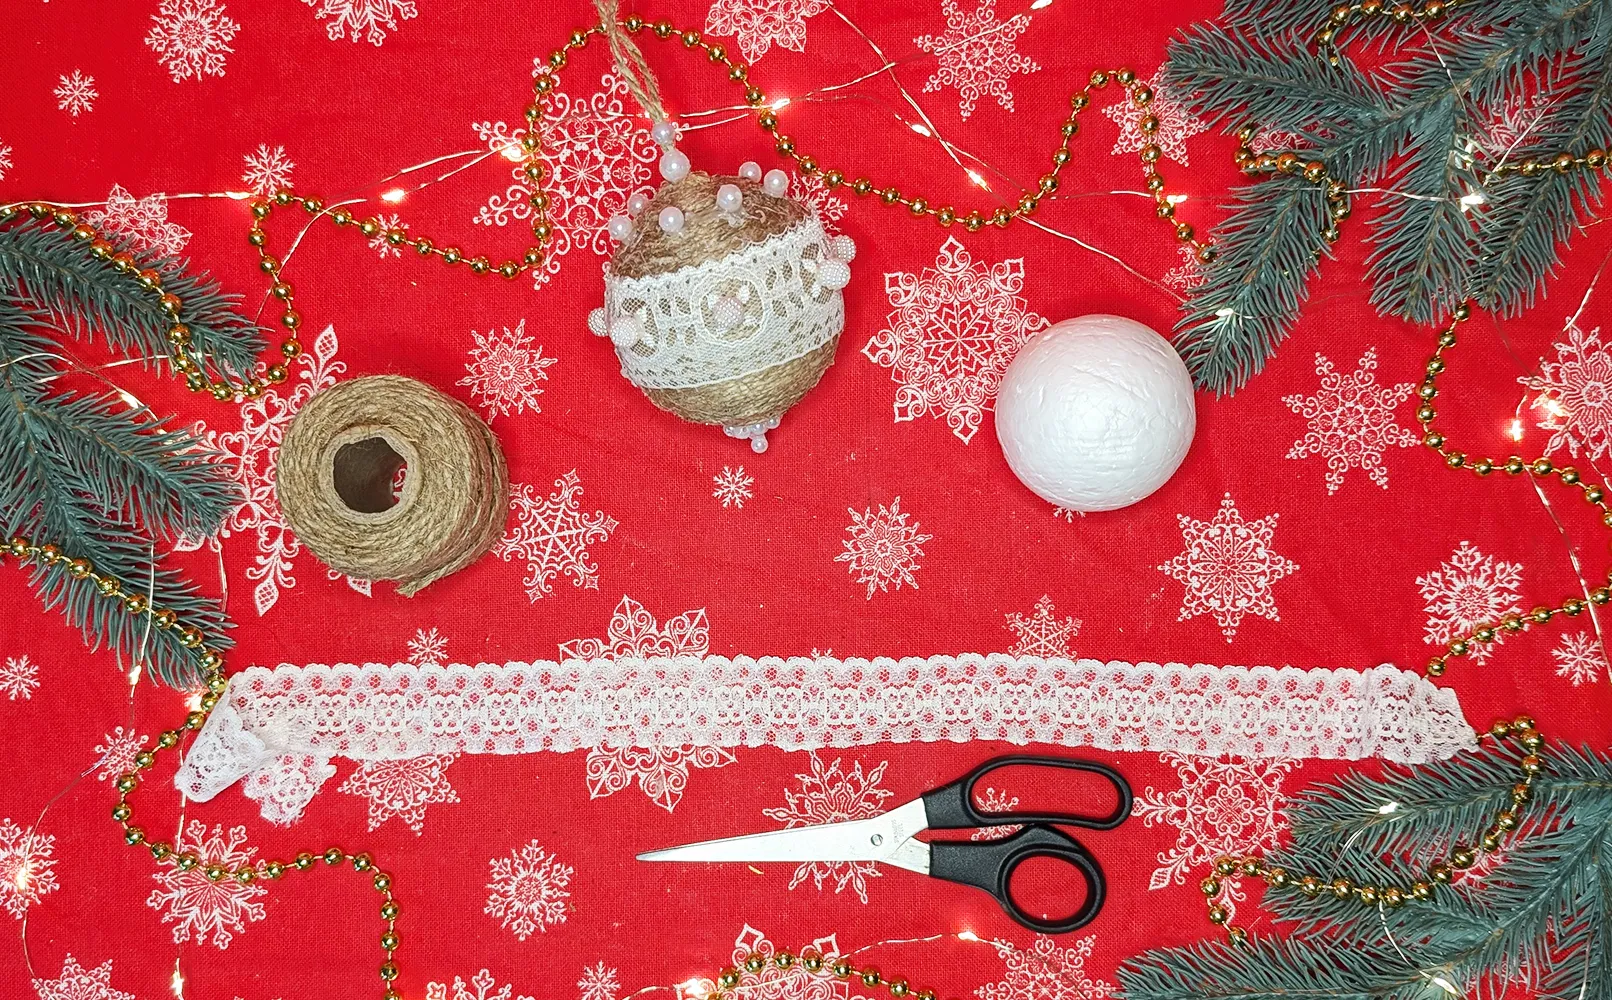
Tip: Use a disposable tablecloth or paper on the table to avoid staining it with glue.
Step-by-step guide with photos to craft a Christmas ornament for the Christmas tree
Before we start, let's briefly talk about safety. When crafting the Christmas ornament, we will use scissors and a hot glue gun. Therefore, make sure to watch the child closely and help when necessary.
Safety rules when using the hot glue gun: Always keep the hot glue gun away from the child's face and hands. Use it only on a flat surface and do not leave it plugged in unsupervised.
Step 1: Wrapping the ball with string
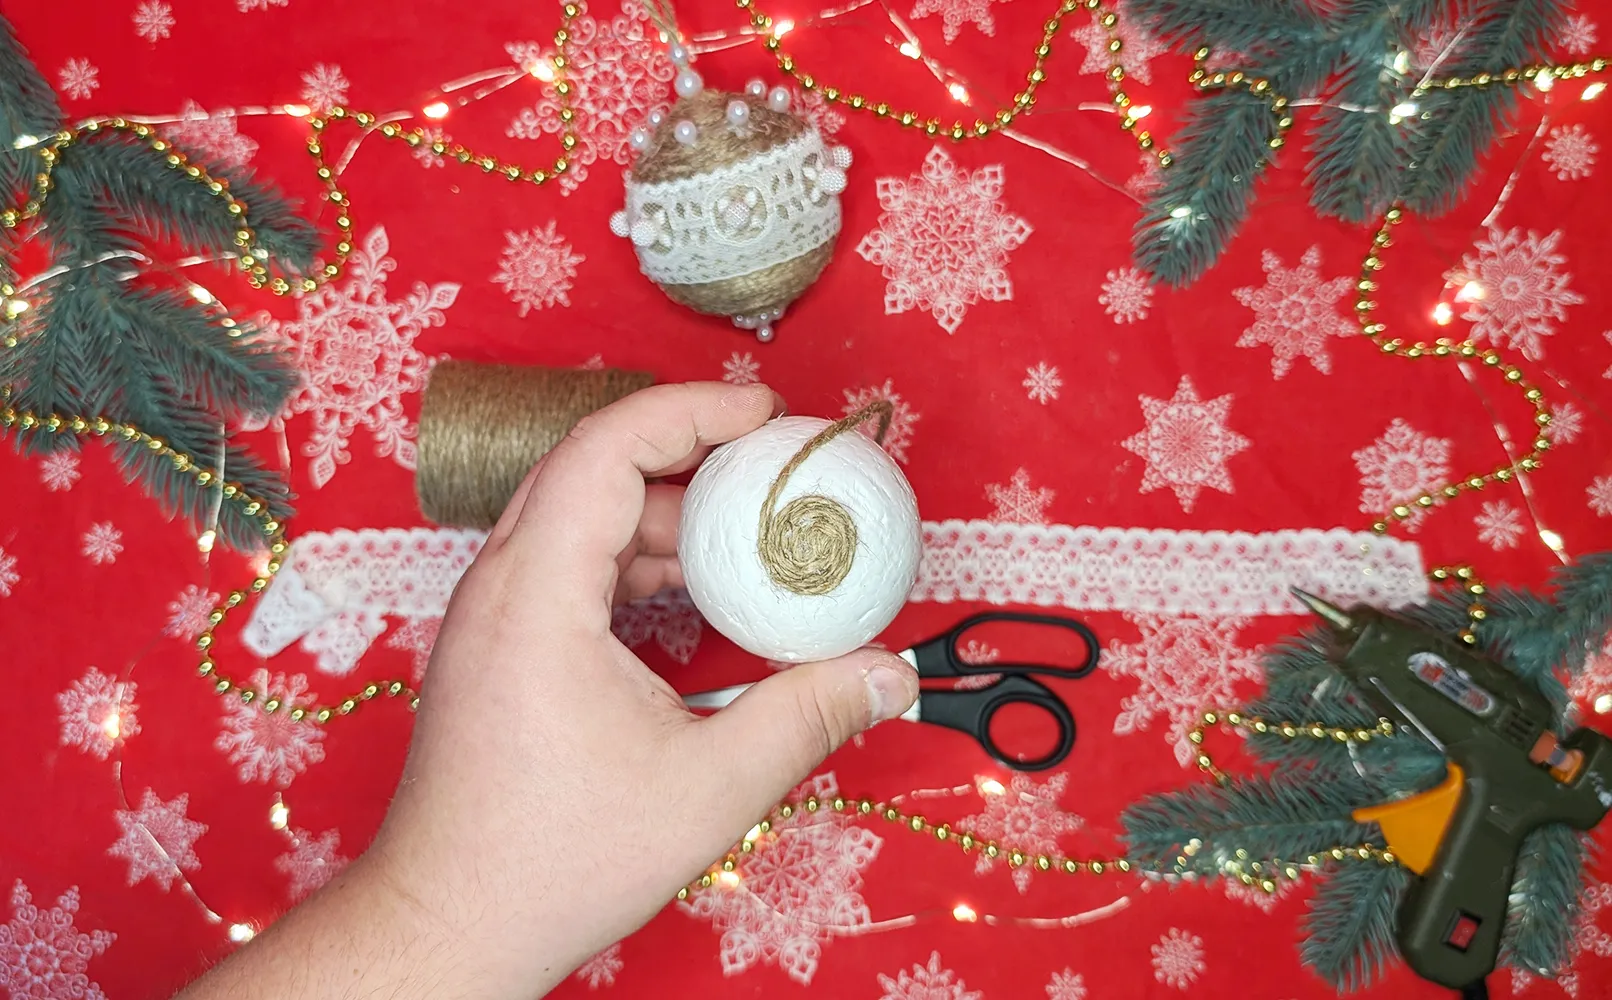
Start by carefully gluing the end of the string to the top of the styrofoam ball. Apply a small amount of glue to securely fasten the string. Then begin wrapping the ball spirally downwards with the string. Apply the glue thinly and at intervals so that the string fits tightly to the ball.
How to simplify the process: If the string slips, you can use double-sided tape as additional fastening.
Step 2: Completing the wrapping
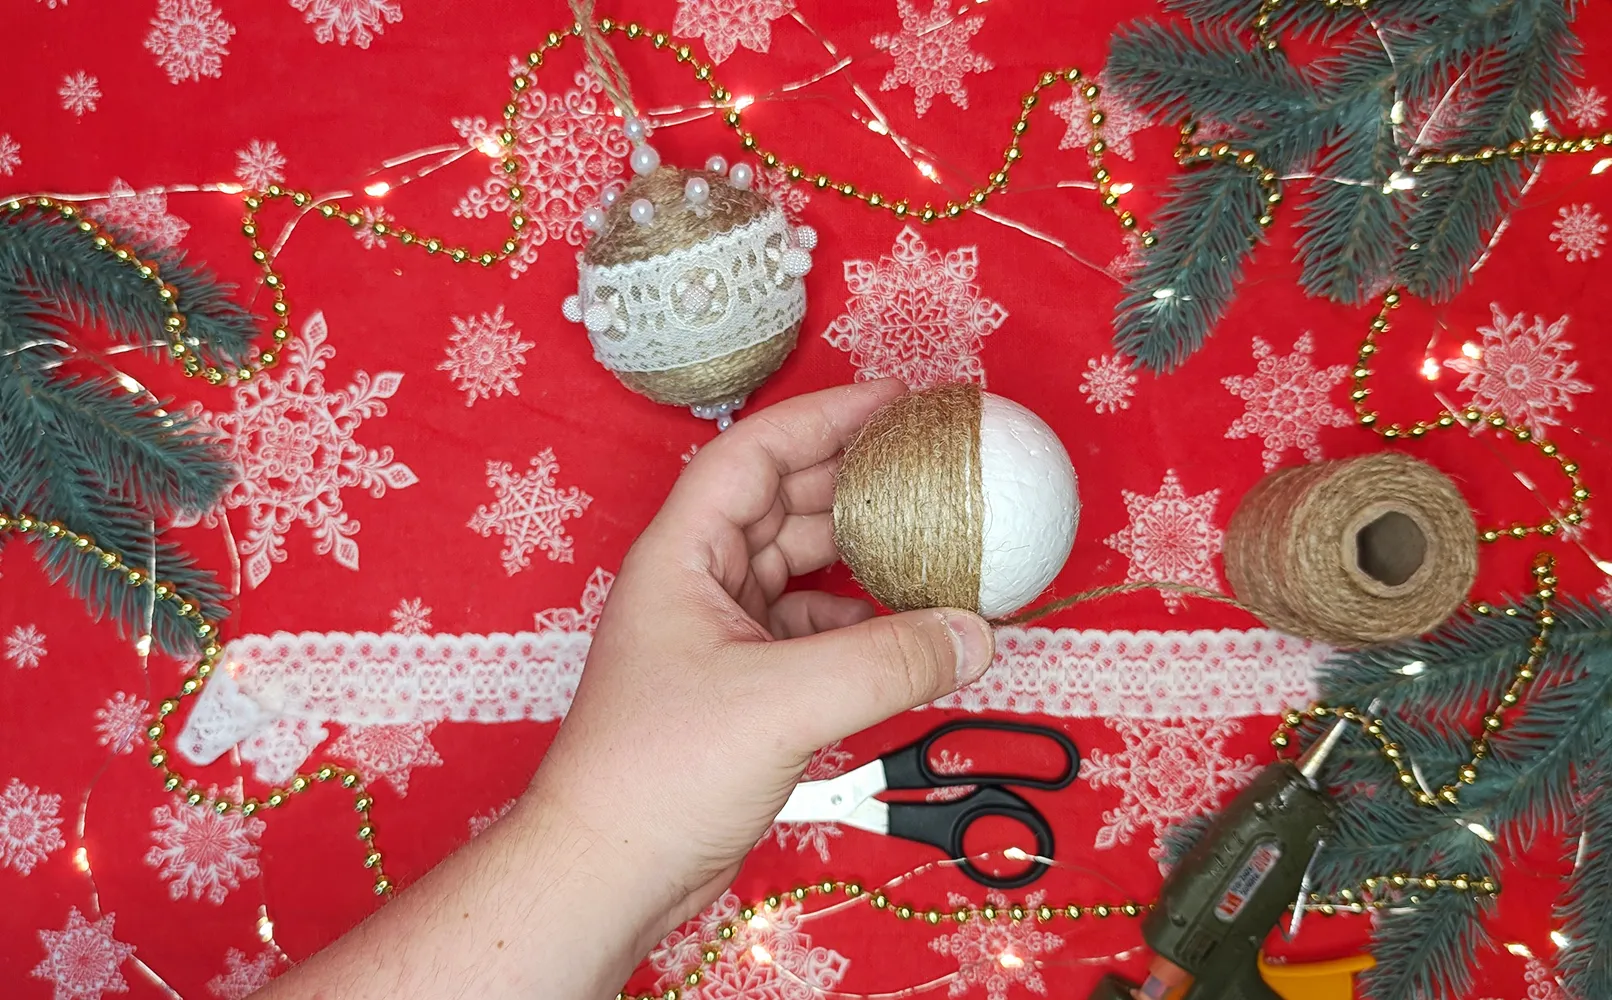
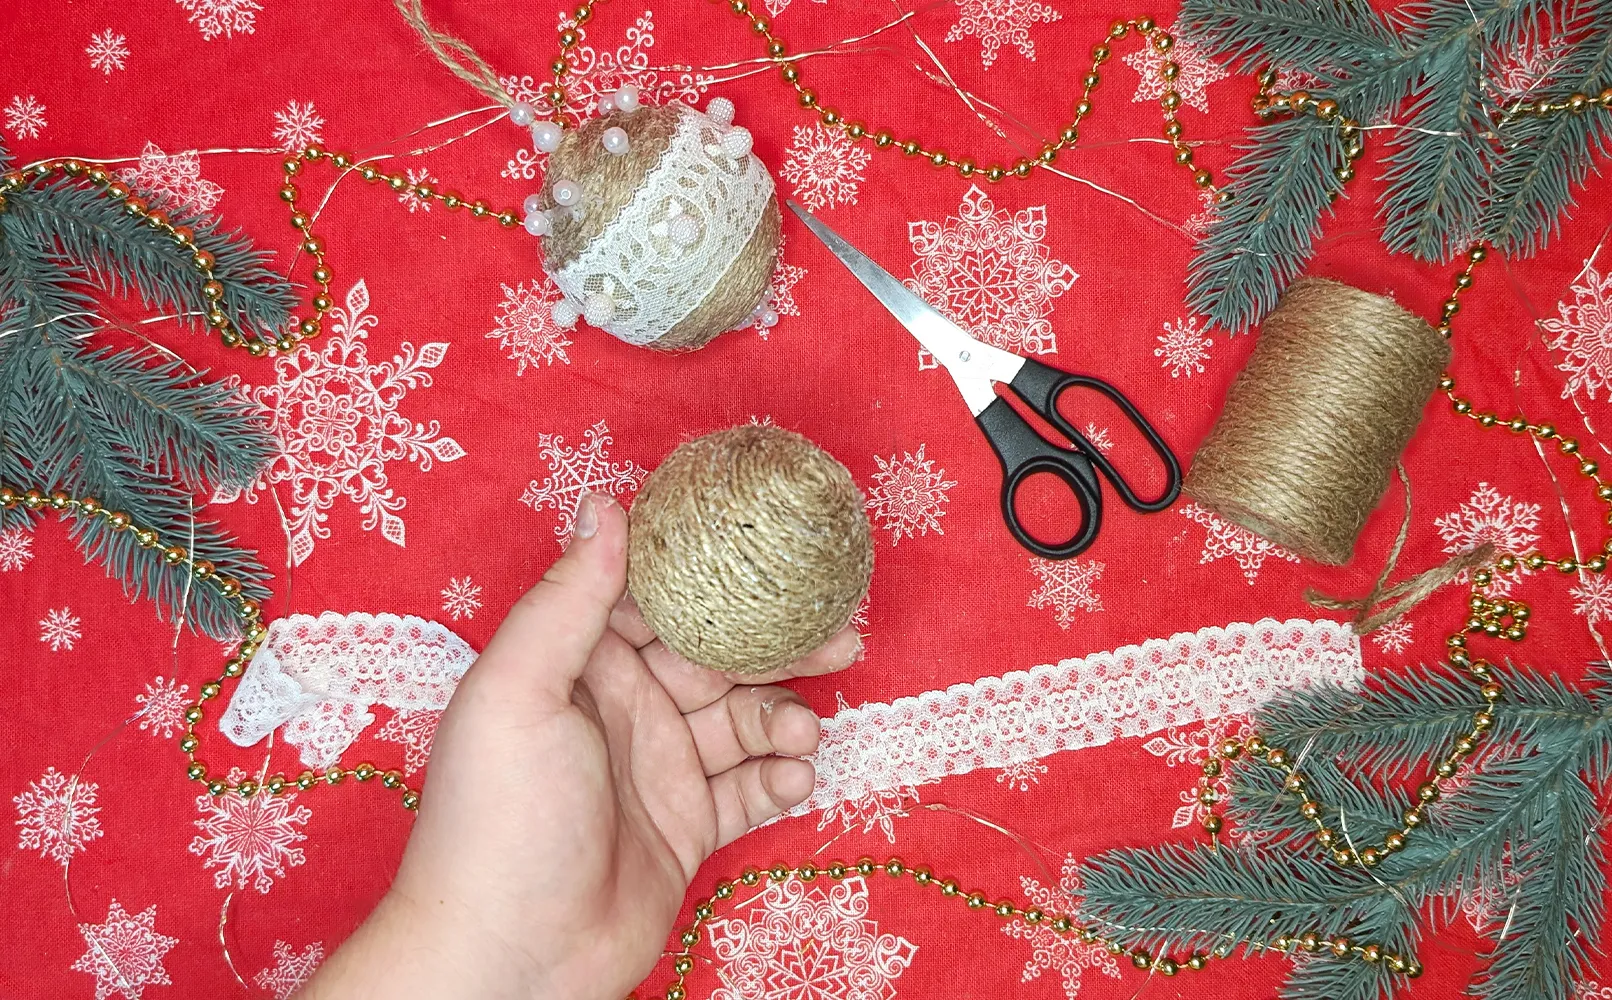
Once you reach the bottom part of the ball, attach the end of the string with glue and carefully cut off the excess. To prevent unraveling, press and hold the end of the string for a few seconds. Allow the ball a few minutes to let the glue dry completely.
Step 3: Decorating with lace
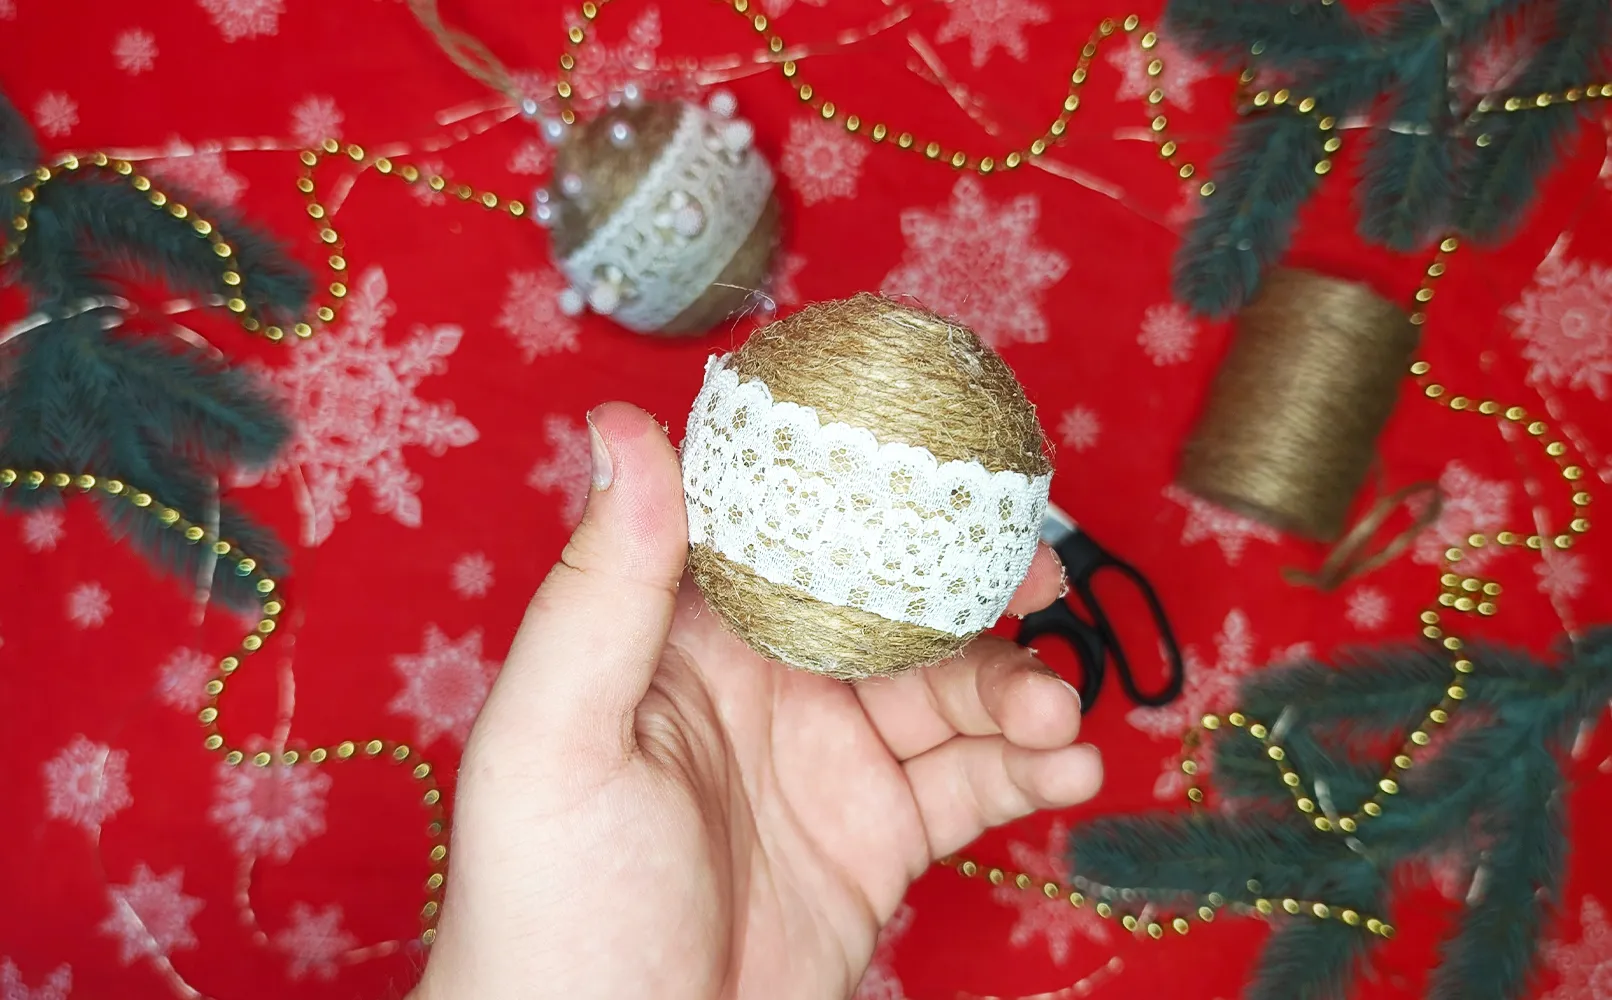
Cut the required length of the lace, approximately matching the circumference of the ball. Carefully apply a thin layer of glue to the center of the ball and immediately stick the lace firmly by pressing it down. Proceed gradually to ensure that the lace lies evenly on the surface.
Step 4: Painting the bottom part of the ball
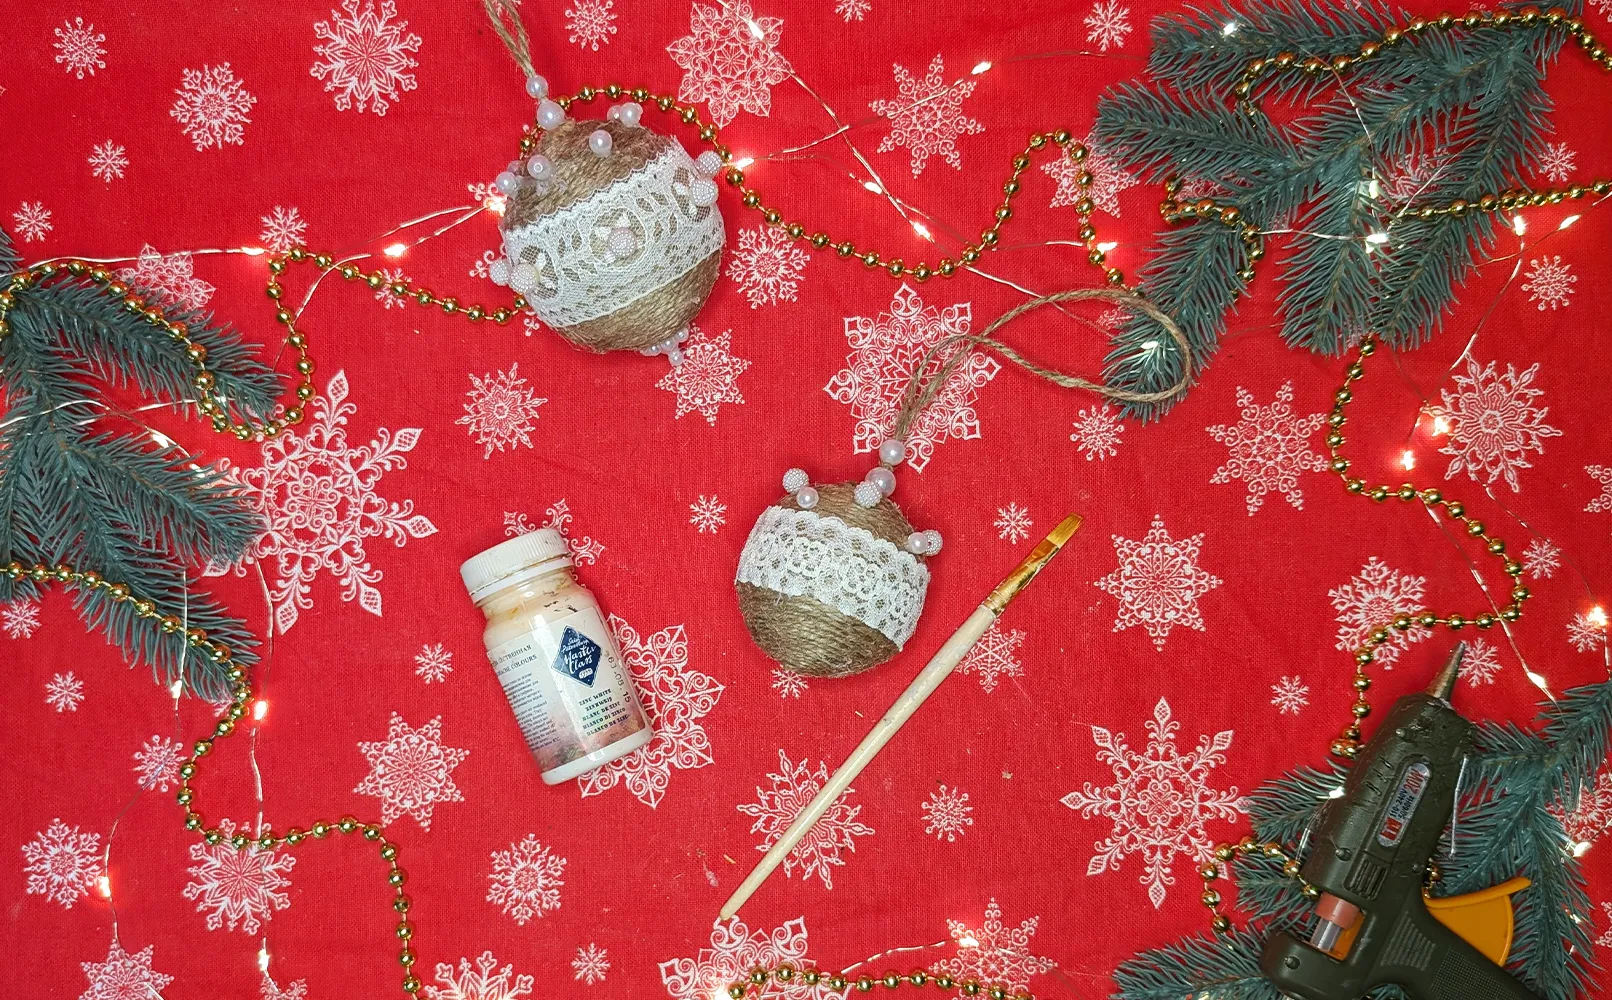
Now let's add some color to our ornament. Take a brush and your chosen paint and apply it carefully to the bottom part of the ball. If you want to create a color gradient, apply the paint in thin layers and gradually increase the color intensity towards the bottom. Let the ball dry for a few minutes before continuing.
Step 5: Decorating the Ball
The most interesting part - the decoration! Glue beads or sequins on and create patterns to your liking. These can be neat lines, snowflakes, or a random distribution of elements. The most important thing is to let your imagination run wild!
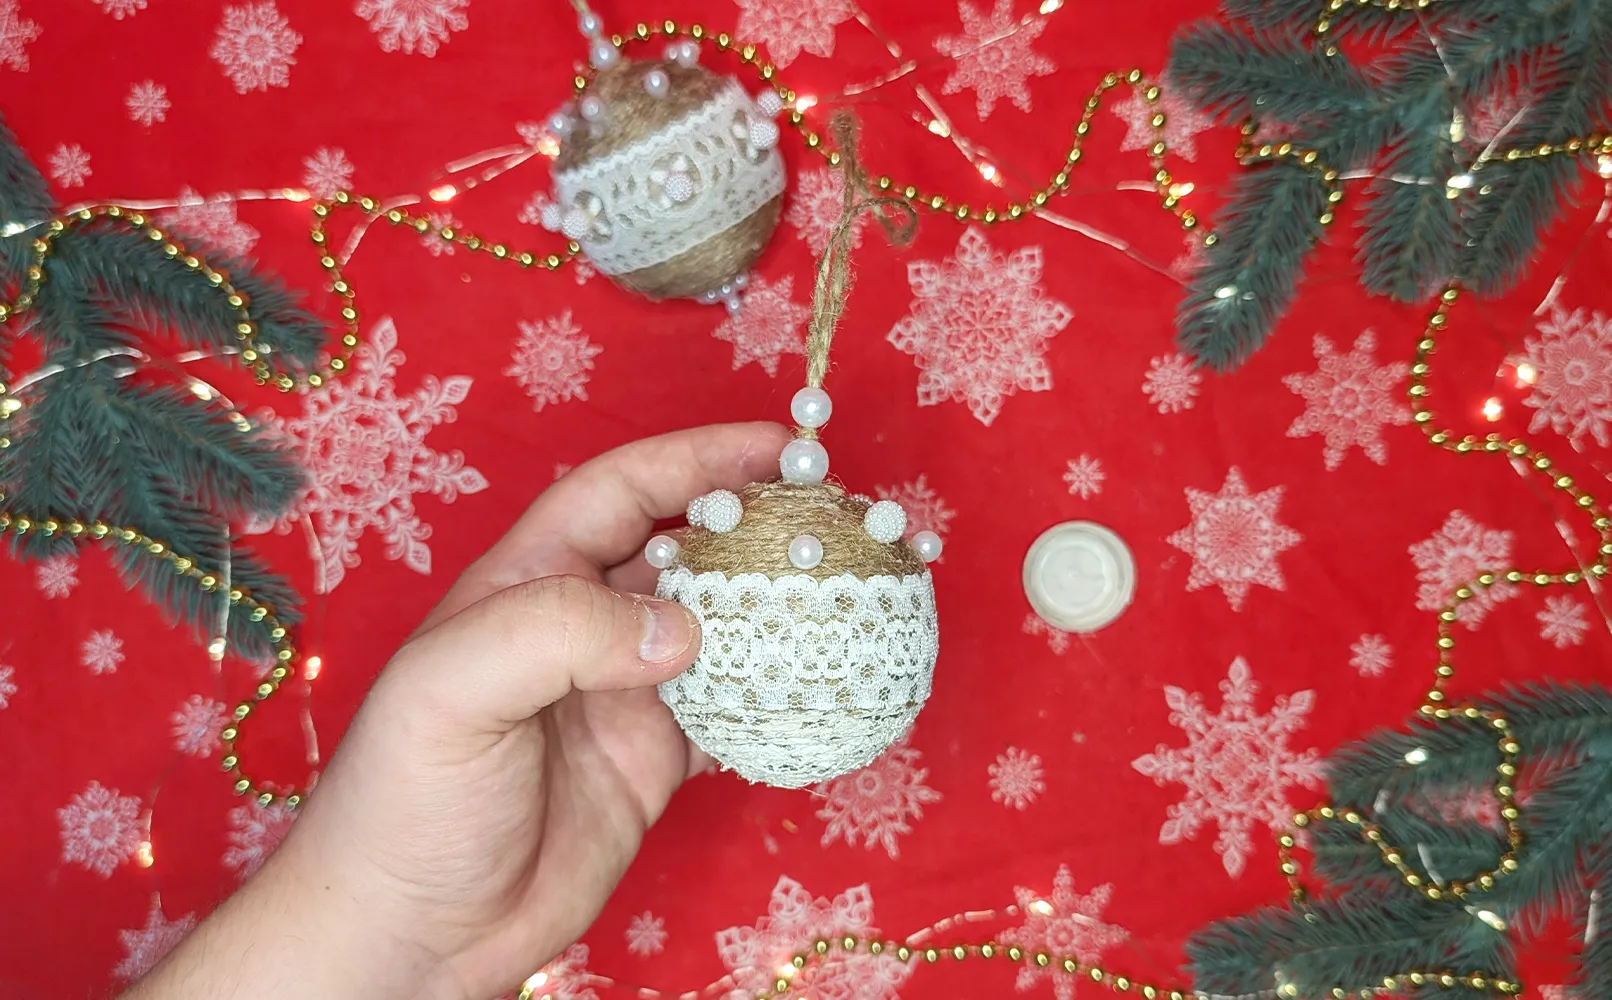
Possible variations: Instead of beads, you can also use miniature pine cones or dried flowers to give the ornament a natural look.
Step 6: Attaching the Hanging Loop
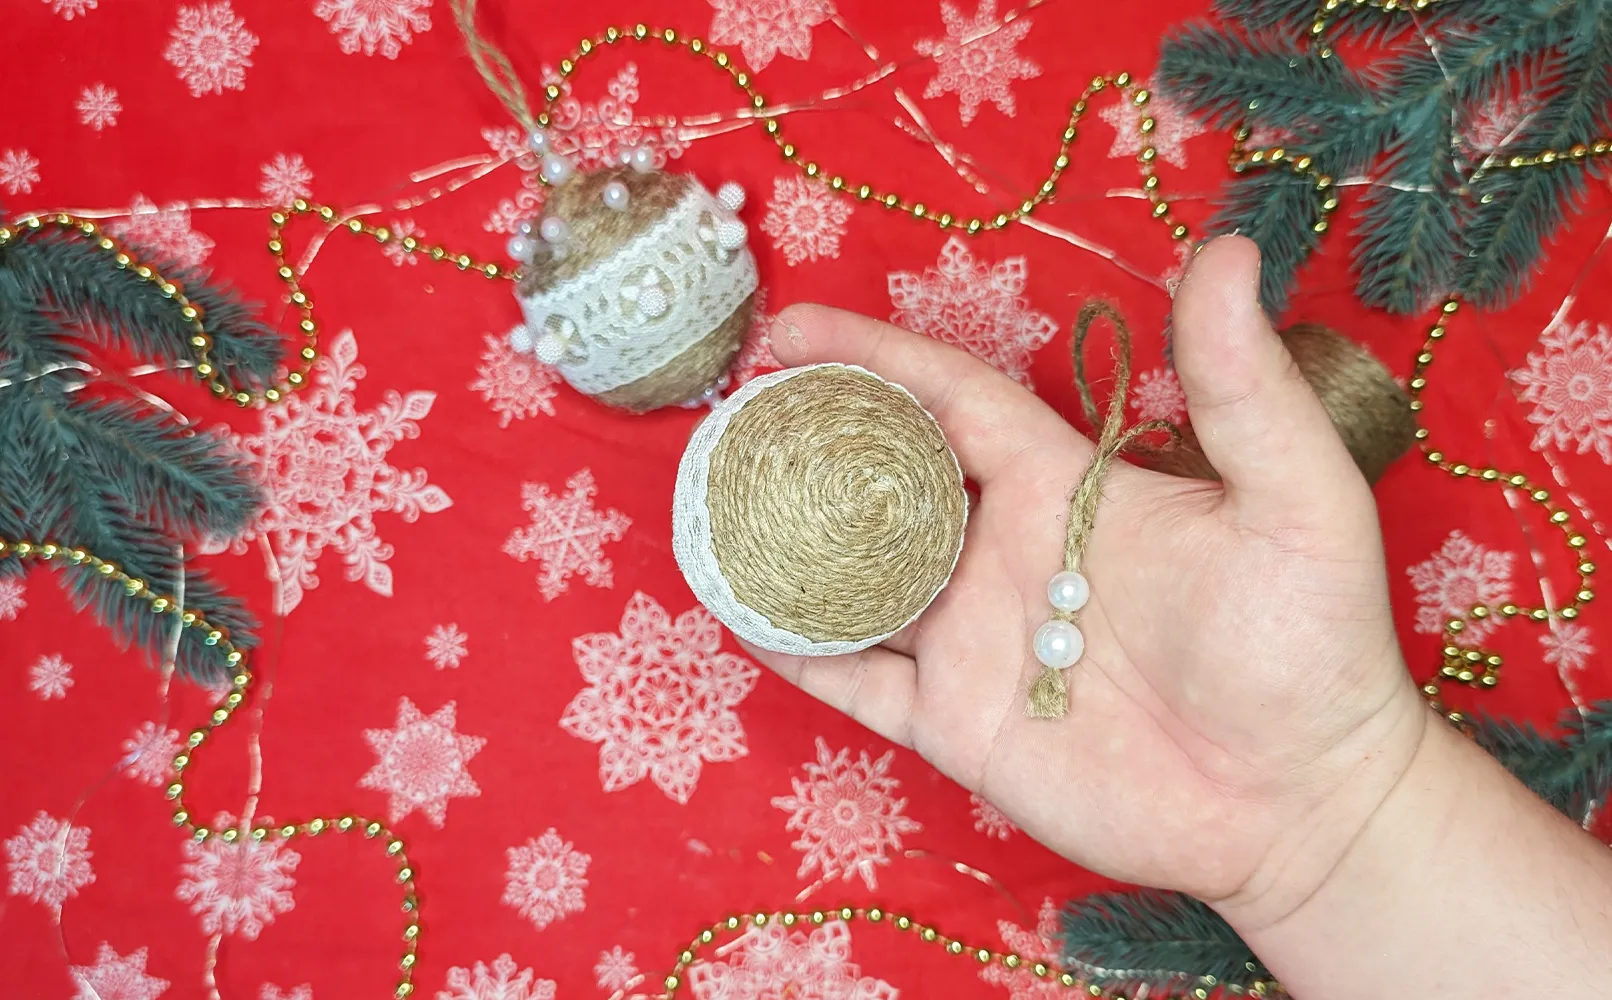
Take a piece of string, tie it into a loop, and glue it to the top of the ball. Press the attachment point and hold it for a few seconds to ensure that the glue securely adheres.
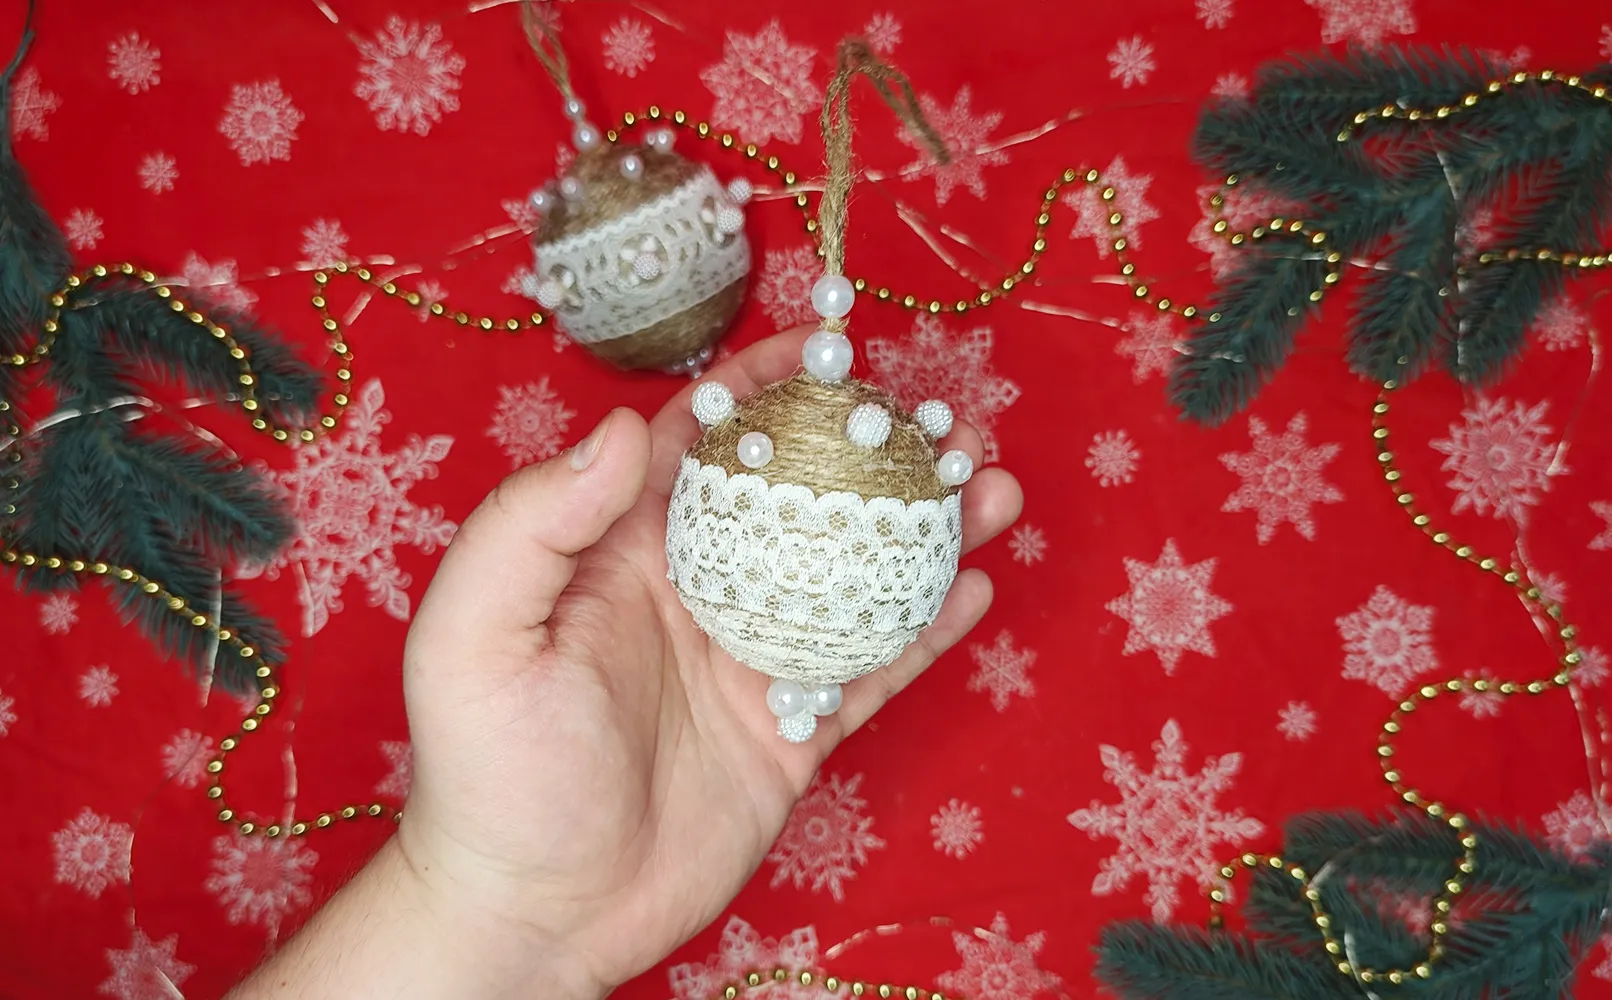
The decoration is complete! After completing all the steps, I am sure that your Christmas ball for the tree has turned out beautifully. You can hang it on the tree or carefully wrap it and give it as a gift. Such a ball is a unique decoration made with love and your own hands.
Handmade decorations have gained popularity in recent years due to their naturalness and warmth. Such ornaments have been in fashion for over 10 years as they emphasize the individuality of each piece. The simplicity of making allows the child to feel like a creator, and crafting together fills the house with a festive atmosphere. These moments may become a family tradition that your children will continue in the future.
Experiments and New Ideas
Once you understand the process, you can experiment with shape and size. Try using larger or smaller balls and add other decorative elements to your liking. Don't be afraid to try different colors and textures, as each of these balls will be unique.
Conclusion
Thank you for taking the time to create this Christmas decoration. The time spent with the child crafting a Christmas ball brings joy and fun. Add a cup of hot chocolate and the scent of gingerbread, and it becomes a real Christmas fairy tale!
We have many crafting ideas, and this Christmas ball is just the beginning. Try making other tree decorations this year too! If you manage to craft a Christmas ball, send us photos - we look forward to publishing them with us.
From Vitalii Shynakov
