Make Christmas tree decoration "Angel" out of paper with your own hands
Hello! Today I will show you how to make a cute Christmas tree decoration - an angel made of paper. This is a great activity for the family in the pre-Christmas season, and even a child can craft such a little angel. I'm sure this ornament will be a wonderful decoration for your Christmas tree and will bring you a lot of joy while crafting.
The crafting project is not complicated, so children from 5 years old can handle it well with your help. The most important thing is to observe some simple safety rules when handling scissors and glue. Let's get started!
We are creating the angel as a Christmas tree decoration
I have prepared a detailed description of each step and taken photos to help you understand the entire creation process. For added convenience, there is also a video tutorial that shows the entire process in detail.
Materials
For this crafting project, you only need a few materials that you can easily find at home:
- Two squares of paper (Size 13-17 cm, ideally 15 cm)
- Ruler and pencil for marking
- Scissors
- Glue stick or hot glue gun
- Thread or string for the hanging loop
- Bead, small ball, cone, or plastic lid for the head
- Decorations (e.g. bows or wire for the halo)
Once you have prepared all the materials, we can begin creating our Christmas decoration - the angel for the tree!
Steps to create the angel Christmas tree decoration
Before we start creating the little angel, I want to remind you of the safety rules. Read them carefully and heed my words. When working with scissors, keep the tip away from you and do not walk around with them. If you are using a hot glue gun, remember that it is hot, so handle it carefully and always under adult supervision. And now, that you know how to protect yourself, we can move on to the most interesting part!
Step 1: Cutting out the squares

Let's start by preparing the base for our little angel. Take two sheets of paper and carefully cut out squares from them. The recommended size of the square is 15 cm, which is ideal for a Christmas tree decoration. Use a ruler to measure the required side length and a pencil for marking. Try to cut as straight along the lines as possible - that is the key to a beautiful and symmetrical figure.
Step 2: Folding
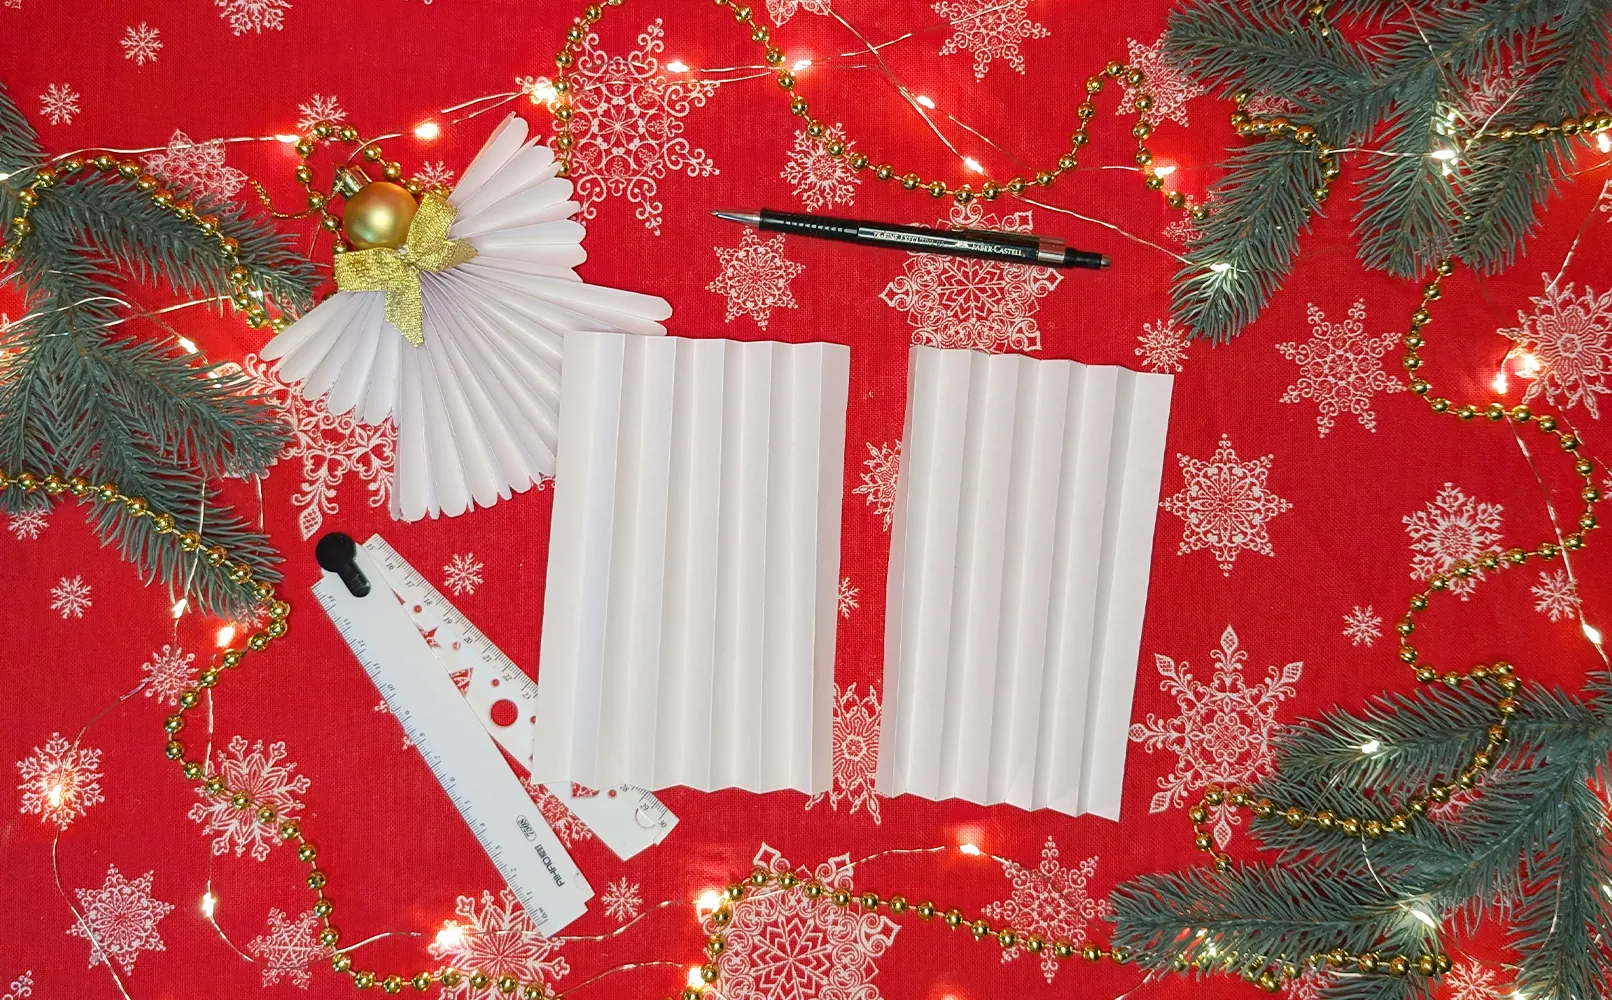
Take one of the squares and draw strips with a width of 1.5 cm. Start at one edge and continue to the opposite one. These lines will form the basis for our accordion fold. After marking, begin to carefully fold the square along the lines. It is important that each fold is sharp and straight. You can use the edge of a ruler to run over the fold. Repeat the process with the second square.
Step 3: Shaping the angel halves
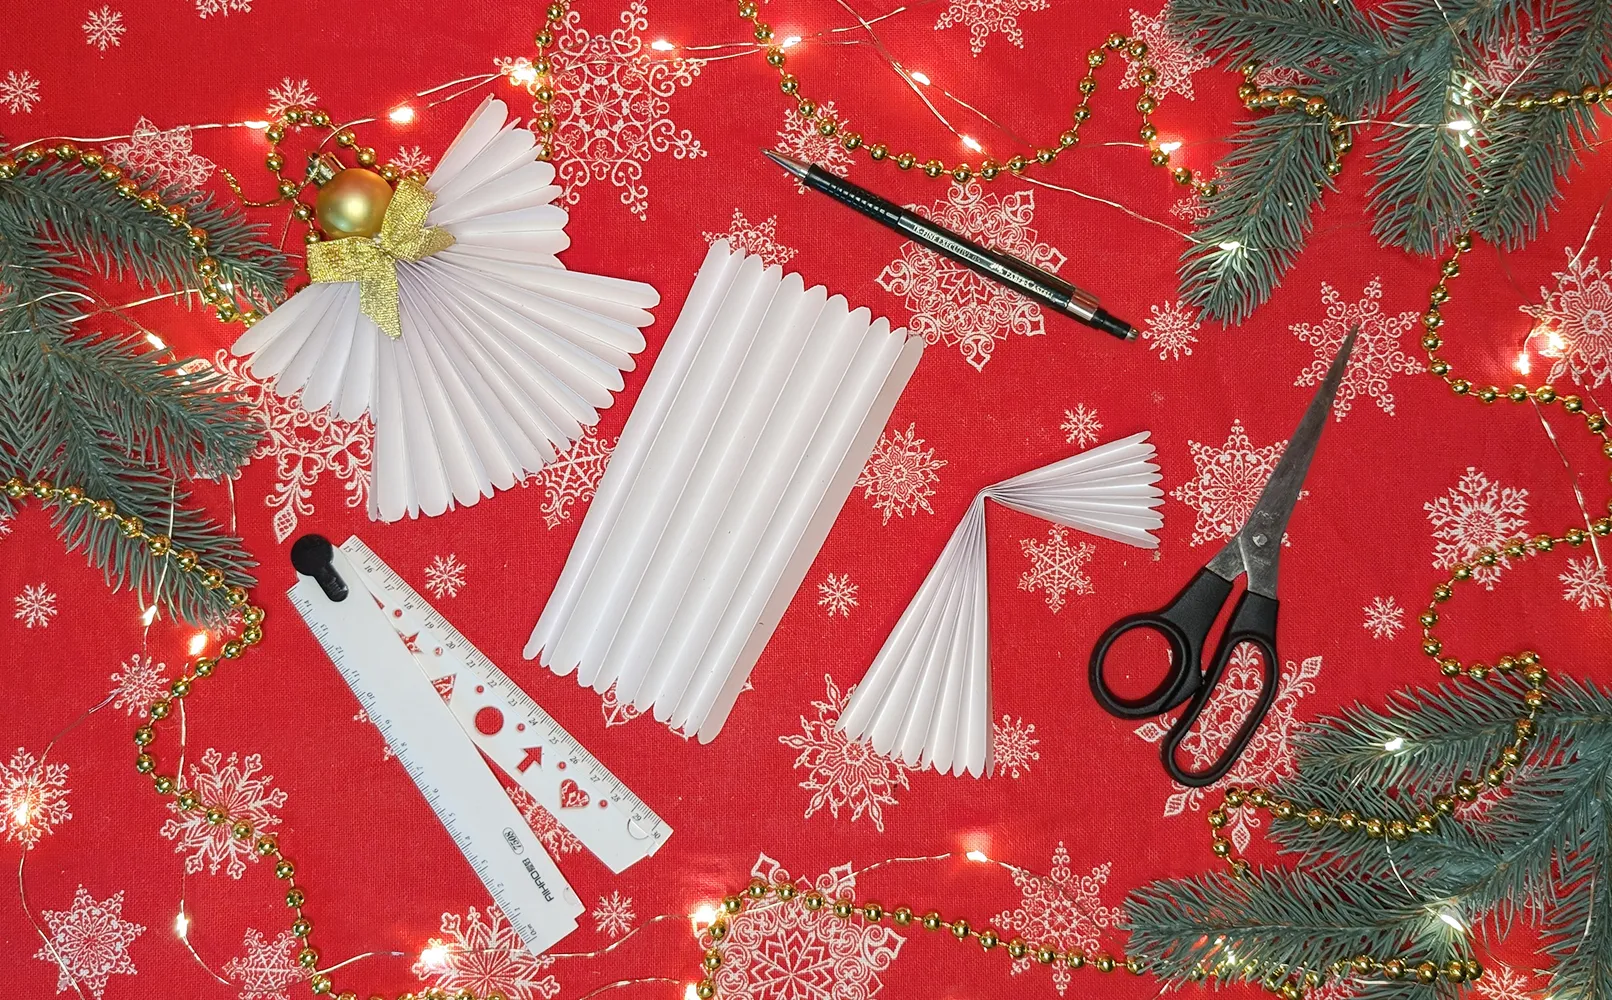
We now come to shaping our angel. Take both folded squares and fold them not exactly in the middle, but in a way that one side is bigger than the other, about a ratio of 40:60. The smaller part (40%) will be the wing, and the larger (60%) will be the body of the angel. This asymmetrical fold gives the figure volume and expressiveness.
Step 4: Gluing the halves together
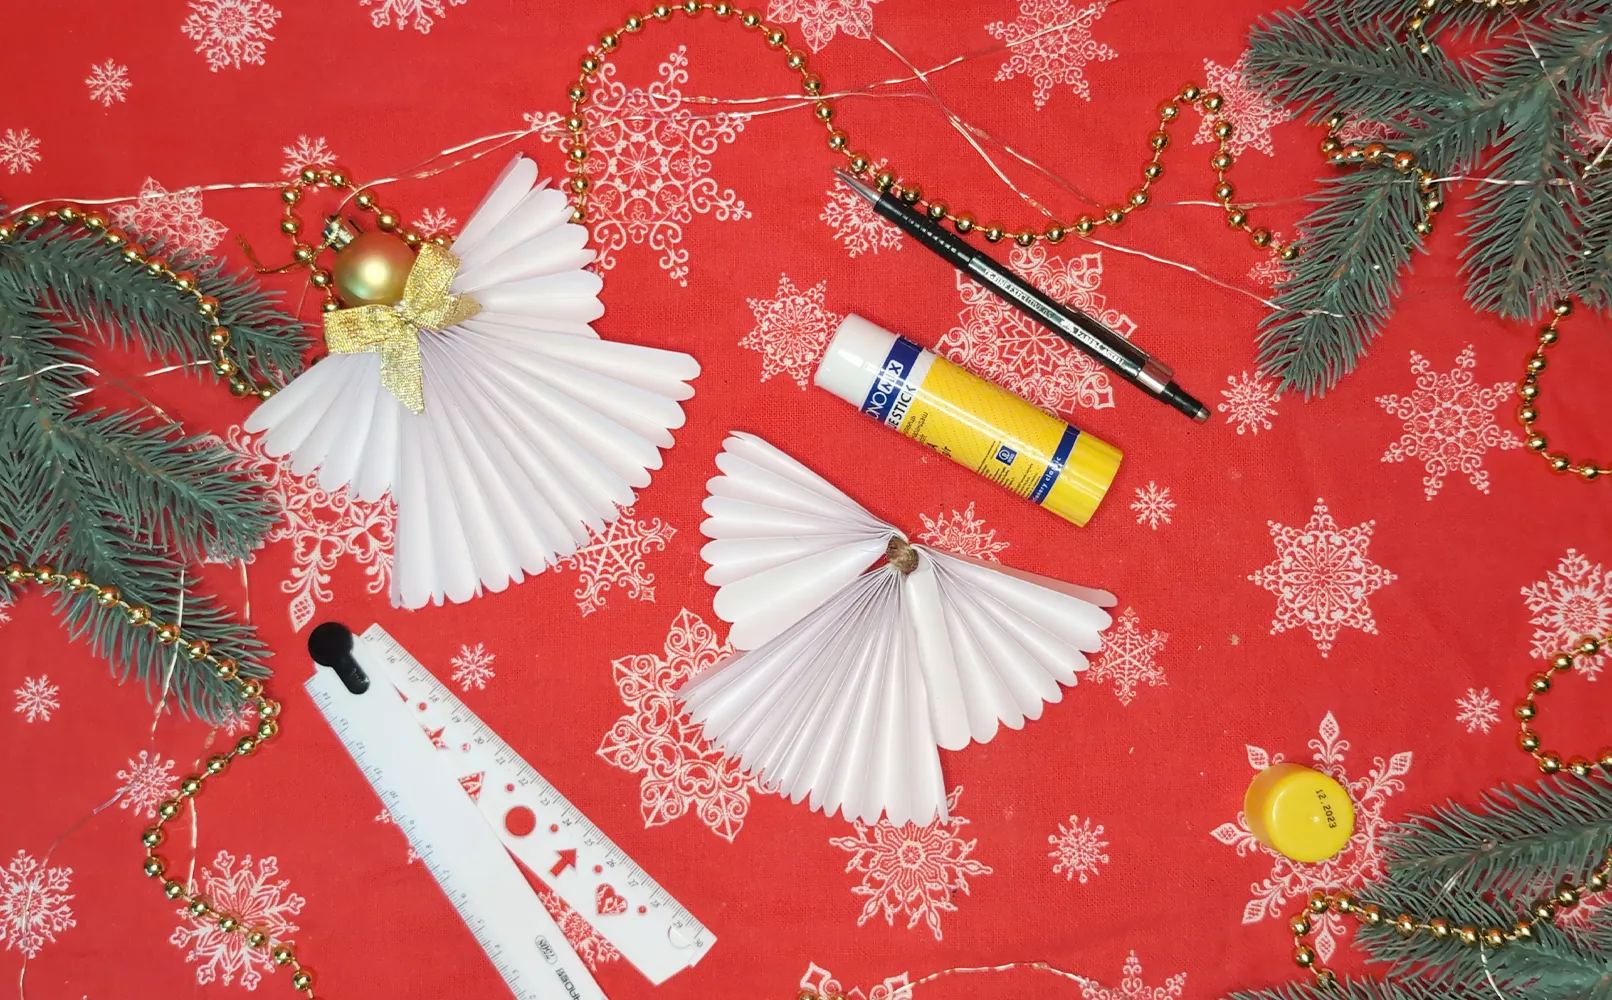
Now it's time to assemble the two halves of our angel. Unfold the folded squares and apply glue to the middle part of one of the templates. Gently press the second half, aligning the midpoints. If you are using a glue stick, let it dry a bit before the next step. Be careful when working with the hot glue gun and ask for adult help if needed.
Step 5: Creating the angel's head
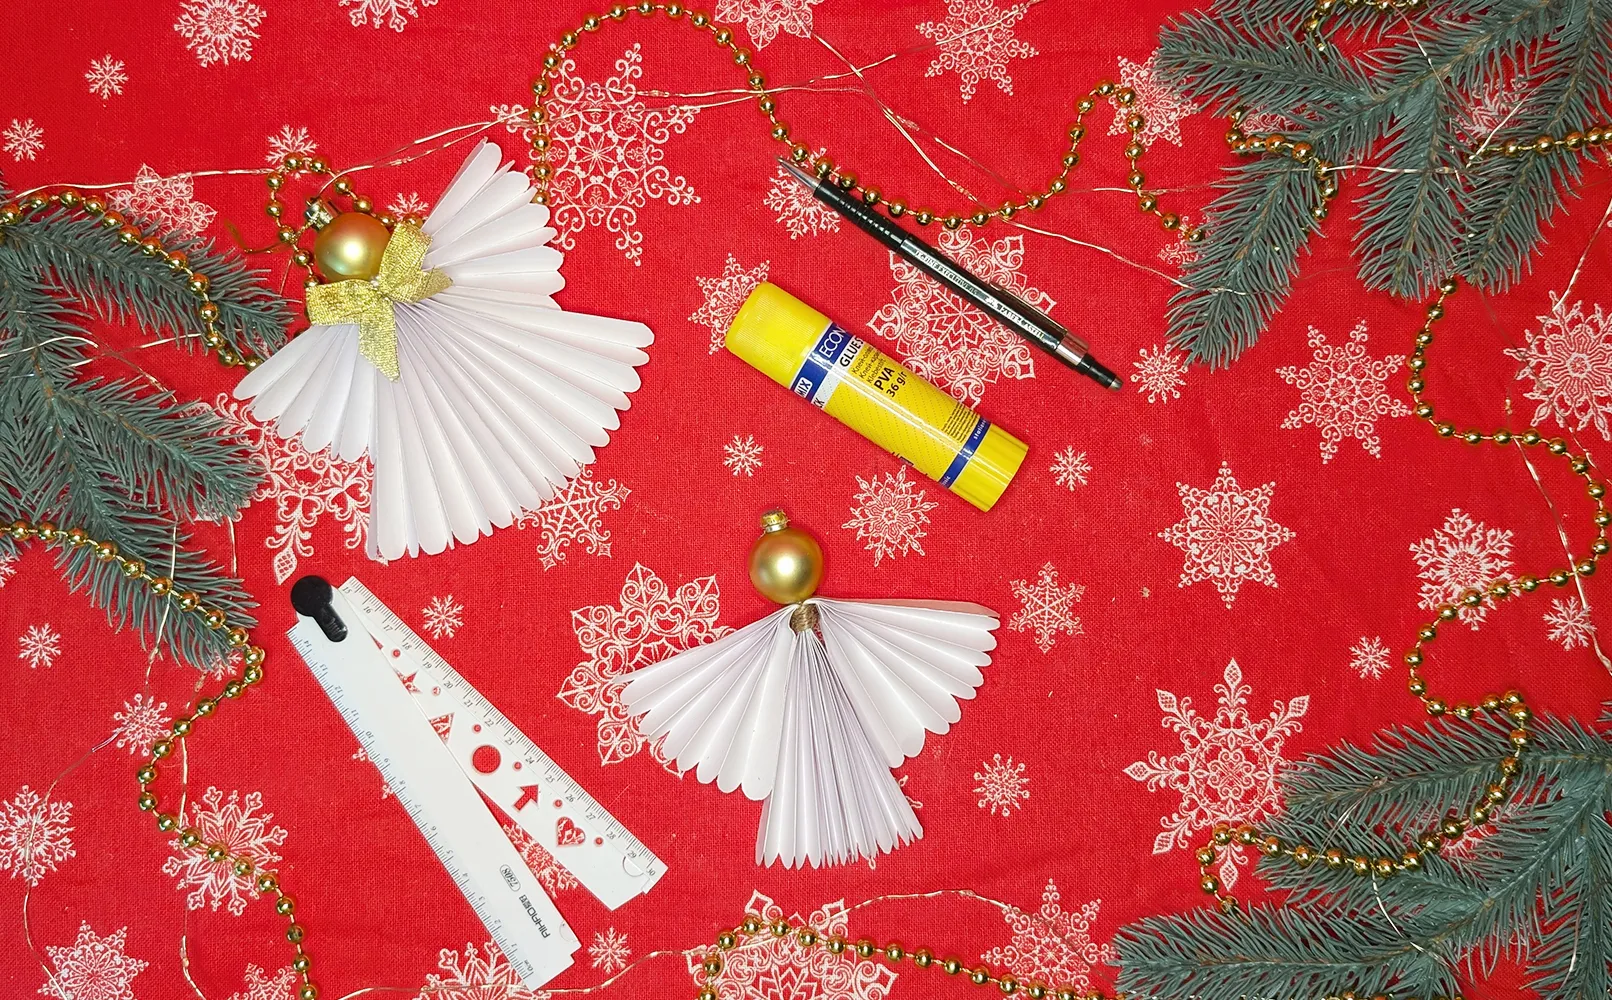
Choose an object for the angel's head. It can be a bead, a small Christmas ball, or even a tiny pine cone. The size of the head should harmonize with the body - not too big and not too small. Secure the chosen object with glue to the upper part of the figure.
Step 6: Creating a hanging loop
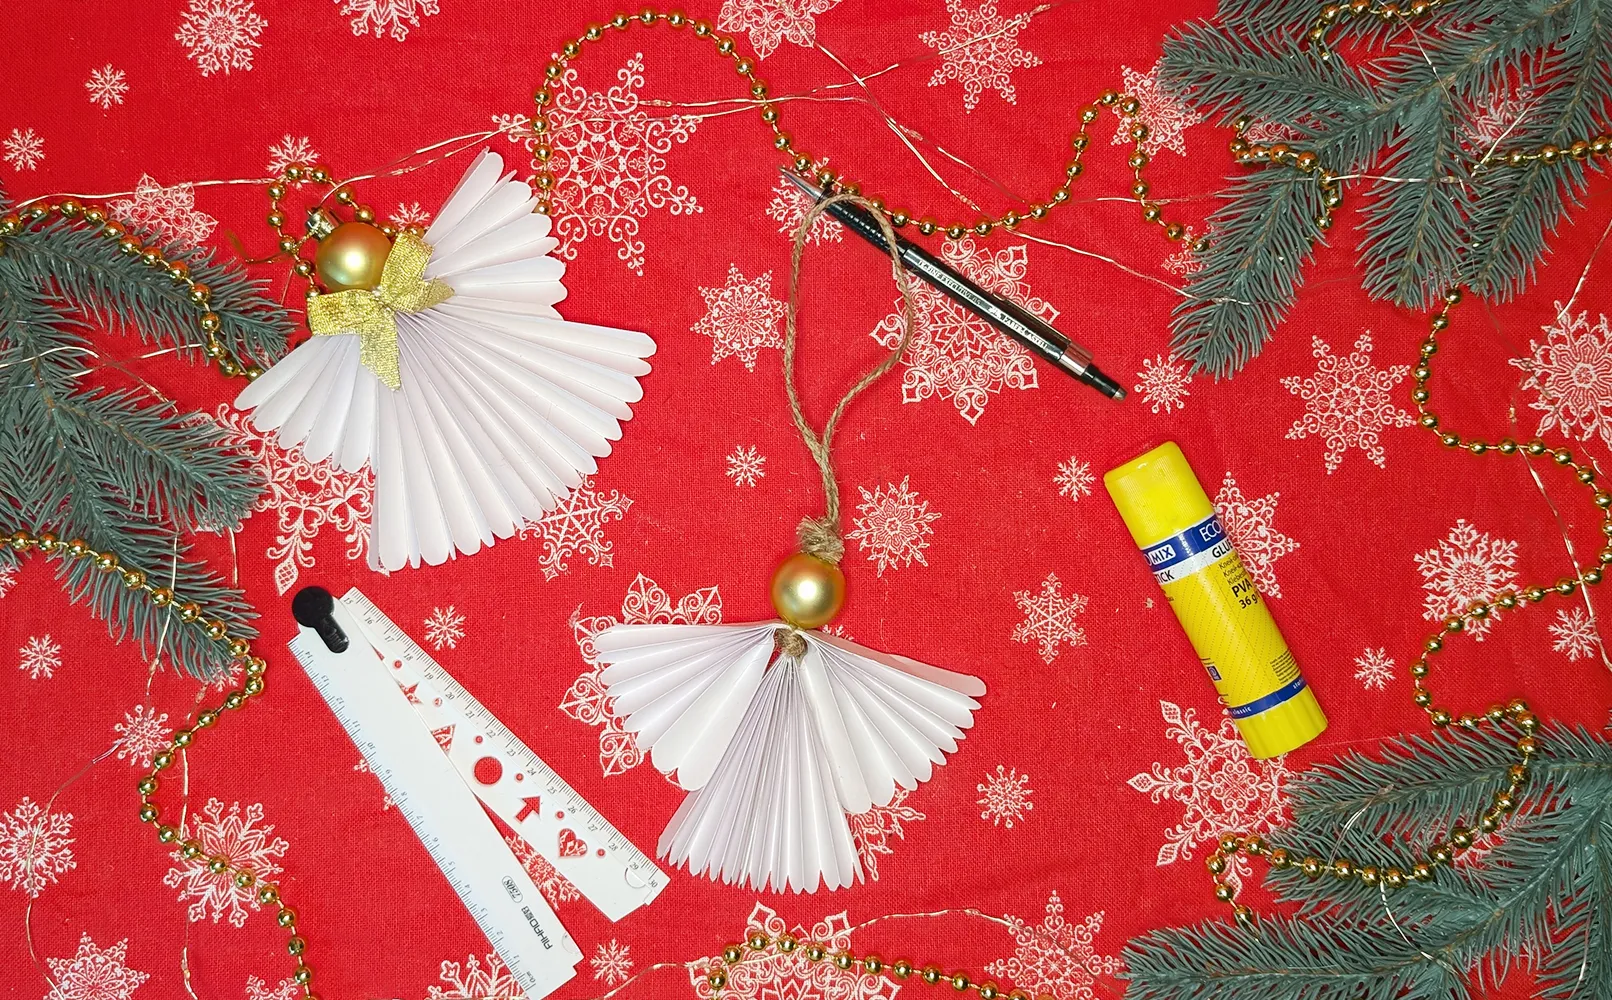
In order for our little angel to hang nicely on the tree, we will create a loop. Cut a piece of thread or thin string about 15 cm long. Fold it in half to form a loop and glue both ends to the top of the angel's head or to the paper base on the back.
Step 7: Finalizing and Decorating
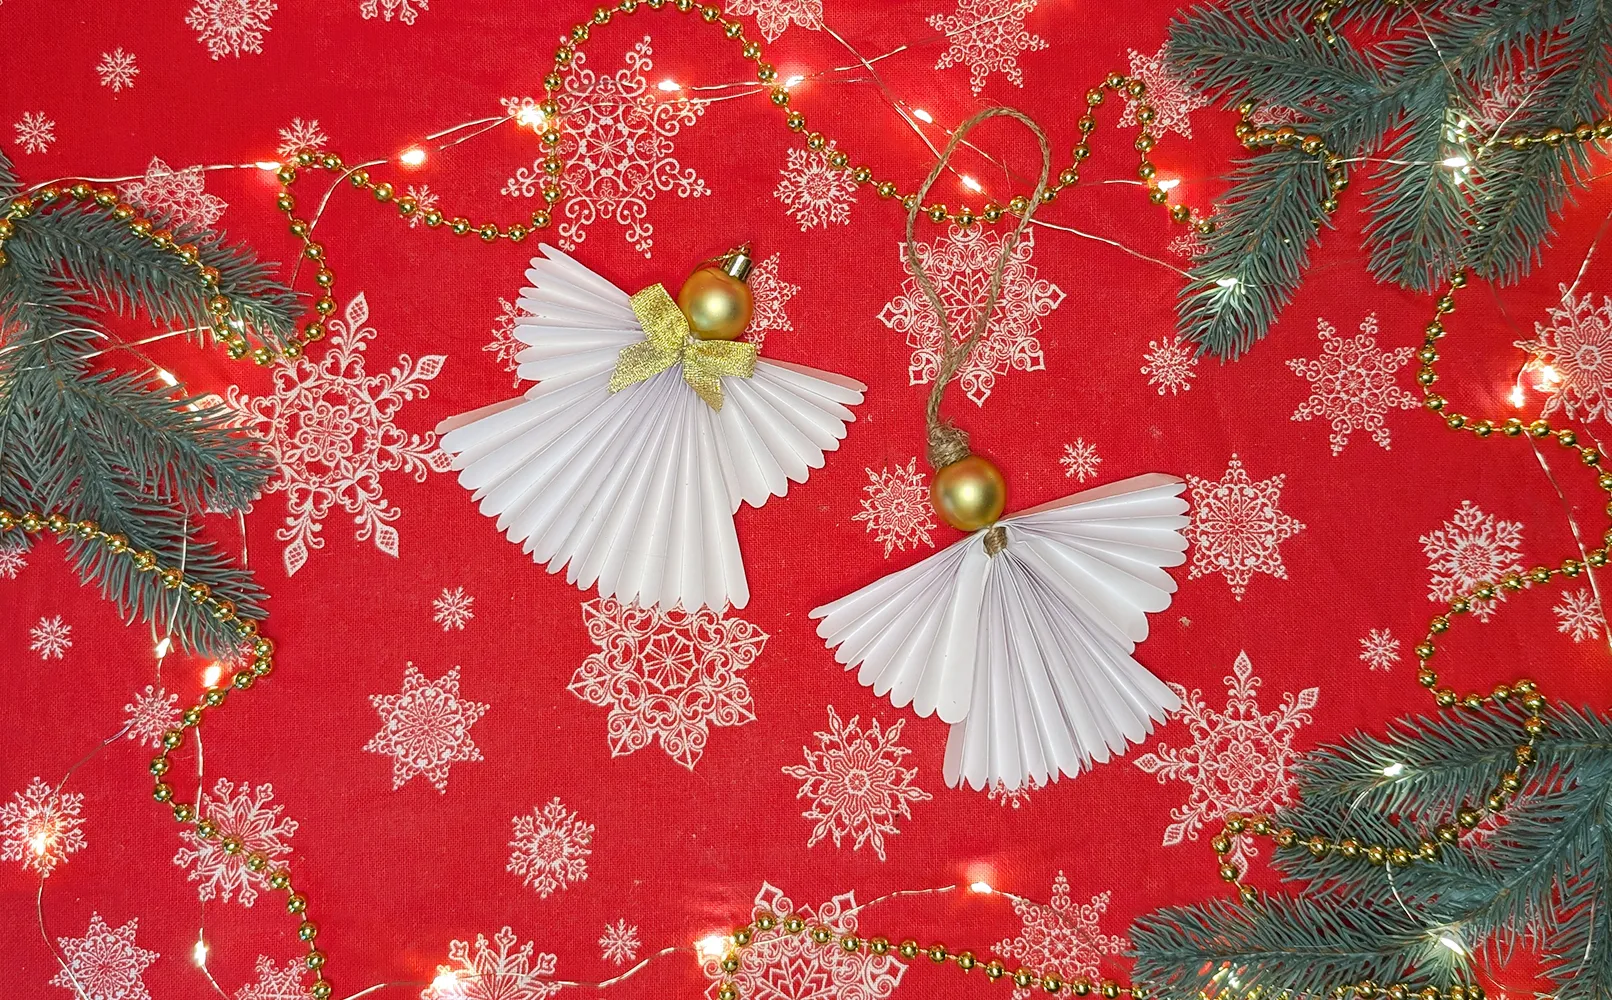
Now comes the most creative part - decorating! Add a small bow on the chest of the angel or create a halo from thin wire by simply wrapping it around the head. If you want to add some sparkle, carefully apply glue and sprinkle the ornament with fine glitter. You can also paint the angel with watercolors or markers, creating patterns on the wings or drawing a face.
Conclusion
Your little angel is ready! I hope that crafting this ornament has brought you a bit of magic and pre-Christmas spirit. Thank you for creatively spending this time with us. I am sure your friends and family will appreciate this beauty on the tree. The most wonderful thing about this craft project is that it brings the whole family together and creates an atmosphere of warmth and joy.
If you enjoyed making Christmas decorations, visit our website. There you will find many ideas for festive crafts: snowflakes, garlands, Christmas balls, little houses, and much more. I strive to select projects that use materials easily found at home or at the nearest store. Over time, you can replace all the purchased ornaments on the tree with homemade ones and create your own unique collection. Thank you once again for your attention, and may your holidays truly be magical!
From Vitalii Shynakov
