DIY napkin decoration. A great idea for Christmas
The air is filled with the scent of fir and cinnamon, and warm lights from the garlands flicker in the windows of the houses. The approaching festivity can be felt everywhere - people decorate their homes, choose gifts, and prepare for the magical night. During the children's holidays, there is an excellent opportunity to create a special decoration together with them - Christmas decorations for the festive table.
Imagine how your house will transform with beautiful, homemade napkin decorations that you create together with your child! Such decor will add coziness and a festive atmosphere. I am sure that a beautifully set table will elicit admiration from your family and friends who come to visit.
Instructions on how to create a craft with children for napkin decoration
Today I suggest that we engage in a simple but interesting napkin decoration that can be easily and cheerfully made with a child. Although the work is quite simple, some steps require attention and your help to ensure that everything is done neatly and safely.
For the craft project, we need simple materials that can be easily found at home. I found most of them in the utility room, and everything else can be found in any supermarket. Choose decorations according to your taste and style.
To make the napkin decoration, we need:
- Metal ring or wire for the base
- Rope or yarn
- Glue or hot glue gun
- Scissors
- Decorative elements: small pinecones, beads, artificial berries
- Acrylic paint for decoration
Let's start by creating the decor for the Christmas table
When creating the Christmas napkin decor, we will use scissors and a hot glue gun. Remember some simple rules:
- Hold the scissors away from you with the tip and only hand them to others closed with the handle first.
- Avoid contact of the glue with the skin and eyes.
- When using the hot glue gun, remember its strong heating - do not touch the metal tip and make sure no hot glue gets on the skin.
Step 1: Preparing the ring base
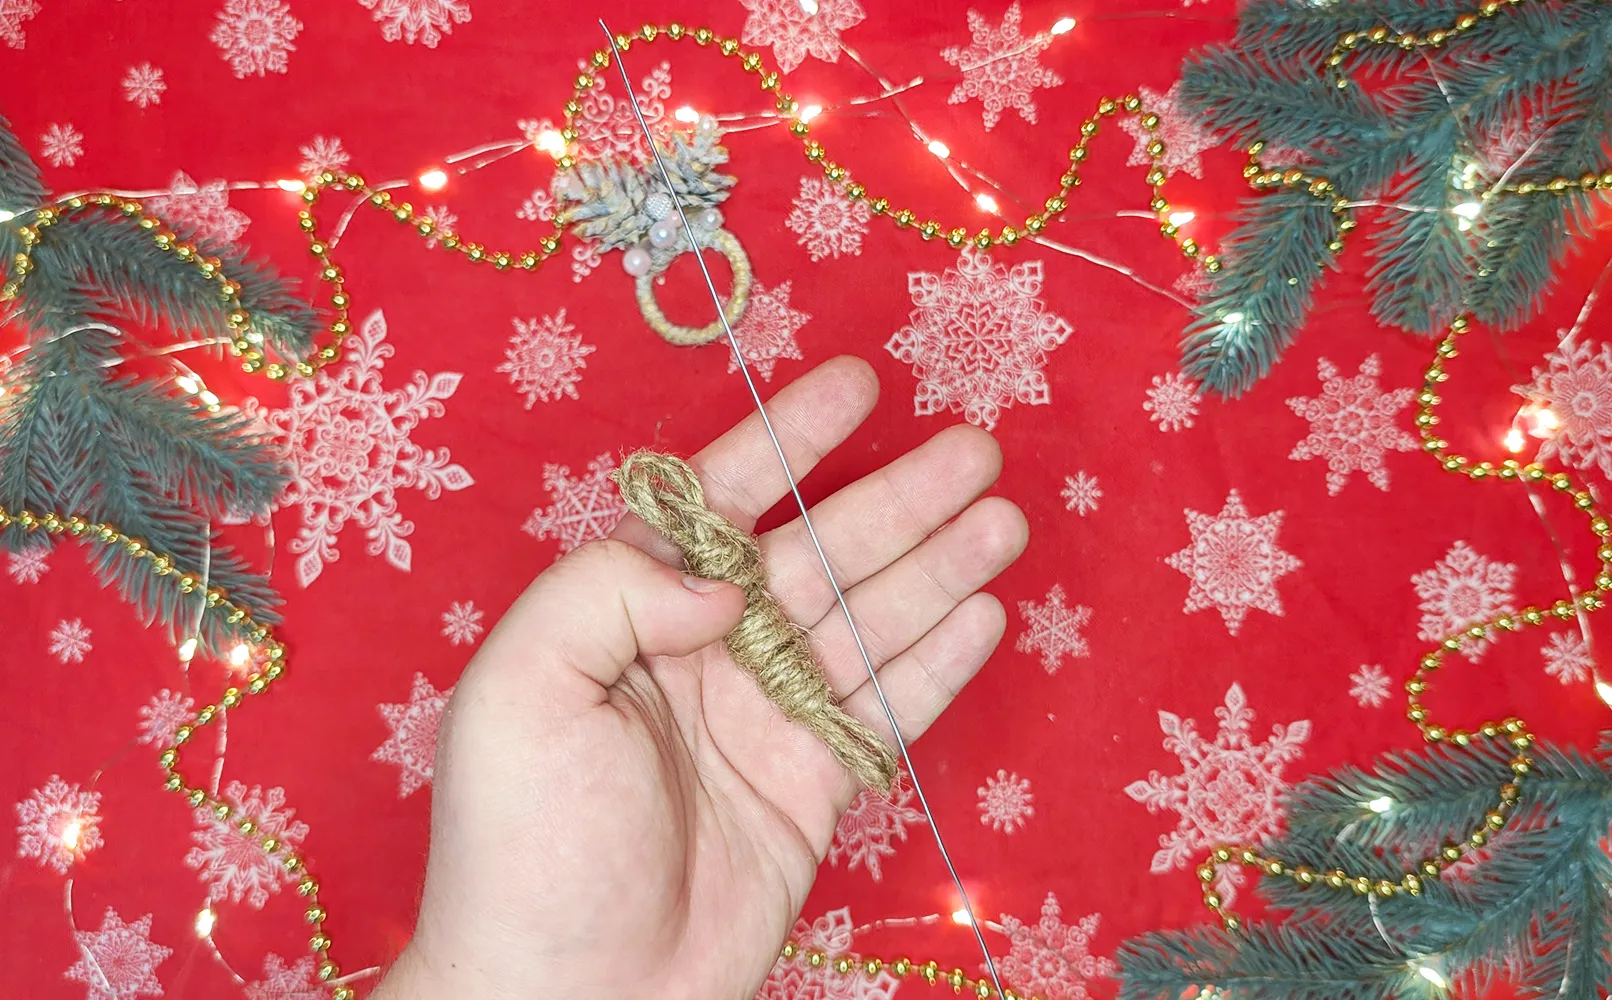
Take a metal ring or piece of wire and bend it into a circle. Make the ring large enough to easily fit through a folded napkin. If you are using wire, twist the ends together to maintain the shape.
Tip: Help the child bend the sturdy wire. Irregularities of the ring can be hidden during decoration.
Step 2: Wrapping the Ring with Jute Cord
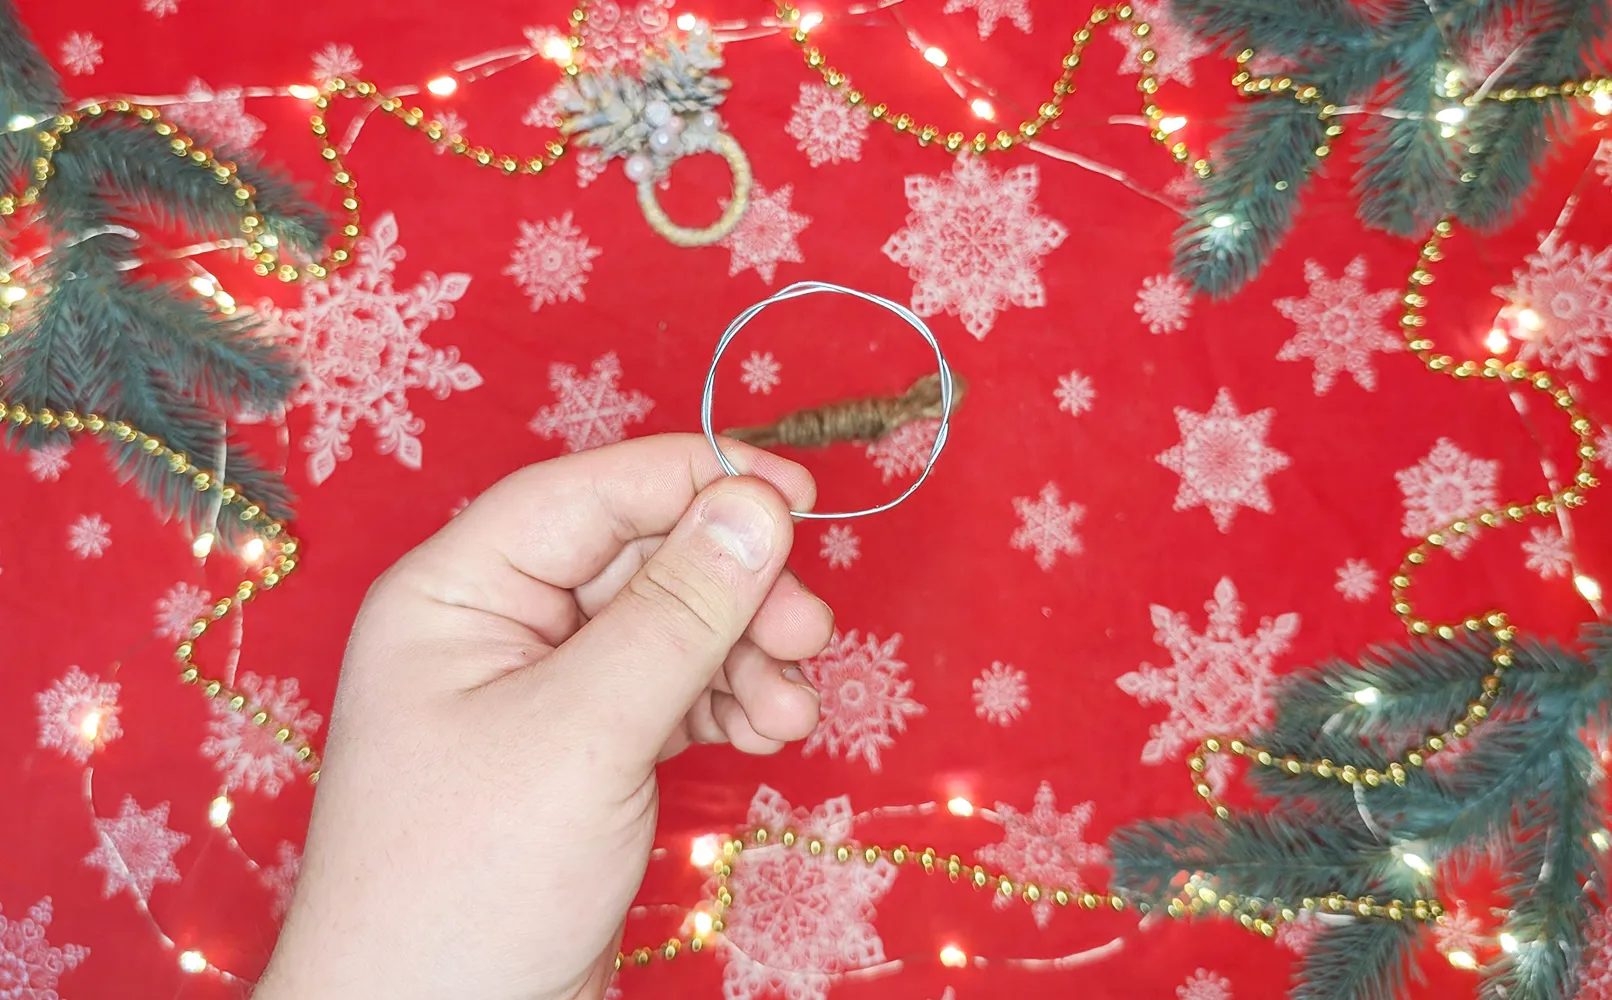
Glue the end of the cord to the ring. Apply a small amount of glue, attach the end of the cord, and hold it firmly for a few seconds until the glue adheres. Carefully wrap the cord around the ring, moving in a spiral motion.
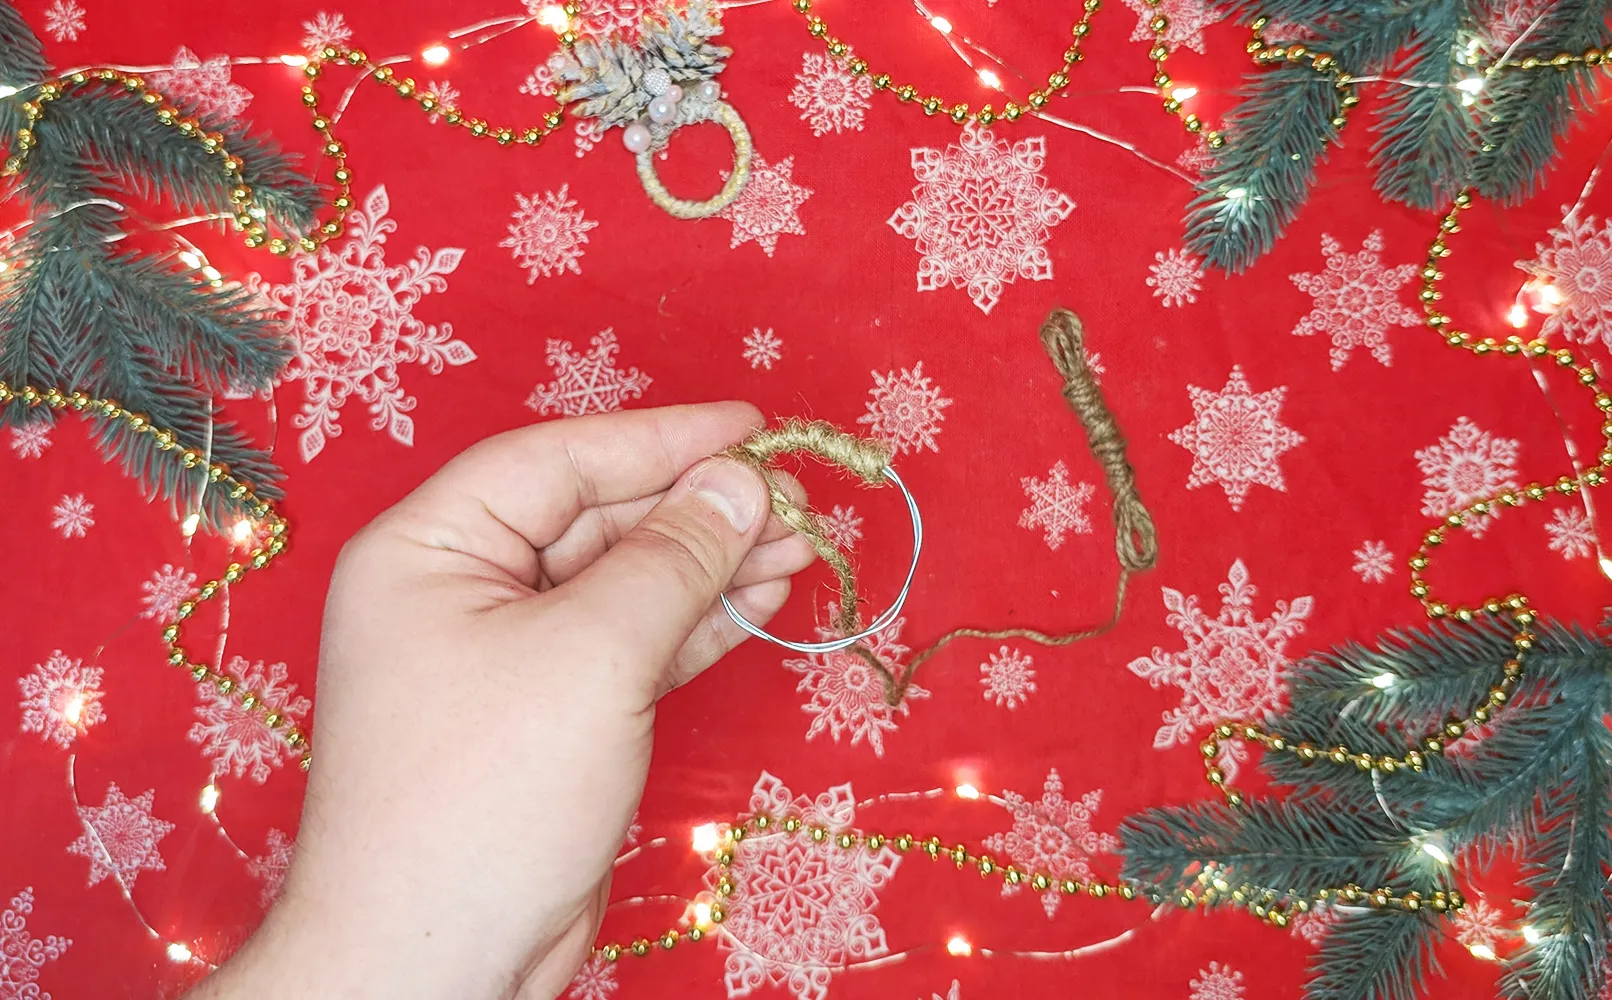
Tip: Apply small drops of glue every few windings to secure the cord better. Ensure that the windings are even and close together. If needed, adjust the windings with your fingers while the glue is still drying.
Step 3: Attaching the Cord
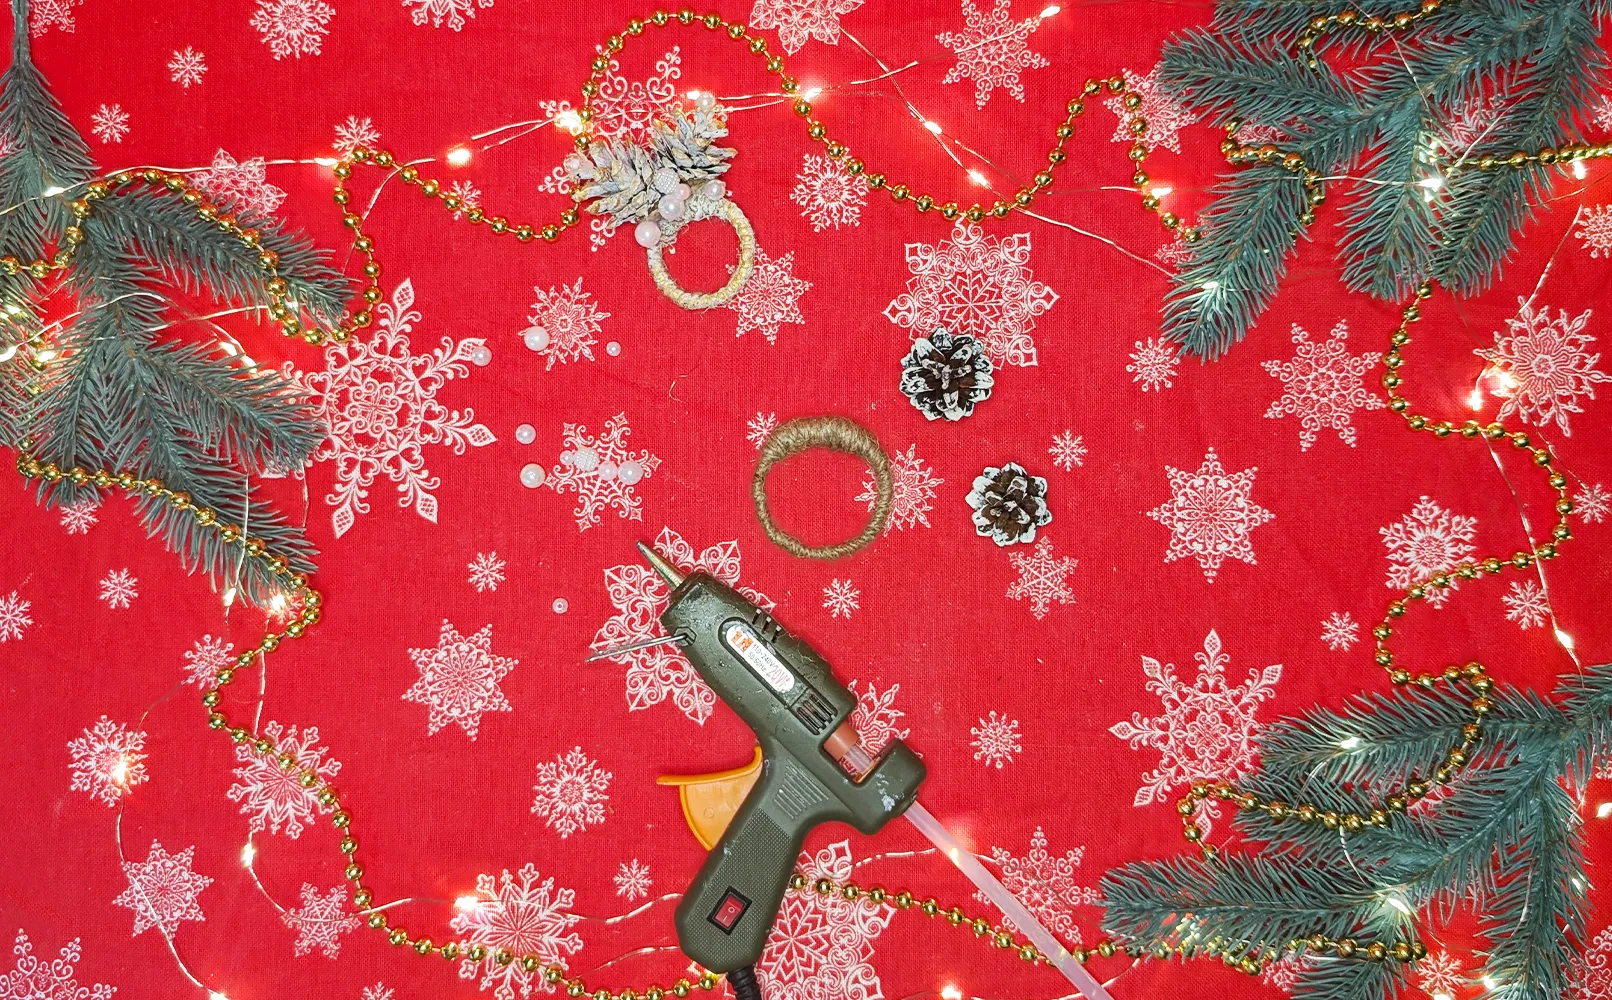
Secure the end of the string. Apply a small drop of glue to the inside of the ring and press the end of the string onto it. Hold it in place for a few seconds until the glue is completely dry. Carefully trim off the excess part of the string.
For a reliable attachment, use a toothpick. Apply glue to the end of the string and then "rub" it into the fibers with the toothpick. The glue penetrates deeper and ensures a strong connection.
Step 4: Decorating the Ring with Cones and Beads
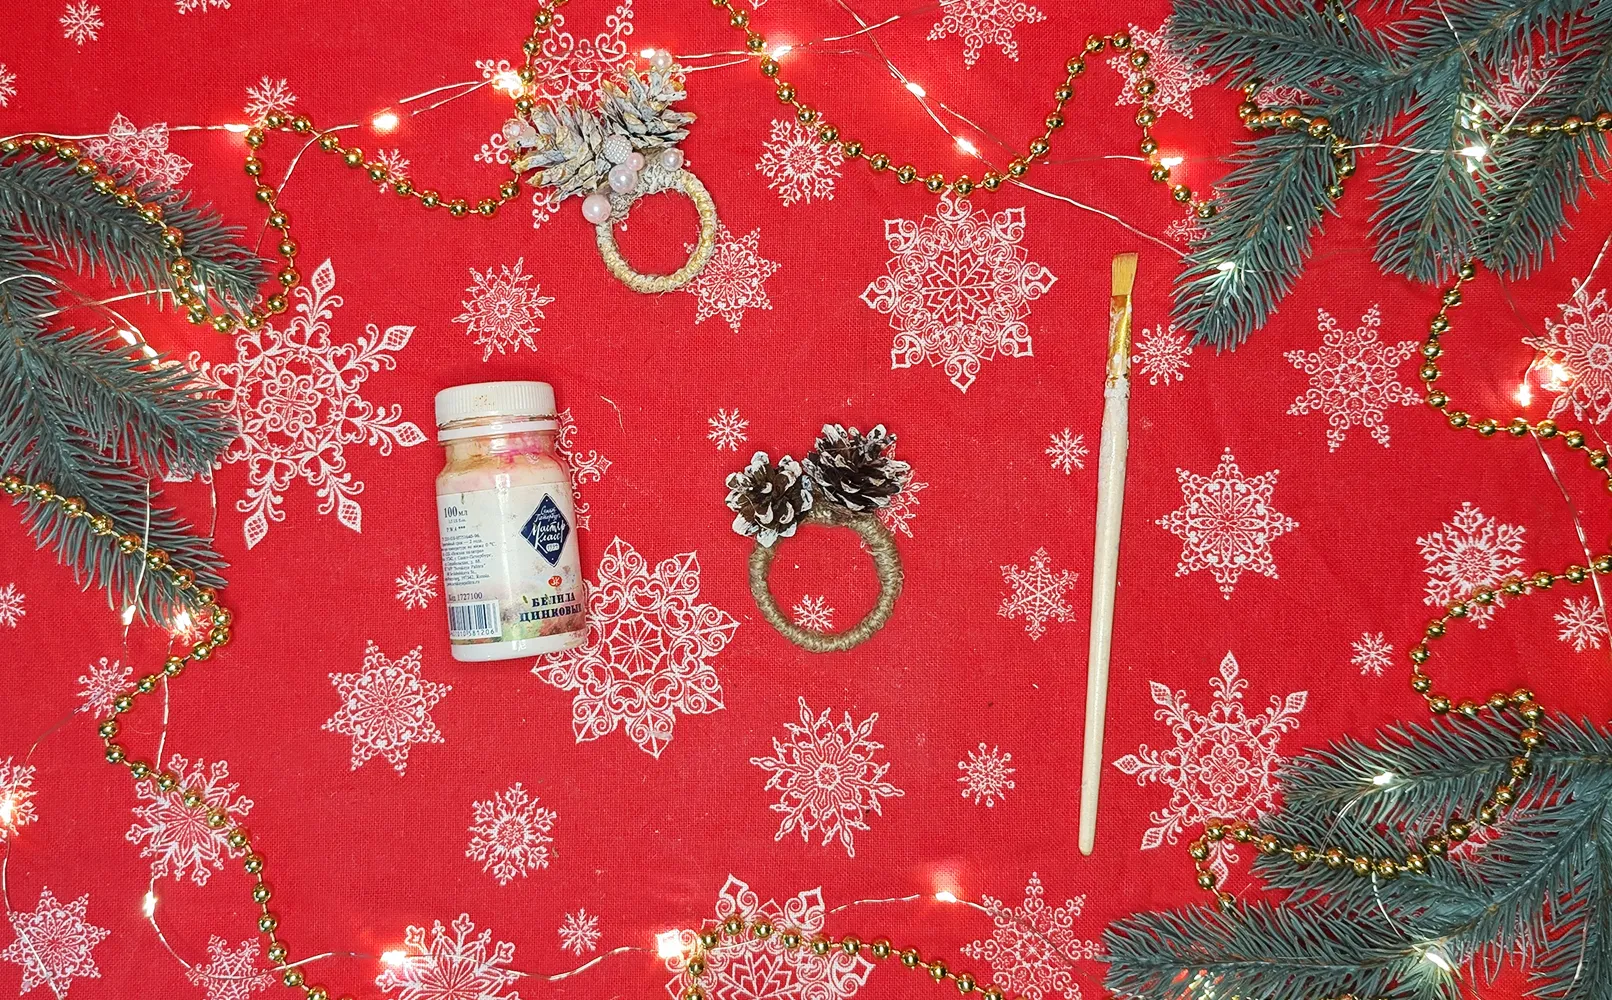
Prepare small cones, beads, or artificial berries - decorative elements for the ring. Apply a small drop of glue to the cone and attach it to the ring. Hold it in place for a few seconds until the glue dries. Add other elements and distribute them evenly around the ring.
Tip: Use glue sparingly to avoid leaks onto the surface. For an additional festive effect, the cones can be lightly painted with glittering paint before attaching them.
Step 5: Adding Color for the Final Touch
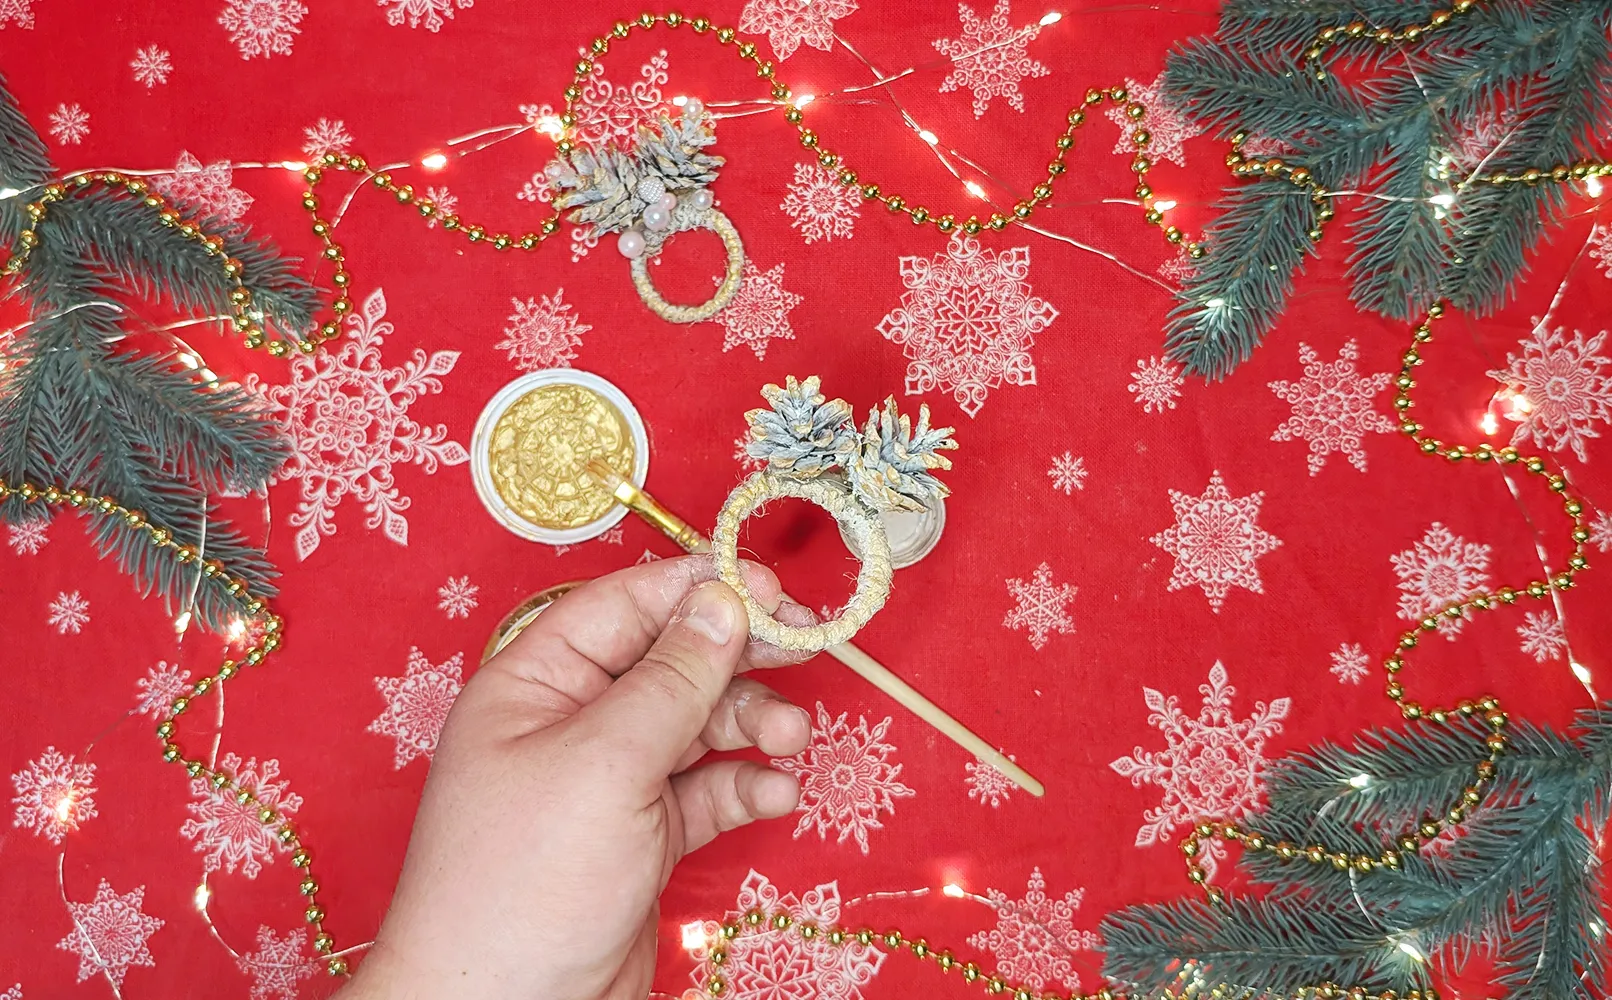
We have taken two types of acrylic paint: White and Gold. Now we add a little color to our decoration to make it look even more beautiful. Apply small amounts of paint carefully to selected areas of the ring and decoration elements. For example, you can dab the tips of the cones with gold or highlight some of the beads with white paint.
Tip: Be sparing with the paint. Our handmade decoration is already beautiful, and adding a small amount of color is meant to enhance it slightly, not overload or ruin it. Less is often more, especially with such delicate decorations. Start with a very small amount of paint and add more if needed, rather than applying too much at once.
Step 6: Final Touches
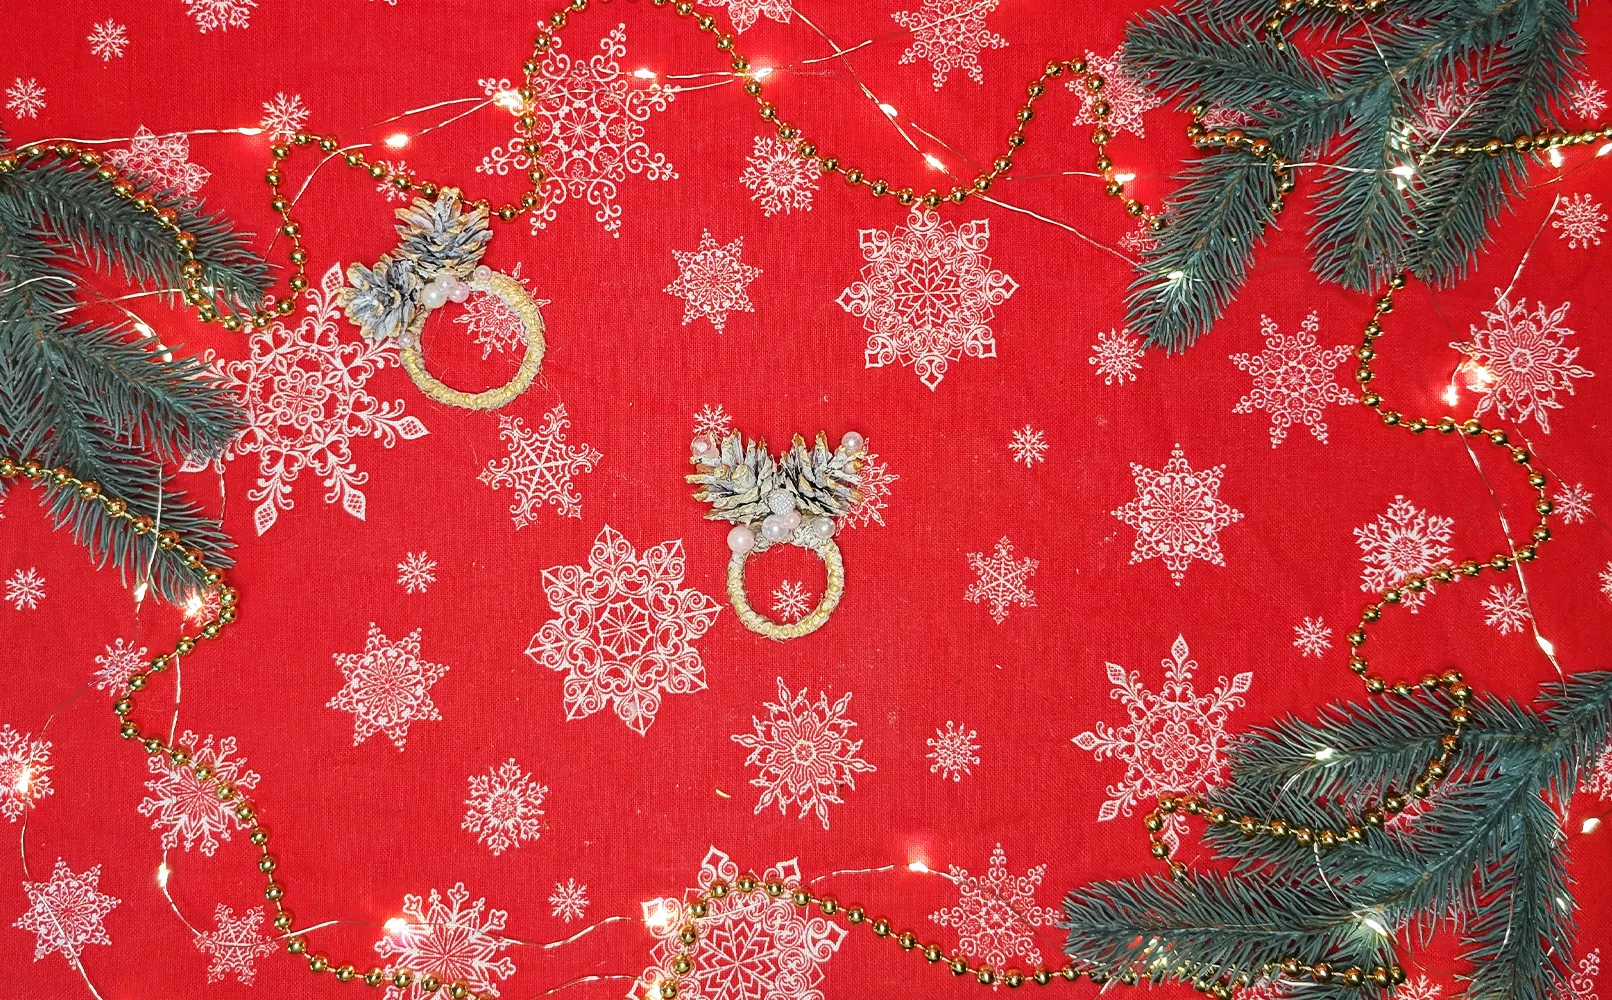
Let the ring dry completely for a few minutes. Then take a napkin and pull it through the ring. Your Christmas napkin decoration is ready!
Tip: Use high-quality glue for durable rings. You can coat them with clear varnish to better secure the elements.
Afterword
So, your Christmas napkin decoration is complete! I hope you and your child had fun during this process. It's a great activity, full of joy and creativity, and the decor created will give your holiday table a special atmosphere.
Handmade decorations are always appreciated for their uniqueness and distinctiveness. The napkin rings made together will not only be a decoration but also a warm memory of the time spent in the cozy Christmas atmosphere. And they can also be a great gift for friends and family.
Thank you for dedicating your time to this craft project! I am sure this won't be the last decoration you create. We have many other creative ideas and are happy to help you make something new. Don't forget to take a picture of your masterpiece and send it to us - we look forward to showcasing it on our site.
Remember, the most valuable time is the time you spend with your child. I wish you joyful holidays, Merry Christmas, and a wonderful New Year!
From Vitalii Shynakov
