Making gifts with children: Great DIY idea with sweets
Christmas is a special time when it is so nice to create a cozy atmosphere and delight our loved ones with small surprises. One such cute and original gift is a Christmas candy packaging in the shape of a fir tree. The process of making a small Christmas gift can become a joyful activity for the whole family and is a great way to give your presents a personal touch.
Children love to participate in such creative projects, unleash their imagination, and create small surprises for friends, teachers, and relatives. Packaging sweets in the shape of a fir tree is easy to make and is suitable for children aged five to six and older. With simple materials and a step-by-step process, you can easily create such a gift and have a lot of fun in the process. Such a souvenir will be a lovely addition to the holiday table or a memorable gift that the child can proudly give to their loved ones. Let's start creating this wonderful packaging together!
Creating and Christmas packaging of sweets in the shape of a fir tree
Now we will create a beautiful and original packaging for sweets in the shape of a Christmas tree. This project is excellent for children as it helps develop fine motor skills and imagination. The recommended age for creating this craft project is five to six years and older. If the child is younger, parents or adults can help with some steps, such as cutting out parts or gluing.
The difficulty level of this craft project is low, and all the necessary materials are easily found in any craft store or supermarket. To make the process more comfortable, some elements, such as fir tree templates, can be prepared in advance. This allows younger children to participate with joy in the creative process.
Step-by-step guide to creating a Christmas tree with candy
To create this colorful and original craft project, we need only a few simple and readily available materials. Thanks to their low cost, you can easily find everything you need at the nearest supermarket or craft store. This allows you to create multiple gifts to delight all your loved ones.
What we need:
- Colored cardboard (green and red)
- Pencils and eraser
- Ruler
- Scissors
- Glue (preferably glue stick or craft glue)
- Round template (for cutting out the hole for the candy)
- Felt-tip pens, markers, or paints for decoration
- Tinsel or glitter (optional)
- Lollipops (preferably with large round candy)
All these materials are quite simple and inexpensive. They are easily found in any supermarket or stationery store. I have specifically selected these materials so that you will not have any problems finding them. This allows you and your child to create a large number of such packages and experiment with different design variations.
Step 1: Preparing the Base
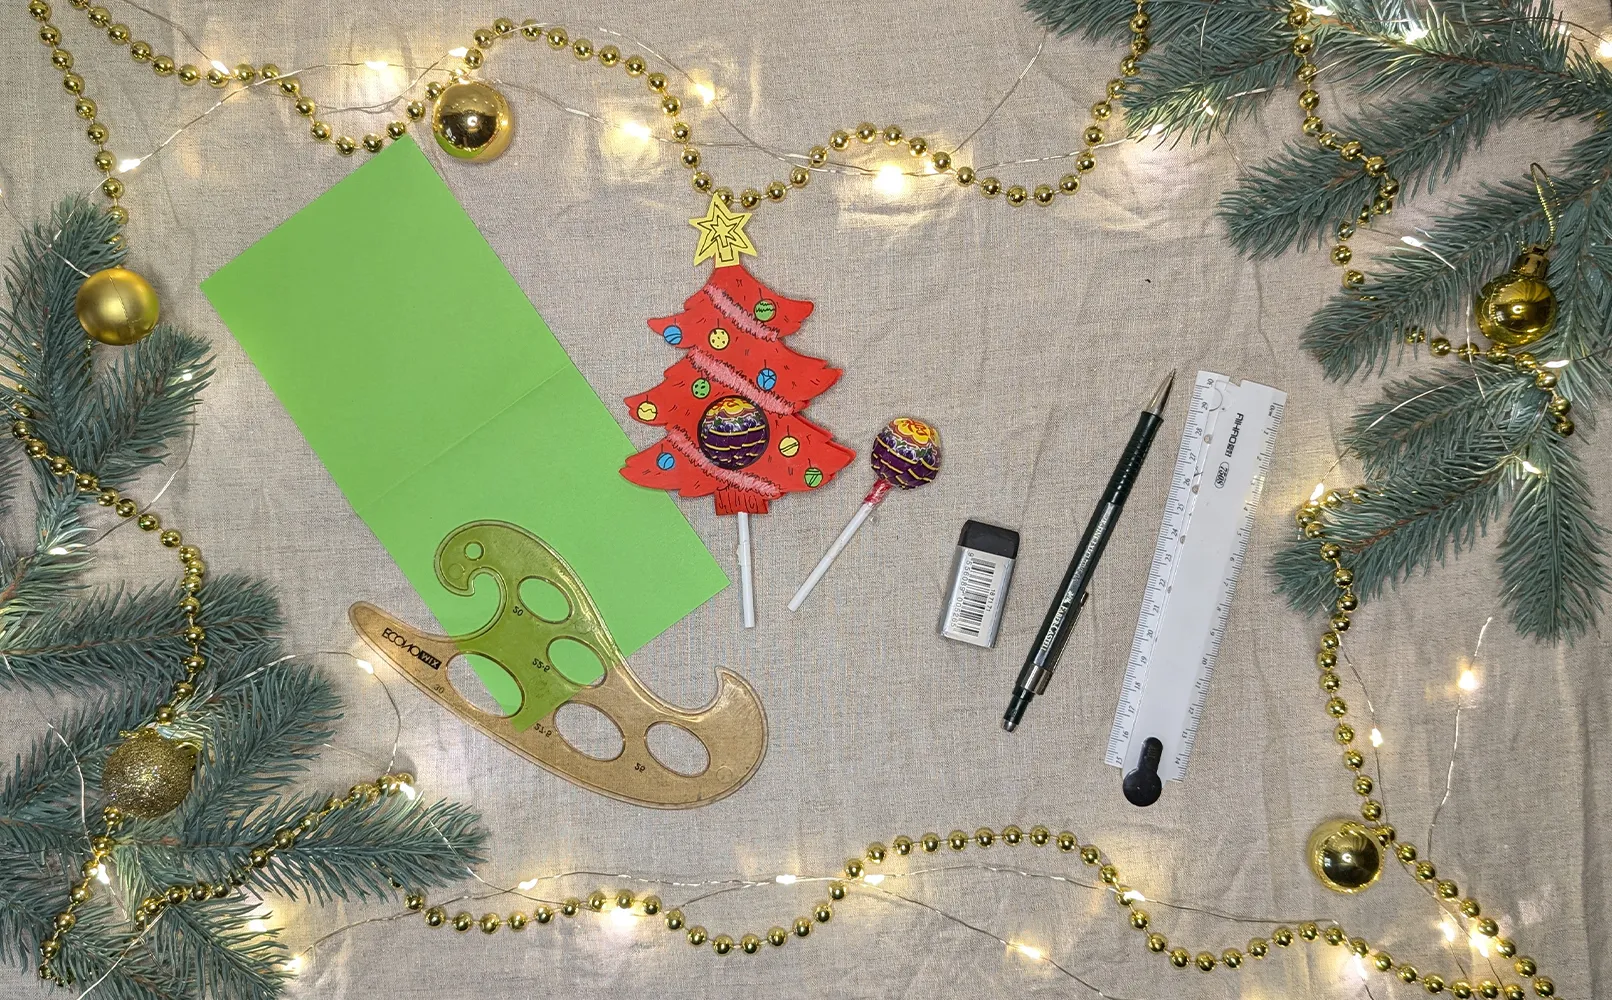
Take a green rectangle of cardboard measuring 20 x 10 cm. Fold it carefully in the middle, creating a square of 10 x 10 cm. This will be the base for your fir tree. Make sure the fold is straight and clear – this will affect the appearance of the craft project.
Step 2: Drawing the Fir Tree
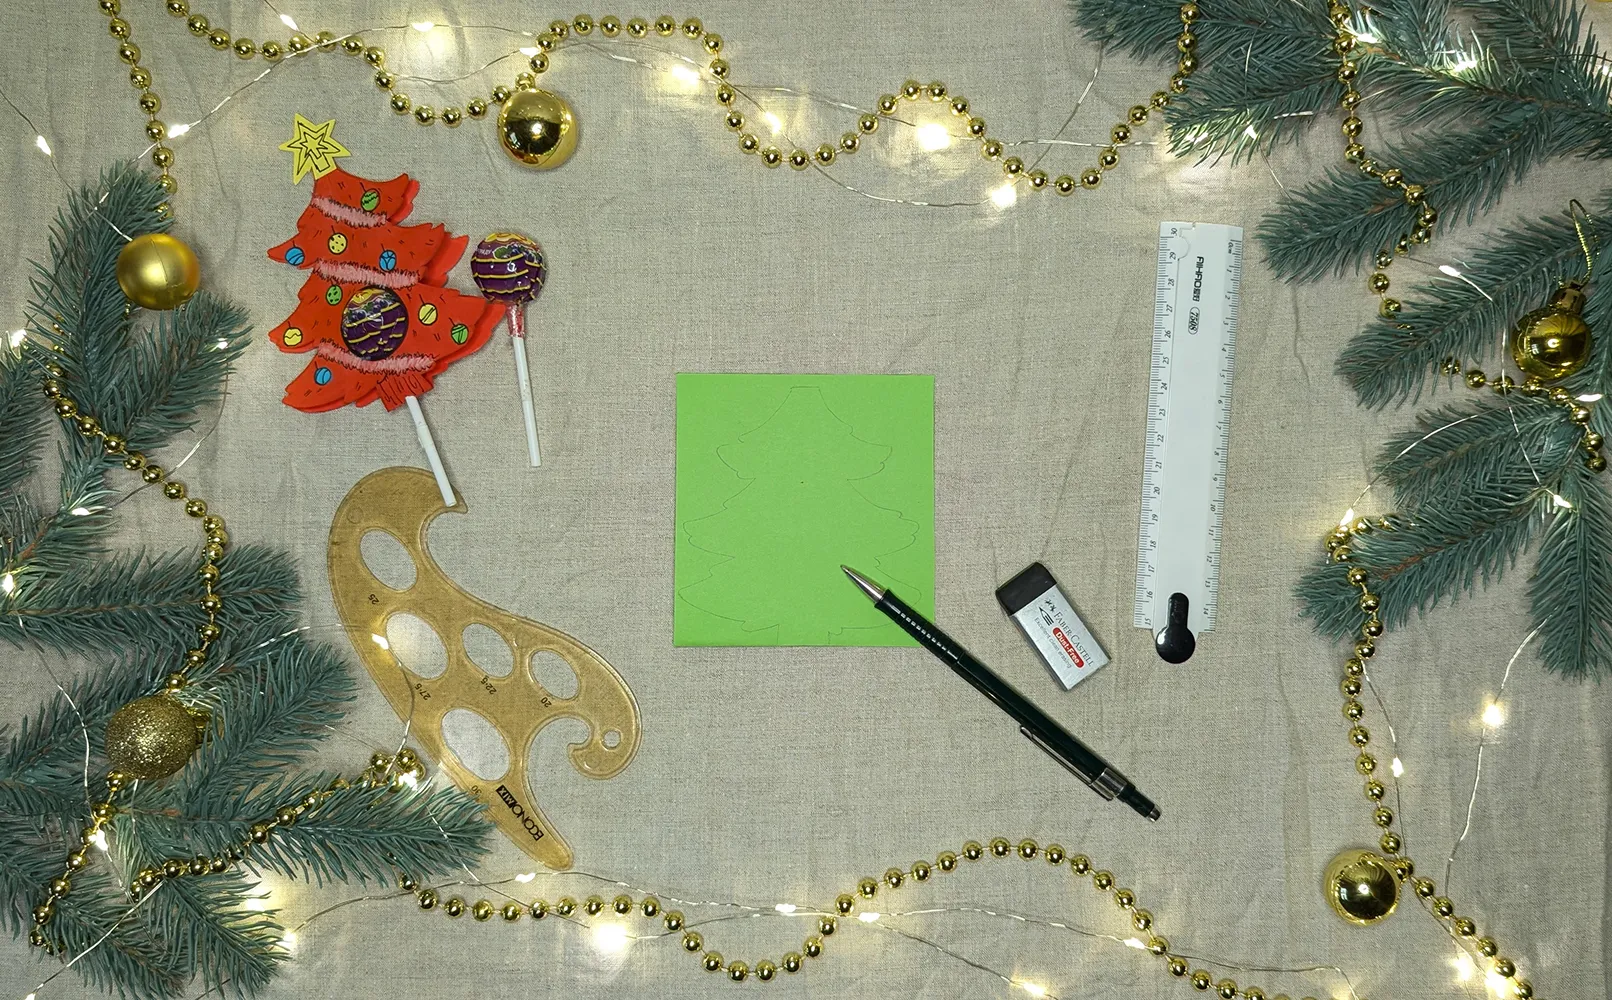
On one side of the square, draw the outline of a fir tree with a trunk. It is important that the fold connects to the tree trunk – this ensures the stability of the craft project. Start by drawing the trunk on the fold line, then add the triangular crown starting at the top of the trunk.
Step 3: Cutting out the Fir Tree
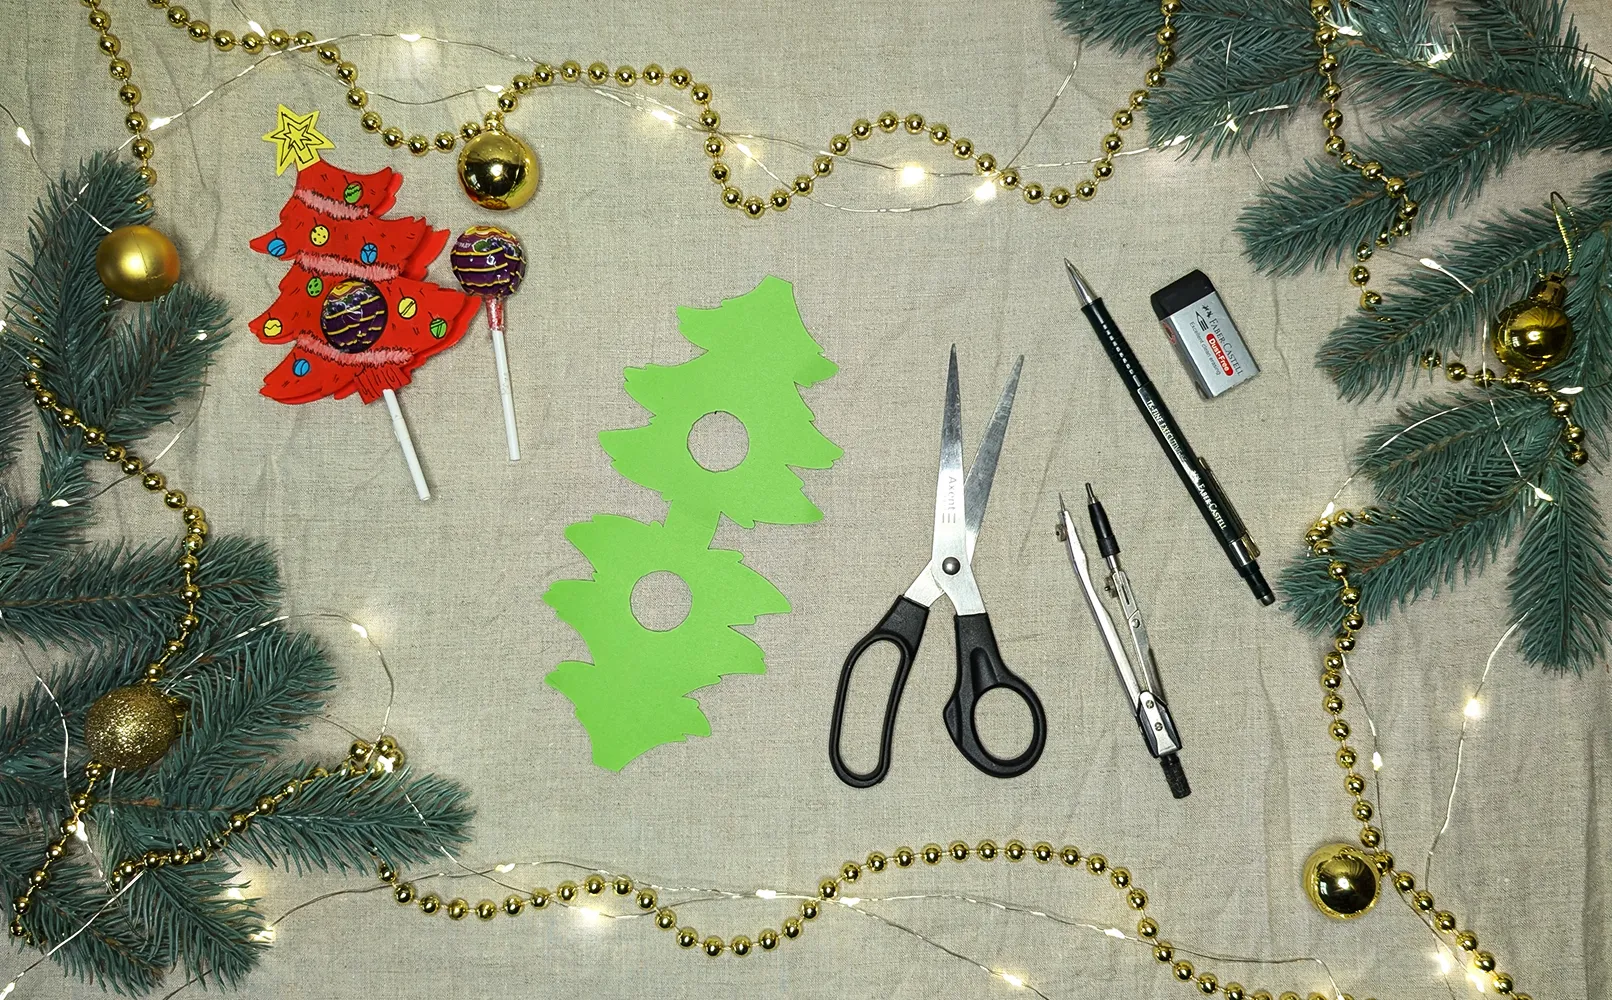
Take scissors and carefully cut out the Christmas tree along the drawn lines. Start at the top and work your way down gradually - this way you can control the process and avoid accidental cuts. Then make a small hole inside the tree for the candy, slightly larger than the diameter of the stick.
Step 4: Decorating the Christmas Tree
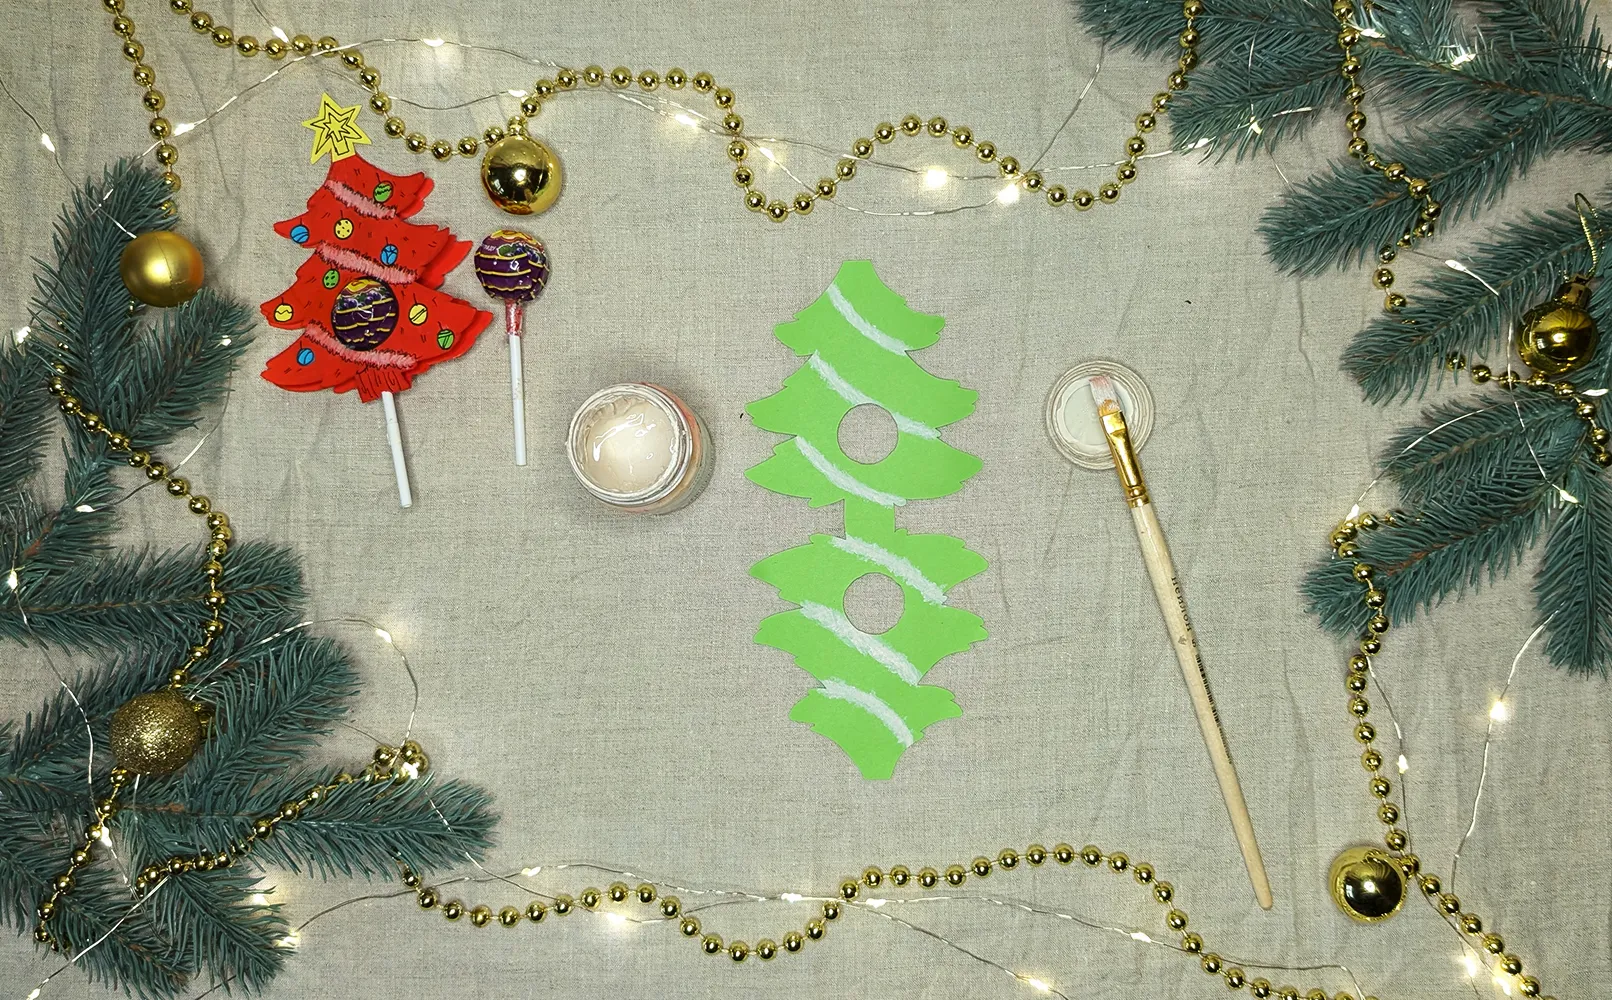
Now decorate the Christmas tree. Take colors or colored pencils and draw stripes on the tree that mimic garlands or other ornaments. For a neat result, first lightly outline the lines with a pencil and then fill them in with a brush or markers.
Step 5: Adding Decorative Elements
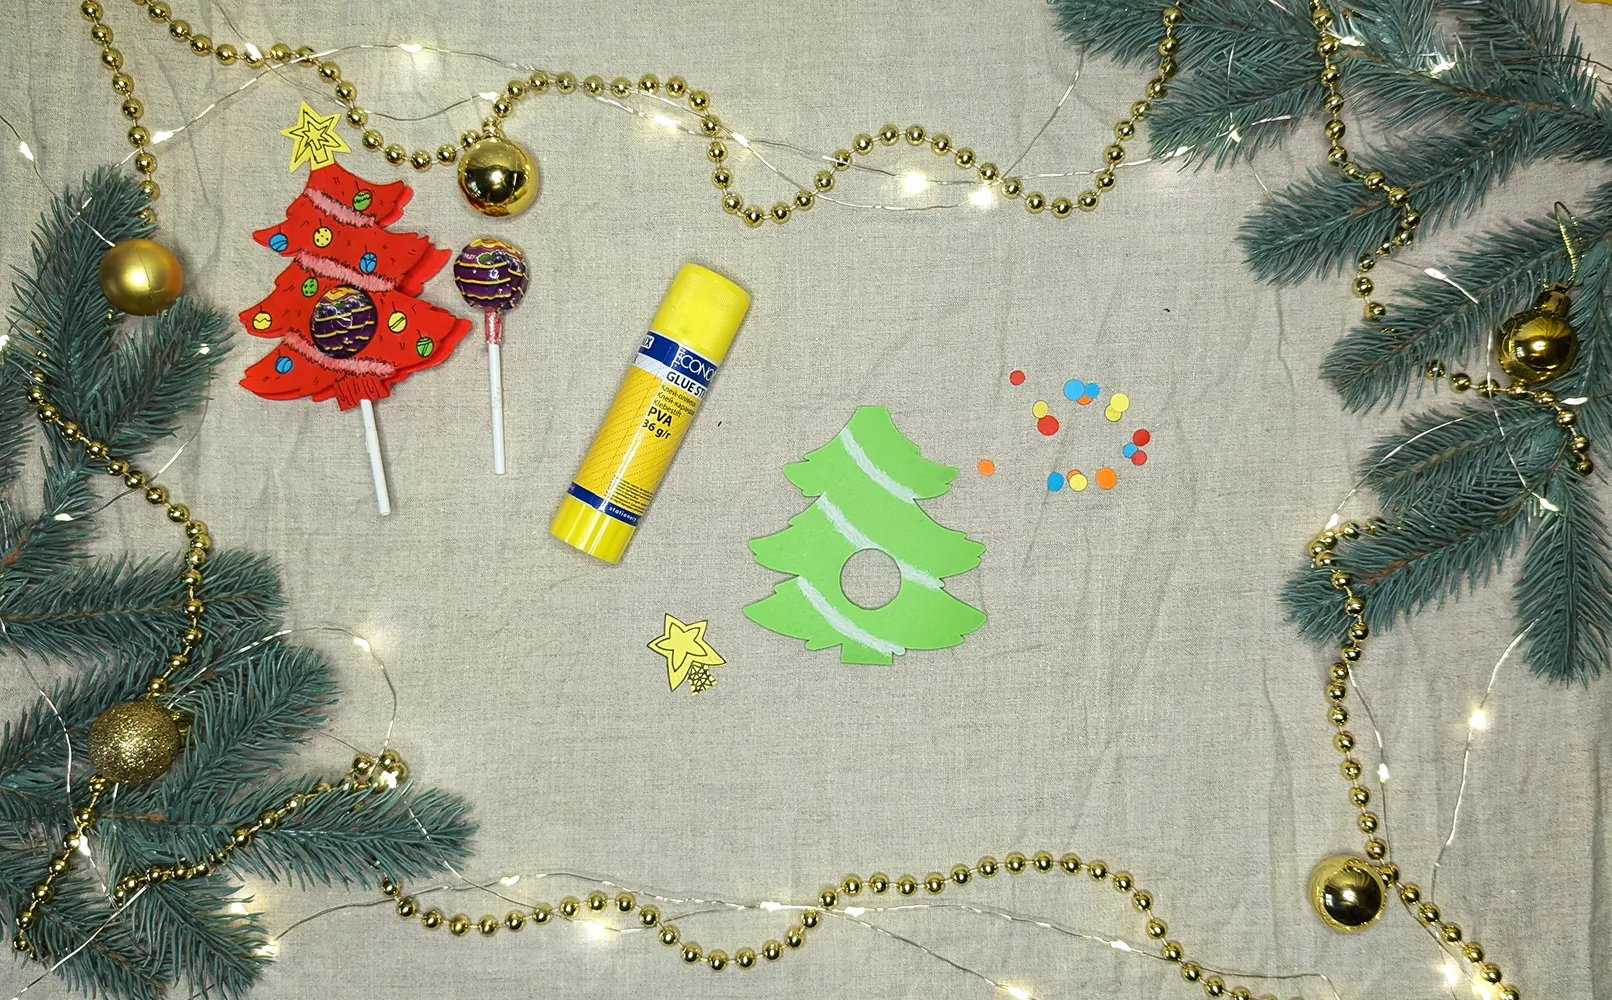
It is time to add three-dimensional decorations. Take prepared elements such as small stars, bows, or miniature balls. Apply glue to the back of the elements and carefully stick them onto the Christmas tree. Distribute the ornaments evenly, starting at the top.
Step 6: Adding Graphic Elements
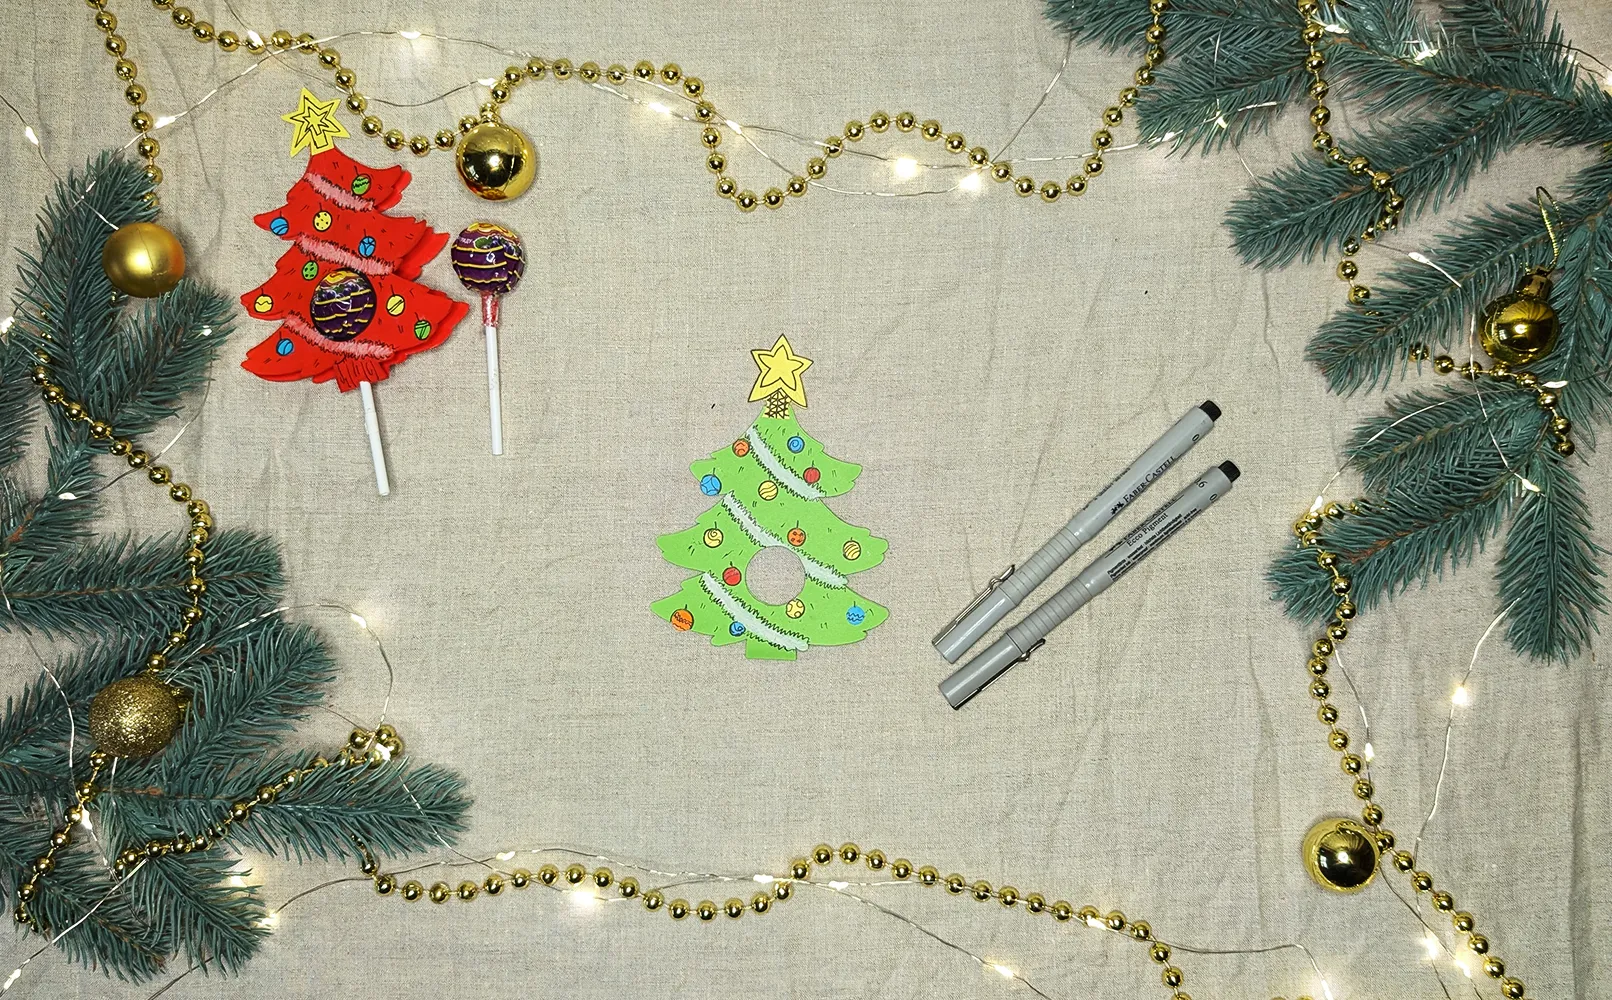
Take a black pen or a thin marker and add graphic details to the Christmas tree, such as small dots or lines that mimic fairy lights. These strokes give the tree a polished and neat appearance.
Step 7: Inserting the Candy
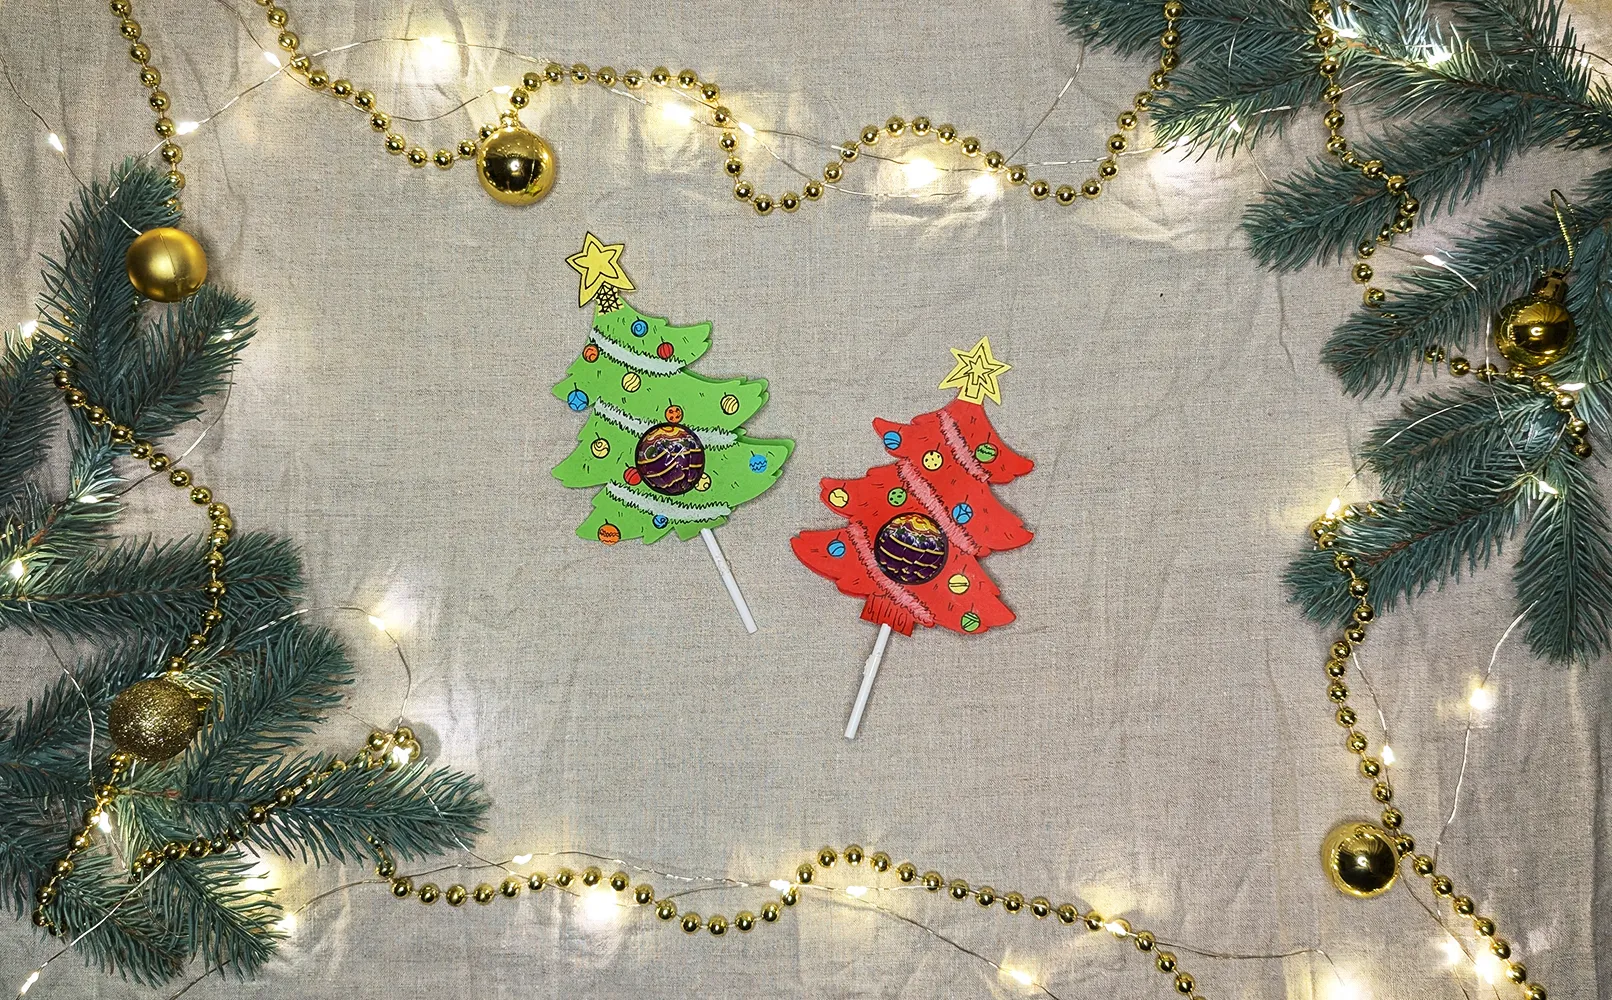
The final step is adding the candy. Carefully insert the candy stick from the bottom into the prepared hole in the Christmas tree. If the hole is slightly too large, apply some glue around the stick to ensure the candy holds securely.
Conclusion
By following these steps, you have created a beautiful Christmas decoration - a candy packaging in the shape of a Christmas tree. This craft project has brought joy during its creation and will be a great gift or decoration for the holiday table.
The candy Christmas tree is a wonderful gift for friends or relatives, demonstrating a creative approach and care. It can also be an original gift for colleagues or neighbors, showing that you have put a piece of your soul into its creation.
This craft project combines functionality and beauty - it serves as both a decoration and packaging for a sweet treat. The process of its creation is an excellent way to spend time with a child and develop their creative skills. Such Christmas trees add a special charm to the holiday table and have been a trend in Christmas decorations for many years. In our time, where handmade items are increasingly valued, such decorations are becoming particularly popular. I am sure that even years from now, your children and perhaps even grandchildren will delight in creating these Christmas trees and remember the warm moments of holiday preparation.
Afterword
Thank you for taking the time for this creative process. I am sure that working on this craft project has brought you much joy. Moments of shared creation strengthen family bonds and create memories for a lifetime.
On our website, you will find many more crafting ideas! We would be delighted if you send us photos of your finished crafts - we will gladly publish them on our portal. The most important thing is not the craft project itself, but the time spent together. I wish you happy holidays filled with creativity and love!
From Vitalii Shynakov
