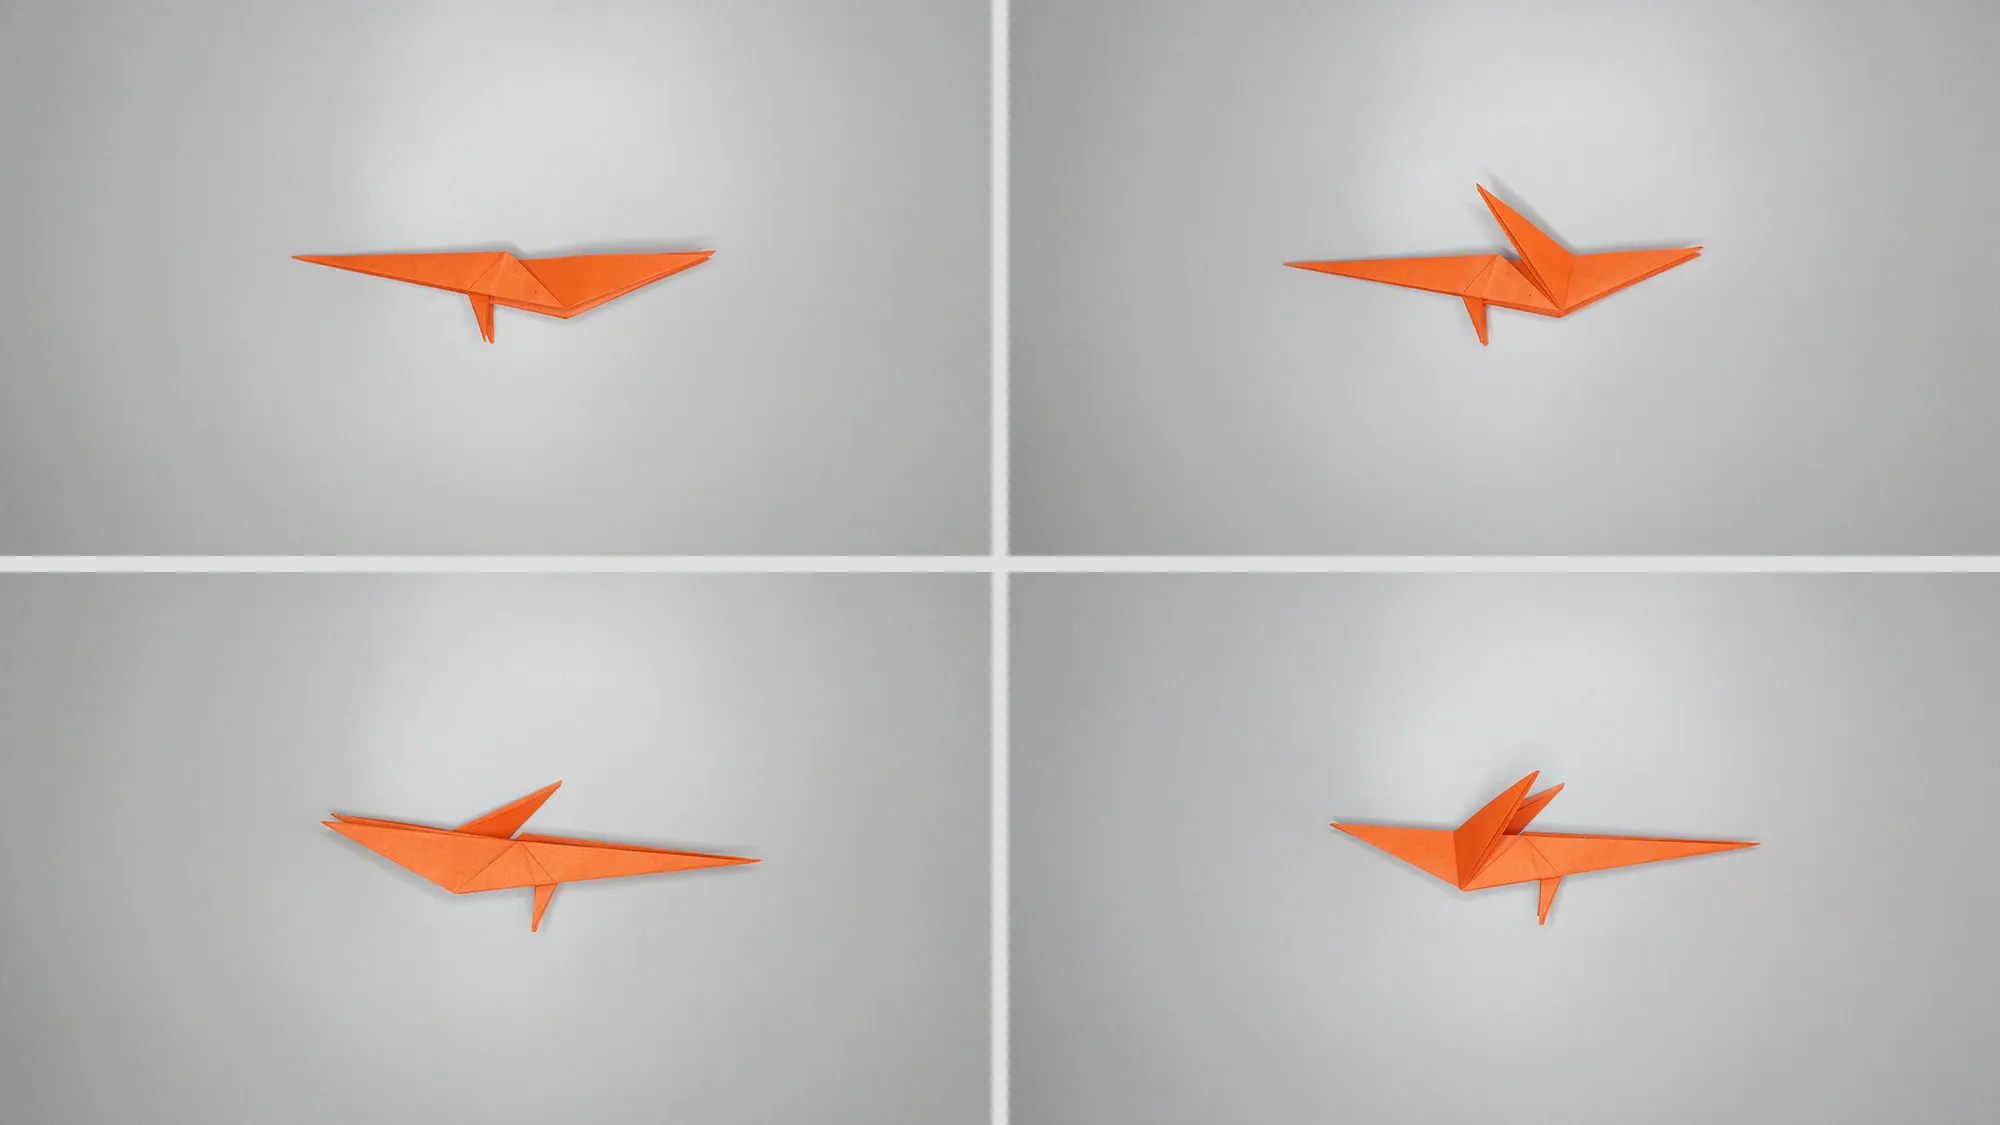
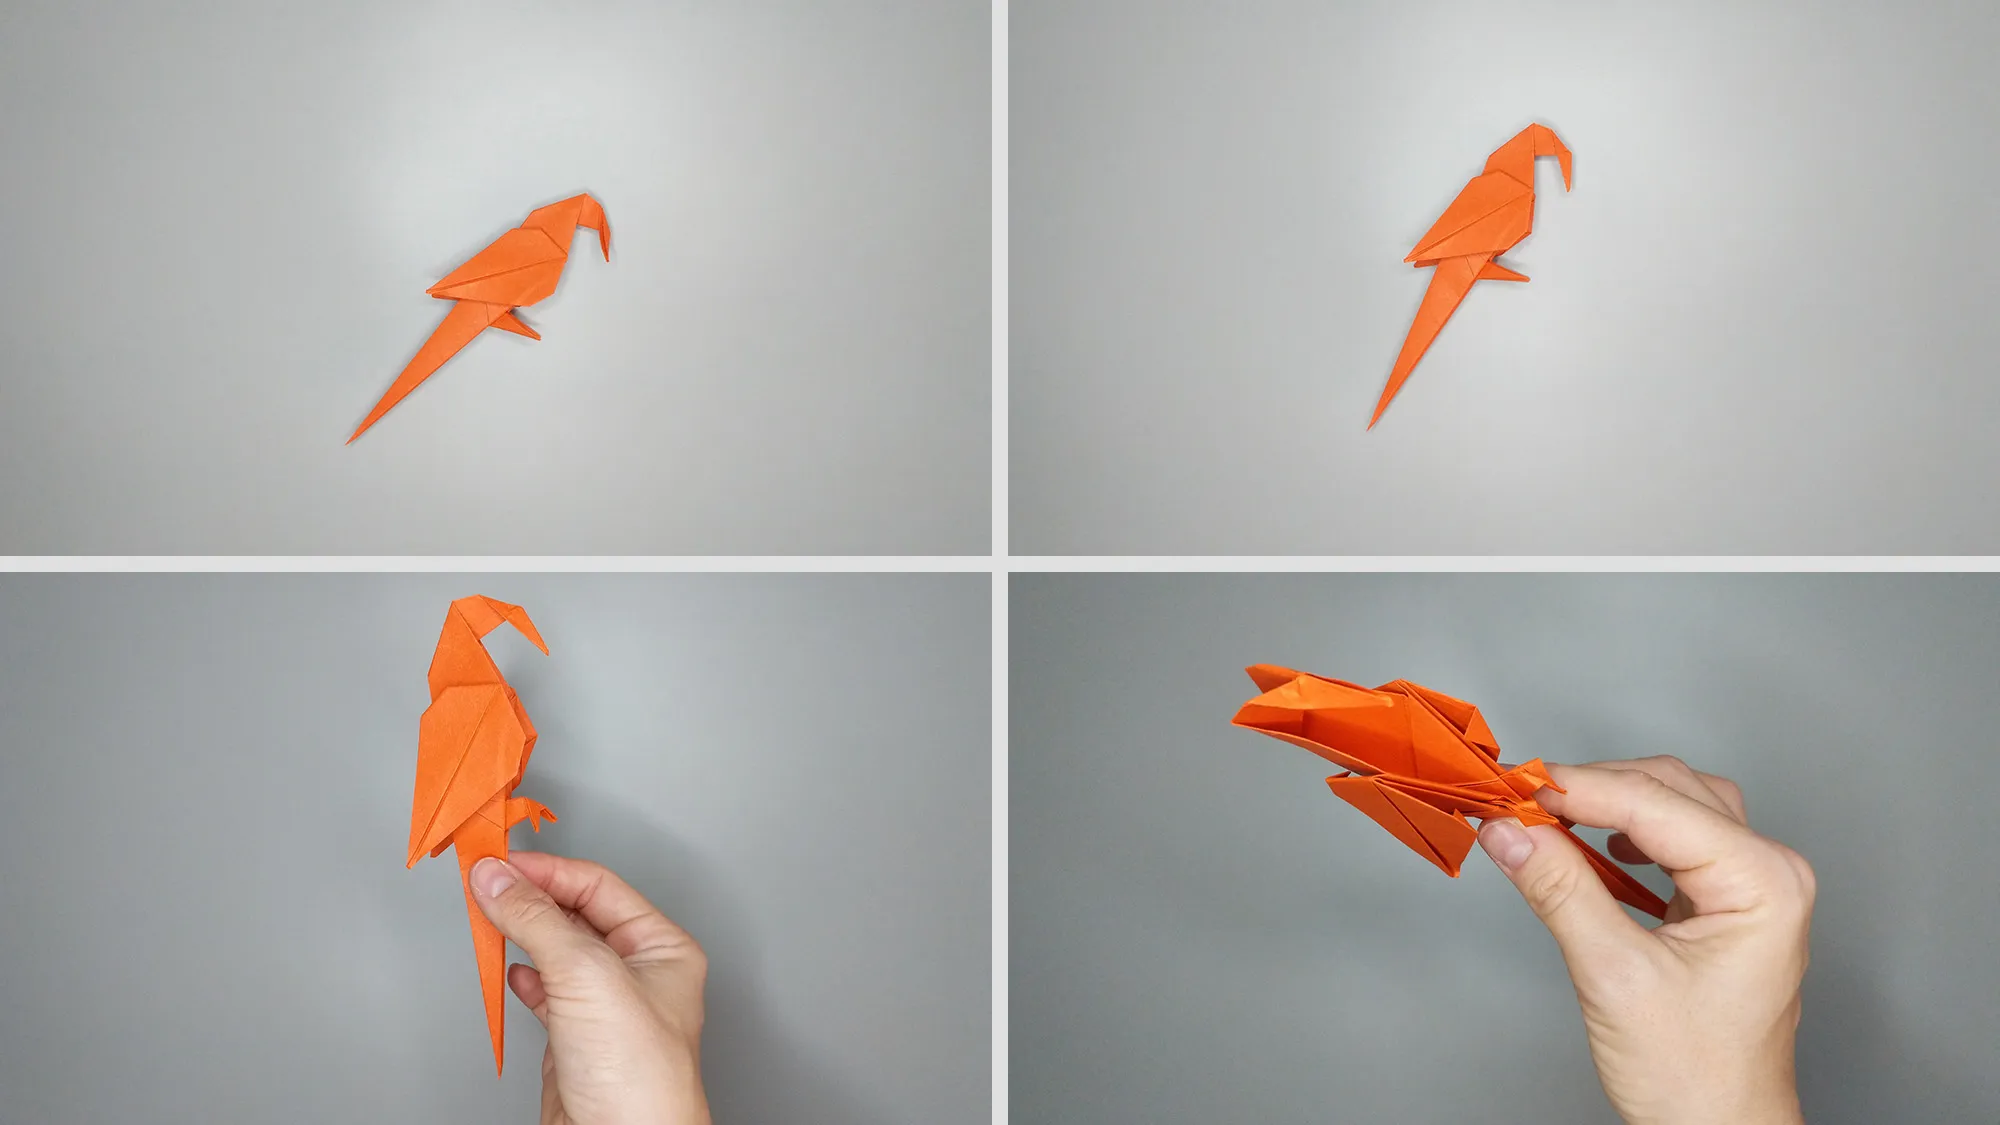
Making a paper bird is a popular origami project. Origami, the Japanese art of paper folding, captivates children and adults alike. It promotes fine motor skills and stimulates the brain. For children, it's a great way to unleash their creativity, while adults can relax. Our instructions are designed so that each step is easy to follow. With videos and numerous photos, we guide you through the folding process. Don't worry if you're unsure at the beginning - you can do it! We test each instruction with a 10-year-old child. If they can do it, so can you.

Making a paper bird sparks children's imagination. They can invent stories with it or use it as decoration. The folded paper bird is also excellent as a gift or for role-playing. While folding, you learn patience, concentration, and diligence. You quickly realize: one wrong step, and you have to start over. This teaches you to work slowly and accurately. Origami hones your endurance and discipline - important skills for life.

h_904,h_906,h_907,h_902

How to Make a Paper Bird: Step-by-Step Guide with Video and Images

Before you start crafting your paper bird, watch the video once or twice. For best results, we recommend using special origami paper. You can find it in almost any stationery store. The square sheets come in many colors. Origami paper is thinner than regular paper, making folding easier.
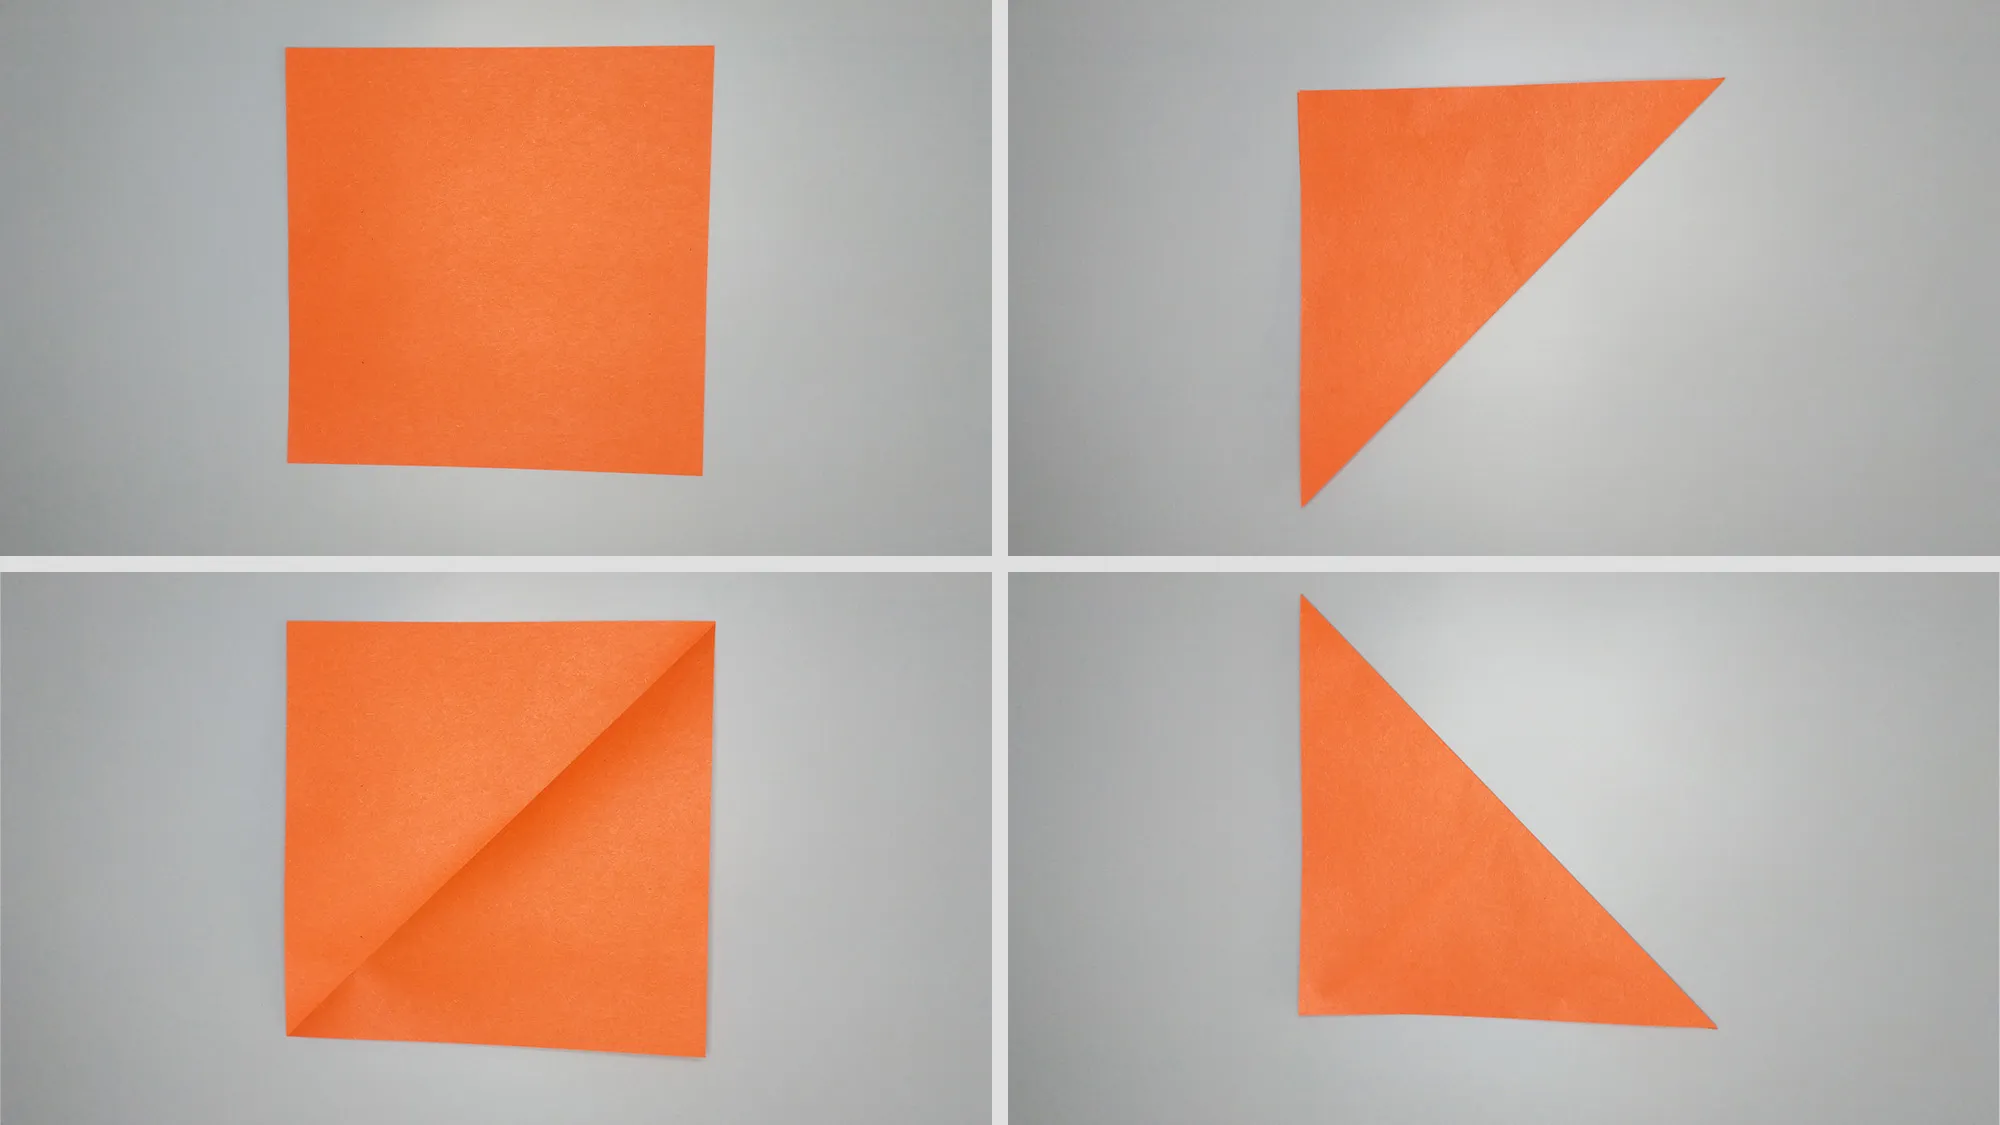
Make a paper bird - Origami instructions for a parrot. Step 1
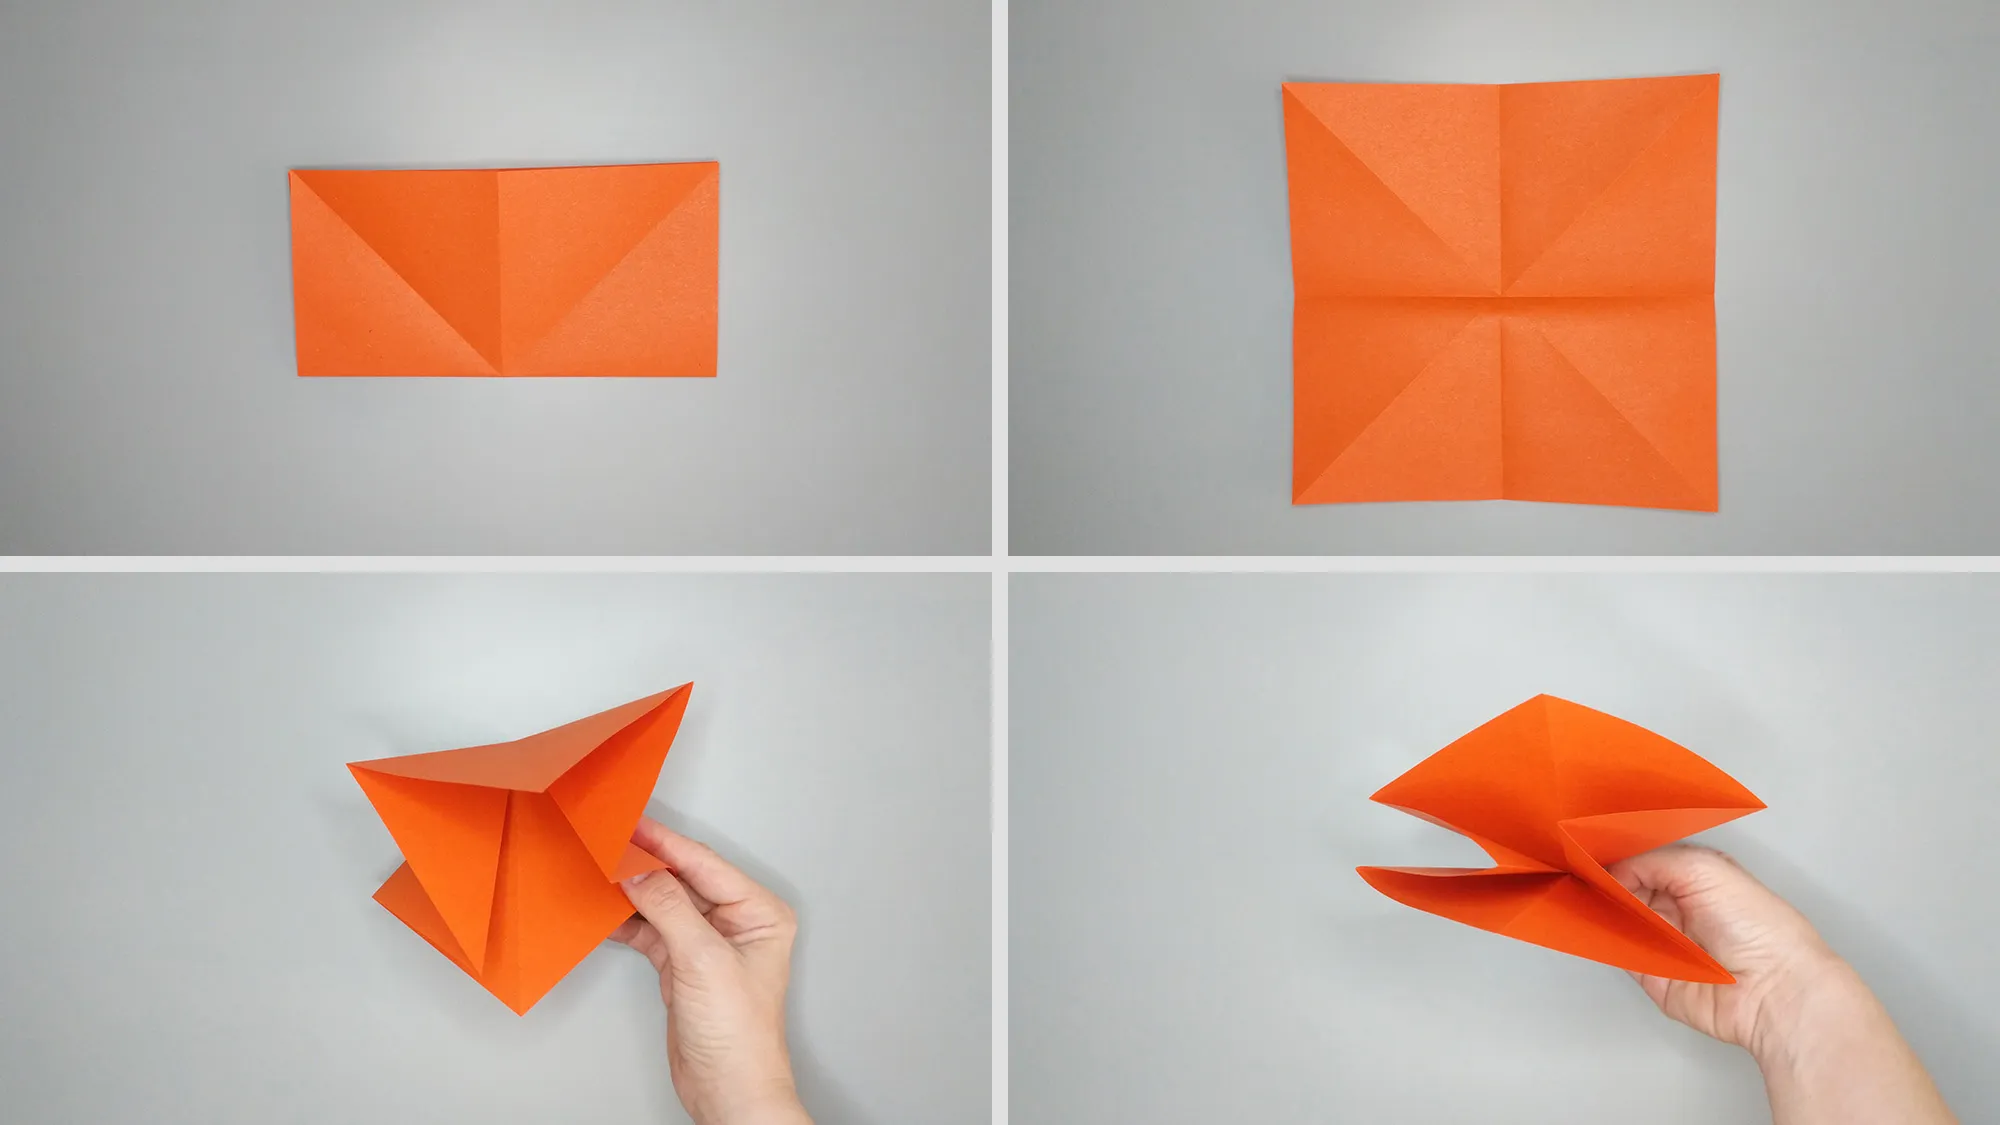
Step 1: The beginning is as always not easy, but crucial. Fold the sheet along both diagonals.
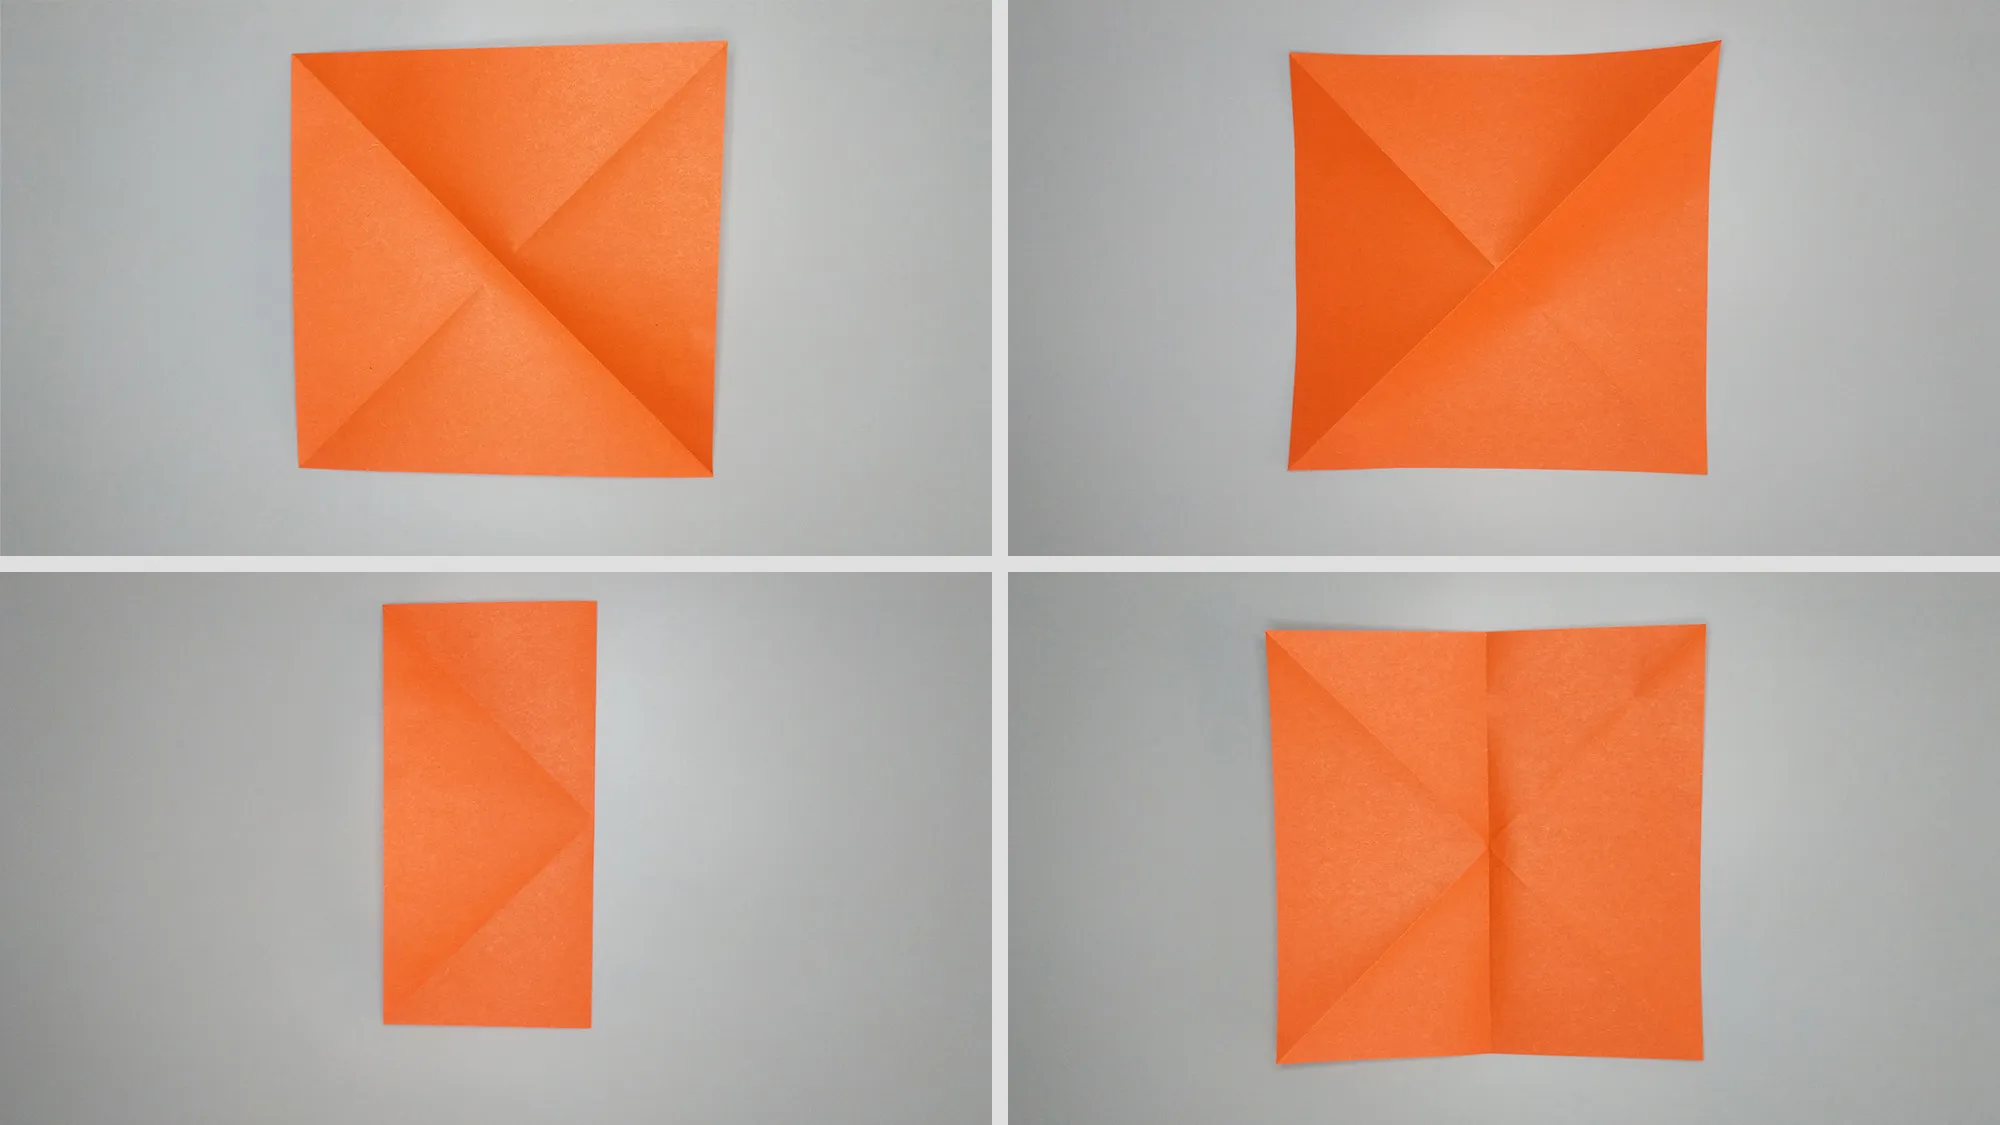
Make a paper bird - Origami instructions for a parrot. Step 2
Step 2: Then unfold the sheet and make another fold vertically in the middle.
Make a paper bird - Origami instructions for a parrot. Step 3
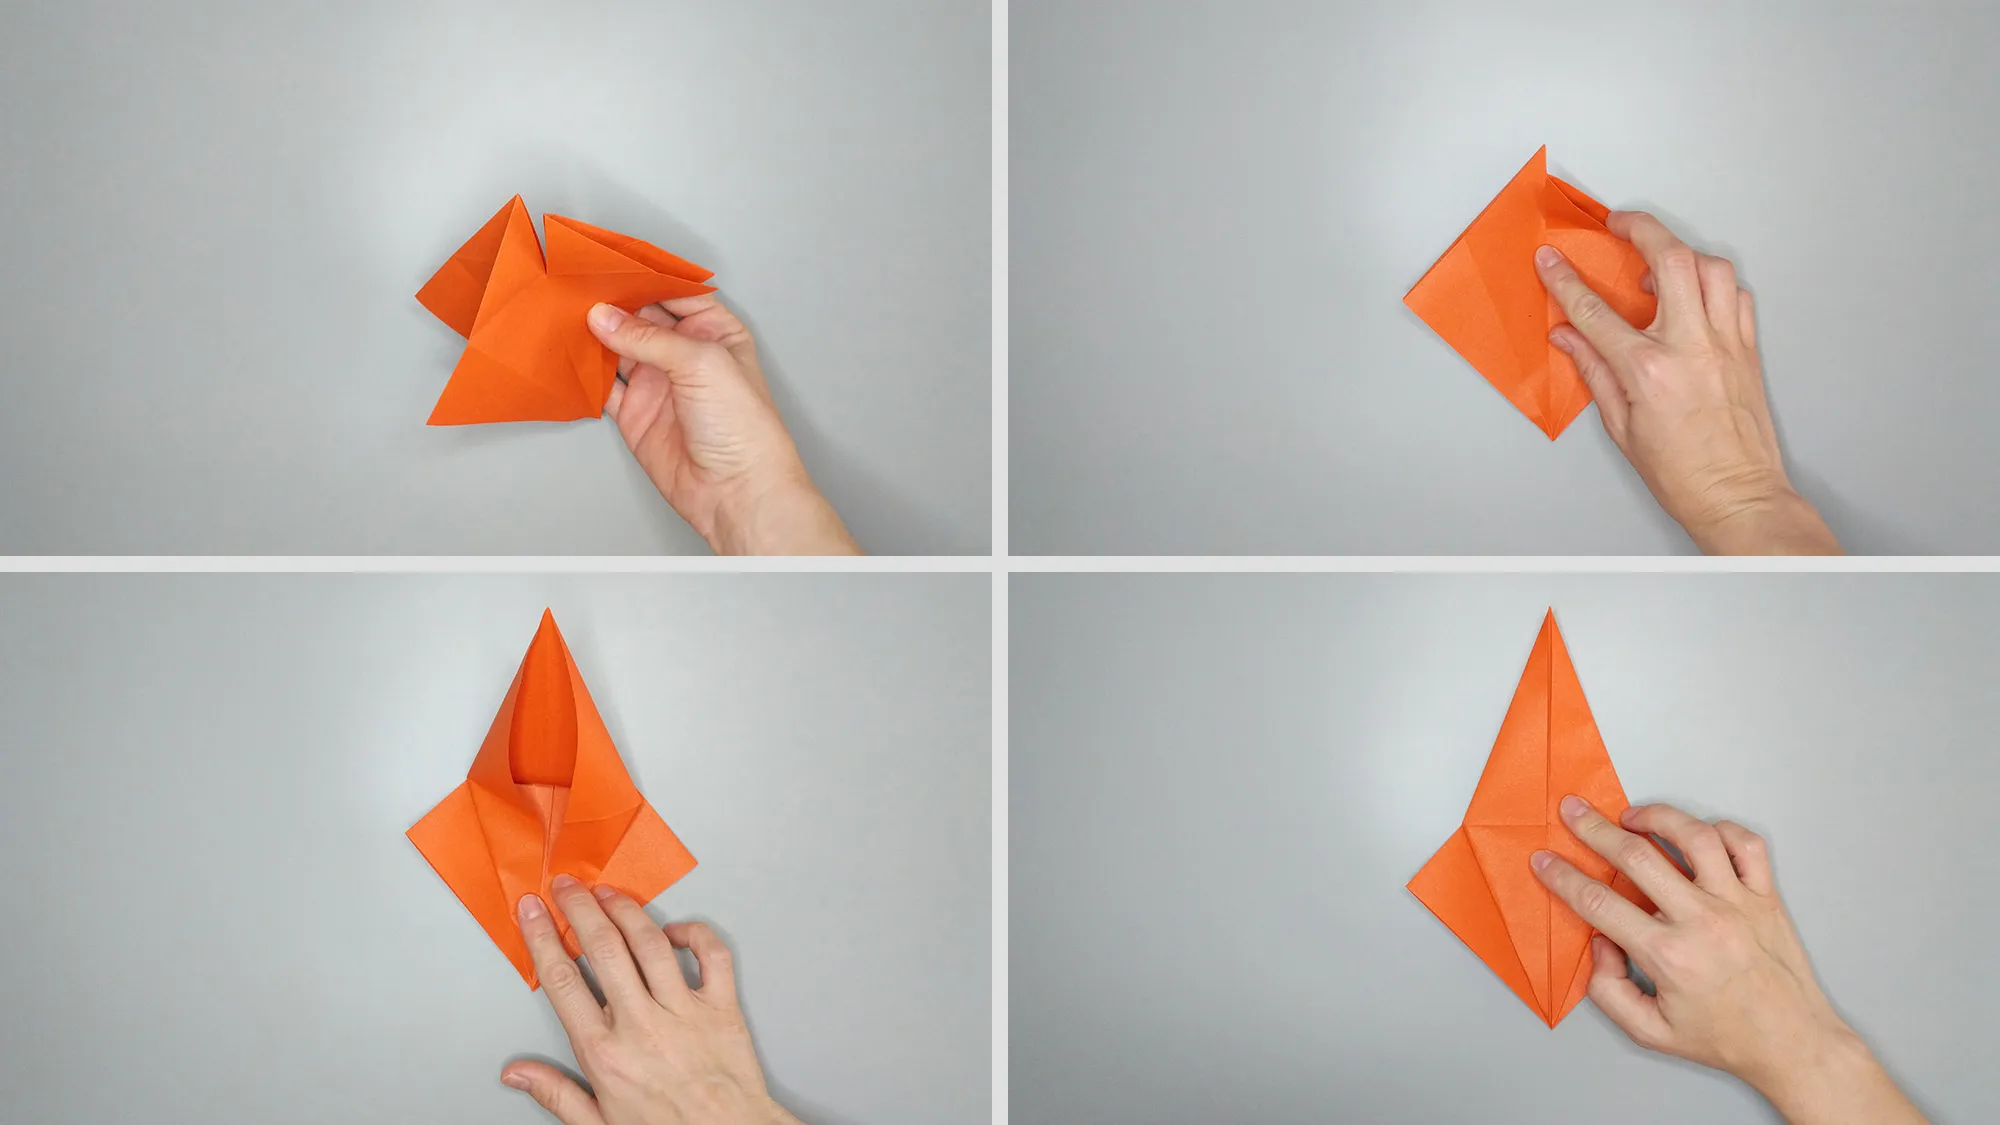
Step 3: Spread the sheet out, flip it over, and pull on the sides so that the sheet folds back into a diamond. Technically, it's a square rotated 45 degrees. The corner that was previously the center of the sheet remains at the top.
Make a paper bird - Origami instructions for a parrot. Step 4
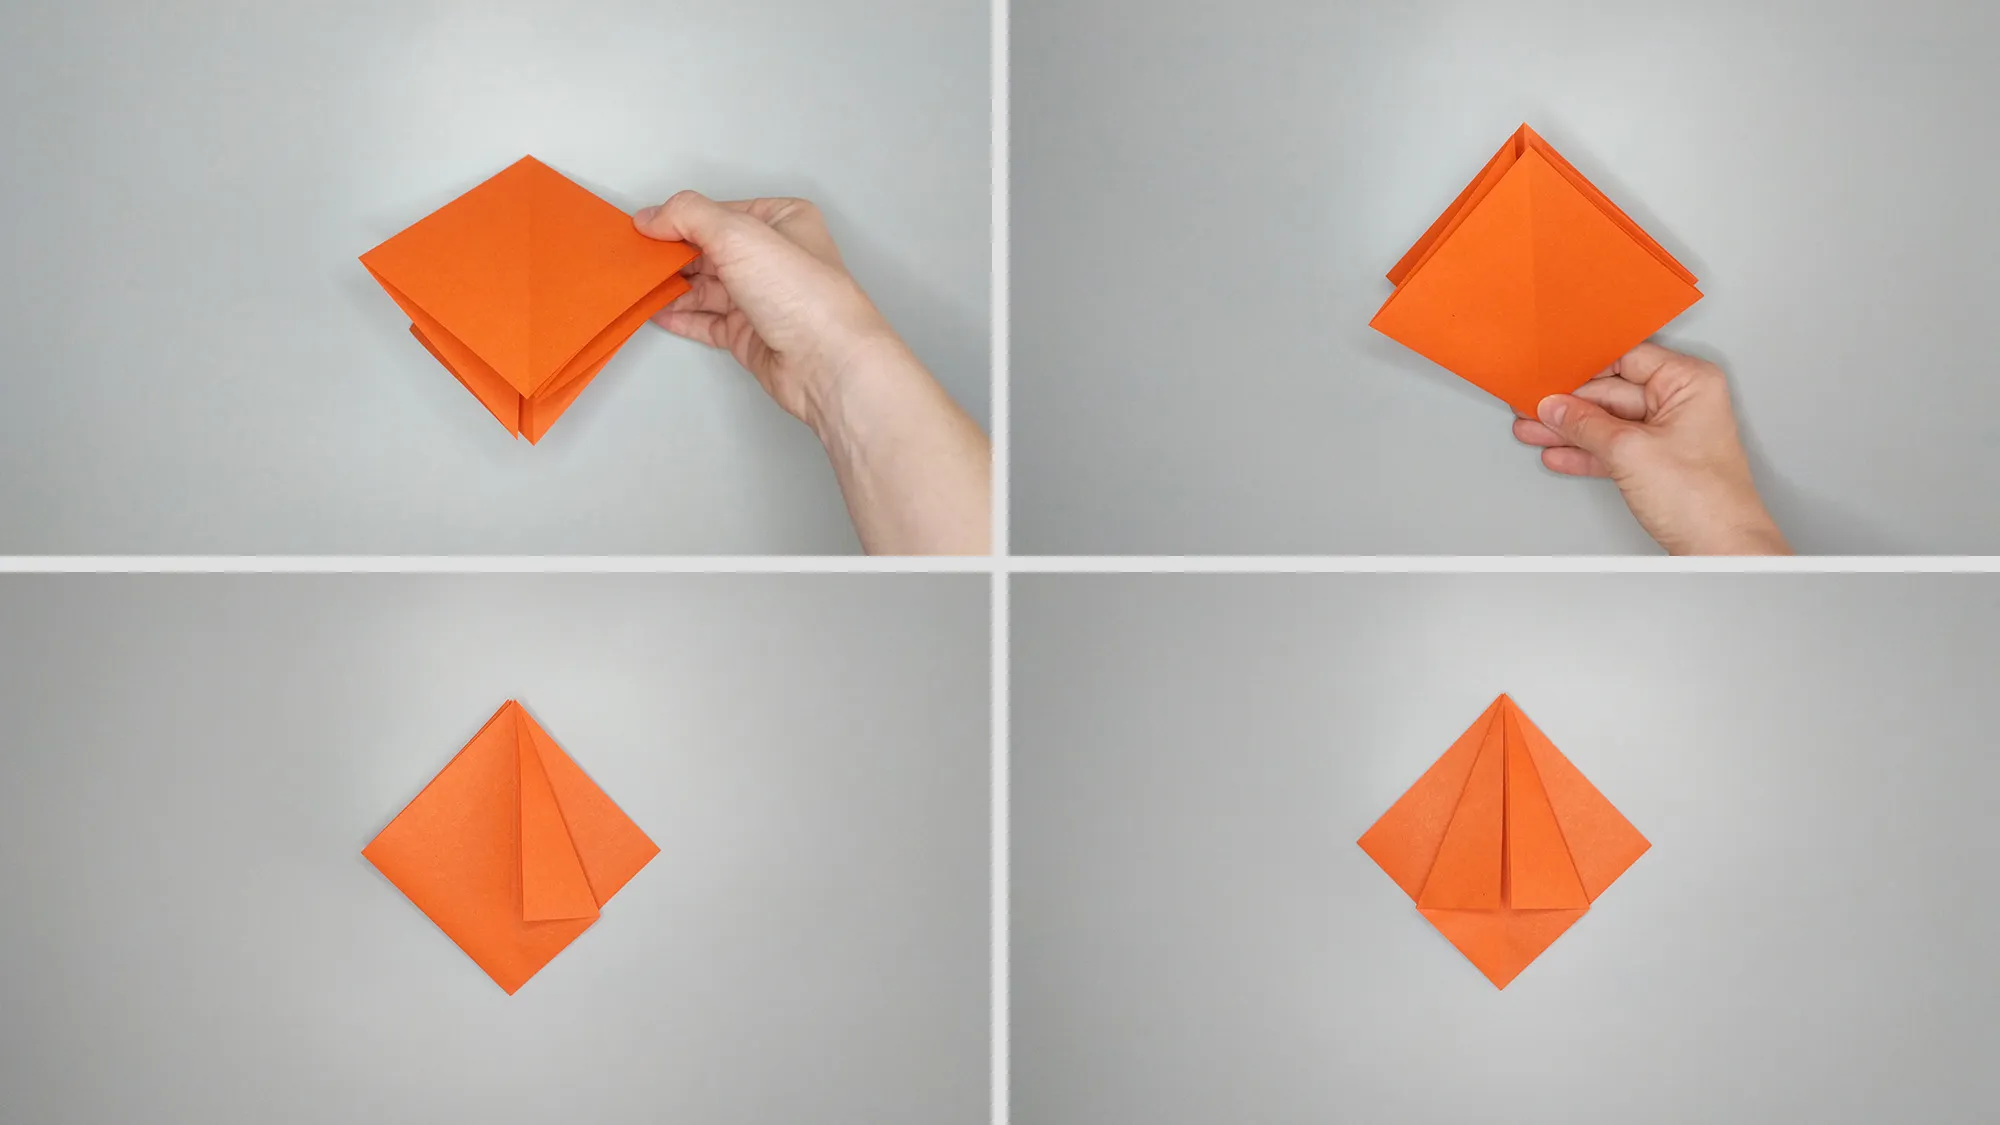
Step 4: Turn the figure with the points up and the corner down. Fold the top two edges towards the center. Do everything as shown in the illustration.
Make a paper bird - Origami instructions for a parrot. Step 5
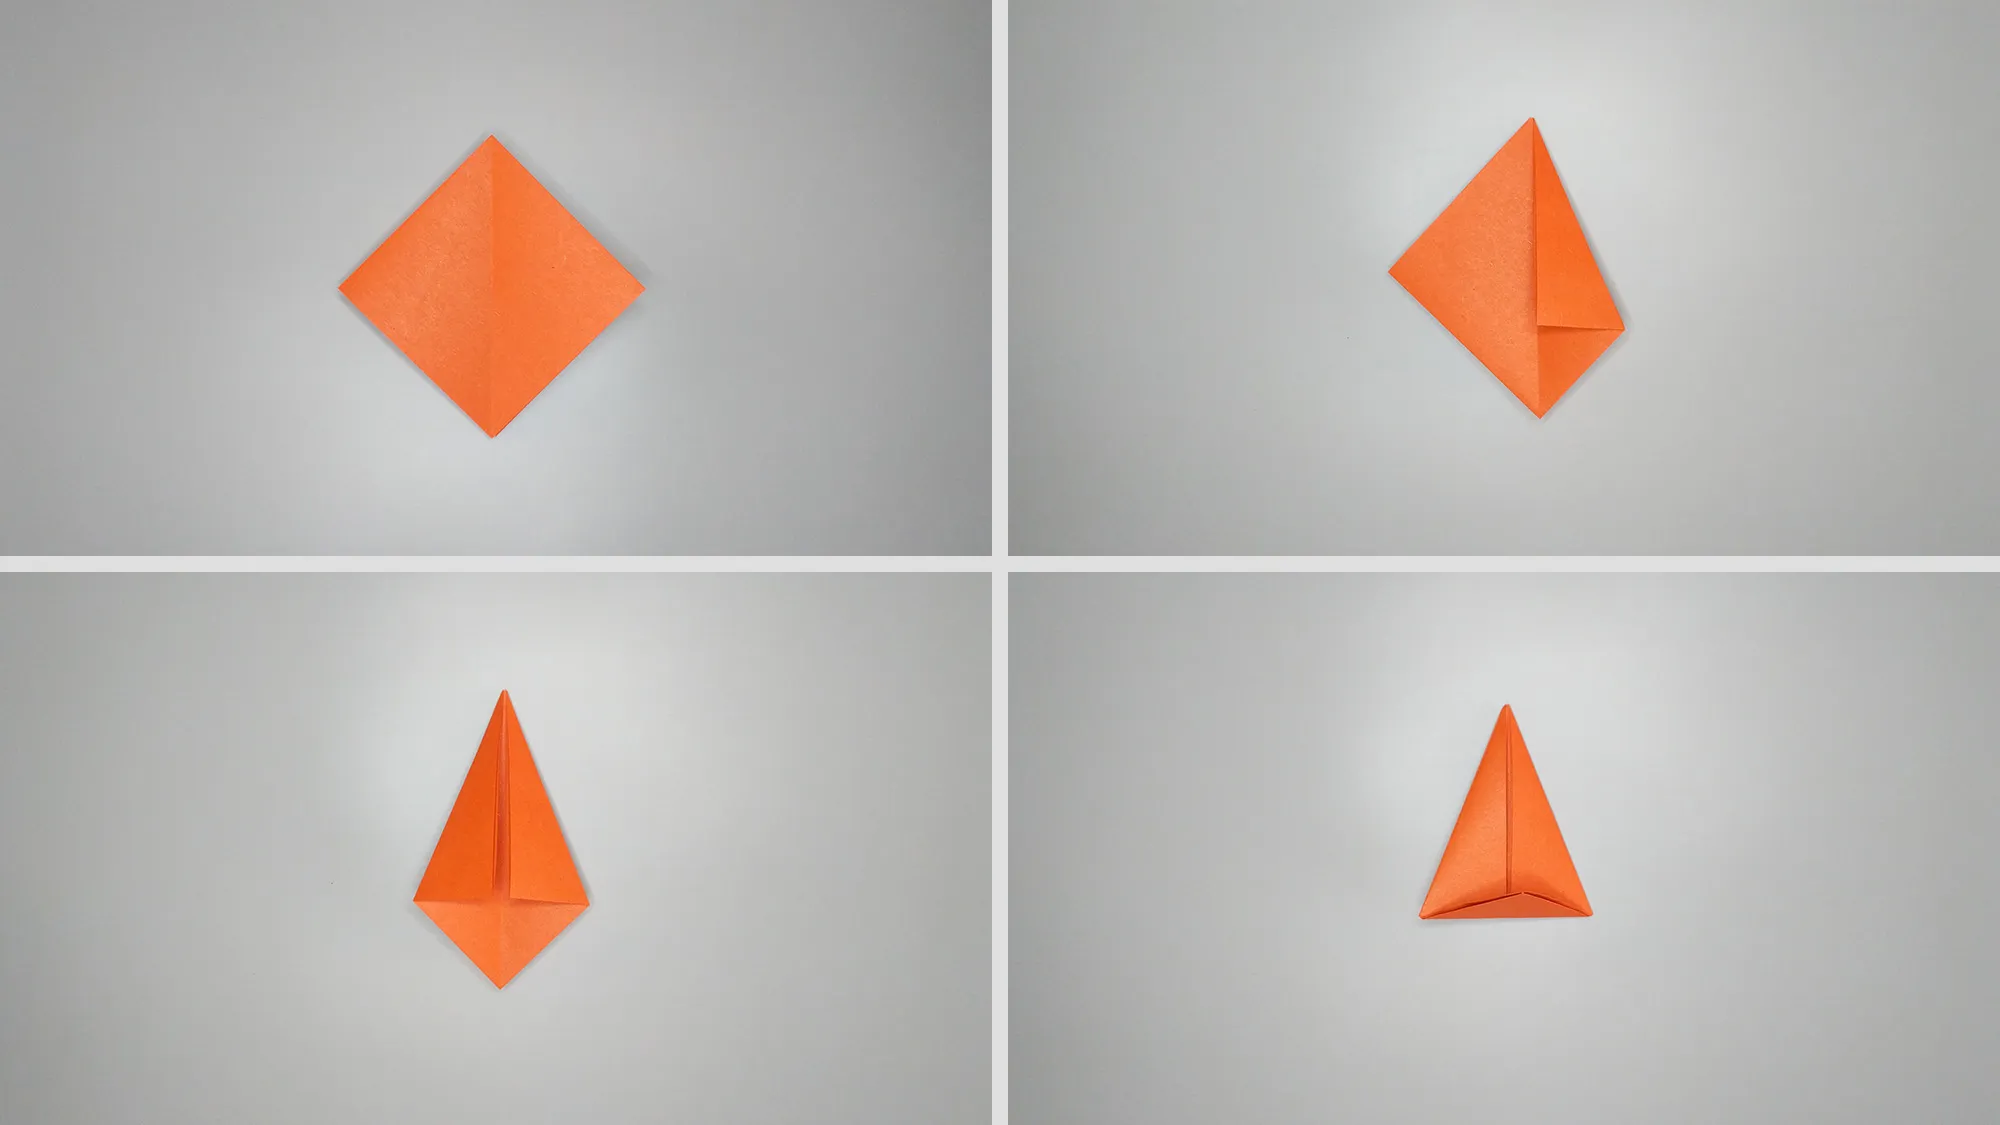
Step 5: Turn around and repeat the process on the other side. Make a fold further down to make further folding easier.
Make a paper bird - Origami instructions for a parrot. Step 6
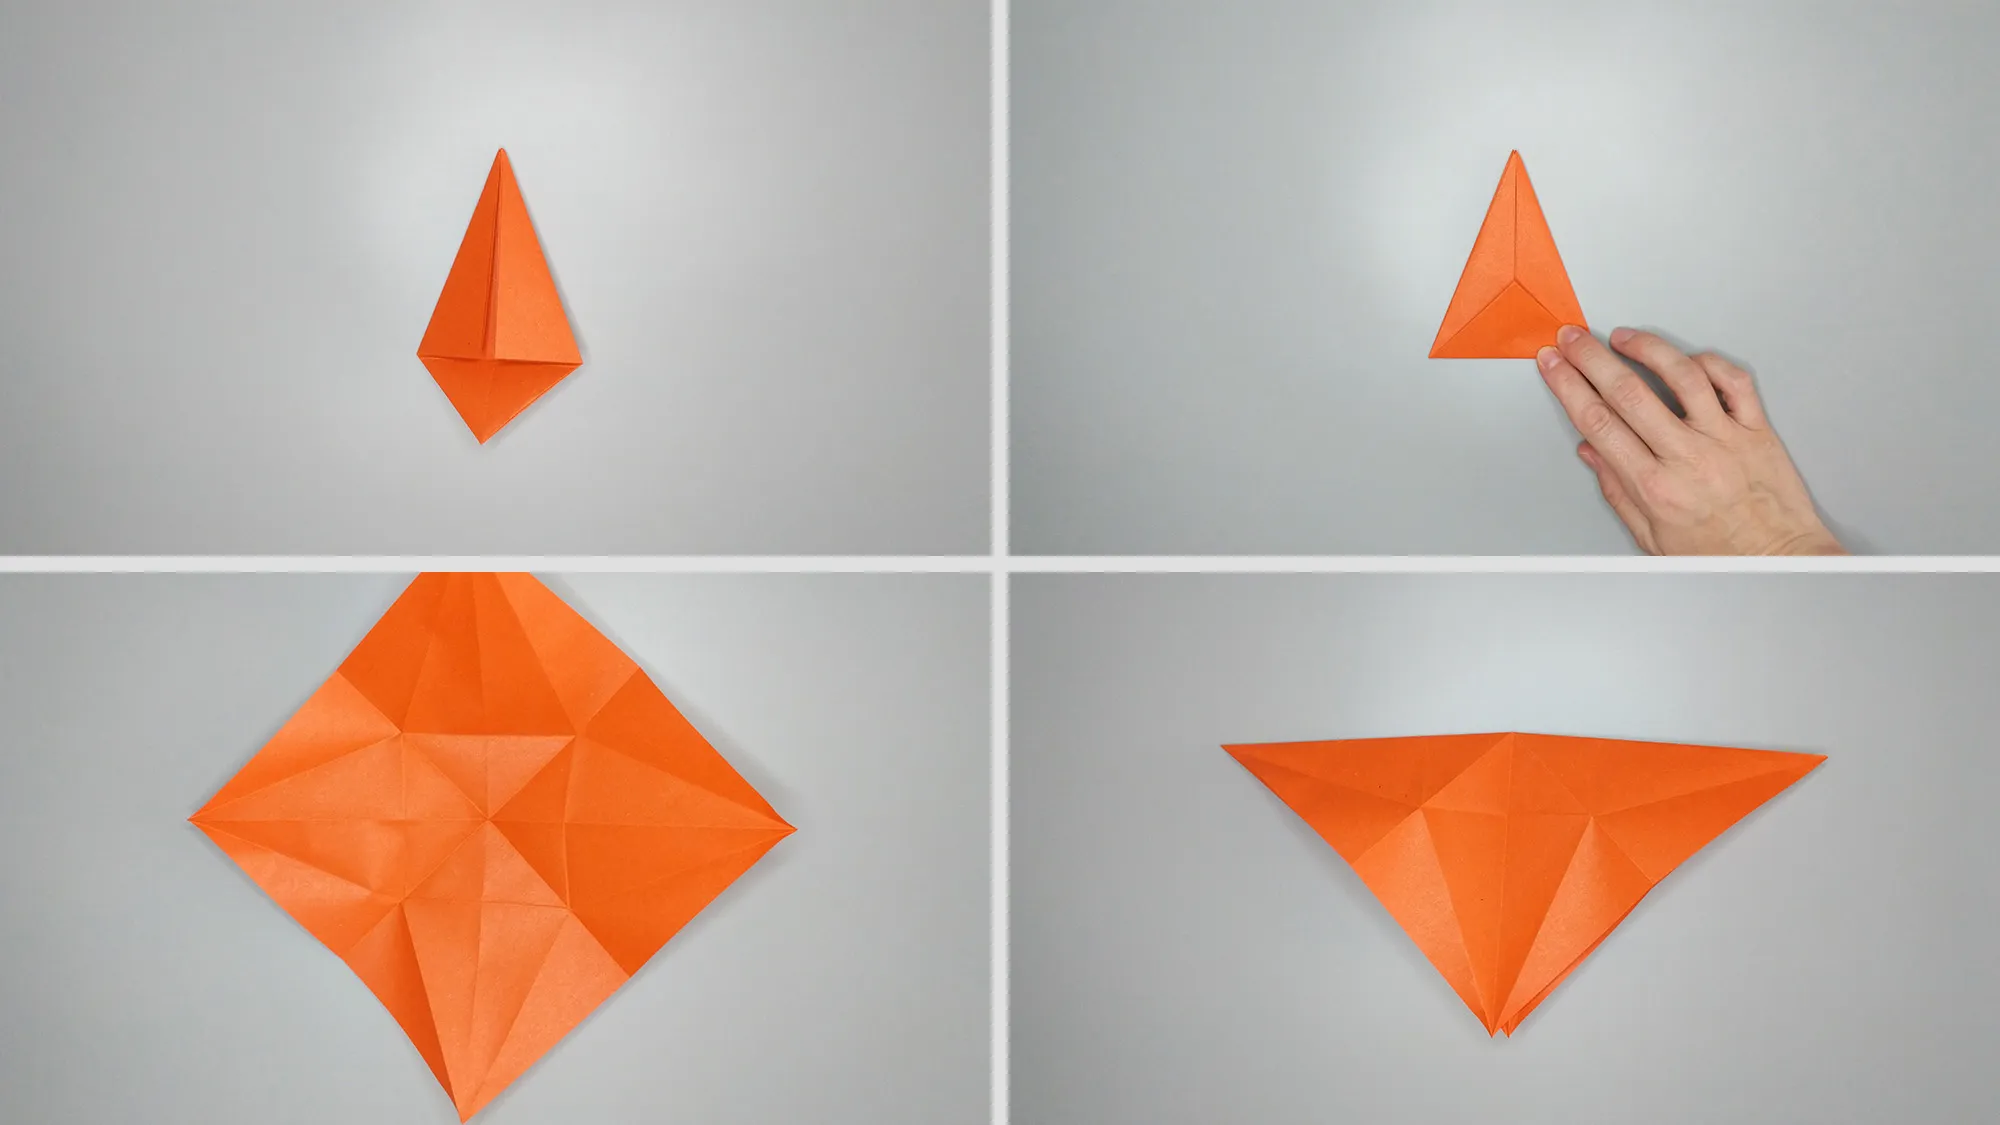
Step 6: Unfold the work. Everything up to now was preparation, now we have enough fold lines for folding. We start by folding the sheet diagonally.
Make a paper bird - Origami instructions for a parrot. Step 7
Step 7: Make a cut in the middle to the first vertical fold line. Then fold the sheet into a diamond shape by bending the edges inwards.
Making a bird out of paper - Origami instructions for a parrot. Step 8
Step 8: Leave the cut at the top and lift the top sheet upwards. Press it up using the existing fold lines. This action resembles a vertical split )))
Make a paper bird - Origami instructions for a parrot. Step 9
Step 9: Repeat the process on the other side and lower the leg down.
Make a paper bird - Origami guide for a parrot. Step 10
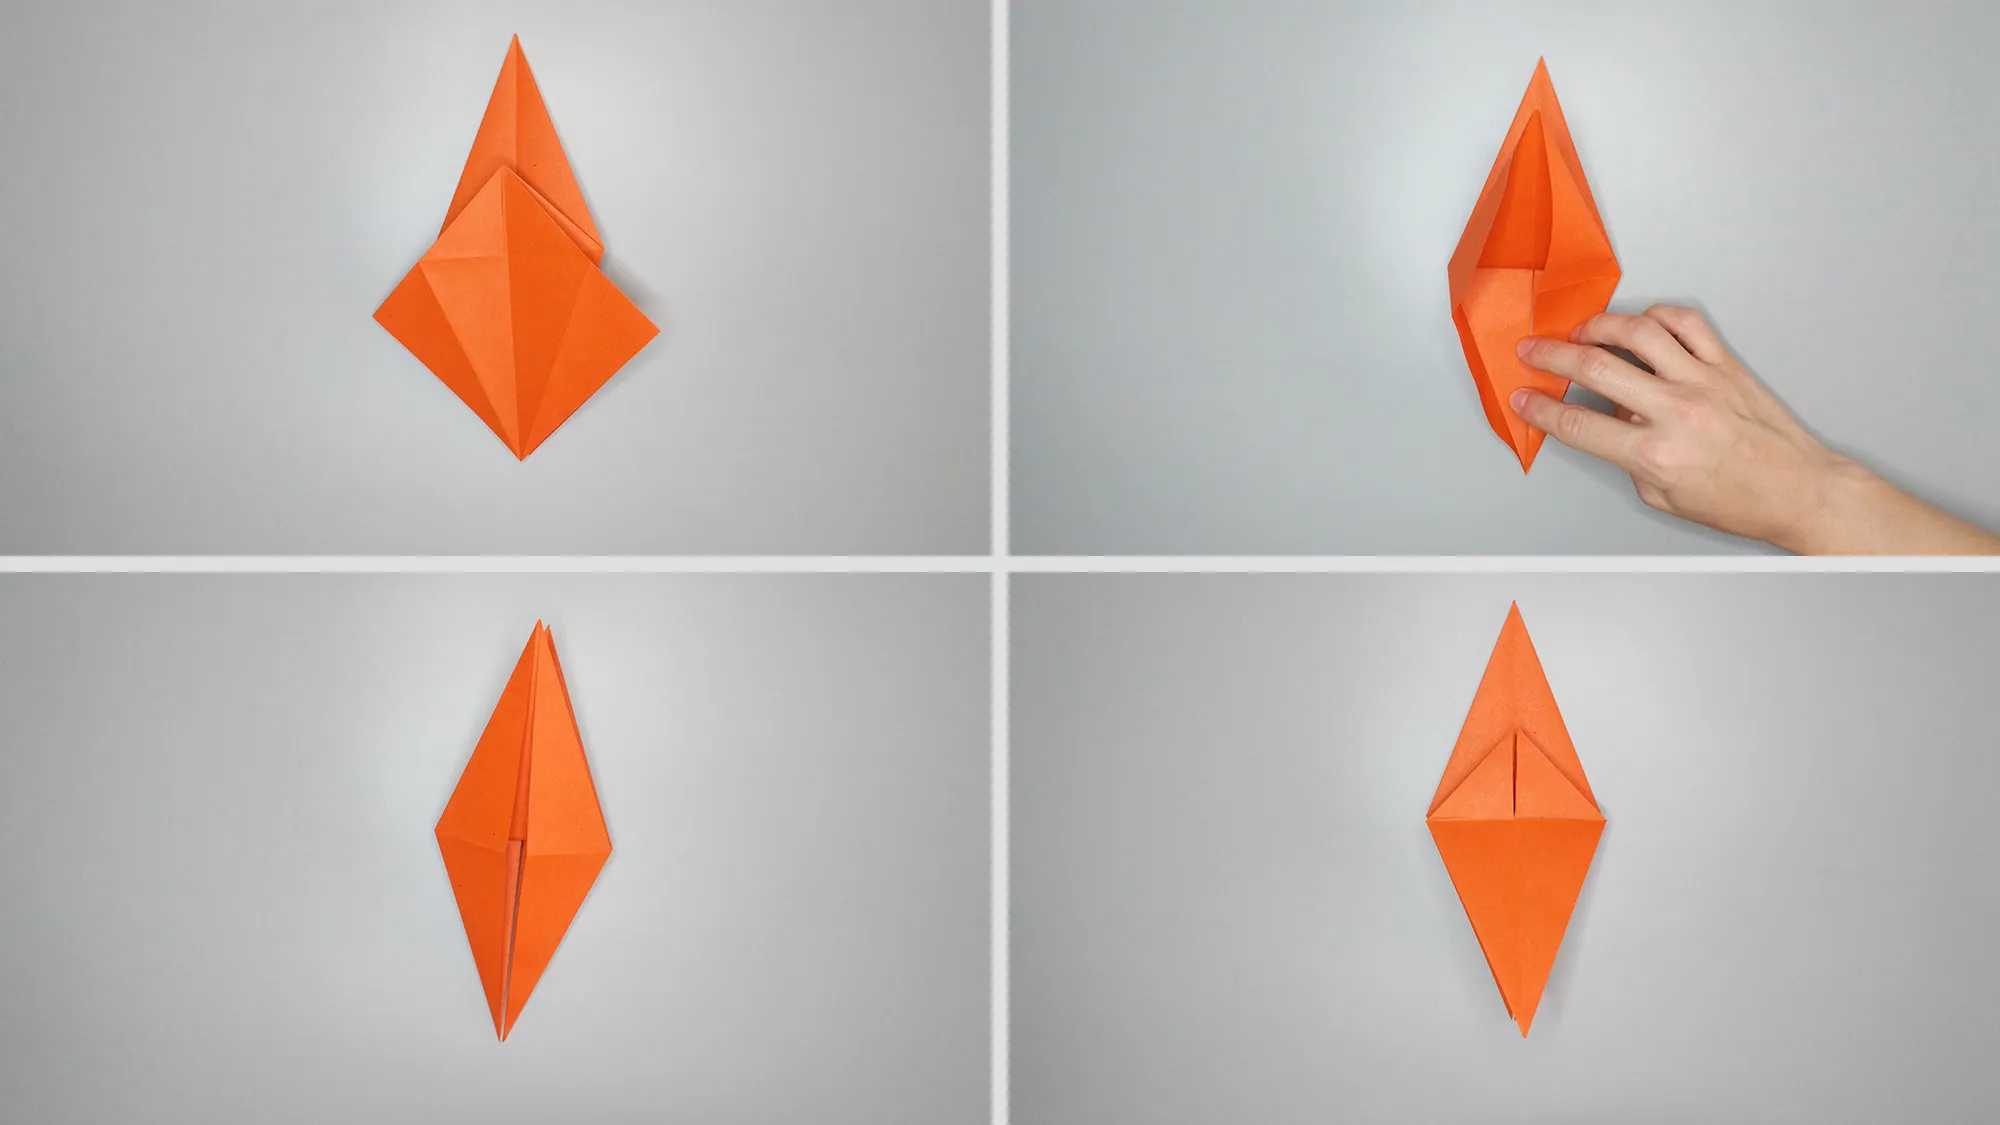
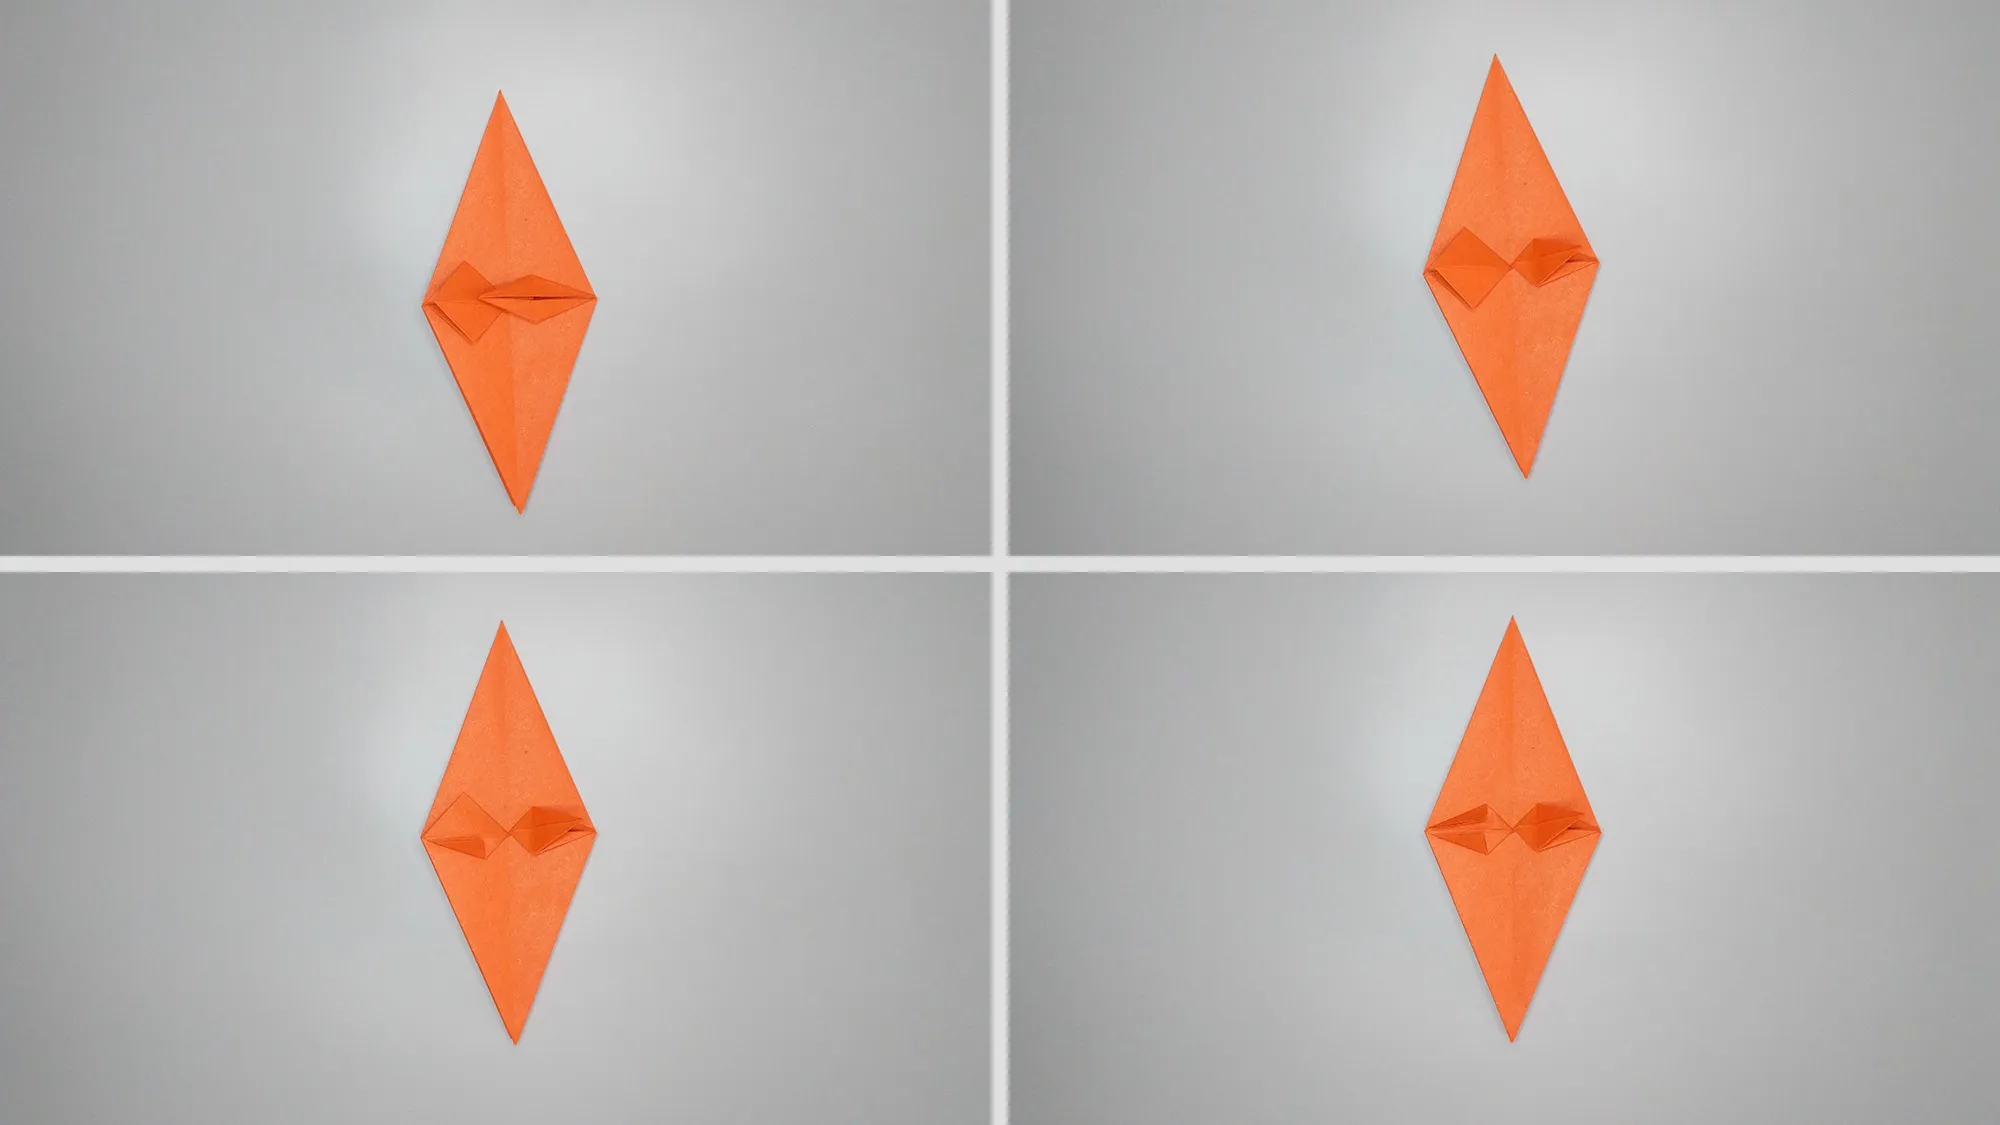
Step 10: Find the spot where the cut was made. Bend these little ears to the left and right, then smooth and fold them to the left and right.
Make a paper bird - Origami instructions for a parrot. Step 11
Step 11: Make 2 more folds on both sides.
Make a paper bird - Origami instructions for a parrot. Step 12
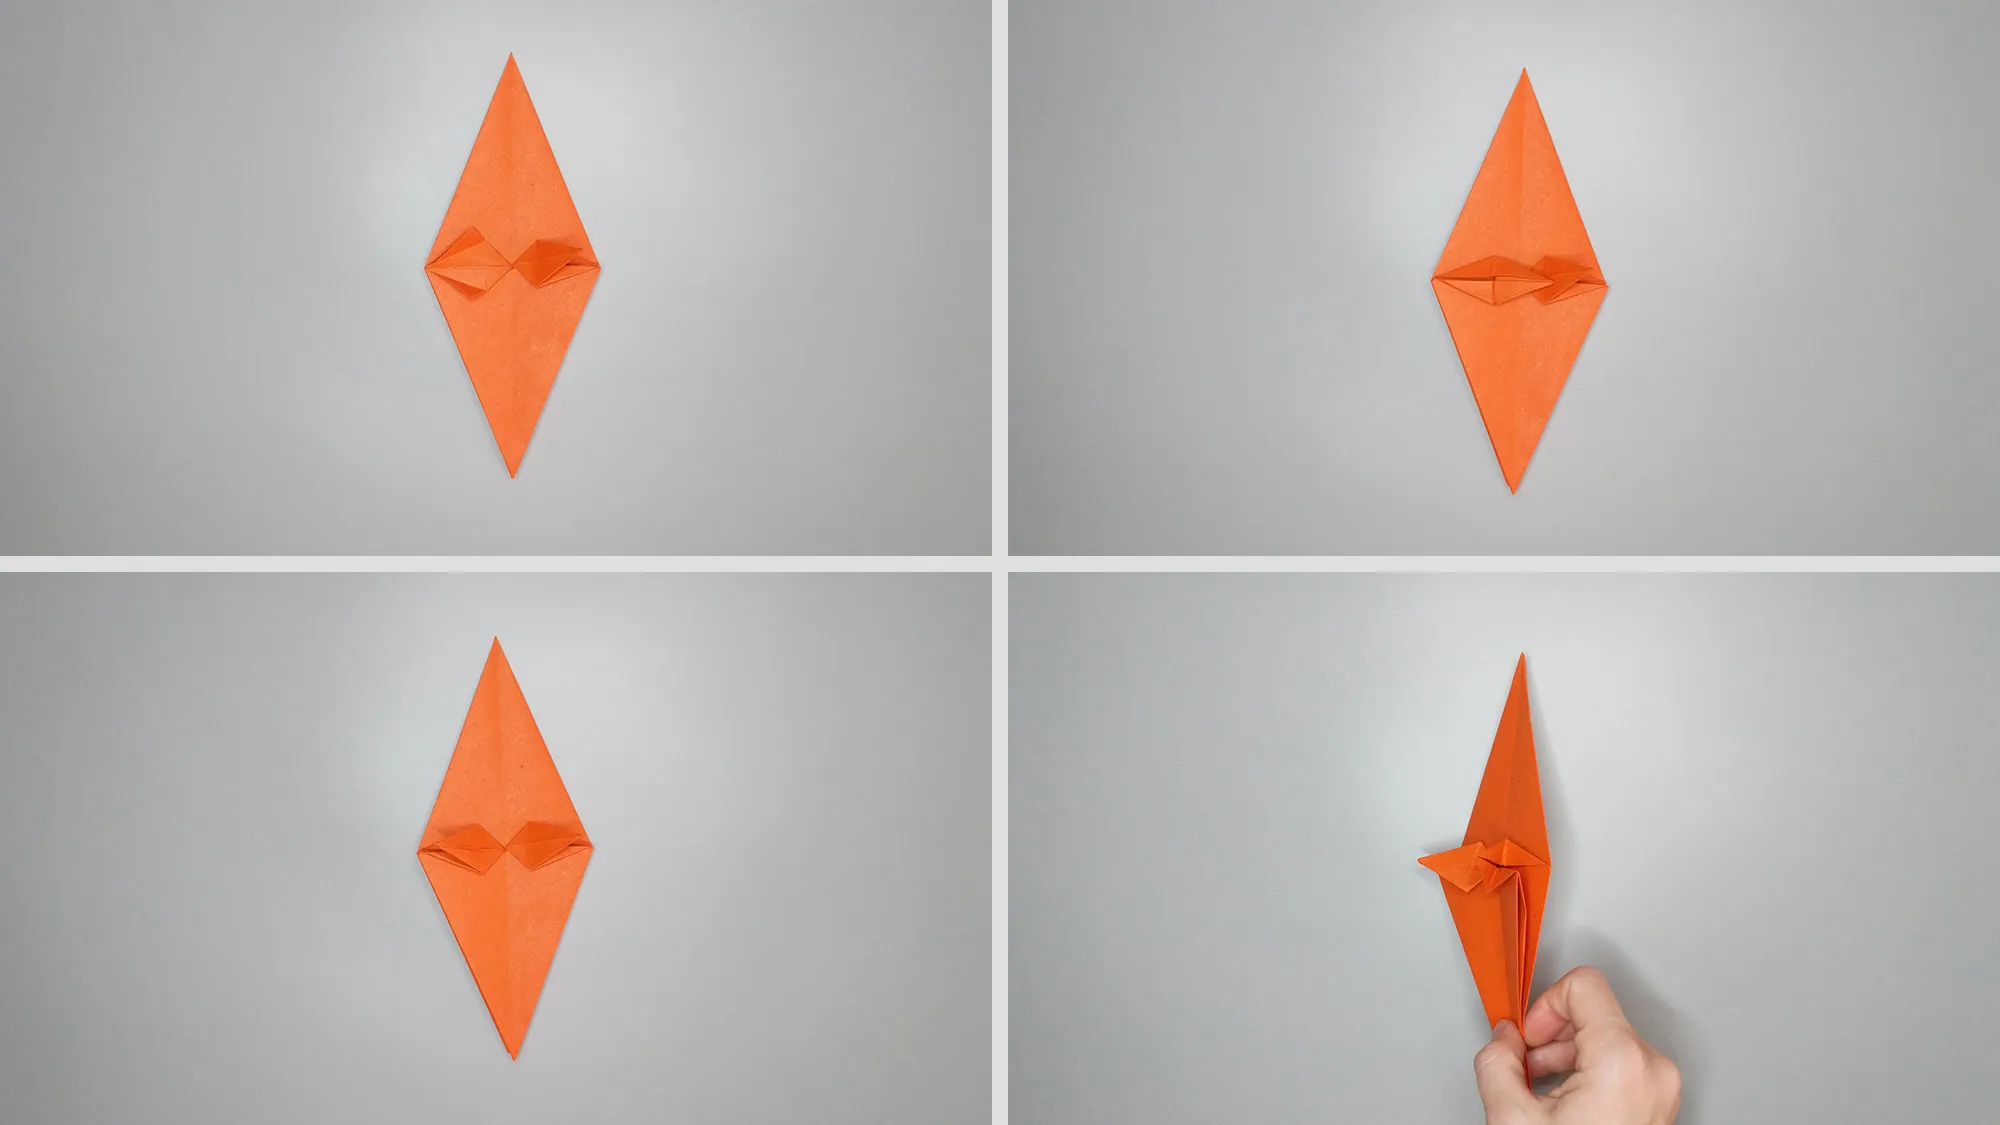
Step 12: And fold these little ears just like we did before. I mentioned as an example that after folding it looks like a longitudinal straddle with two legs.
Make a paper bird - Origami instructions for a parrot. Step 13
Step 13: Look at the photo and check if yours looks the same.
Make_paper_bird_14.jpg
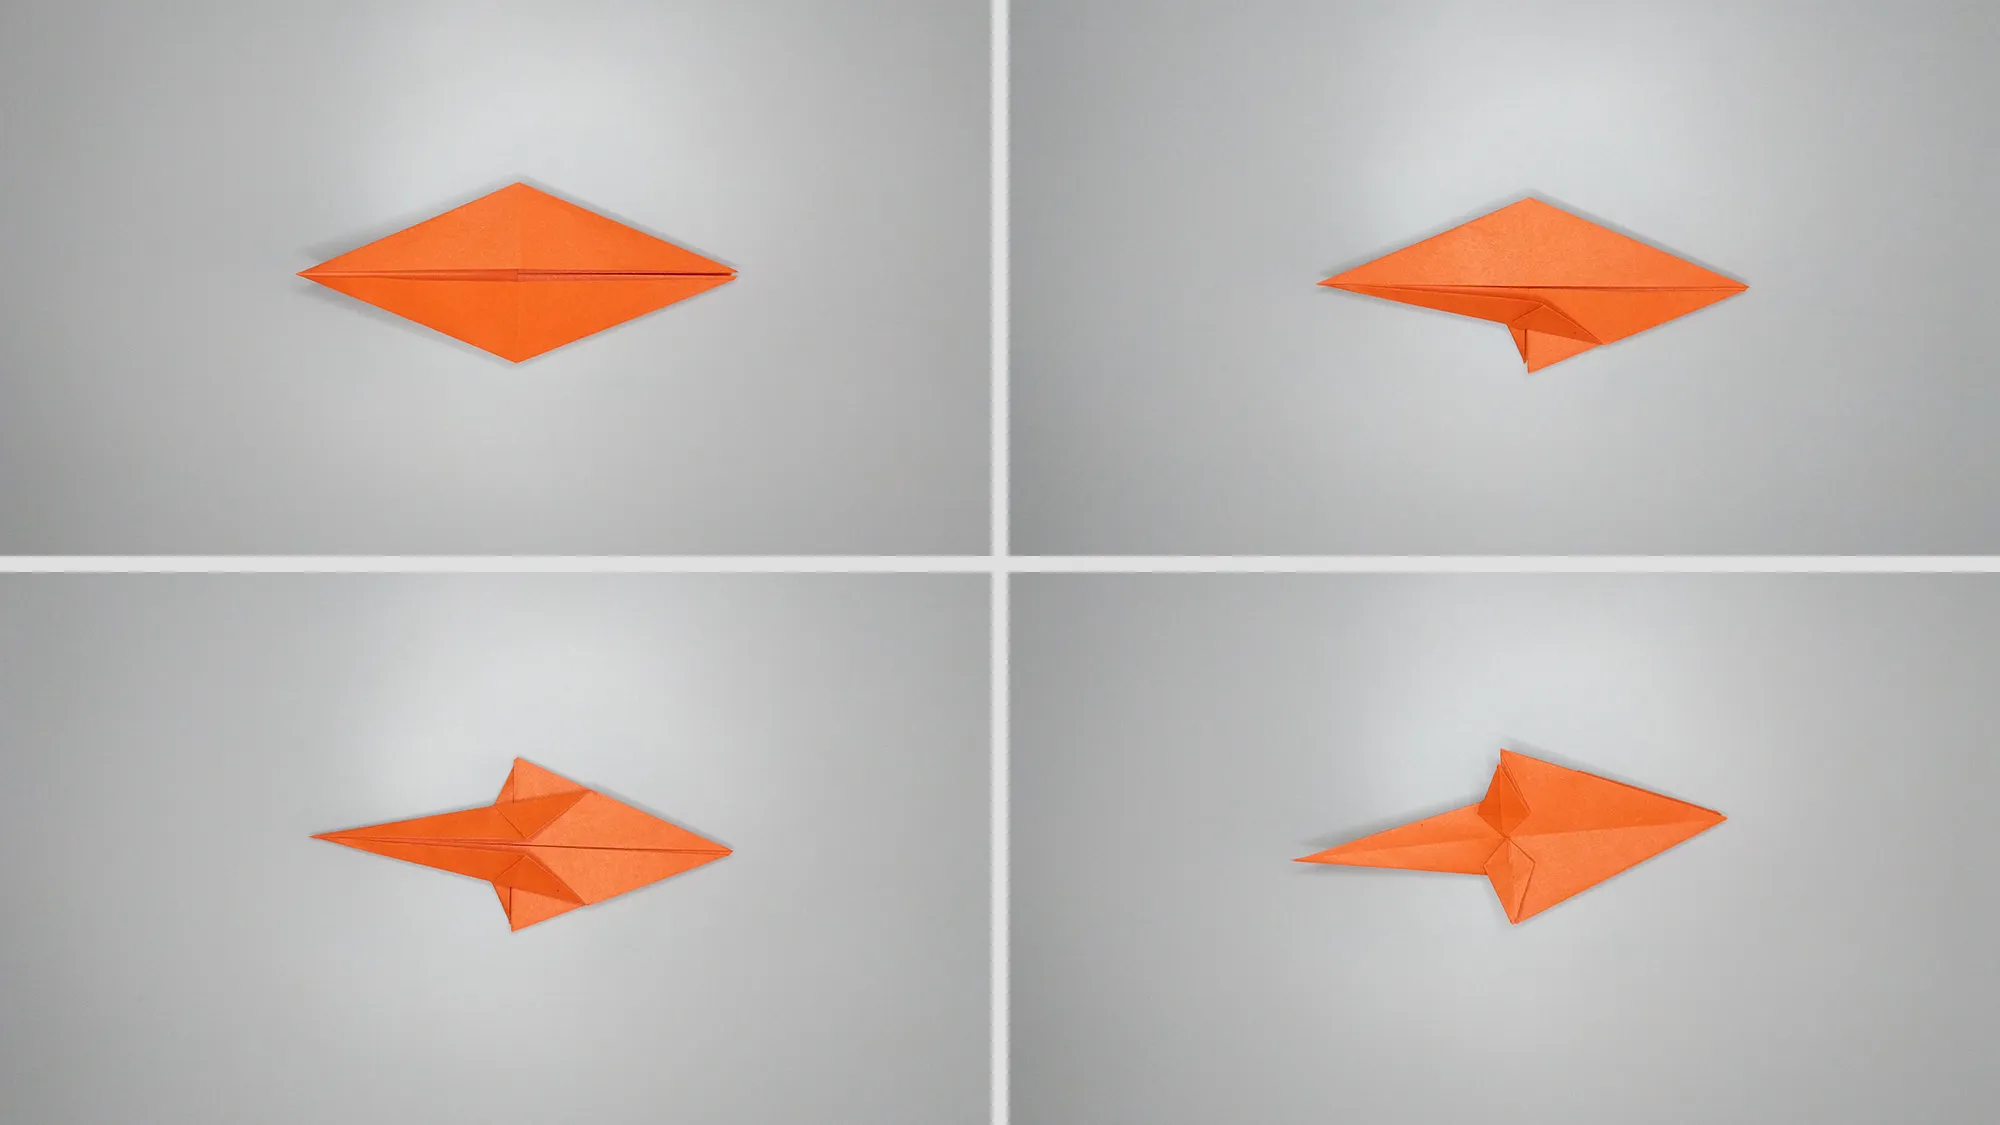
Step 14: One of our legs needs to be made thinner. Make 2 folds outwards, as shown in the photo, and then turn the work over.
Make a paper bird - Origami guide for a parrot. Step 15
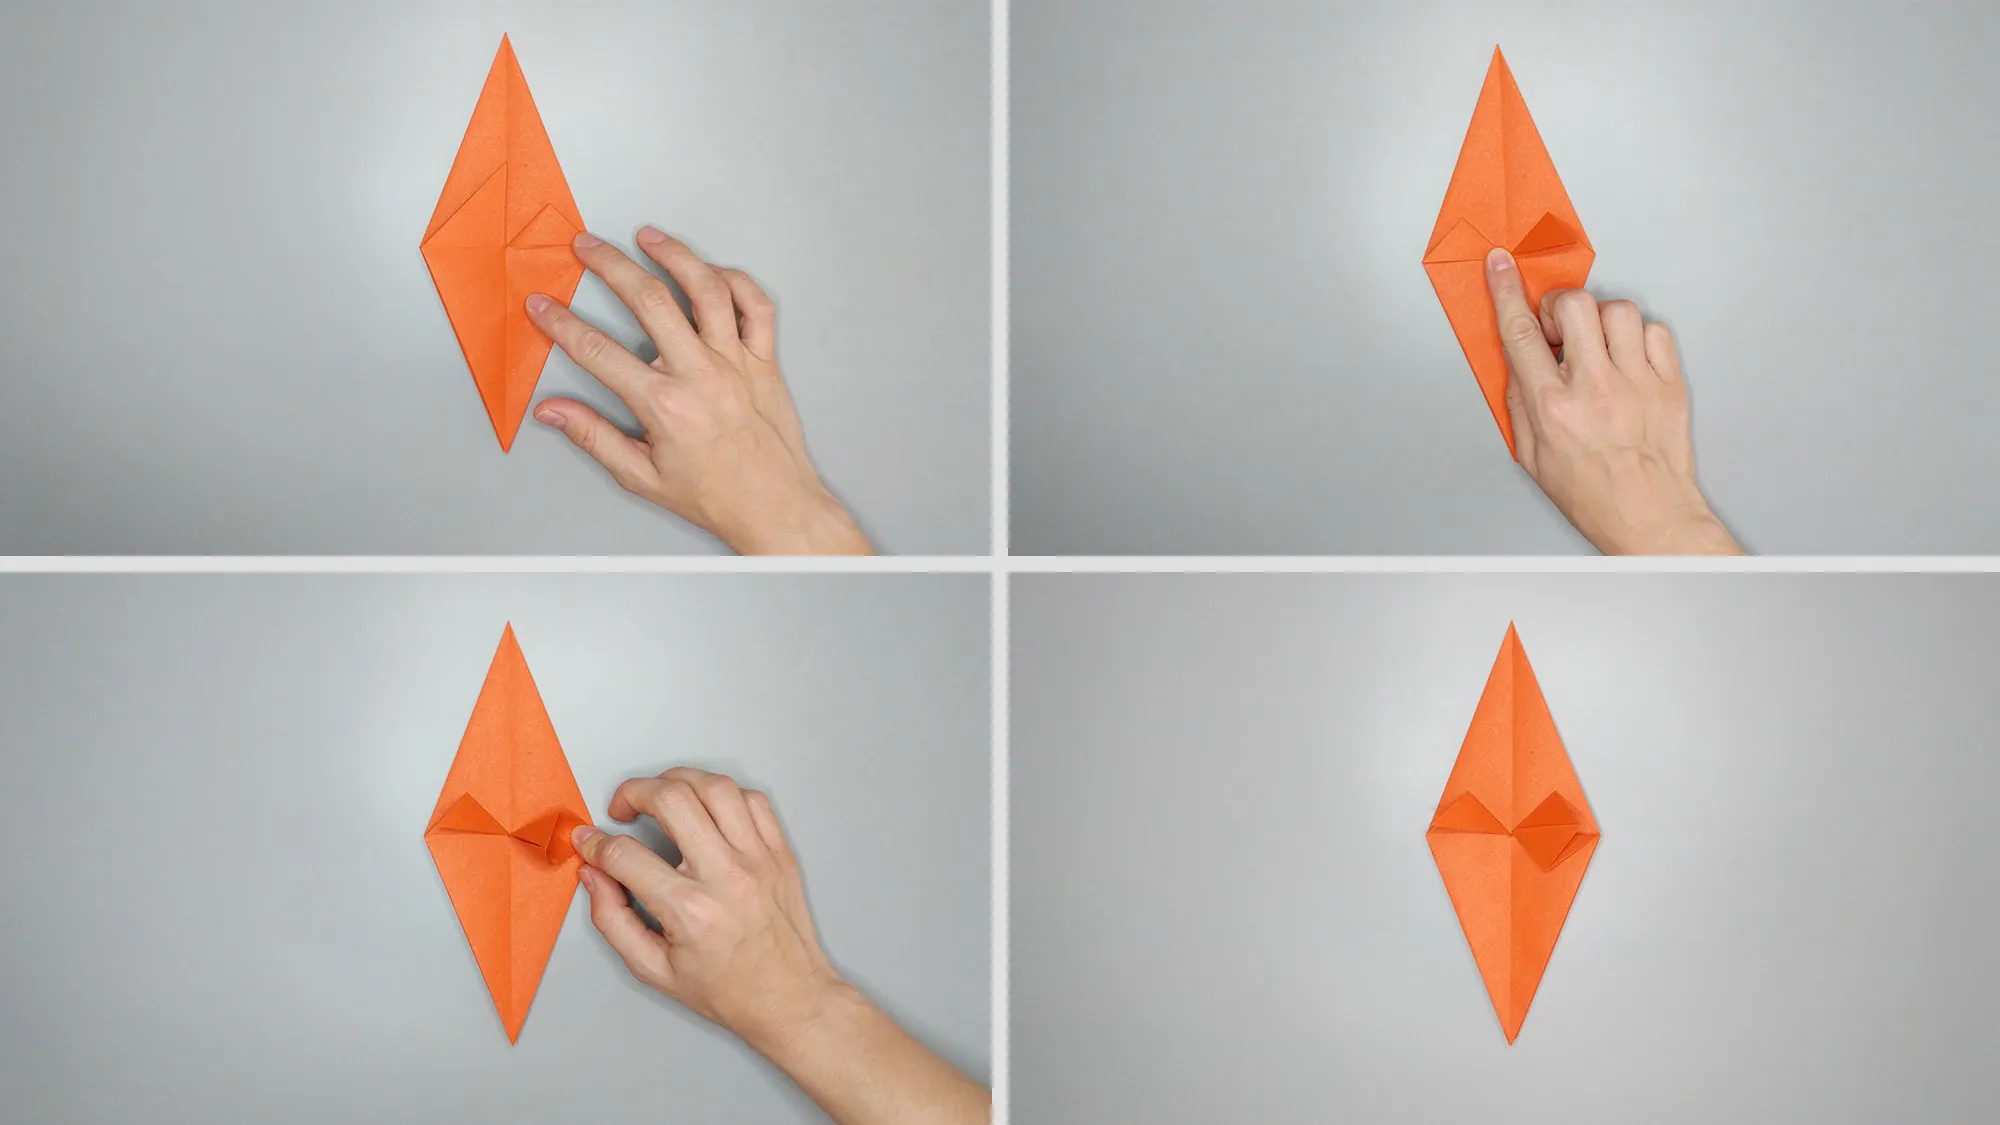
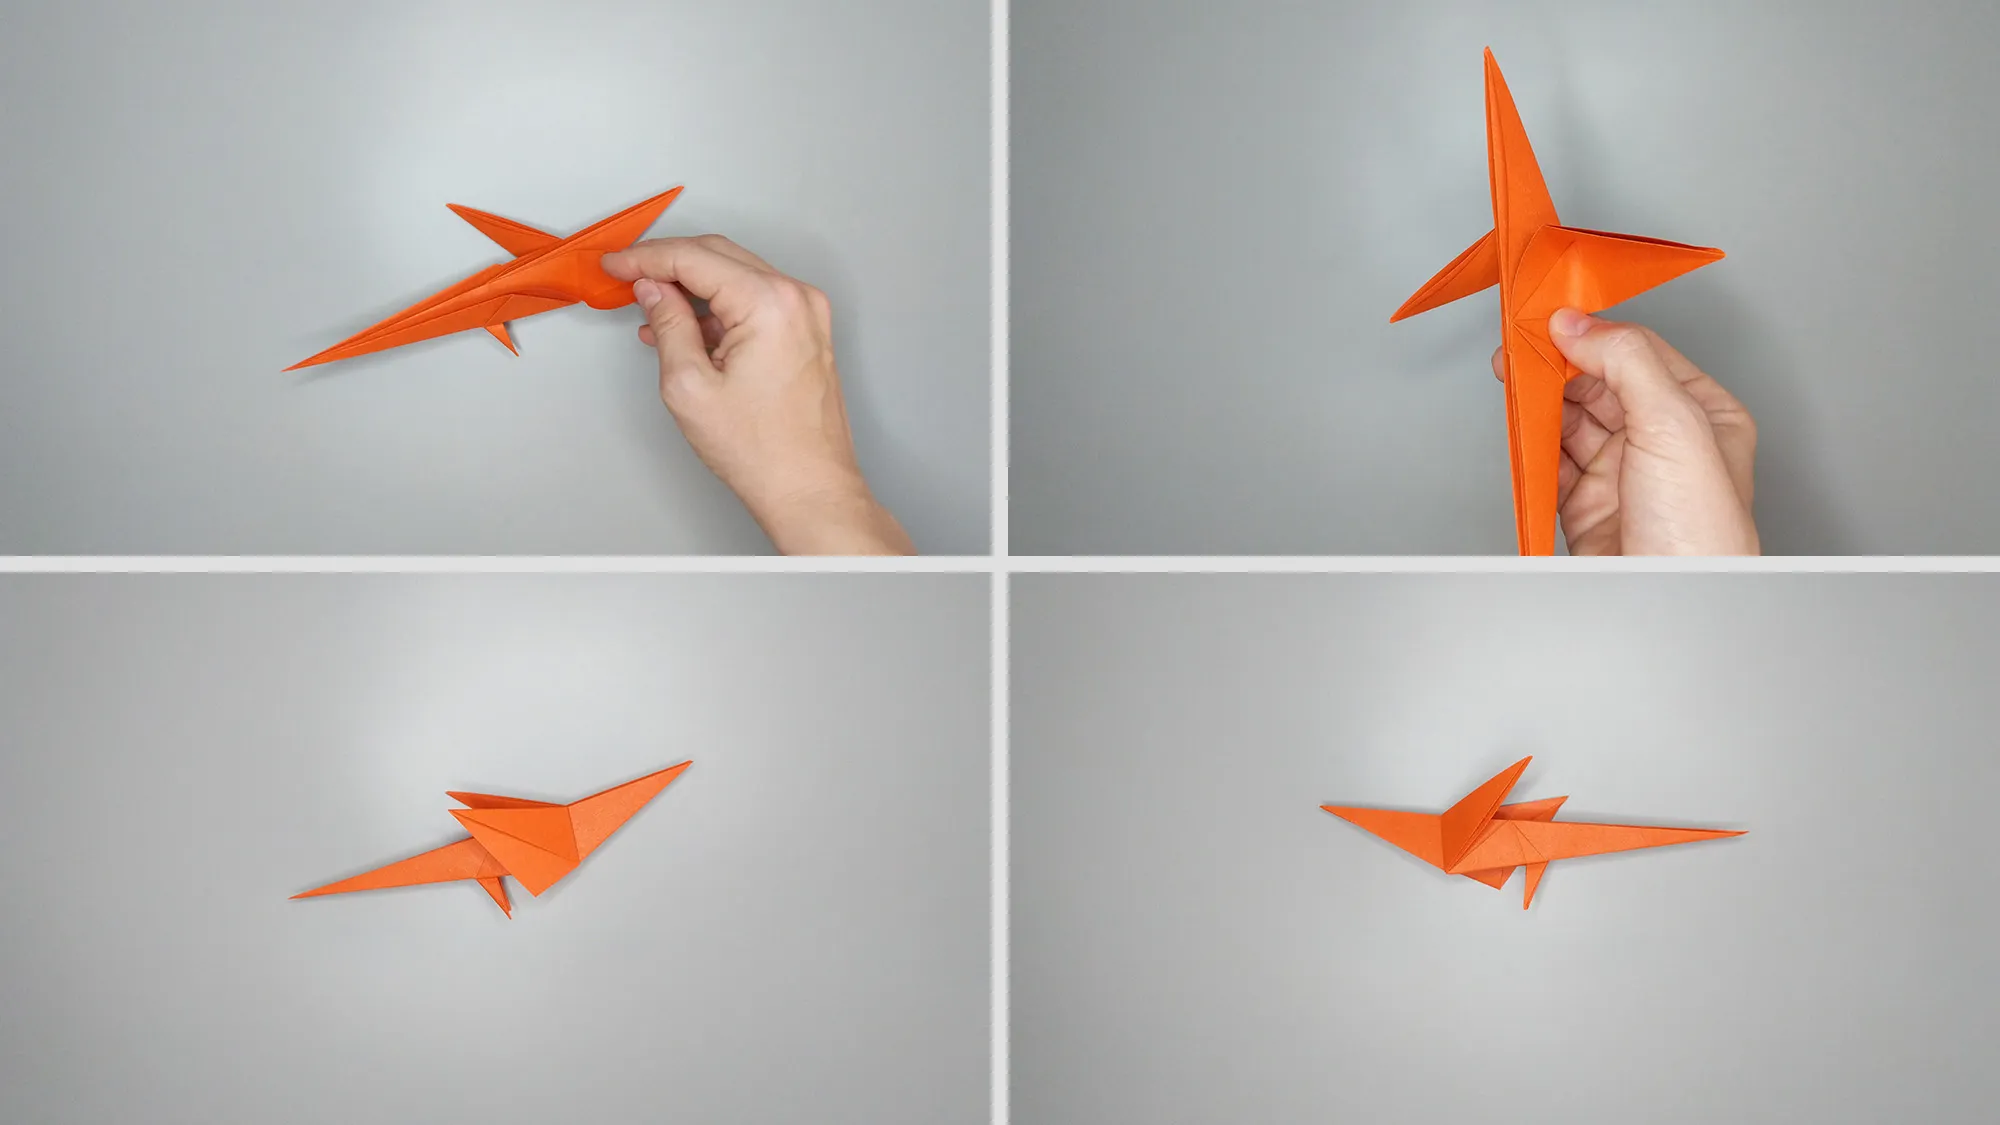
Step 15: Fold the protruding little ears inwards and fold the work again with the ears inward.
Make a paper bird - Origami instructions for a parrot. Step 16
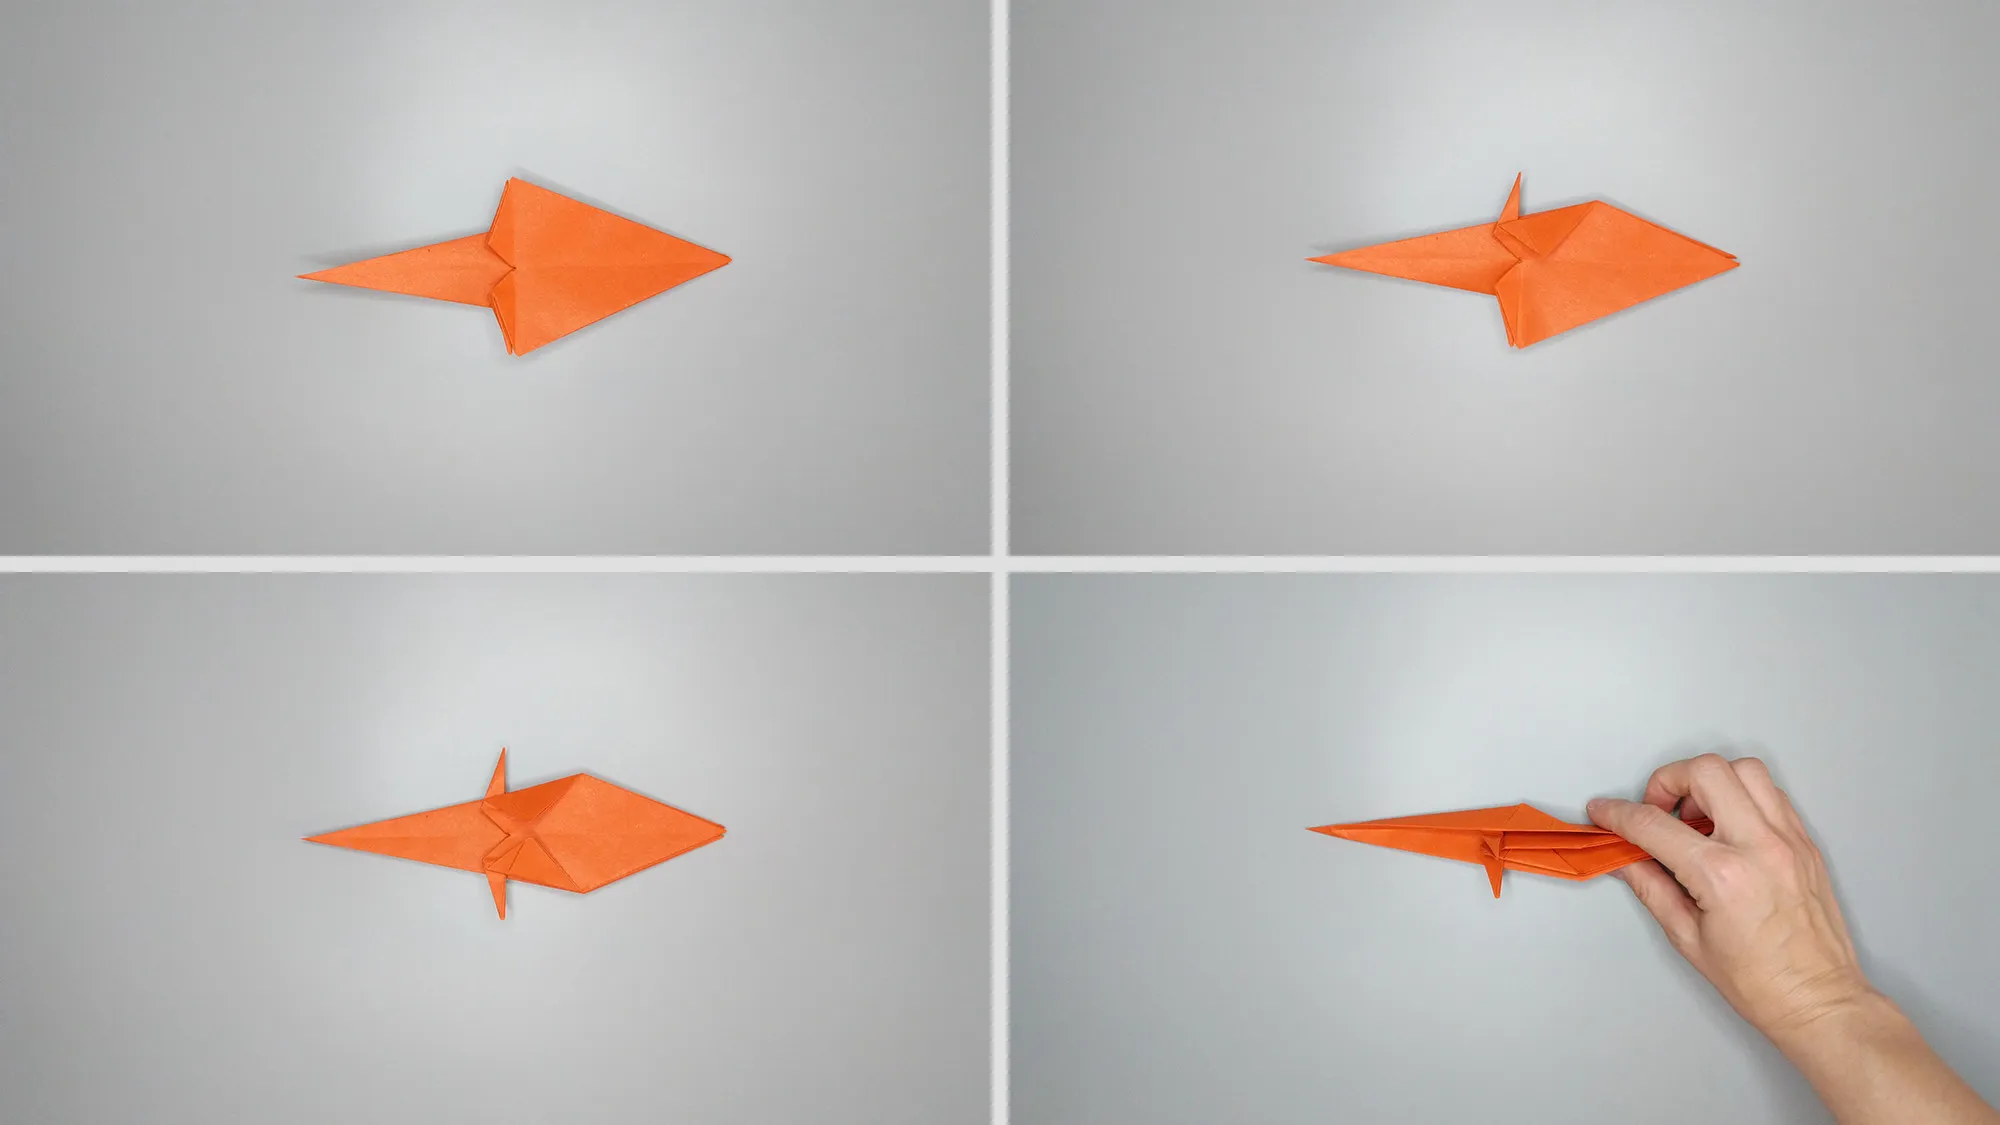
Step 16: To make the little wings correctly, we will do it in several steps. First, we need to make a bend.
Make a paper bird - Origami instructions for a parrot. Step 17
Step 17: Smooth the little wings.
Make a paper bird - Origami guide for a parrot. Step 18
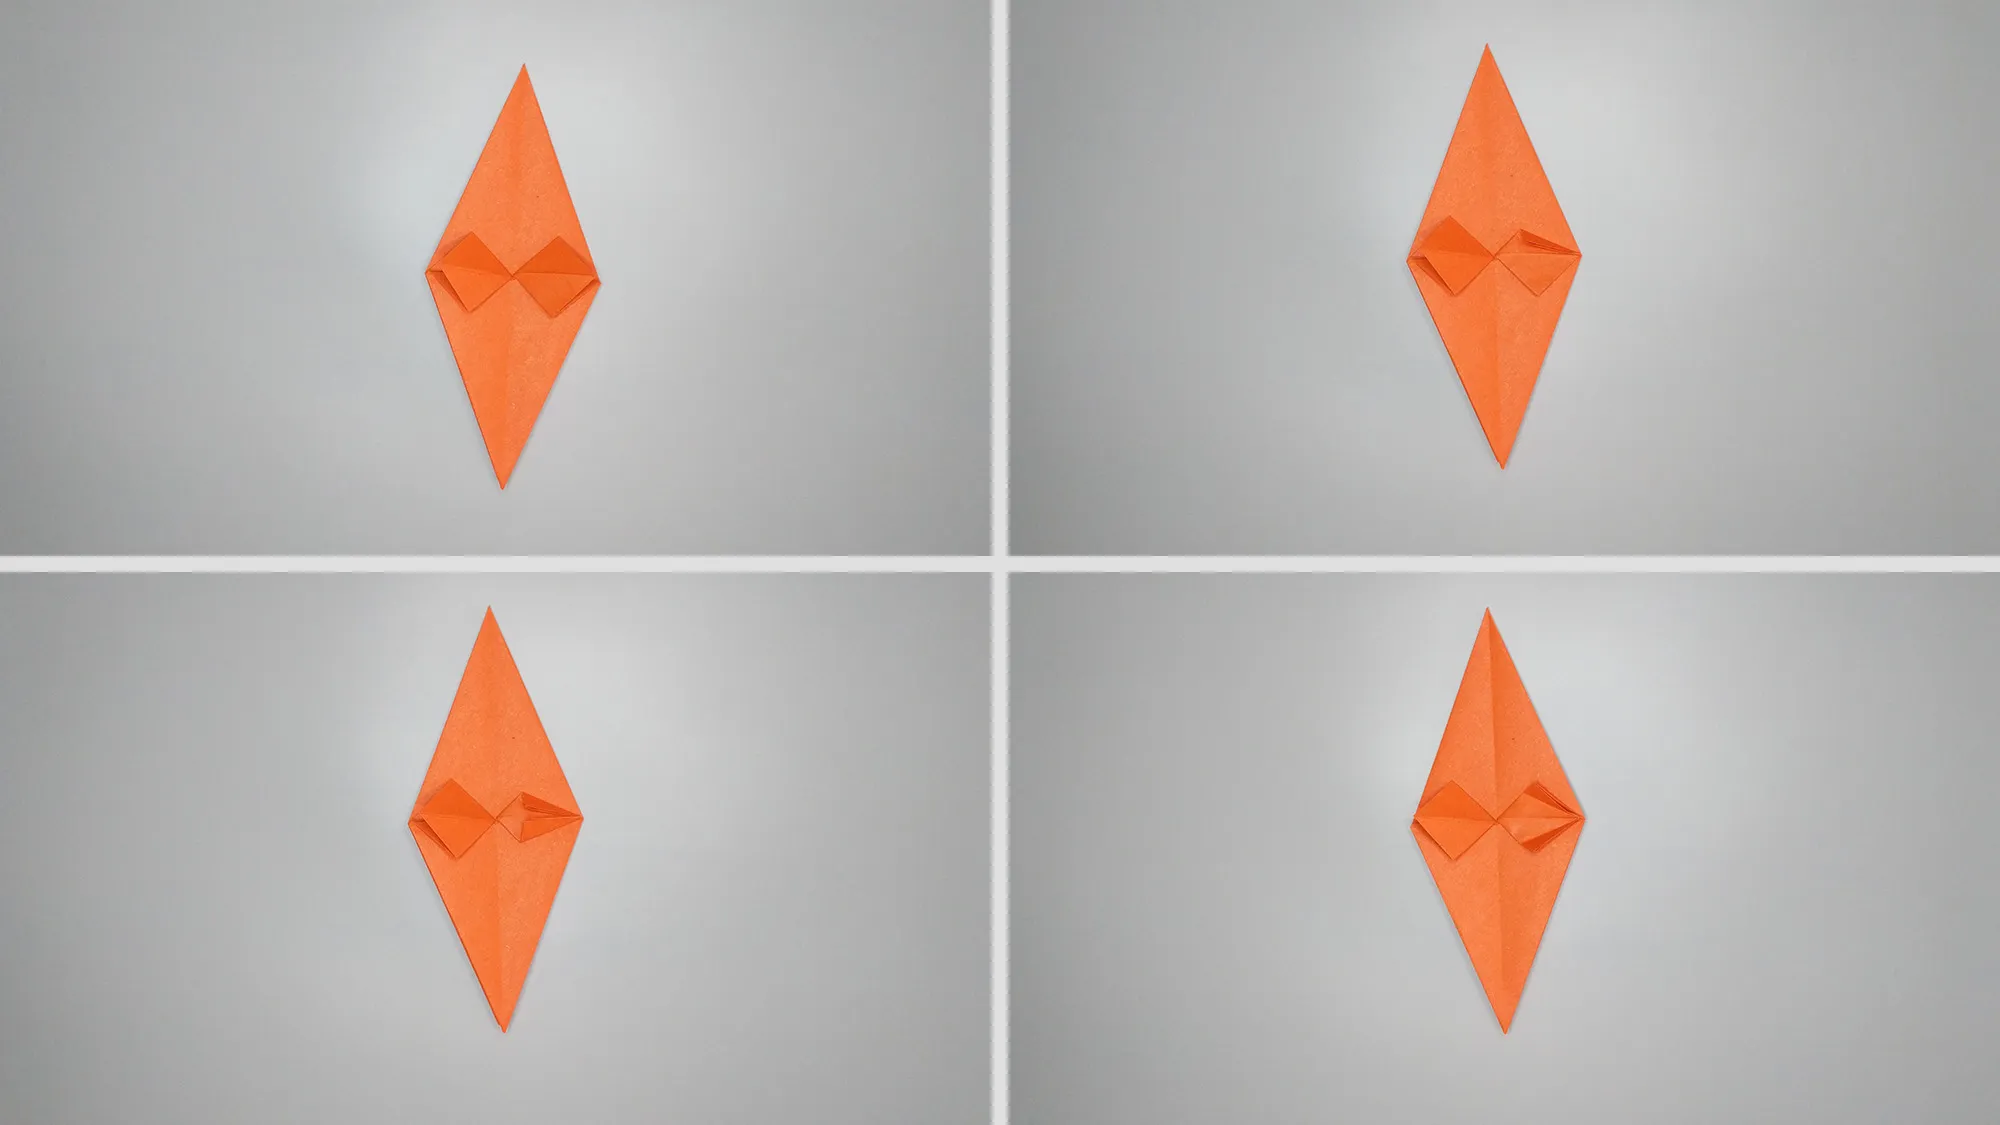
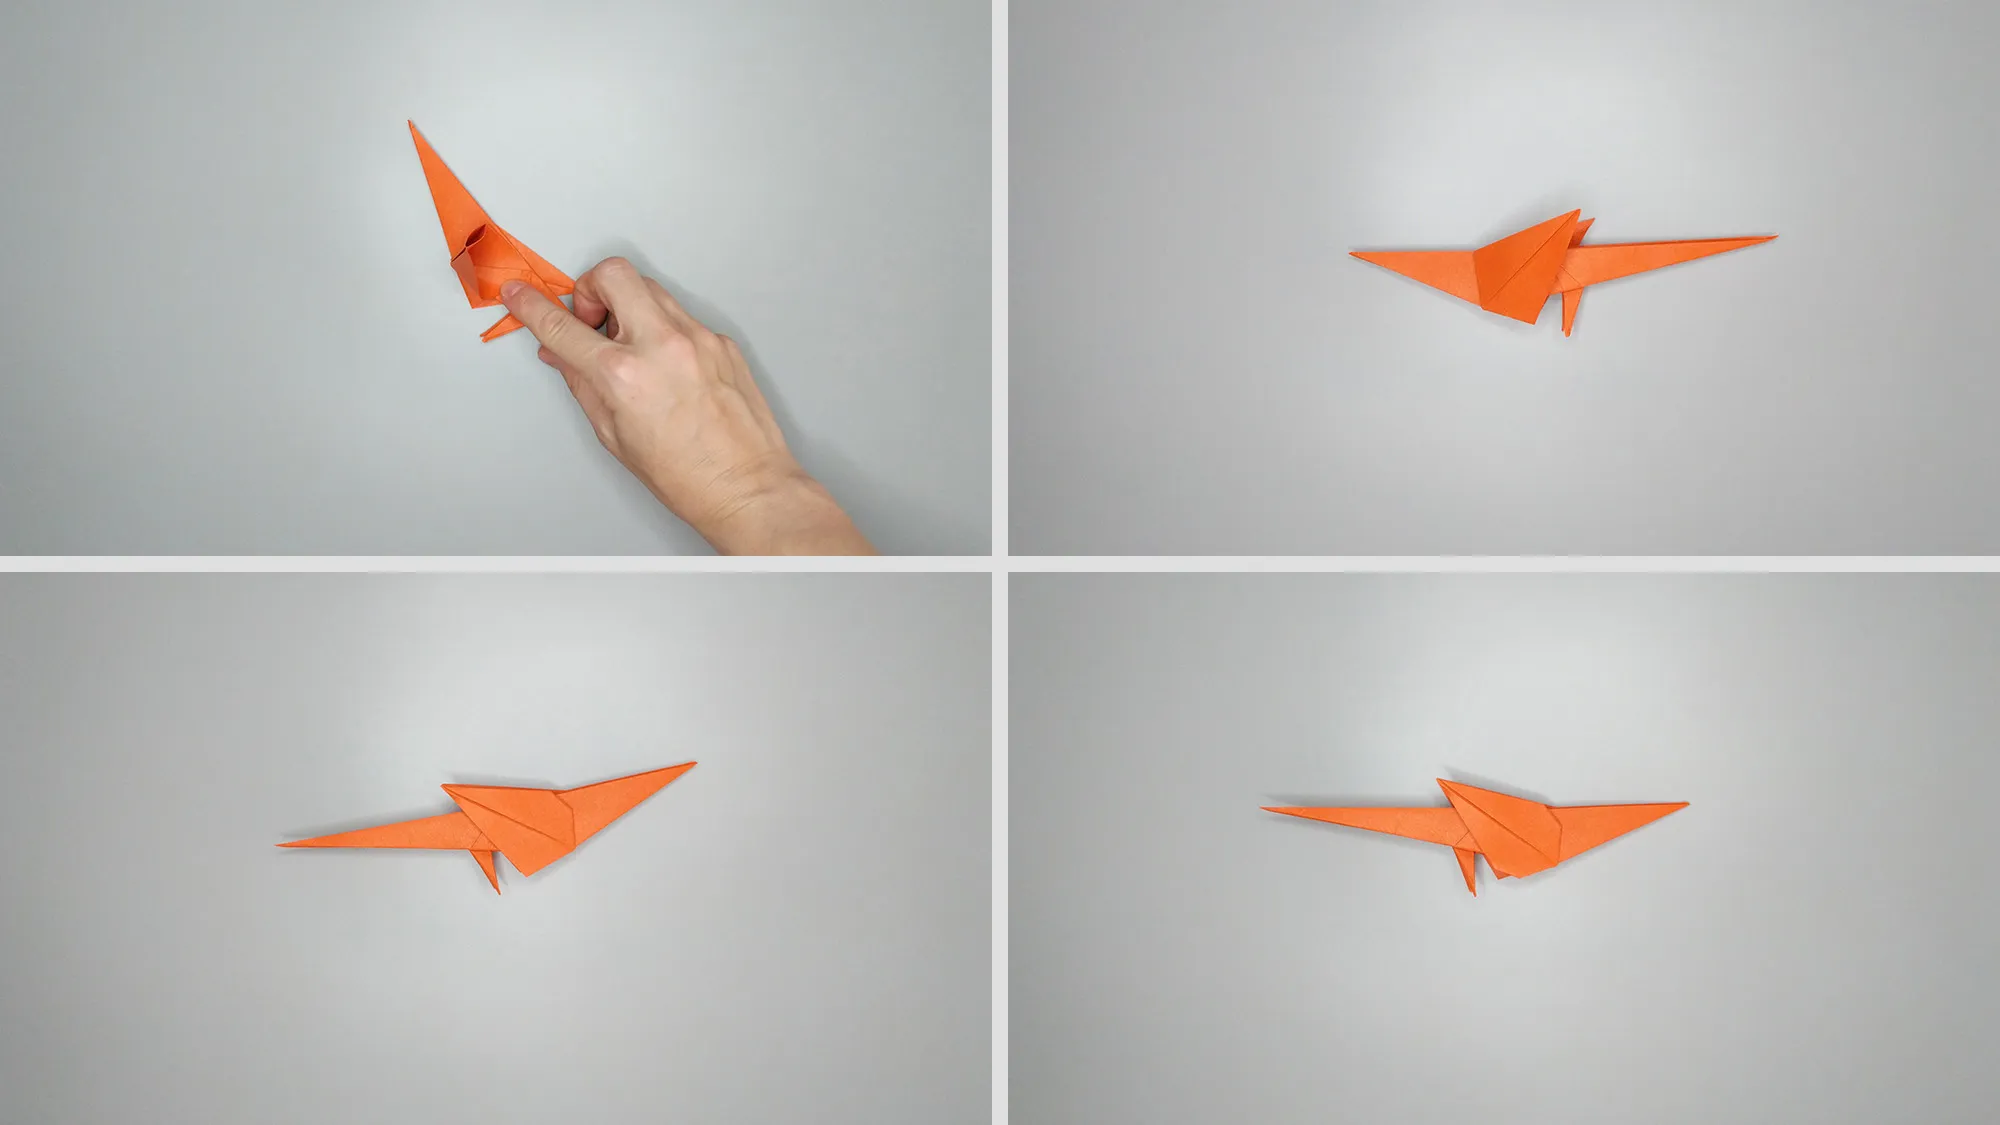
Step 18: And now fold them nicely by pressing them.
Make a paper bird - Origami tutorial for a parrot. Step 19
Step 19: Almost done. Carefully fold the head.
Make a paper bird - Origami instructions for a parrot. Step 20
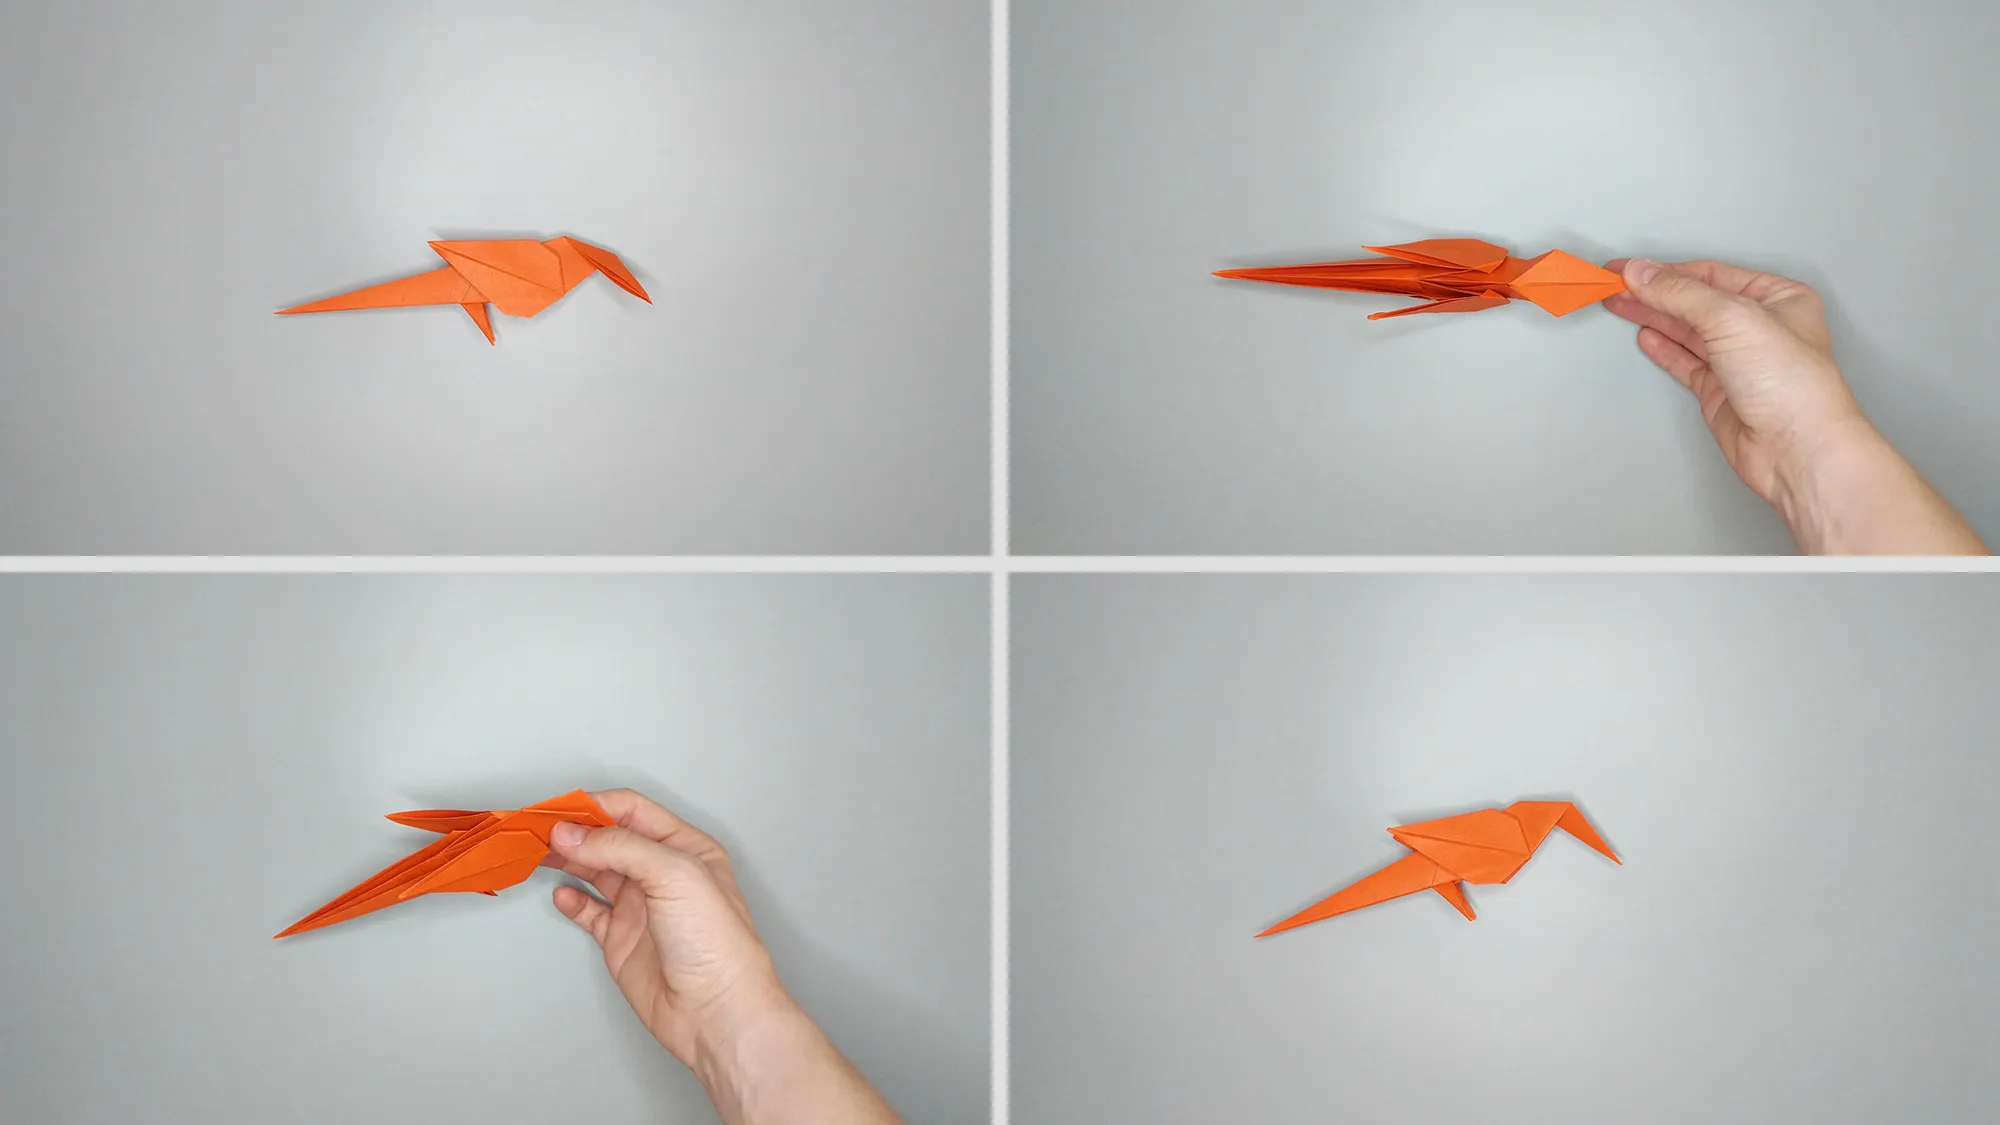
Step 20: And the final action, shape the feet.
Make a paper bird - Origami instructions for a parrot. Step 21
Step 21: Done! Yes, it wasn't easy, but you did it! Congratulations!

Paper Bird: Afterword and Thank You

Thank you for taking the time to make a paper bird. We are glad that you are enthusiastic about this art. We especially love it when you have made the bird project with your child. Children grow up so quickly, and shared crafting sessions are precious moments. You are not only fostering your child's skills but also creating beautiful memories.

Do you feel like doing more origami? Then browse through our tutorial section. There you will find many more exciting figures to fold. Every new origami project is an opportunity to improve your skills and unleash your creativity. Have fun exploring the origami world further and crafting many beautiful paper figures!

Make a bird out of paper: Origami instructions for a parrot

Published on by Vitalii Shynakov
Published on:
From Vitalii Shynakov
Vitalii Shynakov has been working in the areas of online retail, marketing and customer satisfaction since 2012. Until 2022, he was the head of personnel development and online sales department of four successful stores. He has been part of the TutKit.com team since 2024.