Crafting with children for Christmas: Santa Claus wobble figure - Step-by-step guide
Are you looking for a Christmas crafting idea that you can do together with your child? You've come to the right place. We have prepared a step-by-step guide for a Christmas crafting activity with children.
Christmas is a time of magic and joy, where every home is filled with warmth and festive atmosphere. In this season, it is especially fun to make Christmas decorations yourself. It is a captivating activity that brings the whole family together and allows everyone to unleash their creativity. Moreover, such homemade decorations add an individual touch and uniqueness to the Christmas decor.
Creating a Santa Claus Wobble Figure
Today, we will be crafting a wobble figure in the shape of Santa Claus, a fun project suitable for children aged 5 and above. It is an interesting way to spend time with the child and help develop their creative skills and imagination. The crafting has a moderate level of difficulty: the child will be able to carry out most steps independently, but in some cases, your help may be needed - for example, when cutting out small details or handling glue.
This craft will be a great addition to the Christmas decor and will instill pride in the child for the result of their efforts. To ensure a smooth process, you can prepare all necessary materials and elements in advance, making it easier for the child to follow the instructions and focus on creativity.
Safety Rules
When creating the Santa Claus wobble figure, you should observe some safety rules:
- Use scissors with rounded tips, especially if the child is young. You should help with cutting out small details.
- Choose a safe glue stick to avoid getting glue on the skin or in the eyes. Ensure the child does not taste the glue.
- Remember that small parts like buttons or eyes for Santa Claus can be dangerous for young children. Make sure the child does not put them in the mouth and always stay nearby when working with such elements.
Preparation for Creating the Figure
For creating the Christmas figure, we need simple and readily available materials. These materials can be found in any supermarket and are very affordable. The most important thing is to prepare everything in advance, so that the process is organized and exciting.
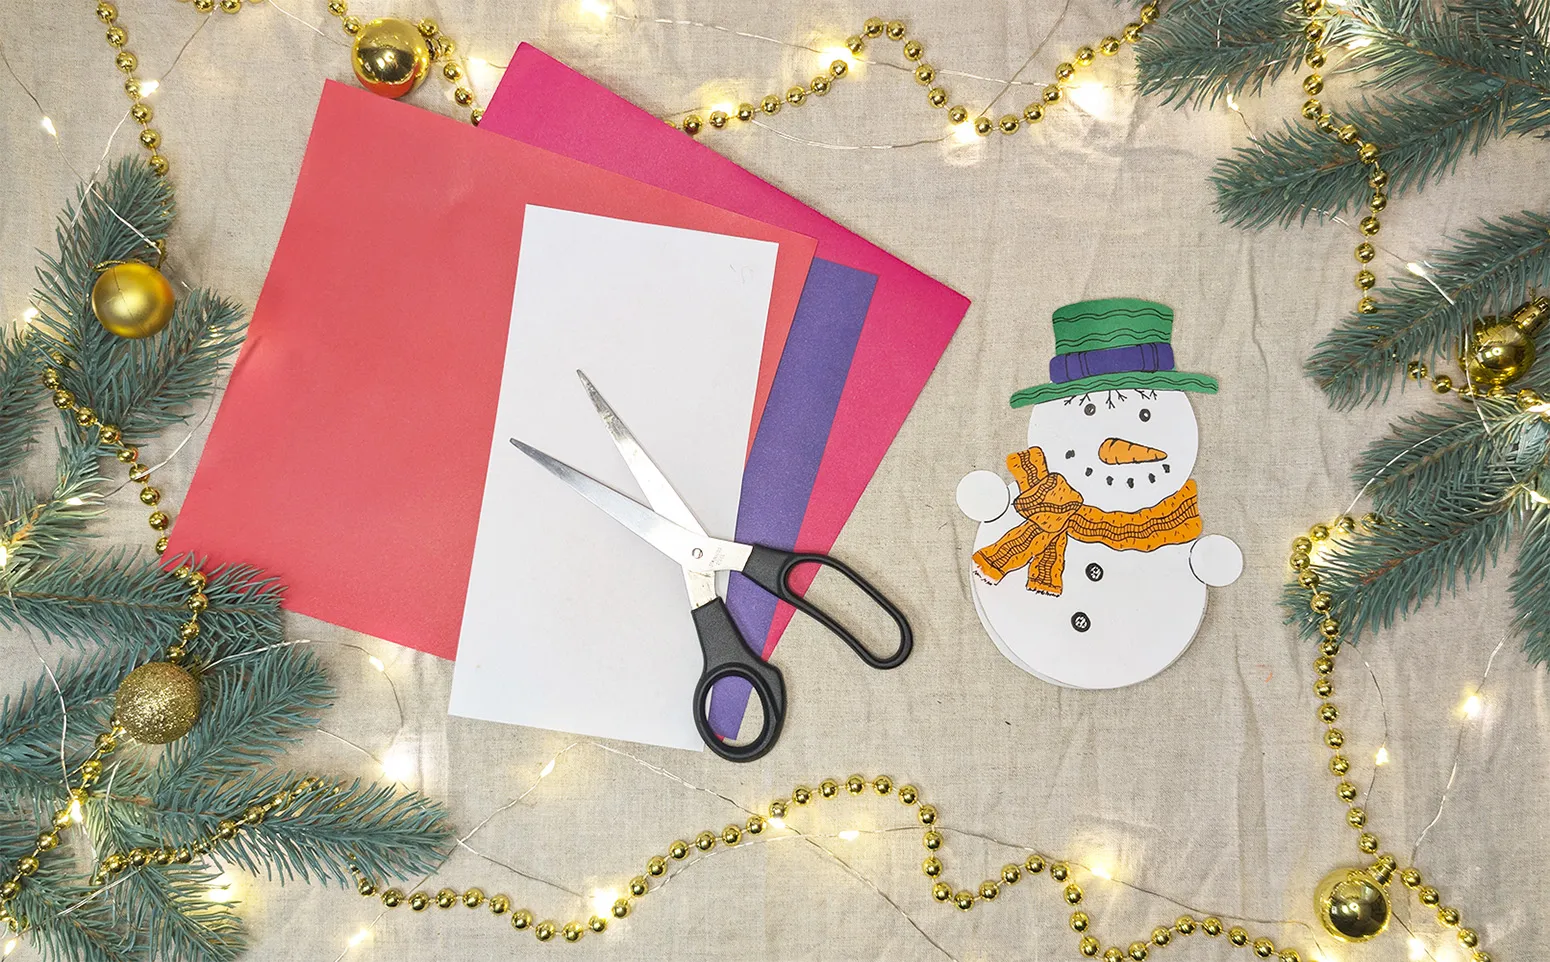
What you will need:
- Cardboard (red, white, purple)
- Scissors with rounded tips
- Glue stick
- Black marker for details
- A sheet of white paper as a base
All materials are easy to find and use. Due to their simplicity, you can create not only one craft but a whole collection of Christmas decorations for home or as gifts for friends.
Steps to Create the Figure
Step 1: Cutting out the Base for the Craft
First, we need to prepare the base for the Santa Claus craft. Take a sheet of red cardboard and cut out a circle with a diameter of about 10 cm for the body of Santa Claus. Then, cut out a white cardboard circle with a diameter of about 7 cm for the face. For the hat, use red cardboard and for the beard, mustache, and pom-pom, use white cardboard. Don't forget to cut out small gloves and a belt from purple or orange cardboard.
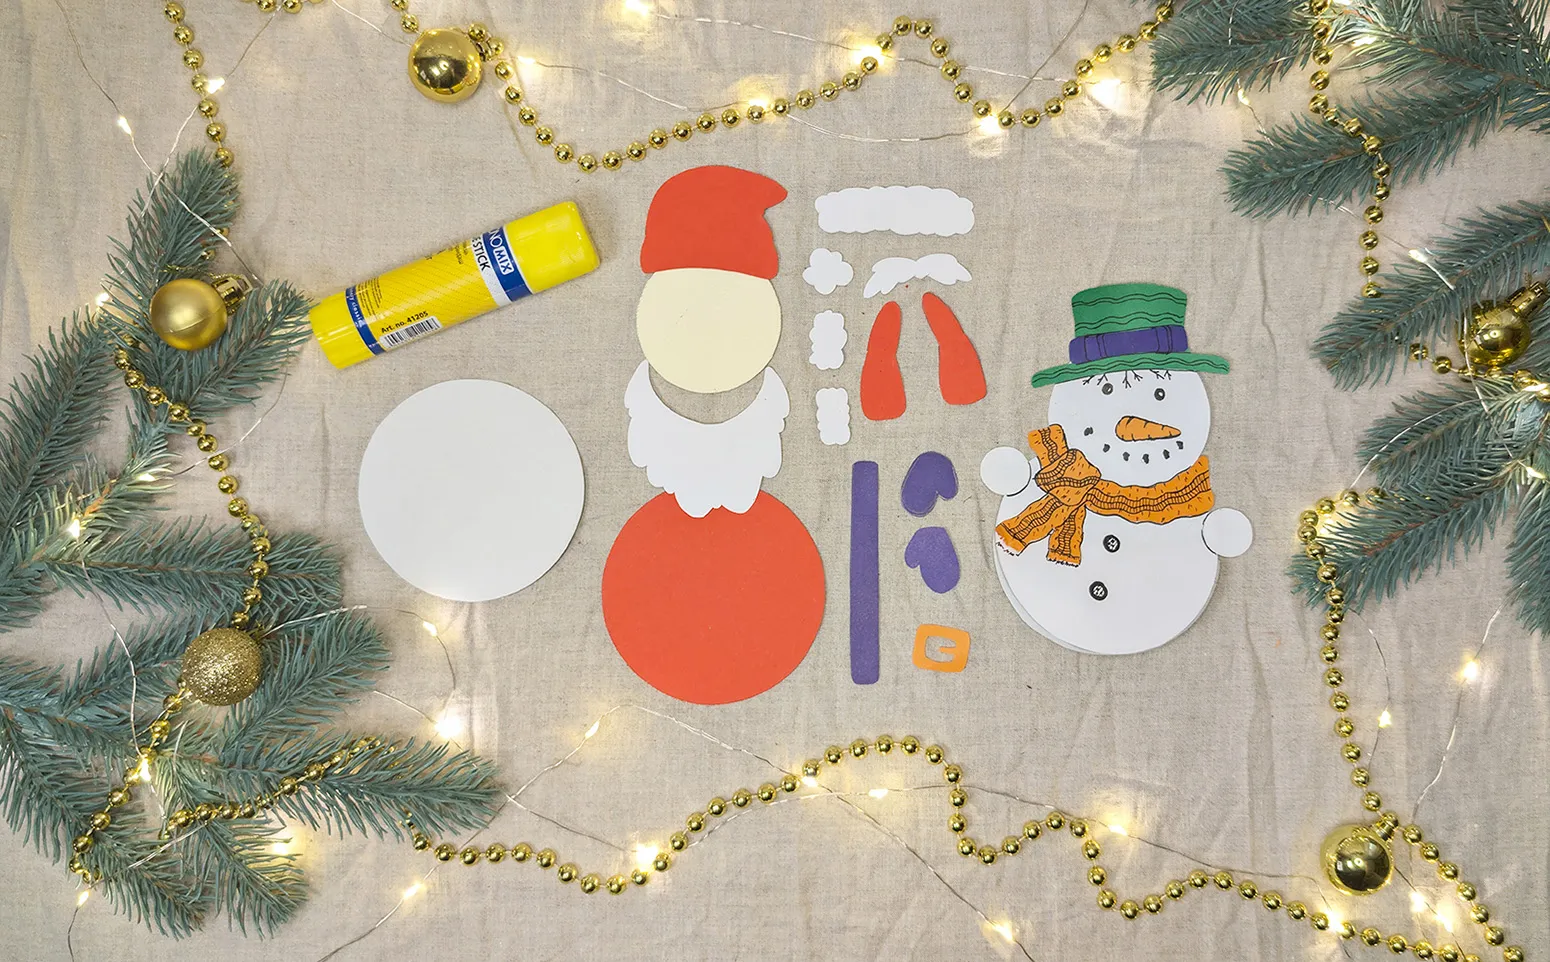
Step 2: Gluing Together the Body and Face of Santa Claus
Now, we need to glue the cut-out parts together. Start by gluing the white circle (face) onto the upper part of the red circle (body). Then, attach the hat to the top of Santa's head and carefully position it over the face. Glue the beard to the bottom of the face and the white pom-pom on the hat. This will give Santa Claus a complete look.
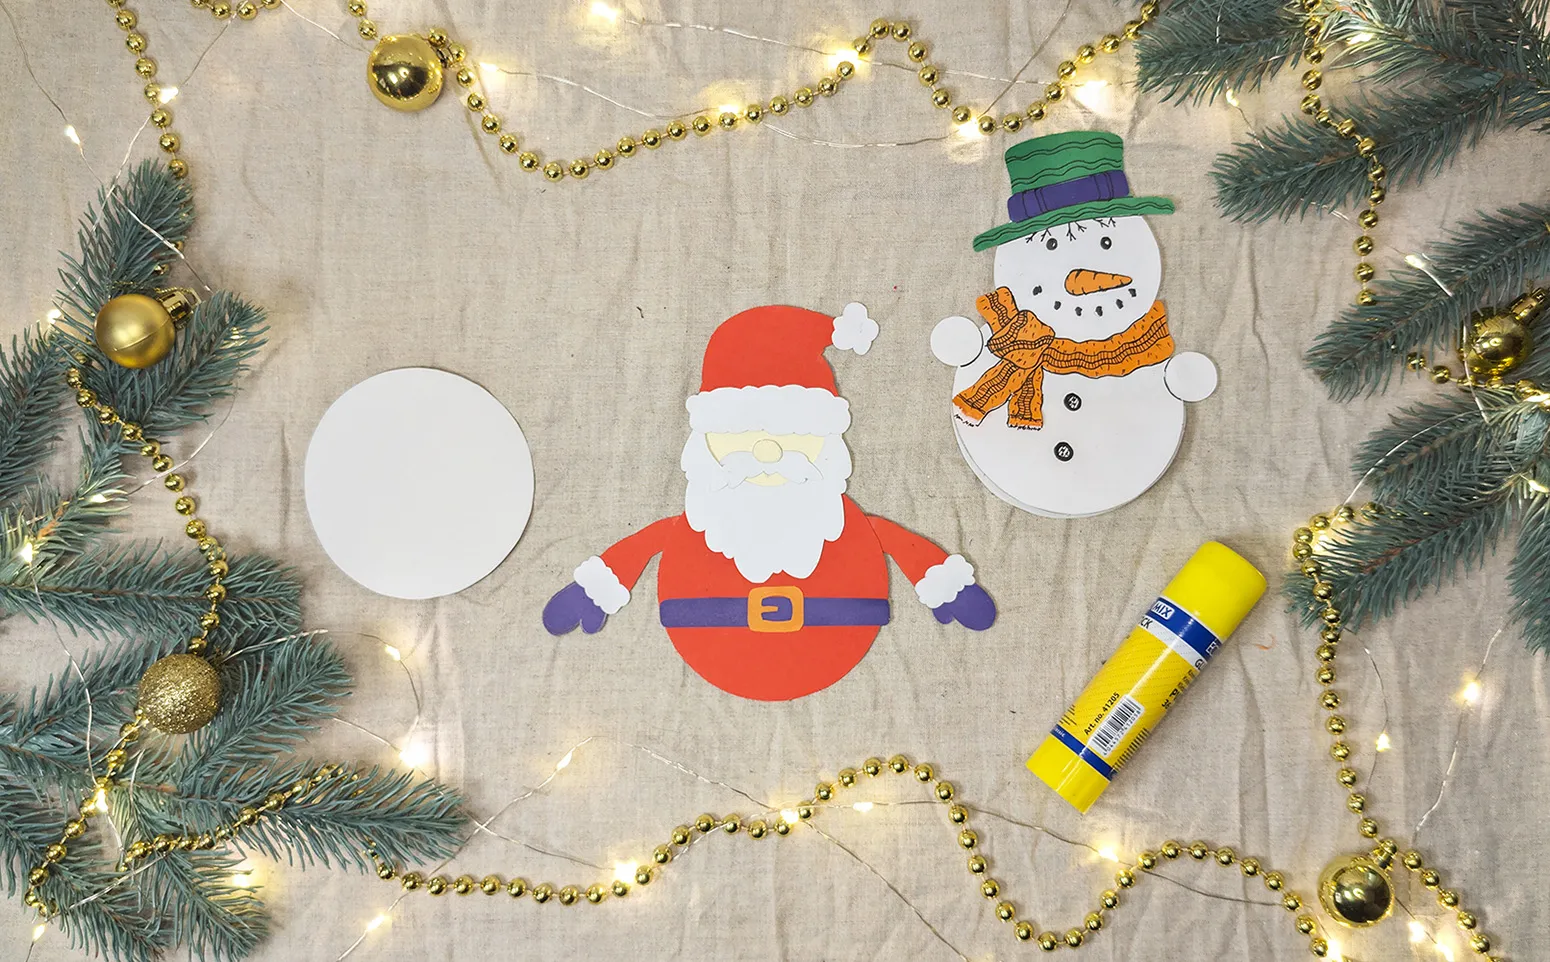
Step 3: Adding Gloves and Belt
In the next step, we will attach small purple gloves to the body of Santa Claus. They should be placed on the sides to give the impression that Santa is waving his arms. Don't forget the belt, cut it out of orange cardboard and stick it in the middle of the body. This adds color and completeness to the crafting.
Tip: When cutting out small details like gloves and belts, try to be careful, especially when working with a young child. The scissors should be sharp but safe.
Step 4: Drawing Santa's Details
Now that the main part of Santa Claus is done, we will start designing his face. Take a black marker or felt-tip pen and draw eyes, a nose, and a smiling mouth. This gives Santa a livelier and more cheerful appearance.
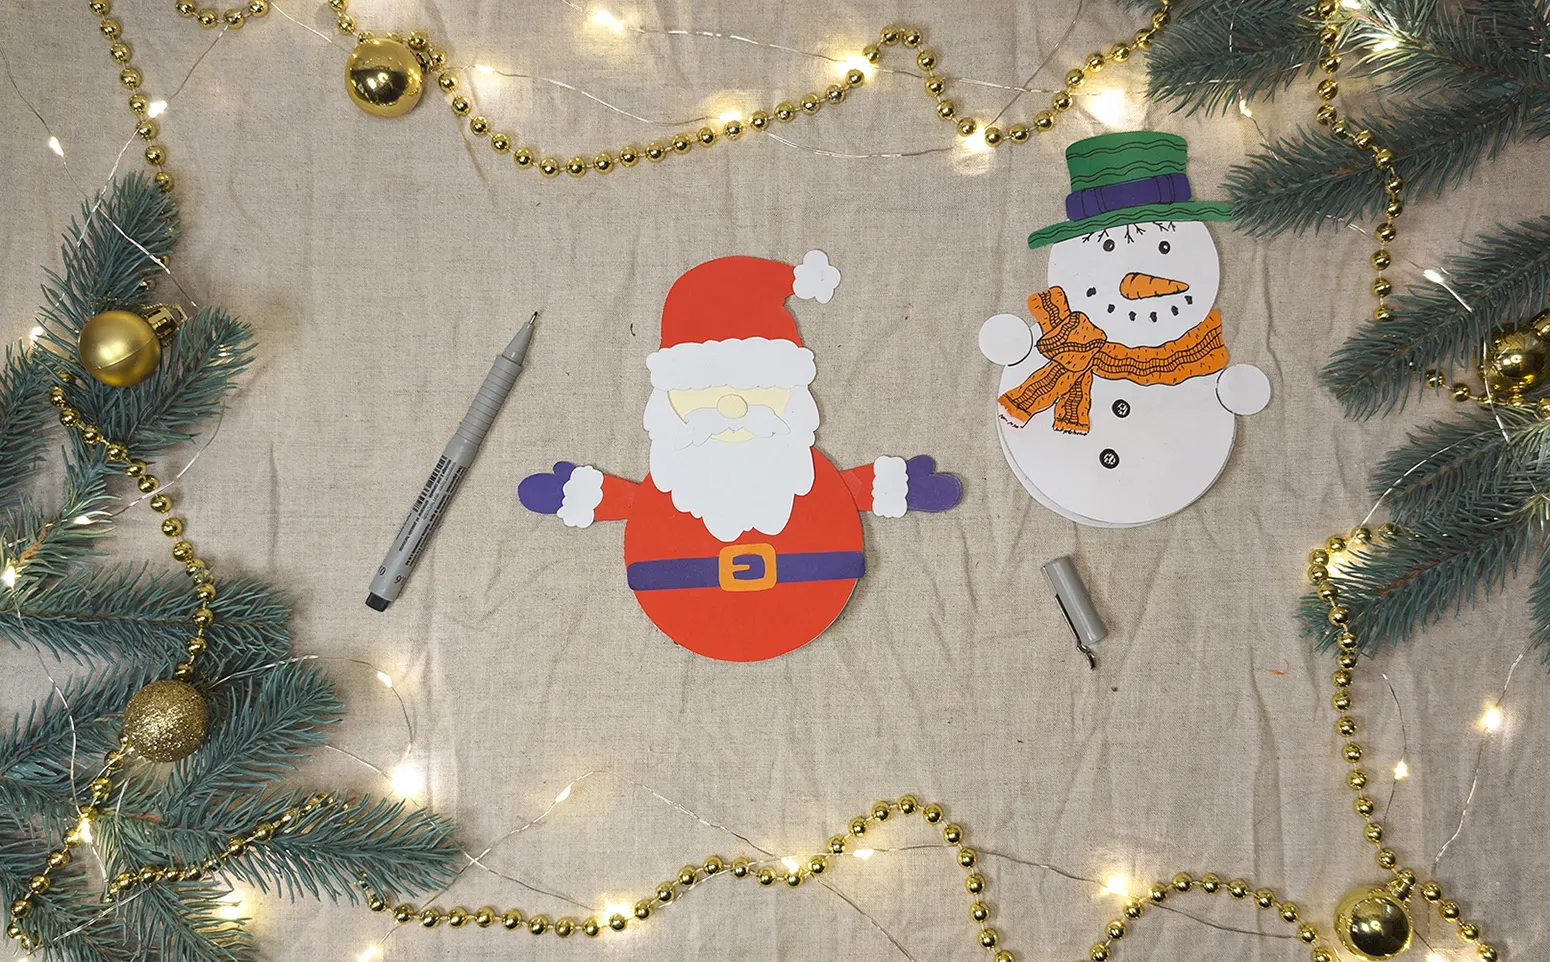
Step 5: Adding the Final Details
The final step is to add the last details. You can decorate Santa's hat with glitter or add small decorative elements like snowflakes that you can glue to the body or hat. This adds extra sparkle and a Christmas mood to the crafting.
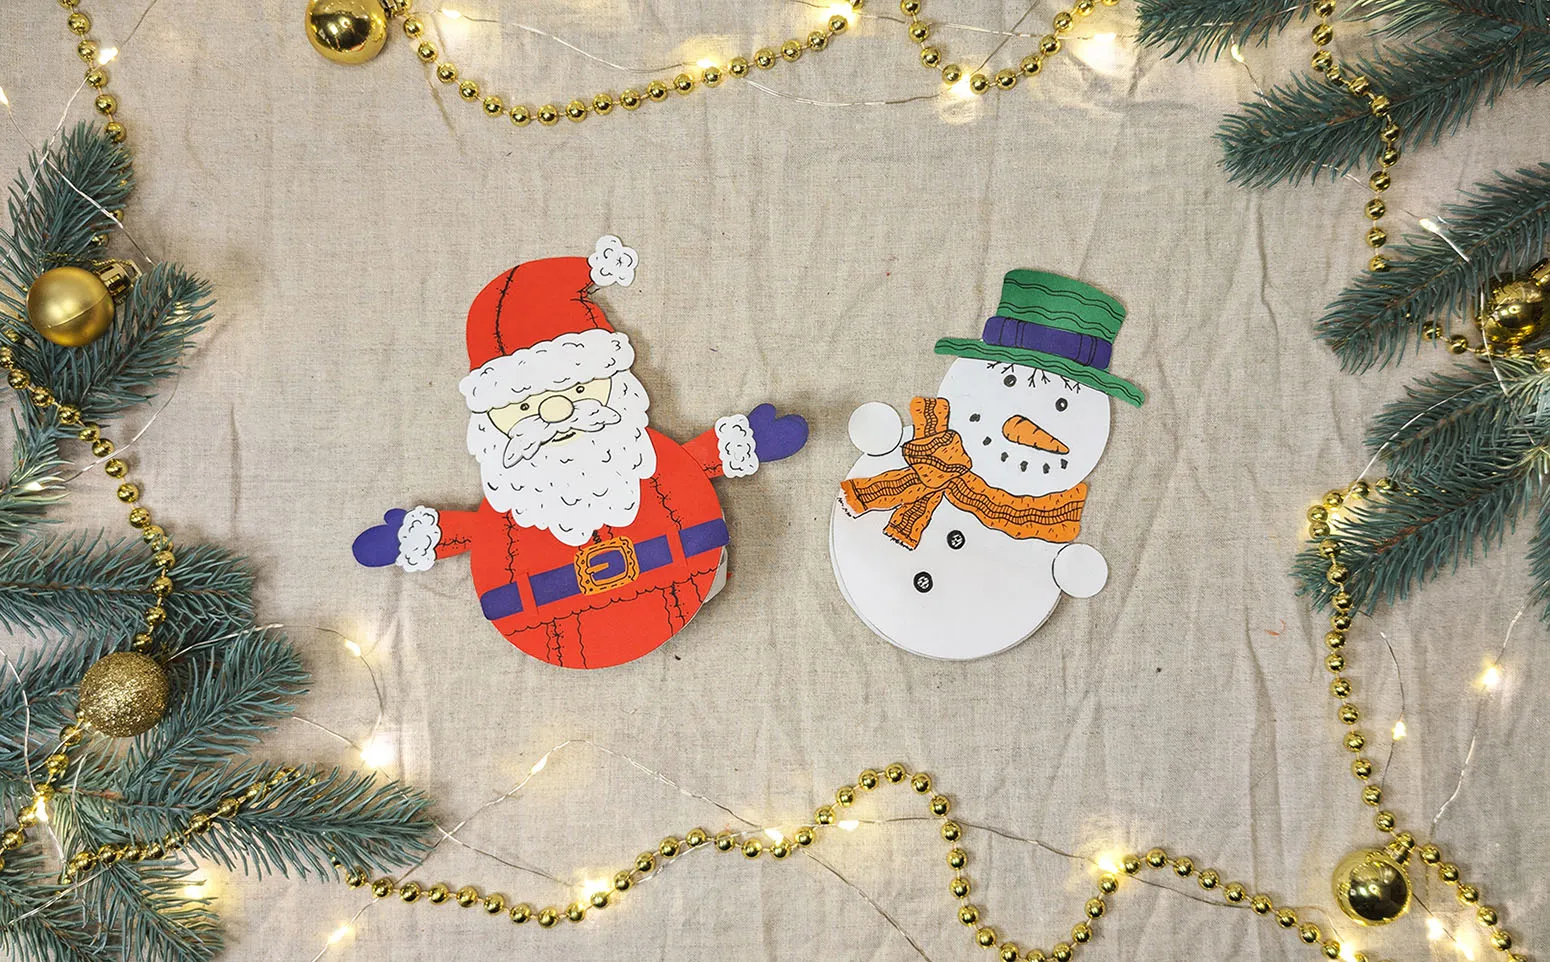
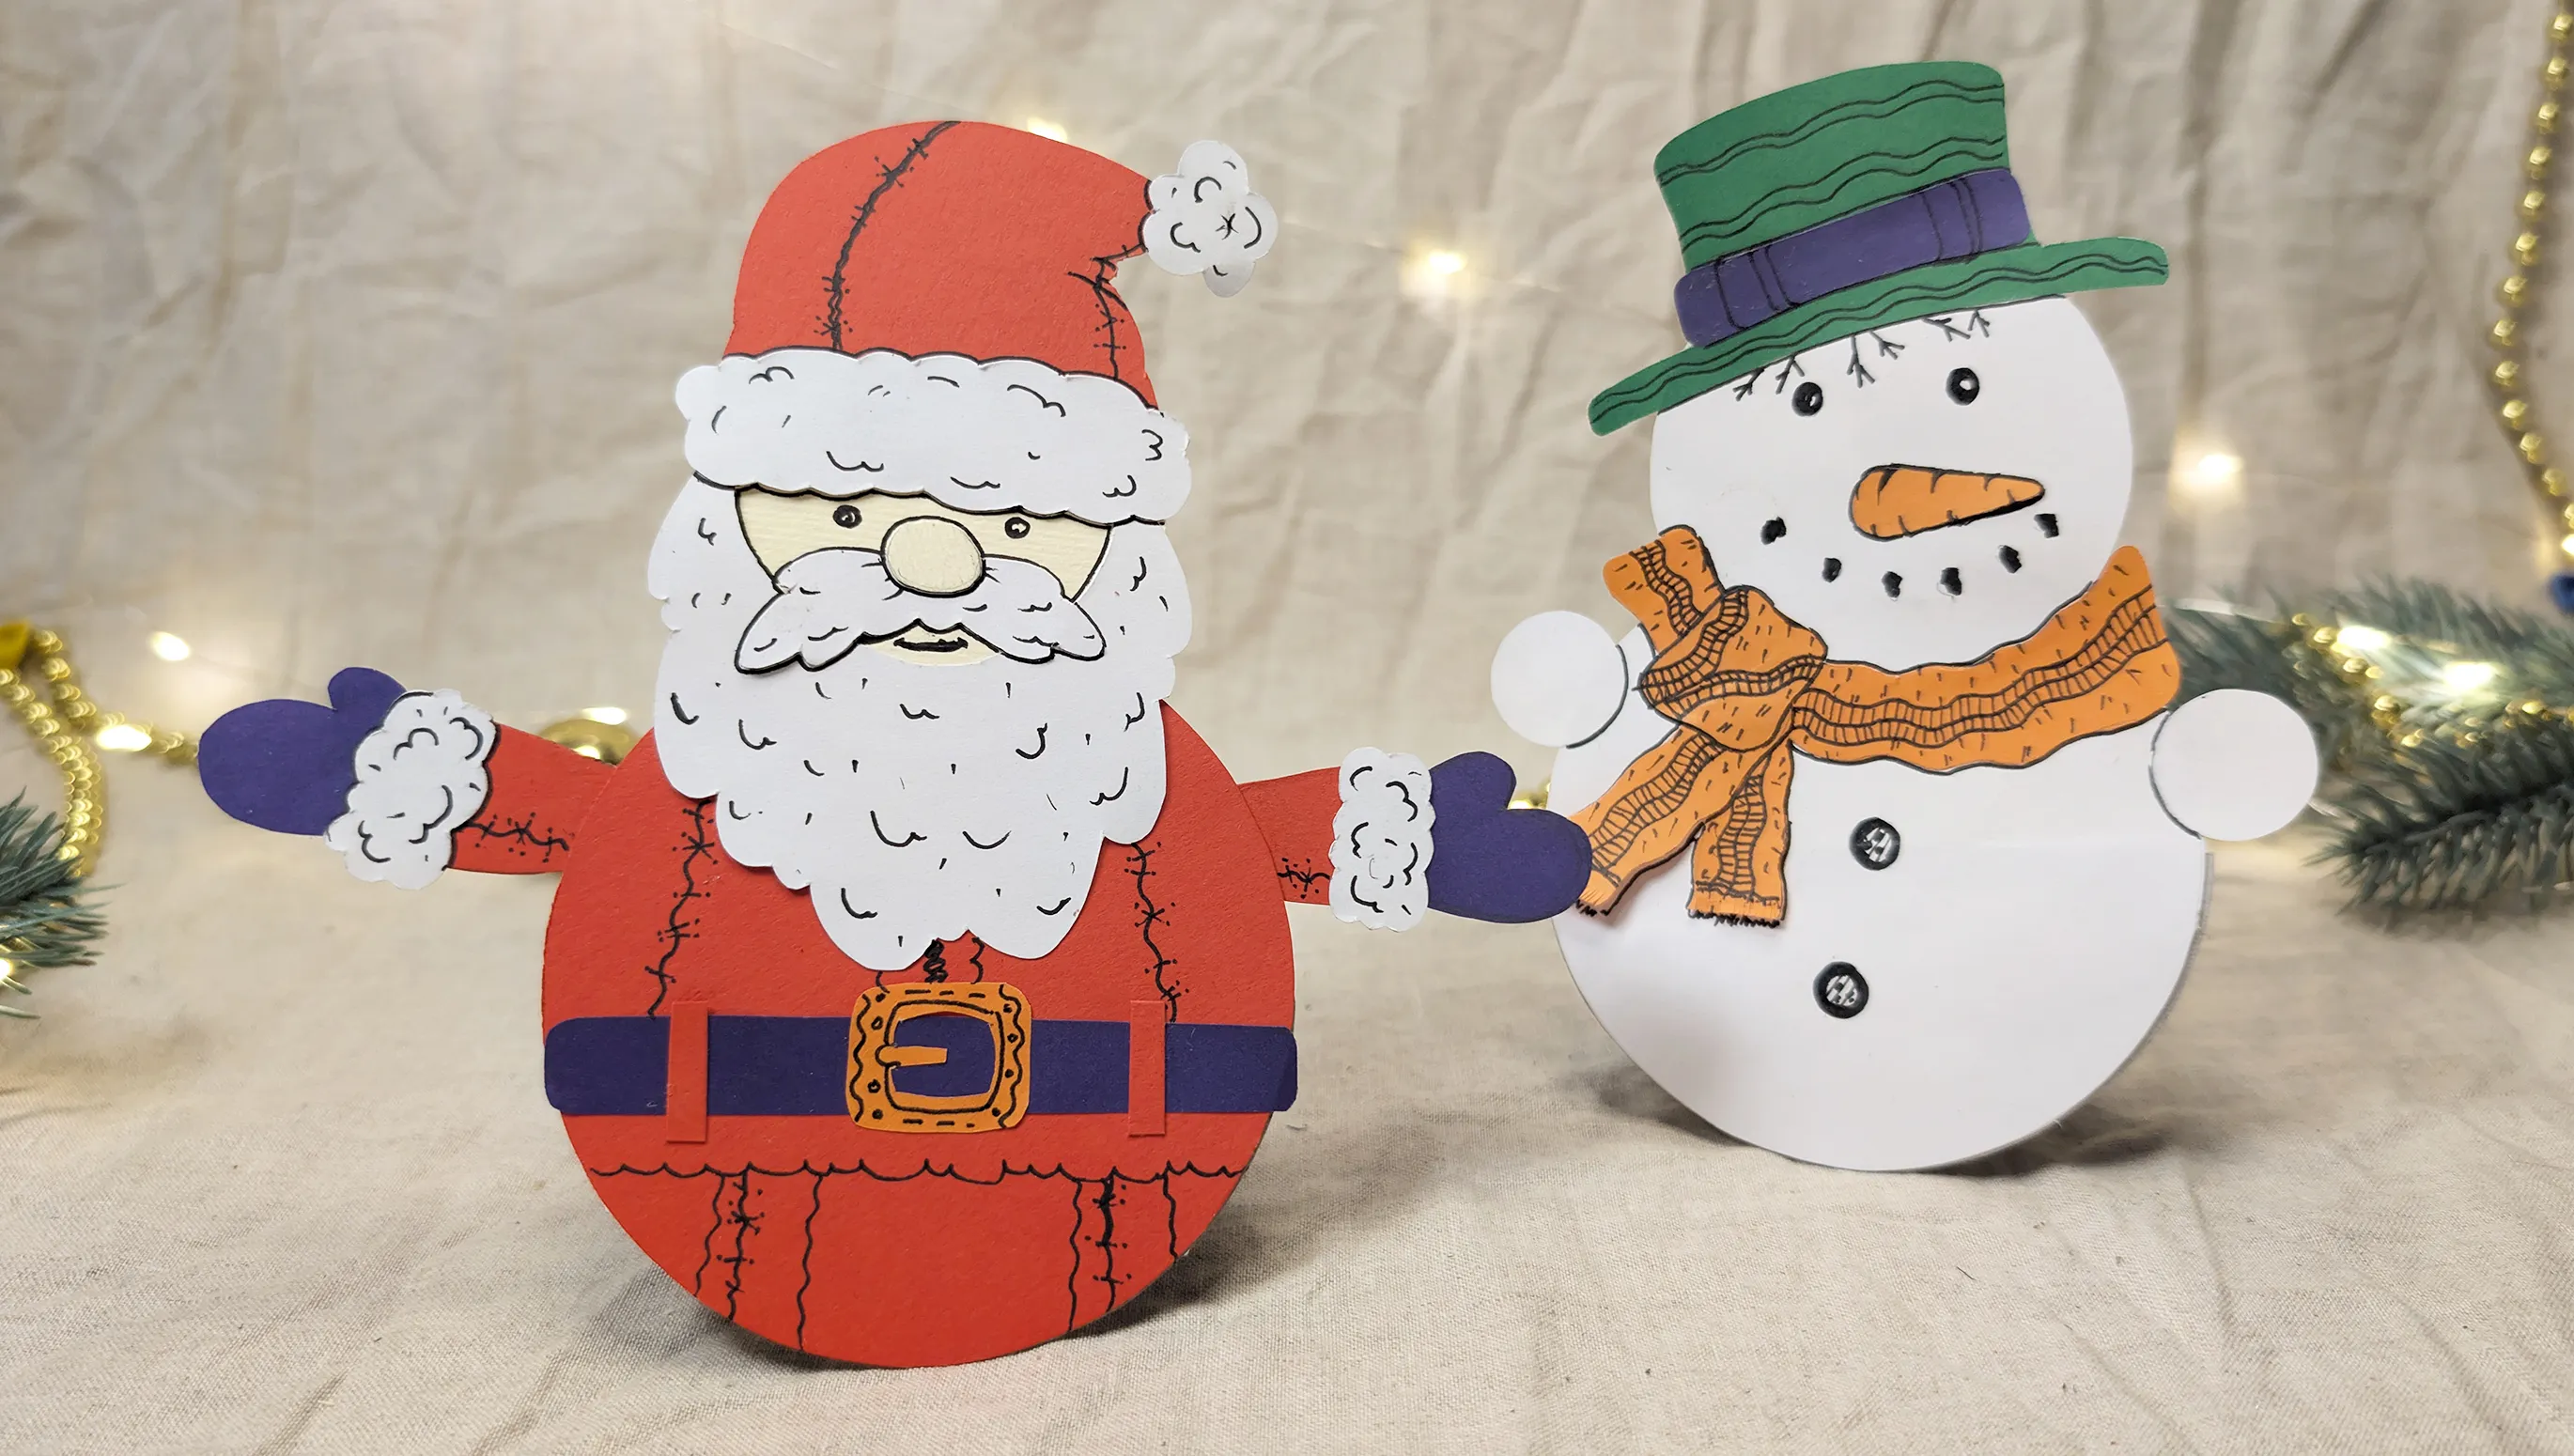
After all these steps, you will have a fun Santa Claus bobblehead in your hands. This figurine will decorate the house and preserve memories of creative moments shared with the child. Santa Claus wiggles cheerfully, bringing a festive mood, and his creation has brought joy and brought the whole family closer together. You can place it on the Christmas tree, on a shelf, or use it as a colorful decorative element on the holiday table.
Conclusion
Thank you for your attention! On our portal, you will find a huge collection of articles and workshops on various types of creativity, from simple crafts for the little ones to more complex projects for older children. Each workshop has been created with care so that you can spend a fun and useful time with your child, develop their creative skills, and create unique things with your own hands. I'm sure you will find interesting ideas for yourself and your child that will inspire you to new creative achievements.
We would be delighted if you share your results with us. Send us photos of finished crafts - and we will be happy to publish them on our portal or on social networks. This is a great way to inspire other parents and children to create their own Christmas masterpieces. Because there is nothing better than sharing ideas and support in the creative process.
We wish you and your family a Merry Christmas and a Happy New Year! May these holidays bring you a sea of joy, warmth, and bright moments, and may creativity be an excellent way to unite the family and make your home even cozier and more festive!
From Vitalii Shynakov
