Christmas paper tree: A simple craft for the little ones
Are you looking for ideas for Christmas Crafting with Children? Then you are in the right place. The Christmas season always brings a special, fairytale atmosphere. It is the time when every corner of the house is filled with coziness, the glitter of fairy lights, the scent of fresh pine branches, and joyful preparations for the celebration. Especially in these moments, it's a lot of fun to make Christmas decorations yourself. Crafting helps children develop their creative skills and gives the whole family the opportunity to spend time together and decorate the house.
Making Christmas decorations with children is becoming increasingly popular as the materials are simple and easily accessible. A craft such as a little Christmas tree made of colored paper becomes a stylish decoration and a great gift for the family. The simple technique allows even the youngest artists to participate in the creative process. Each step is detailed to help you and your child create your unique little Christmas tree.
Crafting with Children: Little Christmas Tree made of Colored Paper
In this section, you will learn how to make a beautiful little Christmas tree out of colored paper with your child. This craft is perfect for children aged 4 and above due to the simple materials and exciting process. Your help will be needed in some phases - for example, when handling scissors or glue.
The project can be easily adapted to children of different ages: for the youngest, you can prepare the pieces in advance, while older children can decorate the tree to their liking. The difficulty level is suitable for beginners, so you can have a fun time crafting together.
Safety Rules
When crafting with children, it is important to pay attention to the use of scissors, glue, and other tools. For the youngest, it is better to use safety scissors or help them with cutting out the parts.
If you are working with hot glue or other materials, make sure the child is under your supervision to avoid possible injuries. The process should remain enjoyable and safe for all participants.
We are Crafting a Little Christmas Tree made of Colored Paper
Now that we have clarified the most important safety aspects, we can move on to the most interesting part - crafting together with the child! For this, we need simple materials that are easy to find in any store. You and your child can choose the color of the paper and the decorations together to make the tree truly unique.
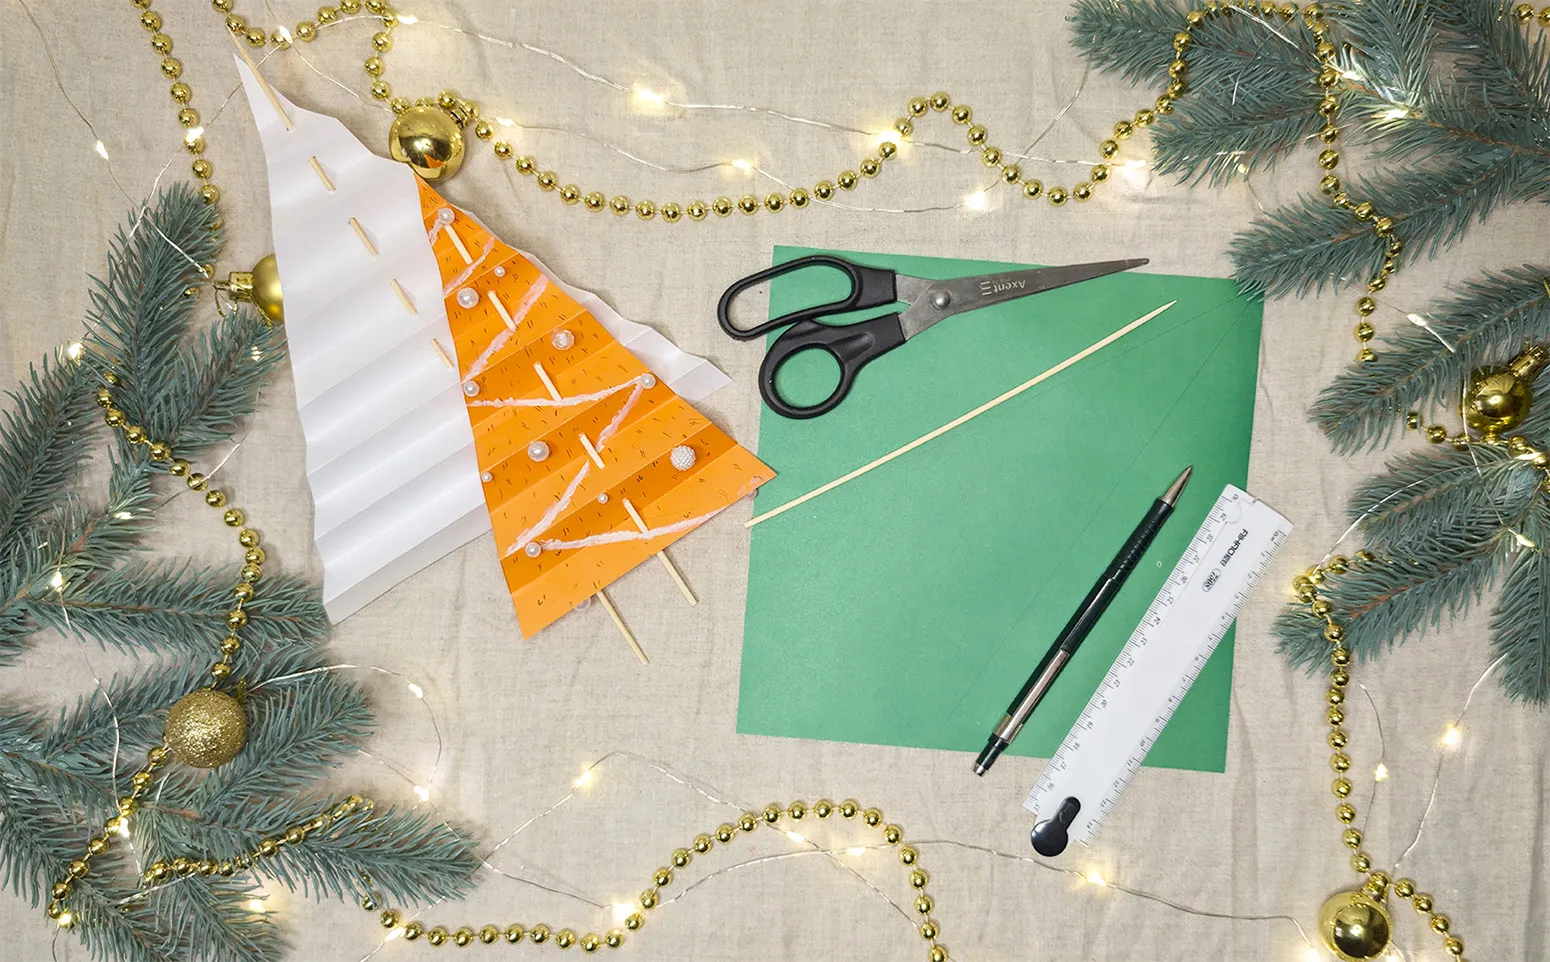
Here is what you need for the work:
- Colored paper (green for the tree)
- Scissors
- Ruler
- Pencil or pen for marking
- Glue (preferably hot glue, but regular glue works too)
- Decorative elements (buttons, ribbons, beads, glitter, etc.)
- Wooden skewer (as a base for the tree)
All materials are quite simple and inexpensive. You can find them in any supermarket or stationery store, and thanks to their availability, you can not only create a crafting project but a whole series. With such a little tree, you can decorate your home.
Now we are ready for the step-by-step process of creating our little tree. Are you ready to continue?
Steps to create the little tree made of colored paper
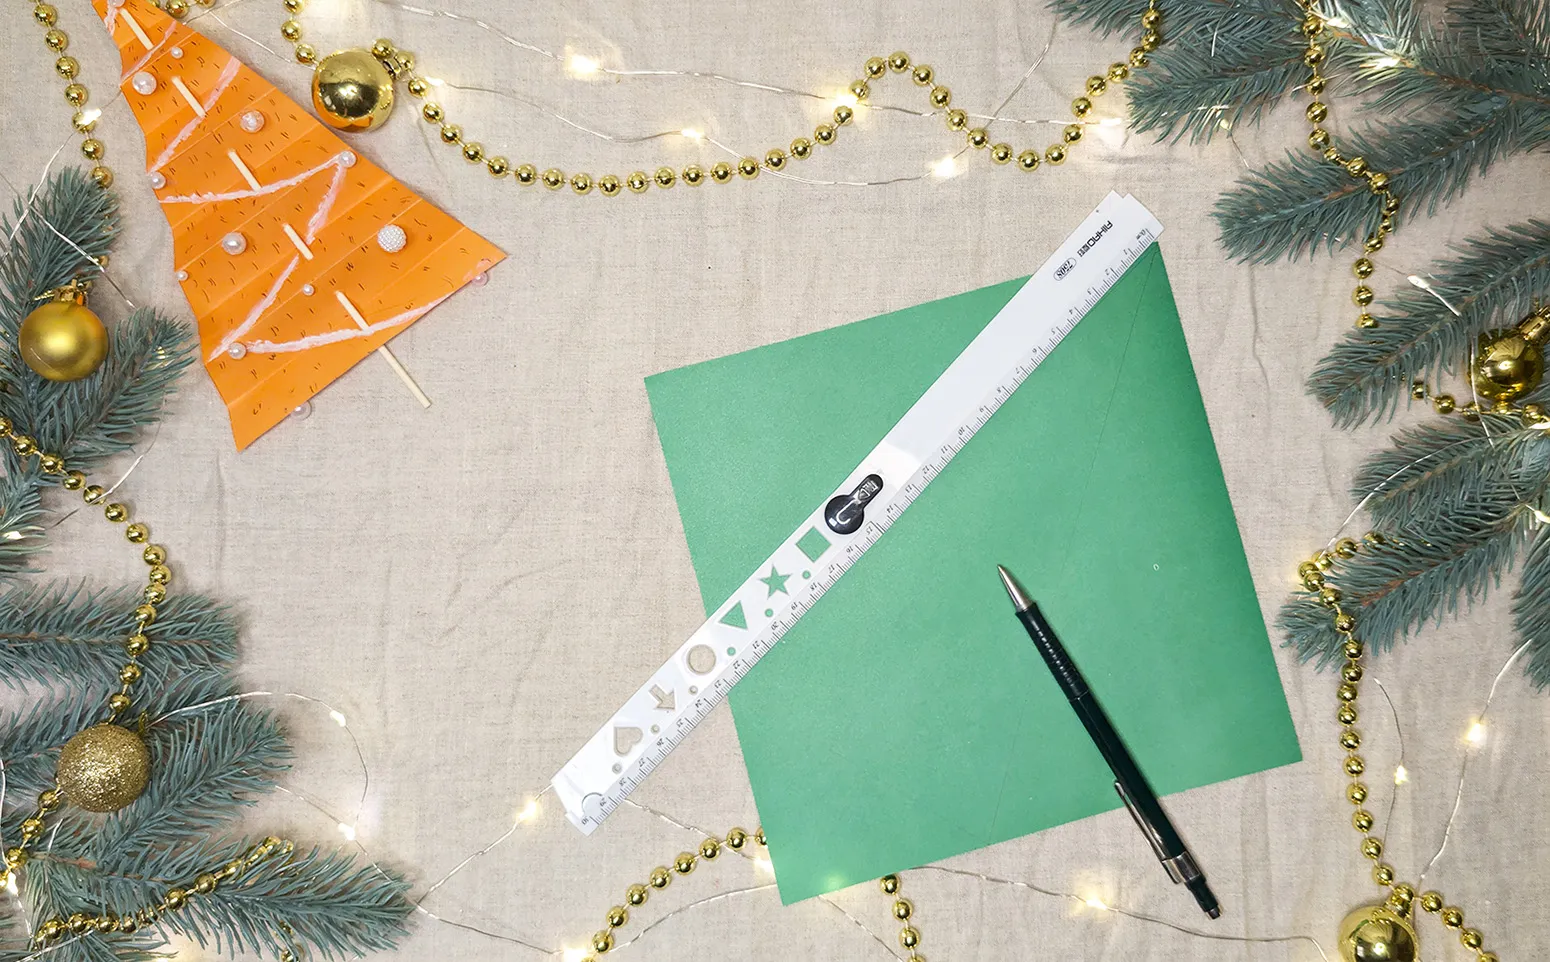
Step 1: Drawing the Triangle
Take a sheet of colored paper and use a ruler to draw a triangle. The triangle is the basis of our tree. The lines should be straight. Choose the size according to how tall you want to make the tree.
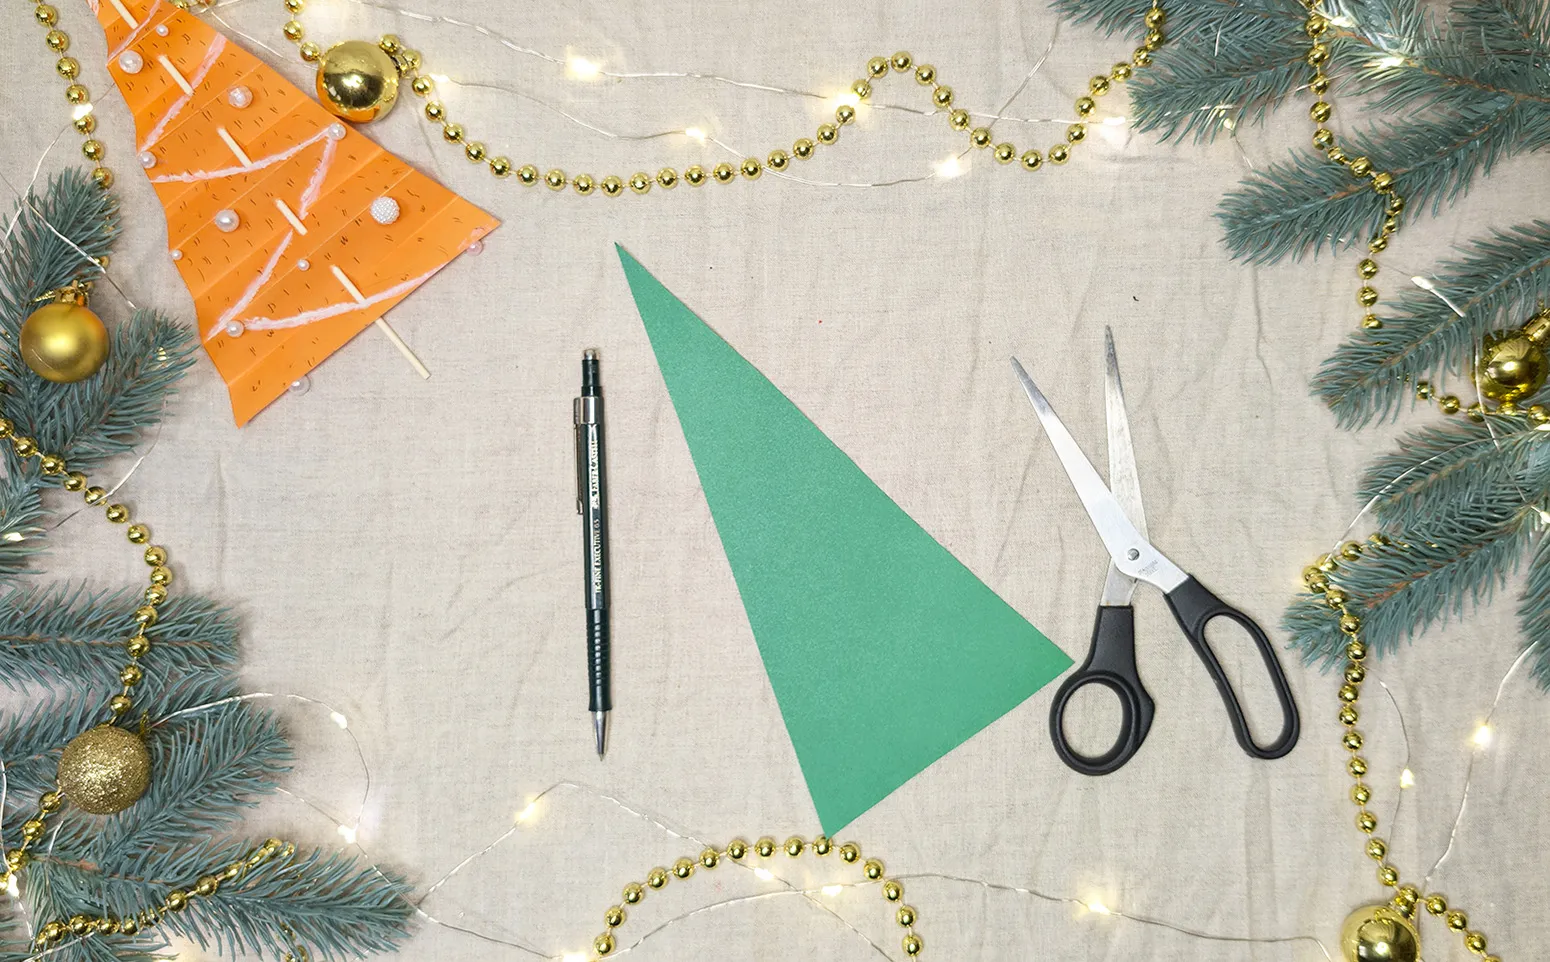
Step 2: Cutting out the Triangle
Now carefully cut out the drawn triangle. For younger children, it is better to use safety scissors or help them in this phase.
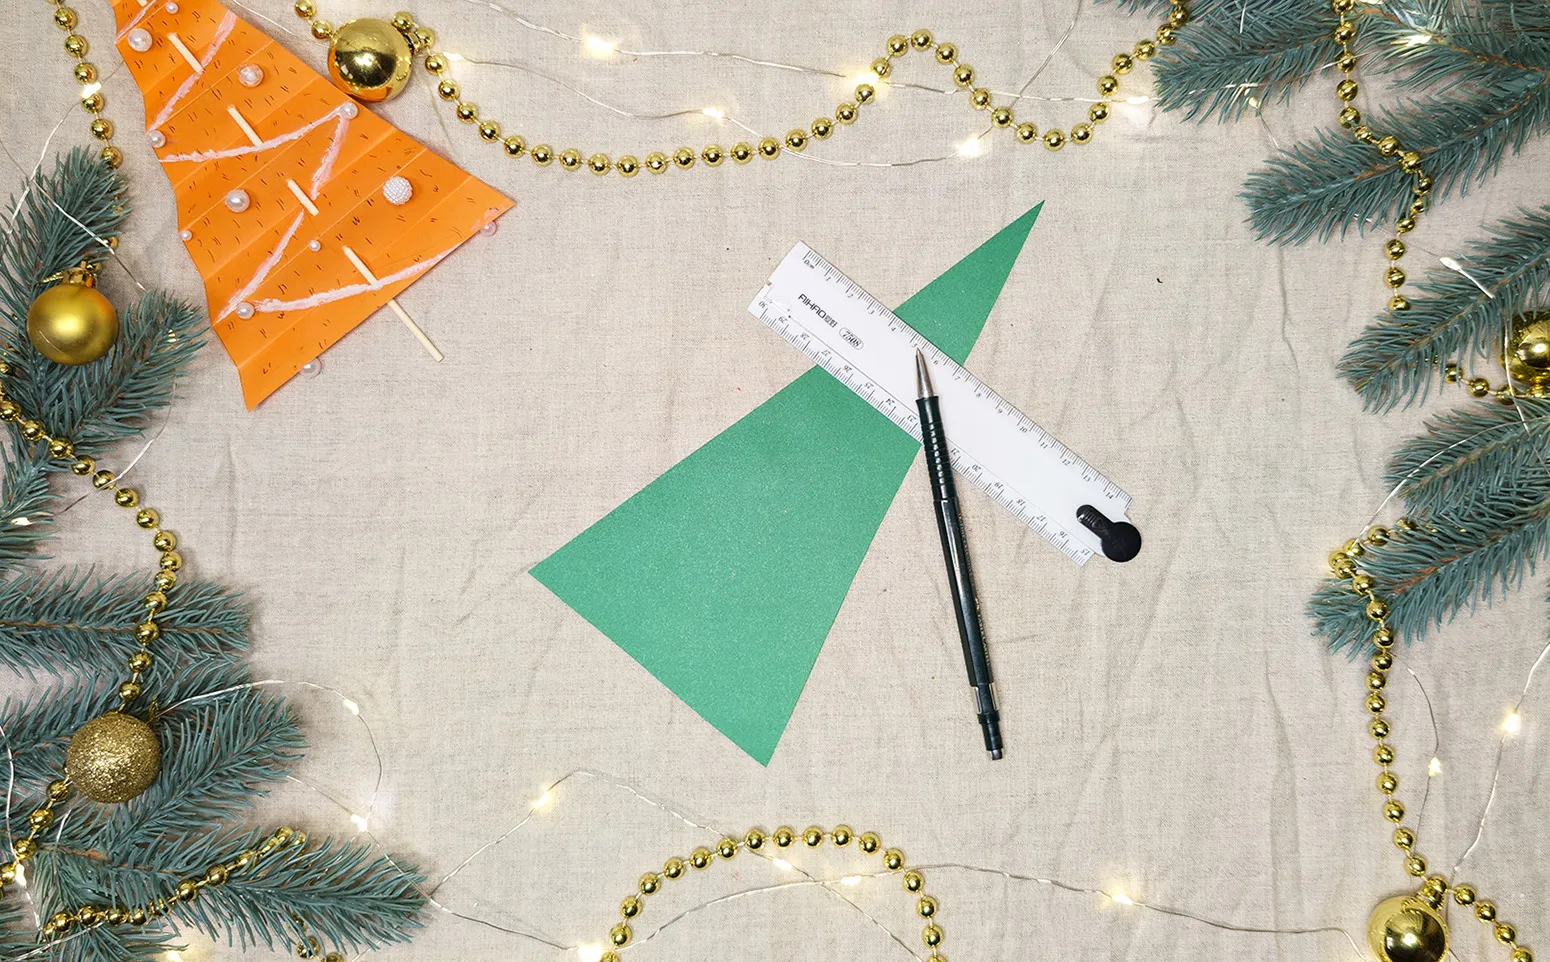
Step 3: Marking for the Folds
Mark lines for the folds on the triangle using a ruler. The width of each strip should be 1 to 2 cm, depending on how much volume you want to give the little tree.
Step 4: Folding the Triangle
Fold the triangle along the marked lines. For a neater result, a ruler can be used - this makes the process easier for the child.
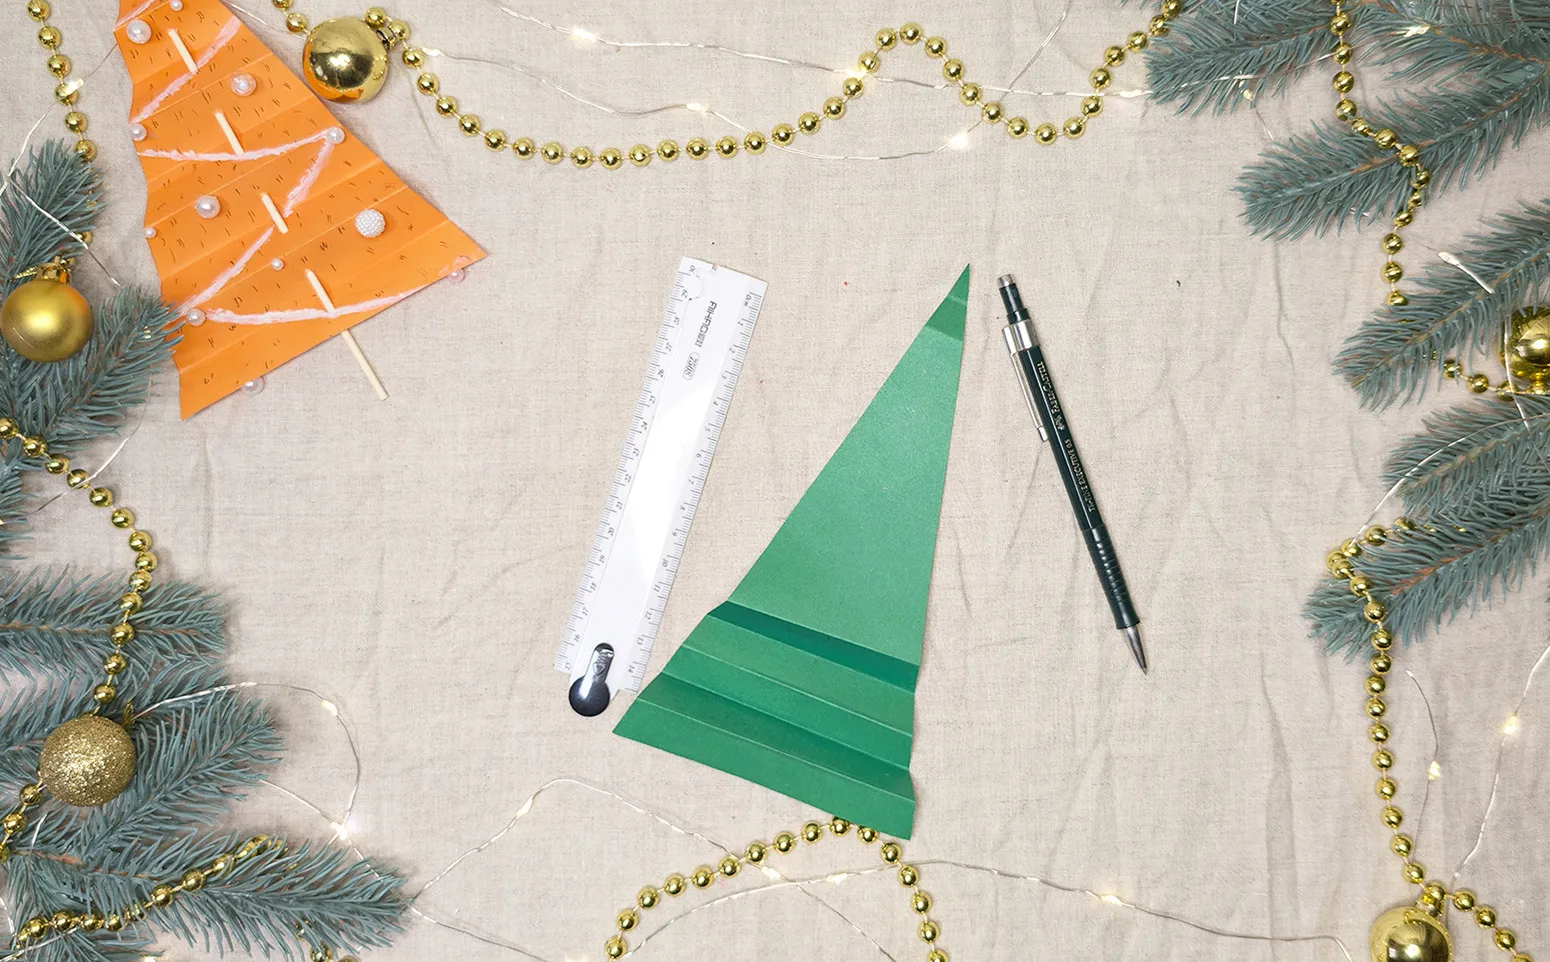
Step 5: Attaching the Little Tree to the Wooden Stick
Use the wooden stick to pierce through the middle of the little tree, starting from the bottom part and guiding the stick up to the top of the triangle. This gives stability to the little tree.
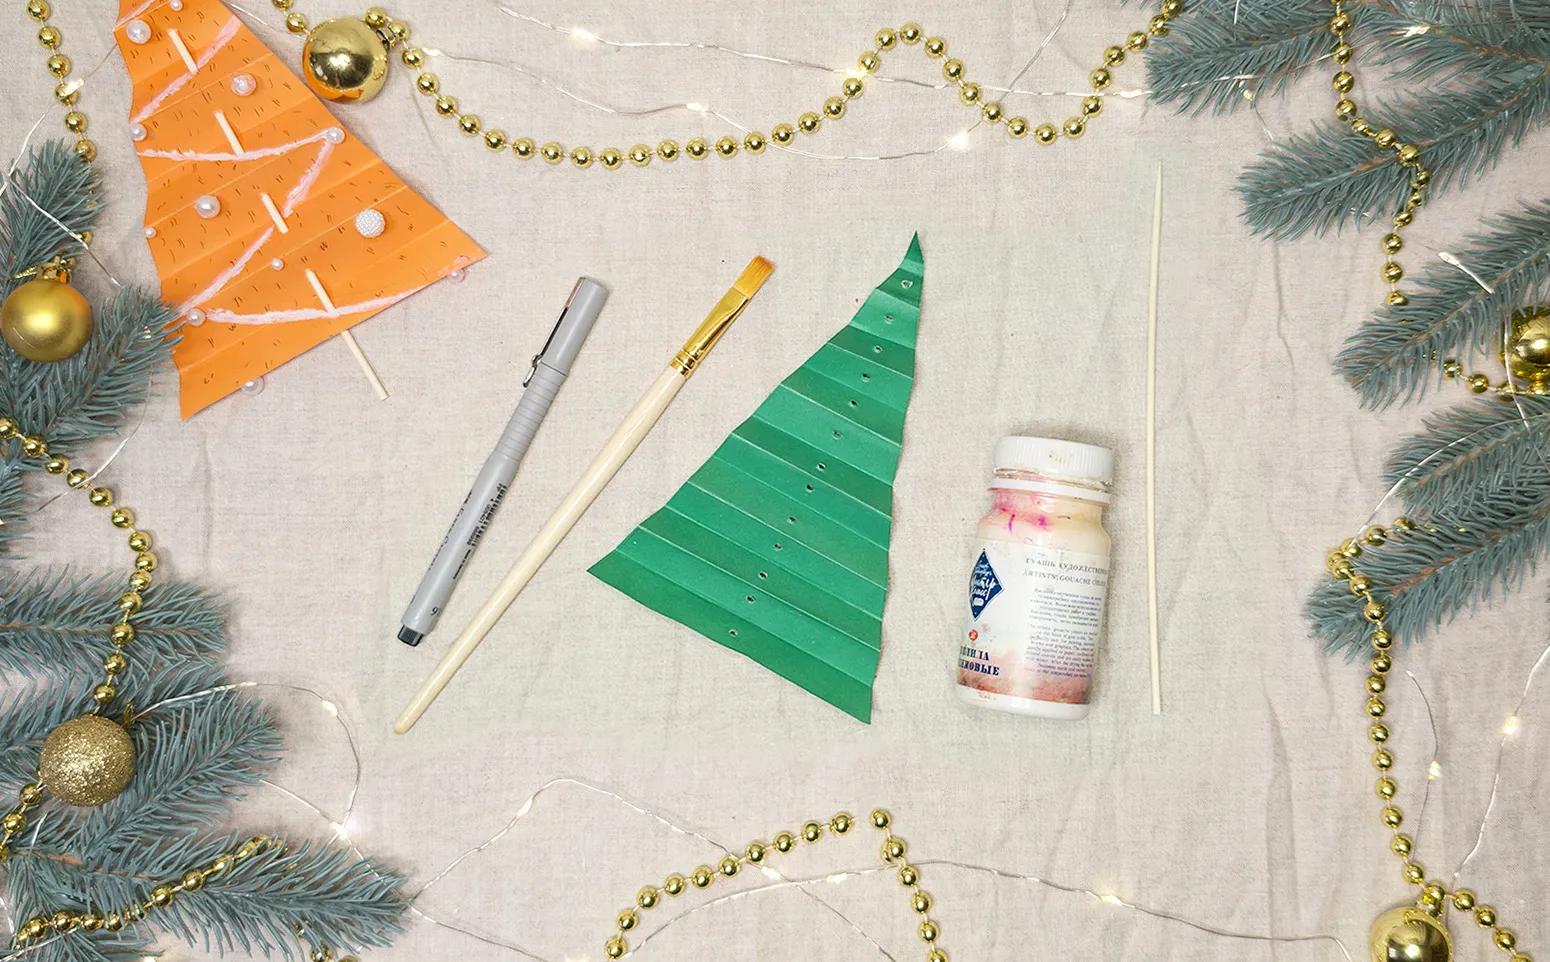
Step 6: Decorating the Little Tree
Now it's time to decorate the little tree! Use paintbrushes with paint, markers, glitter, ribbons, or other decorative elements.
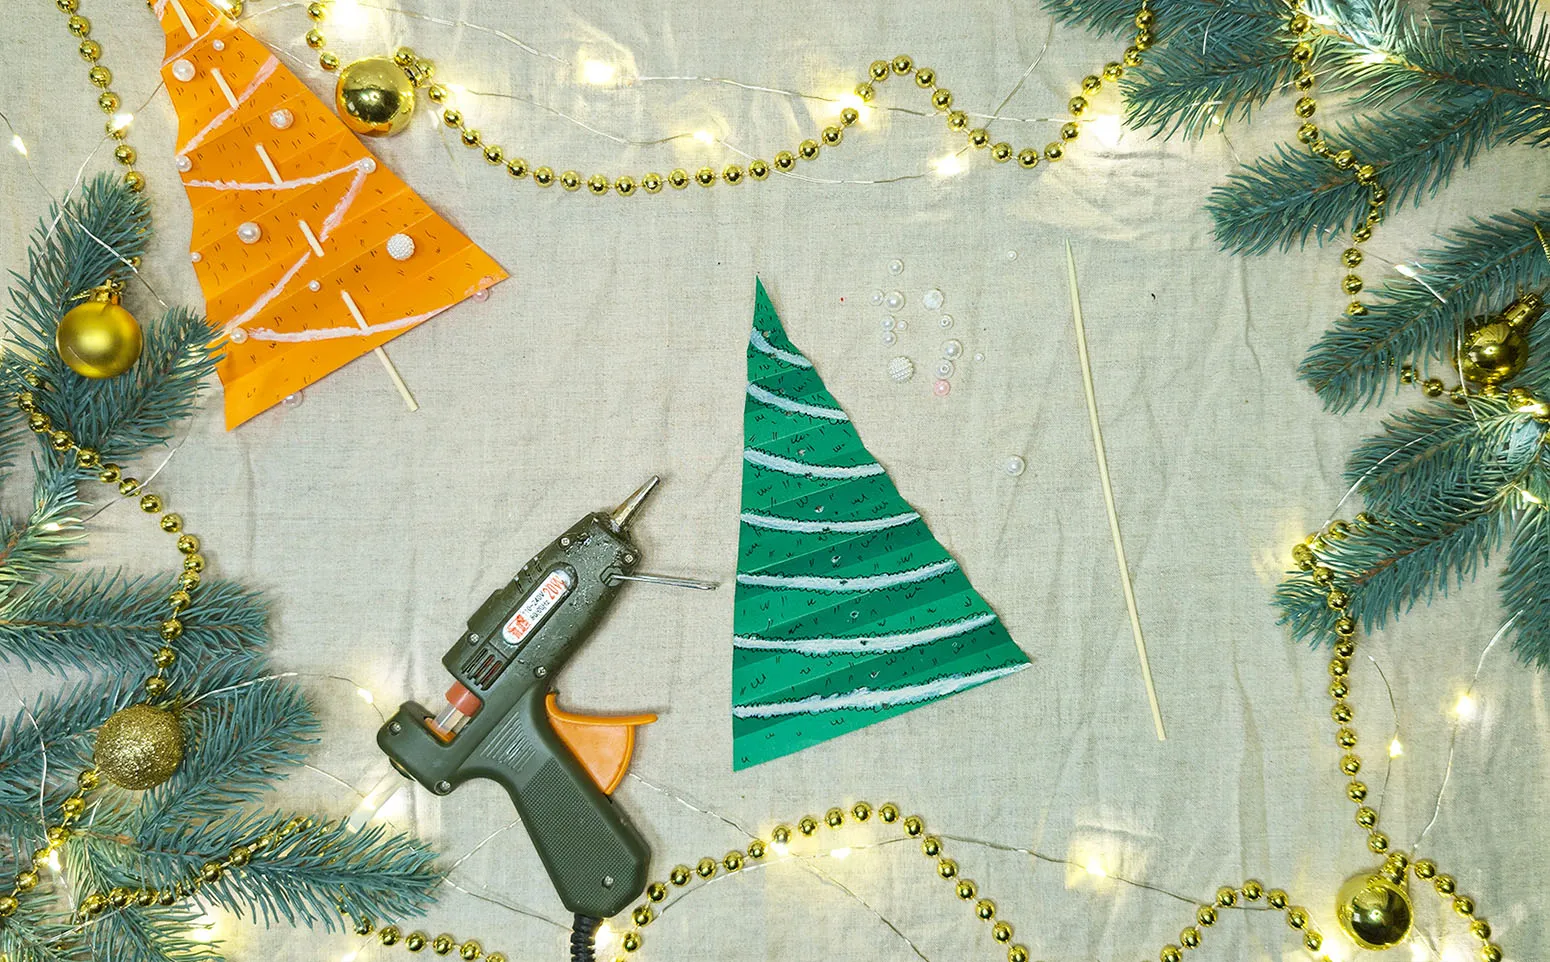
Step 7: Completing the Crafting Project
Slide the stick back through the opening in the little tree and for a better result, attach the top by gluing it to the upper part of the stick. This helps the little tree maintain its shape.
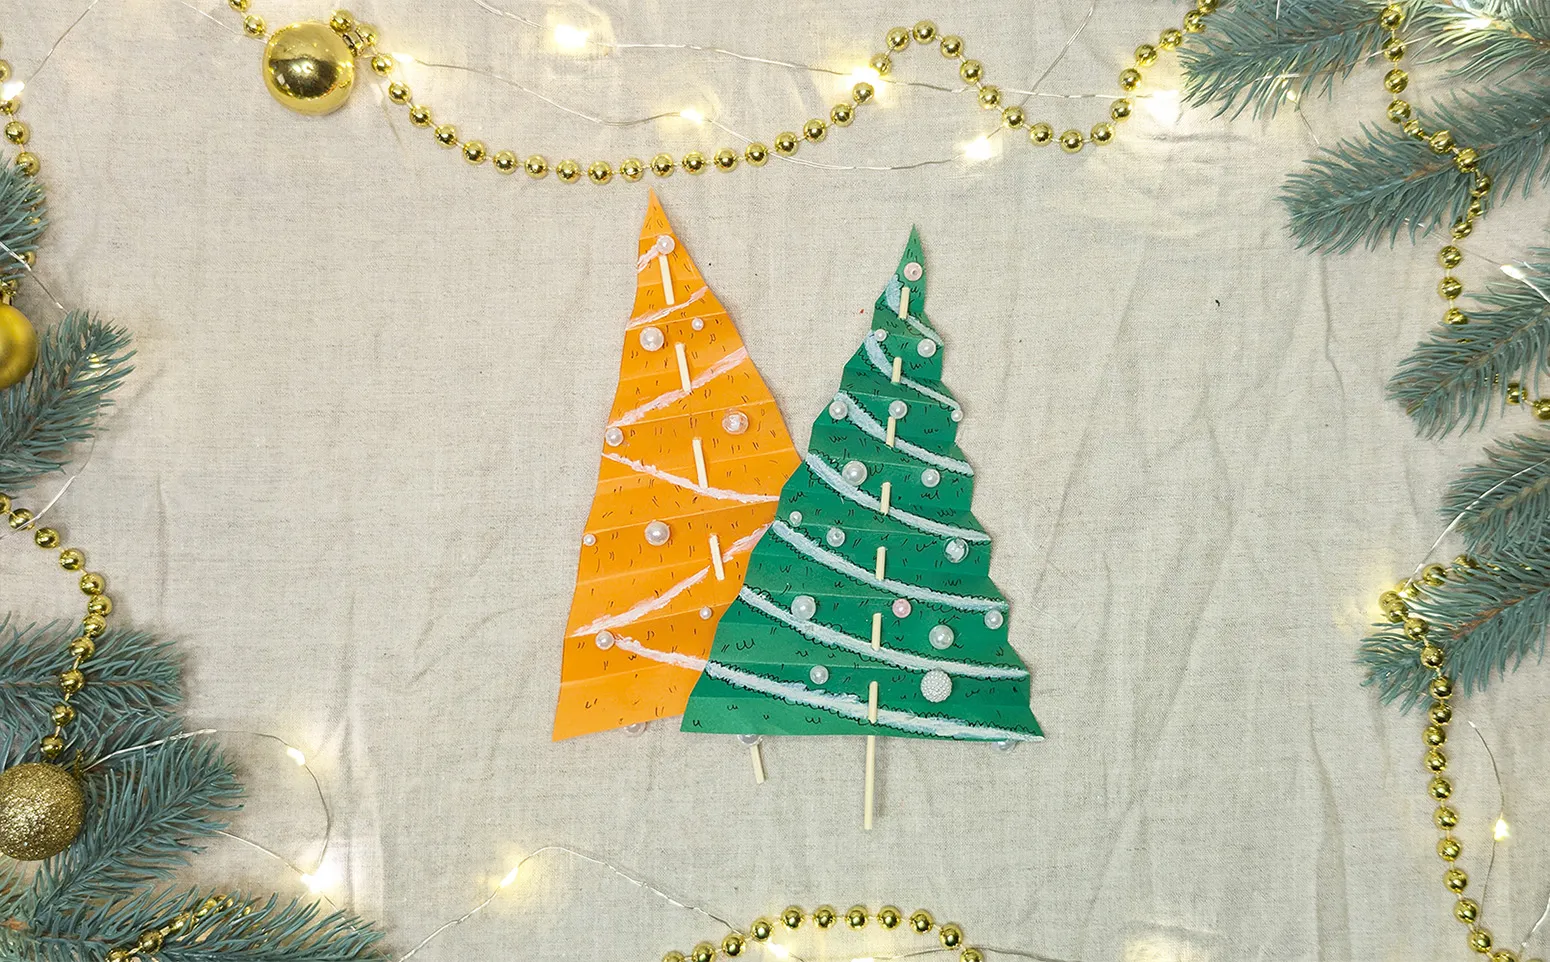
The Christmas tree is complete!
If you followed the steps, you have created a wonderful crafting project. The little tree can be placed on a stand or inserted into the soil in the garden or in flower pots. The simplicity of the execution allows you and your child to create many variations by using different paper colors and decorations. Make a whole forest of little trees or give them as gifts to grandparents, friends in kindergarten - a great gift for the holidays.
Conclusion
Thank you for taking the time for this creative activity! On our portal, you will find numerous video tutorials and articles on creating various crafts. We have materials for both the youngest and older children - everyone will find something interesting.
Send us photos of your crafts! We look forward to sharing them on the website or on social networks. I'm sure the child will be happy to see their work, and their creativity will inspire others to create their own projects.
We wish you Merry Christmas and a Happy New Year!
From Vitalii Shynakov
