3D Christmas tree made of paper: A Christmas crafting activity with children
Do you also like to spend time with your child making Christmas crafts during Christmas time? Then you shouldn't miss our guide for crafting a 3D paper Christmas tree. The winter holidays are a magical time when every family tries to create a cozy atmosphere at home. The scent of mandarins, the twinkling of fairy lights, and of course, the decorated Christmas tree - all are inseparable attributes of Christmas and New Year. But what could be better than decorating the house with homemade crafts?
Creating Christmas decorations with children is a great way to decorate the house and spend time together. Crafts develop the child's creative skills and create warm memories that will last for years. A simple 3D paper Christmas tree is the perfect choice for creative family time.
Why should you craft a 3D paper Christmas tree?
- It's a fun activity for the whole family
- It develops the child's fine motor skills and creative abilities
- The decoration will be unique and have its own character
- The process does not require complicated materials or skills
- The finished craft will be a wonderful gift or decoration for home
Creating a simple 3D paper Christmas tree
Today we will craft a simple 3D paper Christmas tree - a great craft for children of all ages. The activity is even suitable for the little ones and does not require complicated materials or actions. Children will have fun cutting out, painting, and decorating the tree, and you can help with the more precise steps to ensure the end result looks fantastic.
The 3D paper Christmas tree is very simple and easy to make, it can be completed in a short time preventing the child from losing interest. The craft is suitable for children aged 5 and older. If the child is very young, you should prepare the more difficult elements like cut-out tree templates in advance. This speeds up the process and makes it more interesting for the child, without focusing attention on complicated steps.

Materials and Tools
For creating the 3D paper Christmas tree, not many materials are needed. Everything you need is easy to find at home or in the nearest store, and most items are very affordable.
For the work, we will need:
- One sheet of white or colored paper (A4)
- Scissors
- Pencil
- Ruler
- Glue stick
- Colored markers or crayons for decorating
- Cardboard for the base (optional)
All materials are simple and accessible, you do not have to spend much time searching. The simplicity and speed allow you to create several trees at once, which can be especially exciting for children. Such a set of materials allows you to unleash your imagination and give each decoration an individual touch.
Step-by-Step Guide to Creating the 3D paper Christmas tree
Step 1: Preparing the Paper
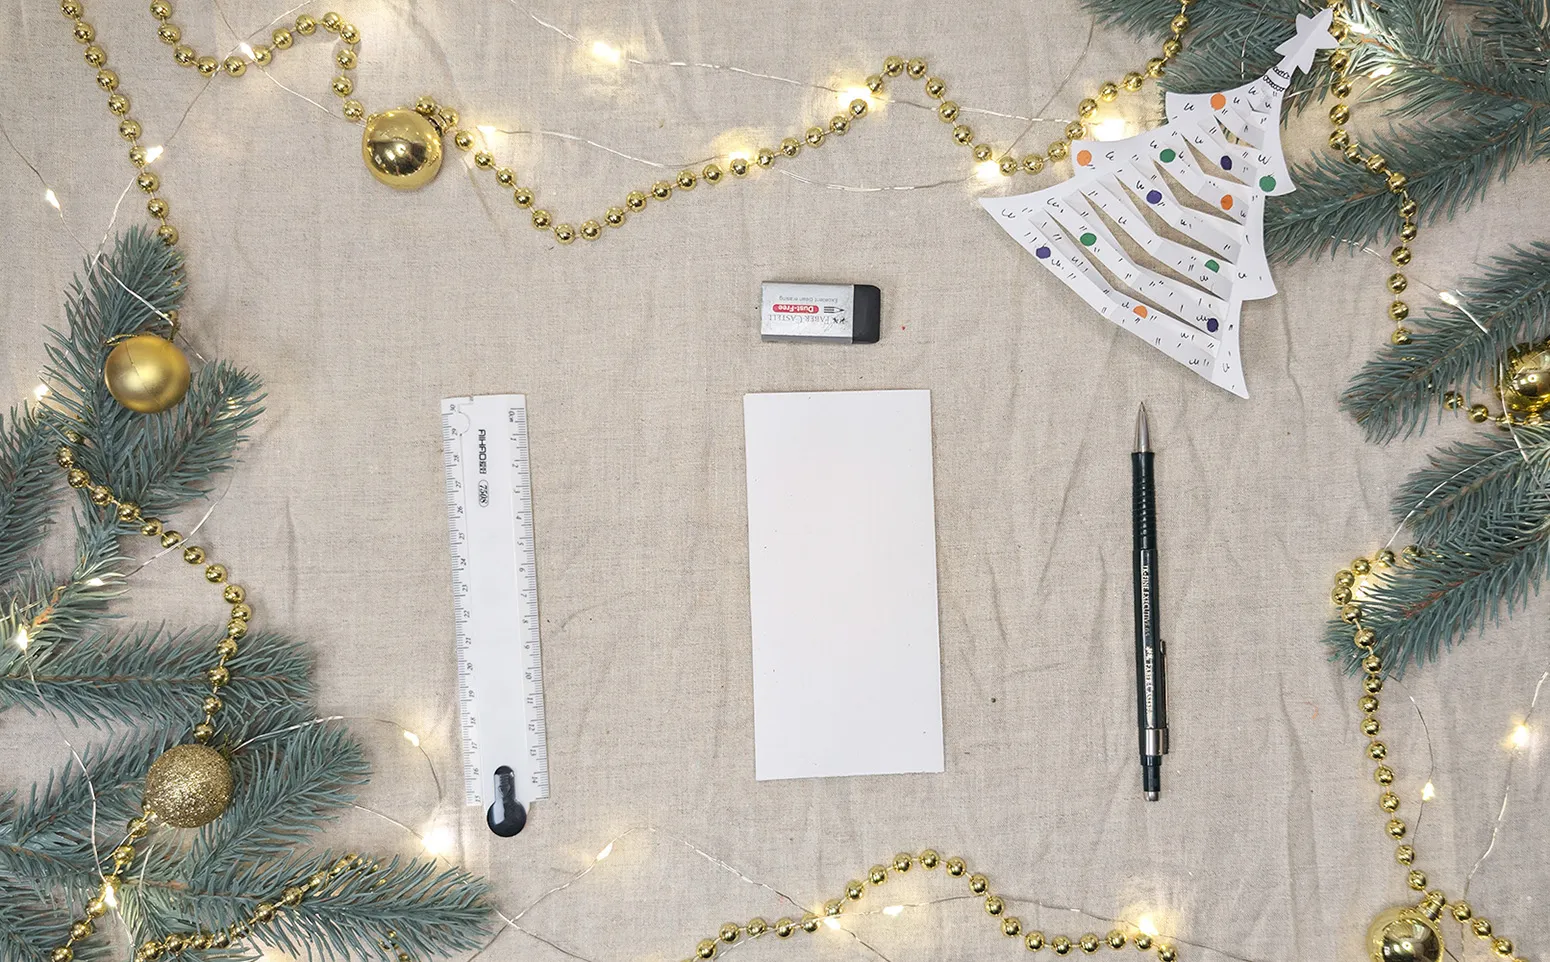
Take an A4 sheet of paper or a square. If you want your tree to be colored, use green paper. Fold the sheet gently in half lengthwise to create a long strip. Make sure the crease is straight, as this is important for the next steps.

Step 2: Drawing the Tree Outline
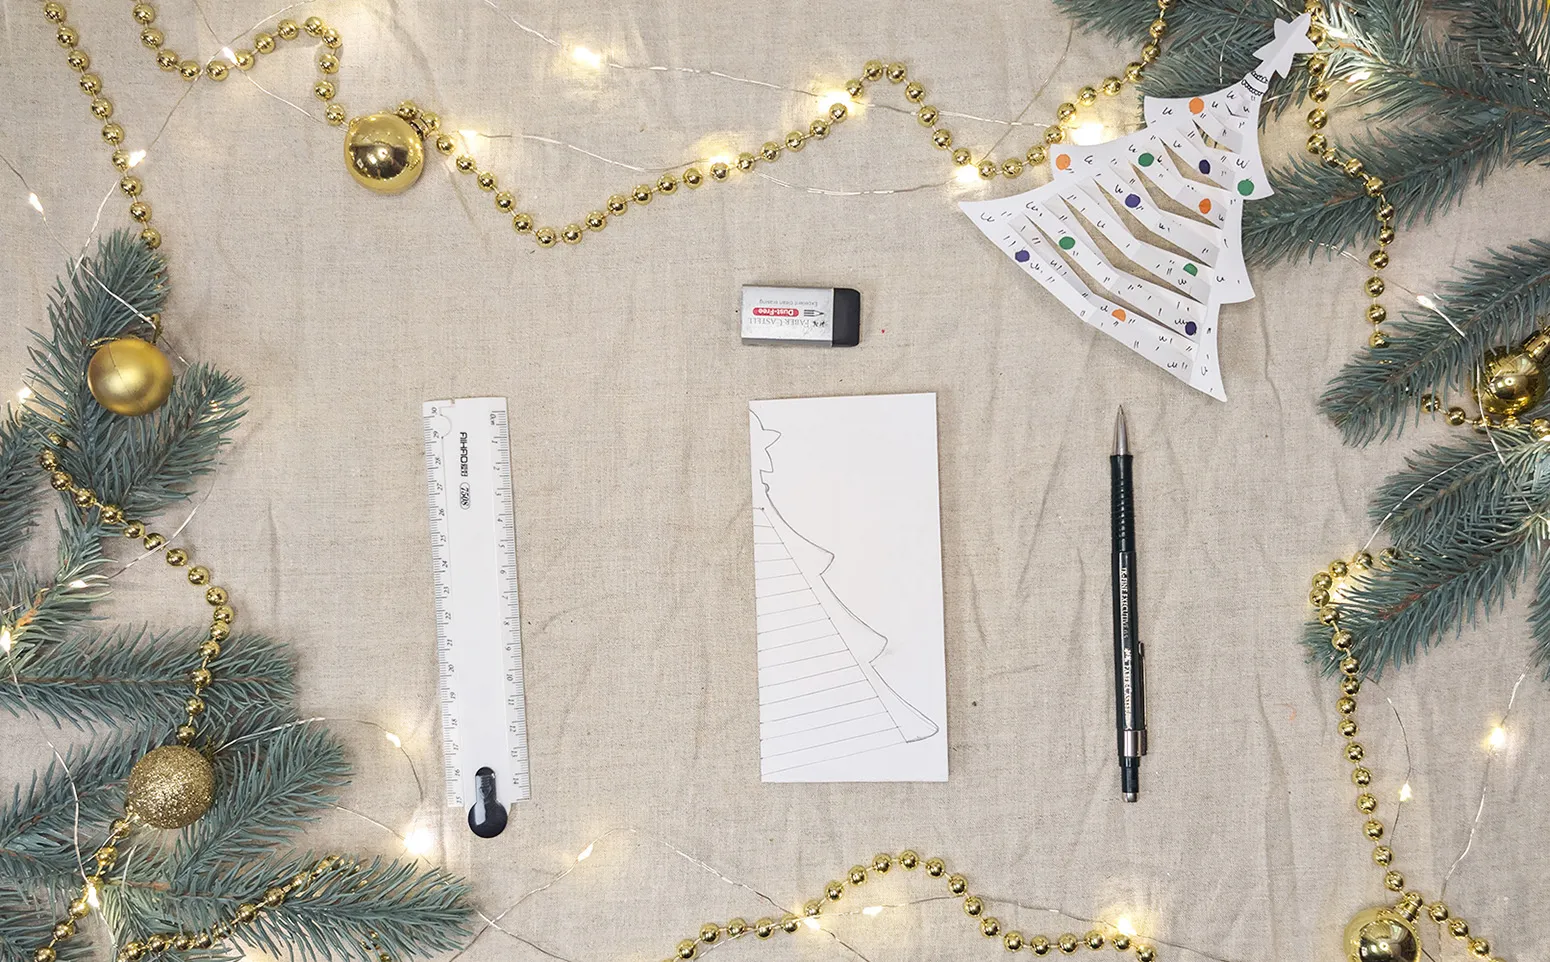
On one side of the folded sheet, draw the outline of the tree. Start at the top and slowly work your way down, creating a stepped shape like a real Christmas tree. Make sure the lines are smooth, and do not forget the trunk connecting to the base.
Step 3: Cutting out the tree
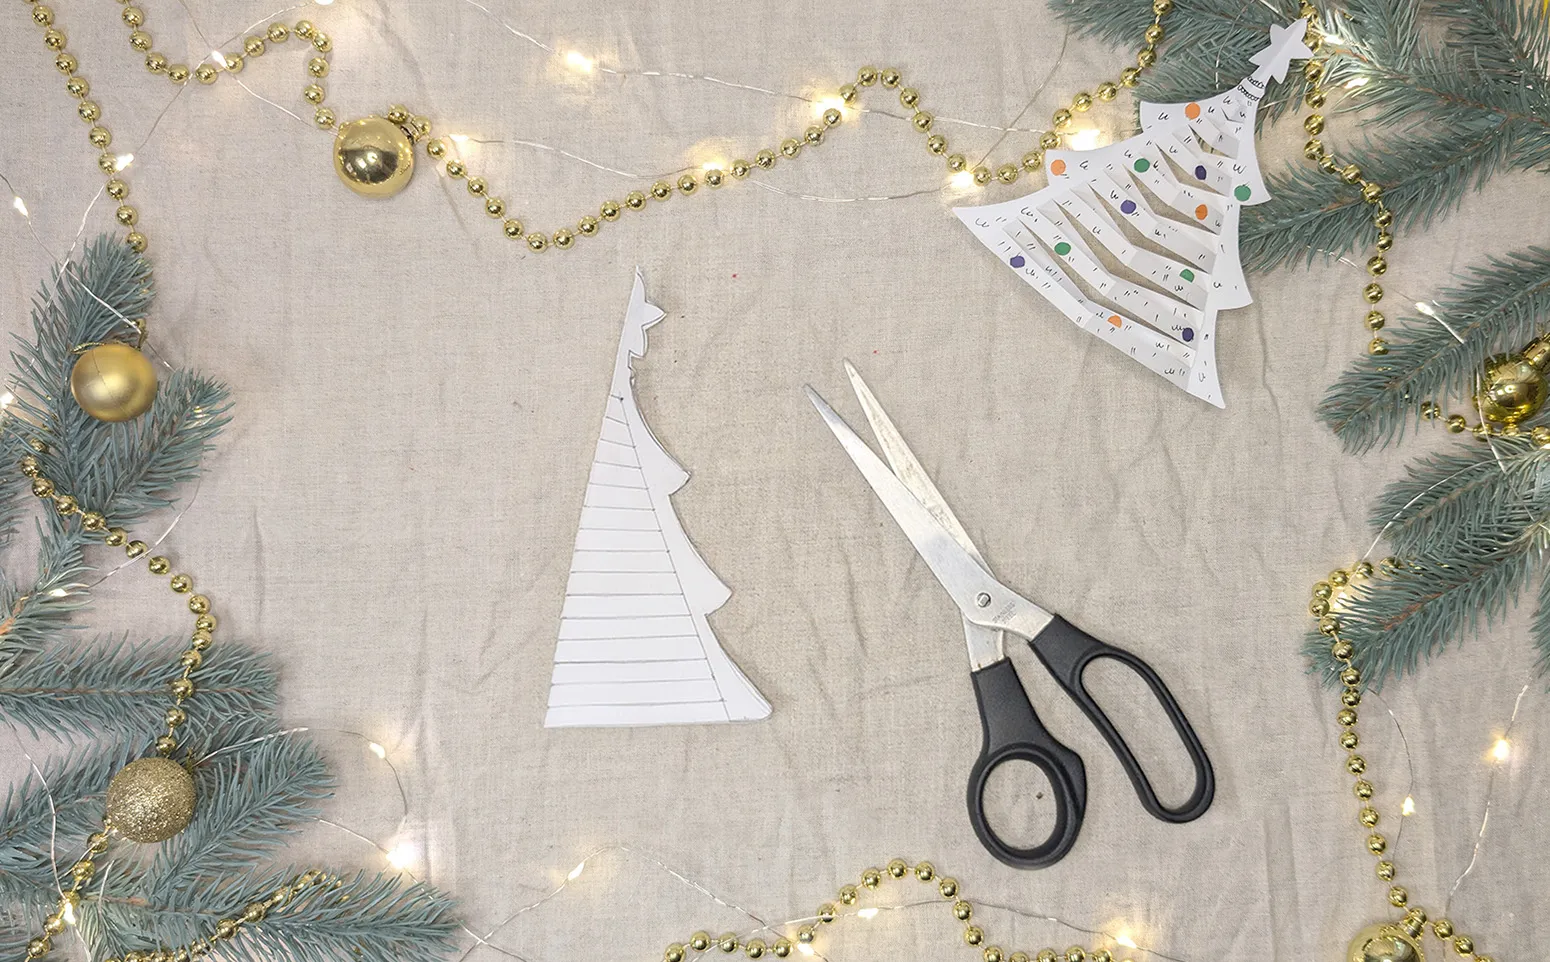
Now that the outline is done, carefully cut it out along the drawn line. Use scissors and try to follow the outline precisely. It's important not to cut through the fold completely, as it is the base connecting the two sides of the tree.
Step 4: Creating volume
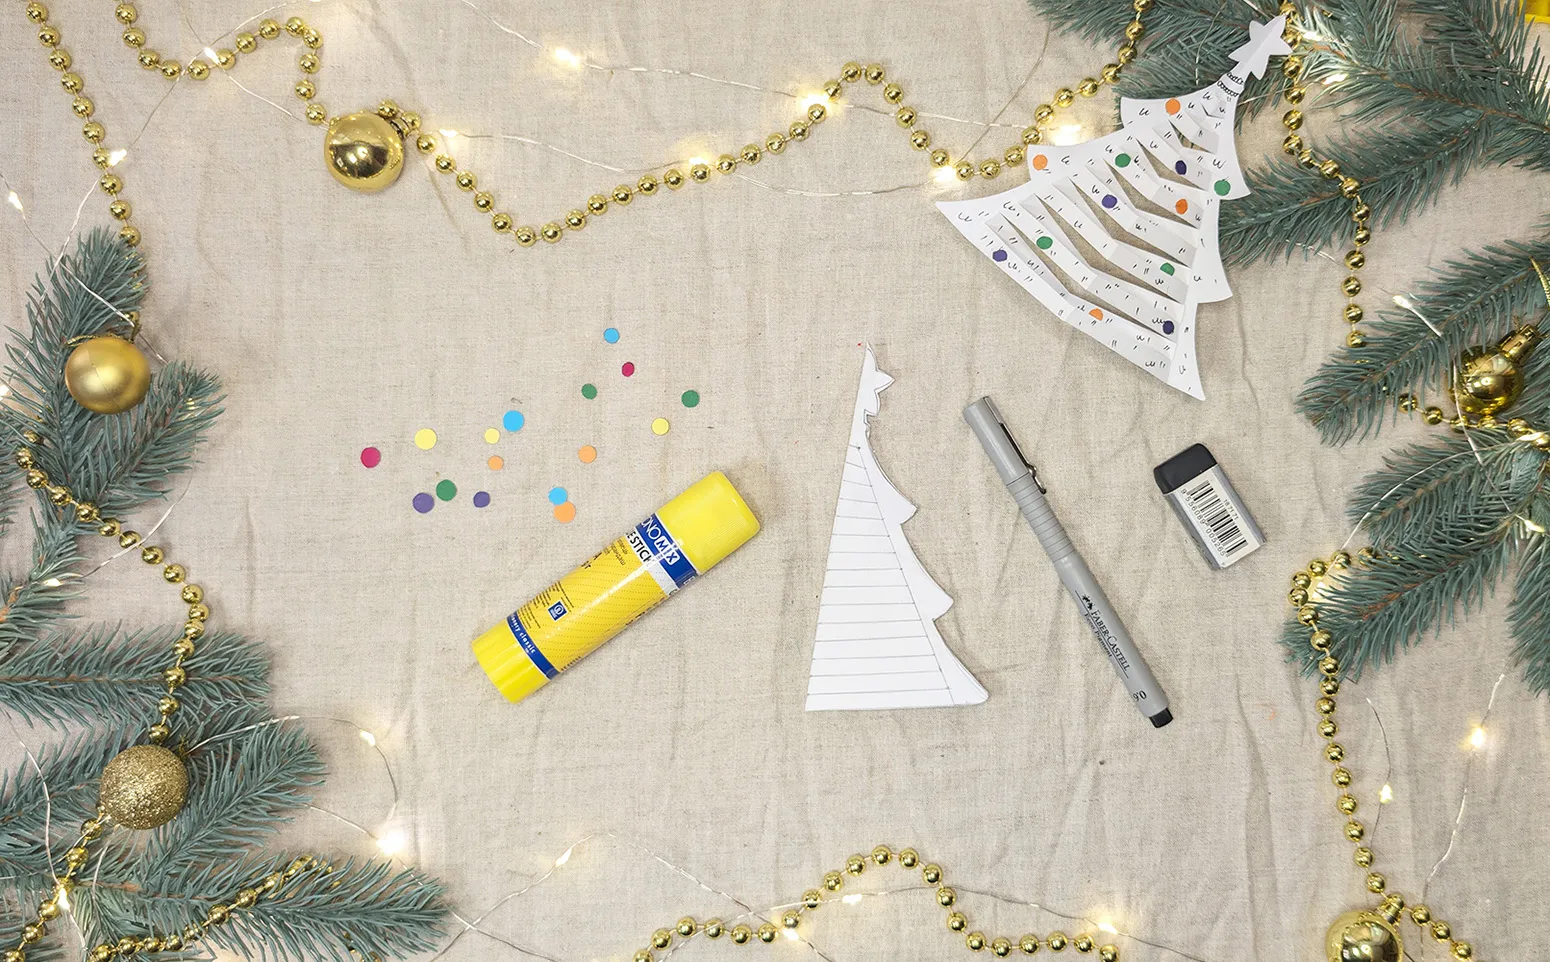
To make the tree three-dimensional, you need to cut it into strips. Start at the top and work your way down, making small cuts along the fold without going all the way to the edge. The strips should be even, so the tree will look neat.
Step 5: Decorating the tree
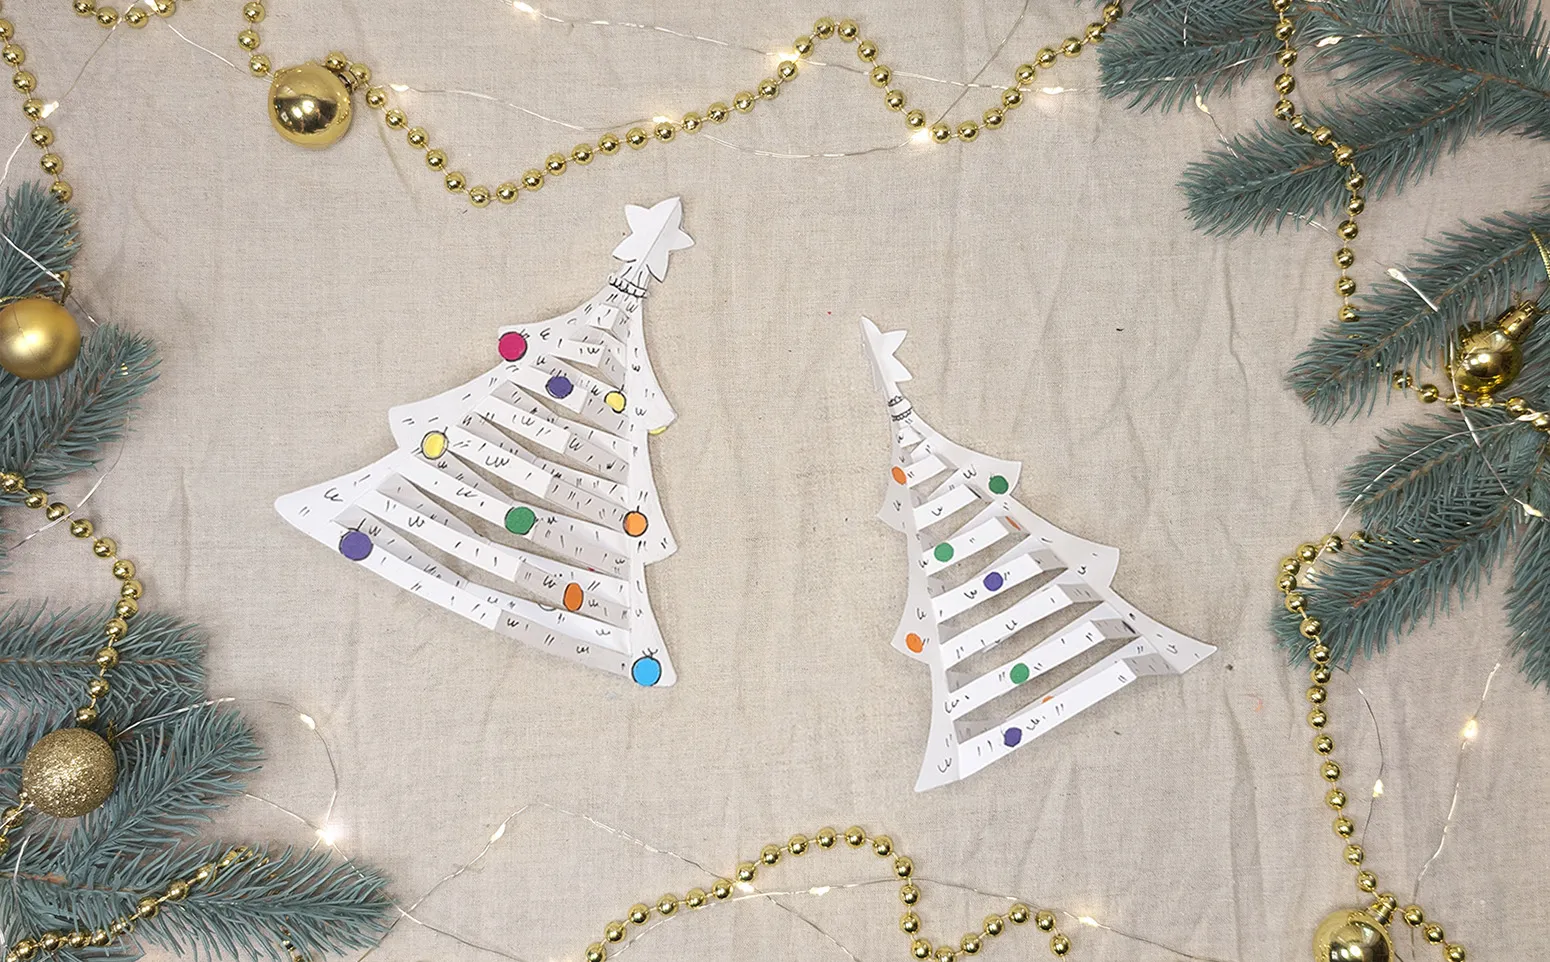
Once the tree is cut out and ready, start decorating. You can use felt-tip pens, colored pencils, or stickers to add Christmas balls, garlands, and a star at the top. This is the most fun and creative phase where you can let your imagination run wild.
Step 6: Transforming the tree into 3D
Now that the tree is decorated, it's time to give it volume. Gently fold the cut strips to the side. Bend them with your fingers to make each strip voluminous. This way, the flat paper tree will become three-dimensional and stable.
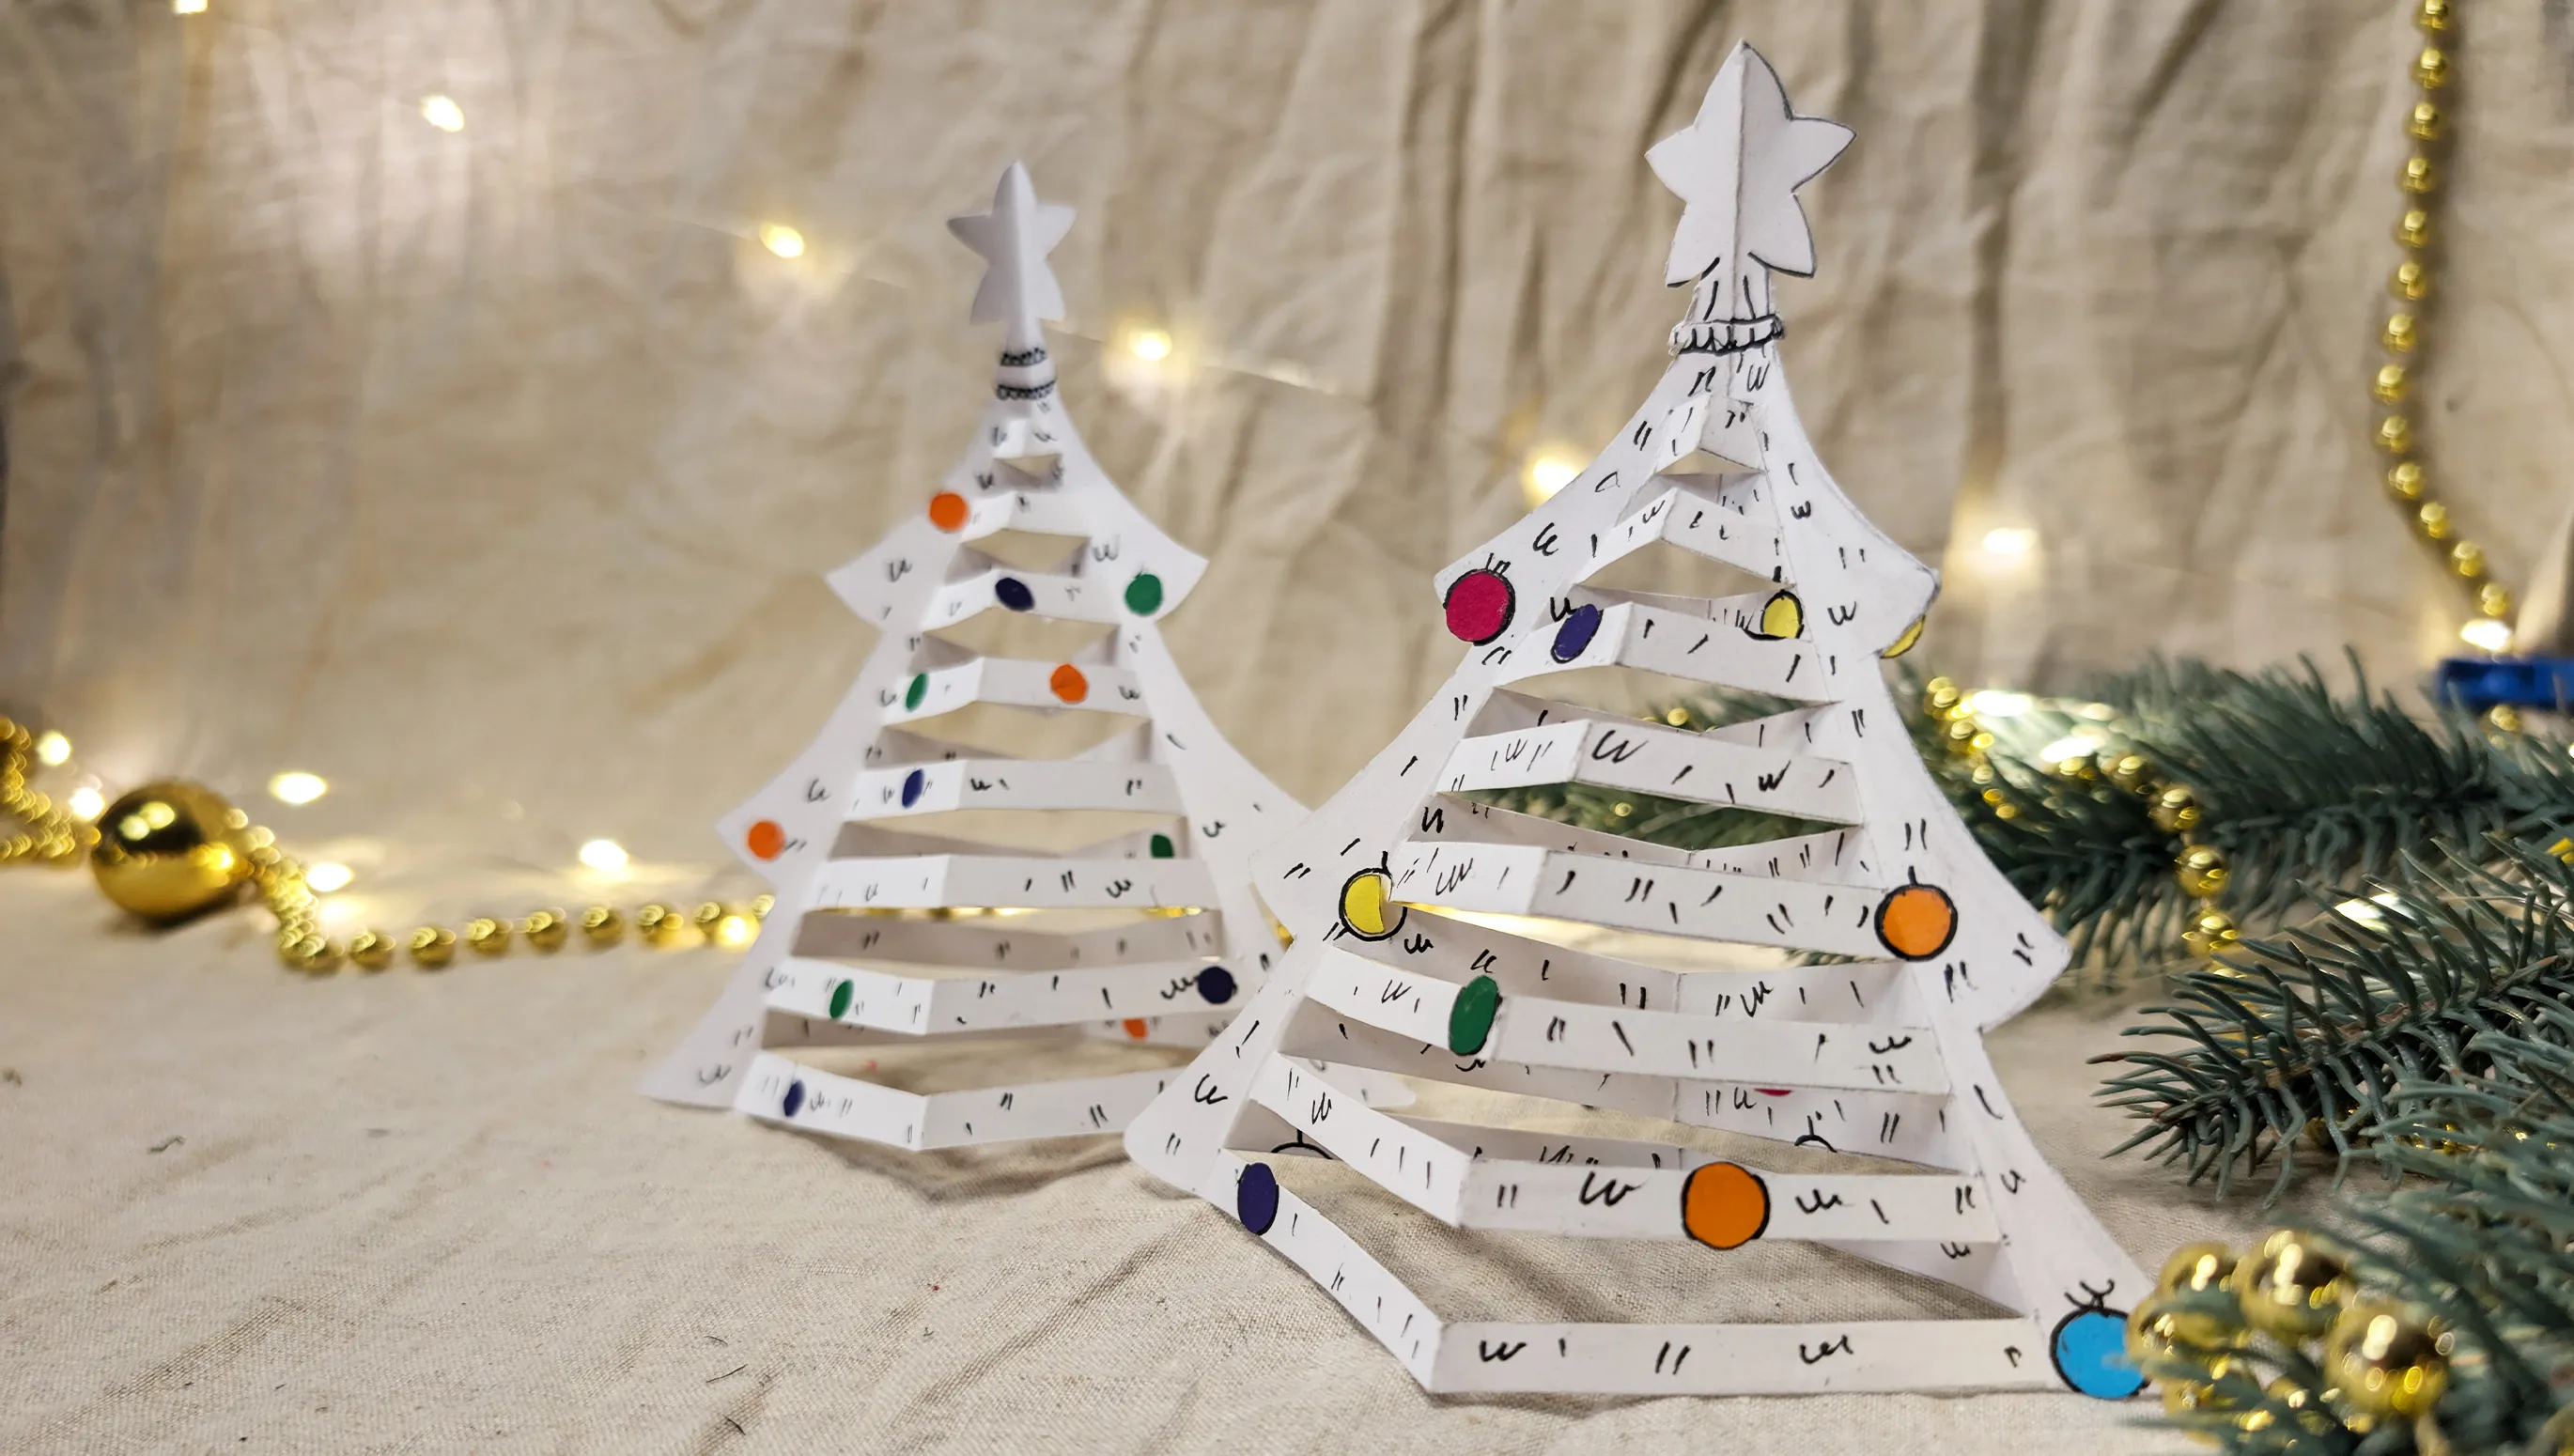
Congratulations! Now you are holding a beautiful 3D paper Christmas tree in your hands, created with love and imagination. This decoration will surely bring joy to you and your loved ones and create a cozy atmosphere at home. Imagine how festive your tree will look on the holiday table or among other decorations. Handmade crafts always bring a special mood, especially when created together with children.
Every year, more and more people choose to decorate their homes with handmade crafts. Such elements create coziness and give the celebration a special atmosphere. I am sure that when your children grow up, they will want to continue this tradition. They will create crafts together with their families and remember the wonderful evenings of creative work with you.
Closing words
Thank you for spending this time with us! I hope our simple 3D paper Christmas tree was a wonderful start to your Christmas crafting. Don't stop - there are so many interesting ideas for festive crafts in the world!
I wish you a magical Christmas season and a happy new year! May your home always be warm, cozy, and cheerful!
From Vitalii Shynakov
