Envelope for Christmas cards: A crafting guide for children
Hello dear reader! I'm glad that you also enjoy crafting with your child. That's why I have prepared for you a step-by-step guide on how you can create a festive envelope for cards yourself. Crafting with children can be a great way to decorate the house. And in my opinion, the most important thing is to spend time together and create warm memories for many years to come.
This year, we suggest making colorful and unusual Christmas envelopes. This is an easy craft that is suitable even for the youngest artists. The process of crafting develops the child's fine motor skills and teaches them to think creatively, show imagination, and work carefully. Additionally, such items always look very cute and can decorate your home, serve as a beautiful wrapping for a letter or card, or even be a nice gift for loved ones.
Crafting Christmas envelopes is a fun activity that does not require complicated materials or special skills. Everything you need can be found at home or purchased from the nearest store.
Crafting a festive envelope together with the child
Today, we will be crafting a unique Christmas envelope in the shape of an elf. This craft is excellent for children aged 5 and older, as it does not require complicated materials or tools. It is important for parents to assist in some steps, such as handling scissors and glue.
This craft is suitable for both holidays and gifts because every child can bring their own personality into it. Prepare the materials in advance to ensure a smooth process and assist younger artists with steps that require precision.
Safety Rules
- Sharp Objects: When working with scissors, make sure the child uses them under your supervision. For younger children, you can provide scissors with blunt ends.
- Glue: Ensure that the glue used is child-safe. It is best to use a glue stick to avoid any liquid getting on the child's hands and face.
These simple precautions help prevent injuries and make the process enjoyable and safe.
Materials Needed
For crafting the Christmas envelope, we need:
- Colored paper (green, yellow, black)
- A white sheet as the base
- Scissors
- Glue stick
- Ruler
- Markers or colored pencils for decorating
The materials can be found at home or in any nearby stationery store, so you won't need to spend much time searching.
Steps for Crafting the "Elf" Christmas Envelope
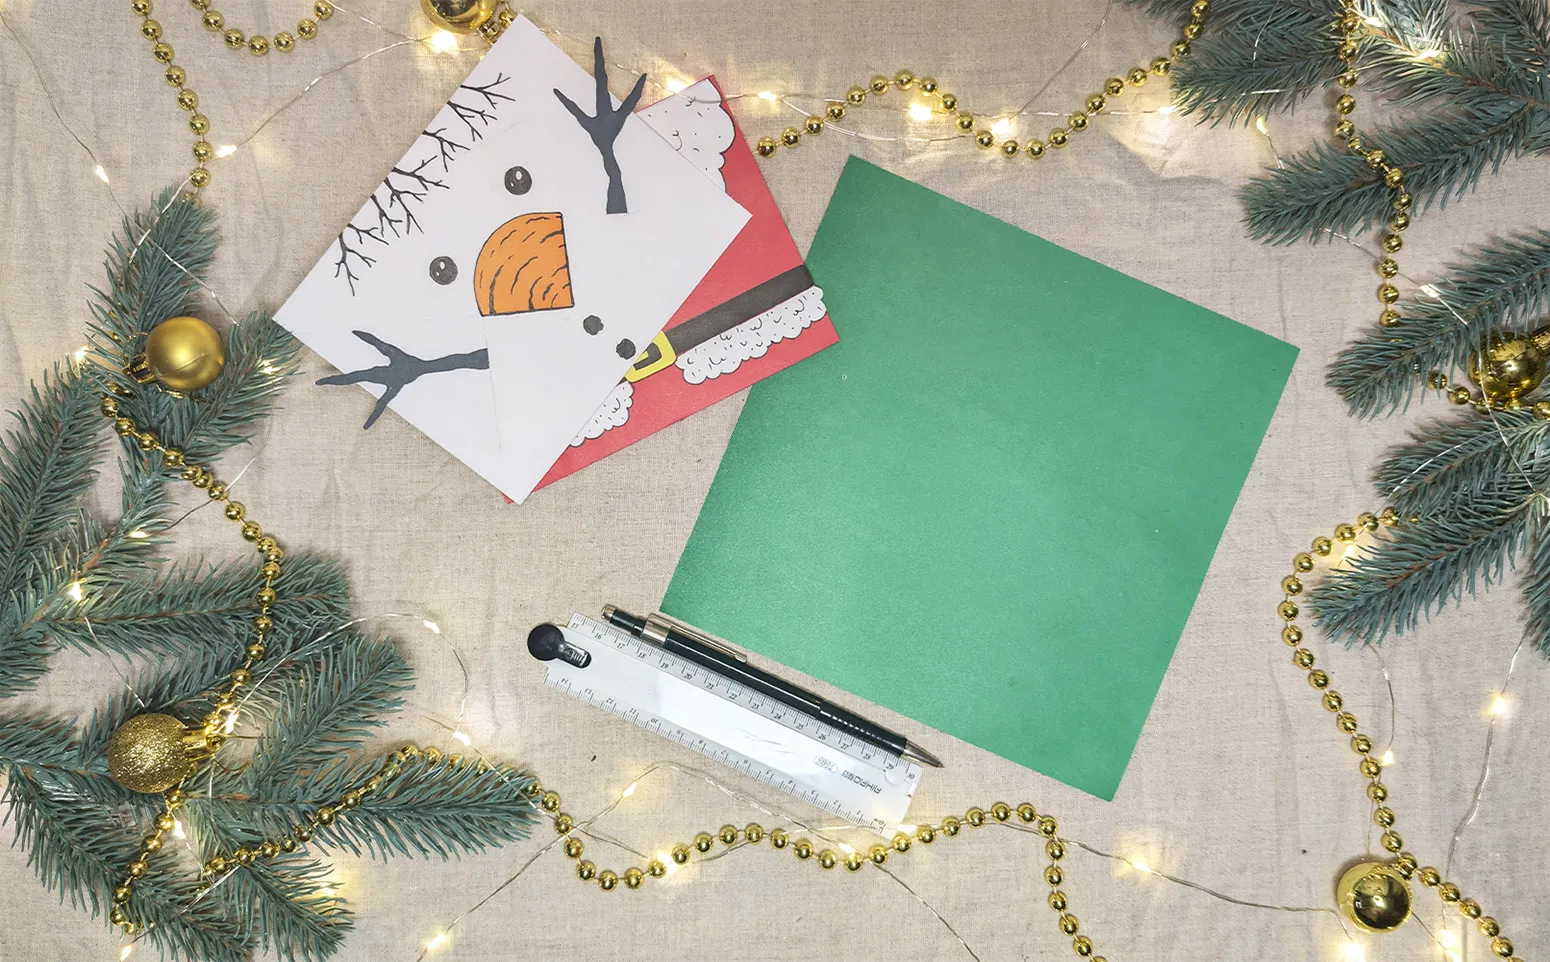
Step 1: Cut out a Square
Let's start by preparing the base of our envelope. Take a green sheet of paper and draw a square using a ruler. Choose the size of the sides depending on how large you want the envelope to be, but I recommend 20x20 cm - this size is suitable for a standard card. The lines should be clear so that everything looks neat when folded.
Step 2: Cut out Triangles
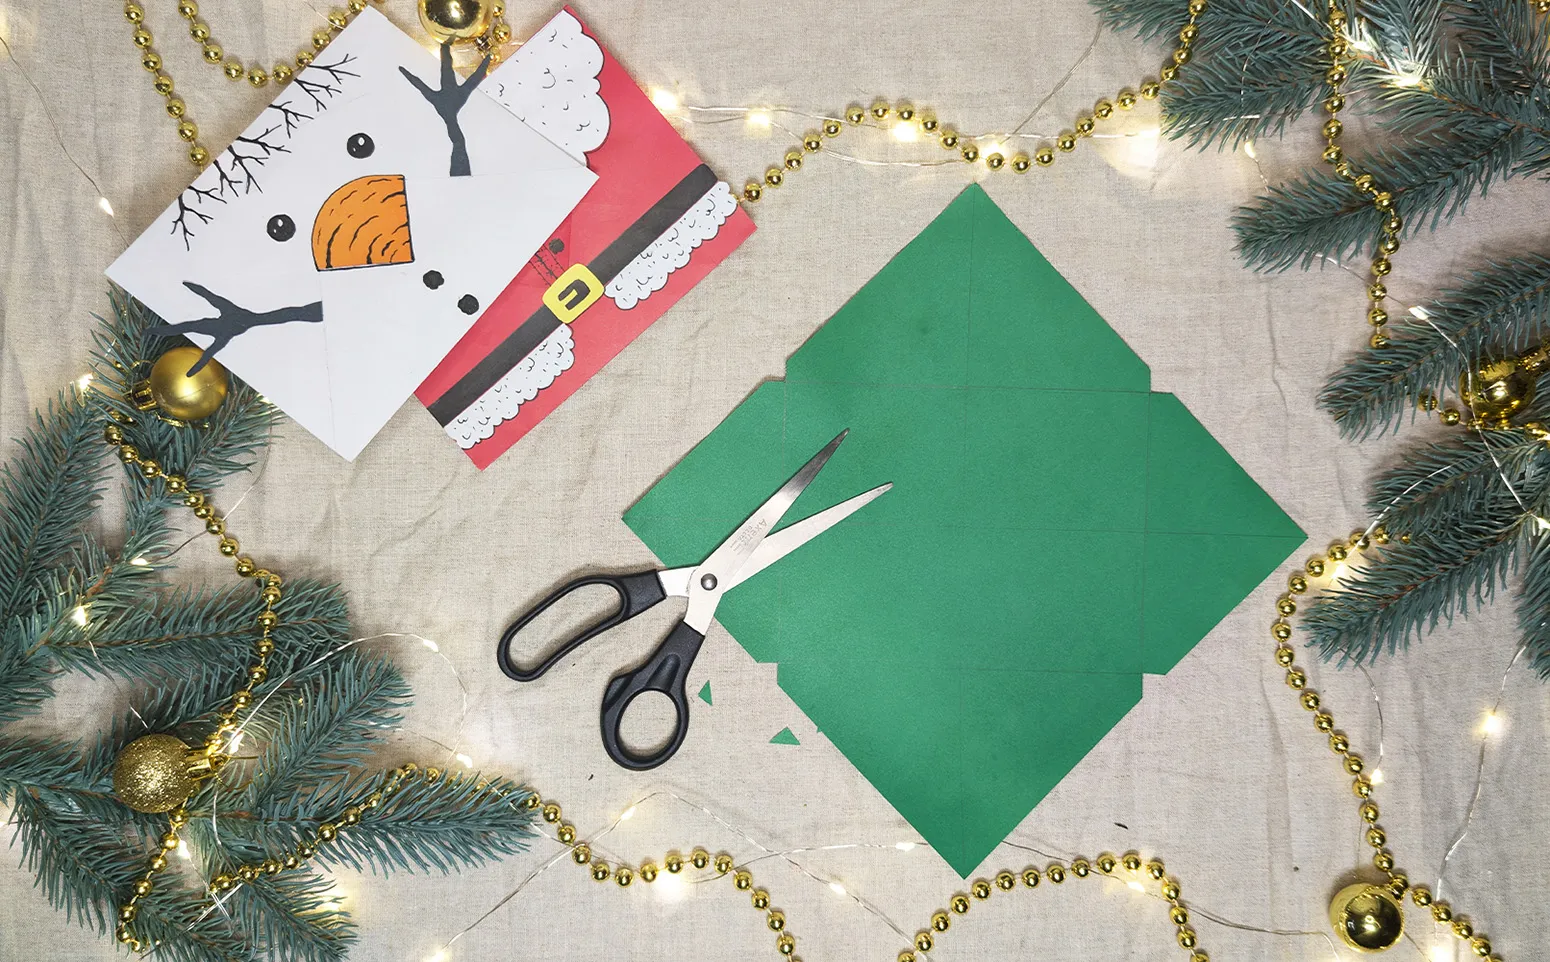
Now take the scissors and carefully cut small triangles from the corners of the sheet, as shown in the photo. This simplifies the process of folding the envelope and makes it neat. Ensure that the triangles are of equal size - this helps avoid irregularities. Then you need to trim a bit of one corner at the bottom - this will be the base of the envelope.
Step 3: Folding and Sticking
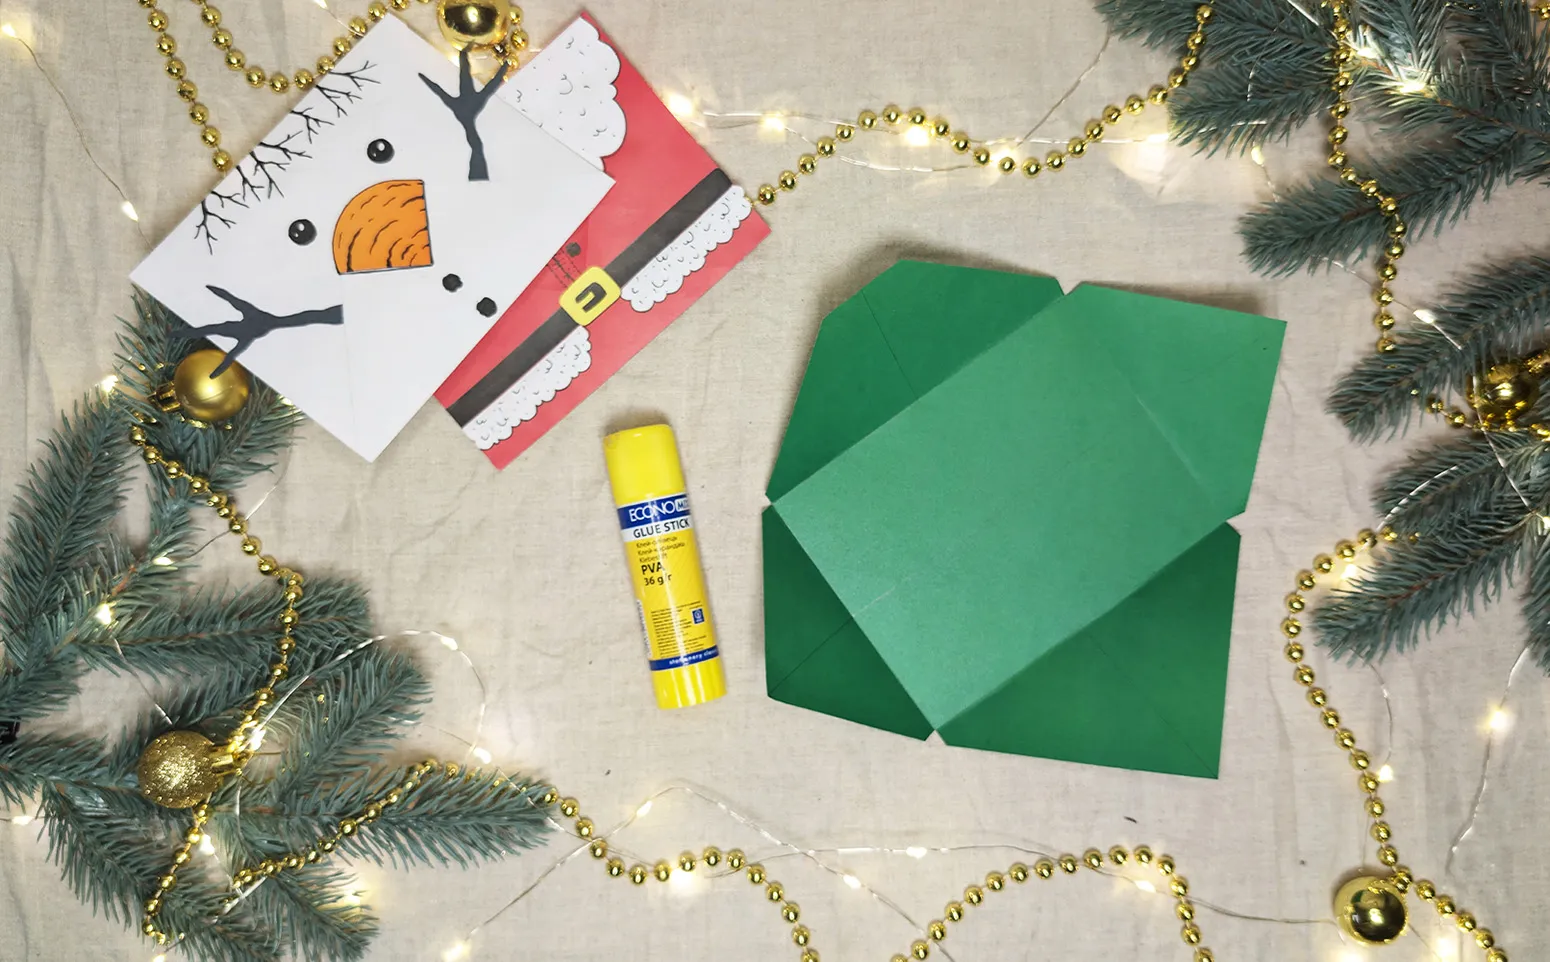
Carefully fold the side and bottom corners inwards as shown in the picture. To ensure the envelope holds its shape well, glue three sides together and leave the top corner open for the letter.
Step 4: Adding Clothing Elements
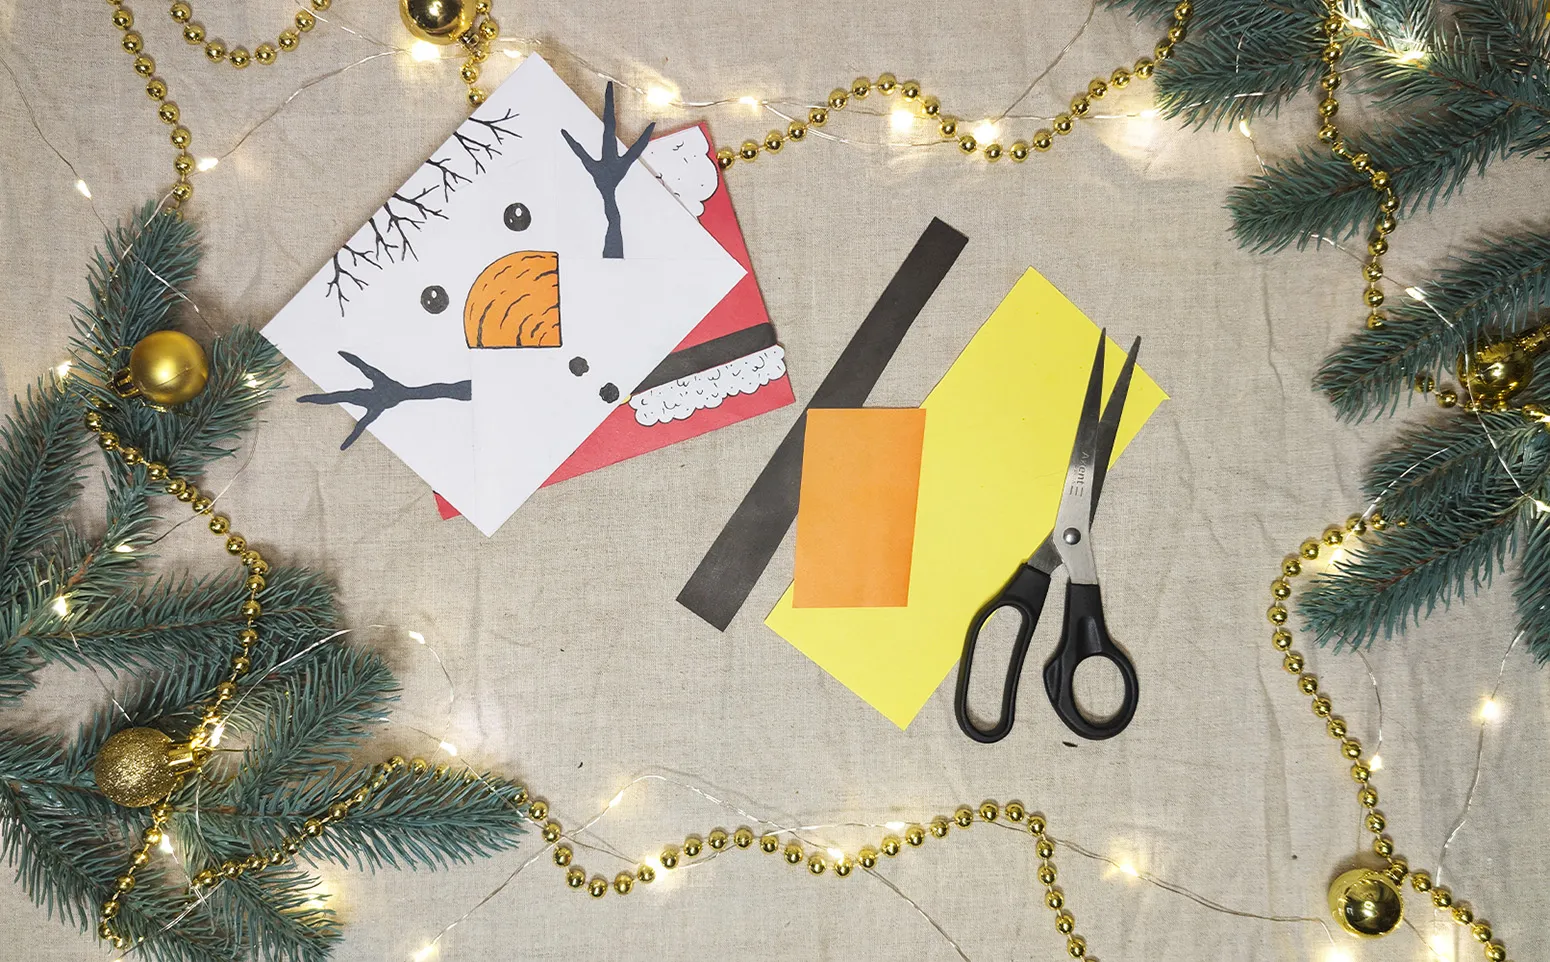
Now comes the fun part - let's decorate our envelope! Cut out elements of the elf clothing from colorful paper (yellow, orange, black). These can be buttons, a belt, a collar, and other details that come to mind. Glue them onto the envelope to make it even more festive.
Tip: Let the child decide which elements to add - this enhances their imagination.
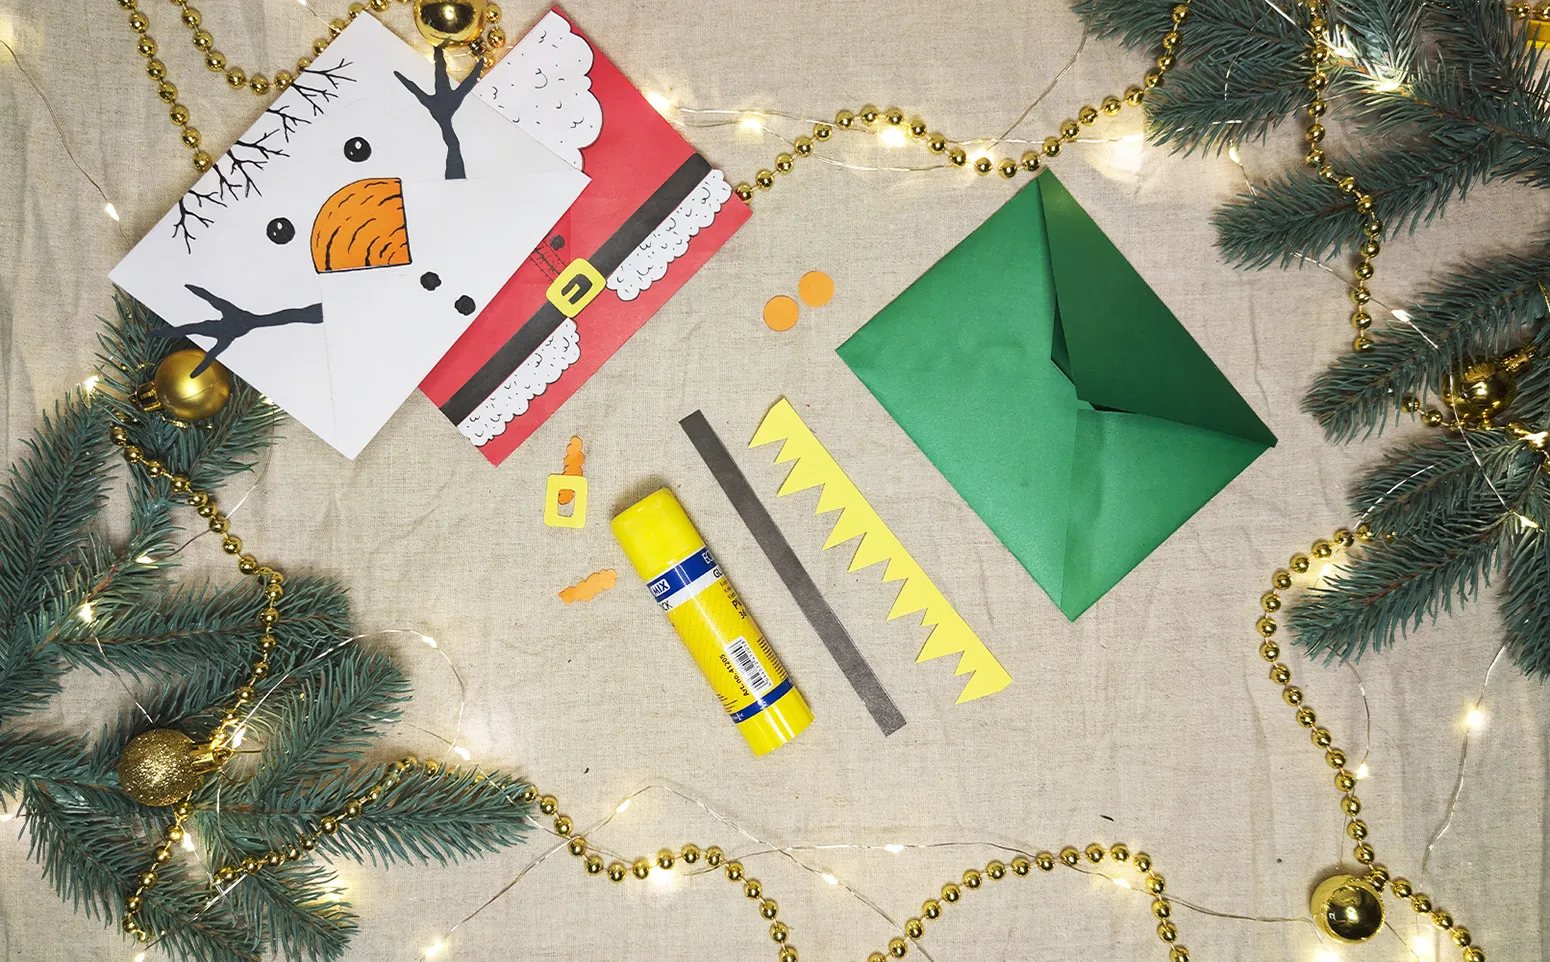
Step 5: Drawing Details
Take markers or felt-tip pens and draw additional elements that give the envelope individuality. These can be small patterns, strokes, or decorative lines. Try to make the drawing neat and straight, and assist the child if needed.
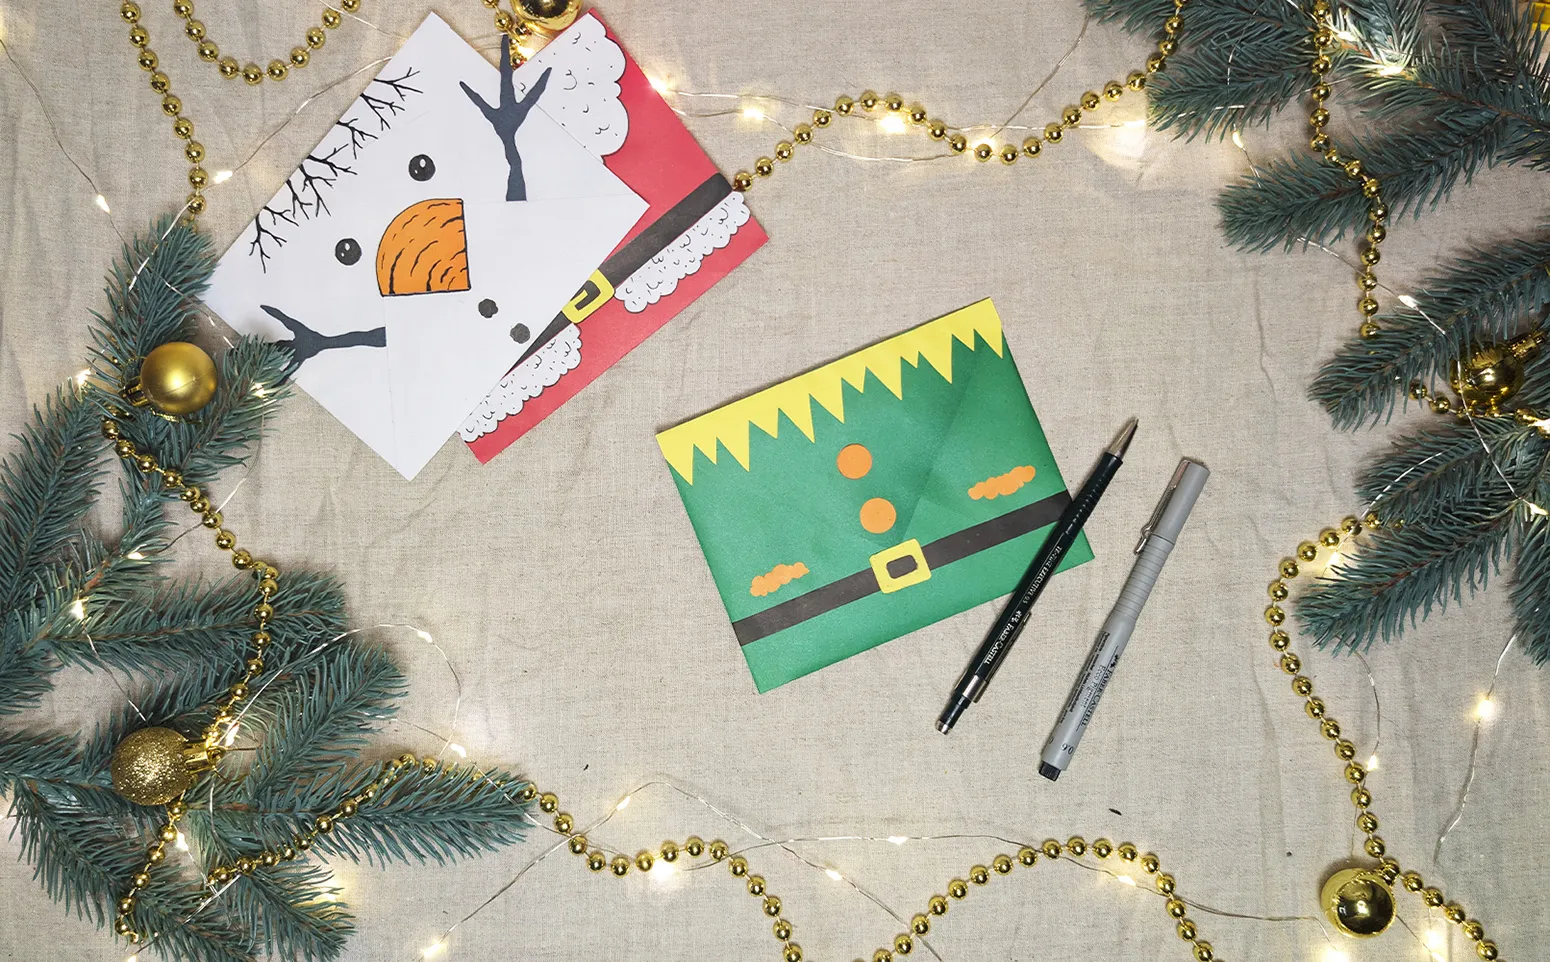
Step 6: Final Assembly
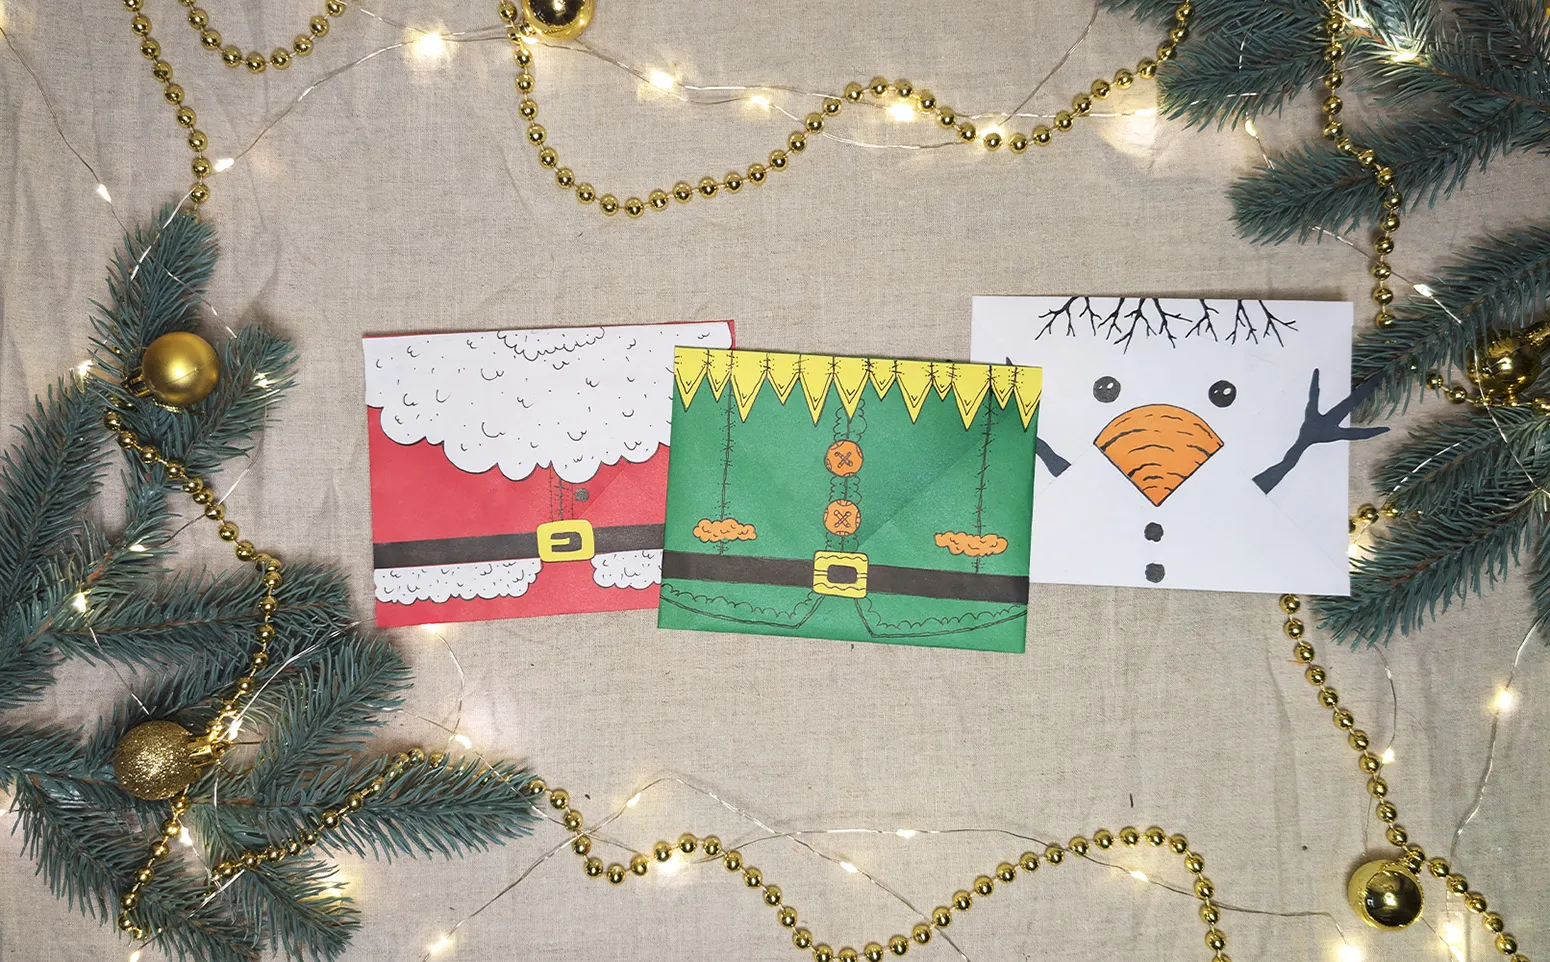
That's it, your festive elf envelope is complete! Now you can insert a letter or card inside, and your Christmas crafting is done. The envelope can be a wonderful gift for friends or family, and the crafting process will bring you and the child many positive emotions.
Conclusion
By following these simple steps, you have crafted a beautiful Christmas envelope with your child. After learning how to do it, you can create a whole collection by changing the paper colors and decoration elements. Make personalized envelopes for friends and family - I'm sure even an empty envelope is already a great gift! (Of course, that was a joke.)
But the most important thing is the good mood that accompanies the creative process. I hope you and your child enjoyed creating this wonderful craft in the form of an elf.
On our portal, you will find a large number of different craft ideas for children on various topics. Choose something interesting and make crafting with your child a wonderful family tradition. Thank you for spending time with us! Send us photos of your crafts, and we will gladly publish them on our website - perhaps they will inspire someone else to create their own masterpieces!
Happy holidays and Merry Christmas!
From Vitalii Shynakov
