Instructions for paper airplane bomber: Instructions with photos and video
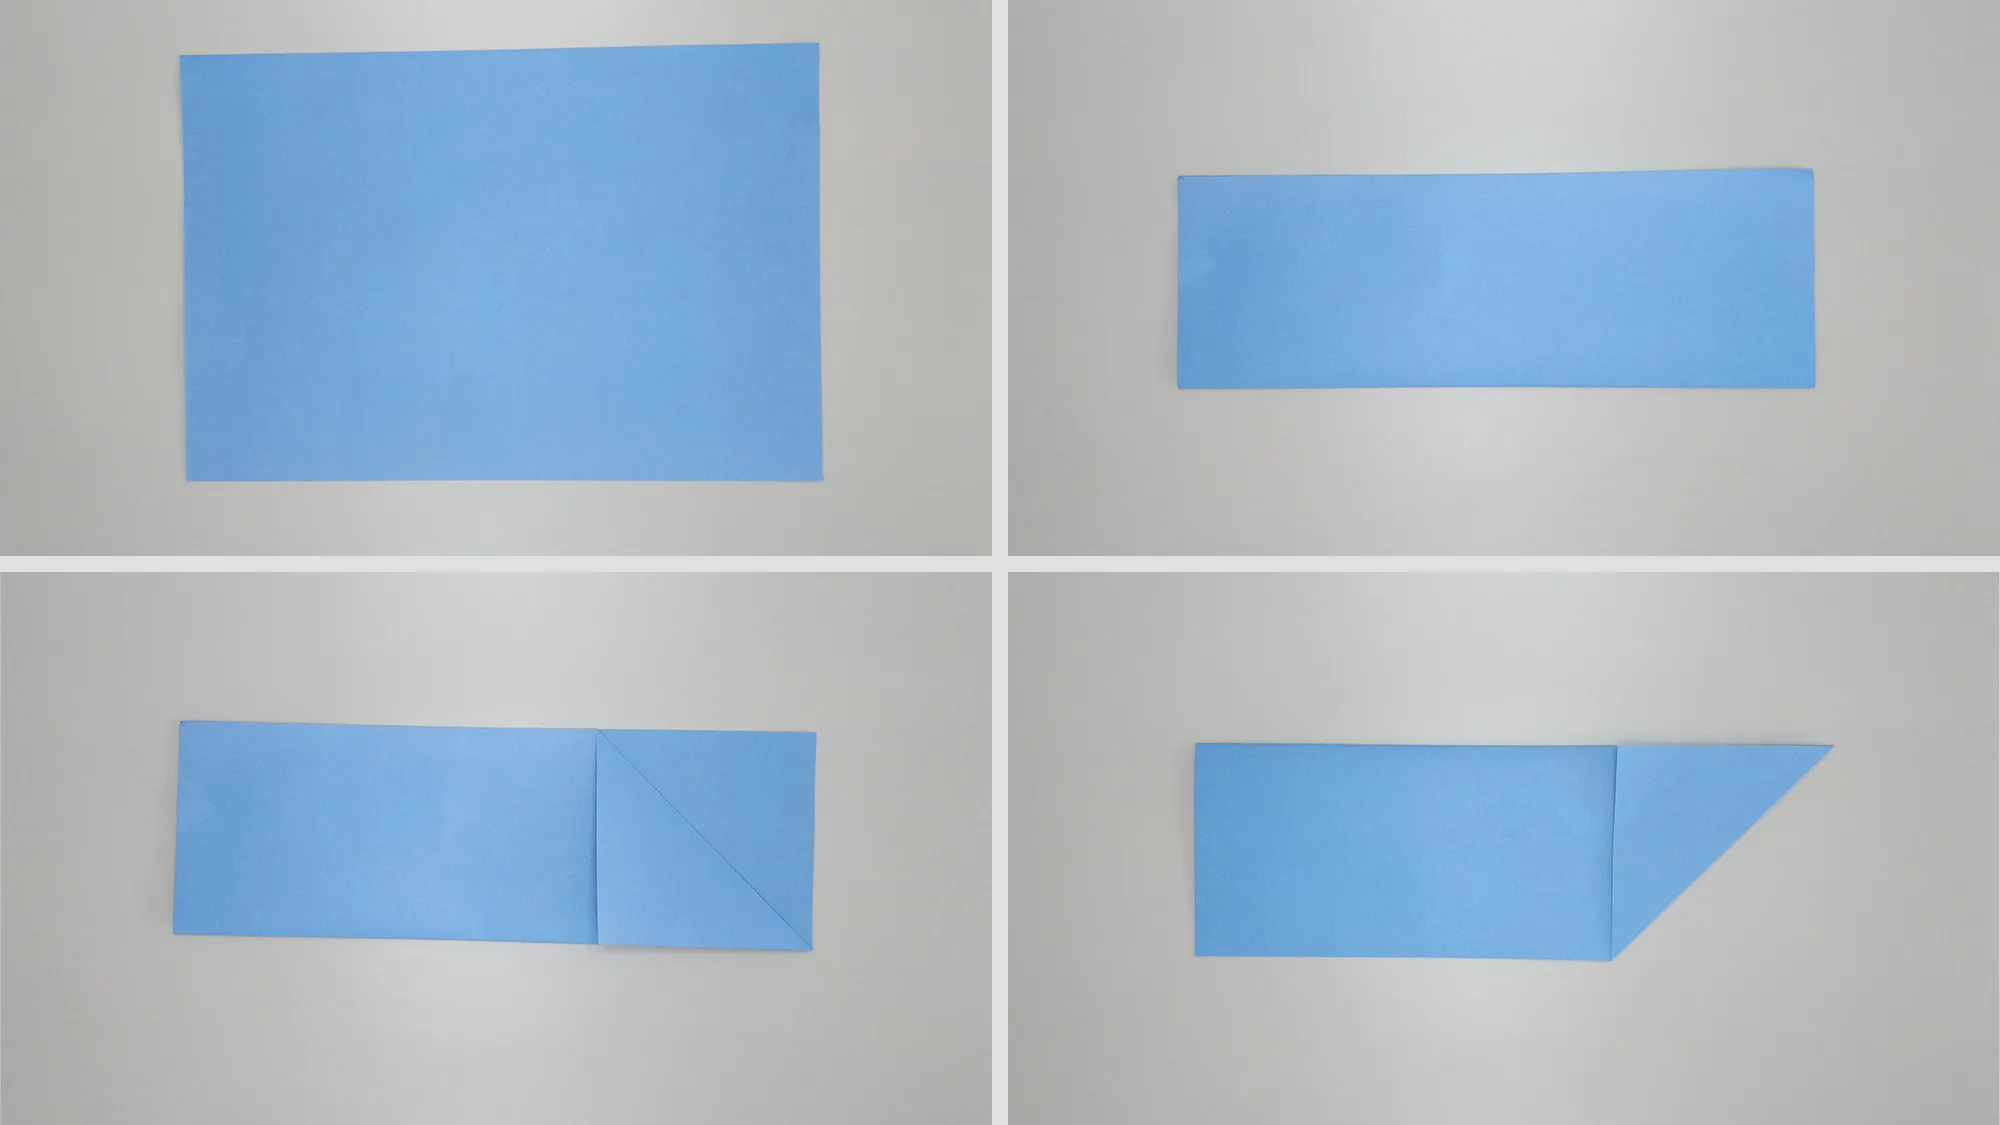
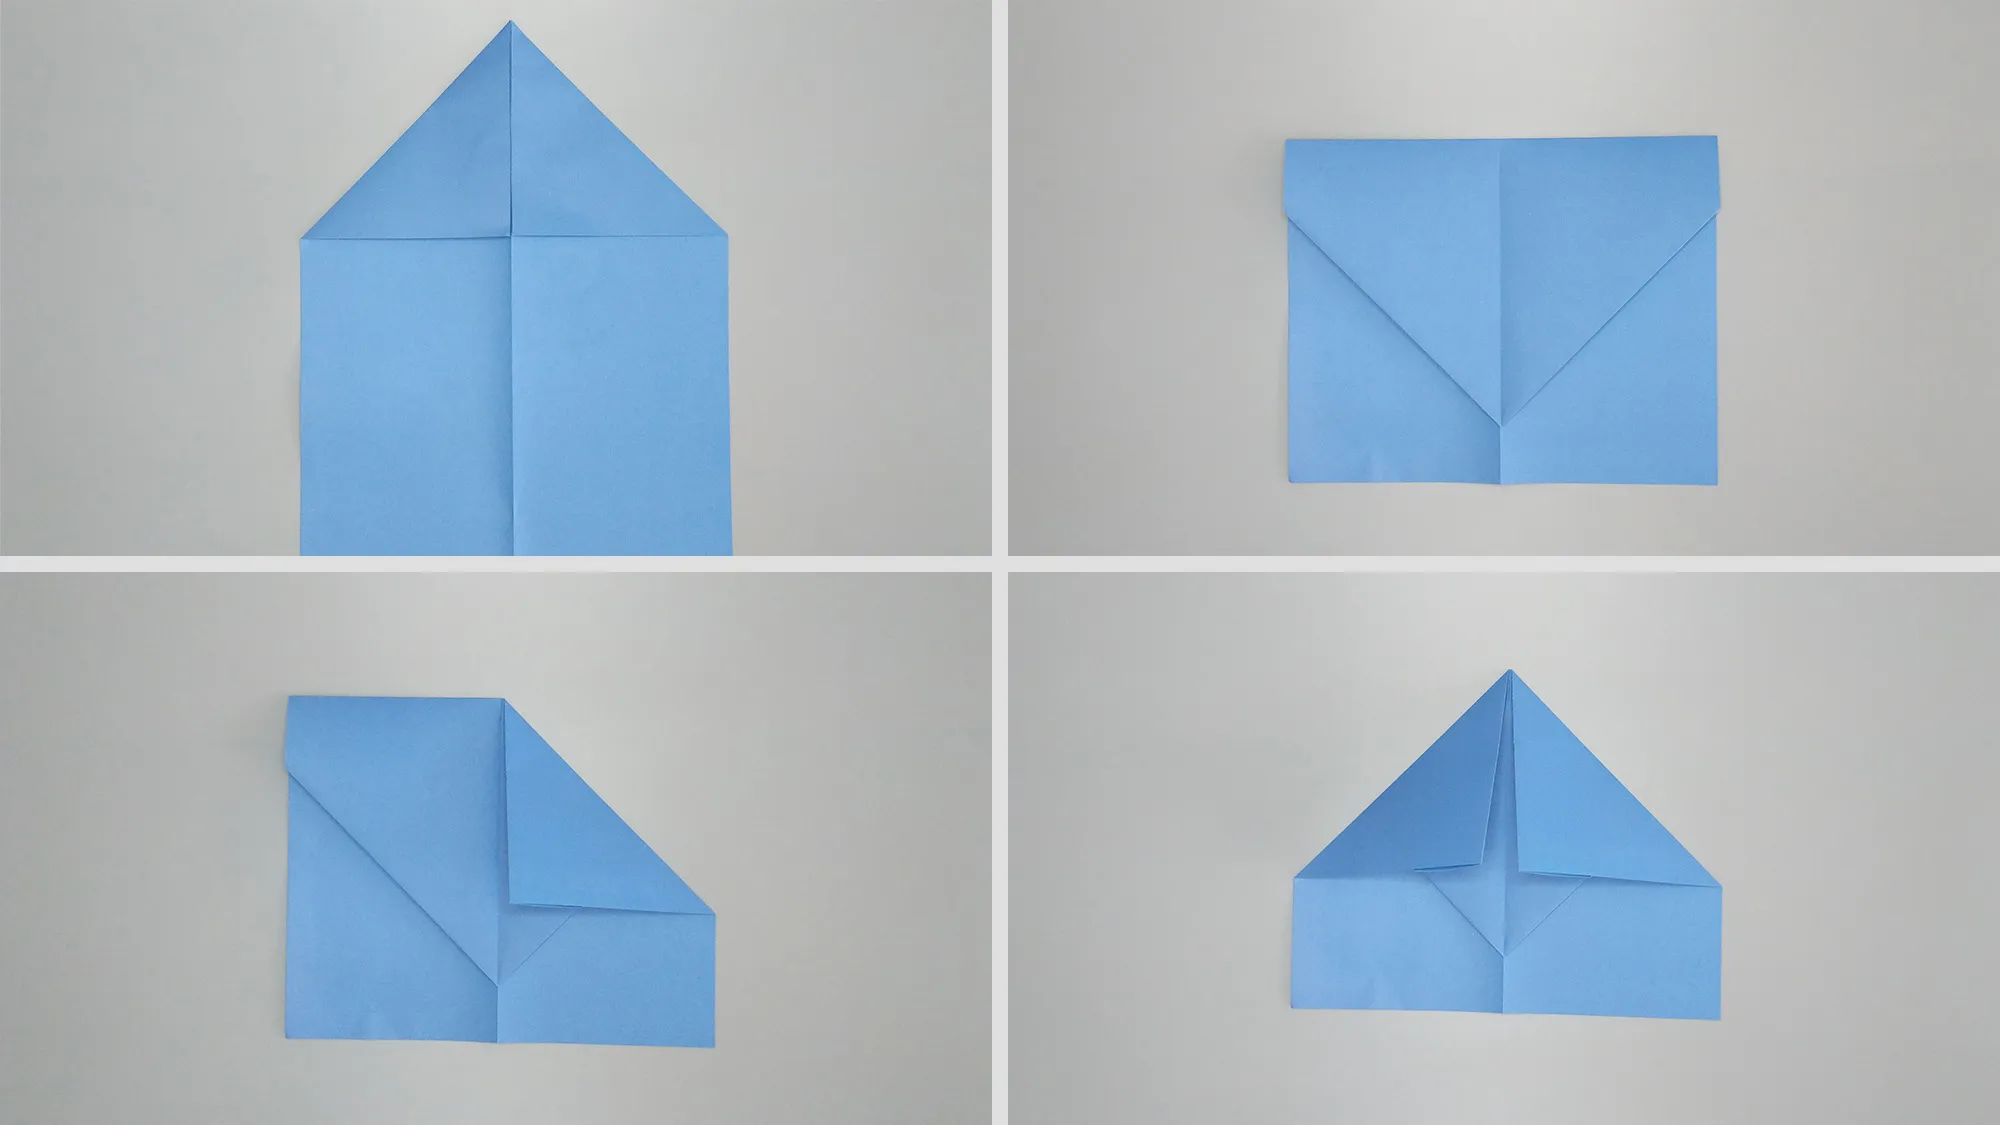
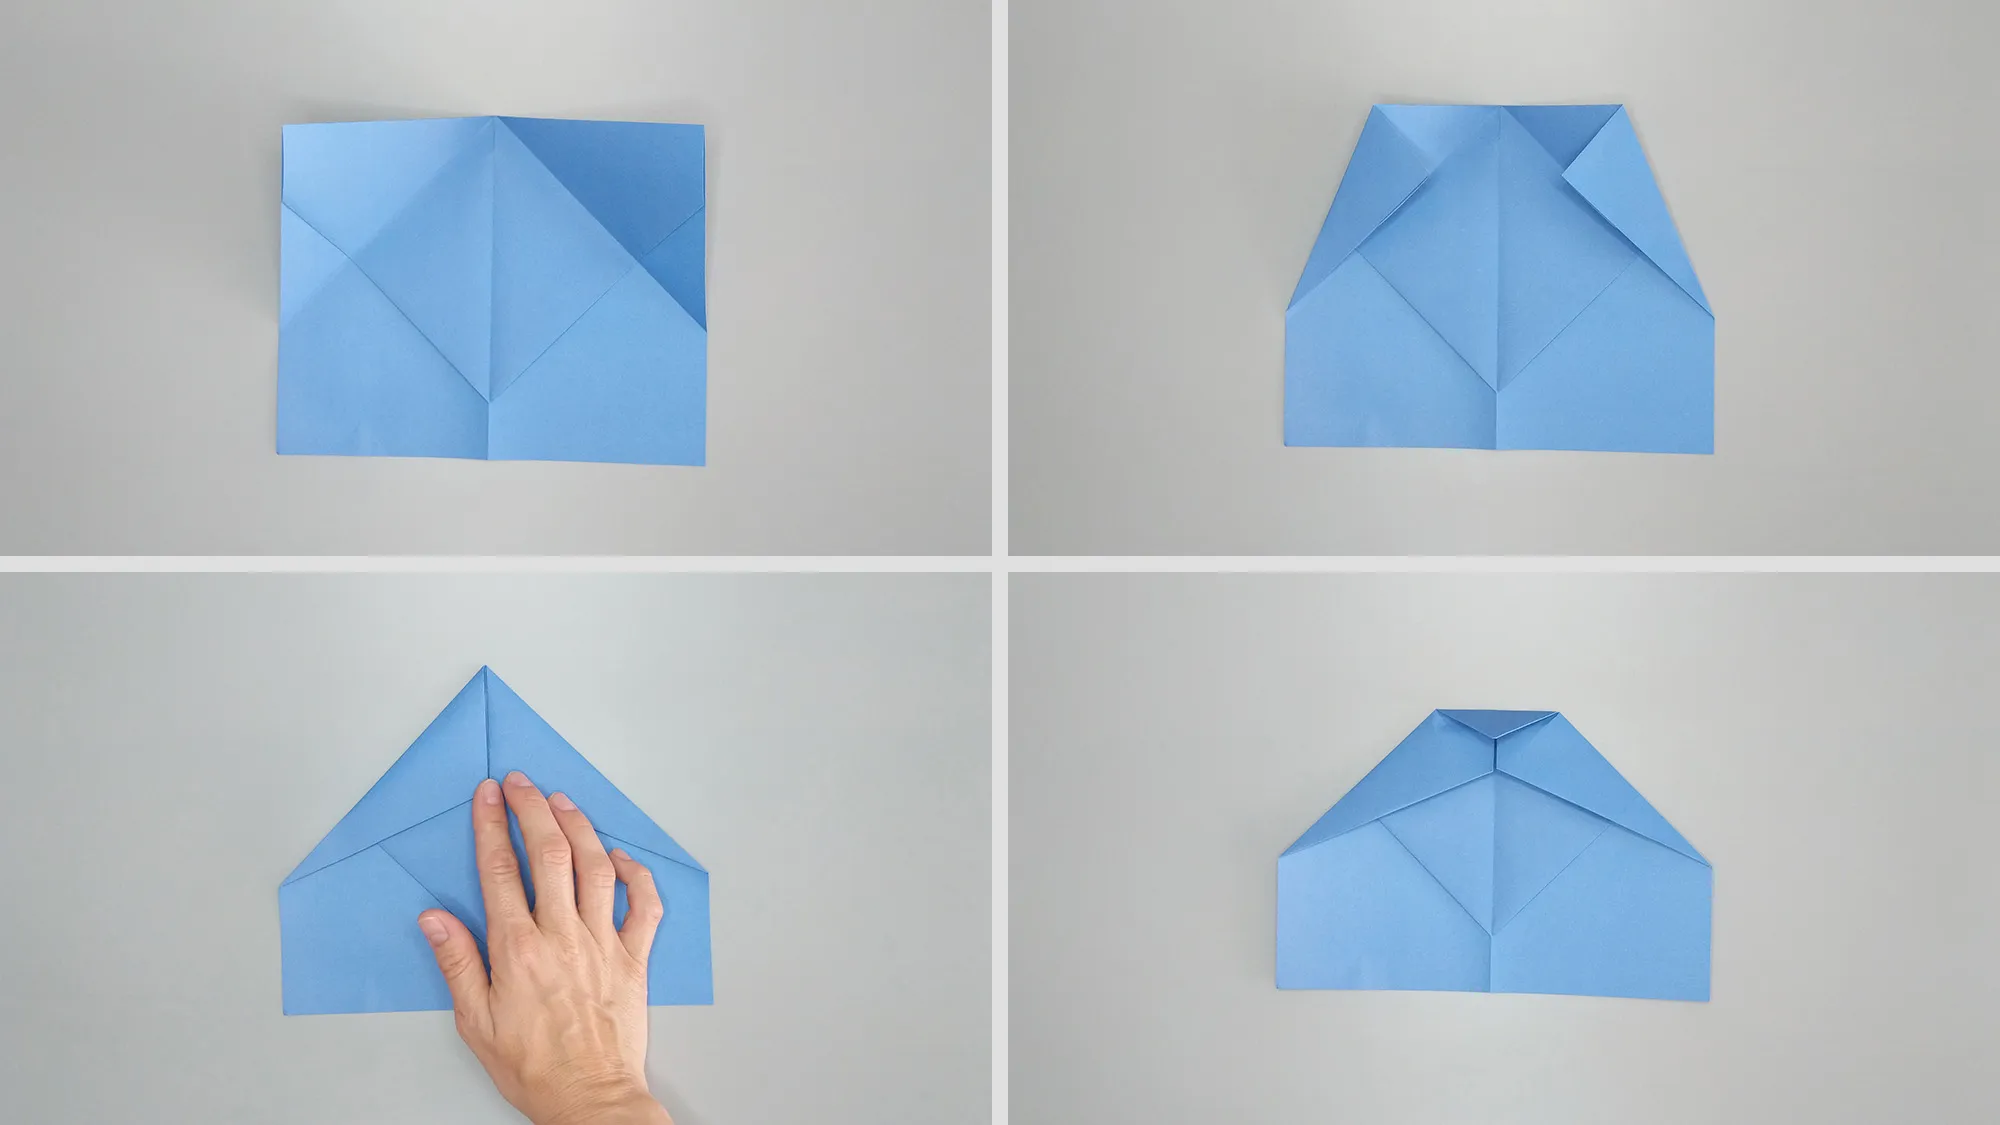
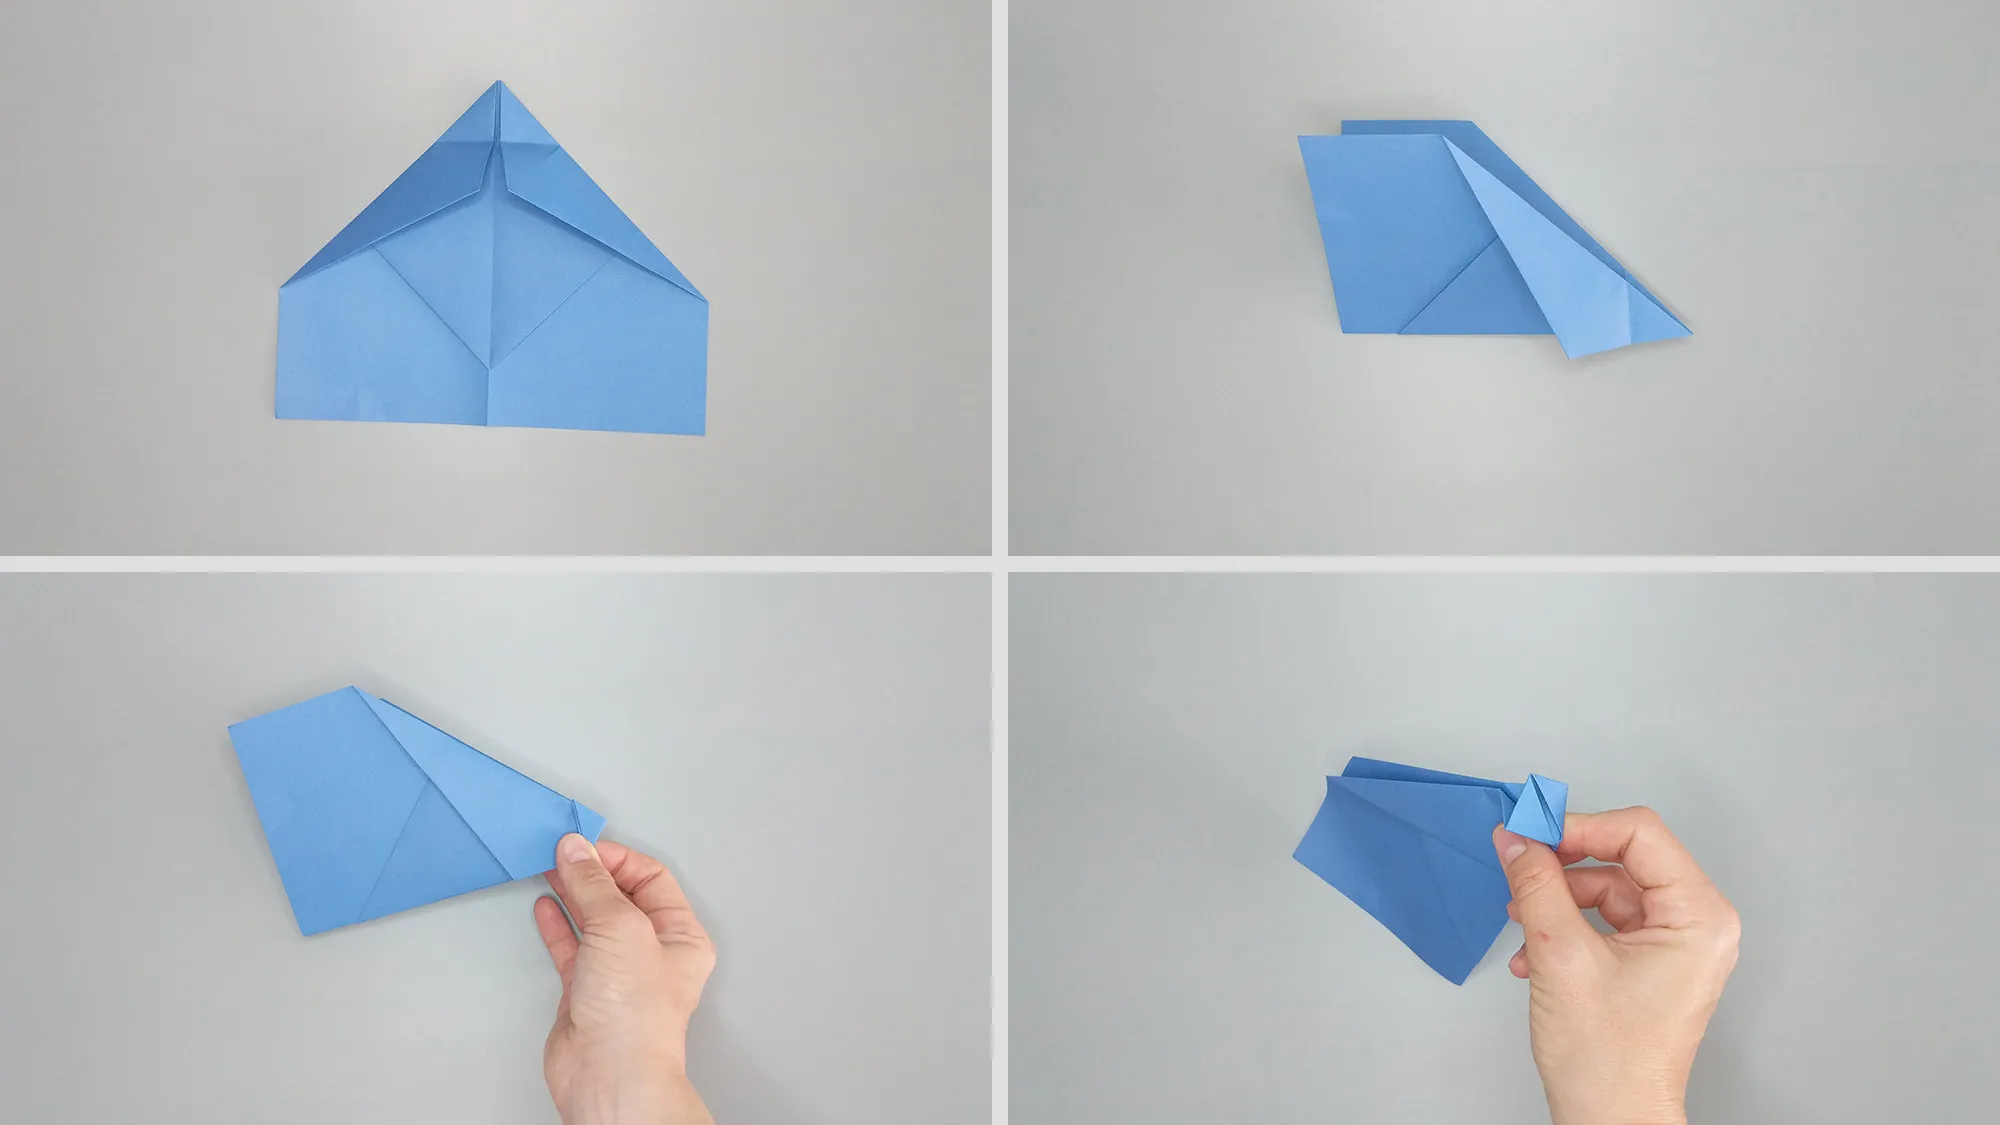
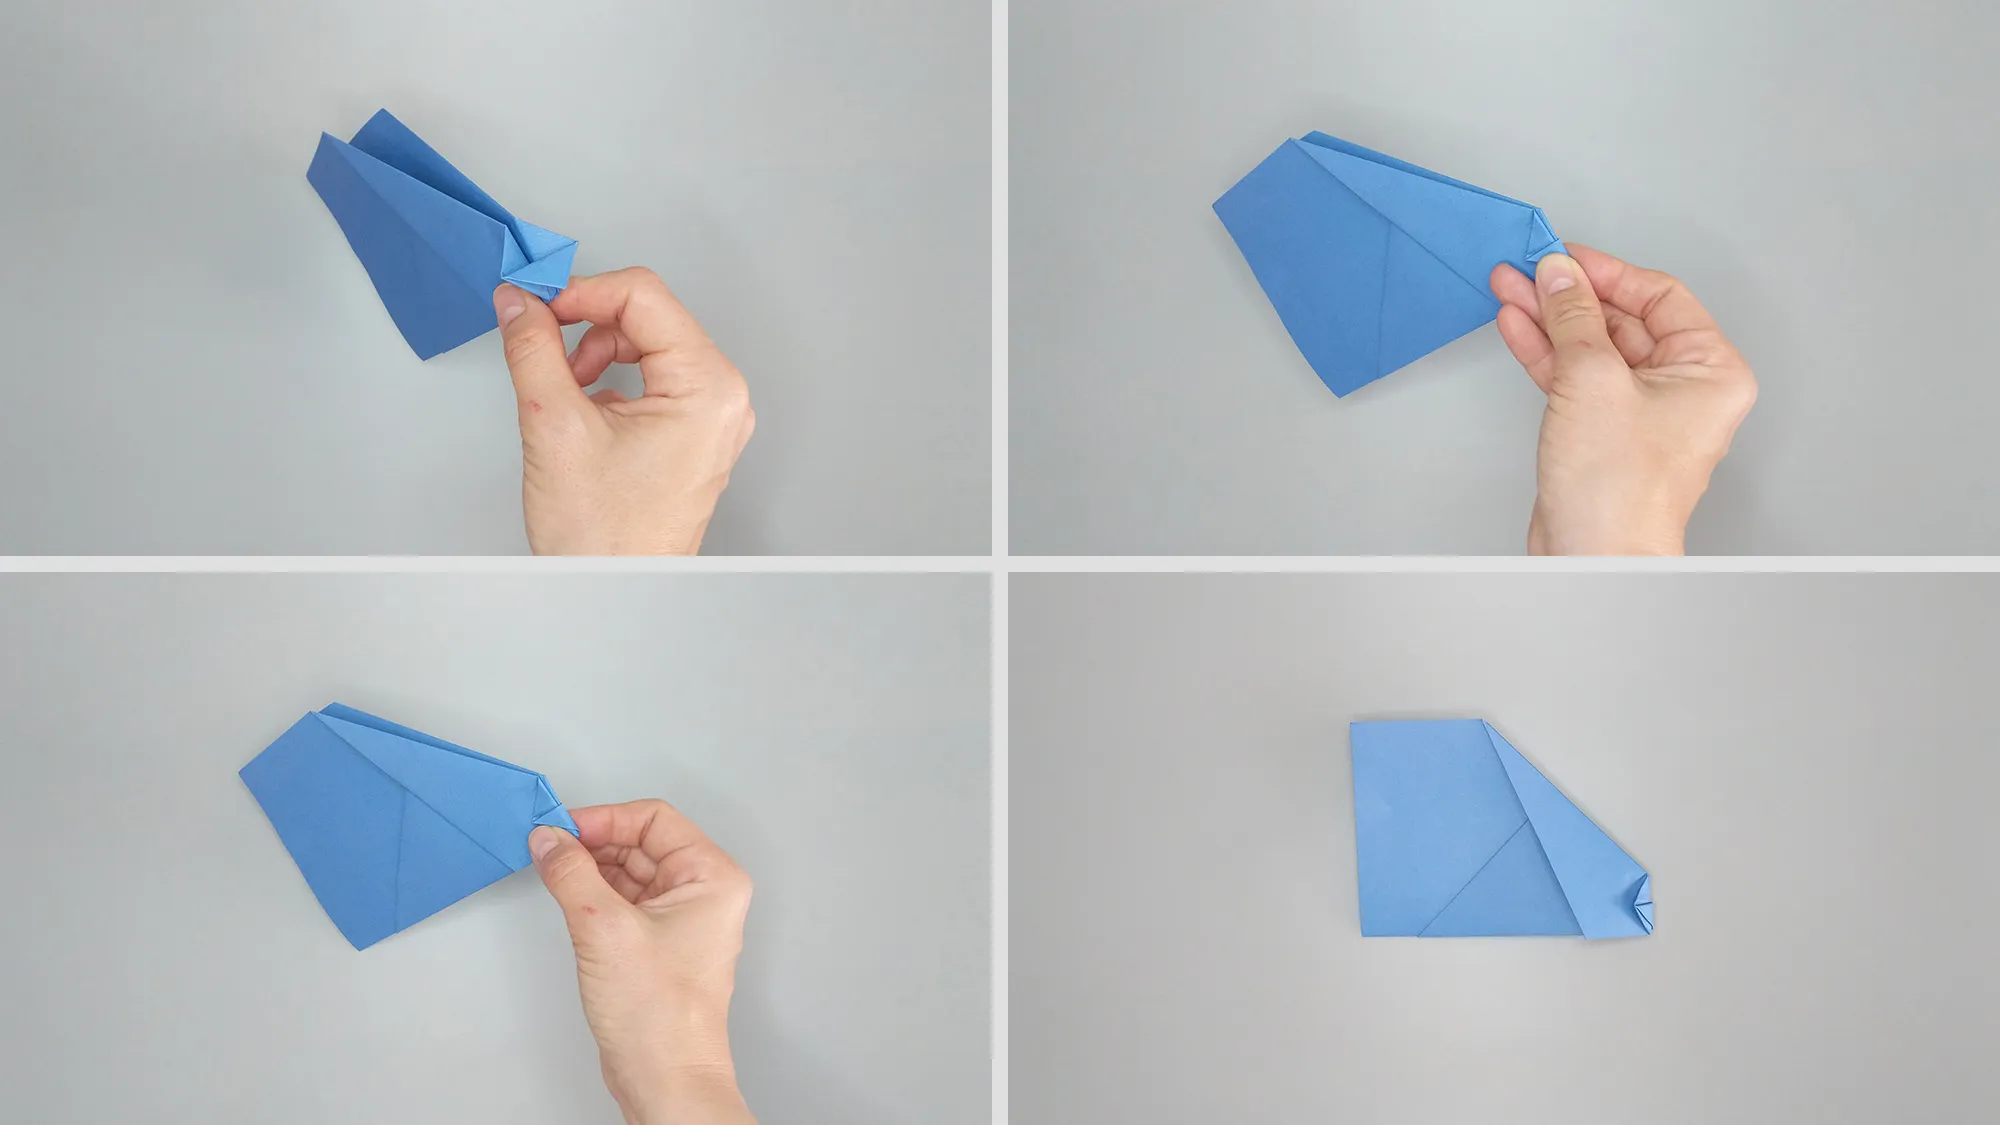
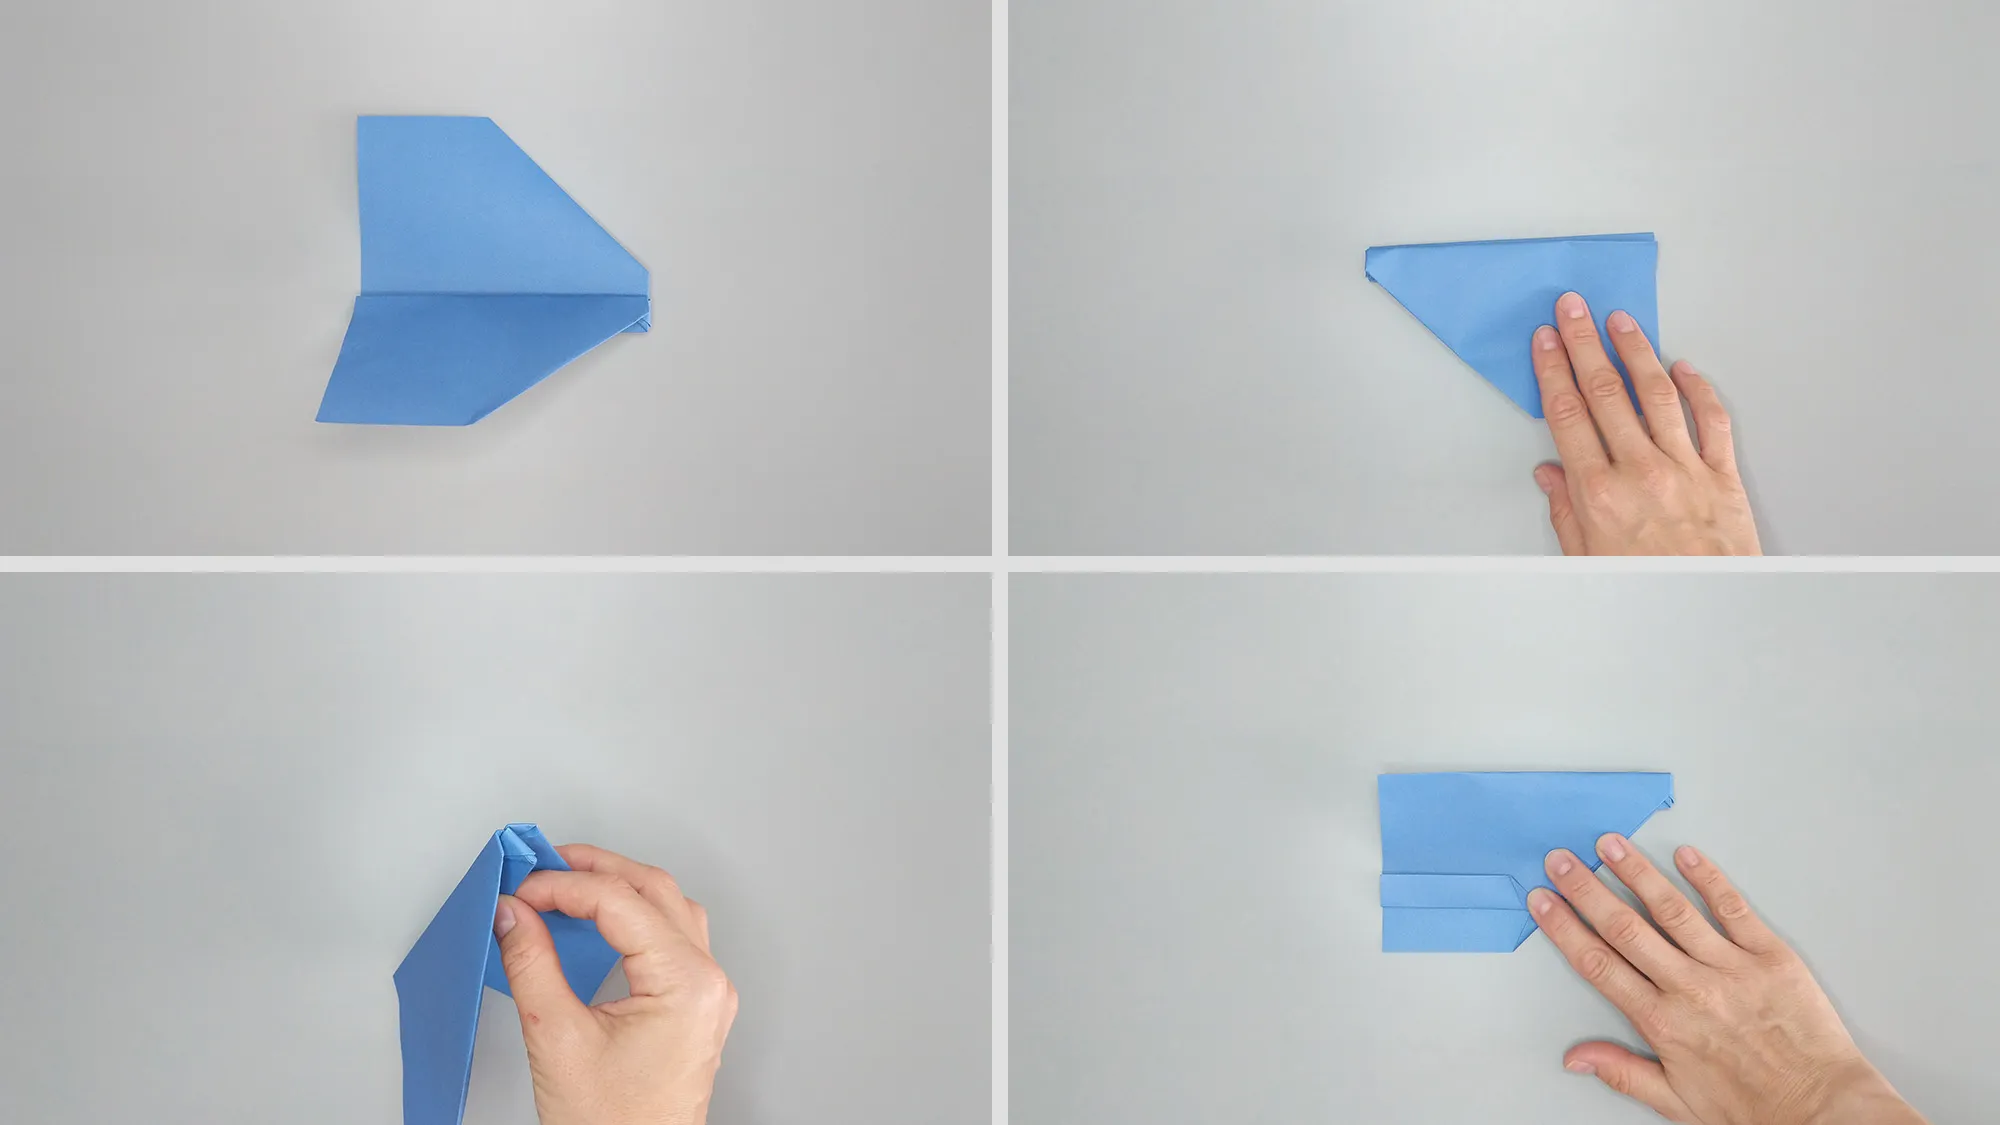
Are you looking for a new step-by-step guide on how to fold a paper airplane? You've found it. This model stands out from others because it flies quite well. The instructions for the Bomber paper airplane are among the most popular aircraft models on our portal. The paper airplane is relatively easy to assemble. Convince yourself by watching the video tutorial step by step at the beginning. If anything remains unclear, you will find a step-by-step guide with photos further down.
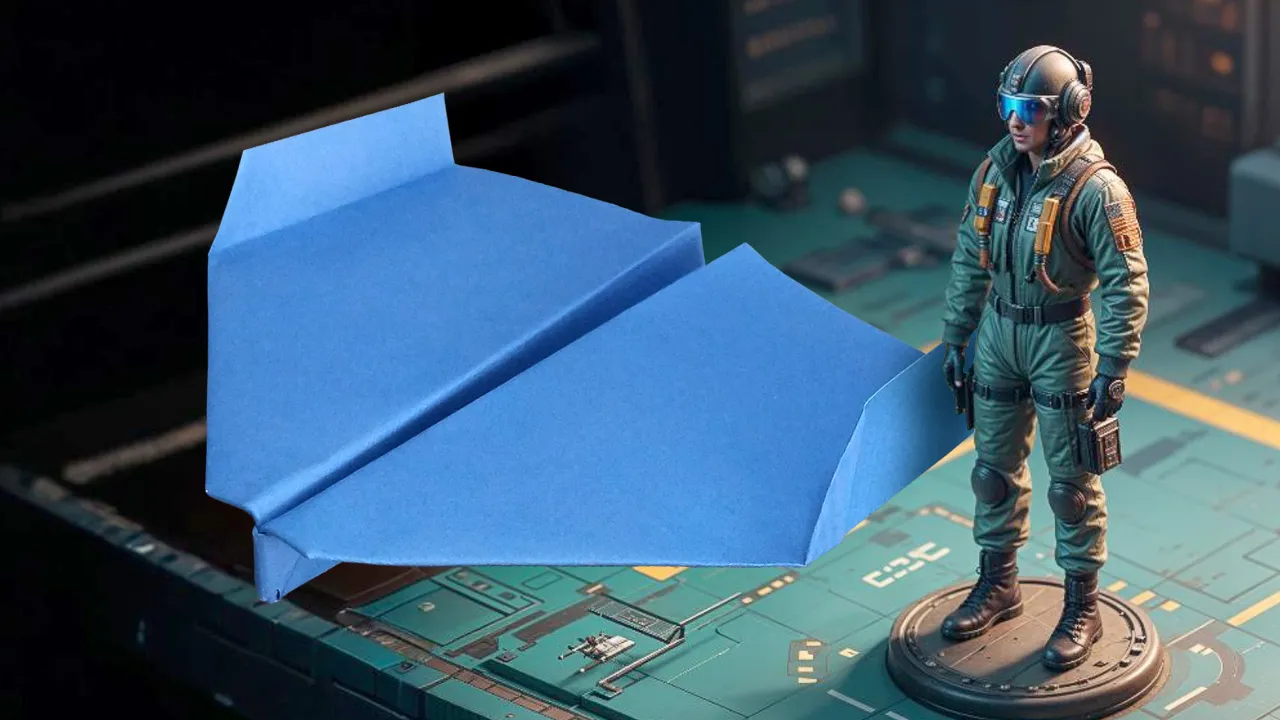
The Bomber paper airplane has a special feature: Thanks to its enlarged wing area, it flies very far, albeit not particularly fast. You don't have to throw it hard. Just lift it to arm height and let it go, giving it only a minimal push. This makes it ideal for competitions among children. Each child can fold their own Bomber and then see whose airplane glides farthest. In this way, you can combine crafting fun with an exciting competition in a playful manner.
Guide to the Bomber Paper Airplane: Step-by-Step Tutorial with Photos
Folding paper airplanes is like a journey back to our childhood. Almost everyone remembers the moment when they held a sheet of paper in their hand and folded it into an airplane. It was often one of the first crafts we mastered independently as children. The joy and pride when the self-folded plane sailed through the air were indescribable. This simple yet fascinating art of paper folding has led many of us to origami. We hope that you will share this wonderful experience with your children and discover new airplane models together. The Bomber paper airplane is a great way to continue this tradition and introduce your children to the magic of flight.

Guide to the Bomber Paper Airplane: Thank You and Afterword
Thank you for taking the time to read and try out our guide for the Bomber paper airplane. We hope you had fun folding and flying it. On our portal, you will find many more origami instructions and craft ideas that you can implement together with children. If you feel like it, take a look at our other categories. There are even more exciting projects waiting for you and your children. We wish you lots of joy in further crafting and experimenting. Until next time and happy landings with your new Bomber paper airplane!
From Vitalii Shynakov
