Idea for a Christmas craft with children: Snowman made of paper
Are you looking for an activity to do with your child? Do you lack ideas for simple Christmas crafts? We can help you. Everywhere bright lights are shining, creating a pleasant pre-Christmas buzz. The scent of mandarins fills the houses, the tree is ready to be decorated, and the evenings are cozy. In such moments, one would prefer to pour a cup of hot tea or chocolate, turn on a Christmas movie, and immerse oneself in the magic of the holiday. I suggest adding another activity to this cozy evening - create beautiful tree decorations together with your child.
Creating Christmas decorations with your own hands is a wonderful way to foster children's creativity and strengthen family bonds. While crafting, the child learns to work with different materials, developing imagination and fine motor skills. Most parents try to create Christmas family traditions during the winter holidays to give their children the magic of the holiday and to inspire them for shared creative activities. A Christmas ornament, such as a snowman made of paper, is in my opinion an excellent way to spend time meaningfully and fun.
By doing such a craft project together with your child, you are not only creating a beautiful decoration for the tree but also giving each other time full of warmth and joy. These moments will remain in memory for years to come, and the decoration will become a symbol of your family traditions and creativity.
Let's create a Christmas decoration: Snowman made of paper
Today we will craft together an original Christmas decoration - a snowman made of paper. I chose this variant for a reason: the craft project is simple, requires no complicated materials or tools, yet looks very effective. Such a snowman will give your Christmas tree a special charm, and the process of making it will bring you many joyful moments. Moreover, working with paper promotes attention, fine motor skills, and helps children follow instructions.
This craft project is suitable for children aged 5 years and older. Younger children may need a little more help with some steps. School-aged children, on the other hand, can almost independently complete this task. The level of difficulty is low, so you can craft this snowman together even if you have never done such projects before.
Materials and Tools
Before we start, let's make sure we have everything we need. Don't worry, all materials are simple, you can find them at home or buy them at the nearest store. They are inexpensive and readily available, so you shouldn't have any trouble finding them.
You'll need:
- White and colored paper (red, black, yellow)
- Scissors
- Glue stick
- Ruler and pencil
- String or thread for hanging the decoration
- Black felt-tip pen for drawing details
These materials are easy to find, and you probably already have many of them at home. The good thing is that with these materials, you can create not just one, but a whole collection of Christmas decorations!
Steps to Create the Christmas Decoration "Snowman made of paper"
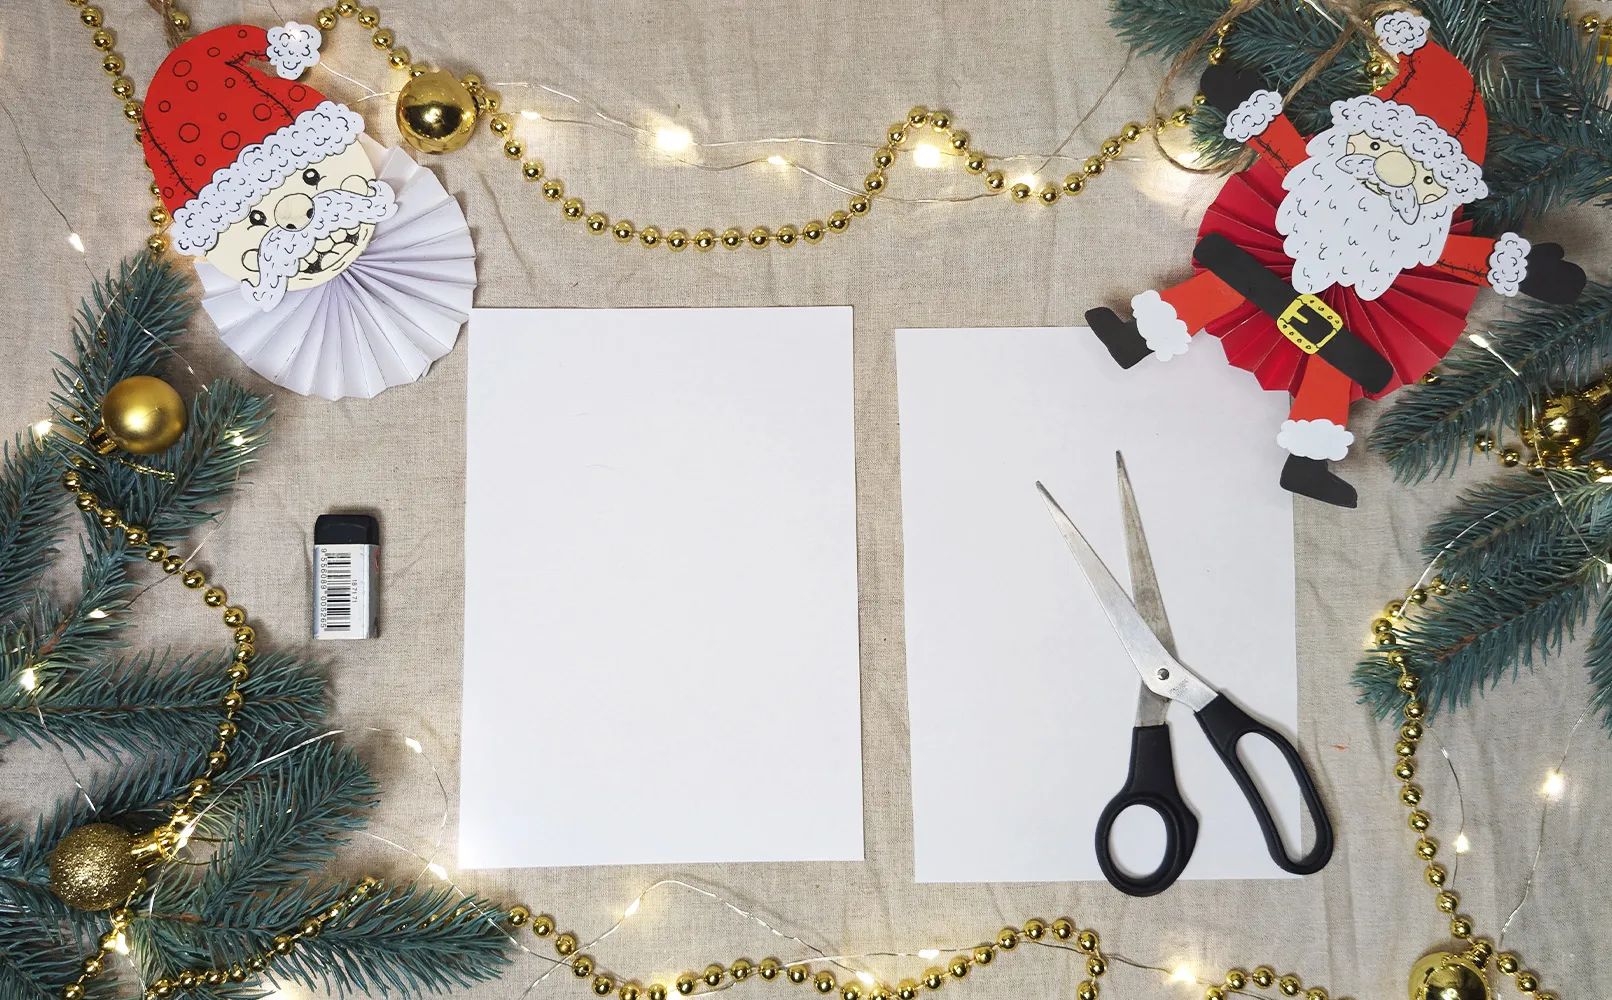
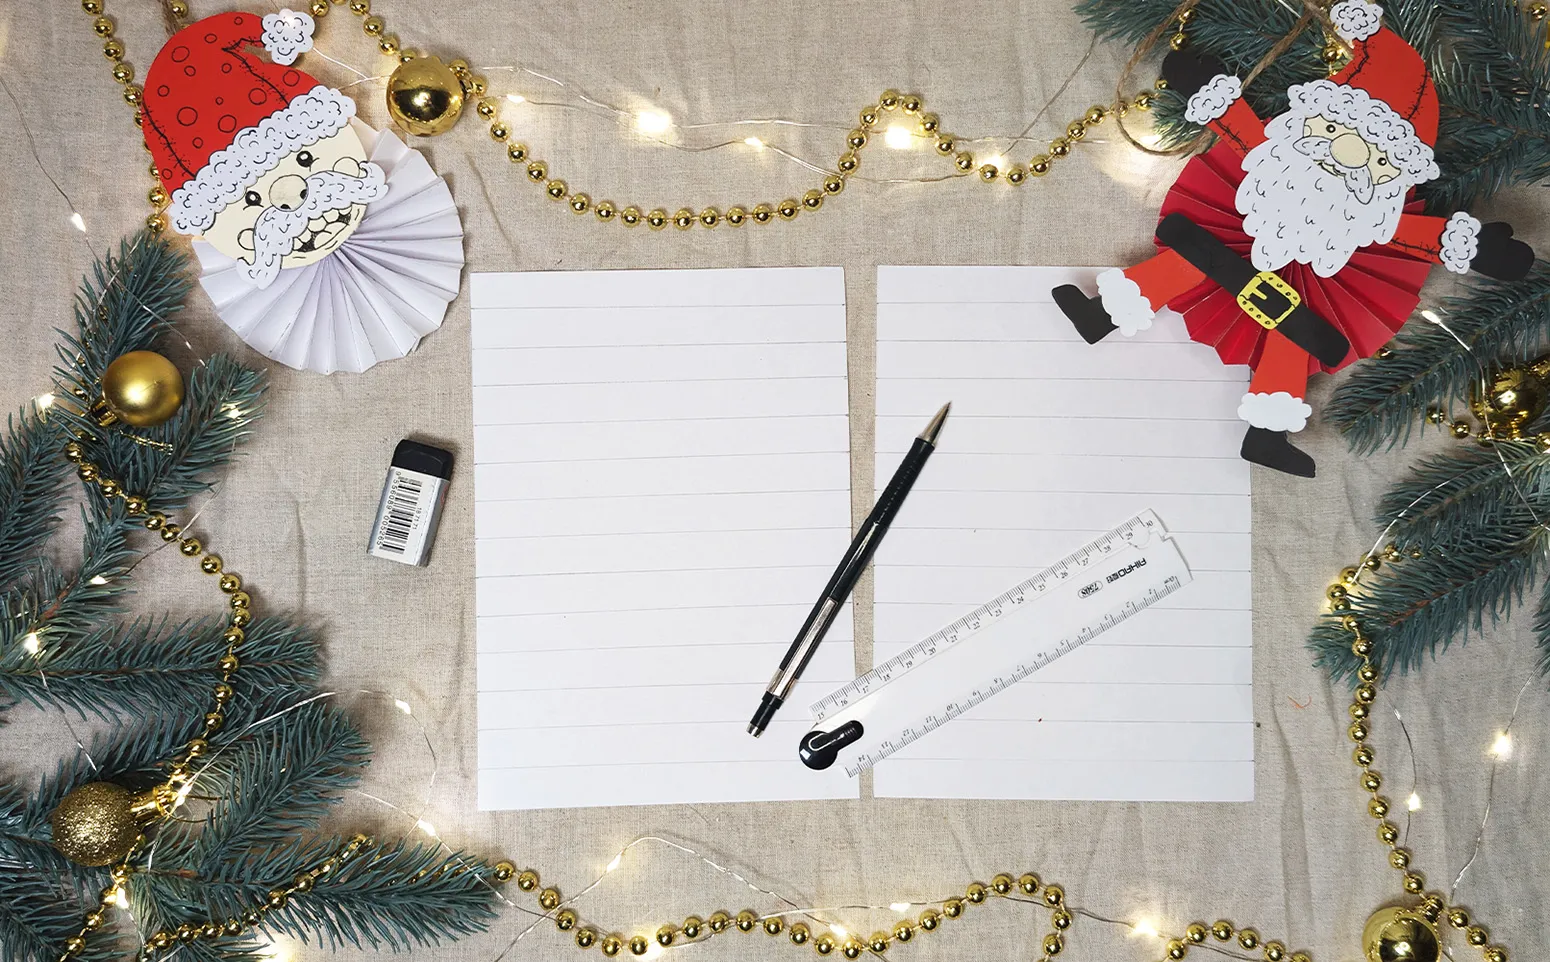
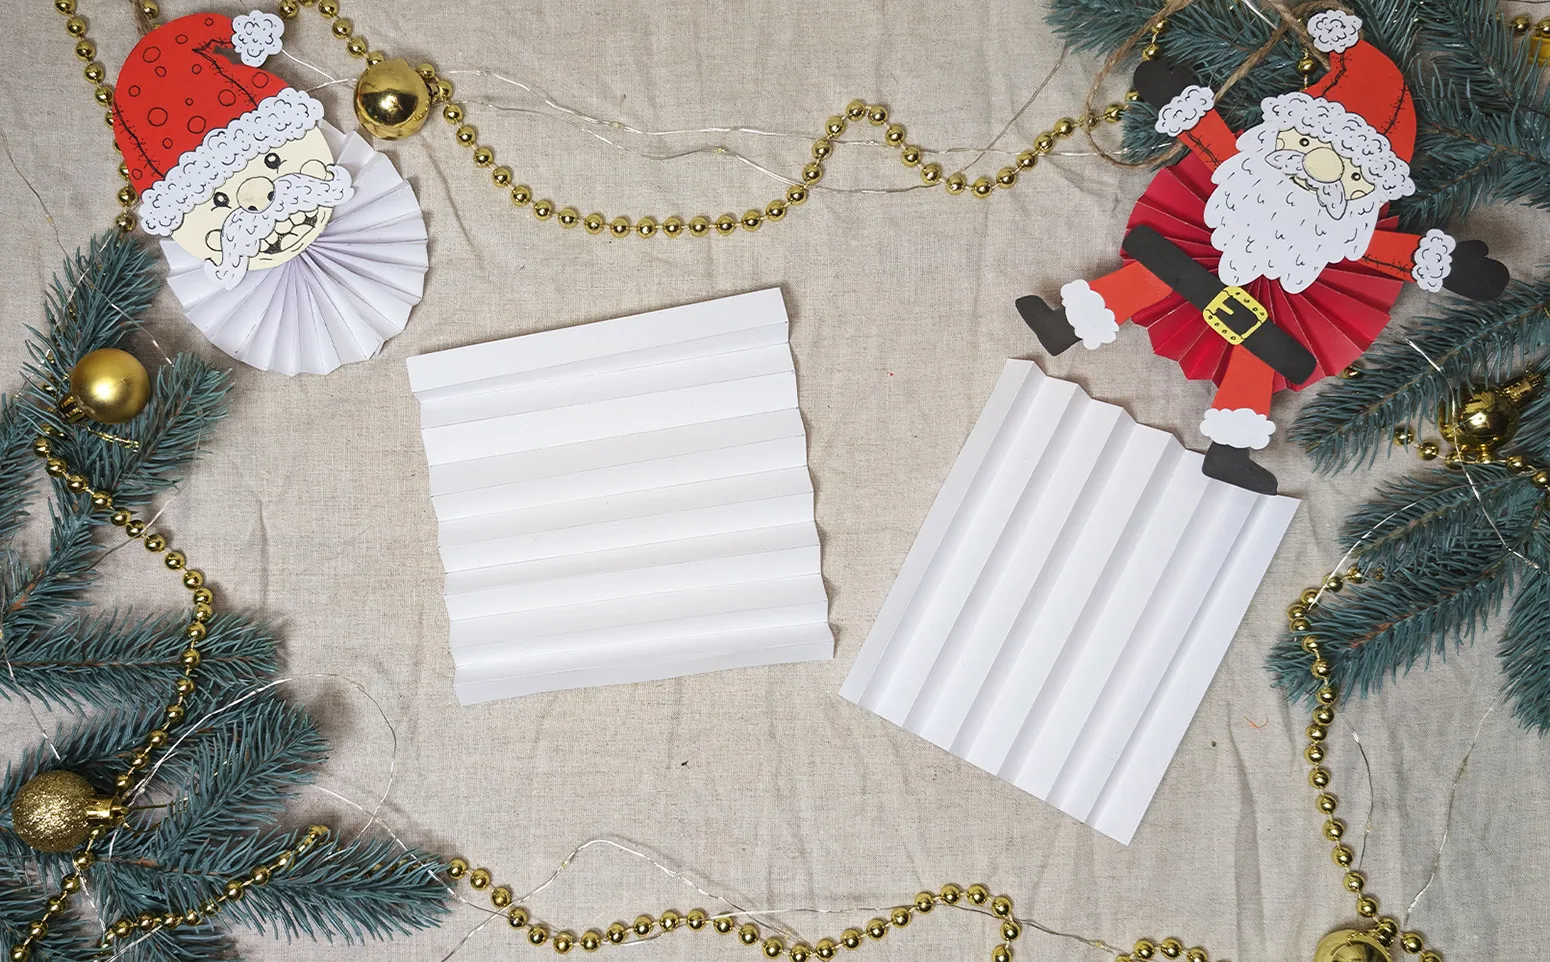
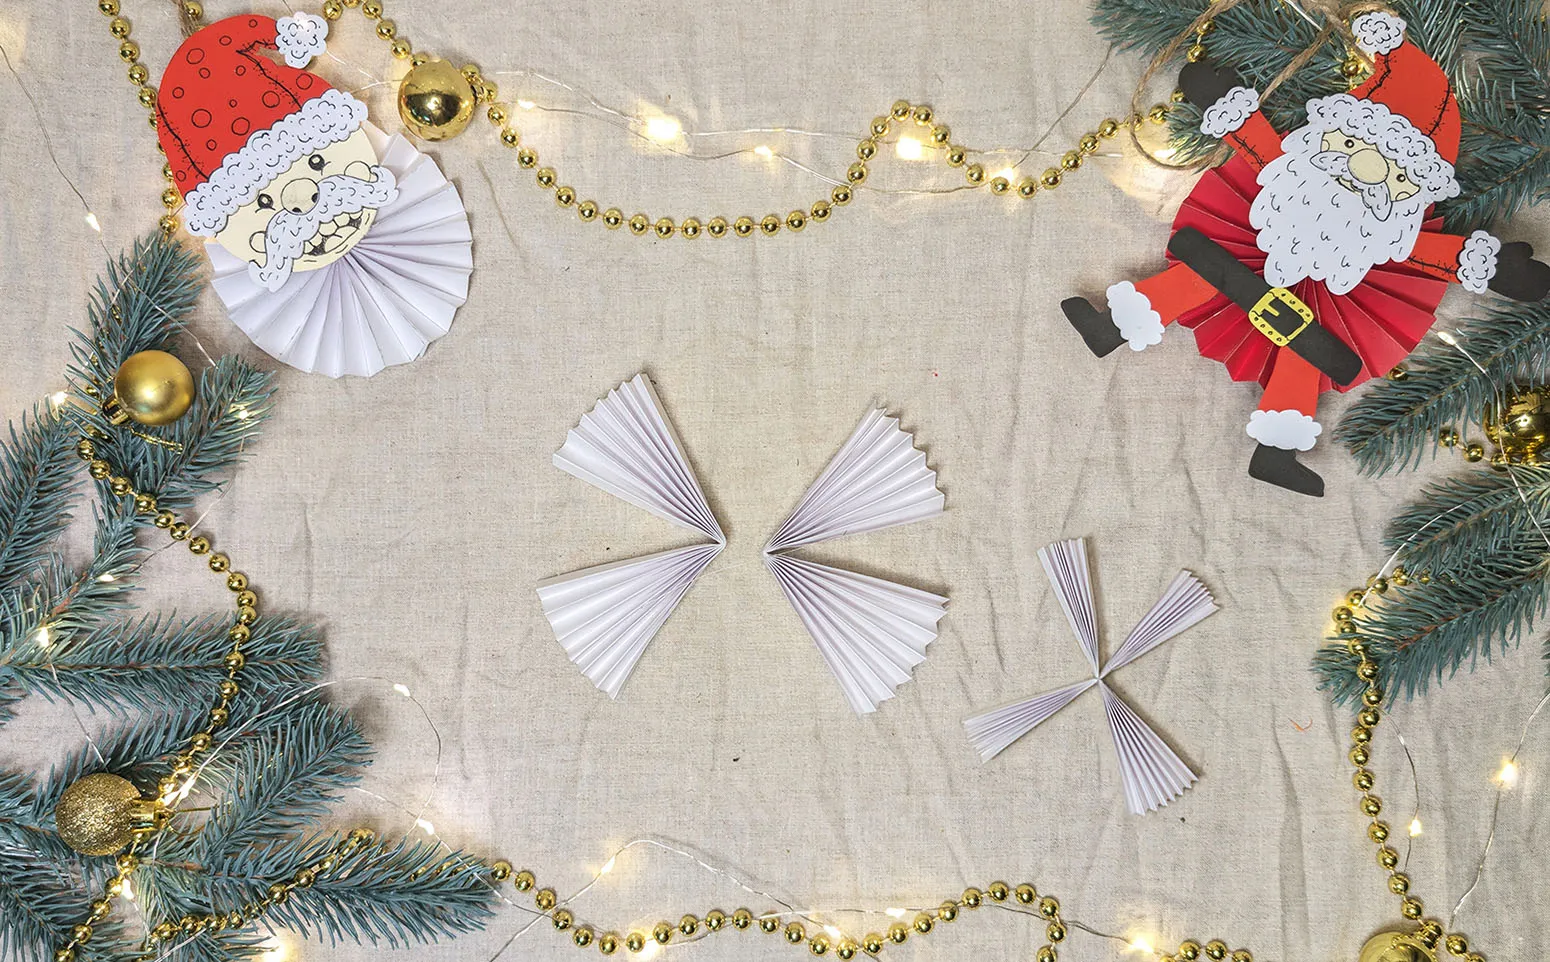
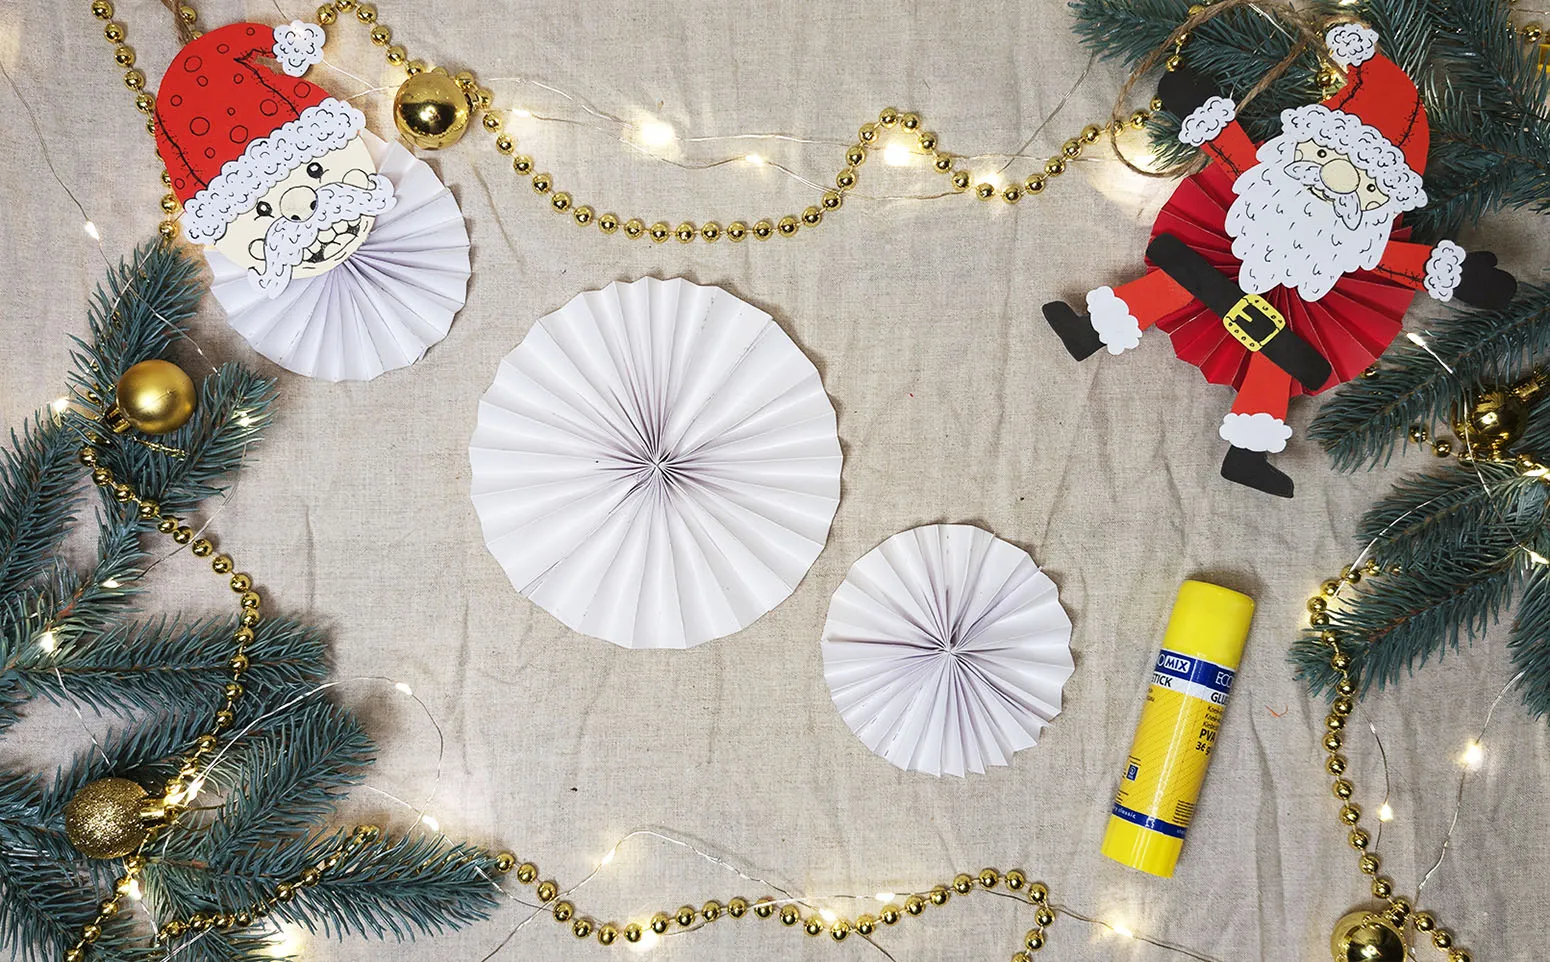
Step 6: Cut out the elements. Cut out the necessary details for the snowman from colored cardboard: hat, scarf, nose, eyes, and buttons. You can look at the photo or add your own elements - this is a great opportunity to use your imagination and make the snowman unique. Tip: If you have colored markers or glitter, you can add additional elements like patterns on the hat or scarf.
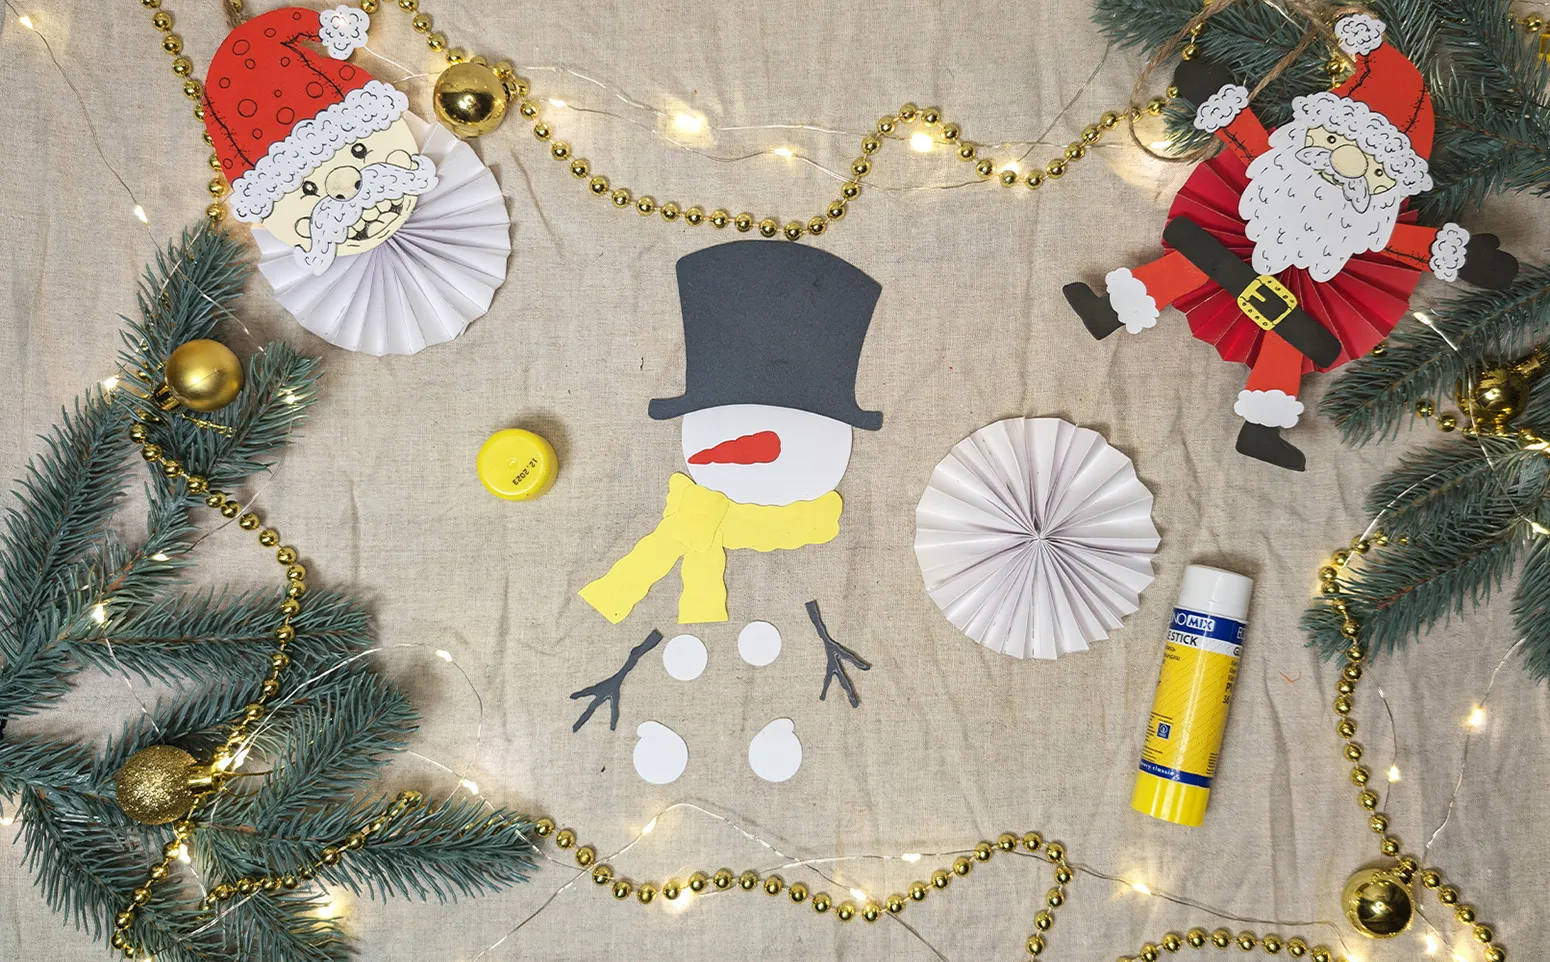
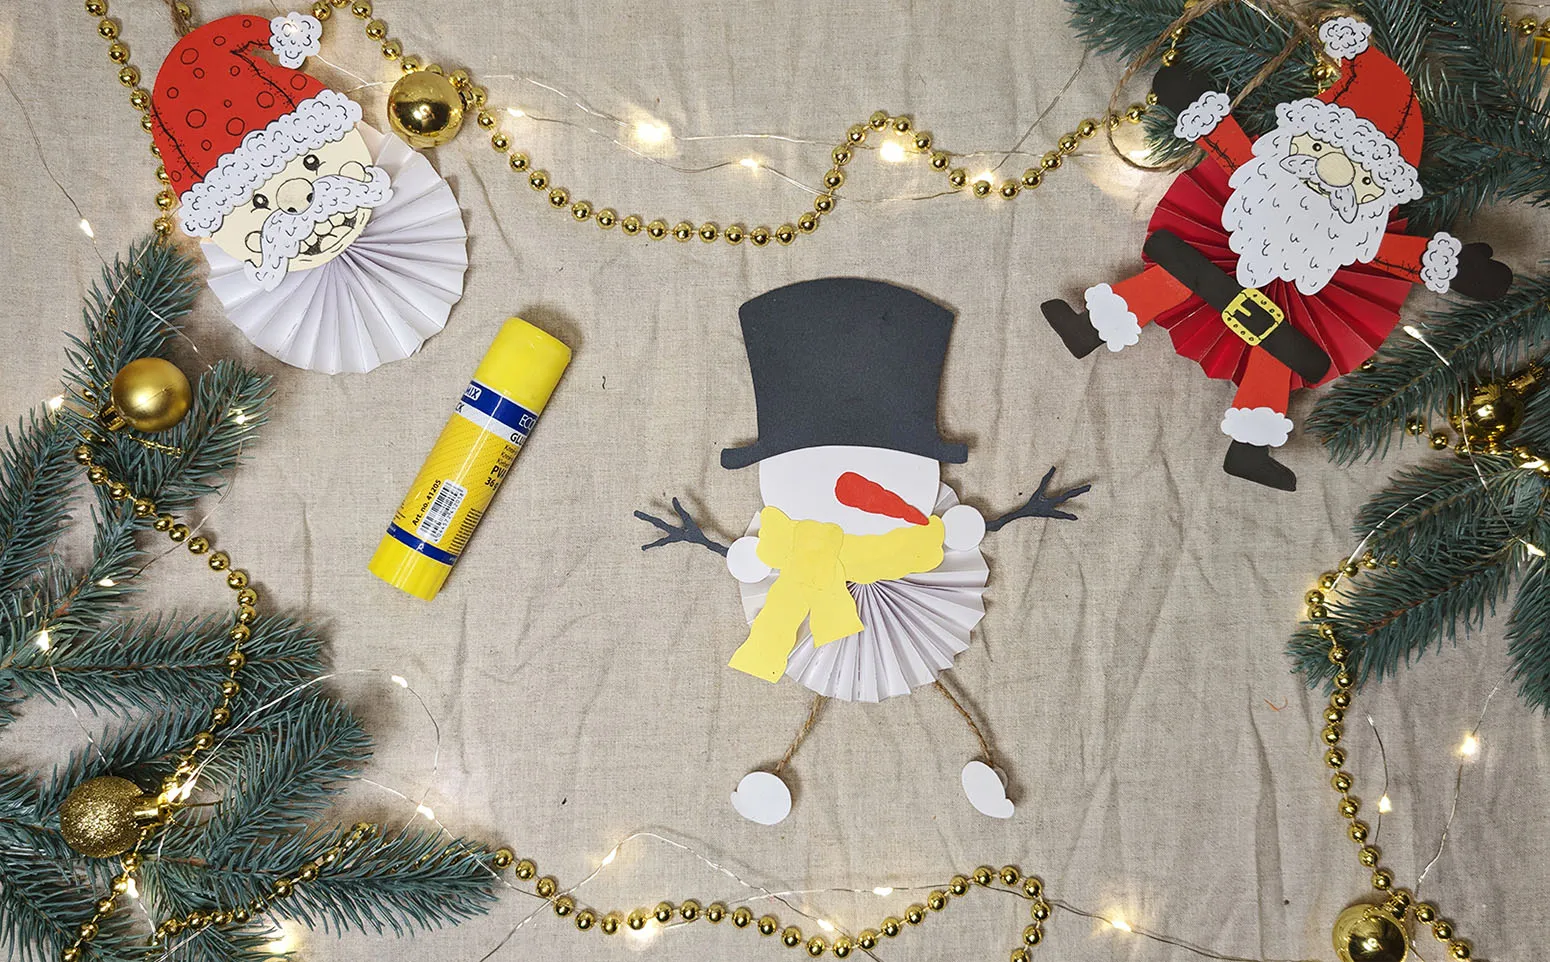
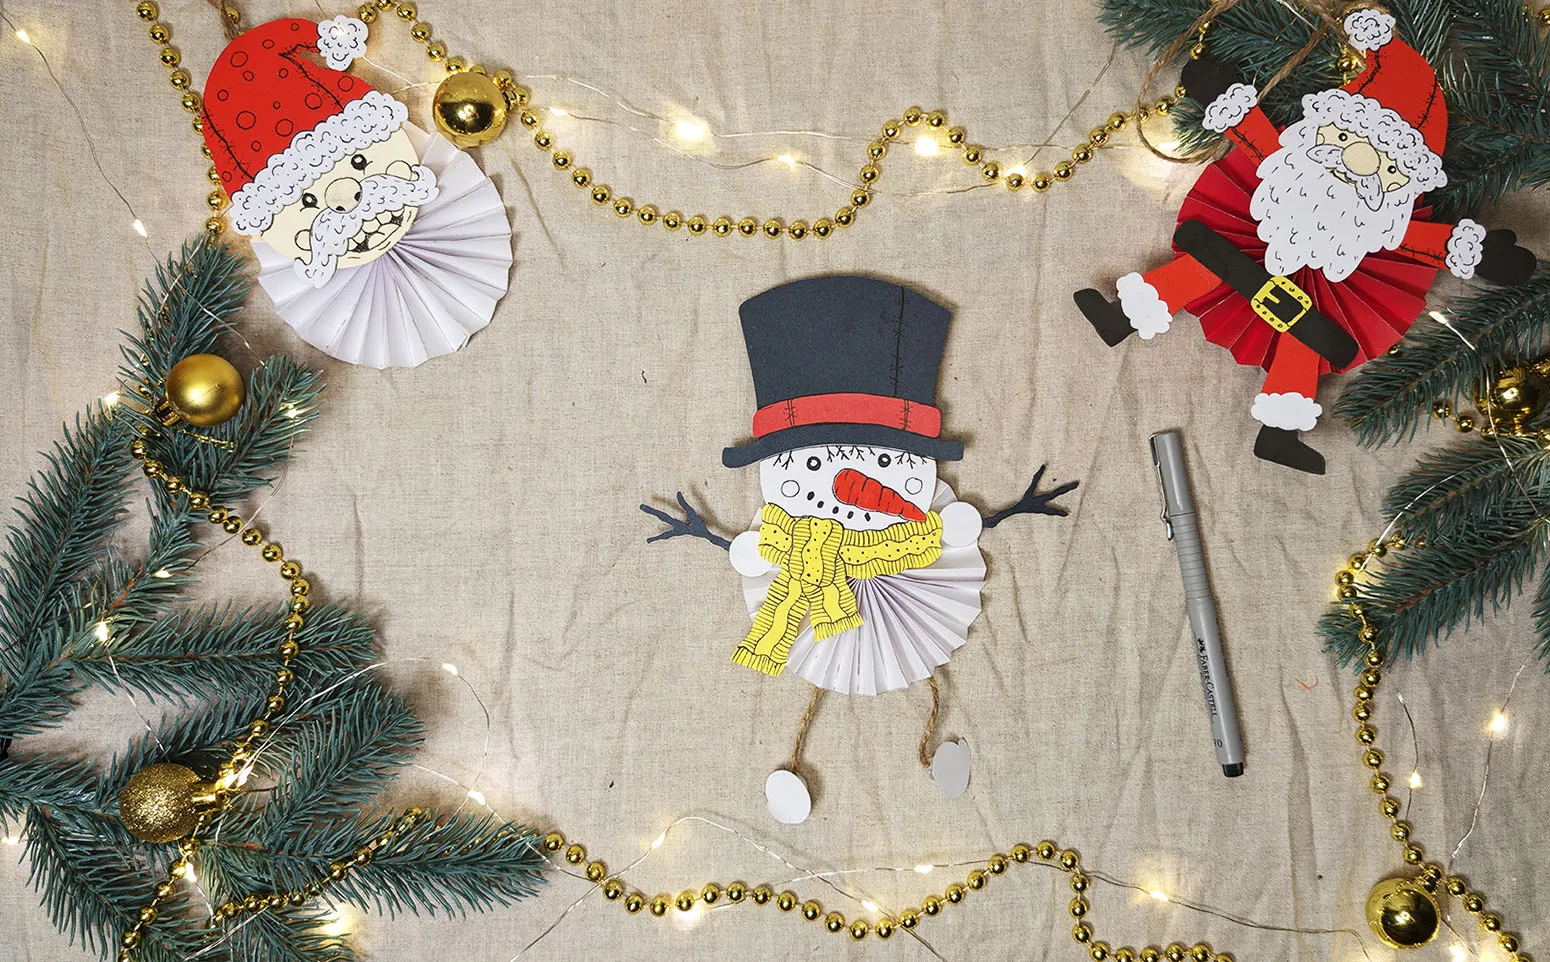
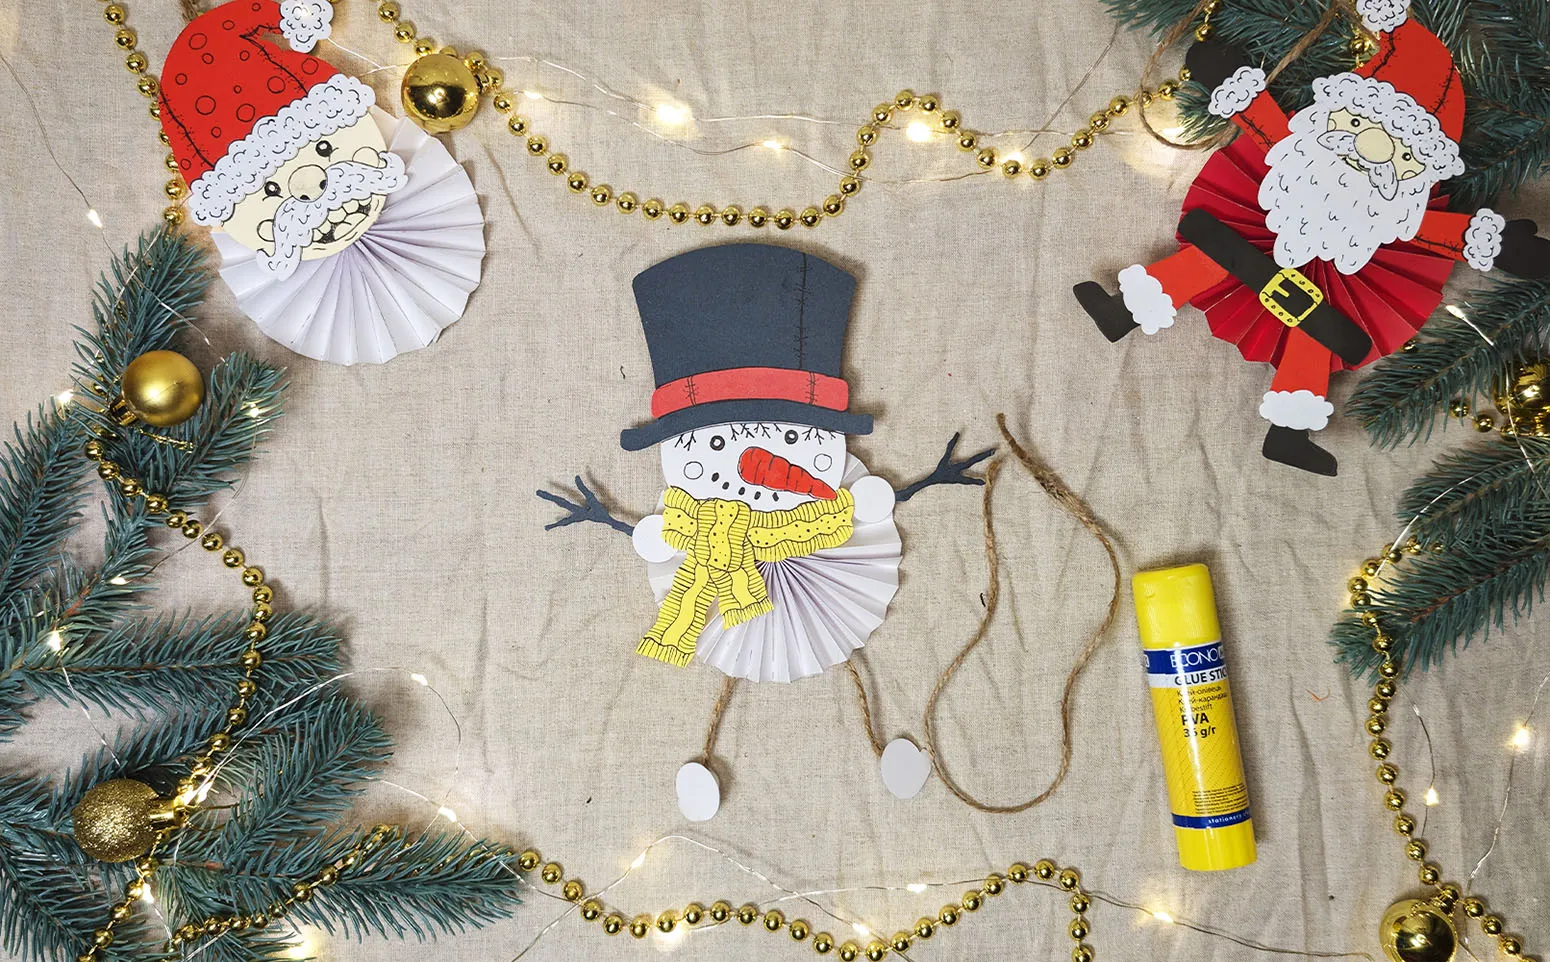
Step 10: Your ornament is ready! Congratulations! Now you have a finished Christmas tree ornament snowman that you made yourself. It will be a great decoration for your tree and will bring joy throughout the holidays.
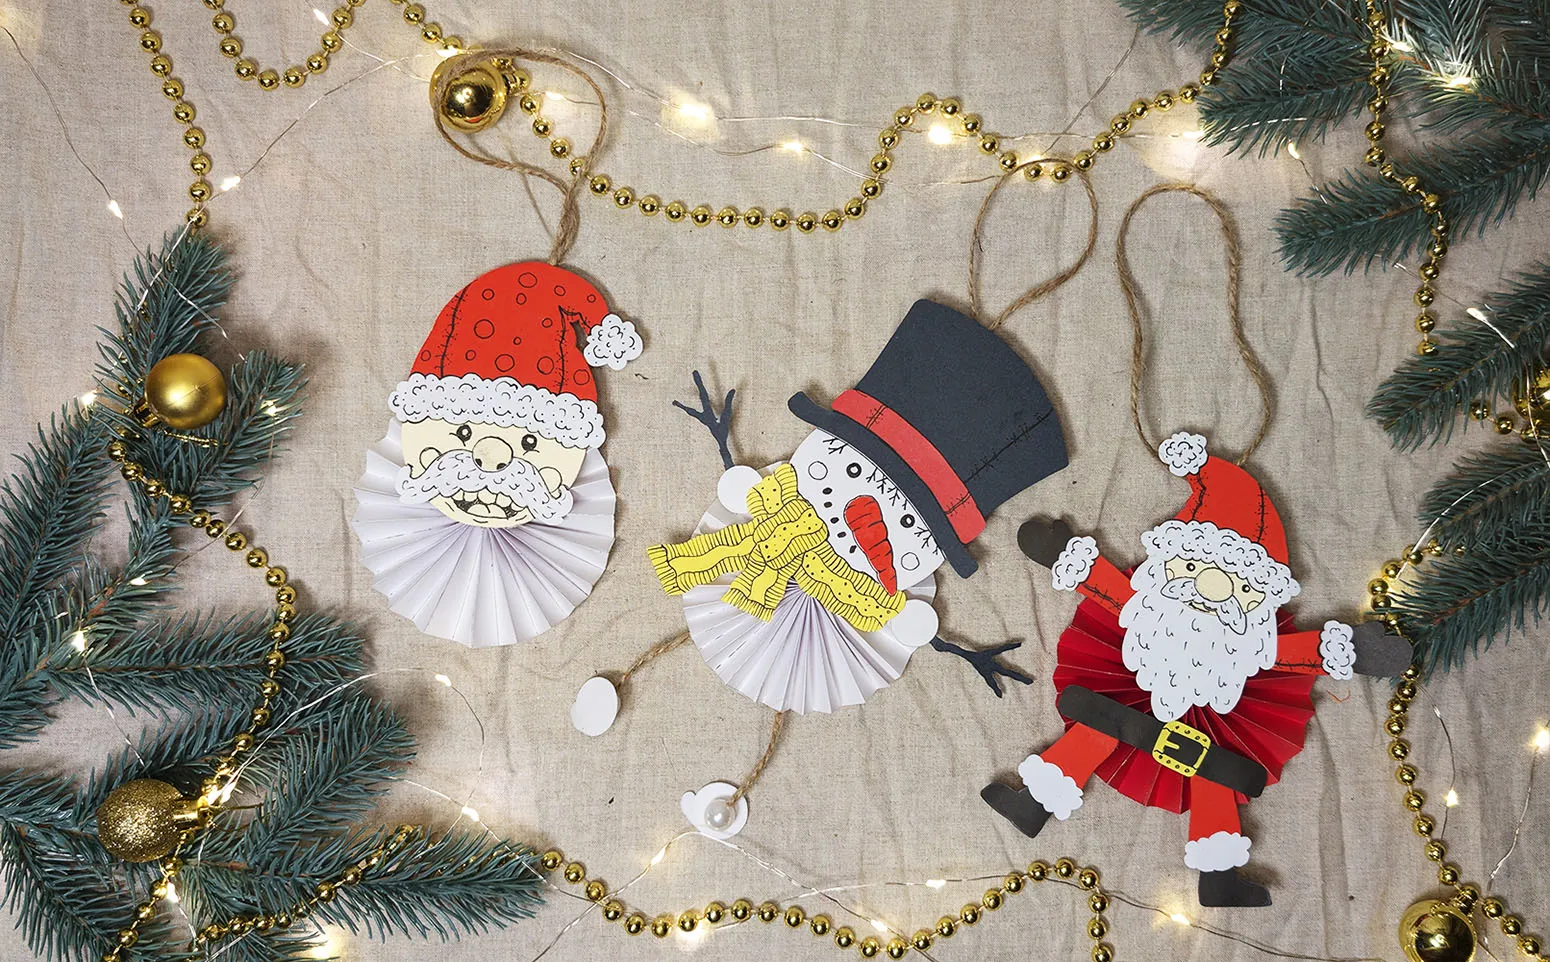
By following these simple steps, you will create a wonderful Christmas decoration. In addition to the snowman, you can also create other Christmas figures - for example, Santa Claus, an elf, or a reindeer. These ornaments will be a wonderful decoration or a creative gift for friends and family.
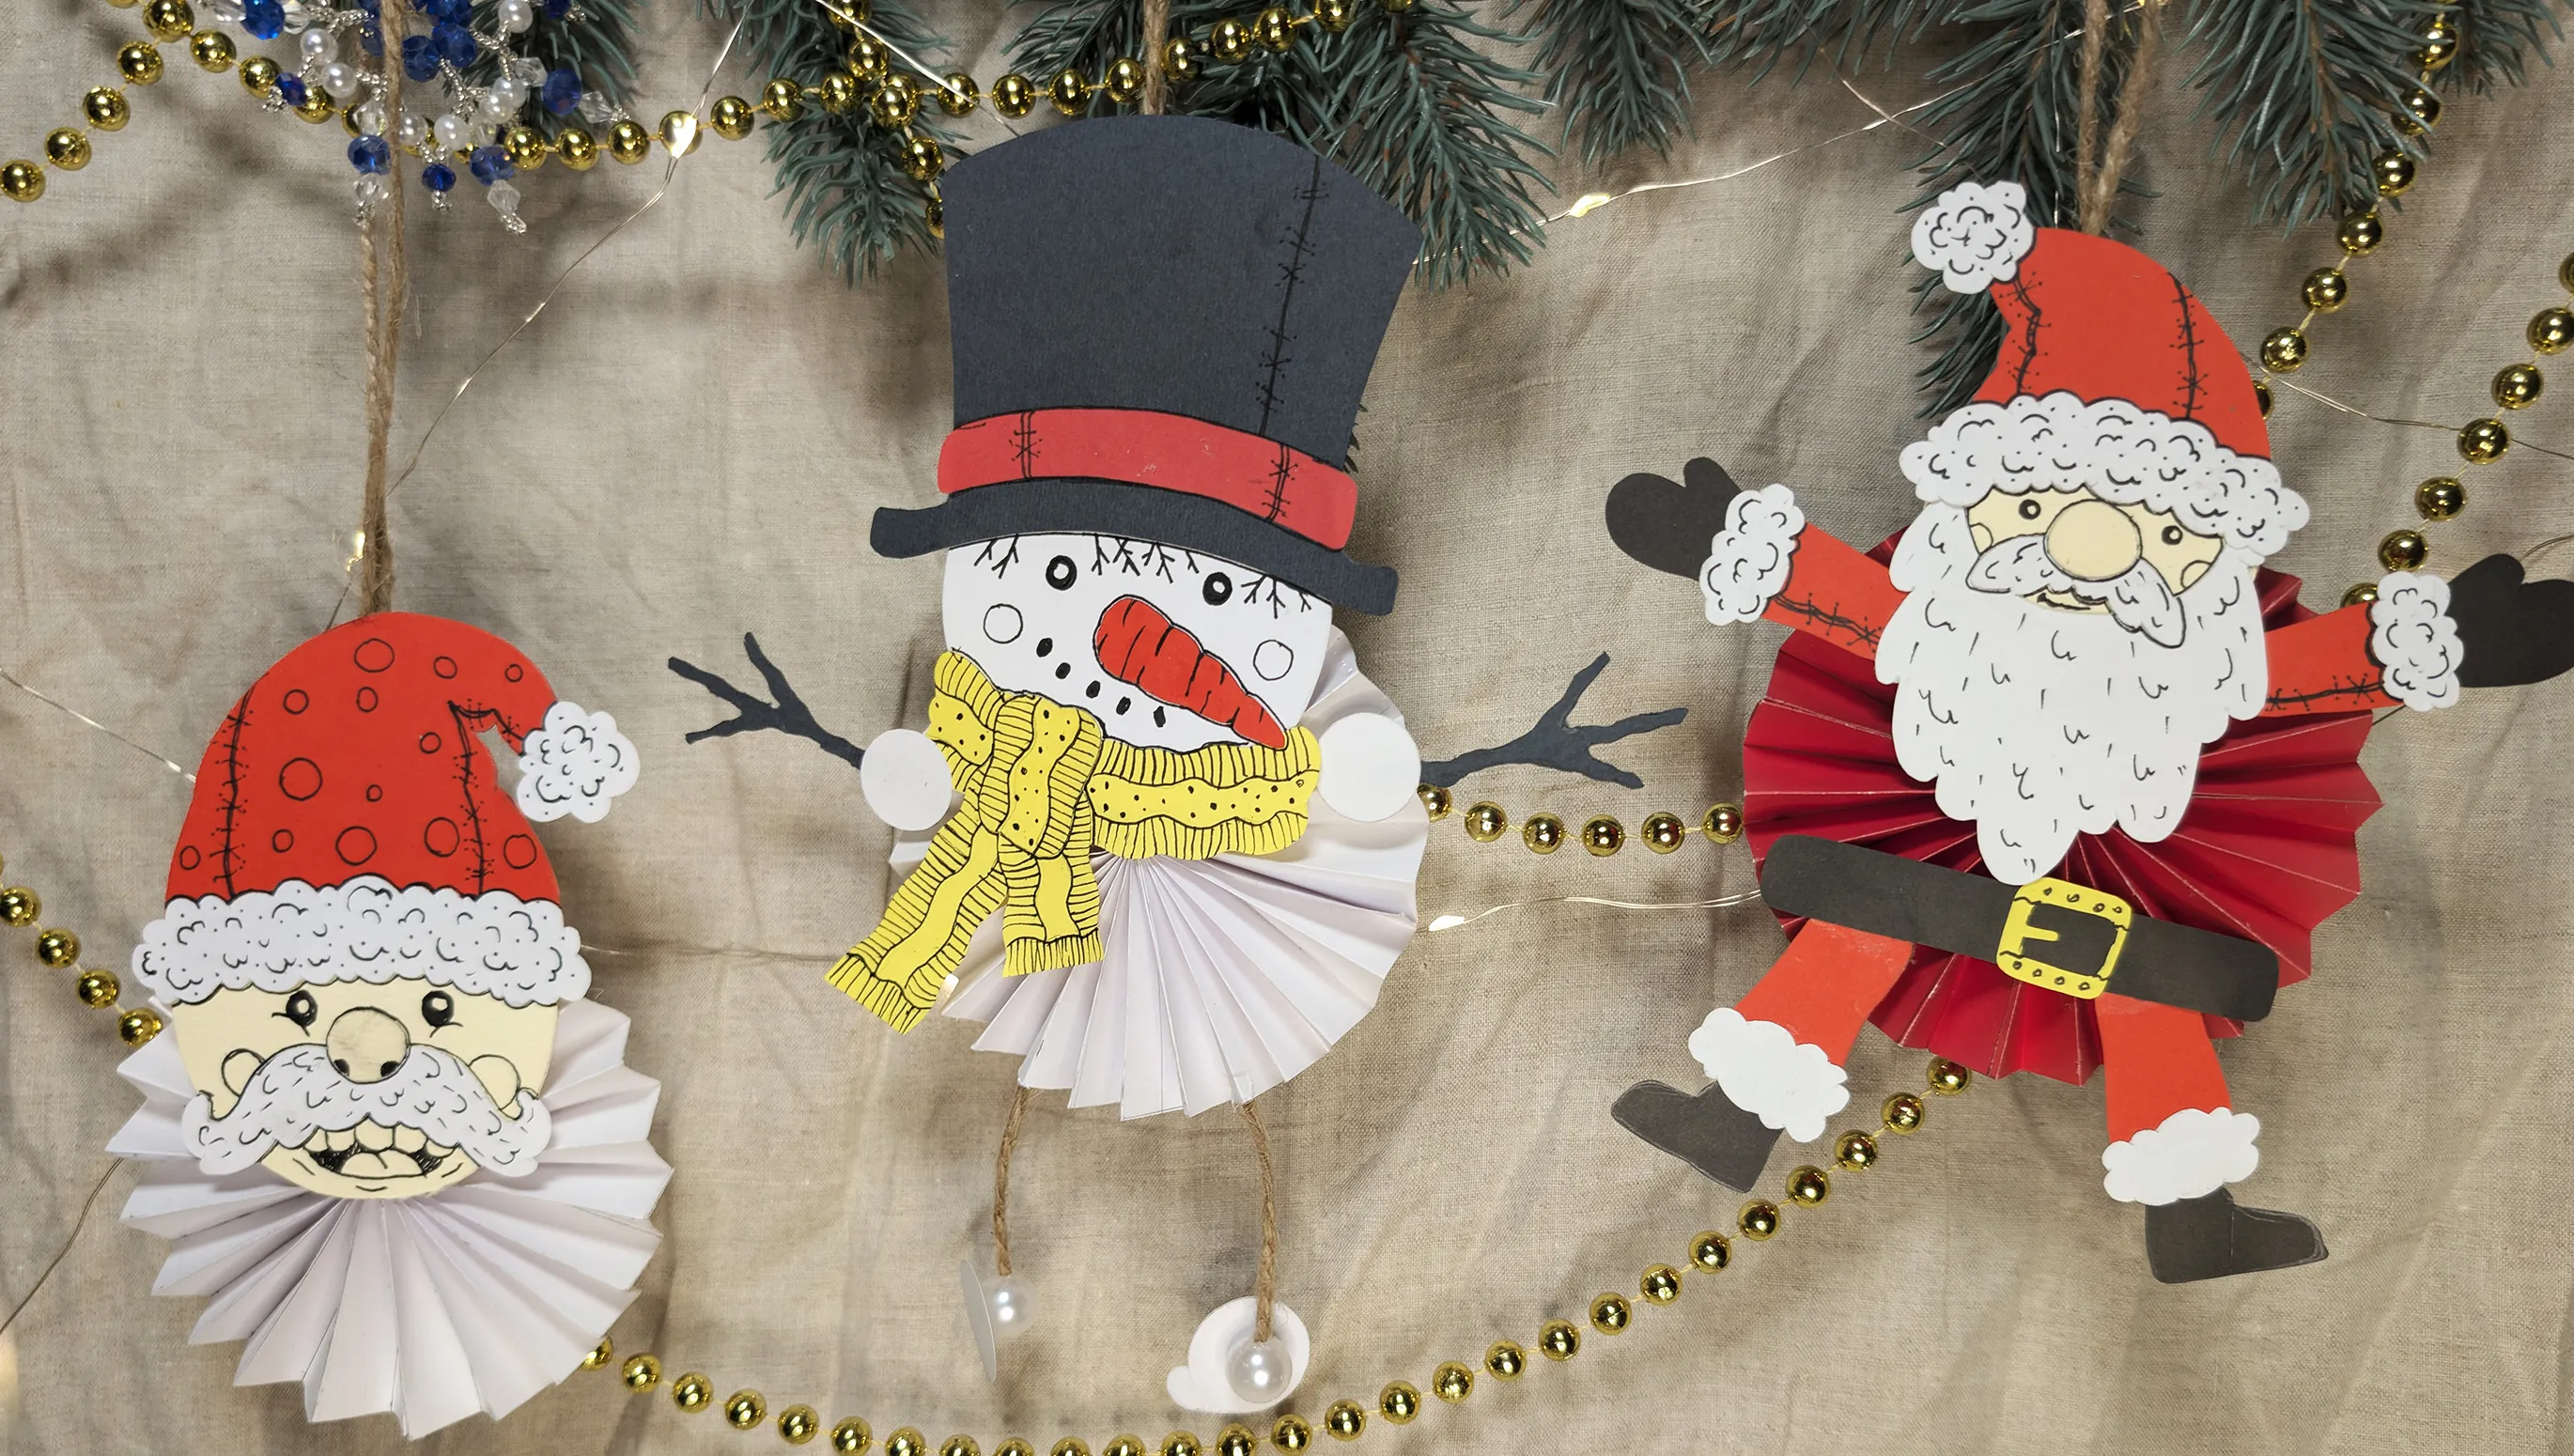
By the way, I hang such ornaments on a small tree next to the window, creating an atmosphere of coziness and warmth every time. I hope you can also create decorations that bring joy and will delight for many years.
Conclusion
Thank you for taking the time for our crafting tutorial! I am sure that the time you spent with your child crafting the Christmas decorations has brought much fun and joy. And I almost forgot - we have many more interesting ideas for creative projects, so this snowman can be just the beginning of your collection of homemade decorations.
On our website you will find many more ideas for creative design! We would be very happy if you share photos of your crafts with us - we will be happy to publish them on our portal. Remember, not the result is the most important thing, but the time spent together.
I wish you happy holidays, Merry Christmas, and a wonderful new year!
From Vitalii Shynakov
