Horse made of chestnuts: Autumn crafting with children
Autumn brings a wealth of natural materials that are perfect for creative activities with children. If you are looking for an exciting way to spend time with your child, crafting with children using chestnuts in the autumn is an excellent choice. You go for a walk with your child, collect chestnuts, find an oak tree, collect acorns, and buy craft glue at the store. You can find old play dough, toothpicks, and matches at home in the kitchen. Crafting with children promotes fine motor skills, stimulates the imagination, and offers the opportunity to spend a beautiful time with the child. Your child is between three and five years old and needs you more than ever. It can't do it alone, it needs your help. And you can enjoy the pleasure of crafting something together for the first time. Today we will make animals out of chestnuts.
We have prepared a video tutorial for you that shows the entire process of crafting a horse out of chestnuts. Before you proceed to the step-by-step instructions, be sure to watch the video. It will help you better understand and visualize the crafting process.
Crafting with Chestnuts
Let's start with an autumnal crafting activity using chestnuts, namely making a horse. This craft is suitable for children aged 3 to 6 years. The chestnut horse looks funny and will be a great decoration for home or the child's room. If your child is very young, you can simplify the process and suggest using play dough instead of glue. You can help with the more difficult steps, such as assembling the parts or working with glue.
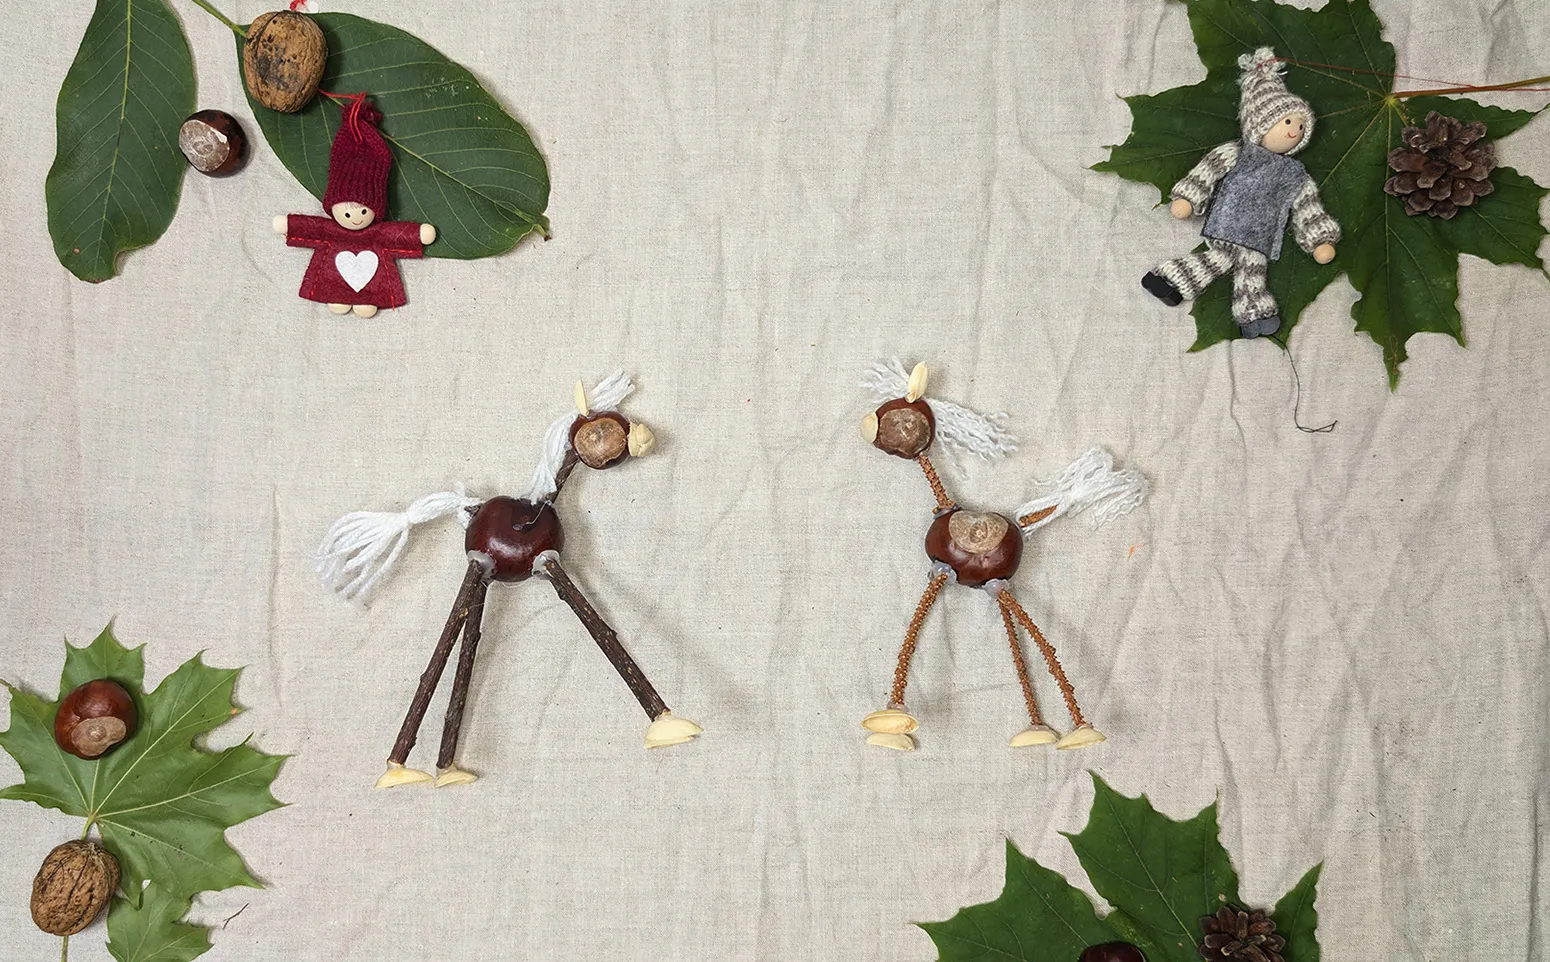
Materials and Tools
For crafting the autumnal chestnut horse, you will need simple and easily accessible materials that you can easily collect during an autumn walk with your child. This is a great opportunity to spend time in nature and turn collecting chestnuts, twigs, and leaves into an exciting game. The child will joyfully search for materials, and the day outdoors will become a warm memory.
Basic materials:
- Chestnuts (2-3 pieces for body and head)
- Twigs for legs and tail
- Pistachio shells for hooves, mouth, and ears
- Yarn (knitting yarn) for tail and mane
The materials can be substituted if something cannot be found. For example, wooden skewers or straws can be used instead of twigs, and acorn caps can be replaced with pistachio shells.
Additional materials and tools:
- Glue (play dough can be used for young children)
- Scissors (for cutting twigs and threads)
- Play dough or felt-tip pens for decorating
All necessary tools and additional materials are available at any supermarket or craft store. They are affordable and help complete the craft project.
Step-by-Step Guide with Photos: Crafting a Horse out of Chestnuts
Step 1: Preparing the Materials
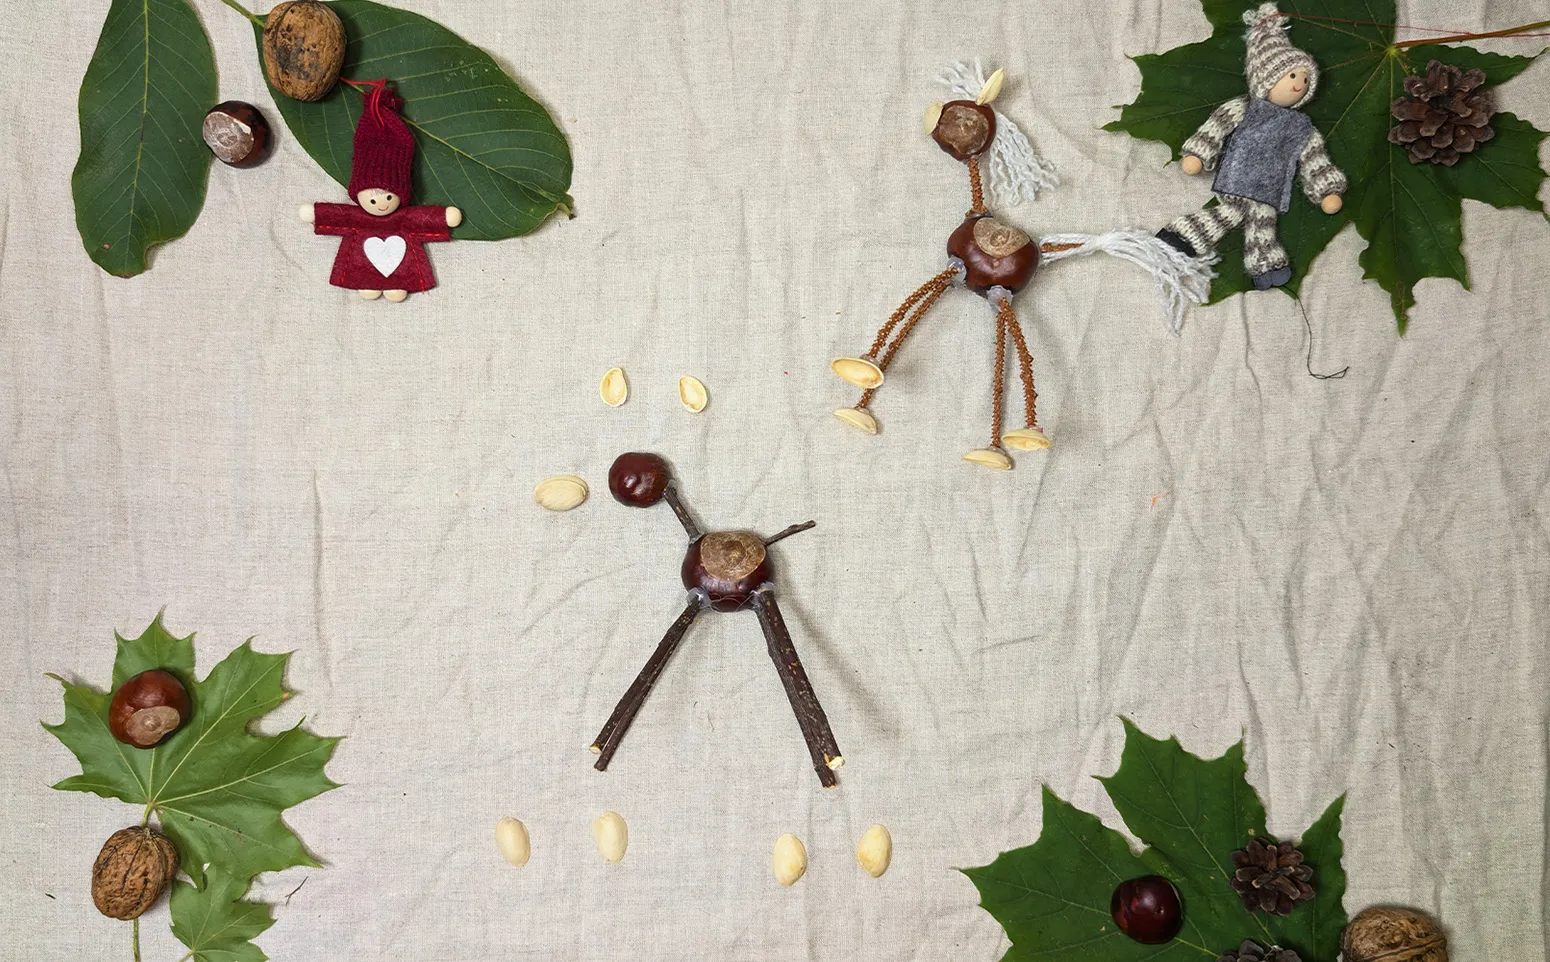
Take two chestnuts - one larger for the body, one smaller for the head. Prepare twigs for the legs and tail, pistachio shells for ears, hooves, and mouth. Also, prepare yarn for the tail and mane.
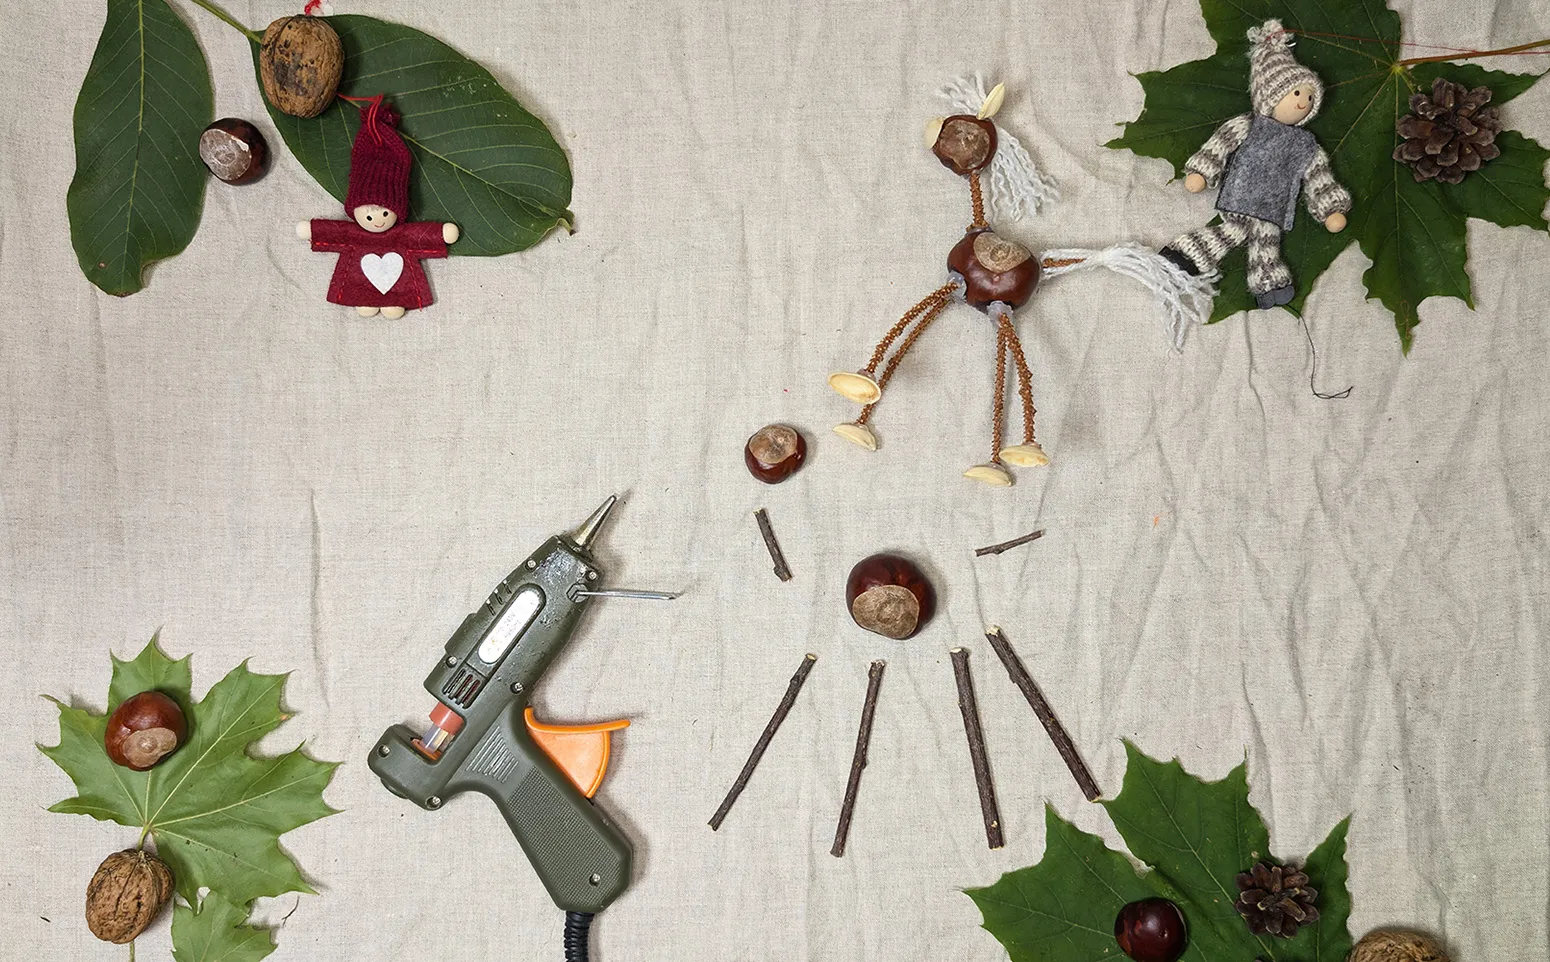
Step 2: Creating the Legs
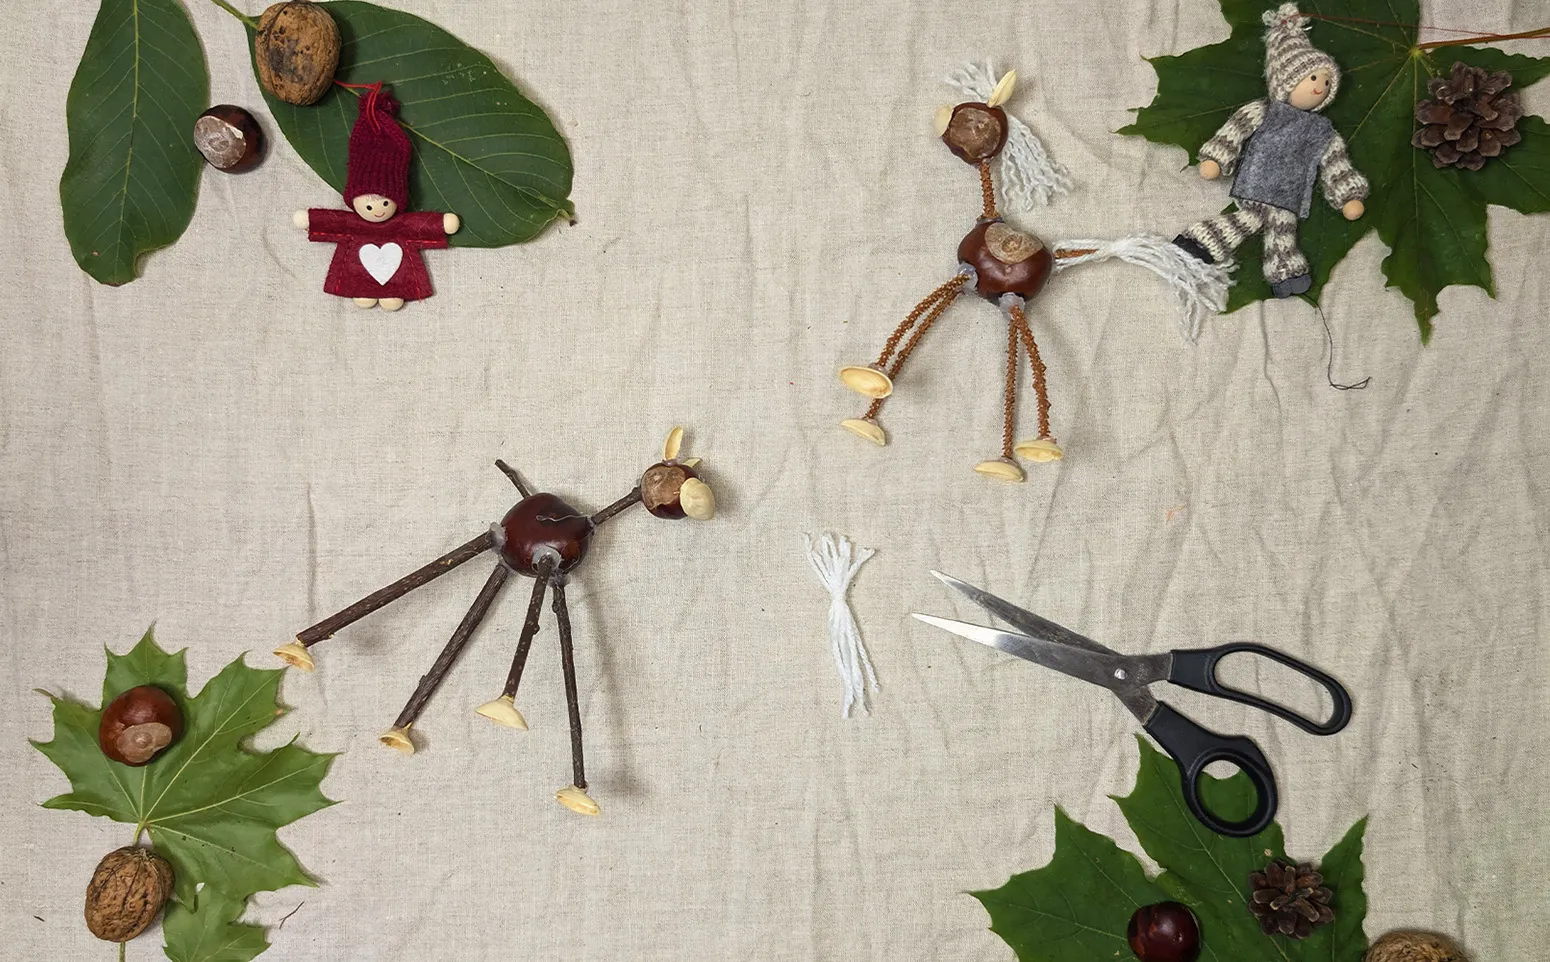
Take the larger chestnut, which will serve as the body of the horse, and choose four small sticks for the legs. Insert them into the lower part of the chestnut to form the legs of the horse. If necessary, make small indentations in the chestnut with an awl or scissors to secure the sticks well.
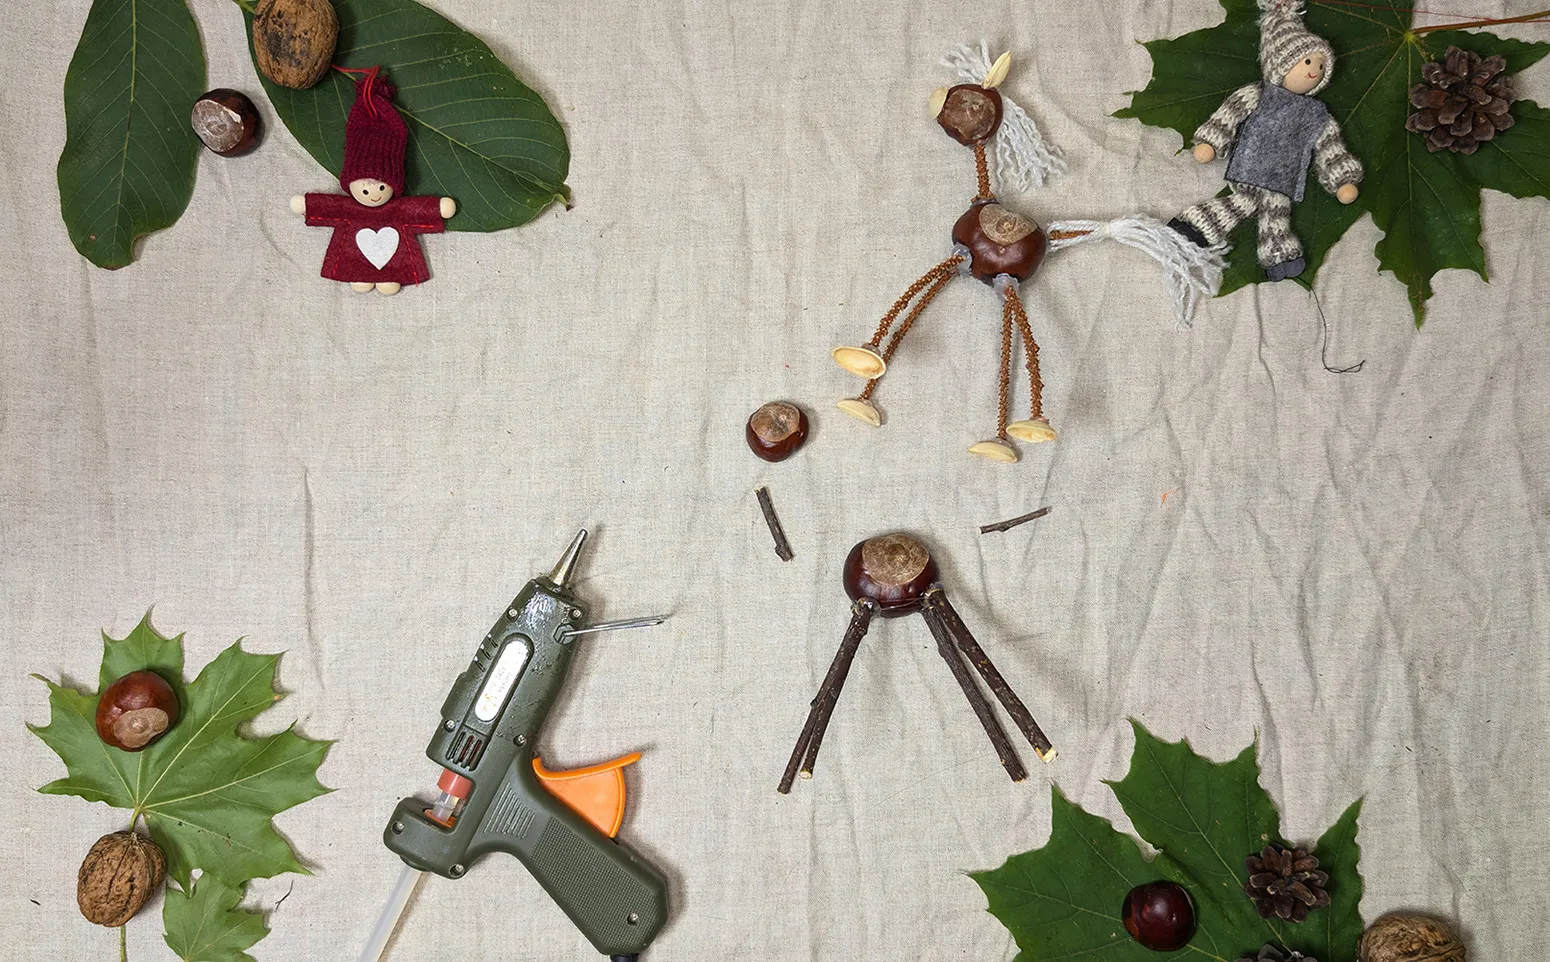
Step 3: Connecting the Head and Body
Now take a stick and insert it into the smaller chestnut, which will be the head. Connect this chestnut to the body by fixing it with the stick. Insert a stick for the tail at the rear of the body and secure it with glue.
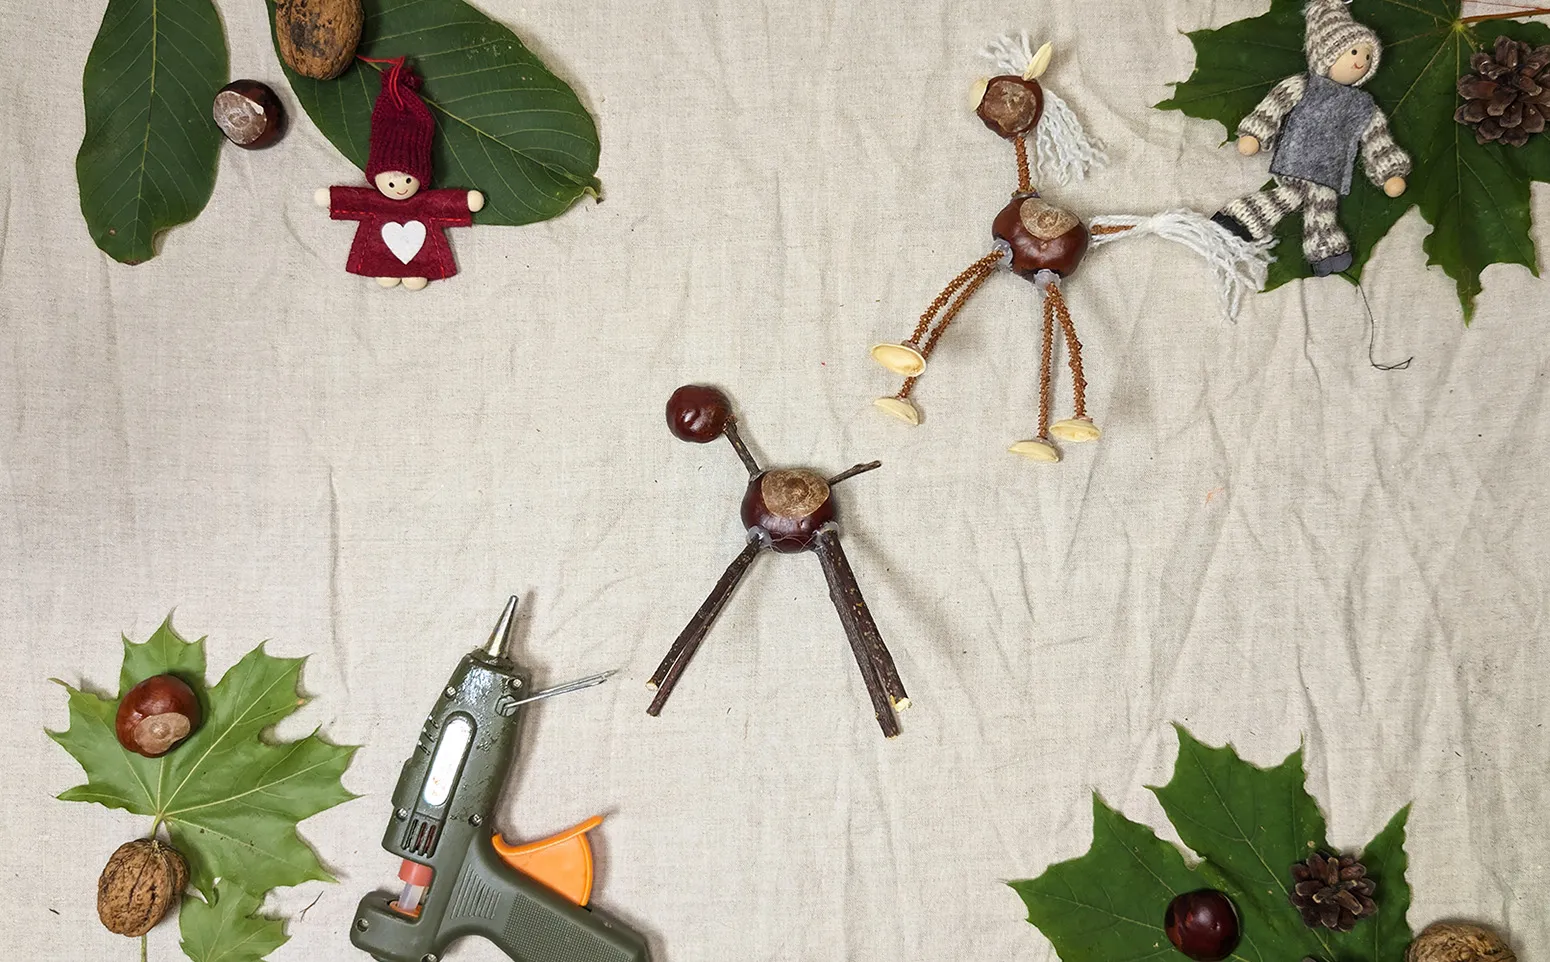
Step 4: Creating Ears and Hooves
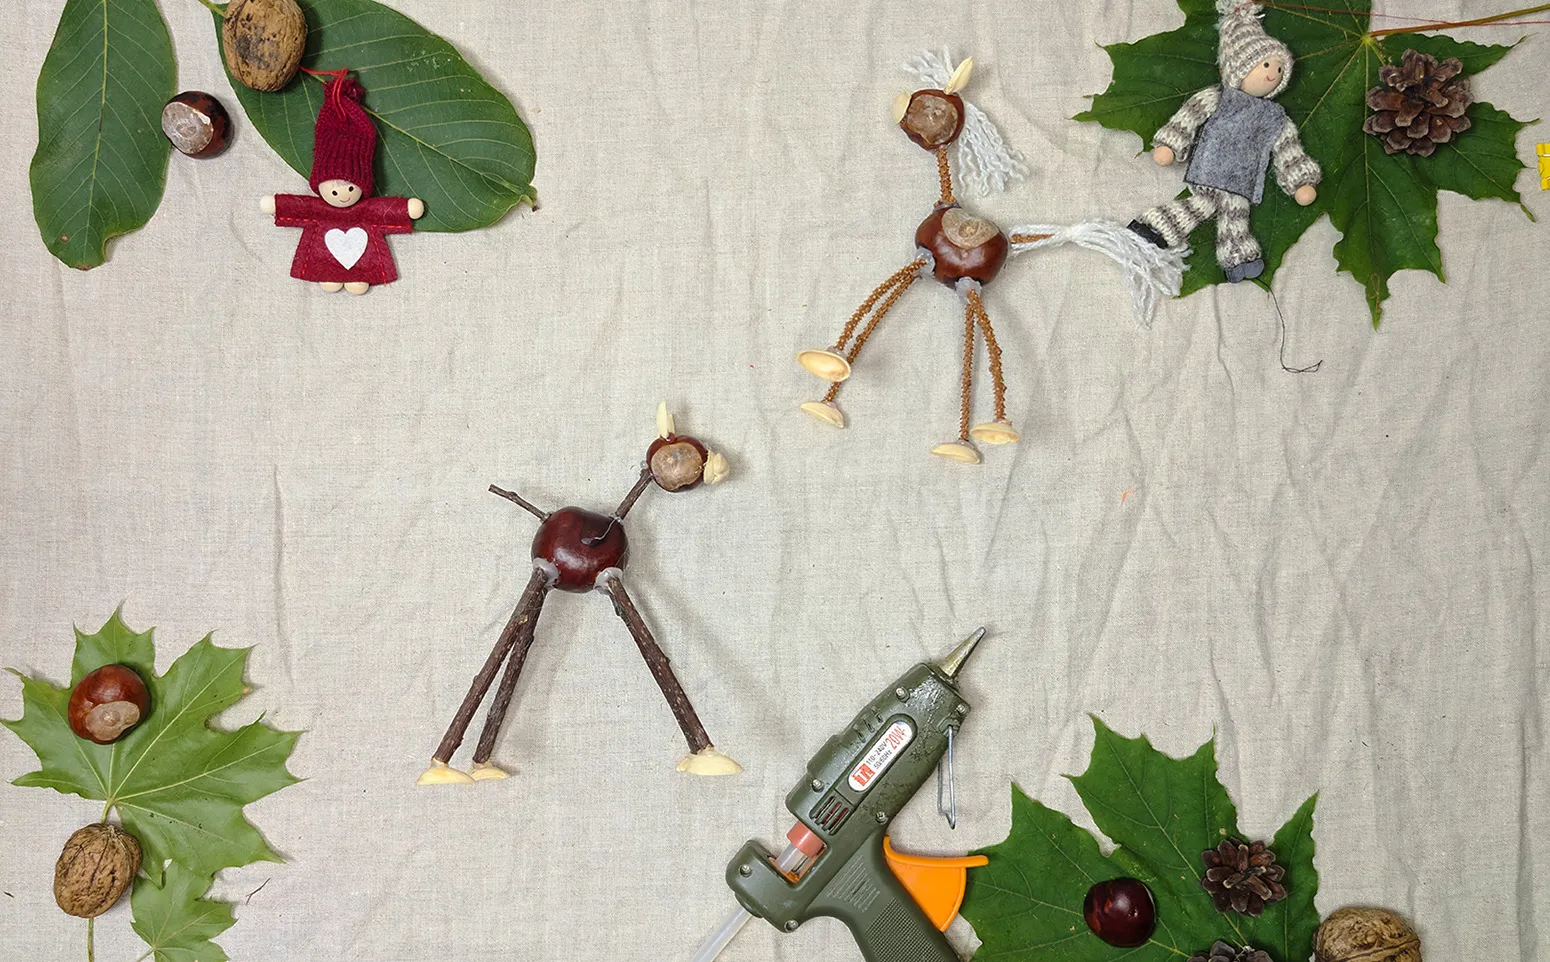
Take the pistachio shells. Glue two shells as ears to the horse's head. Glue four more shells to the legs to form hooves. Use one shell for the mouth.
Step 5: Attaching Tail and Mane
Cut some small pieces of yarn for the tail and mane. Attach the tail to the rear of the body and distribute the strands of the mane along the neck and head. Use glue to secure the threads.
Step 6: Decorating and Adding a Rider
For decorating, felt-tip pens or modeling clay can be used to create eyes, a nose, or other elements. For added interest, a small rider can be made from modeling clay or a small toy can be chosen to place on the horse.
After completing all the steps, you will have created a wonderful autumnal chestnut horse. This craft will adorn the room or table and serve as a lovely memory of time spent together with the child. The horse can be used as decoration or a toy, and also become part of an autumnal composition. Give the child the chance to showcase their imagination and individuality by adding their own touch to the craft.
Crafting this horse from natural materials promotes creativity and creates warm moments that will be remembered for a long time.
Conclusion
Thank you for your time and attention to this craft. Such crafts help strengthen the bond between adults and children and promote skills like fine motor skills and imagination in children. Crafting with Children during autumn is an opportunity to create something with your own hands and fill your home with warmth and coziness. If you enjoyed the process, try creating something else with the child, such as a whole collection of autumnal animal figures. Good luck with your next creative projects and have a wonderful autumn season!
From Vitalii Shynakov
