Snail made from chestnuts: Autumn crafting with children
Are you looking for a great idea for autumnal children's crafting? You've found it. Imagine crafting a fun snail out of a chestnut together with your three-year-old kid! This simple crafting project for the little ones is a great way to spend time together and foster your child's creativity.
We have prepared a video tutorial for you that shows the entire process of crafting a snail out of chestnuts. Before you move on to the step-by-step instructions, be sure to watch the video. It will help you understand and visualize the crafting process better.
Materials Collection for Crafting
Why not turn a regular walk into a real search for crafting materials? Suggest to your little one to collect the most beautiful chestnuts, leaves, and twigs. It's fun and educational - the child learns to observe nature and appreciate its beauty.
A snail made from a chestnut is a fascinating crafting project that is perfect for the youngest artists. It does not require any complicated tools or materials, and the creation process is intuitively understandable even for a three-year-old. This project allows the child to unleash their imagination, develop fine motor skills, and experience the joy of creating something with their own hands.
Working with natural materials is particularly beneficial for the child's tactile perception. The smooth surface of the chestnut, the soft clay, the rough leaves - all of these create a rich sensory environment for the little one. And the process of transforming an ordinary chestnut into a fun snail seems like real magic to the young artist.
Materials for Making the Snail
Before we start crafting, let's gather everything we need for our little masterpiece:
Materials:
- Chestnut (preferably choose a smooth and large one)
- Clay in different colors (soft, so the child can easily work with it)
- Sticks or twigs (for decoration or making antennae)
- Leaves (optional, to create the snail's environment)
- Eyes (you can use beads or shape them from clay)
- Cardboard or sturdy paper (to create a base if desired)
Make the gathering of materials an exciting adventure! Go to the park with your child and suggest finding the perfect "home" for the snail. Let the child choose the chestnut they like best - it makes the crafting project even more special.
Steps for Making the Snail
Step 1: Preparation of the Workspace
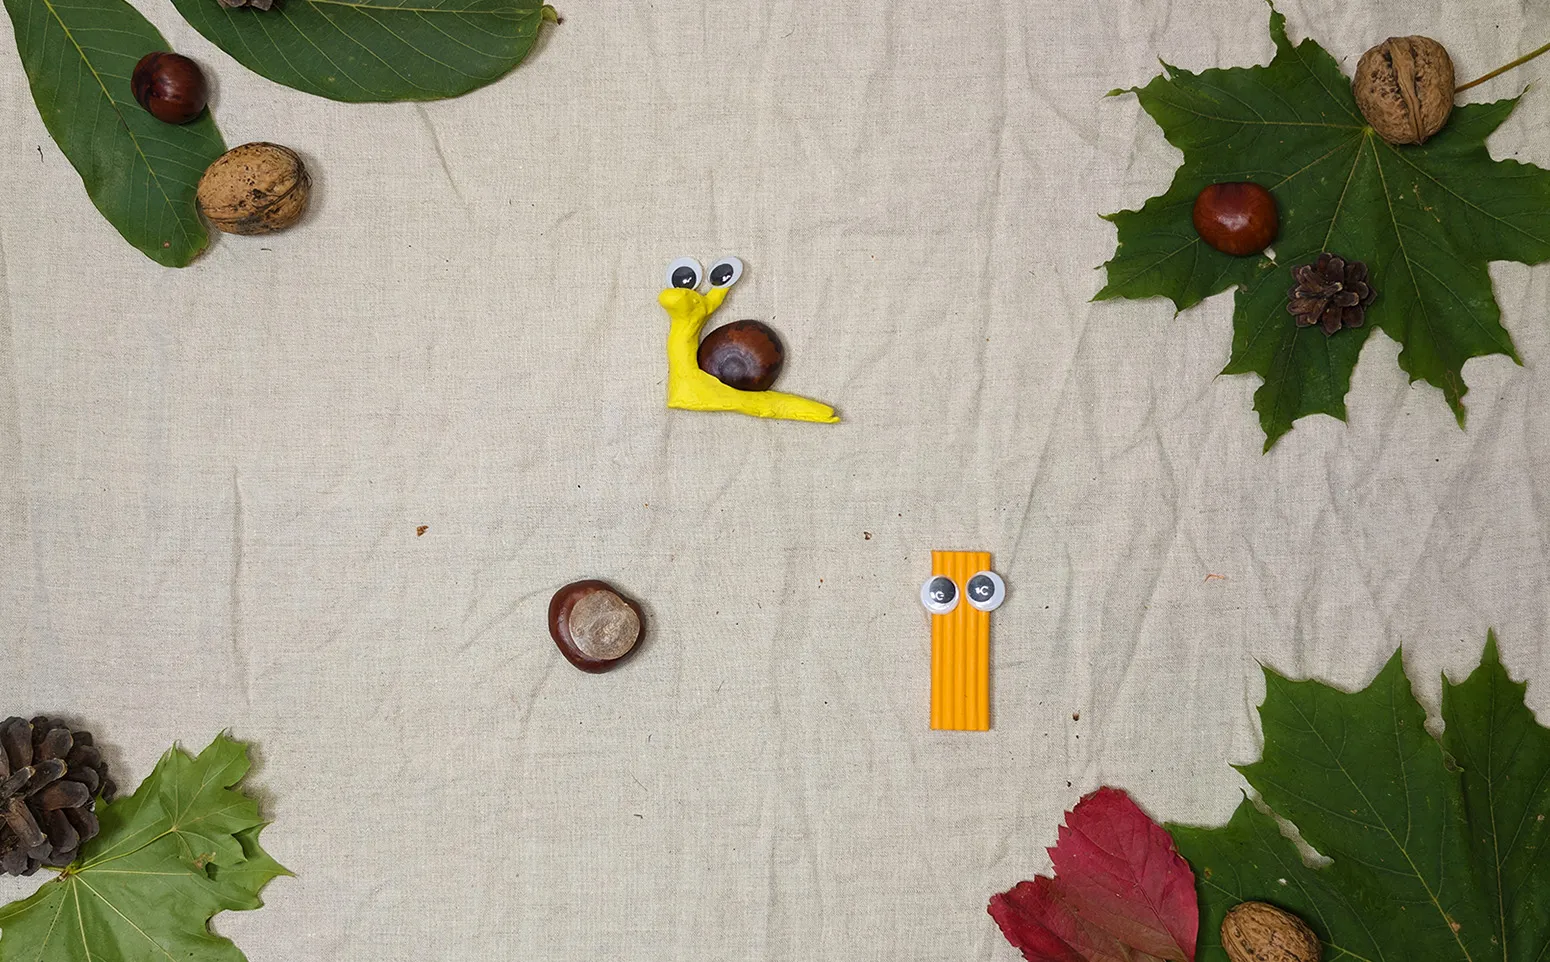
Spread a plastic tablecloth or paper on the table. Arrange all materials so that the child can easily reach them. Create an atmosphere of a creative workshop - you can even paint a sign "Snail Workshop" together with the child.
Step 2: Creating the Snail Body
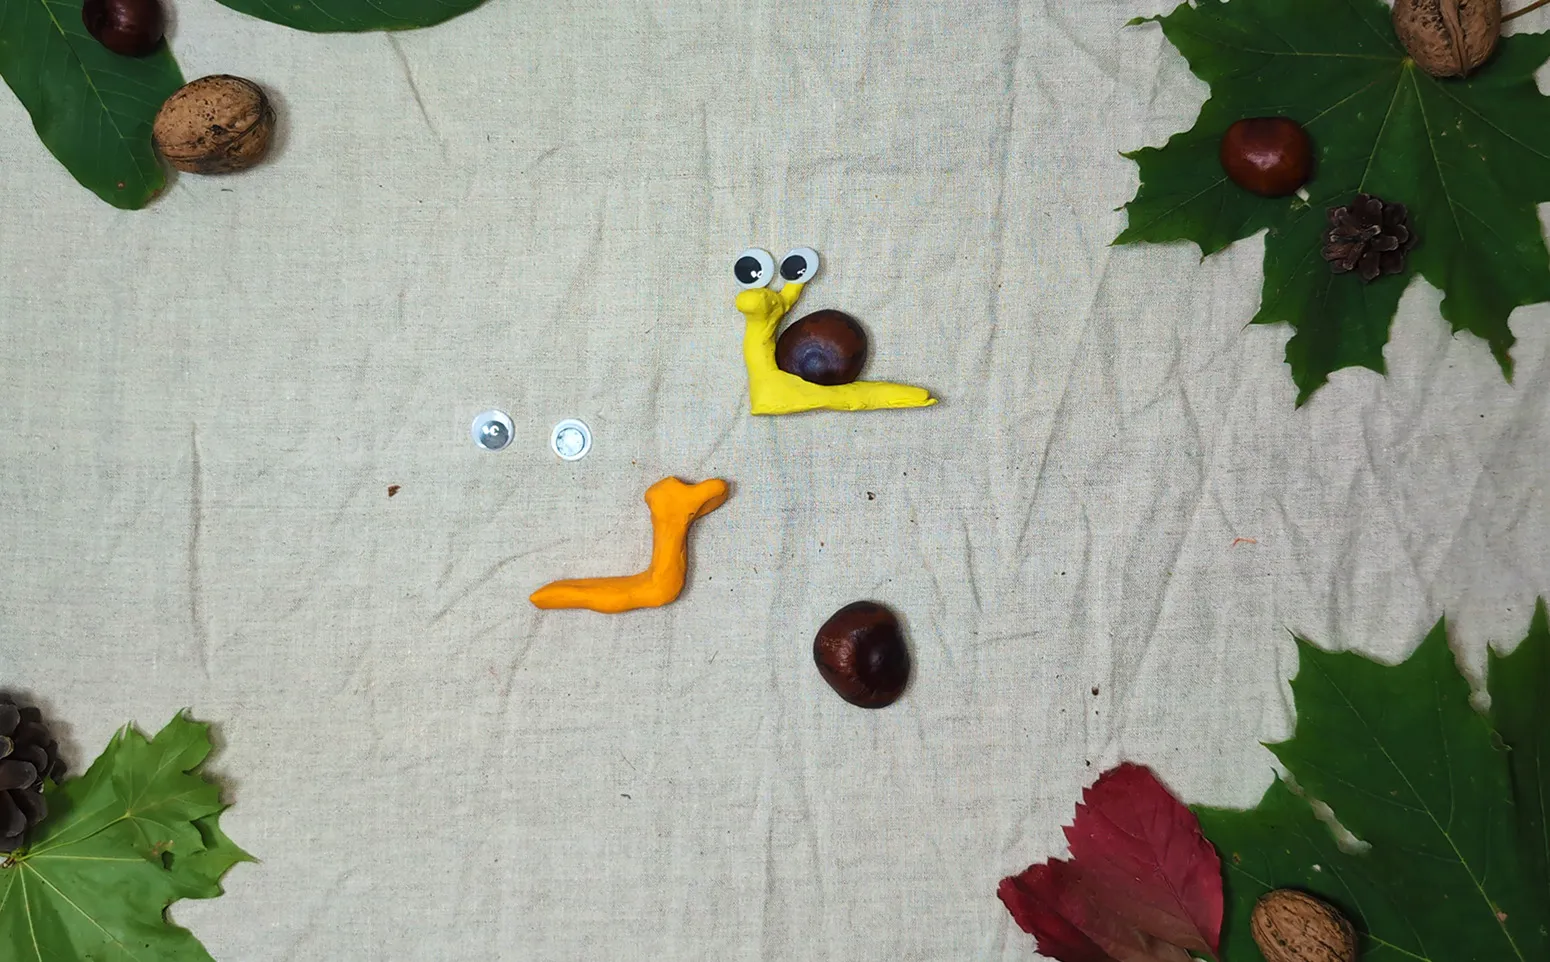
Take a piece of clay and show the child how to roll it into a sausage. Then, bend it together into an "L" shape. This will be the body and foot of the snail.
Step 3: Attaching the Chestnut
Now comes the most exciting part - the chestnut becomes the cozy home of the snail! Help the child carefully attach it to the upper part of the clay base. Show how to gently press on the chestnut to make it hold firmly.
Tip: Suggest to the little one to imagine what could be stored in the house of the snail. Maybe there's a miniature bed or a wardrobe with tiny clothing? This promotes the child's imagination and language skills.
Step 4: Creating the Eyes
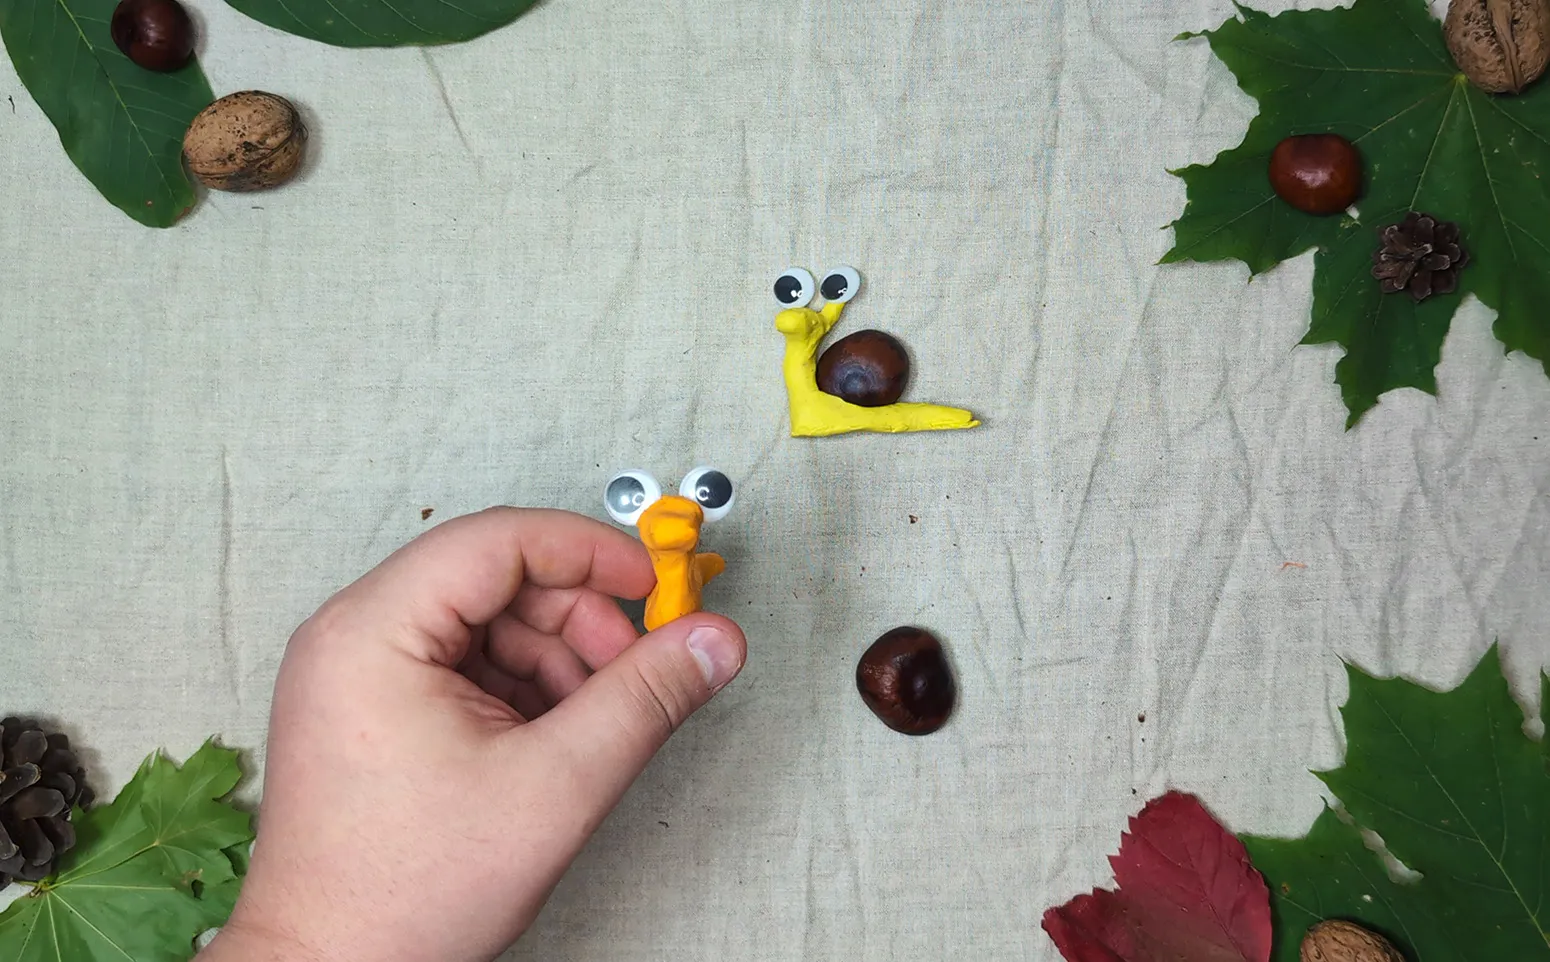
Now it's time to bring our snail to life! Roll two small balls out of clay for the eyes together. Attach them to the snail's head. If you'd like, you can add pupils of a different color made of clay.
Step 5: Decoration
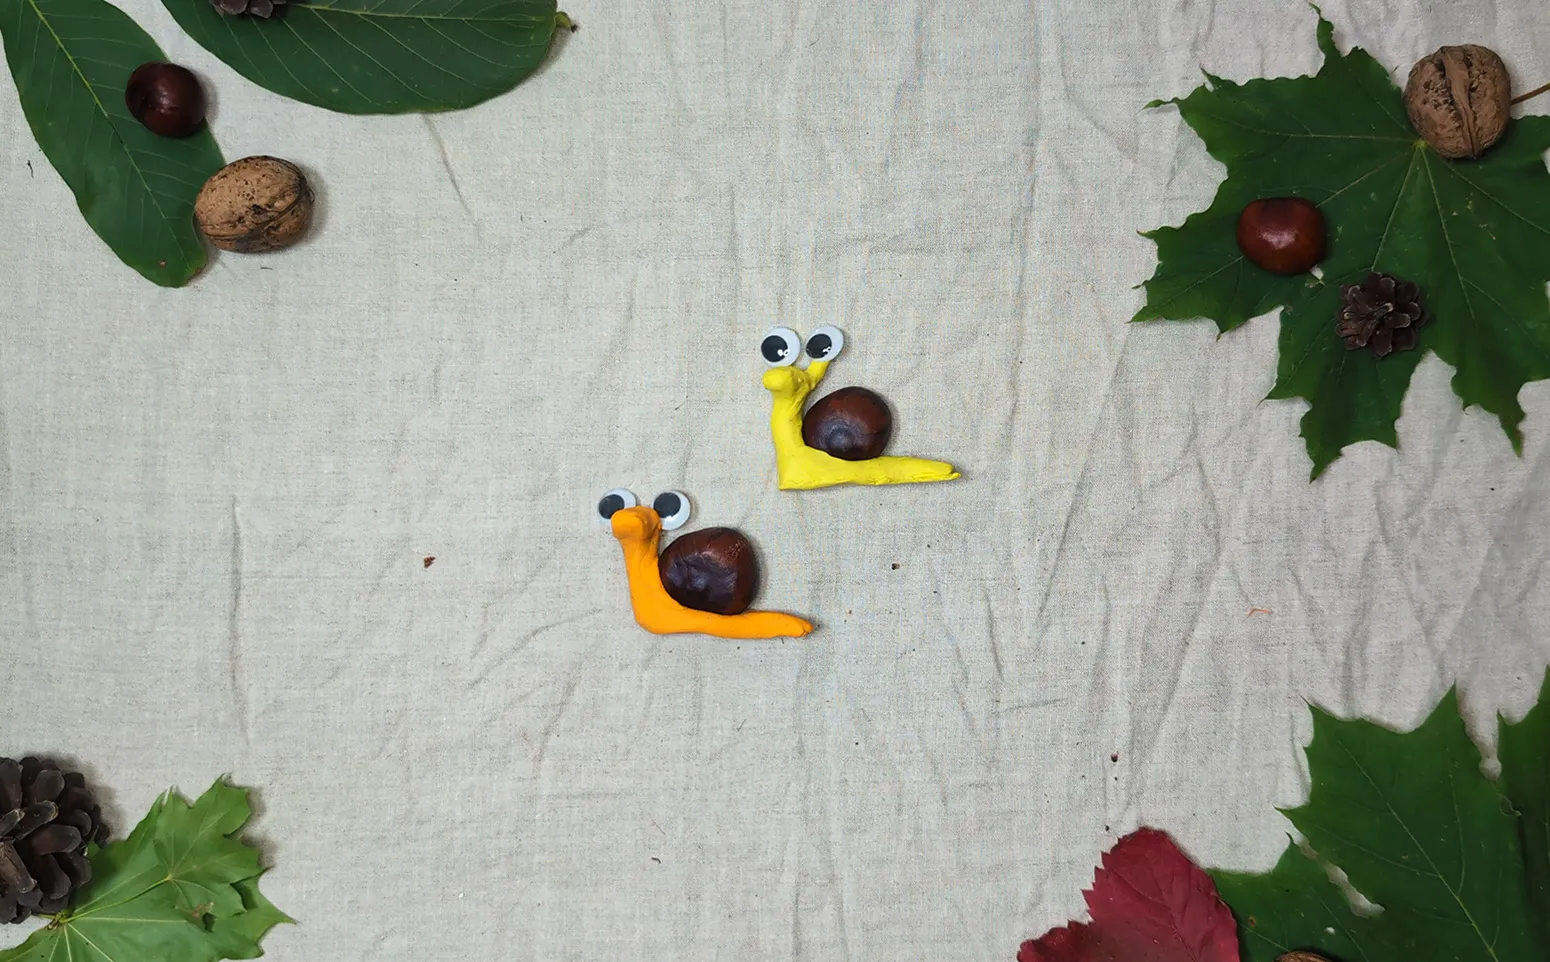
Now it's time to make the snail truly unique! Use the leaves and branches collected on the walk to decorate the snail and create a cozy environment for it. You can make patterns on the chestnut house or give the snail a "hairstyle" made of blades of grass.
Tip: Let the child decide how they want to decorate the snail. This promotes creativity and independence. You can ask guiding questions: "What if we give the snail a hat made of a leaf? Do you think she would like that?"
Step 6: Creating the Environment
If you wish, you can create a whole world for the snail on a cardboard base. Glue on leaves, place branches as if they were trees, create a pond out of blue clay. Let the child invent a story about where the snail lives and who its friends are.
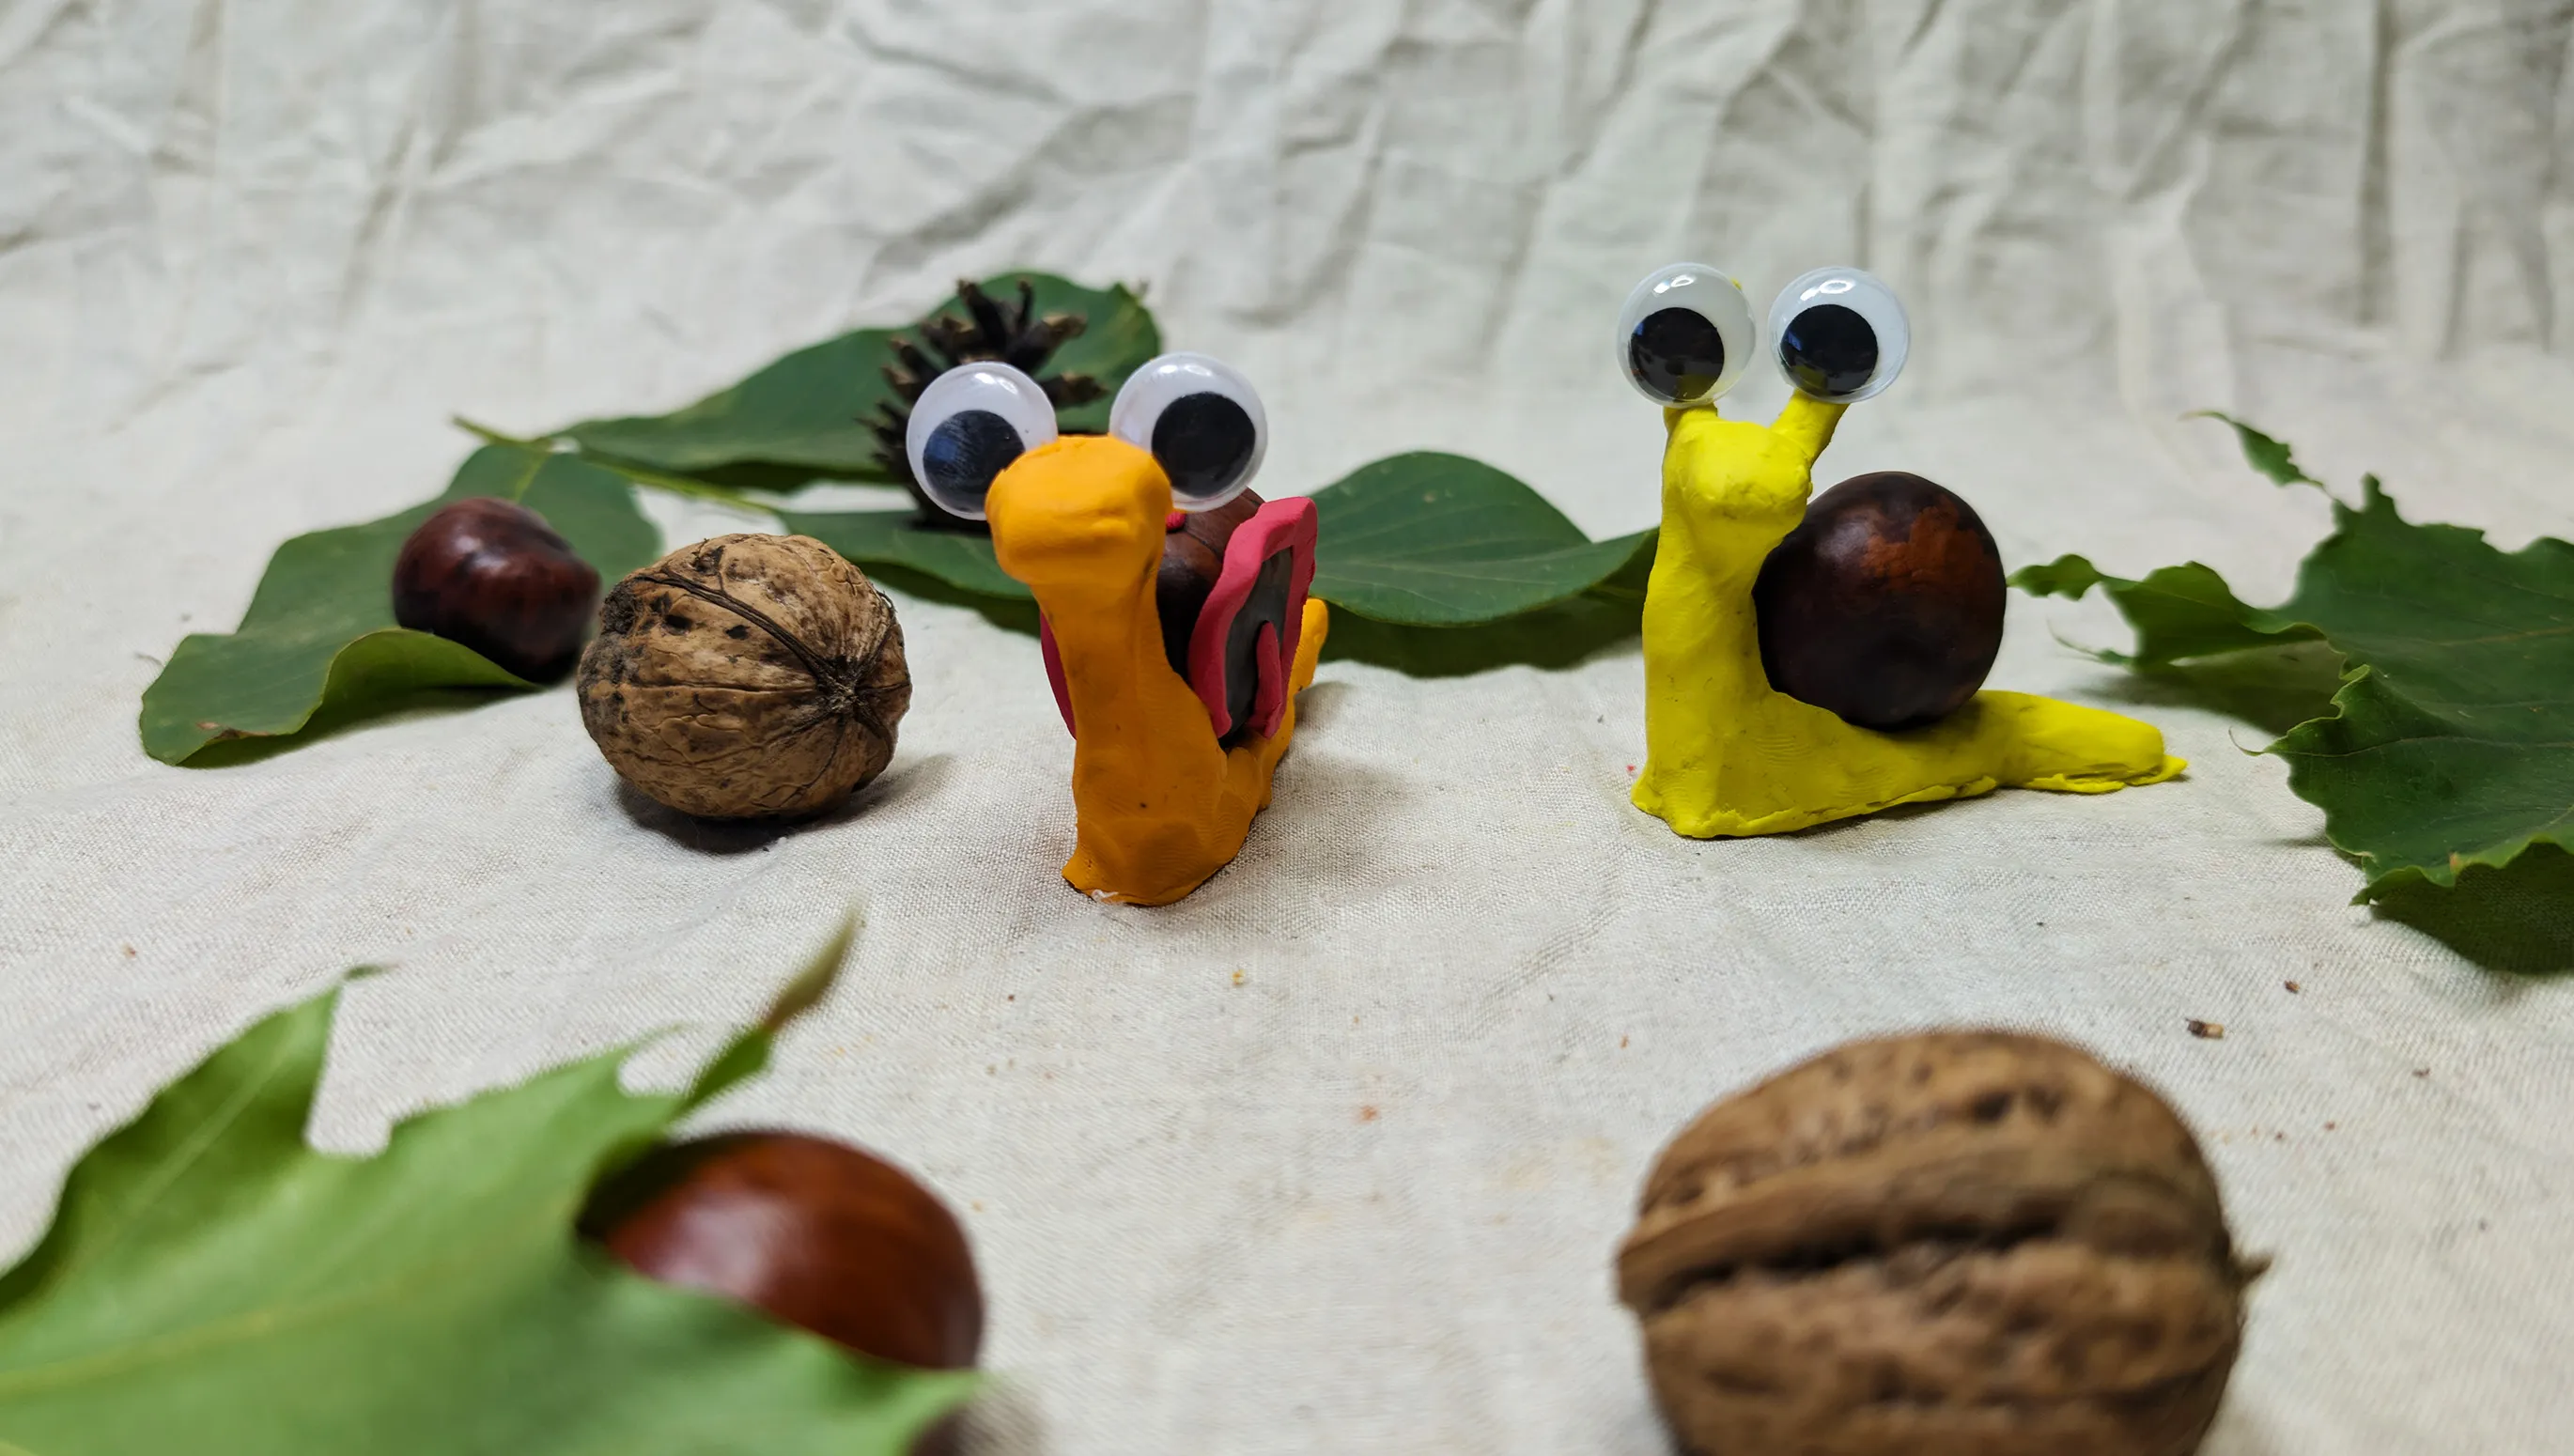
Recommendation: This is a great opportunity to talk to the child about nature, where real snails live, what they eat. Foster the child's curiosity!
Congratulations! Your chestnut snail is finished, and you have been through an exciting creative process with your child. By following all the steps, you have created a beautiful autumn craft that will decorate your home and bring much joy. Every detail was crafted with care, making the snail unique and special.
Creative activities help children develop fine motor skills, which promotes language and thinking skills. Crafts teach children patience, concentration, and enhance imagination. Crafting together strengthens emotional bonds and creates warm memories. Working with natural materials also allows the child to better understand the environment and discover their self-expression skills.
What to Do After Crafting: Ideas for Further Creativity
Once the snail is finished, there's no need to stop! Come up with a name for it and together invent a tale about its adventures. This not only develops the child's imagination but also makes the creative process even more exciting.
Additionally, you can paint a picture where the snail is the main character. Take paper, colors, or markers and create a whole world for your snail - a forest, a garden, or even a magical land. And if it's not just one snail, you can have fun races or create a whole family of snails in different sizes.
For even more engagement from the child, build a house for the snail out of building blocks or a cardboard box. Decorate it with leaves and pine cones collected on the walk. Such a game will promote the child's creativity and give you many joyful minutes together!
Check out our other articles on crafts for kids!
Thank you for choosing this craft project for creativity with your little one! I hope the process of creating the chestnut snail brought you much joy and fun. Remember that the most important thing in such creative work is not the perfect result, but the time spent together and the joy of the process.
On our platform, you will find many more ideas for activities with children of different age groups. From simple applications to complex constructions - we have everything to make every day of your child colorful and educational.
Send us a photo of your chestnut snail to our portal. We look forward to publishing your work, and maybe it will inspire someone else to craft with children.
Be creative, fantasize, and enjoy every moment with your little one! May your home be filled with the joy of creating and children's laughter.
From Vitalii Shynakov
