Hedgehogs made from chestnuts: Crafting with children
Are you looking for ideas for crafting with children? Here is a great idea on how to craft a "hedgehog from chestnuts" with your child. Lately, creative activities with children have been becoming increasingly popular among parents. Many want to spend quality time with their children engaging in interesting and meaningful activities, and creating simple autumn decorations is an excellent way to combine the enjoyable with the beneficial. Crafting projects help children develop their fine motor skills, attention, and creativity, which has been confirmed by numerous studies.
Crafting with chestnuts for the little ones: How to make a hedgehog
This crafting project is quite simple and suitable even for the little ones. All the necessary materials are easy to find: you can collect chestnuts, pine cones, leaves, and other natural materials while on a walk. The process of crafting a hedgehog from chestnuts provides an opportunity to spend time outdoors and then create a cozy autumn decoration together with the child at home.
Safety Rules
When crafting, please consider the following recommendations:
- Glue: If using a hot glue gun, the child should not touch the glue gun or glue itself. This part of the work should be done by adults.
- Sharp objects: Some materials, like the prickly chestnut shell, can be sharp. Prepare them in advance to protect the child.
- Small parts: If the child is very young, make sure that small elements (like pistachio shells or pieces of clay) do not get into their hands unsupervised.
Materials and Tools for the Chestnut Crafting Project
To create the hedgehog, you will need:
- A chestnut (for the body)
- Chestnut shell with spikes (for the hedgehog's back)
- Clay (for the face, eyes, and nose)
- Pistachio shells (for the paws)
- Glue (you can use a hot glue gun, but with young children, you can attach everything with clay)
Step-by-Step Guide with Description
Hedgehog from Chestnuts, Step 1: Preparing the Chestnut and Shell
Let's start by preparing the main materials for our hedgehog. The chestnut will be the body, and the prickly chestnut shell will be its back with the spikes. Gently clean the chestnut from dirt and let it dry. You can easily smooth out the chestnut shell or trim sharp edges to make it easier for your child to work with.
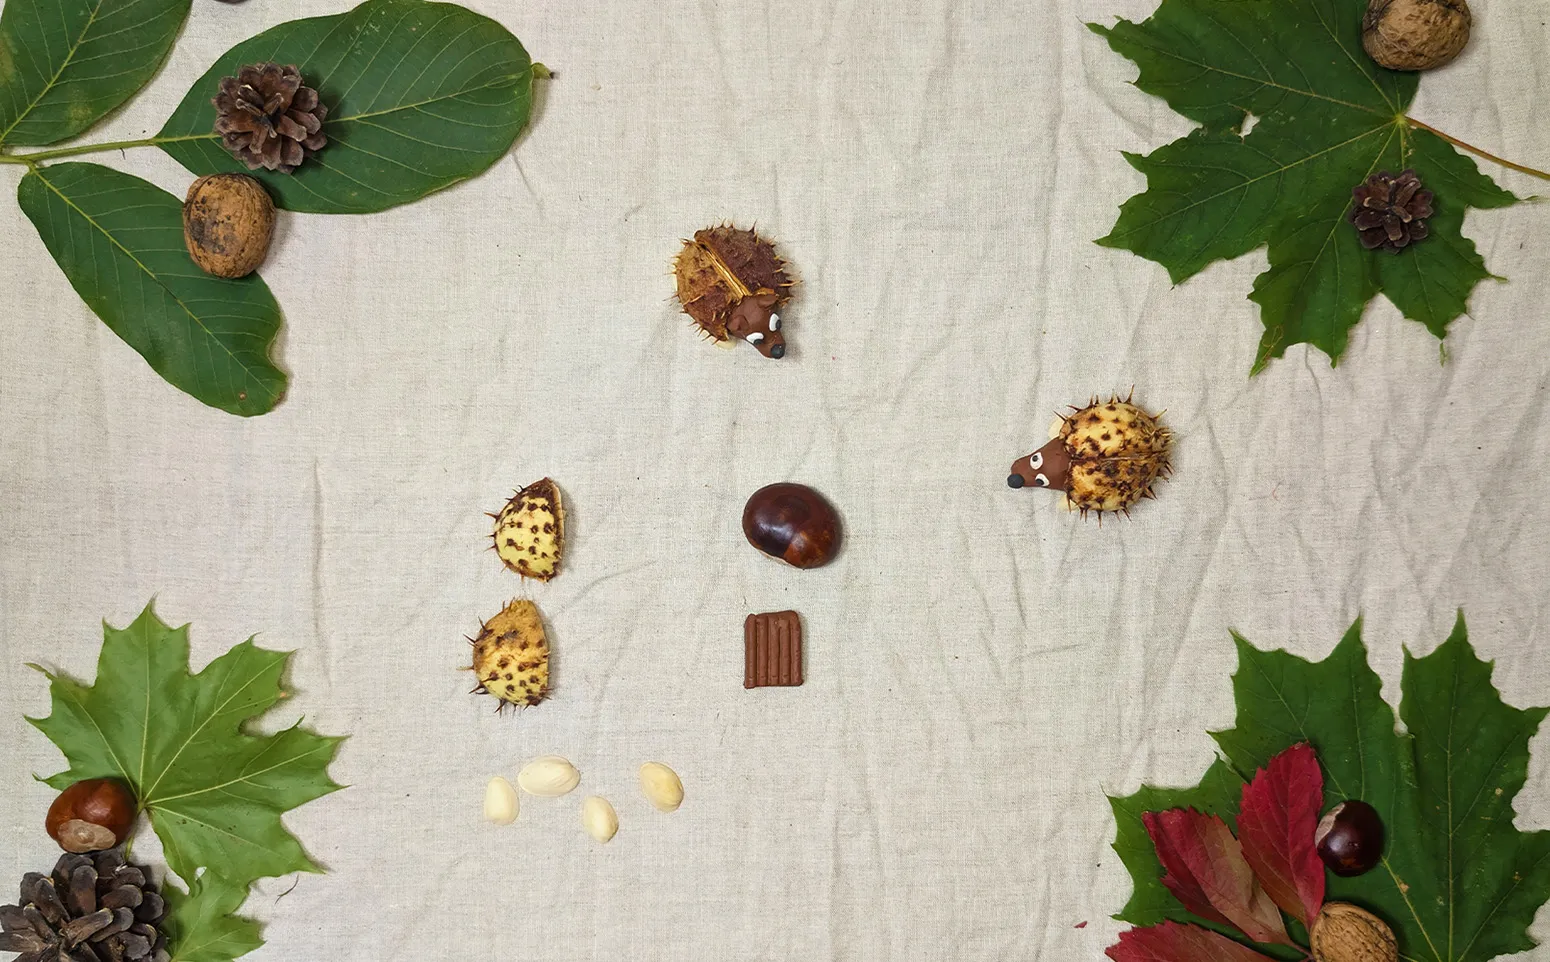
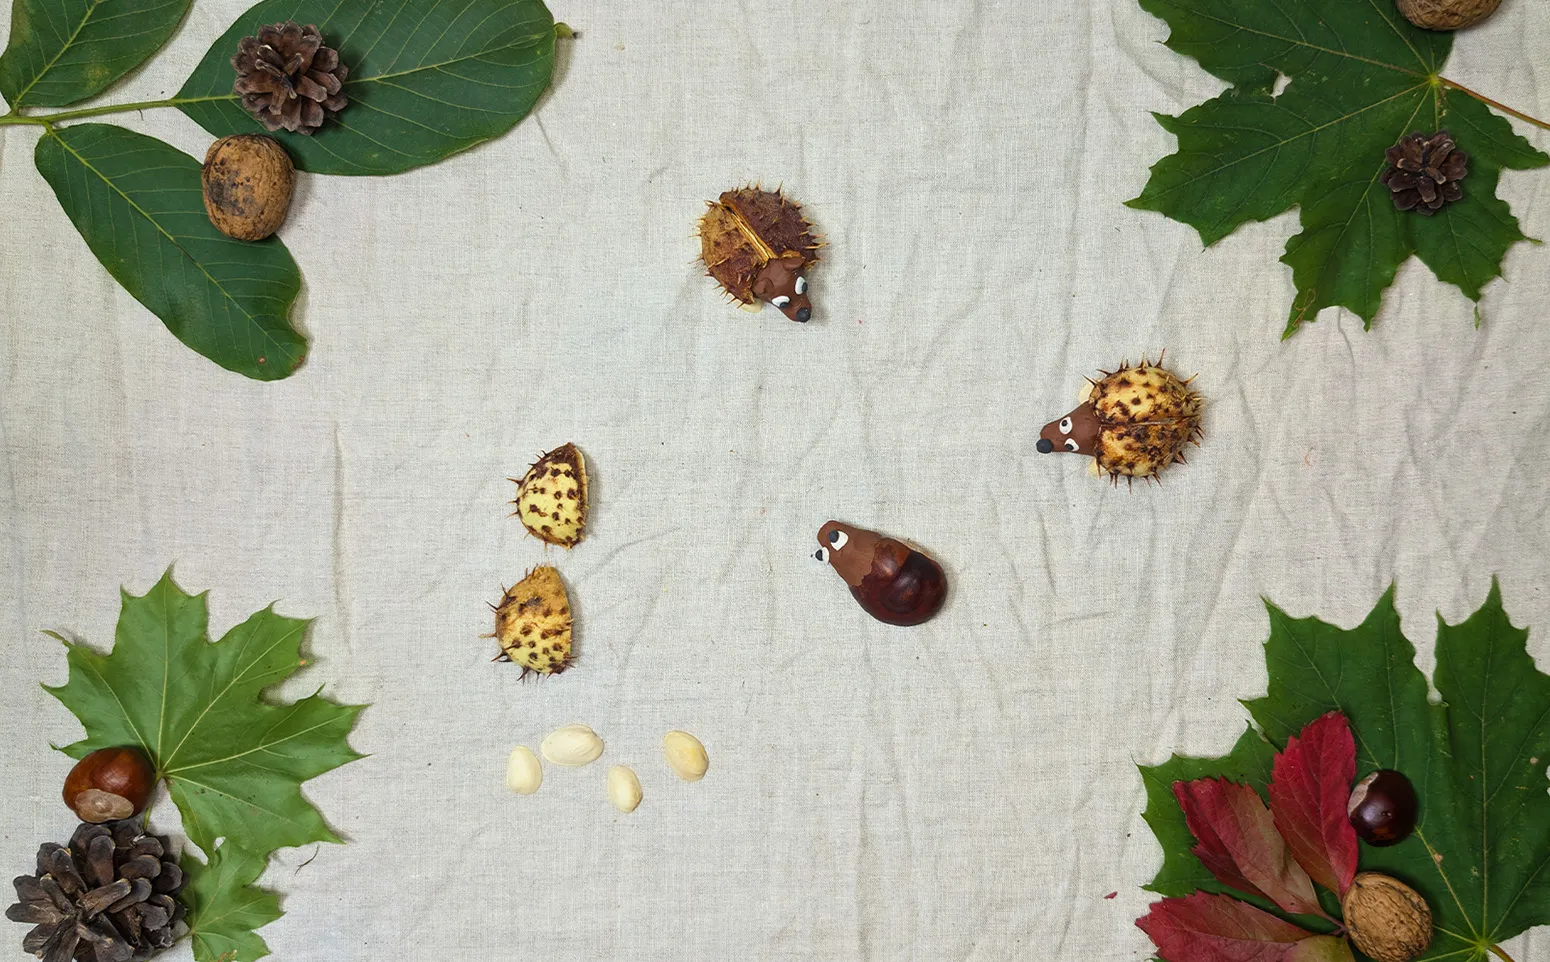
Hedgehog from Chestnuts, Step 2: Crafting the Head
Take the chestnut and a small piece of clay. Mold the head of the hedgehog from the clay as shown in the photo. Then, use black clay to create a nose and attach it to the head. For the eyes, use white clay - roll two small balls and stick them on the head. From black clay, shape small pupils and add them to the white eyes.
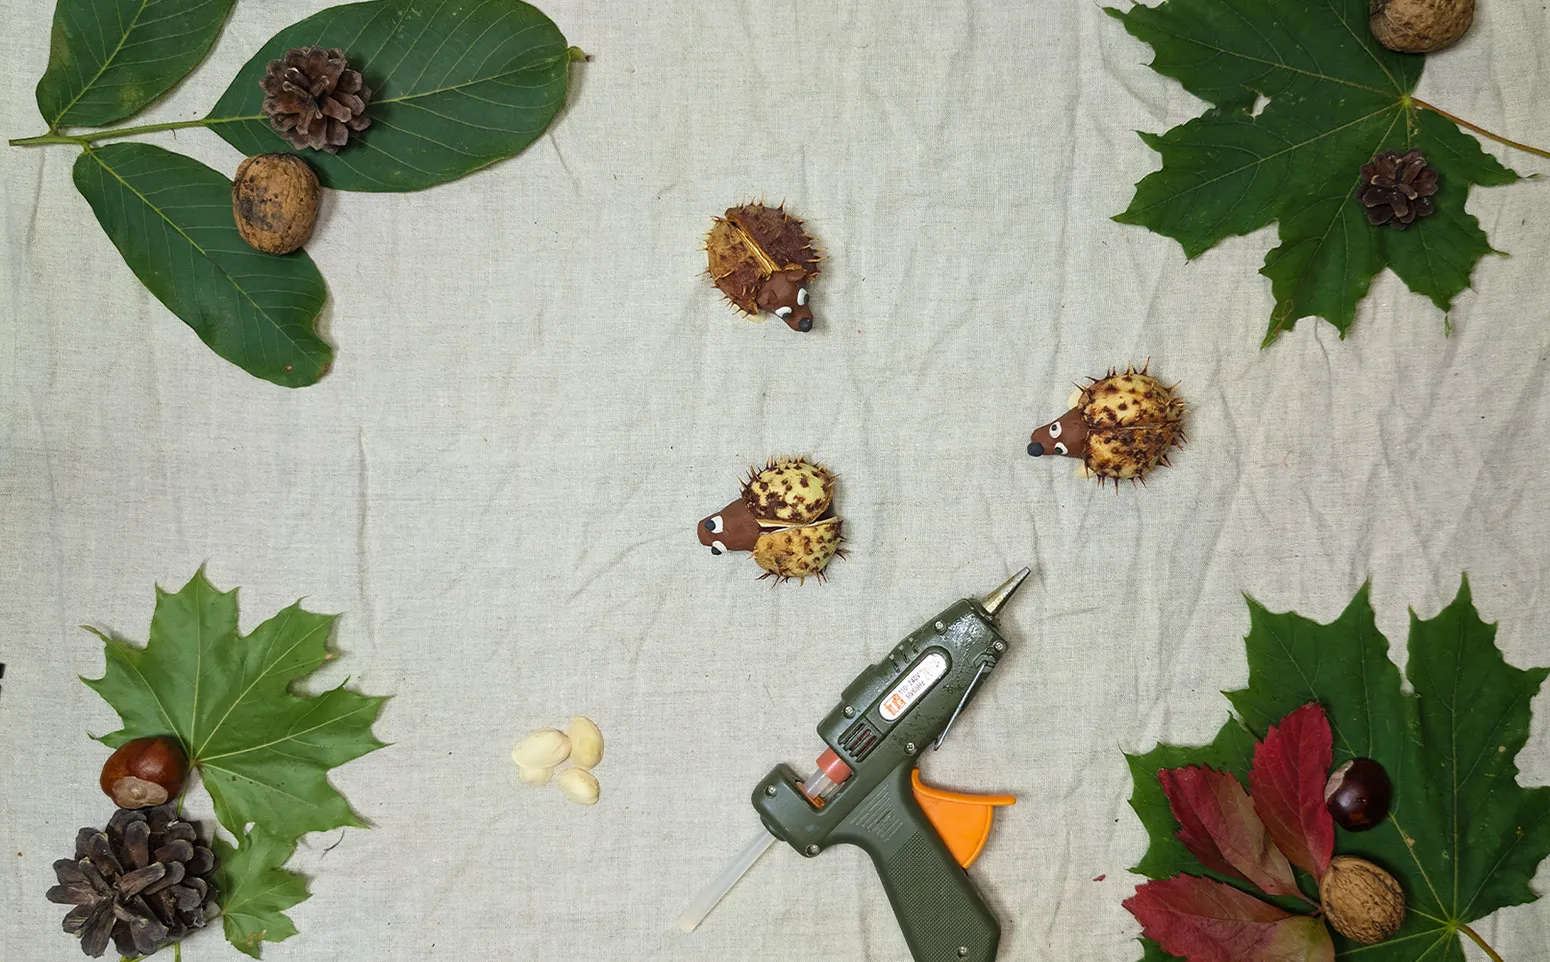
Hedgehog from Chestnuts, Step 3: Attaching Body and Spikes
Now take the prickly chestnut shell and attach it to the rear part of the hedgehog's body. You can use a hot glue gun or clay to connect the pieces. Clay is a safe option for the little ones, while glue ensures a firmer bond.
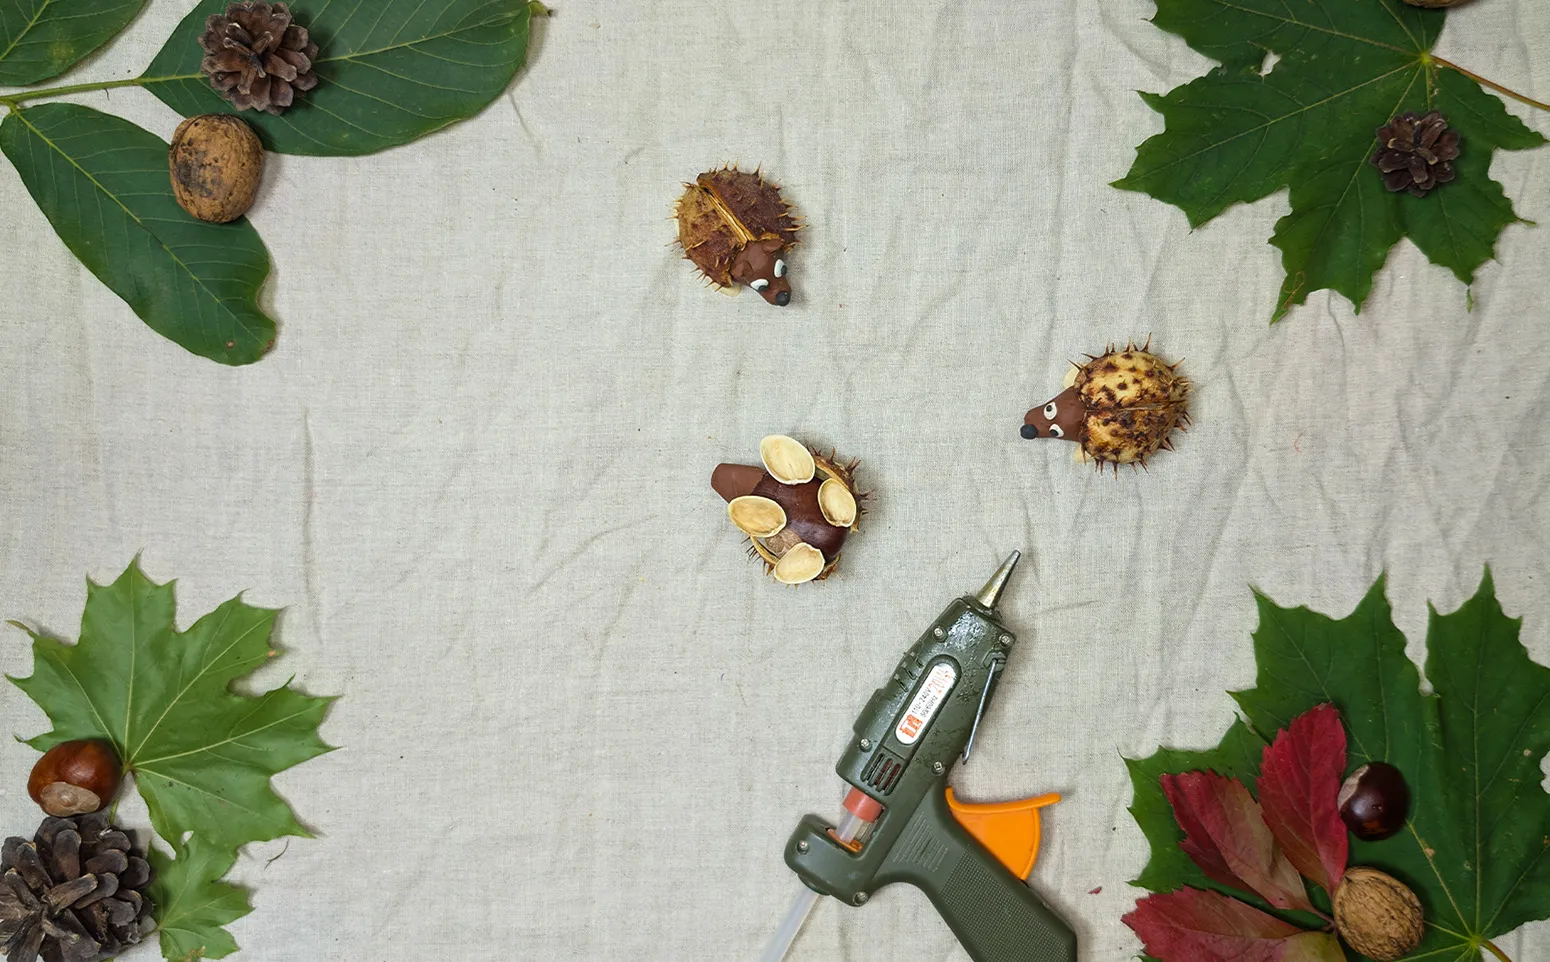
Hedgehog from Chestnuts, Step 4: Adding the Paws
Use pistachio shells for the paws. Glue or attach them with glue or clay to the lower part of the body (the chestnut). You can attach two shells on each side to create symmetrical paws. Additionally, you can draw claws on the paws with a felt-tip pen to add some details.
Tip: Let the child decide for themselves how many paws the hedgehog should have and exactly where they should be attached. This helps develop imagination.
Hedgehog made of chestnuts, Step 5: Completion and decoration of the craft
The hedgehog is finished! To make it even more beautiful, you can decorate its back with berries by gluing them onto the spikes. You can also add a few leaves and pine cones to the composition to create a fall decoration.
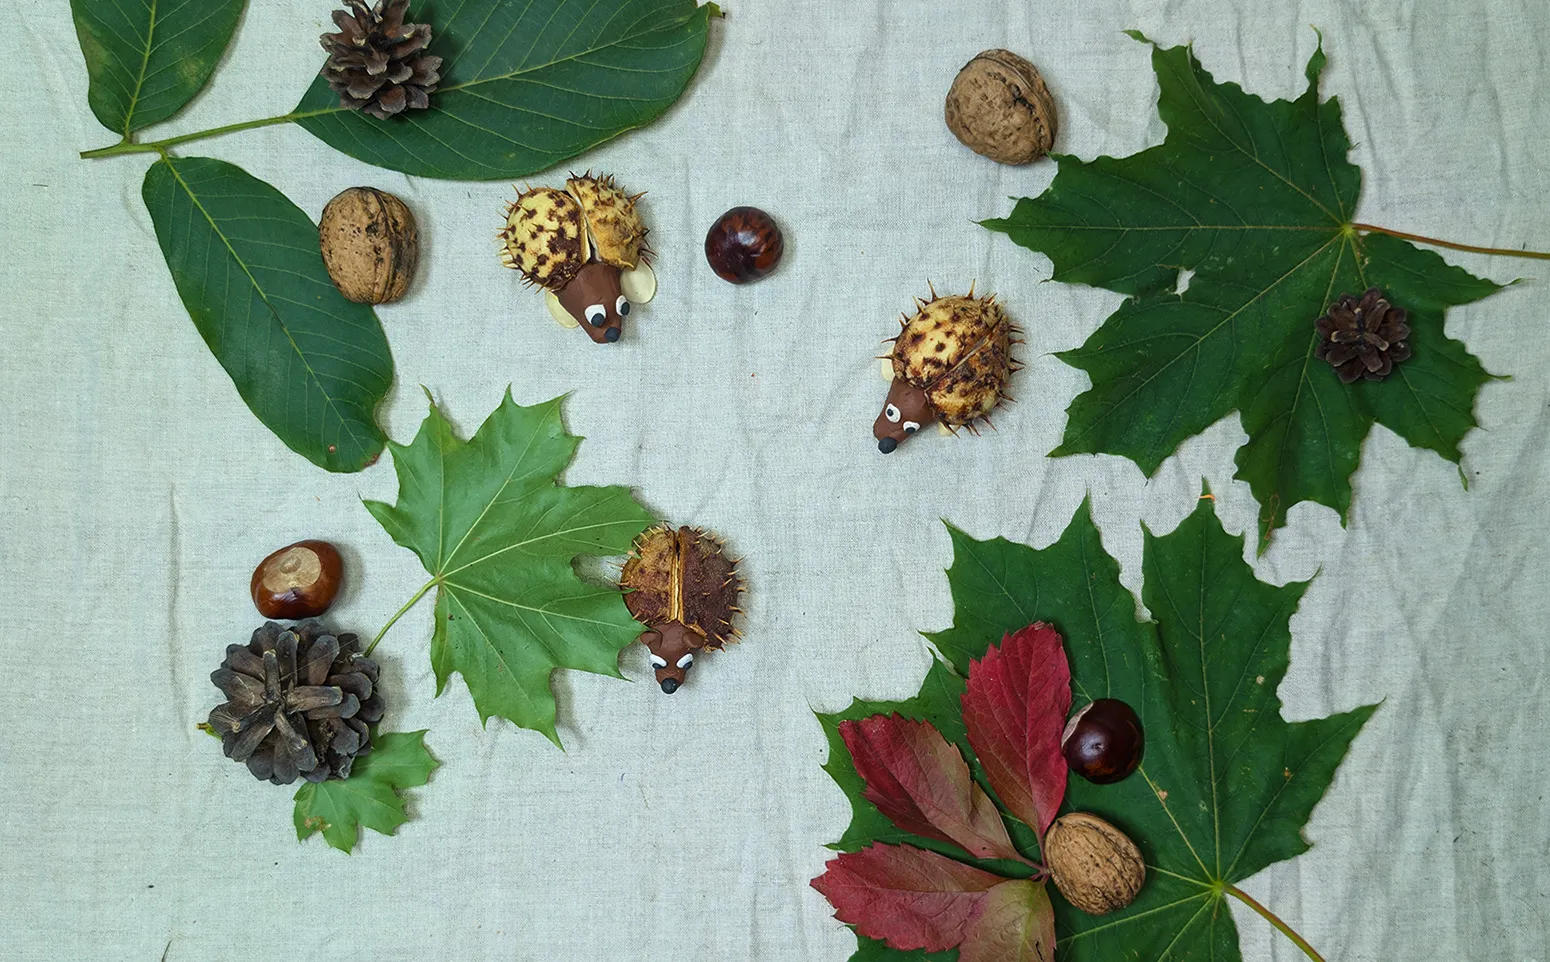
Summary
Making a hedgehog out of a chestnut is one of the simplest projects you can do with a child. During such creative activities, children learn:
- To work with different materials and textures, helping to develop tactile sensations and fine motor skills.
- To practice patience and focus on details, helping them concentrate on the task at hand.
- To use their imagination to create original images and develop their creativity.
And remember, the most important thing in the process is the joy of creating together. Encourage the child to experiment, develop their own variations, and not be afraid to be creative in their own way. Each hedgehog can be unique, making every craft project special.
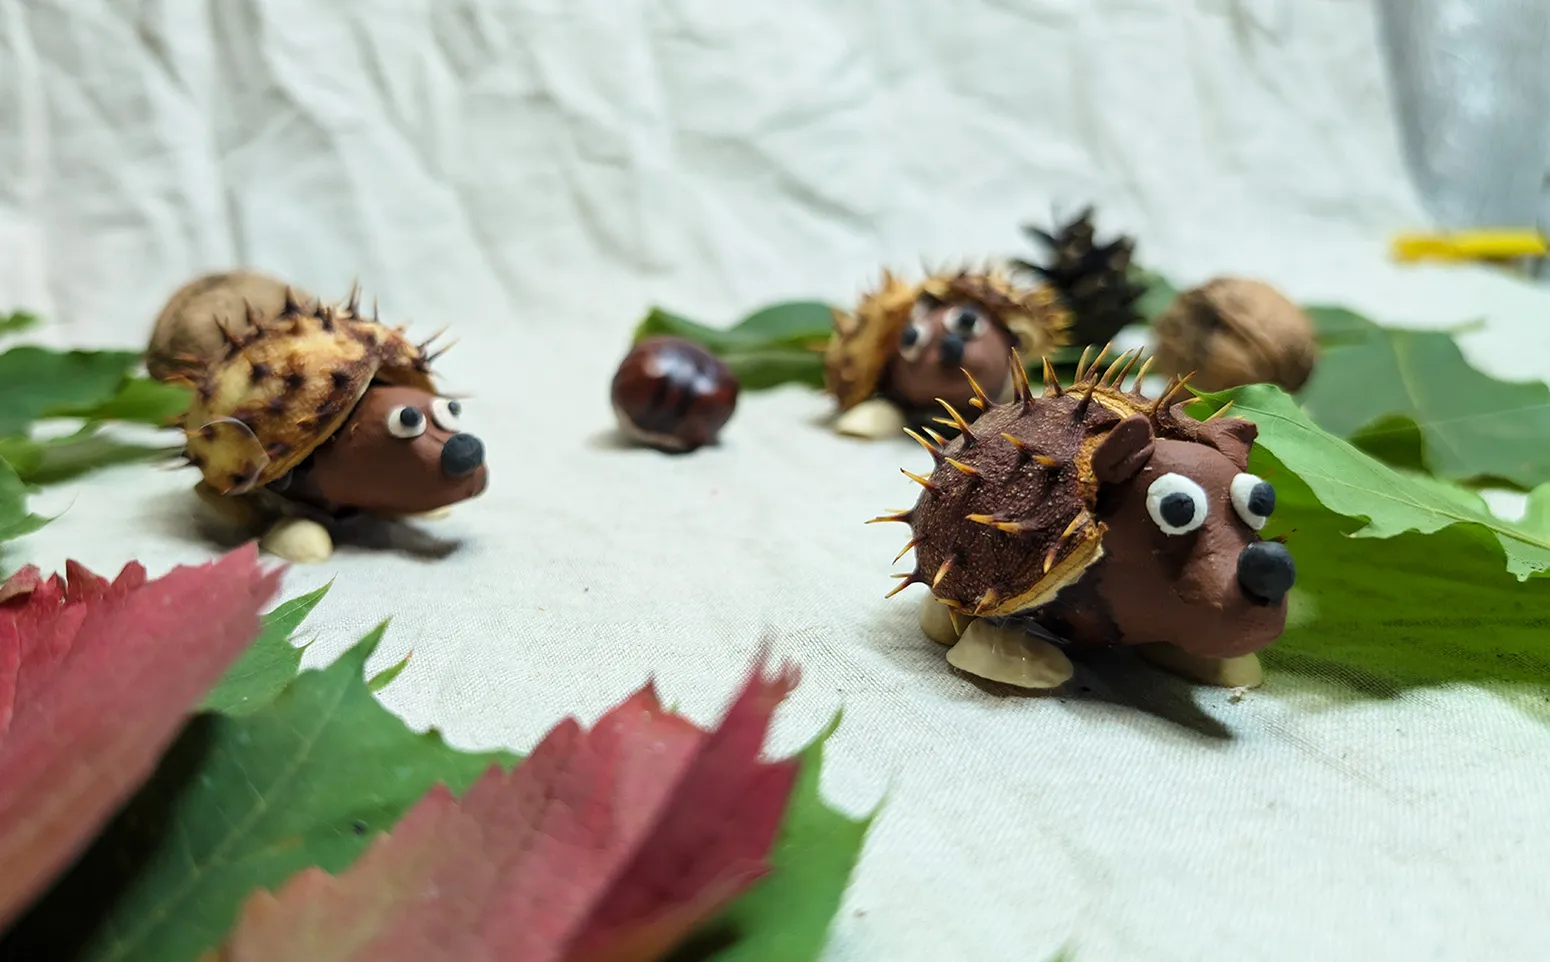
Upon completion of the work, you can discuss with the child what new things they have learned about nature and autumn animals. This is a great opportunity to develop storytelling skills by coming up with stories about the hedgehog's adventures. Such moments not only help with crafting with children, but also develop imagination and fantasy.
From Vitalii Shynakov
