Ant from acorns: Easy crafting with children
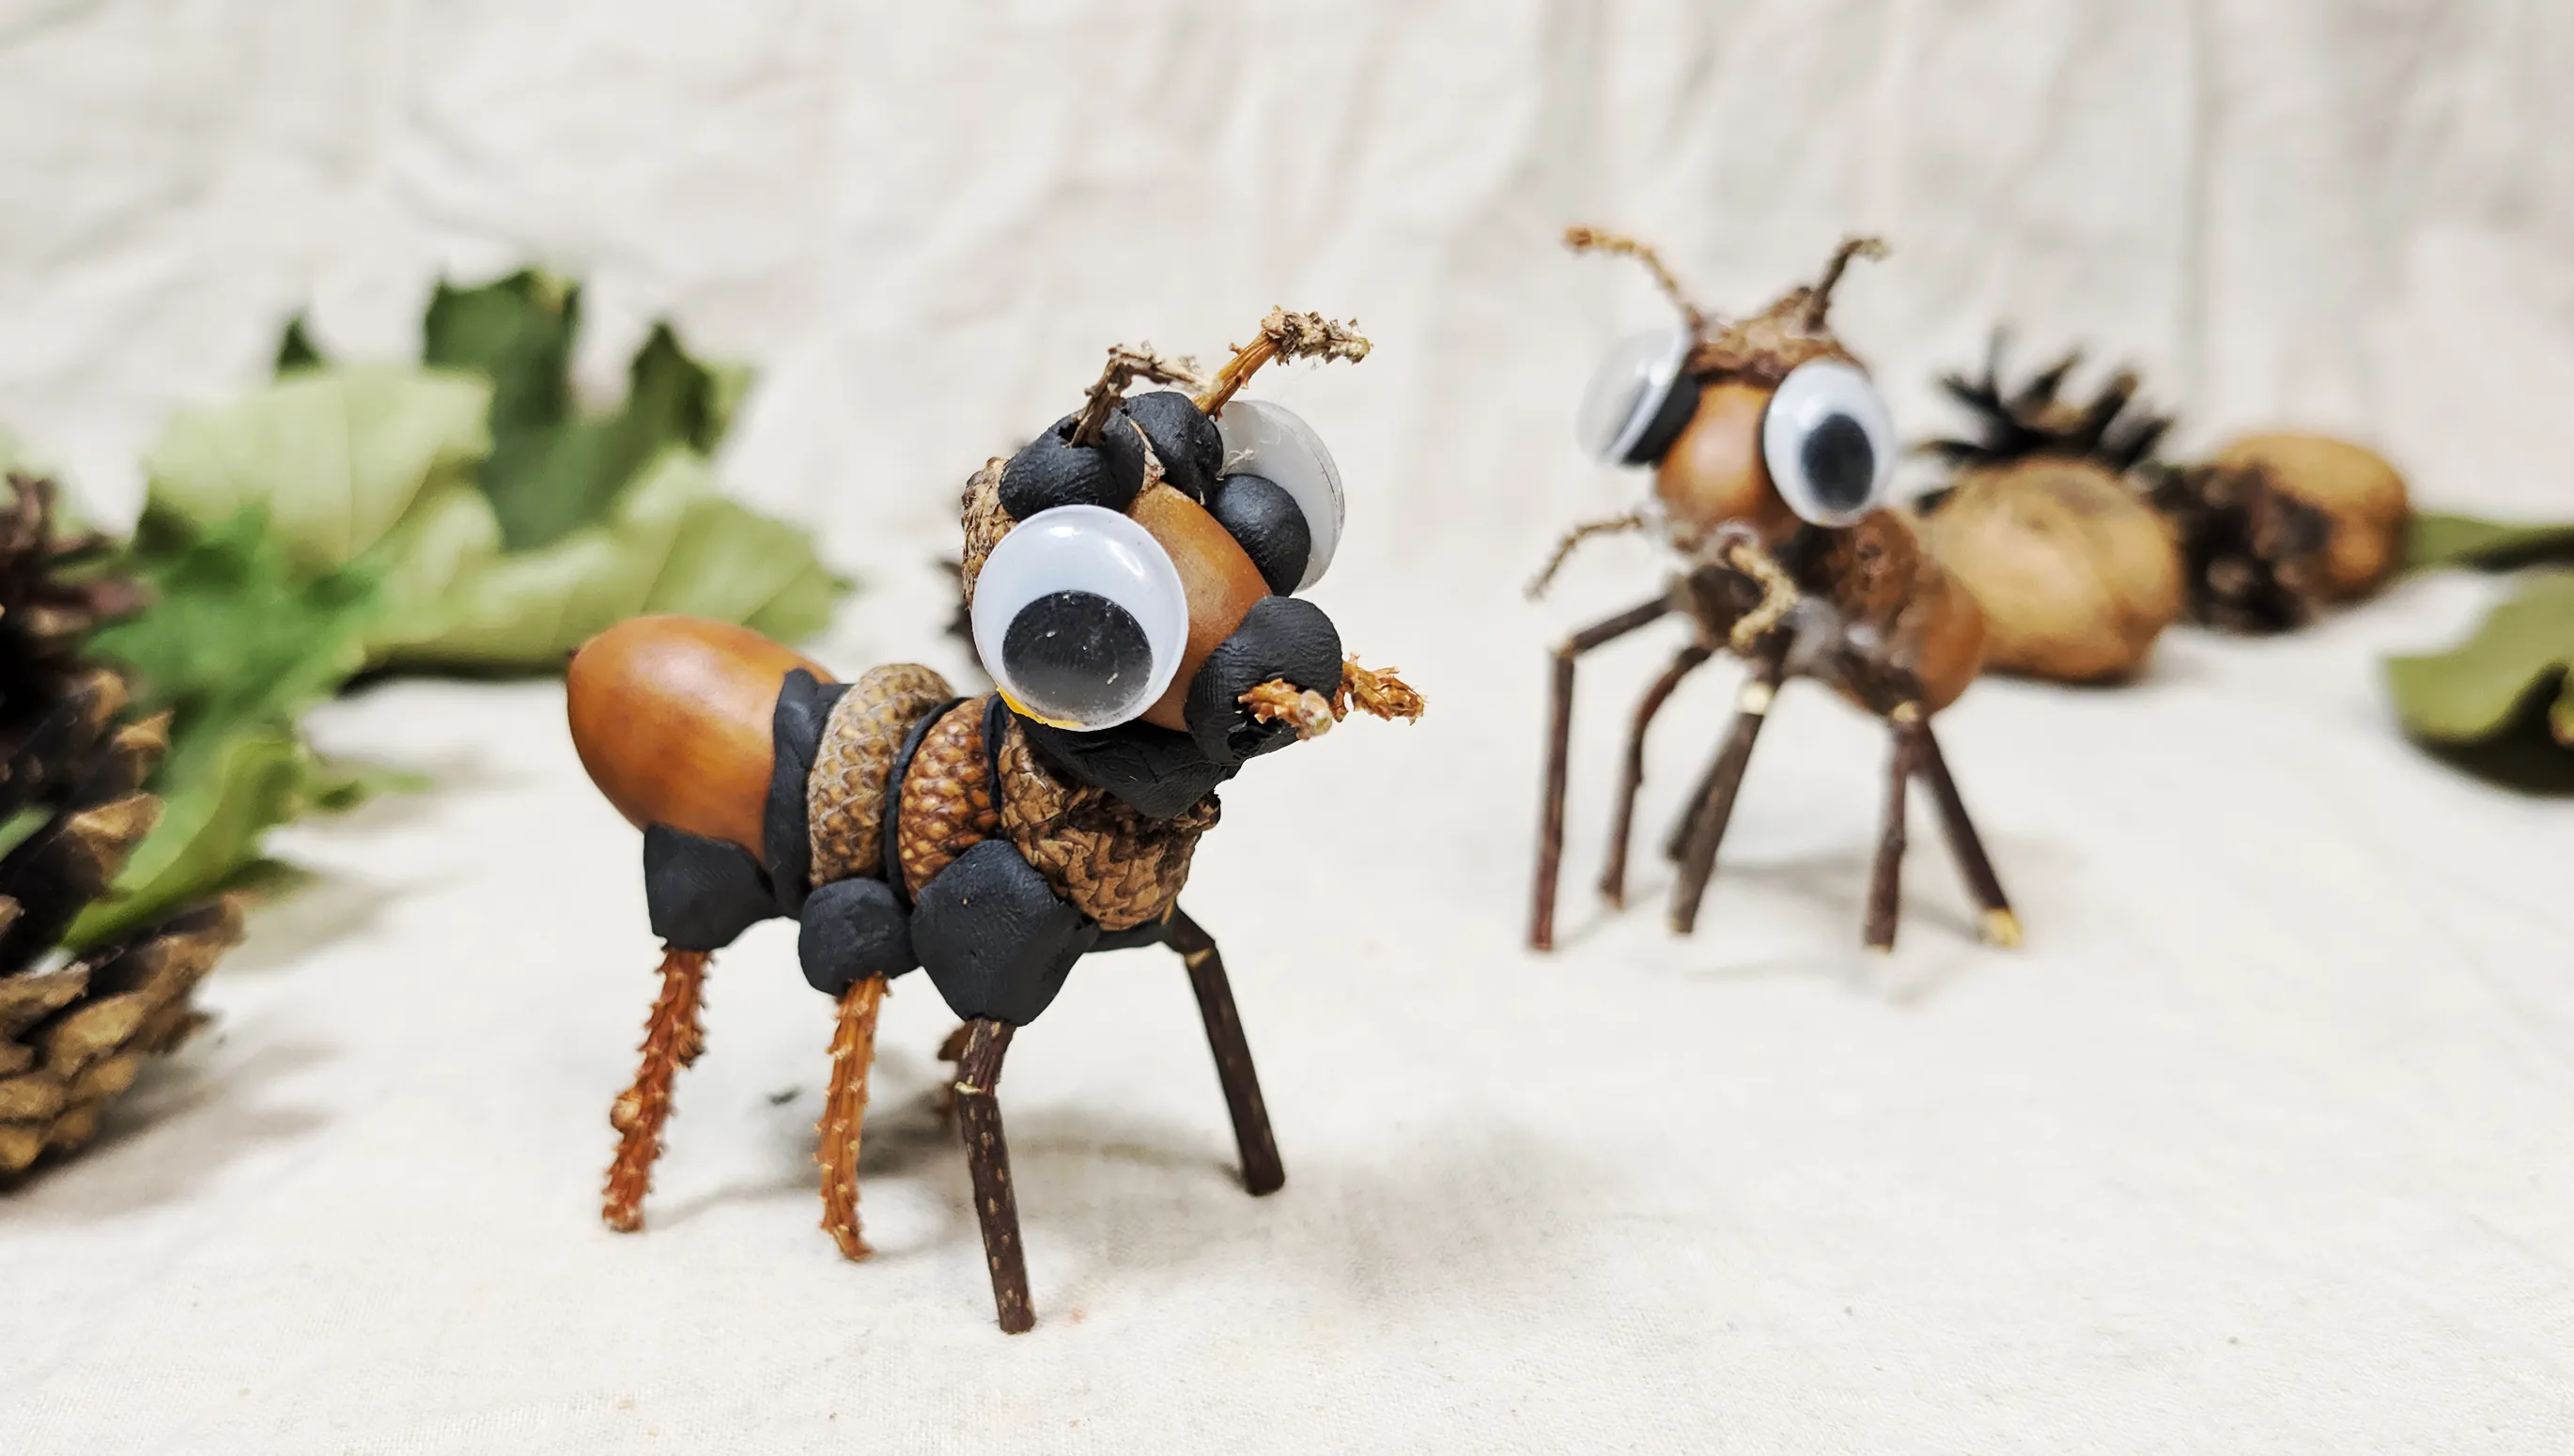
What autumn craft can you do with a child? - a question that concerns many parents. Nature provides us with everything we need: acorns, branches, pine cones, leaves. An exciting autumn craft can be creating an ant from acorns. This simple crafting with children is suitable for children aged 3 to 5 years and is a great way to spend time together and encourage the child's creative abilities.
Before working with small materials, remember safety. Make sure the child does not put acorns, branches, or clay in their mouth. Continuous supervision by an adult during the creative process ensures calm and safety. Help the child use clay or glue to connect the parts to avoid accidental swallowing.
Materials for the Ant
Before starting the creative process, prepare the necessary materials:
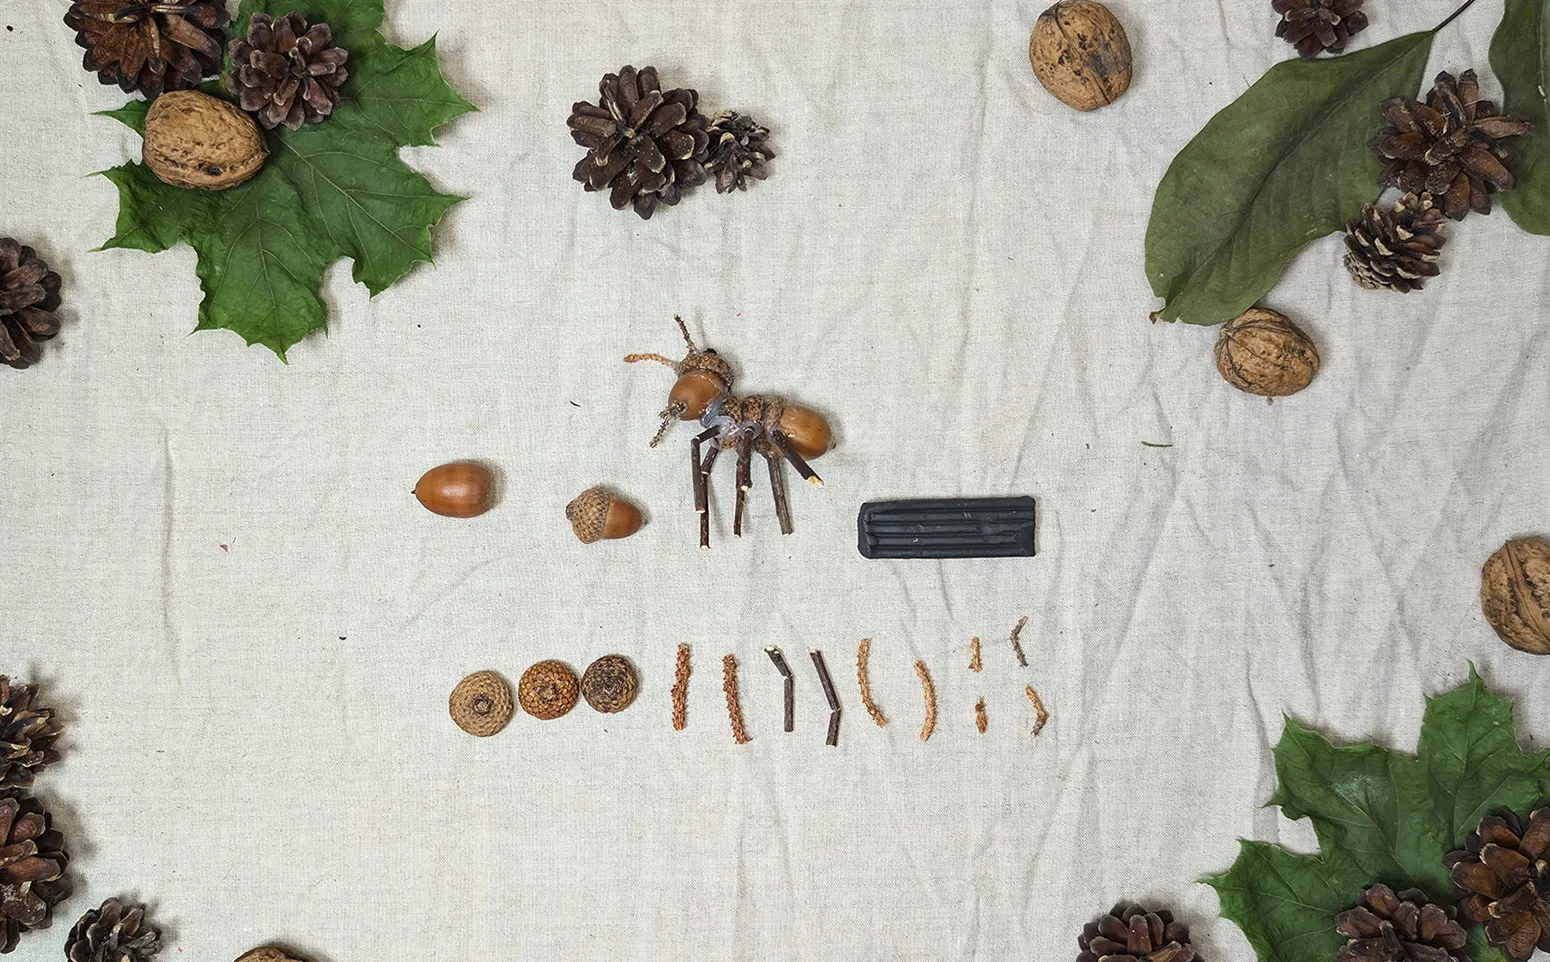
- 2 acorns: one large for the body and a smaller one for the head
- Clay for connecting the parts
- Small branches for legs and antennae
- Acorn caps for decoration
- Purchased eyes or homemade eyes made of paper and felt-tip pens
- Leaves and pine cones for the ant's environment
Steps to Create the Ant from Acorns
Step 1: Connect the Acorn and Cap
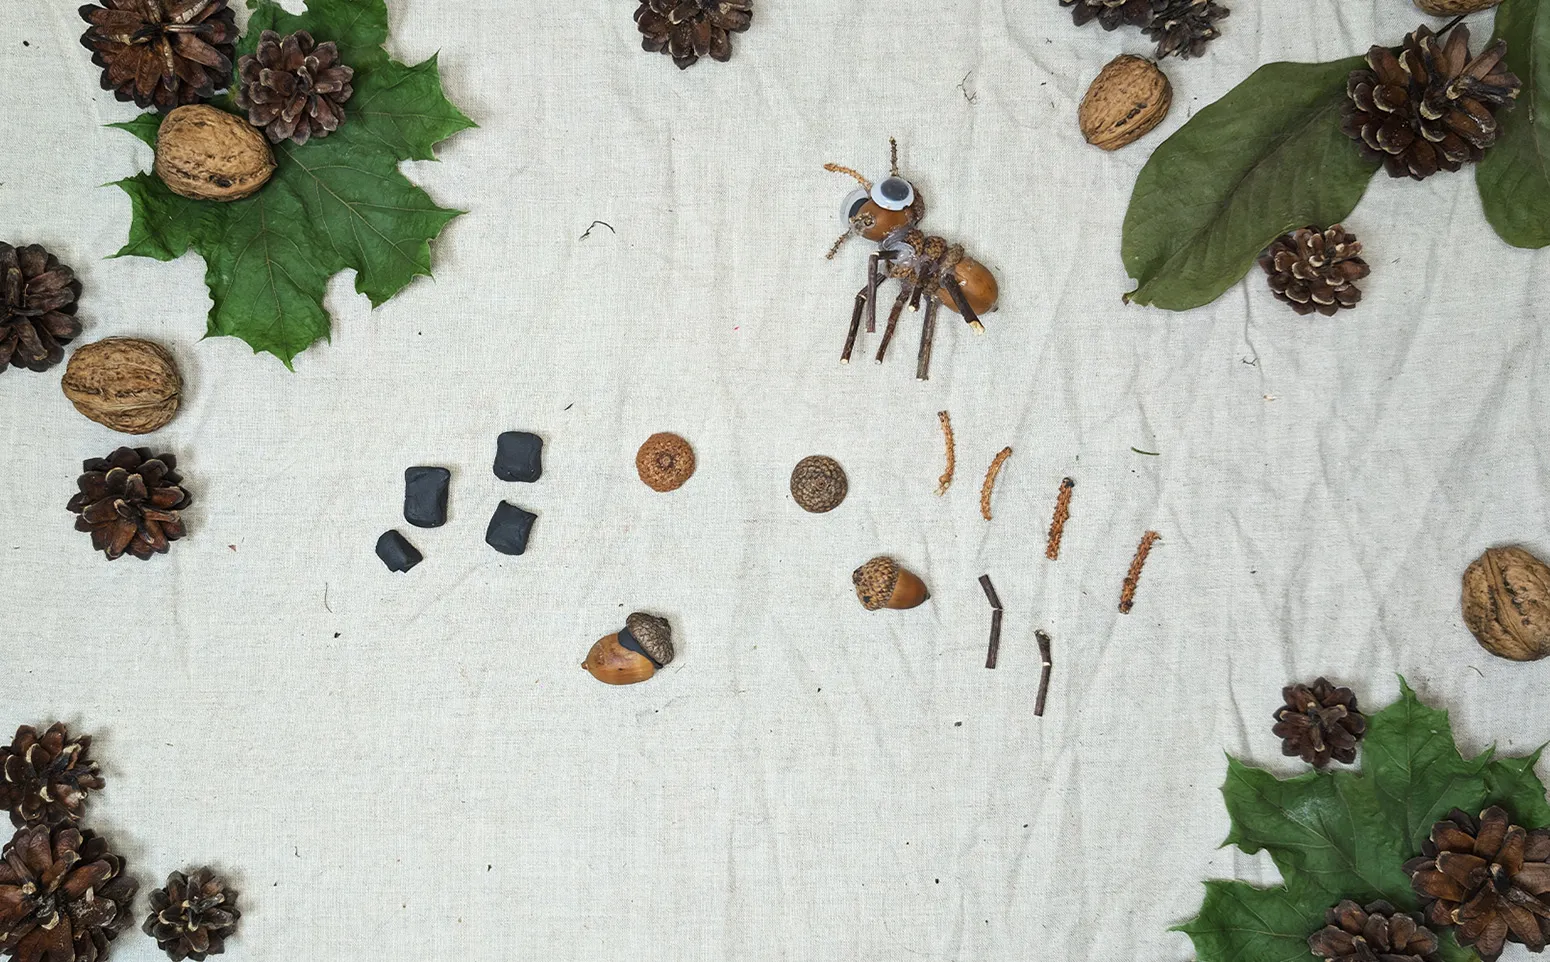
Take the first acorn, which will become the body of your ant. Attach an acorn cap to it with a small piece of clay. It will form the base of the body. Ensure that the cap is securely attached and does not fall off. If it does not hold well, add some more clay and press the cap firmly onto the acorn to secure it better.
Step 2: Extend the Body with a Second Cap
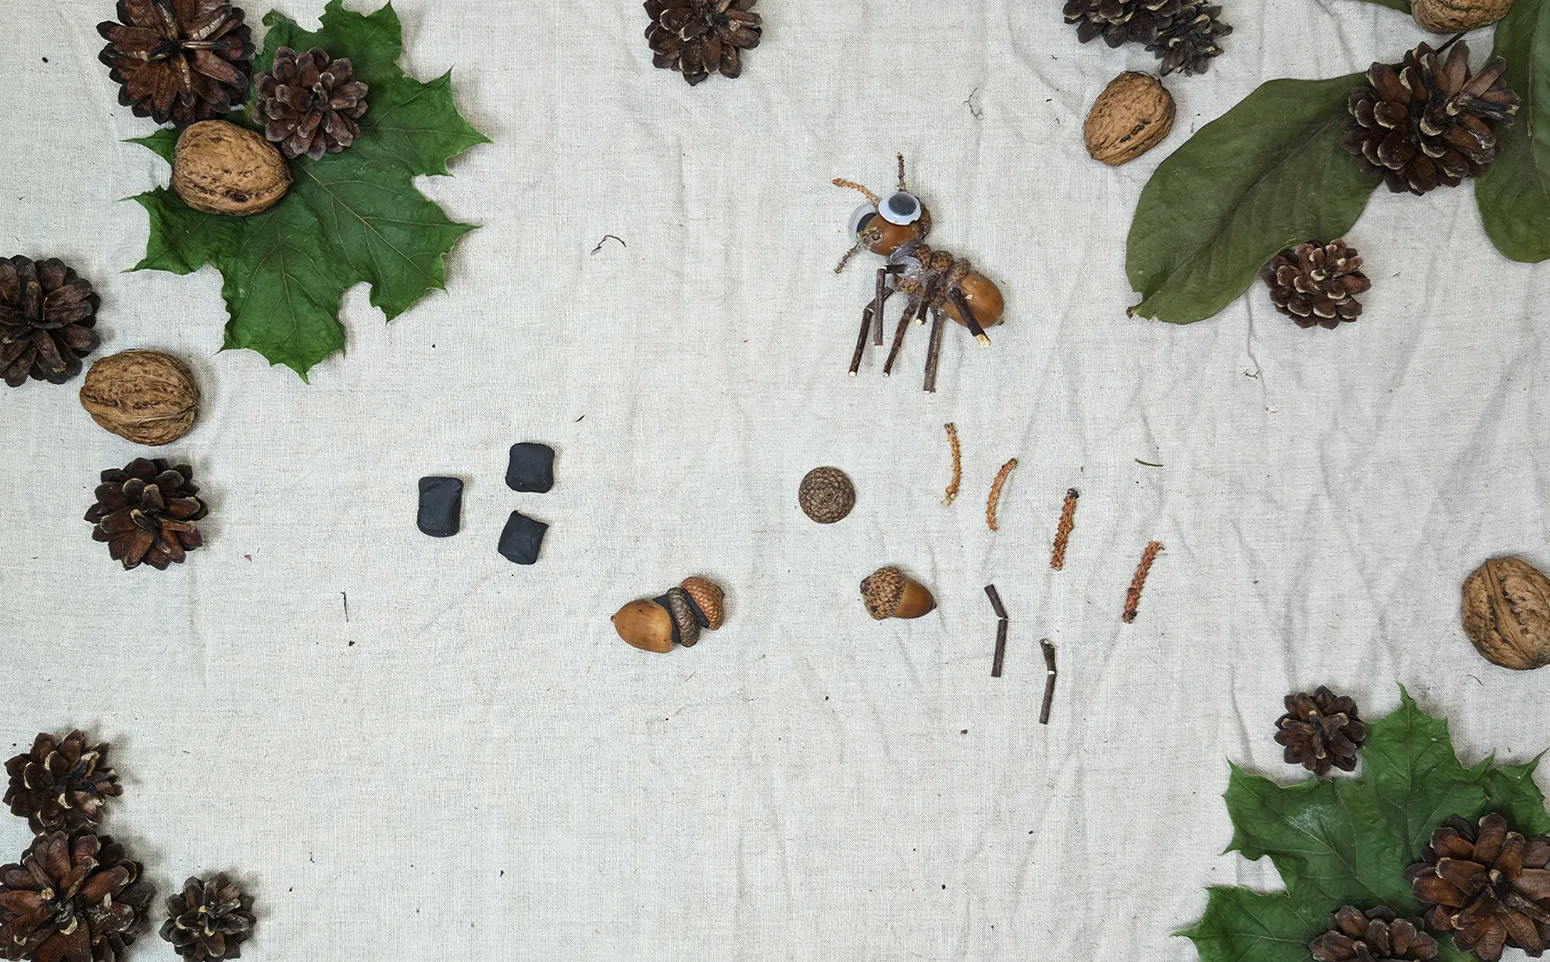
After attaching the first cap, take a second cap and attach it with clay above the first one. This helps to lengthen the ant's body. You should obtain an elongated body. Both body segments should look proportional to make the ant look realistic.
Step 3: Complete the Ant's Body
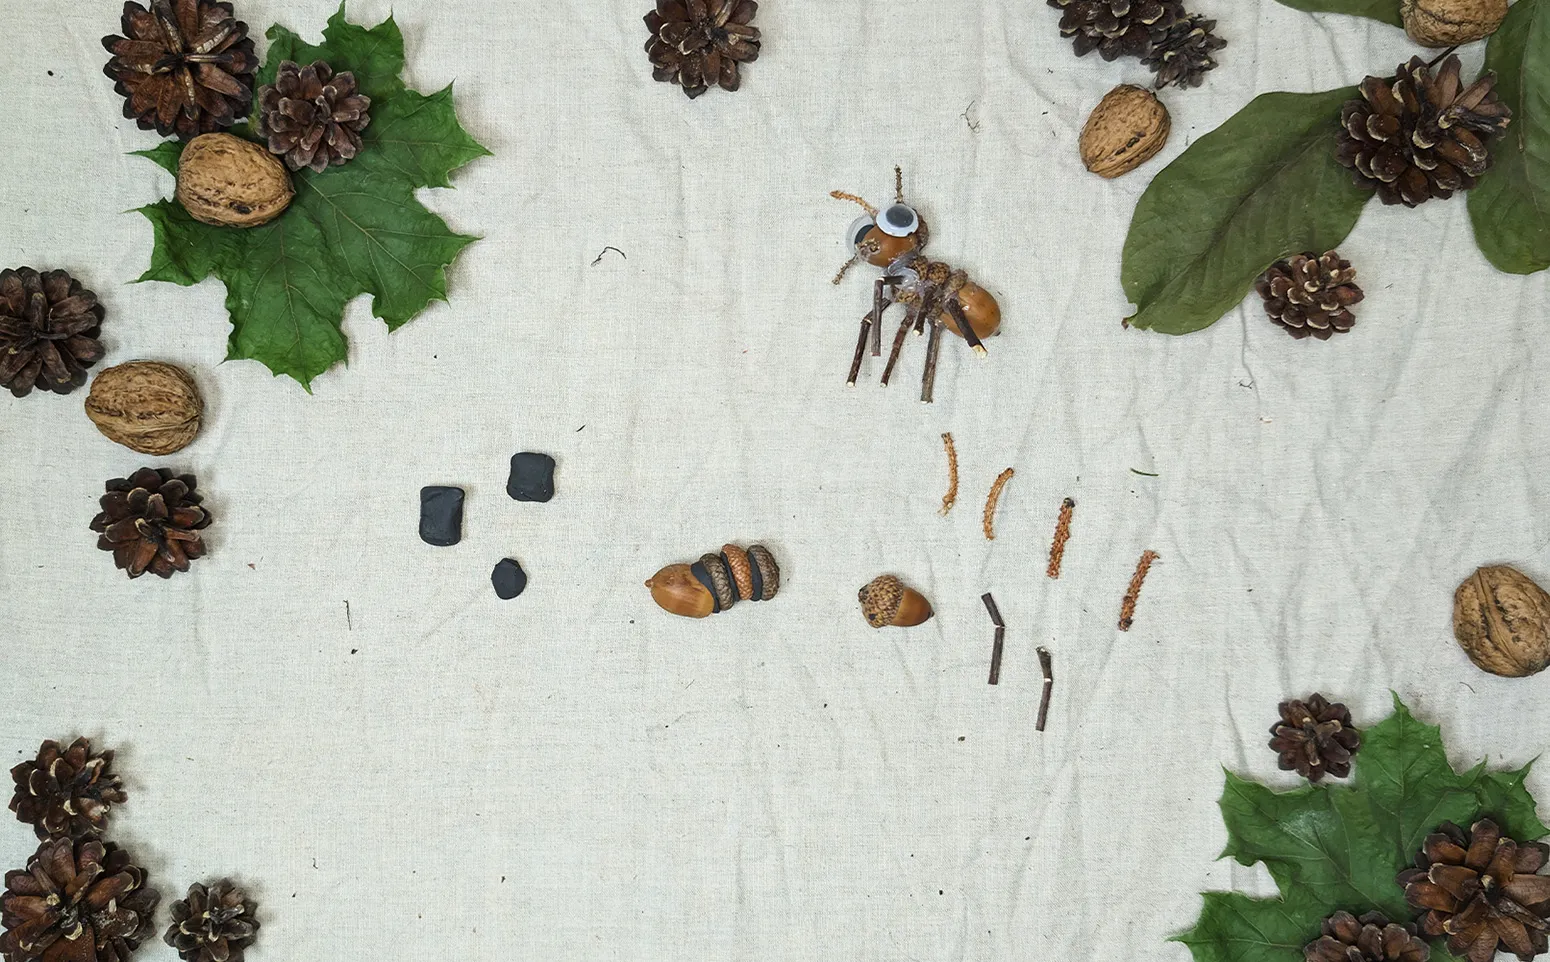
To complete the ant's body, add another segment. You can use another cap or a small acorn for this. Attach it to the rear part of the body. Ensure that each body part is securely fixed by using enough clay.
Step 4: Add the Ant's Head
For the head, take a smaller acorn and attach it with clay to one side of the body. This gives your ant a complete look. The head should be slightly smaller than the body.
Step 5: Attach the Legs
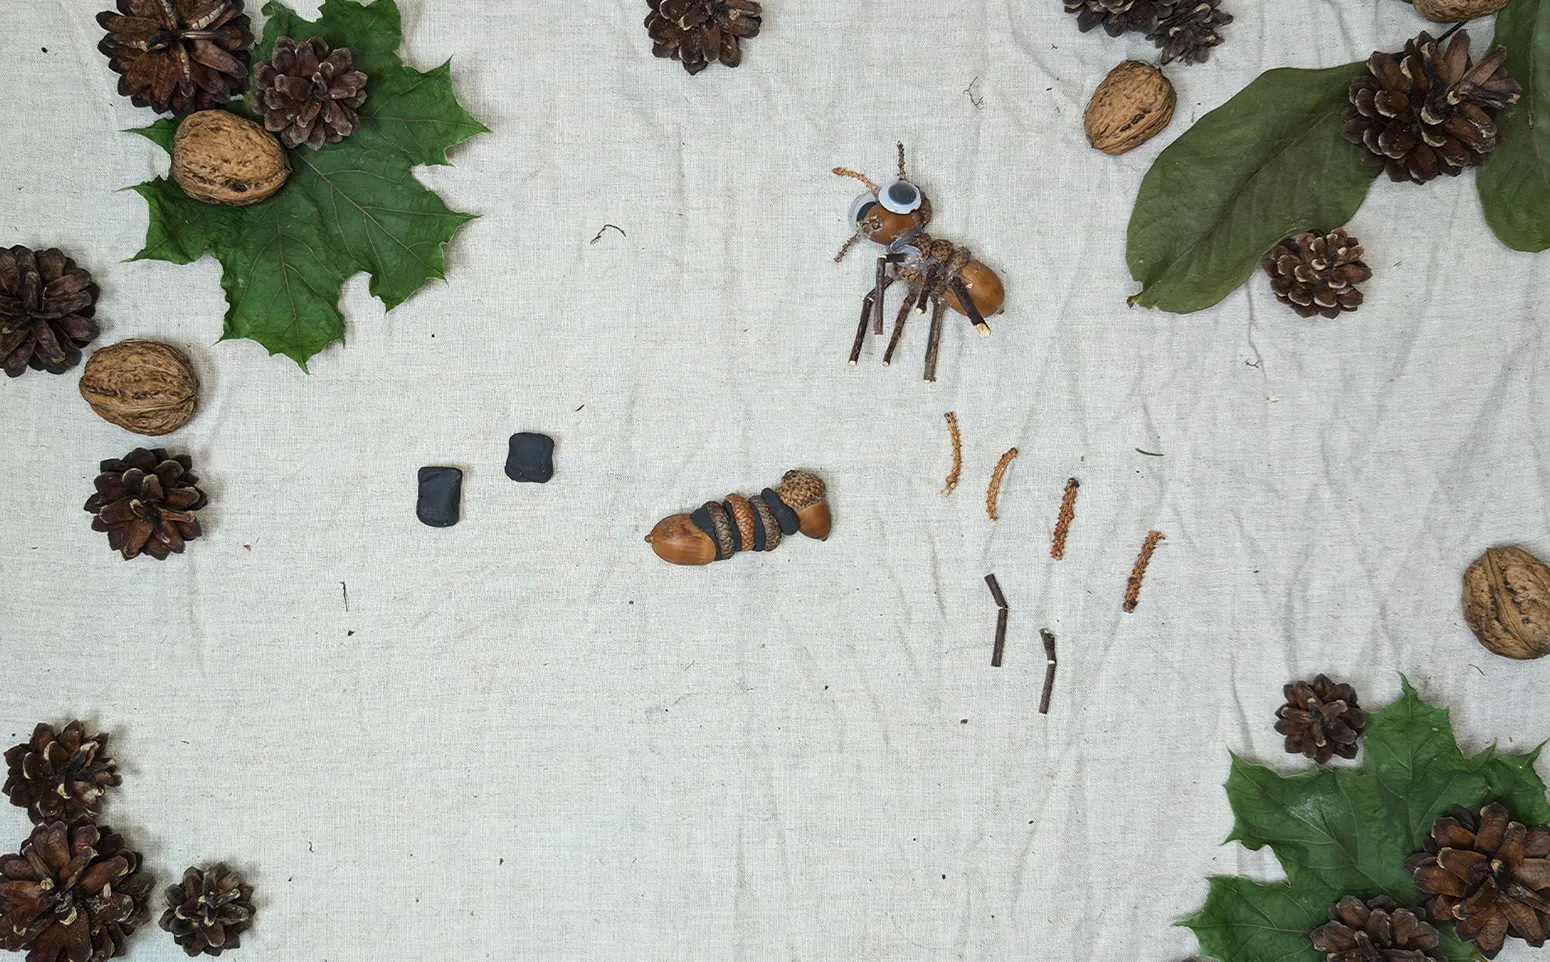
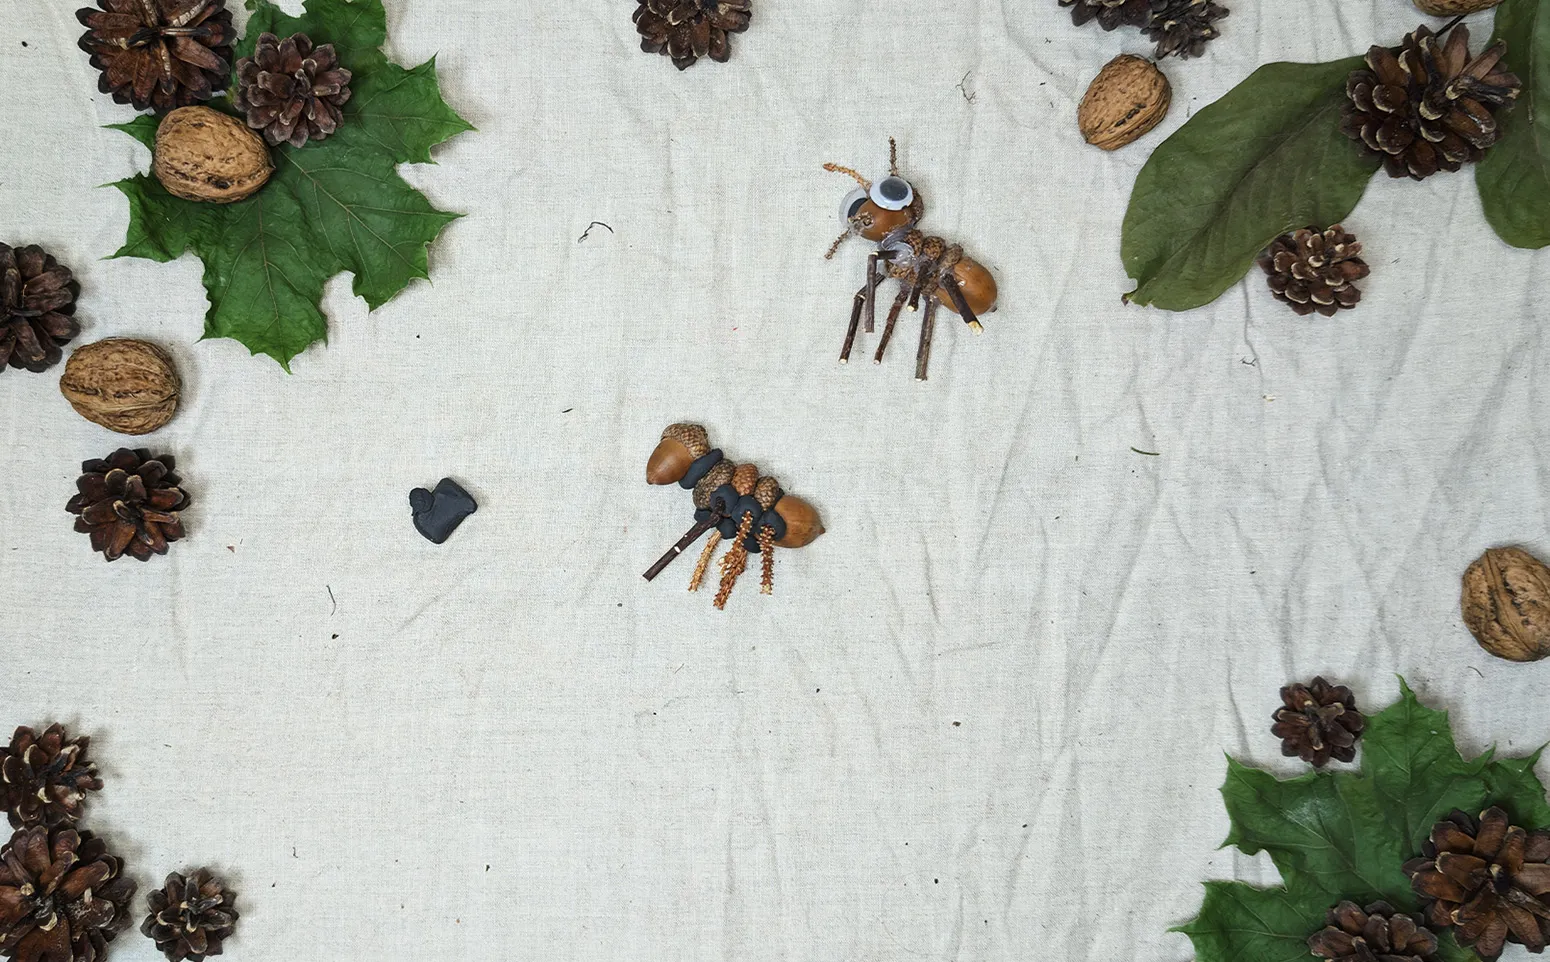
Use thin branches for the legs. Divide them into six small sections and attach them with clay to the ant's body. You should have three legs on each side.
Step 6: Adding Antennae and Antlers
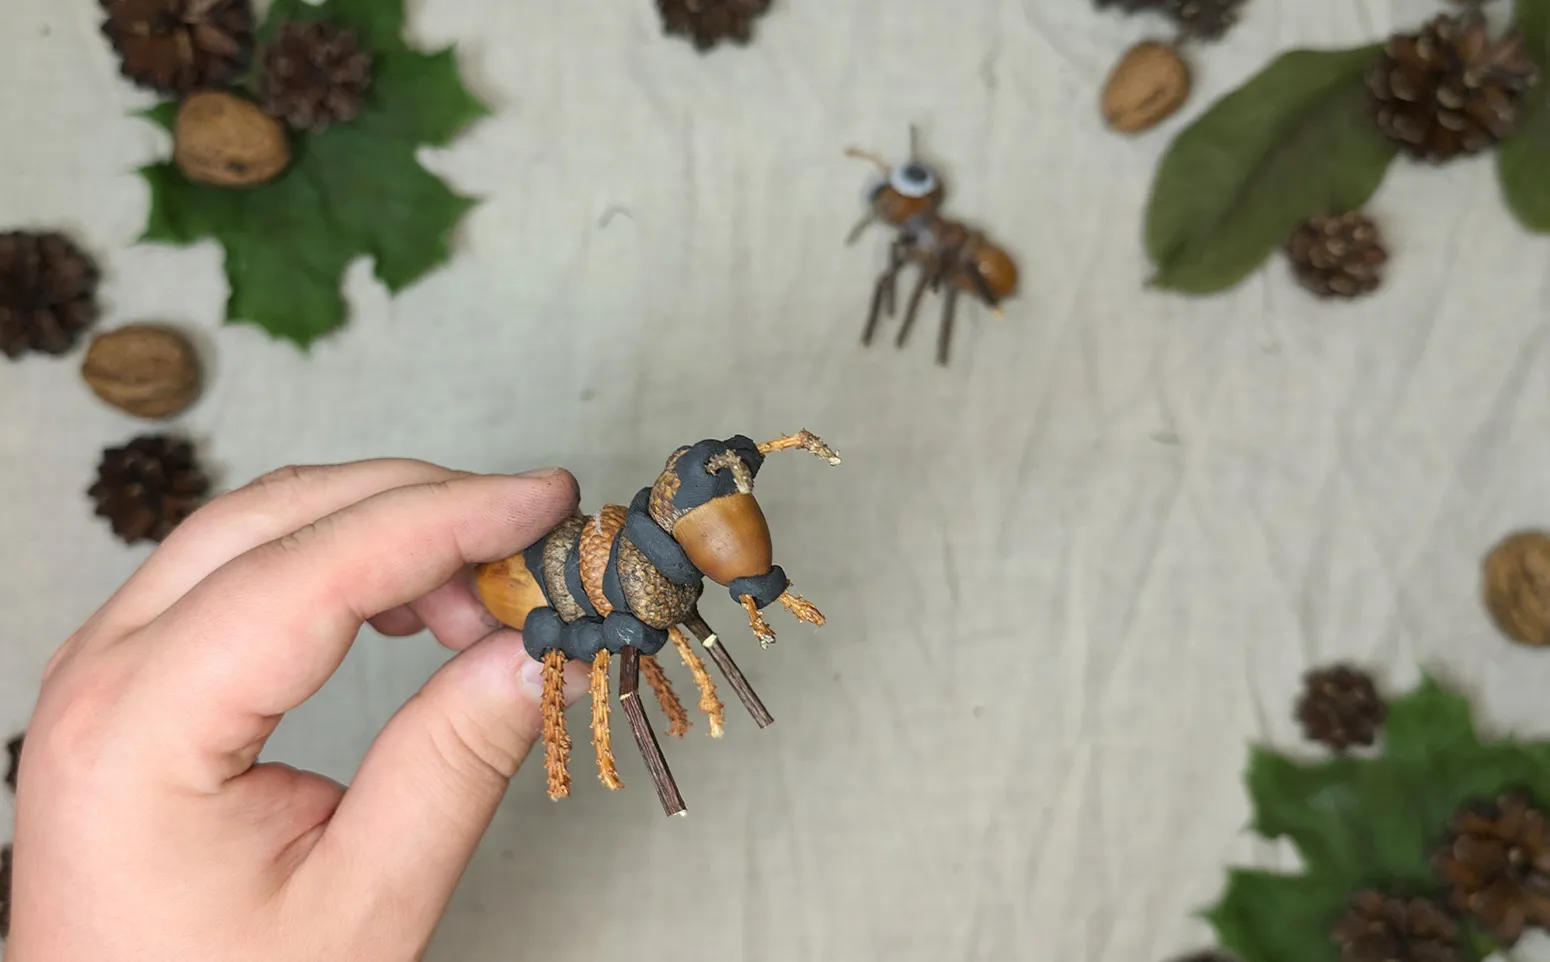
In the next step, we will take care of the antennae and antlers. Use thin twigs or small pieces of modeling clay to roll the antennae. Attach them to the head of the ant with modeling clay. The antennae can be long or short, depending on the child's preference.
Step 7: Completing the Craft: Adding Eyes for the Ant
Now all that's left is to bring the ant to life by giving it eyes. You can use store-bought plastic eyes that can be easily attached with modeling clay. If eyes are not available, you can make them yourself. Cut out circles from paper and draw pupils with felt-tip pens. Attach the eyes to the head of the ant with modeling clay.
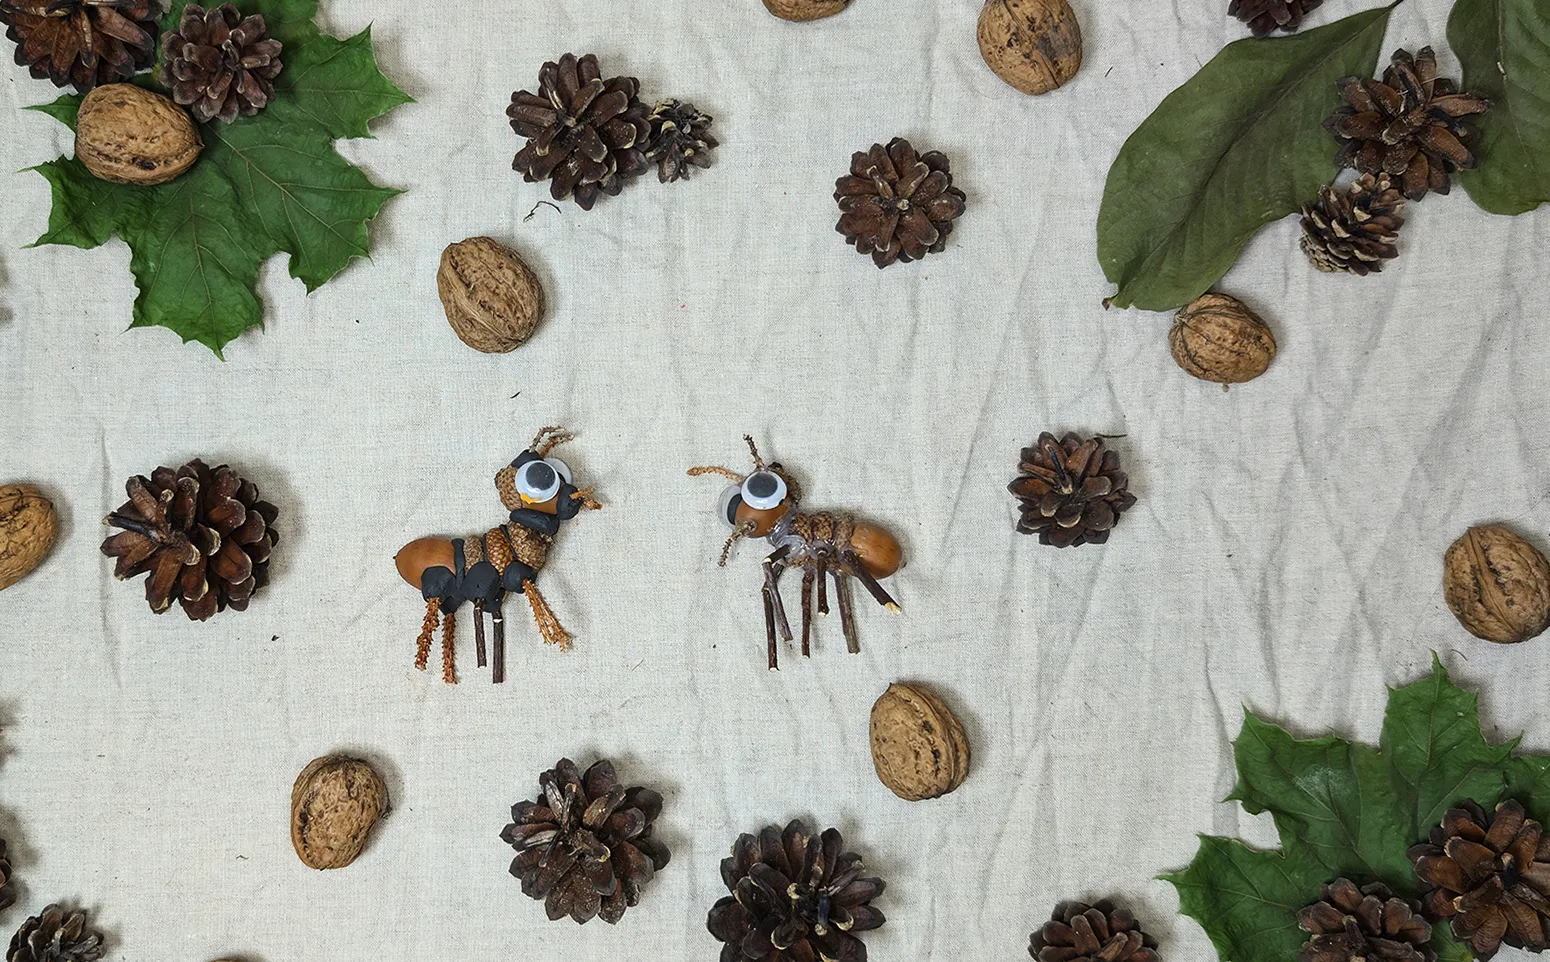
Congratulations, your acorn ant is ready!
Creating the craft promotes children's motor skills and abstract thinking. Each completed task brings joy and pride in the result, helping to develop self-confidence. These skills will help them tackle various tasks in the future, whether it's learning or other activities.
Ideas for Further Creative Projects
Create a whole colony of ants in different sizes and colors, build a house for them using natural materials. Invent a story about the adventures of your ant and paint illustrations to accompany it.
The creative process knows no bounds. Today you made an ant, tomorrow you can build an entire city out of cardboard boxes or create a dragon out of autumn leaves. Every craft is a new story that you explore together.
Thank You for the Creativity and New Ideas
Thank you for choosing this craft for your autumnal activities! I hope the process of building the ant has given you a sea of smiles and warm embraces. Our portal has a whole world of ideas for crafting with children waiting for you. From simple applications to amazing scientific experiments - everyone will find something to their liking here.
Remember, every minute you spend creatively with your child is an investment in their future. You give them confidence, love, and the joy of discovery. Keep going with creating, exploring, and finding joy together with your little one!
From Vitalii Shynakov
