Sheep made from chestnuts and cotton wool: Autumn crafting for children
Are you looking for creative ideas for autumn crafting? Today I will show you how to make a cute sheep from a chestnut and natural materials. This crafting with children is a great way to spend time in a cozy family atmosphere. With chestnuts, twigs, and a bit of imagination, you can create an enchanting sheep that adds a touch of coziness and natural simplicity to your home. Working with natural materials is always exciting, and you can help your child develop their creative skills and learn to appreciate the nature around them.
Prepare for Crafting
Basic materials:
- A large chestnut for the body of the sheep
- An acorn or small chestnut for the head
- Twigs for the legs
- Cotton for volume (sheep's wool)
- Glue (preferably wood glue) or modeling clay for young children
- Paintbrush and colors (optional)
If you can't find all the natural materials, they can be easily replaced: Instead of chestnuts, you can use modeling clay or even ready-made toy figures that you decorate with cotton. The main goal is to use what you have on hand and let your imagination run wild.
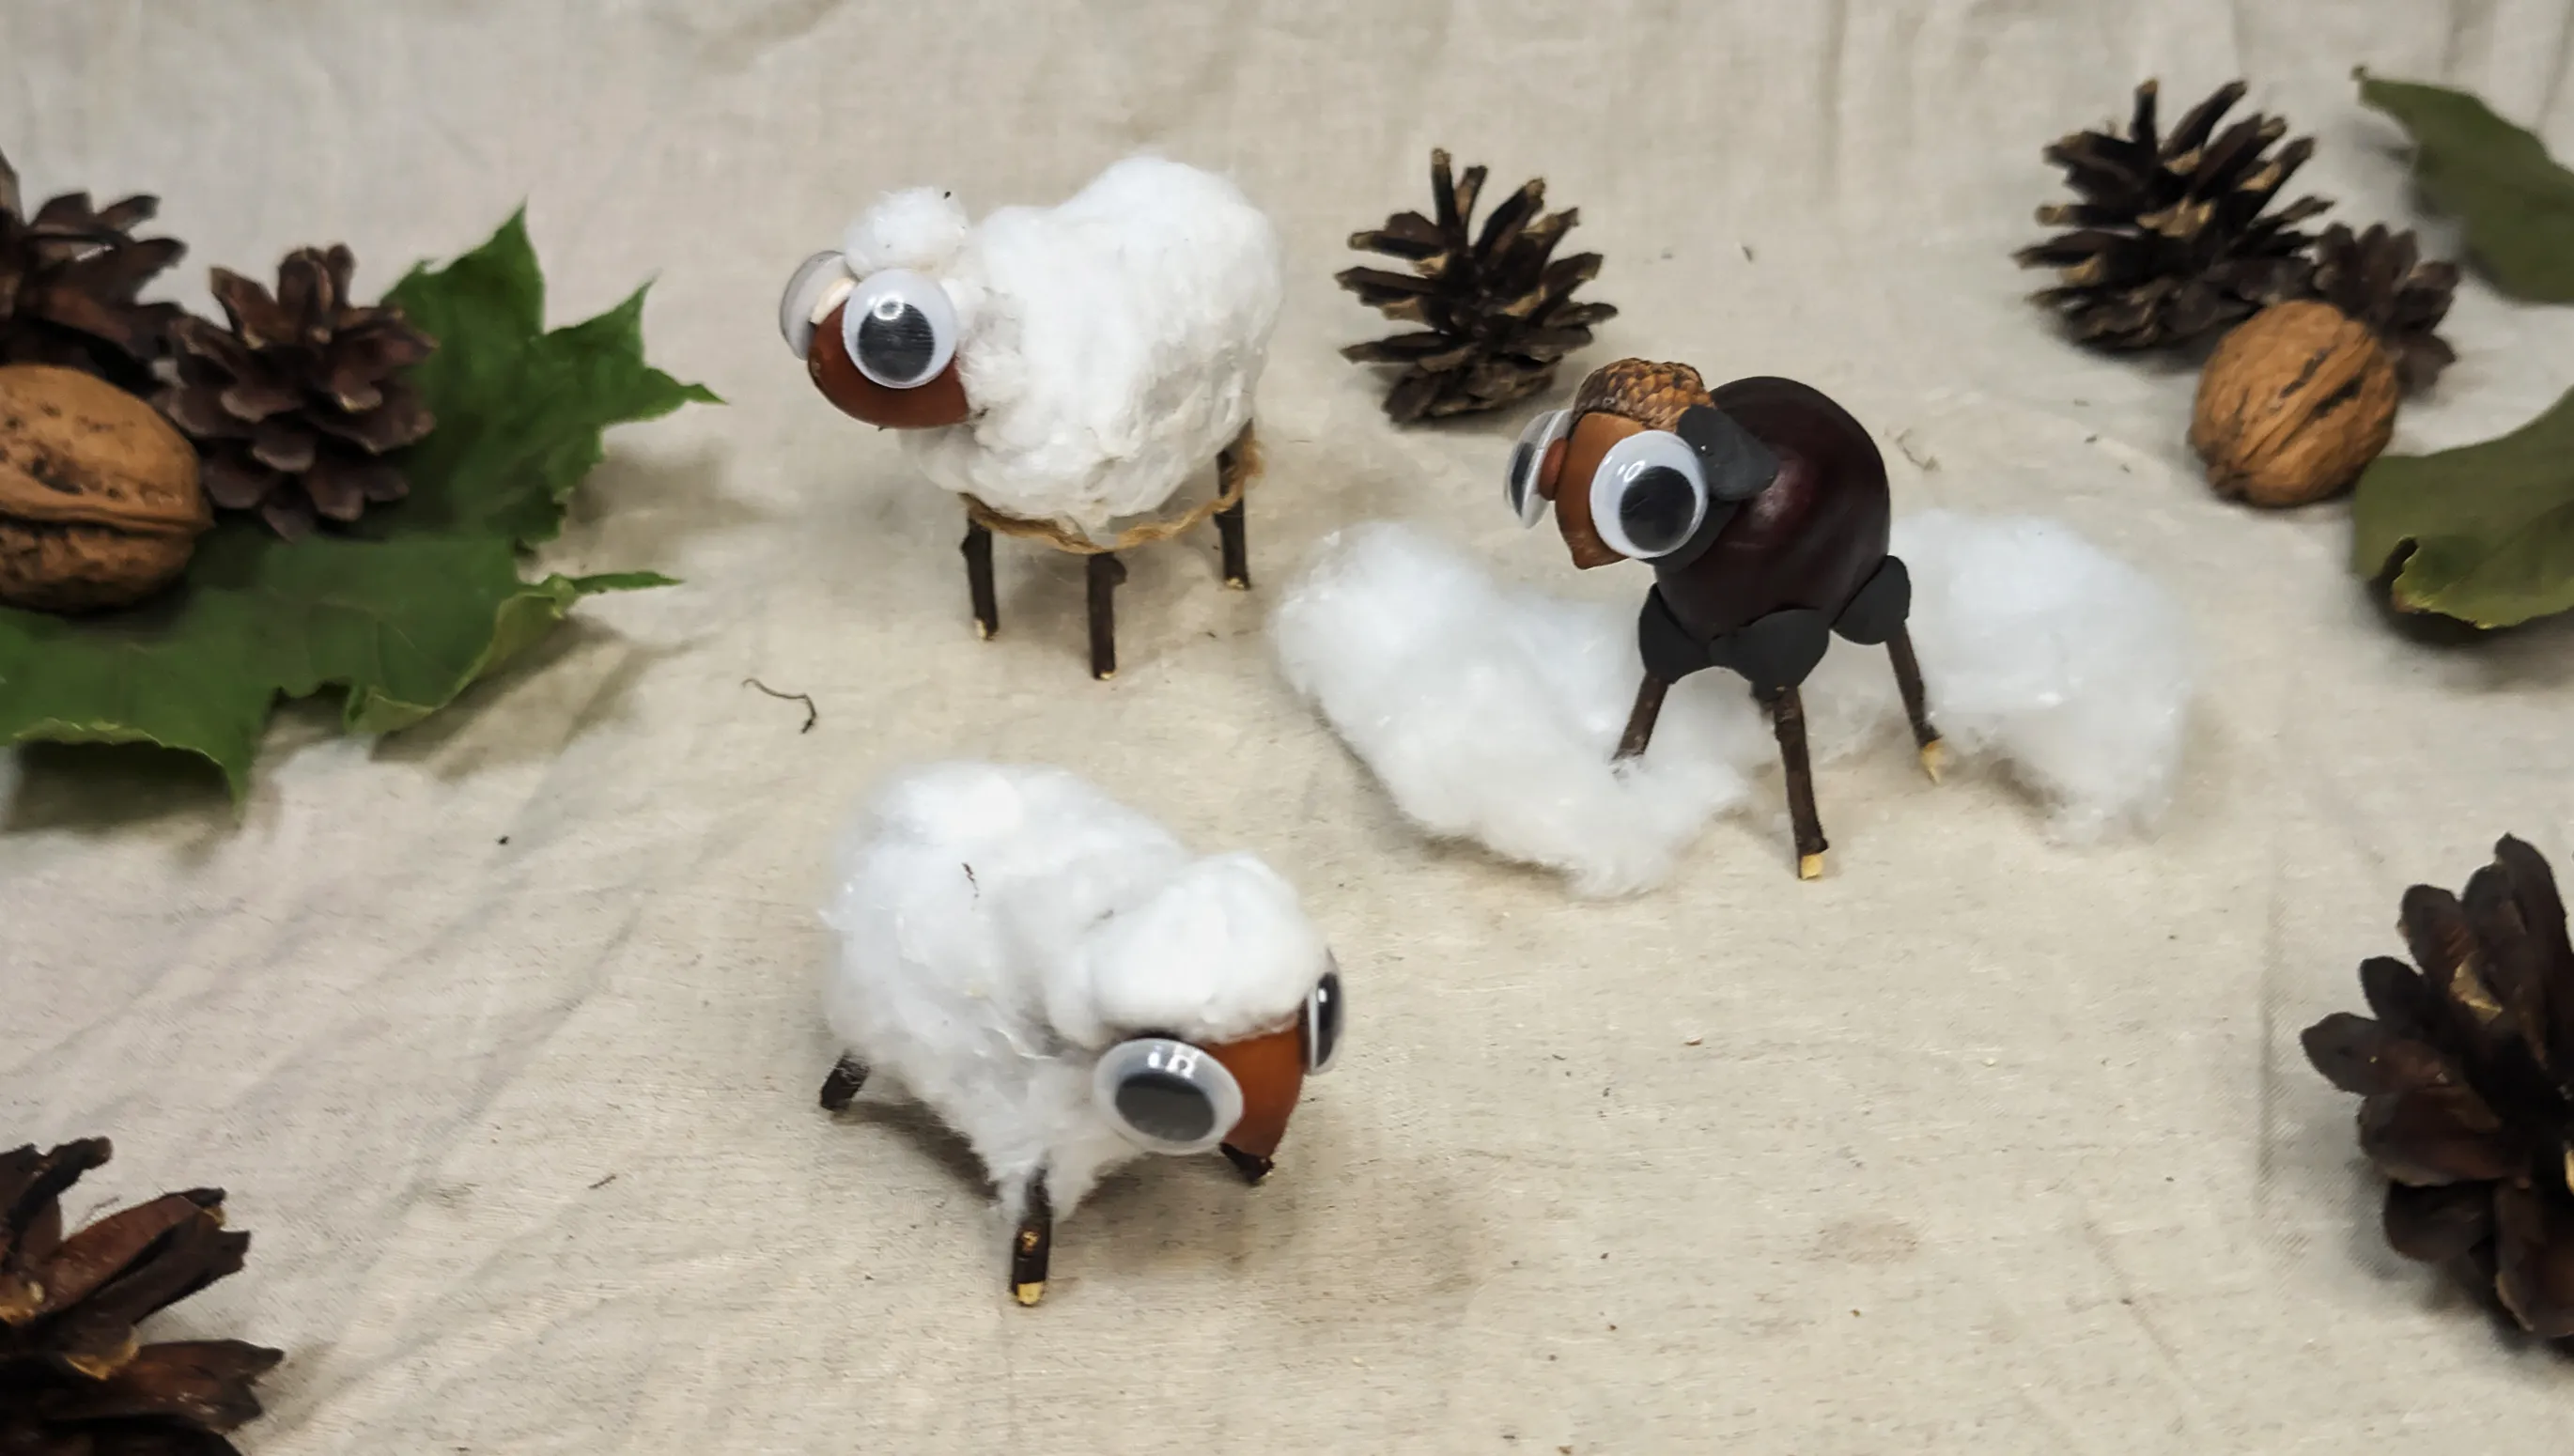
Organize Your Workspace
Make sure you have a comfortable workspace: Cover the table with paper or newspapers, lay out all materials for the child to easily access. For young children, having an organized workspace is important as it helps to better organize the process and avoid accidental spills and mess.
Method 1: More Advanced Option for Creating a Sheep from a Chestnut
Step 1: Prepare Materials
Before starting to craft the sheep, prepare all materials: chestnut for the body, acorn for the head, twigs for the legs, and cotton for the wool. All these should be laid out on the table for easy access.
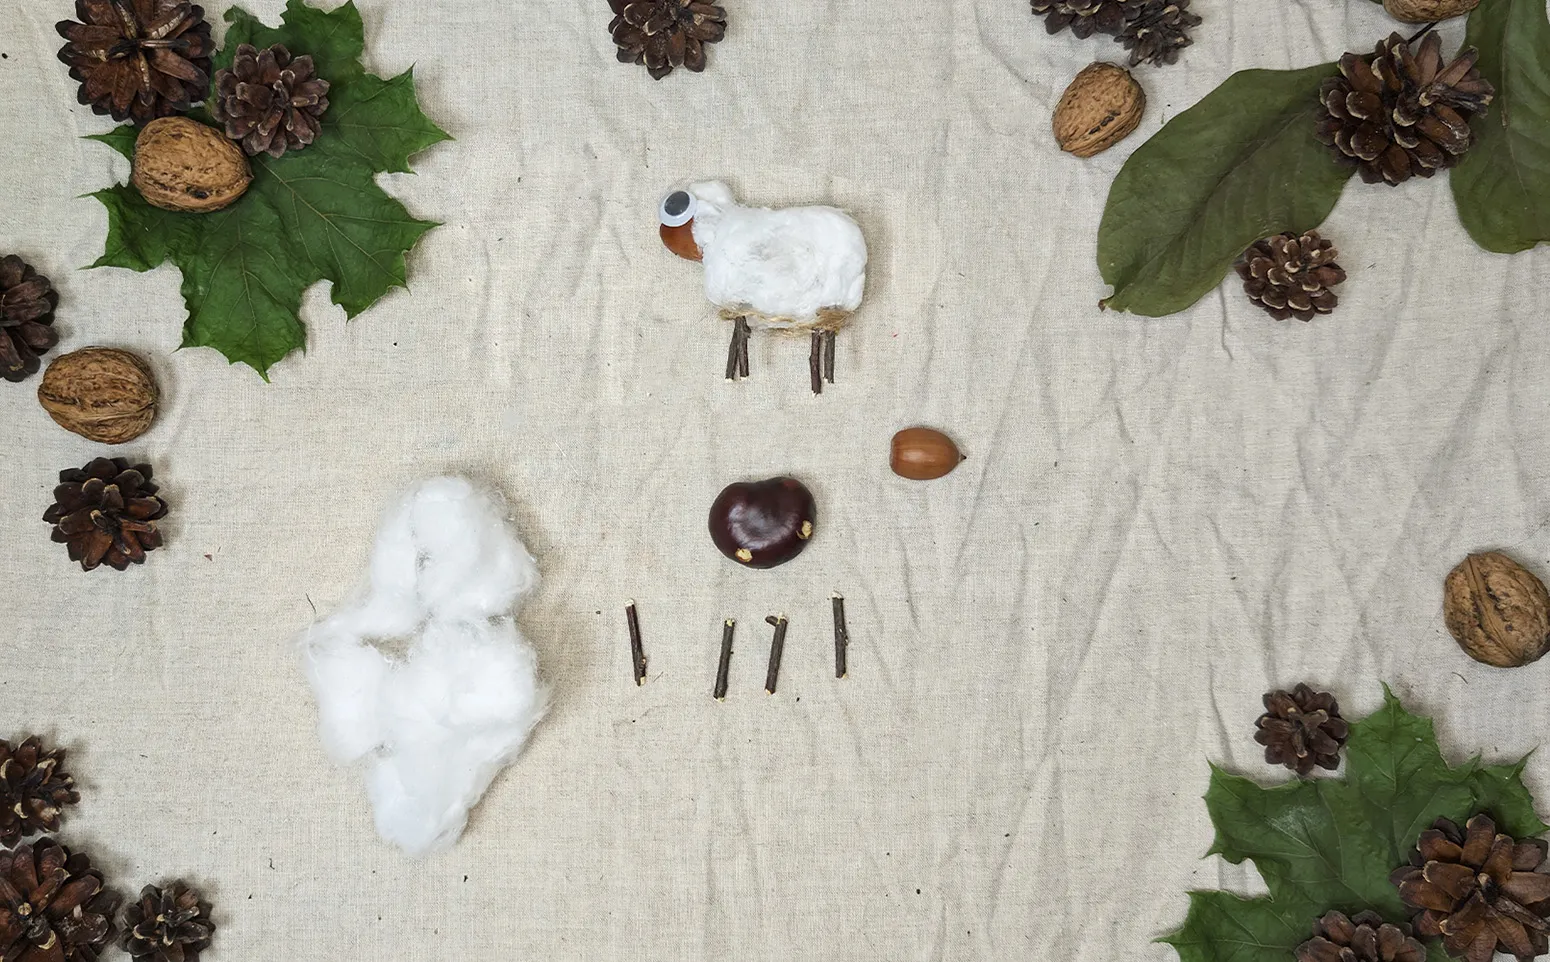
Step 2: Attach Legs to the Sheep
Take four small twigs for the sheep's legs. Make small holes in the lower part of the chestnut (adults should use an awl for this). Gently insert the twigs into these holes so that they fit snugly. For young children, modeling clay can be used: Attaching the legs will be easier and safer.
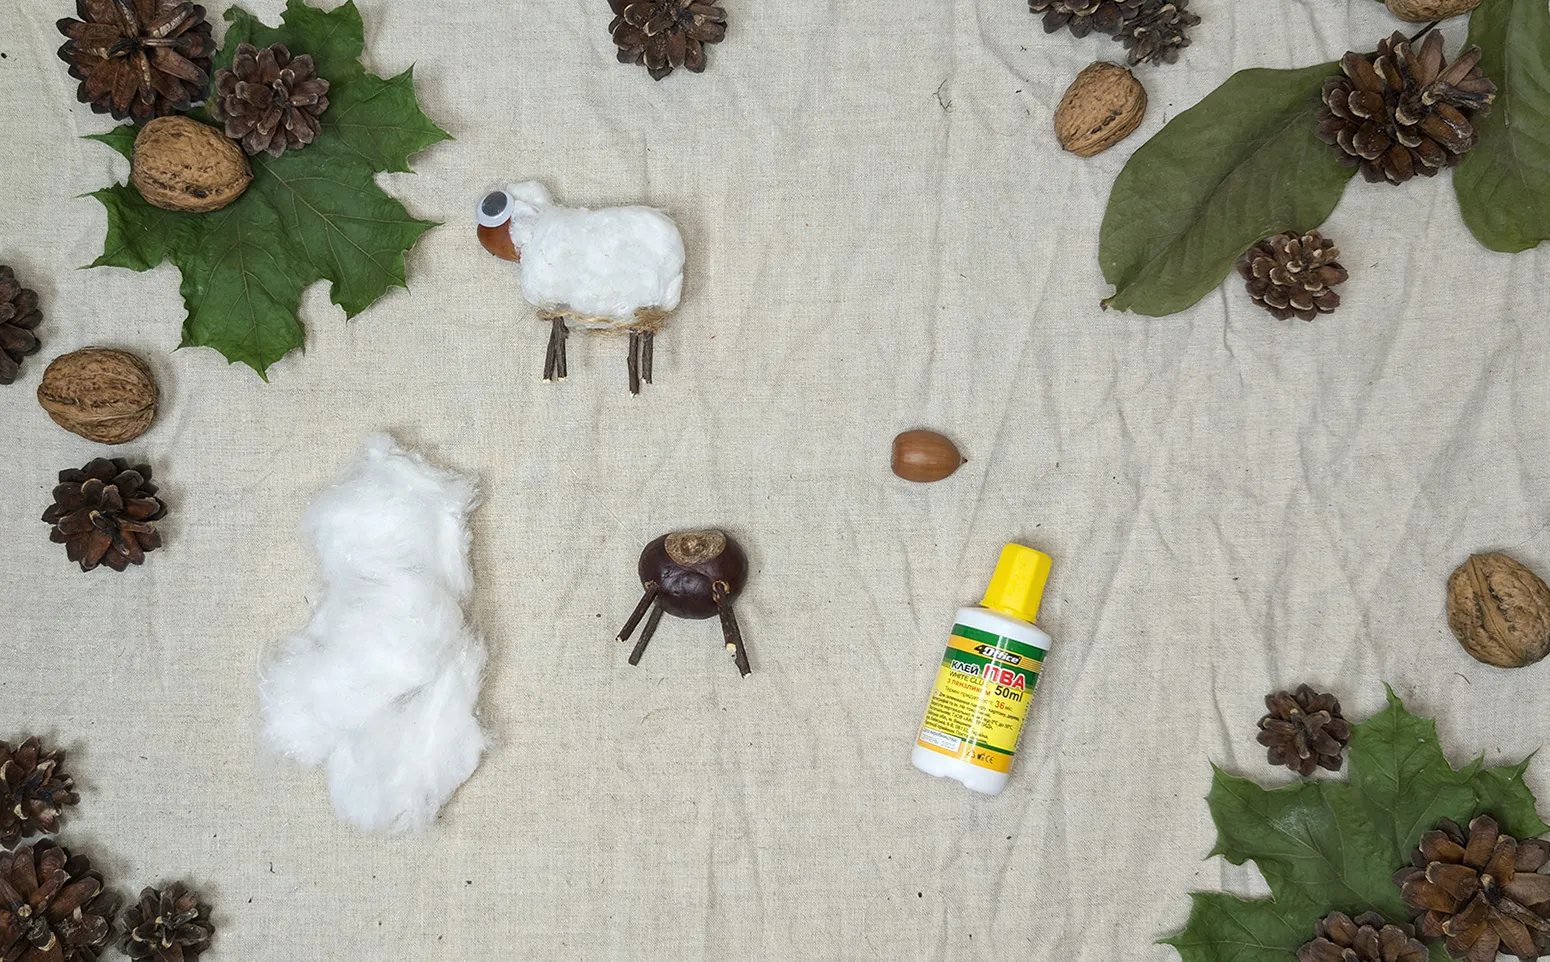
Step 3: Attach Cotton
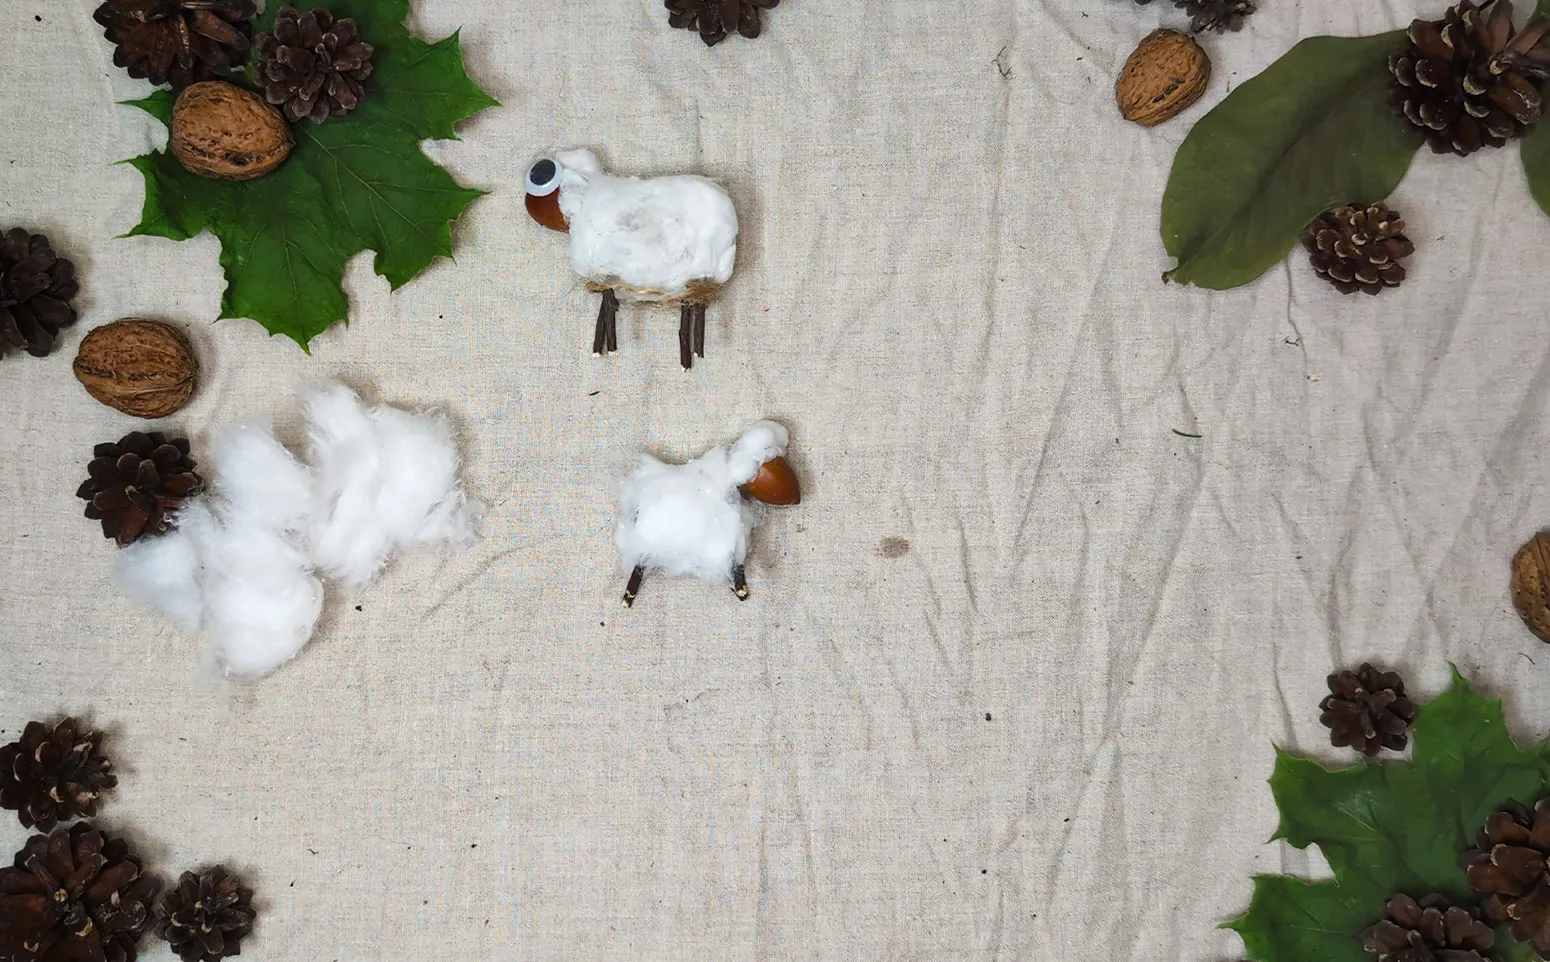
The main element of the sheep is its fluffy wool. For this, take pieces of cotton and glue them evenly on the body of the chestnut to make the sheep look soft and fluffy. You can use a brush to carefully spread the glue on the surface of the chestnut, then press the cotton on.
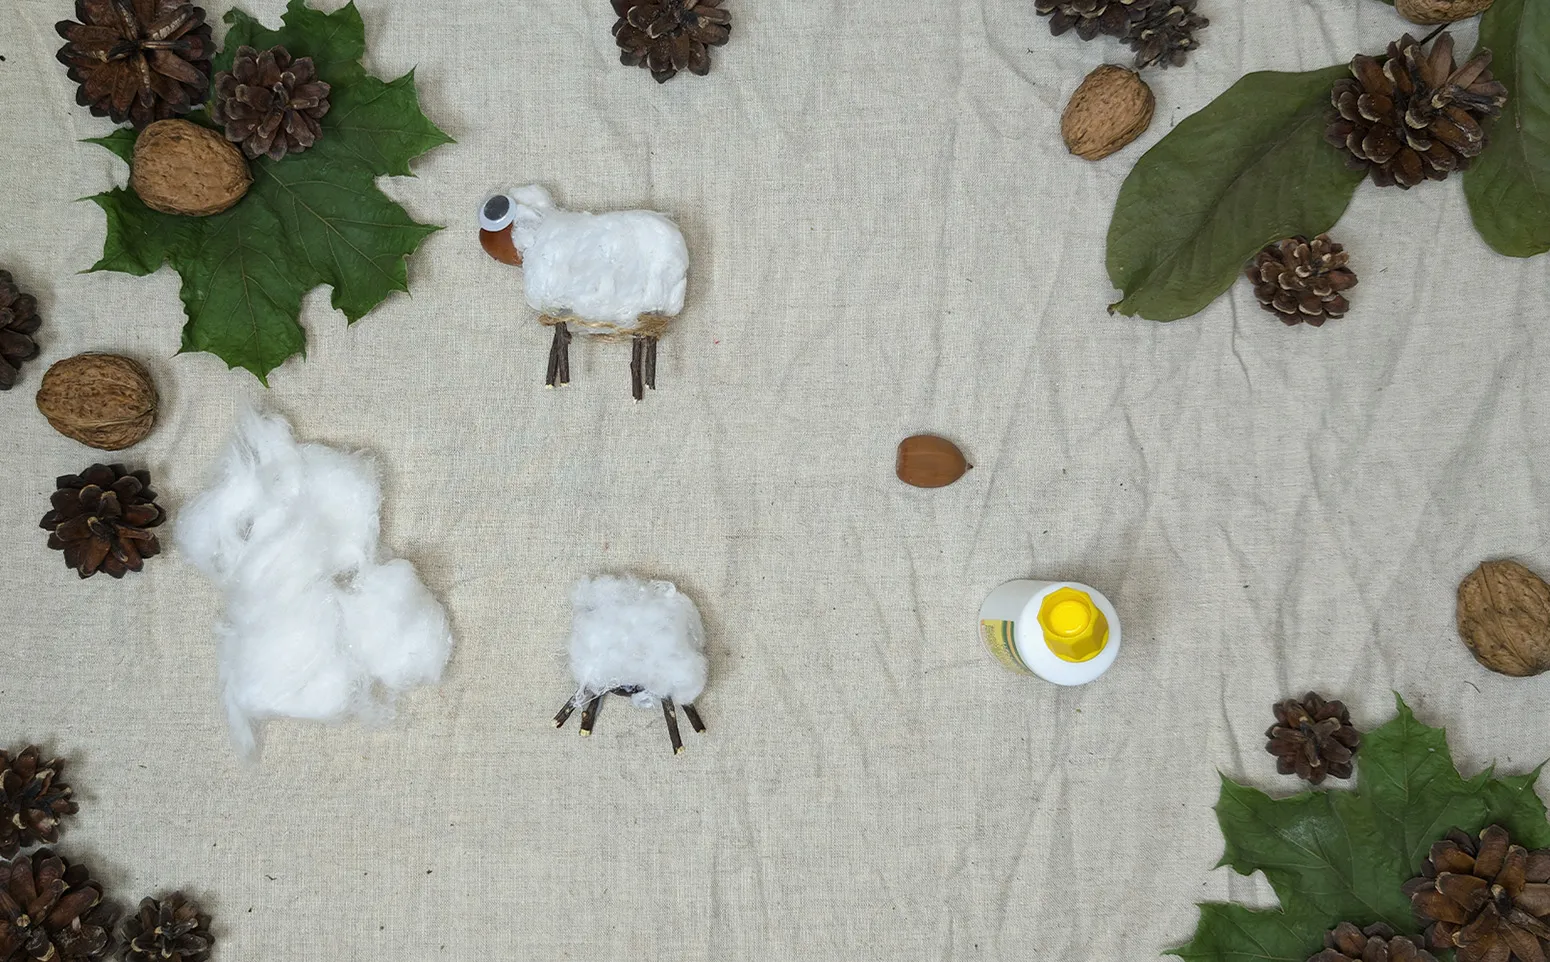
Step 4: Shape the Head
Now take an acorn or a small chestnut for the head. Glue it to the large chestnut that forms the body of the sheep. You can use wood glue or modeling clay for a smoother and safer work with the child.
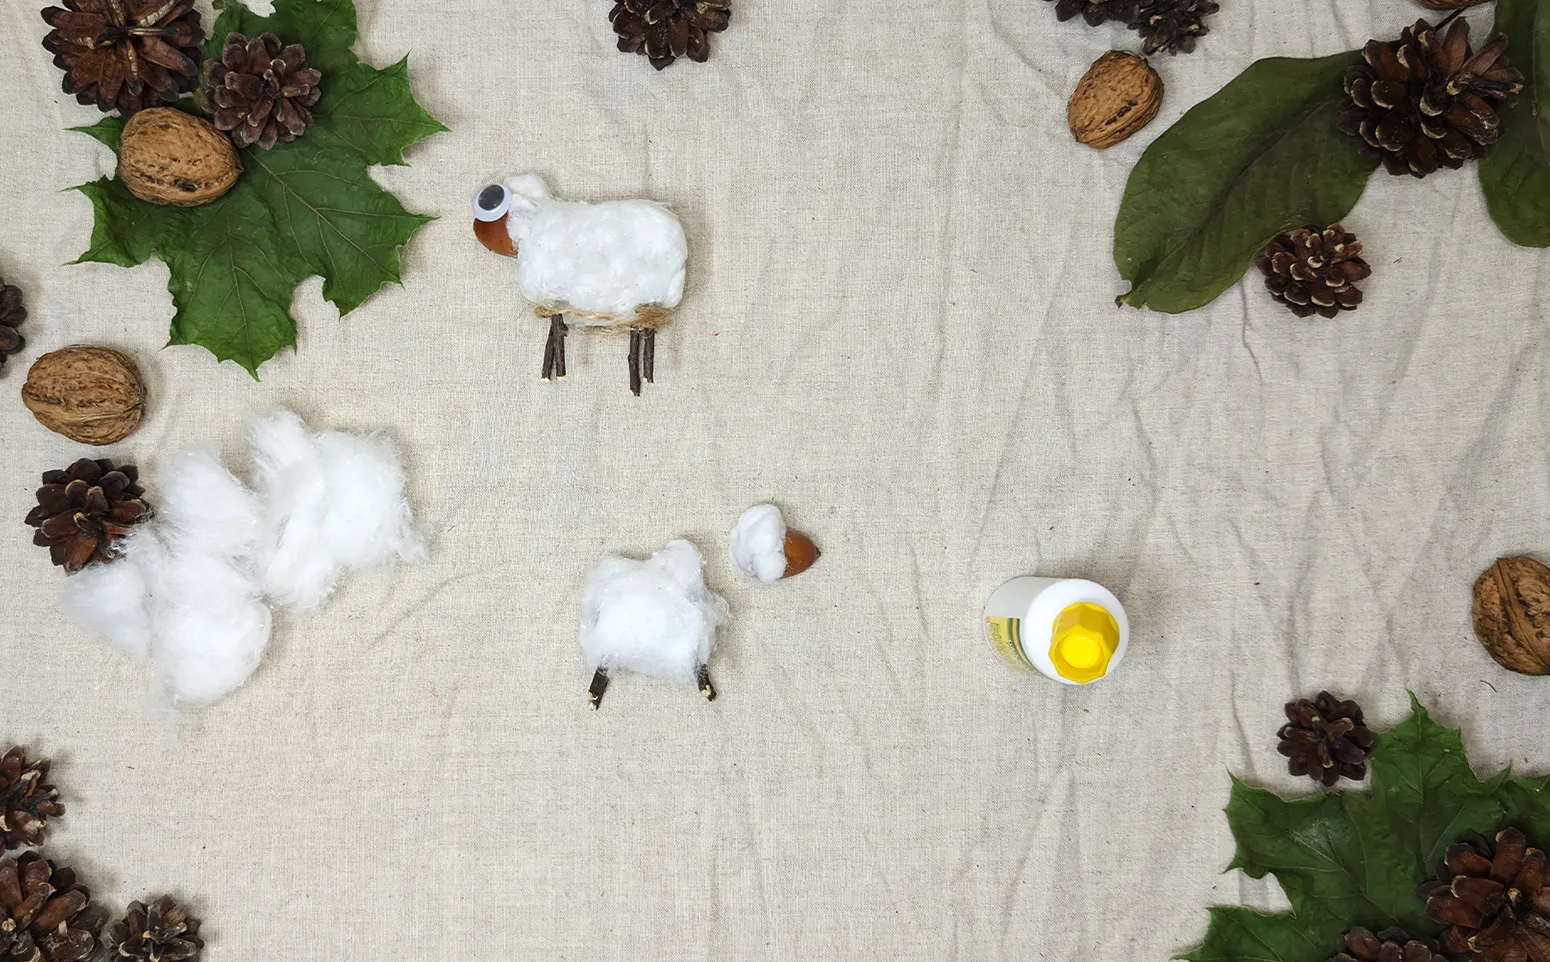
Step 5: Final Touches
The sheep is finished! If you wish, you can add additional decorative elements: paint eyes and mouth with markers or use small cones and other natural materials for decorating the sheep. Let the sheep dry a bit if glue was used to ensure all parts are well secured.
Method 2: Simple version to create a little sheep (for the little ones)
I have prepared an even simpler version of the sheep crafting for the little ones, suitable for children aged three and above. This crafting is easy and does not require complicated tools or materials. All you need is a bit of imagination and the desire to create. Decorations can be added as desired, and working with natural elements will be very exciting for the child.
Materials
- Chestnut for the body
- Acorn for the head
- Clay to attach
- Thin twigs for the legs (4 pieces)
- Eyes or small buttons for the eyes (optional)
Steps to create the little sheep
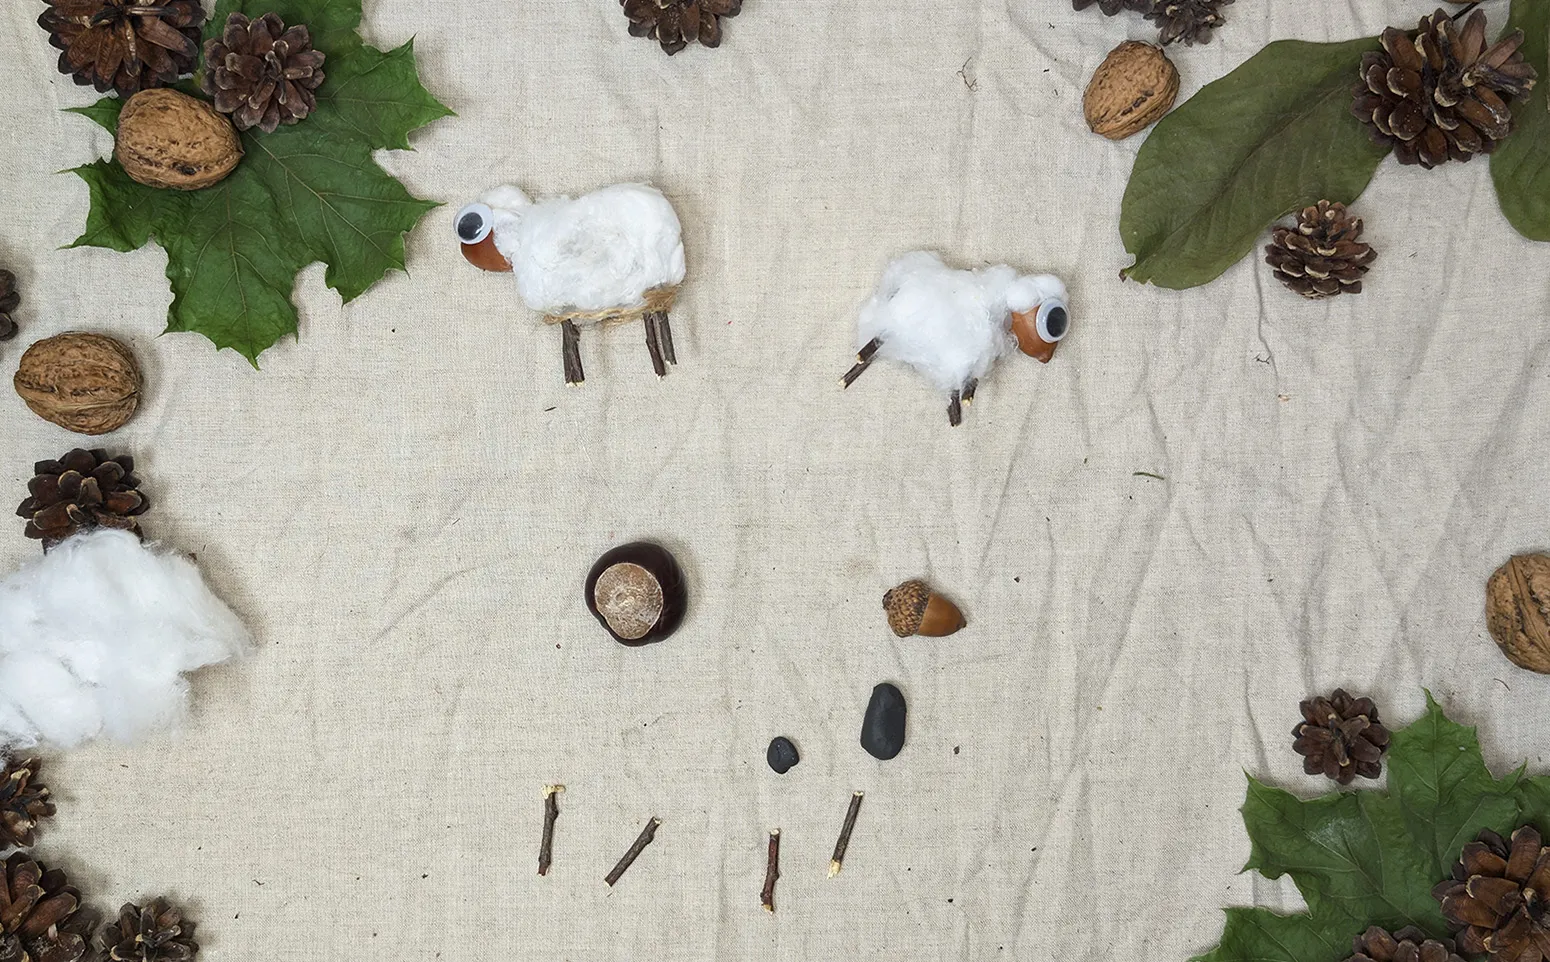
Step 1: Prepare all materials
Before starting the work, lay out all materials on the table. Show the child the acorn, the chestnut, and the twigs, and explain that they will be used to create the little sheep. Let the child touch each element to become familiar with it. This will captivate them and prepare them for the creative process.
Step 2: Attach the head
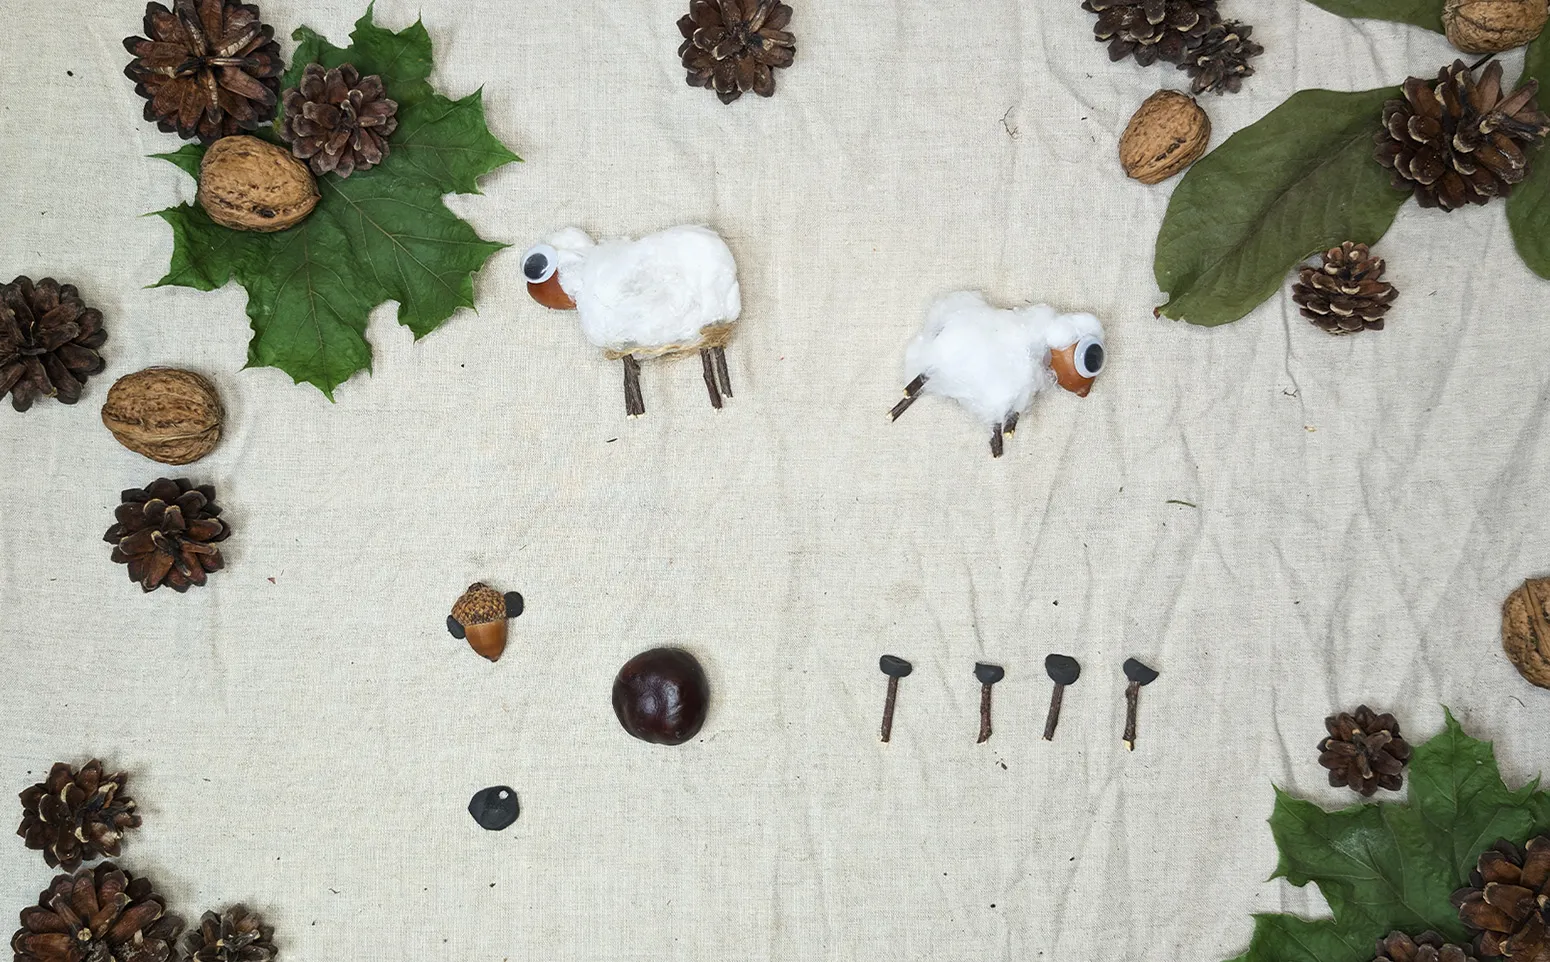
Take the acorn and attach it to the chestnut, which will serve as the body of the little sheep, using clay. Explain to the child that the acorn is the head and how it is attached to the body using clay. If the child finds it difficult to work with the clay, you can help them gently press the parts together.
Step 3: Prepare the legs
Take four thin twigs, which will be the legs of the little sheep. Attach small clay balls to one end of each twig. This helps to securely attach them to the body. Let the child have the opportunity to stick the clay to the twigs themselves - this will be an interesting stage for them.
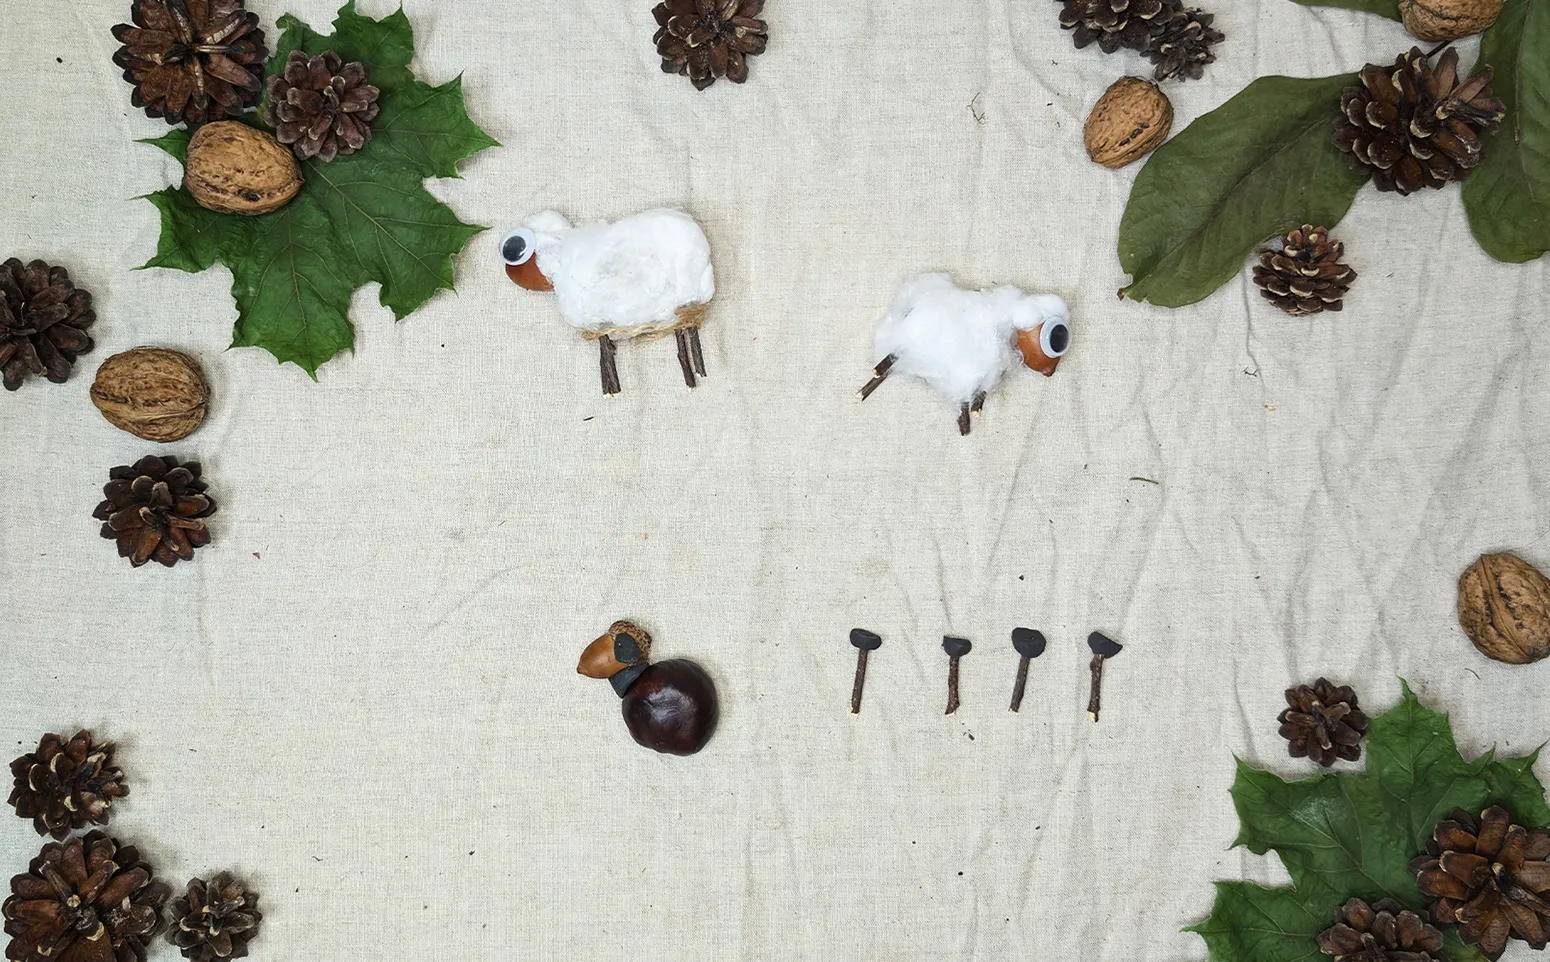
Step 4: Connect the legs to the body
Now carefully attach the twigs to the chestnut using clay. Distribute the legs evenly so that the sheep can stand. Show the child how to spread the legs at the lower part of the chestnut.
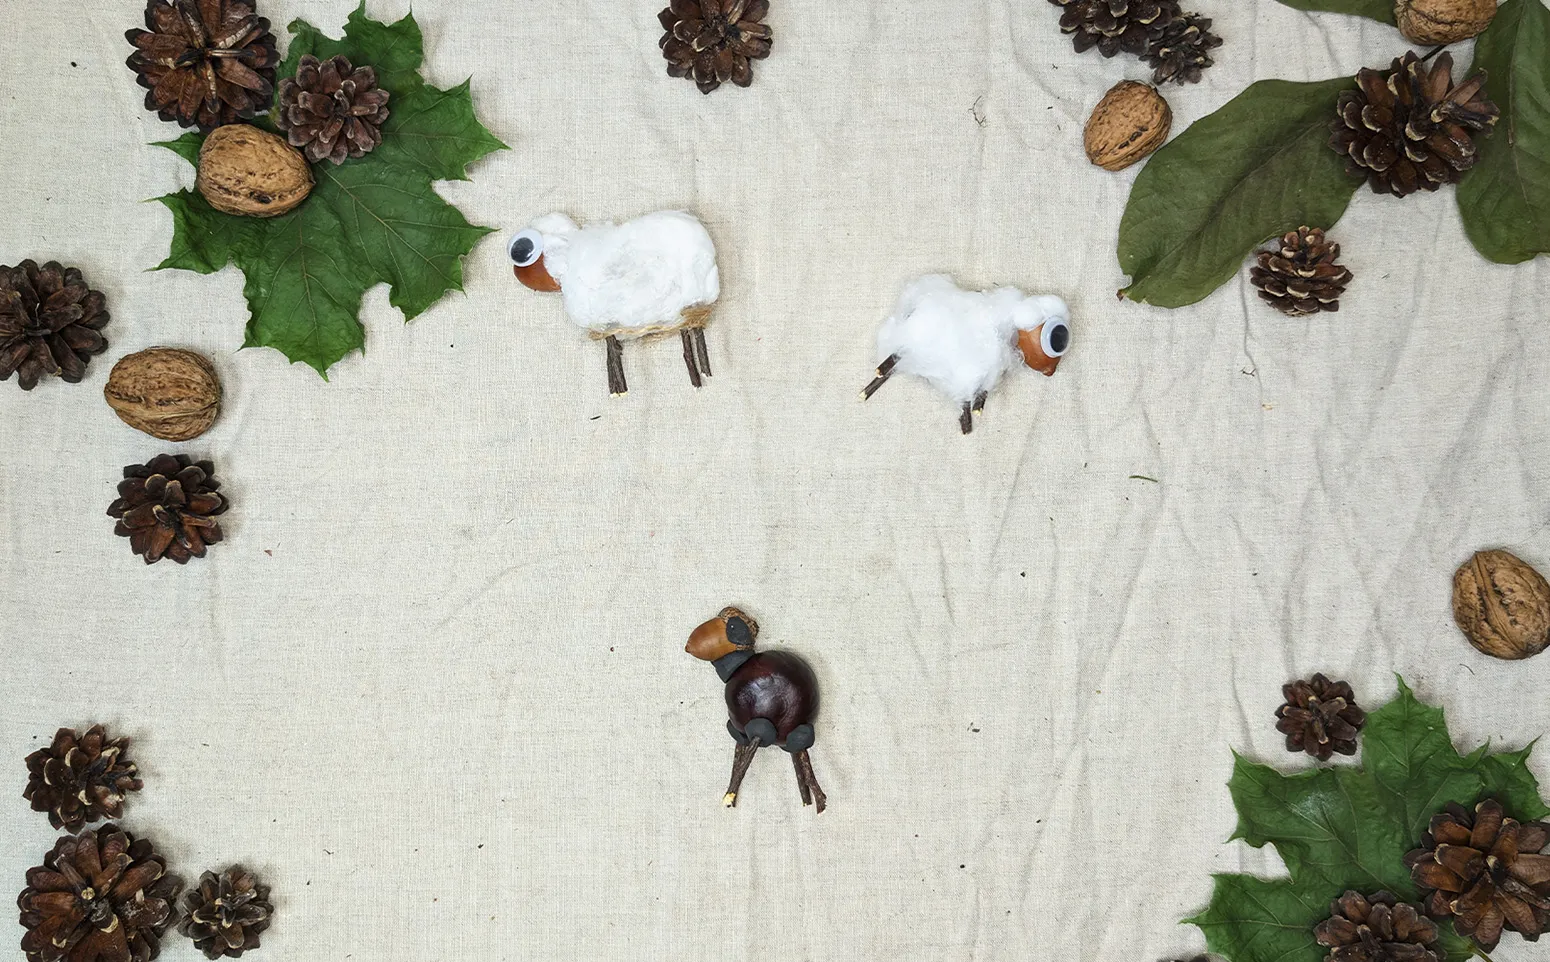
Step 5: Decorate the head and add eyes
If you want to give expression to the sheep's eyes, attach small buttons or pre-made eyes. You can also use small clay balls for the eyes and add a piece of cotton on the head to create the effect of "bangs."
Tip: Let the child decide how much wool or cotton they want to add. This develops imagination and gives the child more freedom in creating.
Conclusion
Thank you for your attention! On our portal, you will find many other interesting crafting ideas. There are simple projects for the little ones as well as more challenging tasks for children over 10 years old. I am sure that everyone will find something interesting and useful.
From Vitalii Shynakov
