Spider made from chestnuts: Autumn crafting for children
Are you looking for creative ideas for autumn crafts? I'll show you how to easily create a little spider out of chestnuts and twigs. This crafting with children is a wonderful way to spend an autumn day with family and create an original decoration using natural materials. Such a spider will be an interesting decorative element and will create a Halloween atmosphere.
Gather the following materials with your child:
- Two chestnuts: one large for the body and one small for the head
- Eight thin twigs for the legs
- Pinecones, acorns, leaves, and other natural elements for decoration
The process of gathering is already an exciting activity for the child.
In addition to the natural elements, you will need:
- Hot glue gun (for adult use) or modeling clay (for independent child work)
- Scissors
- Felt-tip markers or colors (optional)
- Paintbrush (if you are using colors)
- Paper or cardboard for creating the background or a spider web
Organize your workspace
Create a comfortable space for creative work. Cover the table with old newspapers or a wipeable tablecloth. Arrange all materials so that the child can easily reach them. Provide good lighting for visibility of all work details.
Step-by-step guide with photos and description of each step for creating the chestnut spider
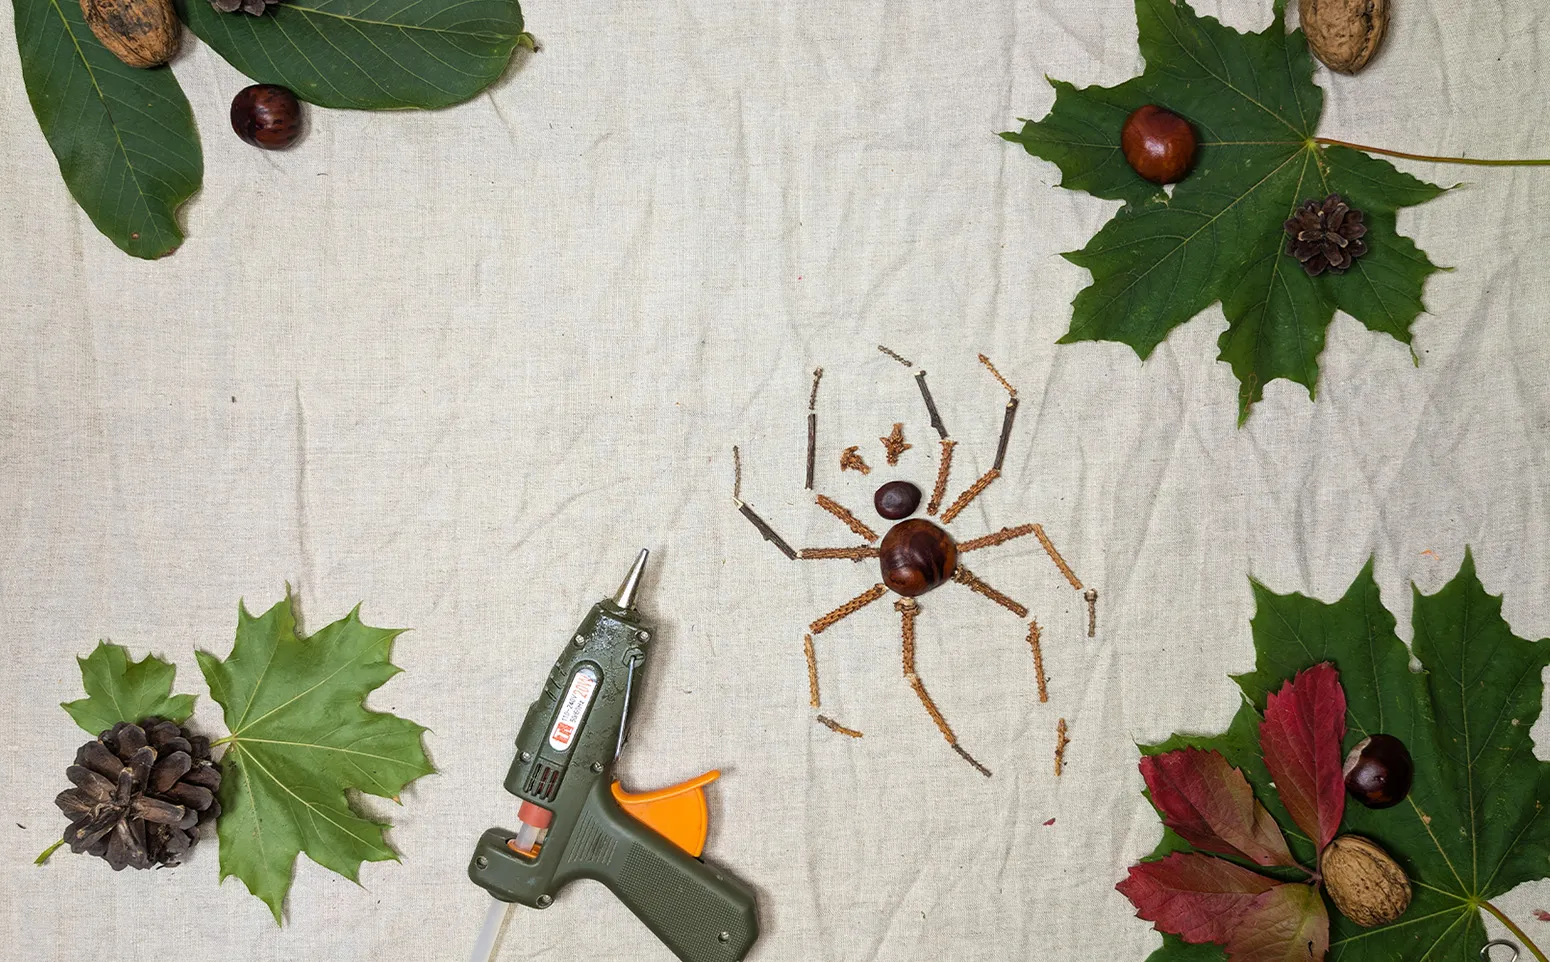
Chestnut Spider, Step 1: Prepare materials
Let's start by preparing all necessary elements. Take two chestnuts: one larger for the body and one smaller for the spider's head. Also, prepare eight thin twigs for the legs. In addition, you will need a hot glue gun or modeling clay (if working with a young child), scissors for cutting the twigs, and decorations that can be added later (leaves, pinecones, colors).
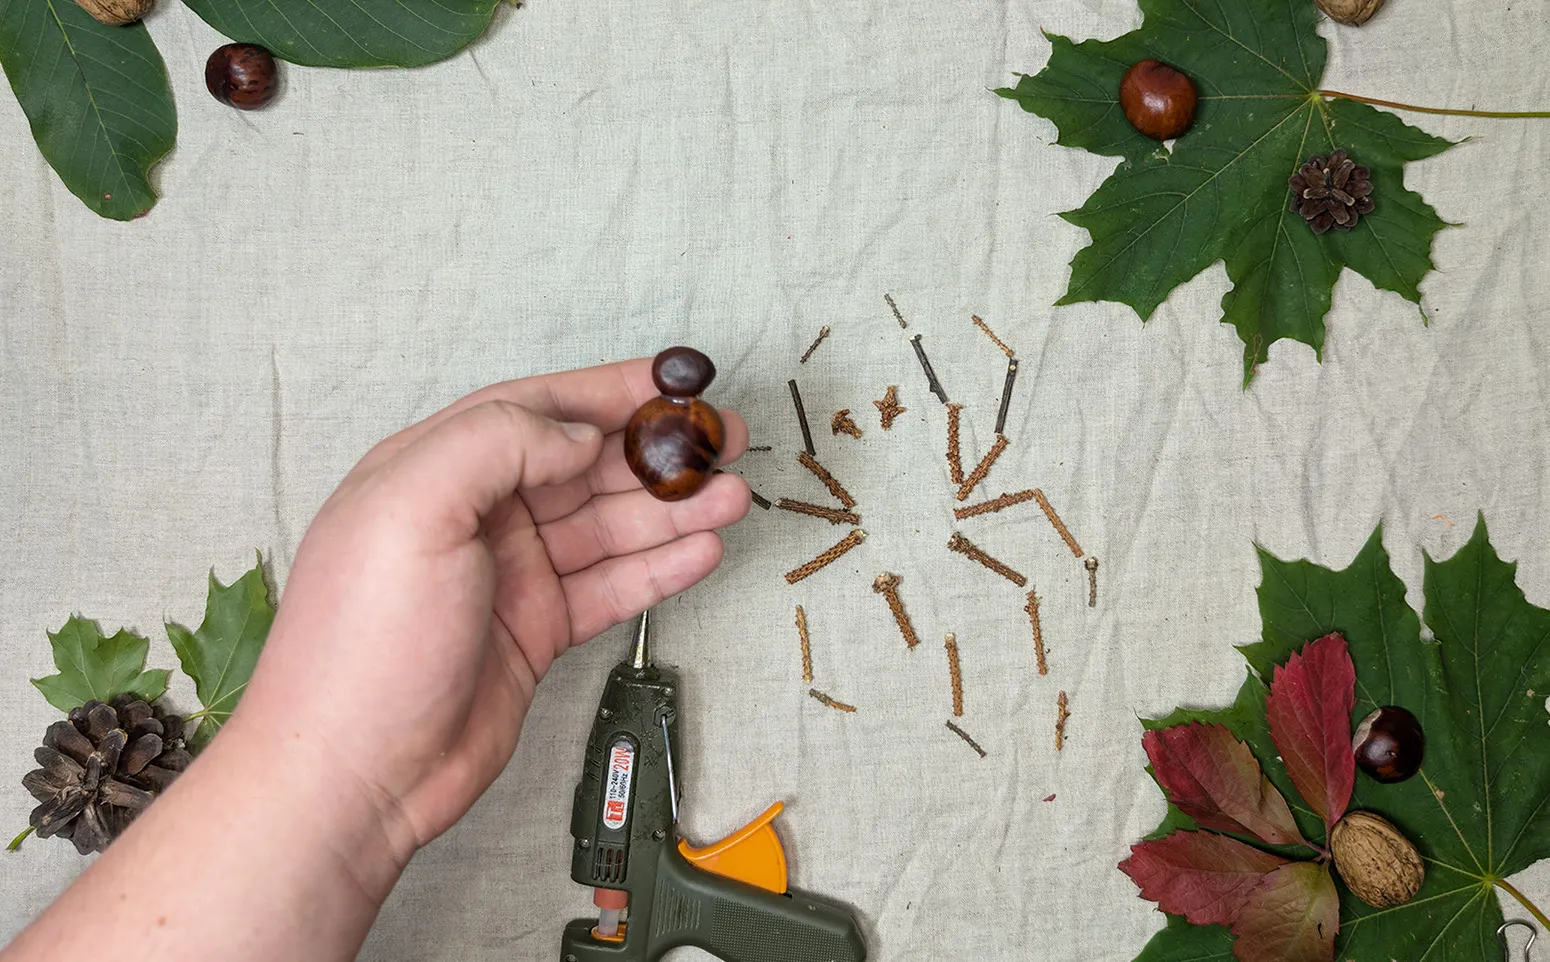
Chestnut Spider, Step 2: Create body and head
Let's start by creating the body and head of the spider. Take the large chestnut for the body and the small one for the head. Connect them using glue or modeling clay. If you are using a hot glue gun, be cautious as the glue can be hot. For children, it's better to use modeling clay so they can attach the head themselves.
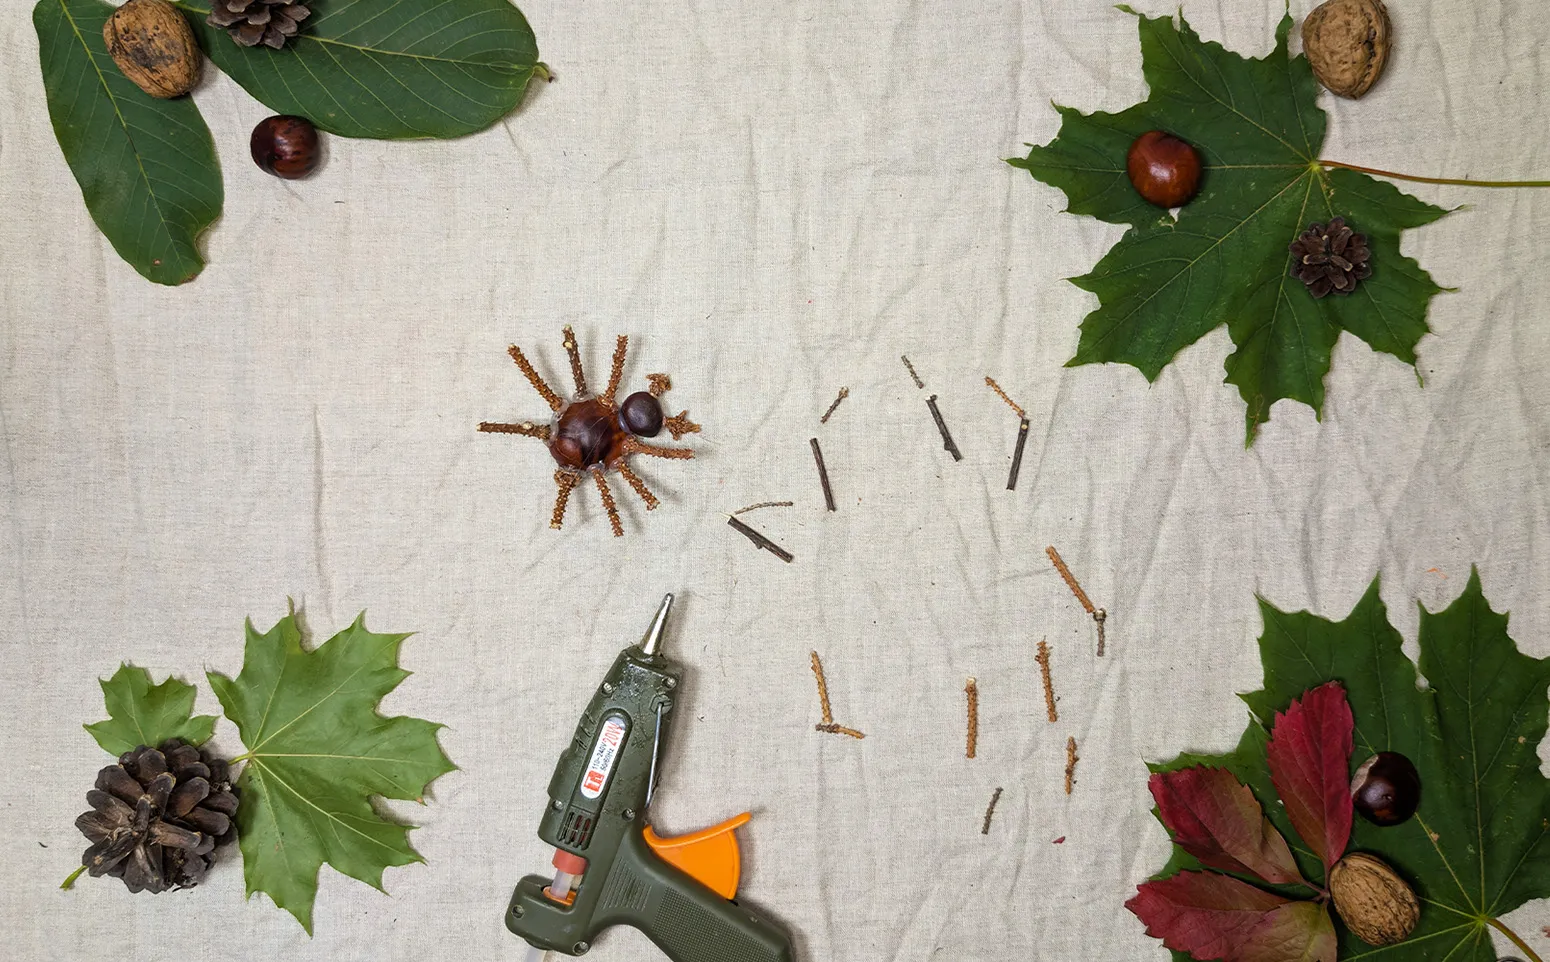
Chestnut Spider, Step 3: Divide twigs and attach first leg parts
Take the eight twigs prepared for the legs and cut each one into three parts with scissors. This is necessary to create multi-segmented spider legs. Start by attaching the first leg parts. Secure them to the spider's body by gently inserting them into the lower part of the chestnut. Adults can use glue, while children can use modeling clay to independently attach the legs.
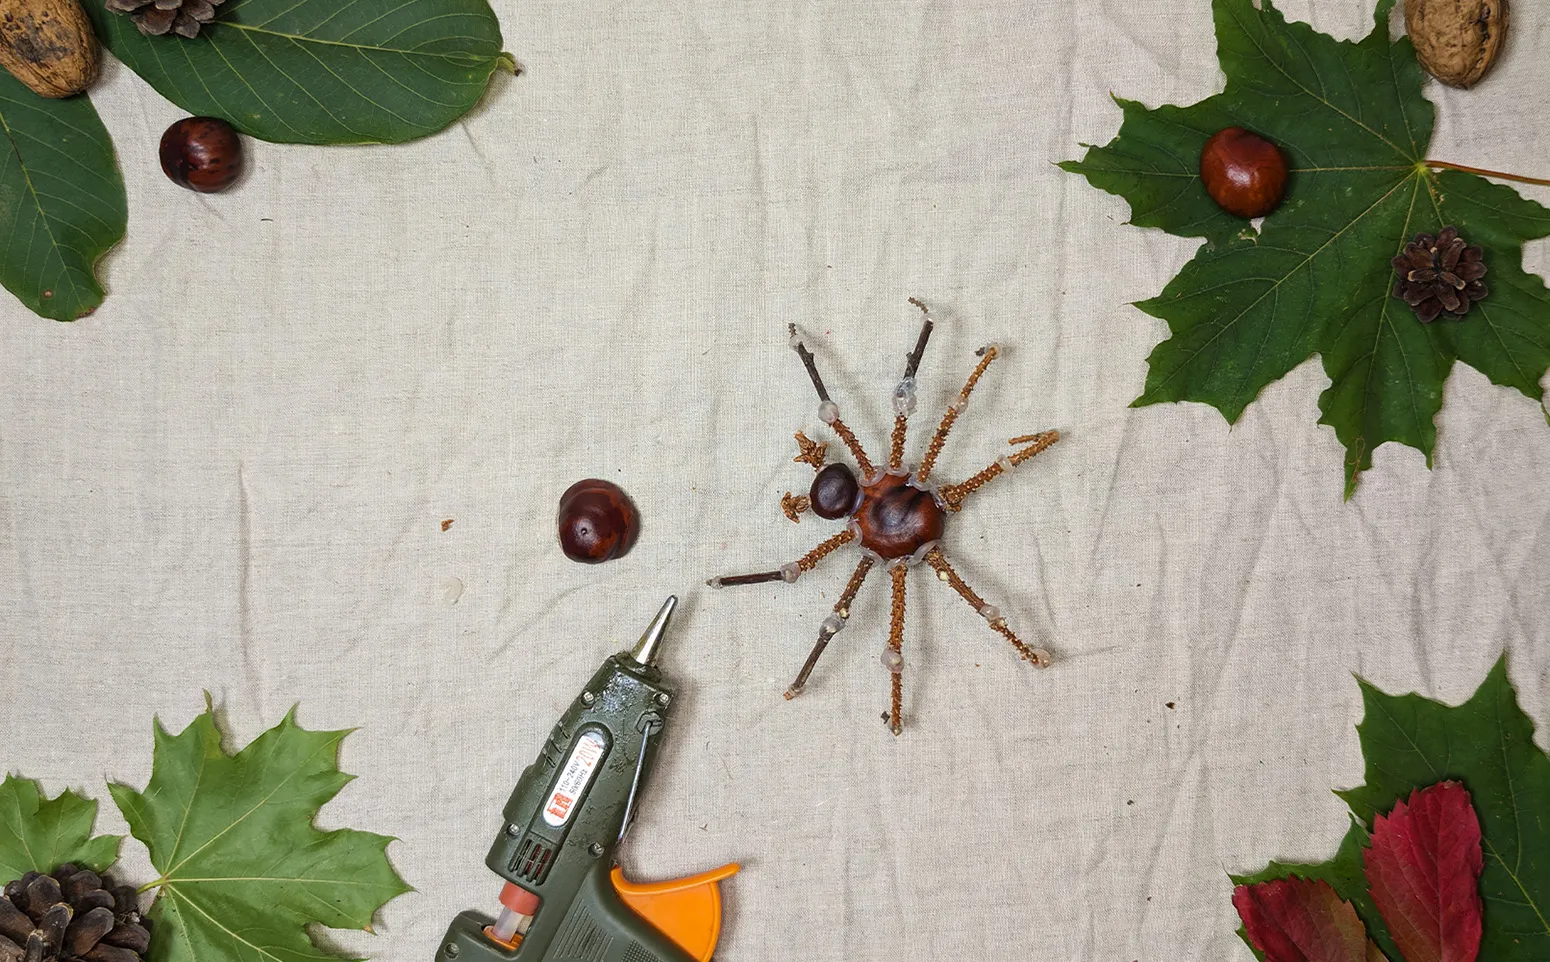
Chestnut Spider, Step 4: Attach remaining leg parts
Now, attach the remaining leg parts to the already attached twigs to complete the legs, as shown in the photo. Use glue or modeling clay according to the child's age and involvement level. Older children can use glue under supervision, while younger ones can use modeling clay to independently attach the legs.
Spider made from chestnuts, Step 5: Add volume
To make the spider look more interesting, take another chestnut with a flat side and glue it on top of the body. This adds additional volume and gives the craft a more complete appearance. If you are working with a child, suggest to them to attach the chestnut with modeling clay or glue.
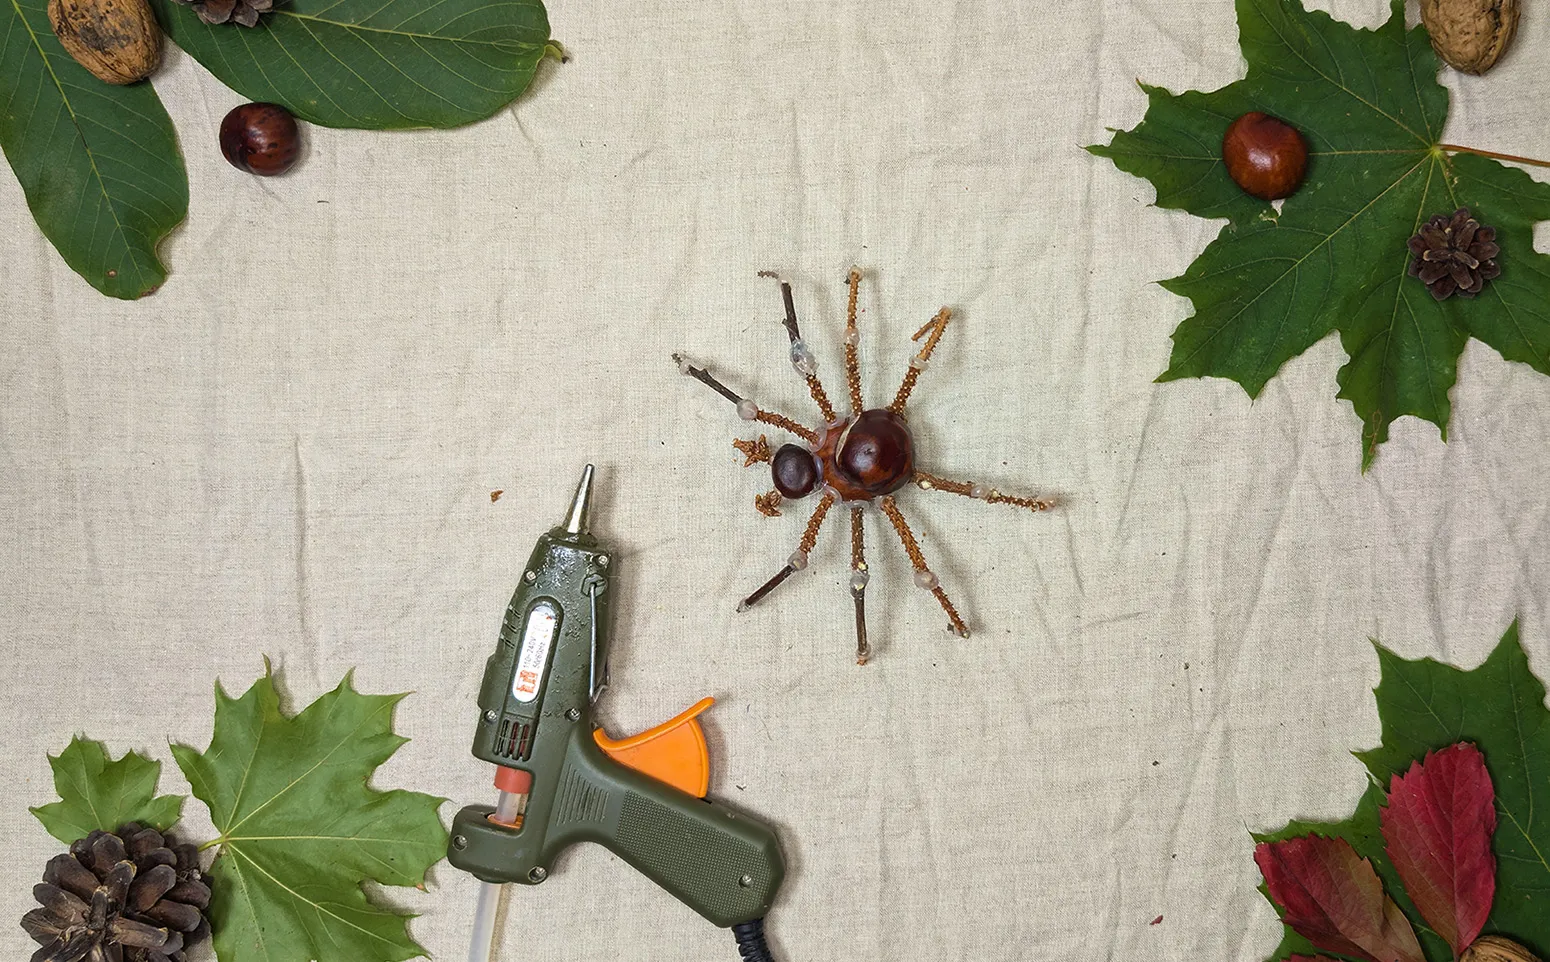
Spider made from chestnuts, Step 6: Final touches
Now your spider is almost ready. You can add decorations: draw eyes and a mouth with felt-tip pens or use small pine cones and other natural materials to embellish the spider. Let the spider dry a bit if glue was used, so all parts are well fixed.
Tip: Ask the child to invent a name for the spider and to tell a story about where it lives and what it does. This helps develop imagination and brings more joy to the crafting process completion.
Once the spider is finished, suggest to the child to give it a name and a story. Who is this spider? Where does it live? What does it like to eat? This is an excellent way to develop the child's imagination and language skills.
Find a cozy spot at home where you can set up an exhibition of your work. It could be a shelf, a windowsill, or a corner in the child's room. Place your spider and its surroundings there. Such an exhibition will decorate the house and be an object of pride for the little artist.
Conclusion
Creating a spider from chestnuts is a real adventure. It starts with a walk through the autumn park and ends with the appearance of a unique figure created by your child's hands. Such an activity develops creative skills and teaches to appreciate nature. The most important thing in this process is not the perfect result, but the joy of creating something new with your own hands.
Thank you for your attention! On our portal, you will find many other interesting ideas for crafts. There are simple projects for the little ones as well as more challenging tasks for children over 10 years old. I am sure that everyone will find something interesting and useful. We wish you success in your creative projects and in crafting with children!
From Vitalii Shynakov
