Turtle: Autumn crafting for children
Looking for an interesting crafting activity for your child? You've found it. I have a wonderful idea for you! Let's craft a fun little turtle from walnut shells and pistachio shells together. This crafting with children is perfect for children aged 3 years and older.
Safety rules when crafting
When crafting with children, some safety rules must be observed. If you are working with a toddler and small parts, you must be particularly attentive. If you decide to use a hot glue gun, be sure to help the child - this way you can avoid possible burns. Make sure small parts do not end up in the child's mouth.
Materials for the turtle
Simple crafts for the little ones often do not require complicated materials. Autumn generously provides us with many natural materials that can be found directly on the street during a walk.
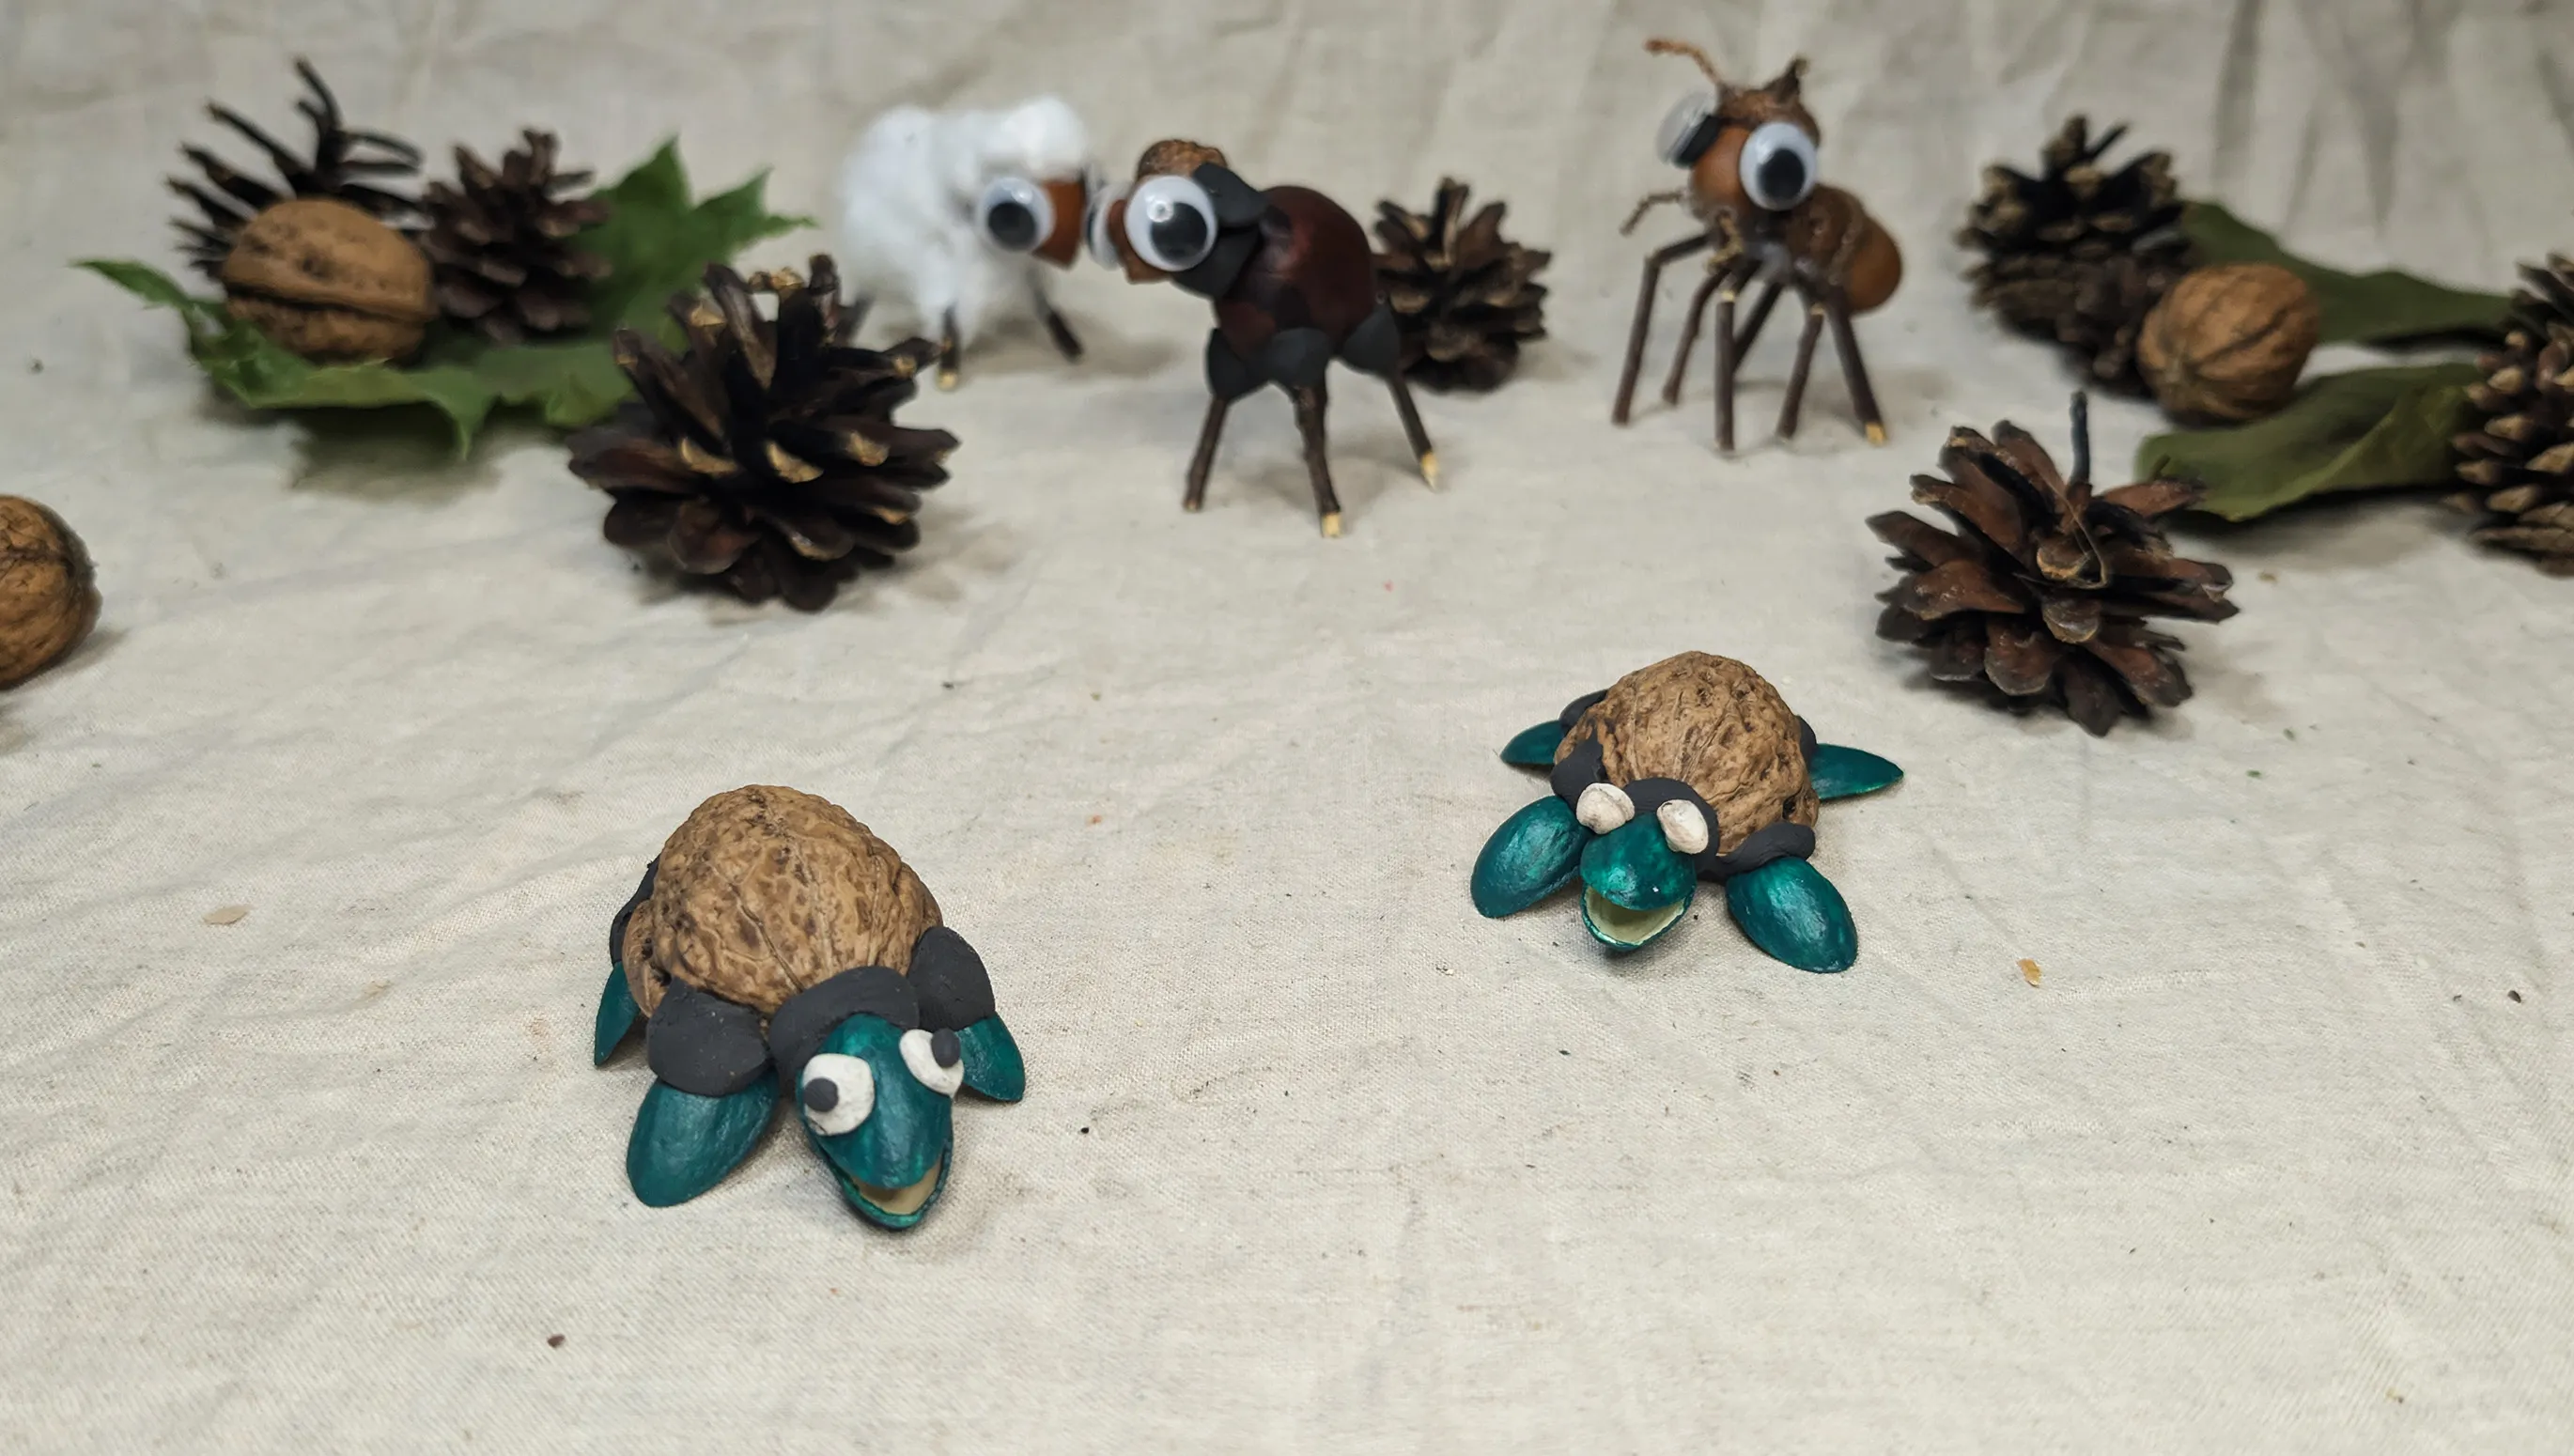
For our turtle we need:
- Walnut shell - for the shell
- Pistachio shells - for legs, head, and tail
- Modeling clay - to attach the parts
- Eyes (you can draw them, stick ready-made ones, or use buttons)
- Paints for coloring (optional)
- Brushes
If something is missing, be creative! Instead of pistachios, you can use small pieces of cardboard or shape the parts from modeling clay. In craft stores, you can easily find decorative eyes or paints if you want to add additional details.
Step-by-step instructions with photos and description on how to craft a turtle
Crafting with children becomes more exciting when the process is divided into simple steps. Let's look at each step to create our turtle:
Step 1: Prepare materials
Start by preparing all the necessary materials. Collect nut shells, pistachios, and modeling clay. If you want to paint the parts, prepare paints and brushes.
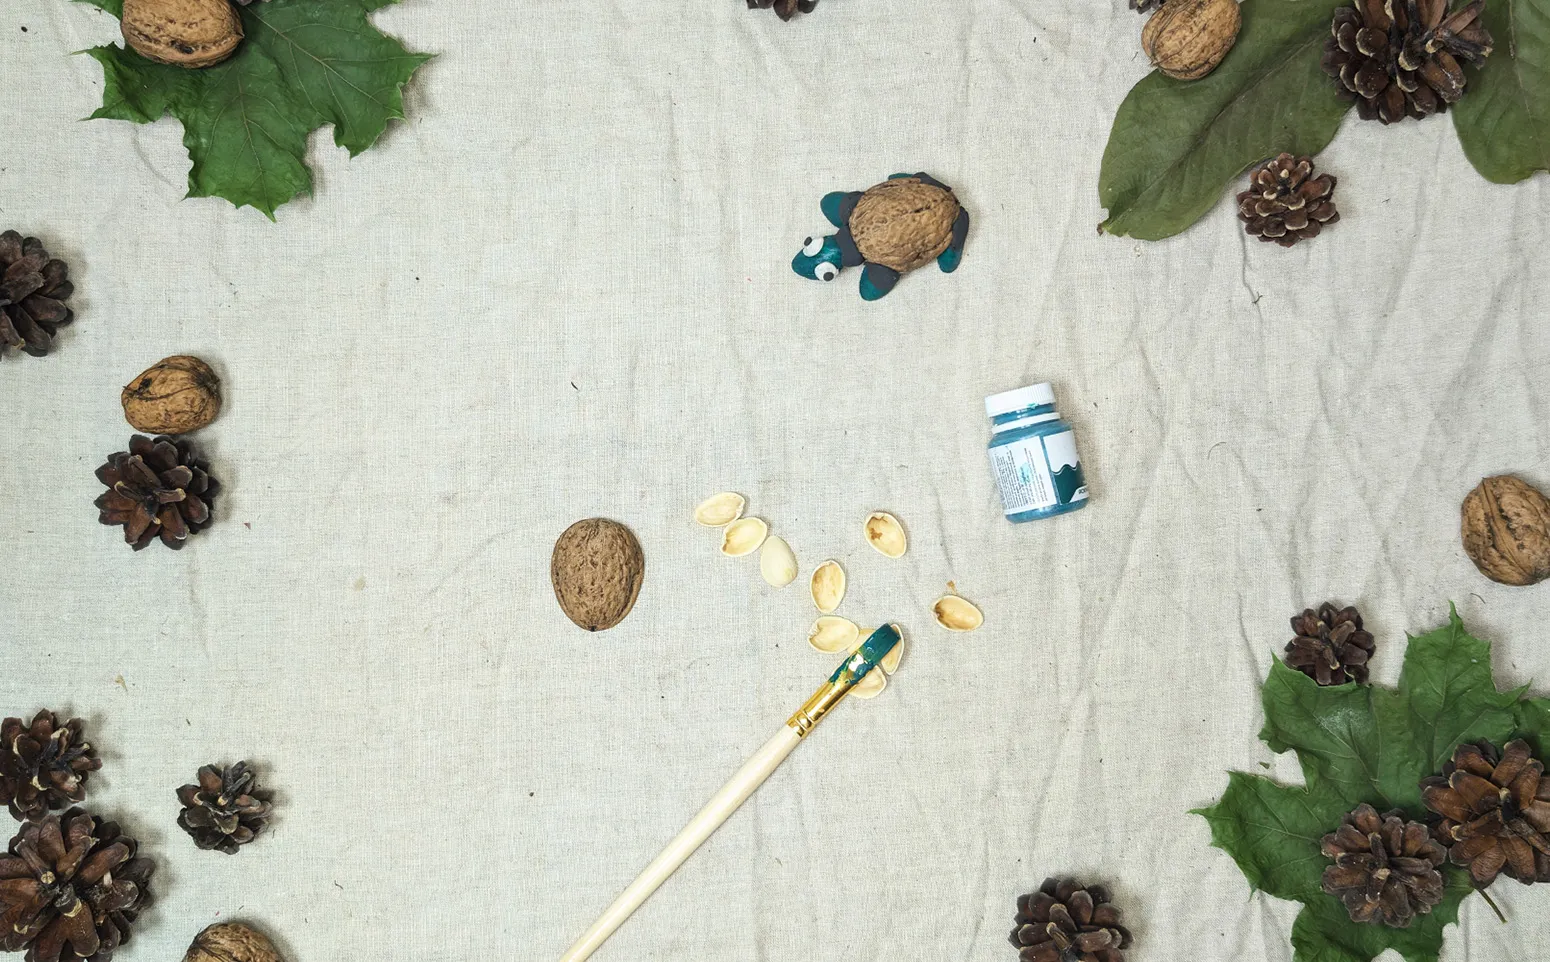
Step 2: Paint pistachio shells
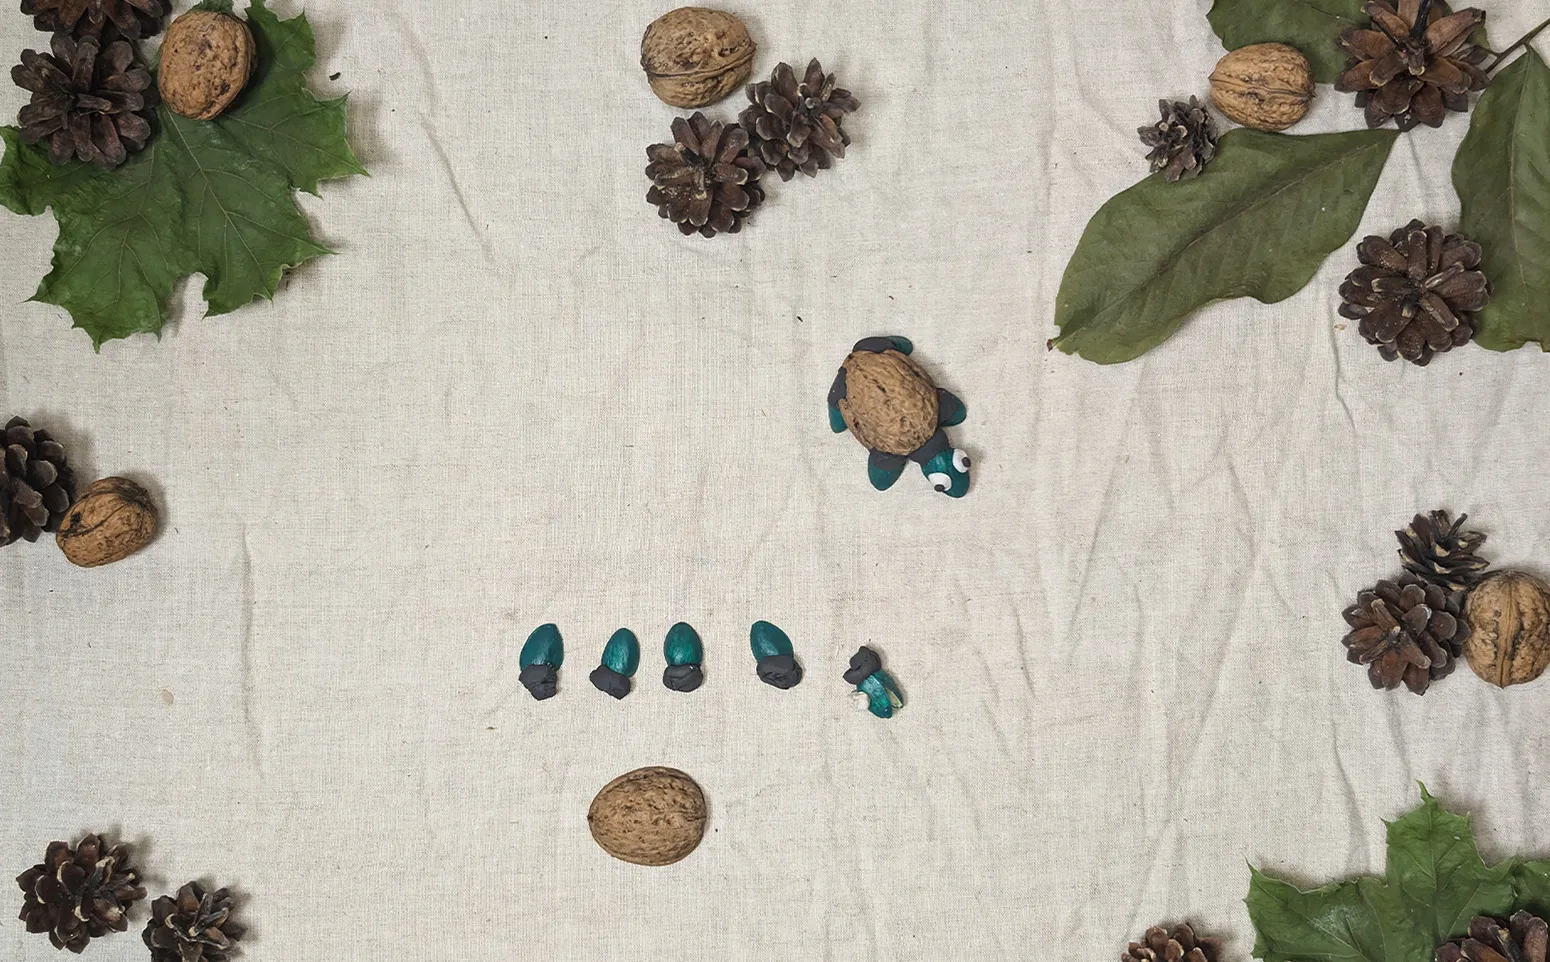
Take the pistachio shells and paint them green. These will be the legs, tail, and head of the turtle. Let the paint dry a bit before proceeding.
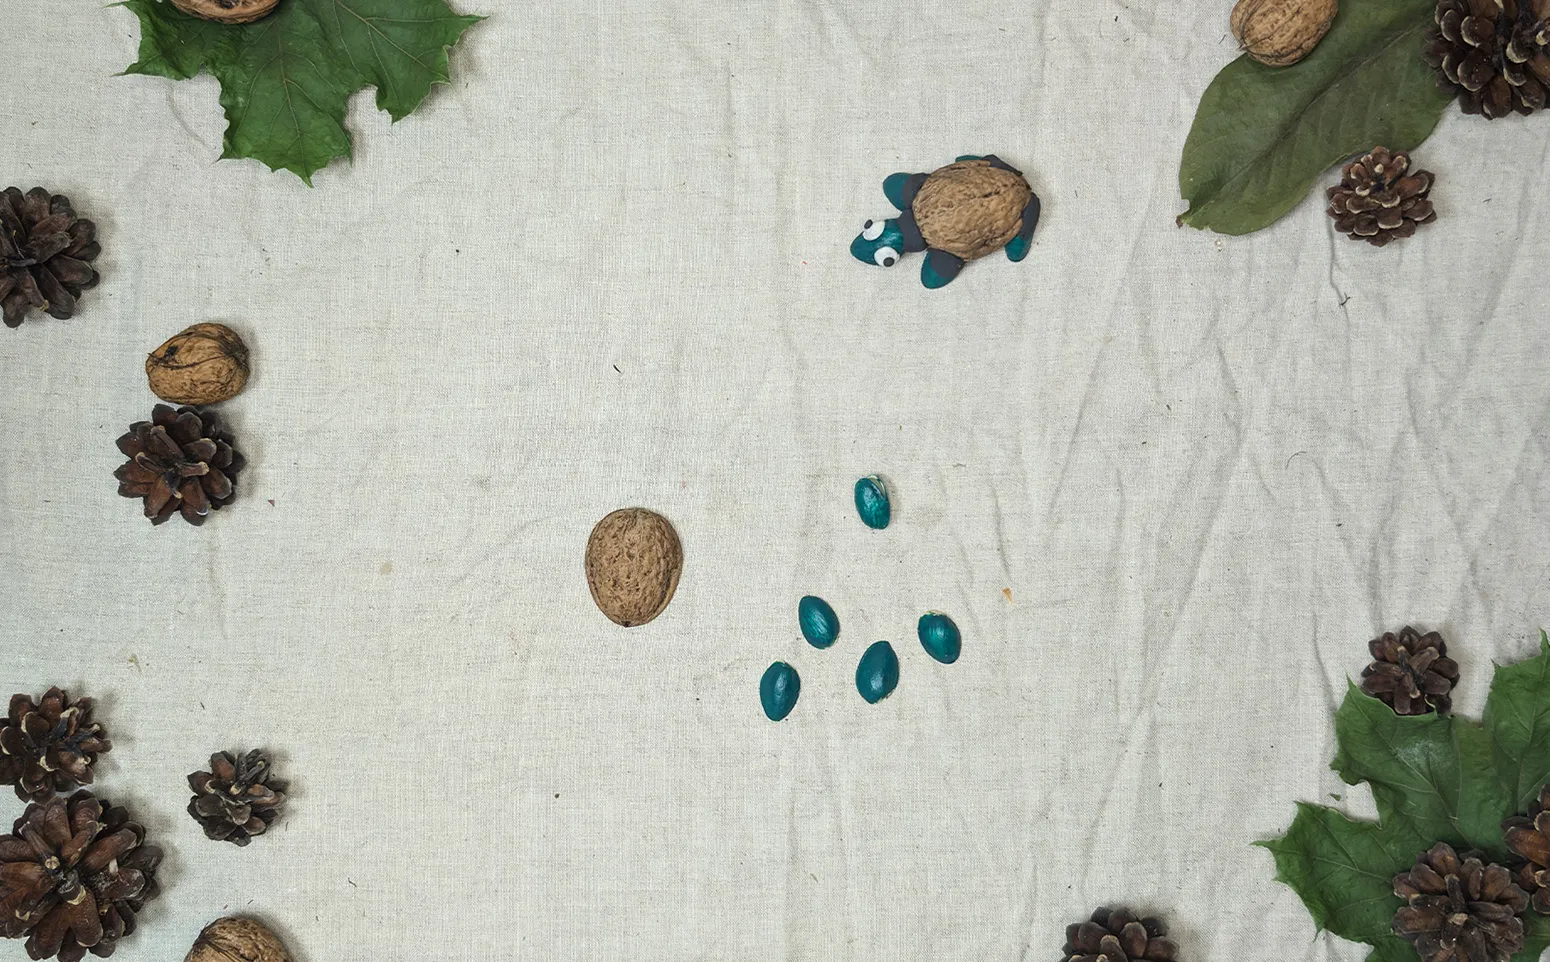
Step 3: Attach modeling clay to pistachio shells
Take some modeling clay and attach it to one side of each pistachio shell. This allows you to easily connect the parts to each other and to the shell.
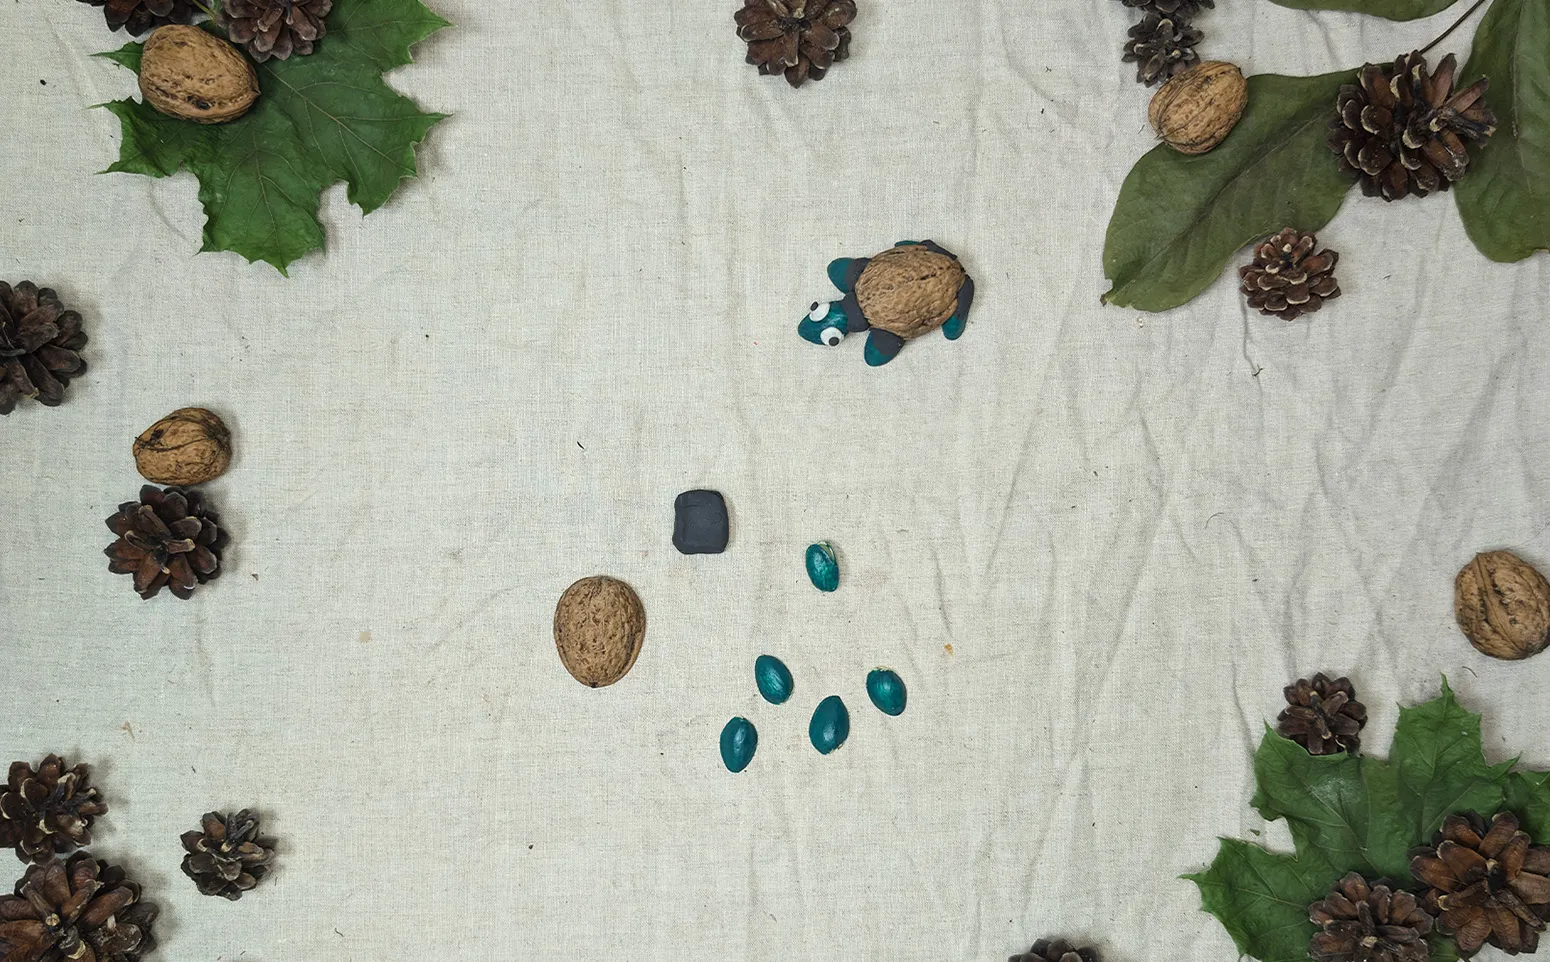
Step 4: Attach legs and tail to the shell
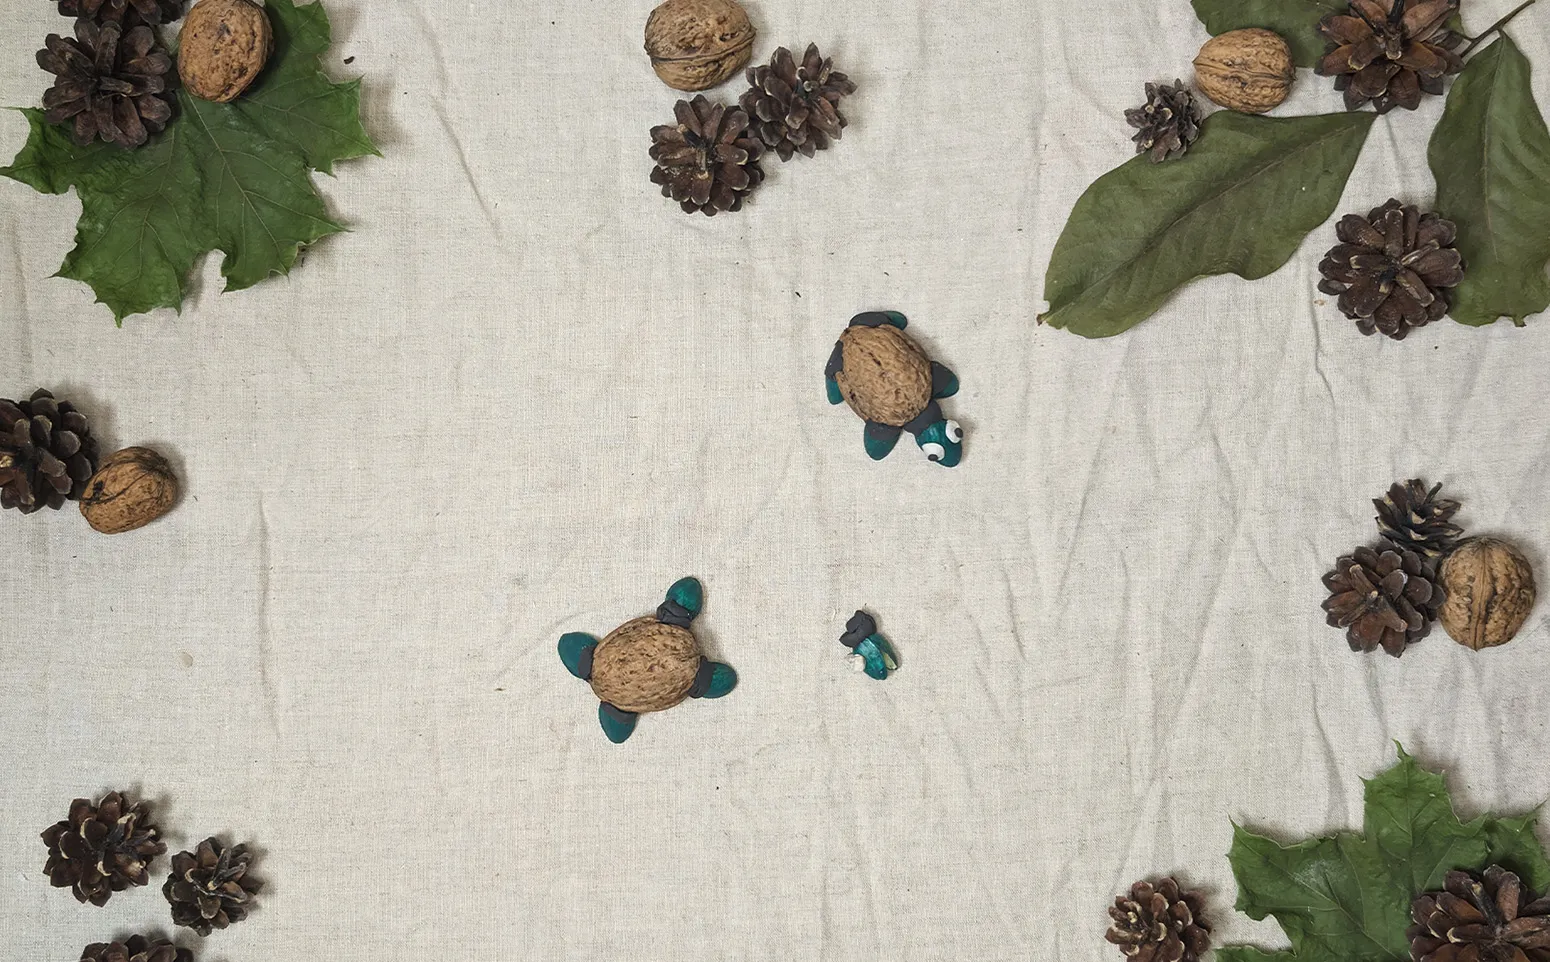
Use modeling clay to attach legs and tail to the shell - the walnut shell. Place the legs on both sides and the tail at the back. Do this carefully to make the turtle stable.
Step 5: Design head and eyes
Attach the head - use a pistachio shell for this. For the eyes, you can use buttons, ready-made eyes, or make them from modeling clay. Place the eyes on the turtle's head and help the child design the face.
Step 6: Decorate the Shell
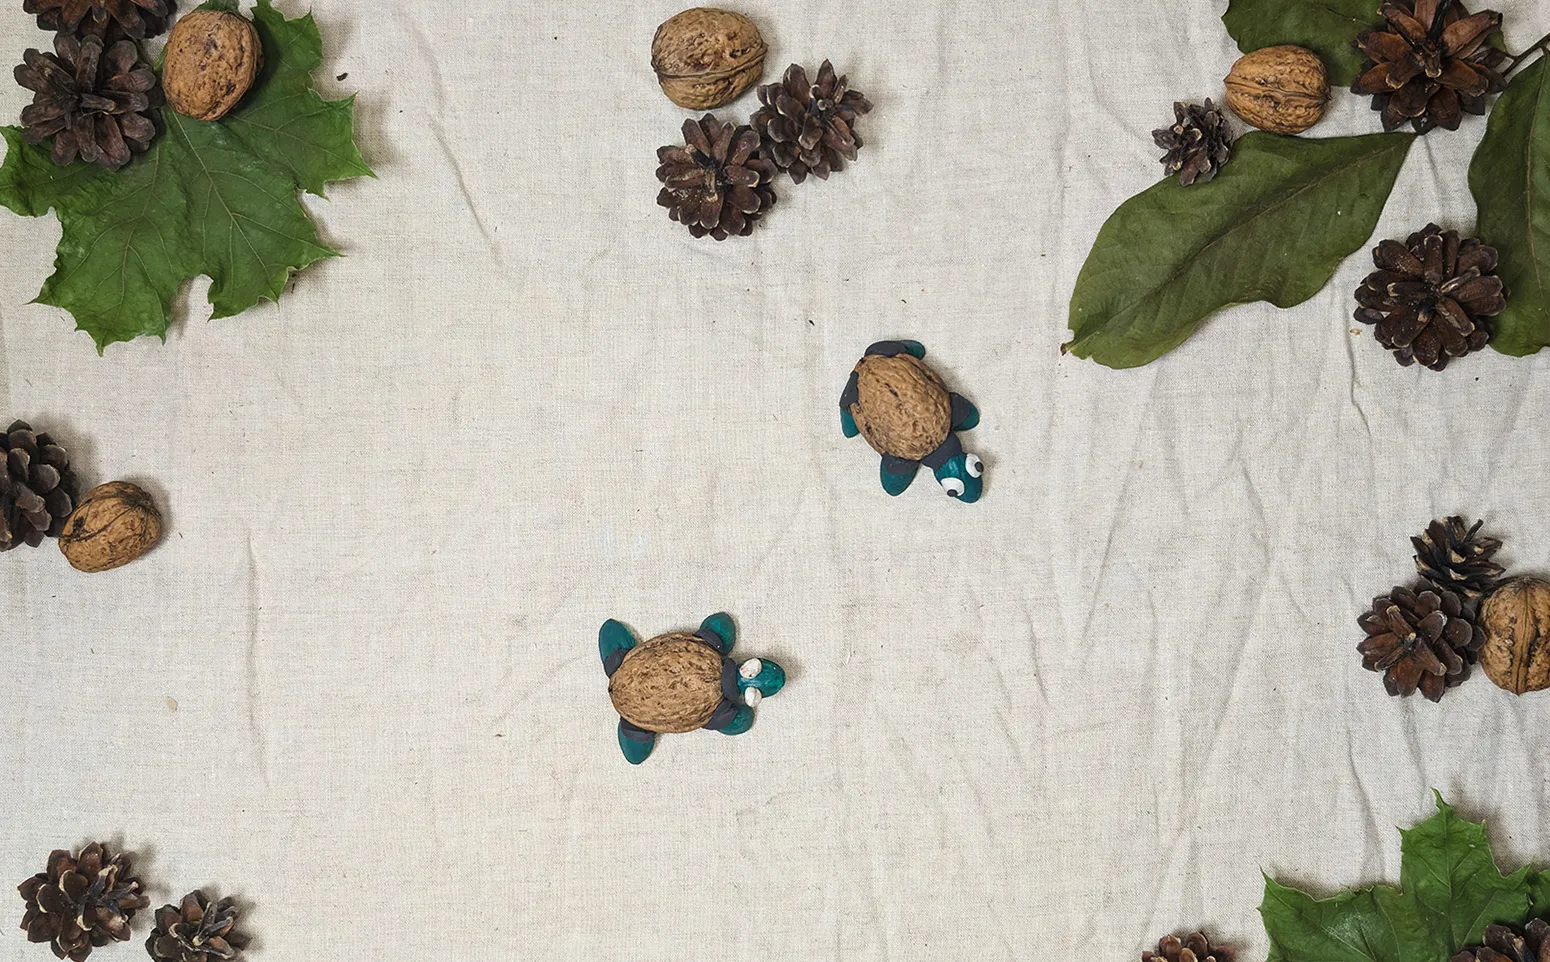
The turtle is done, but you can make it even more interesting! Take some modeling clay and add patterns or details to the shell to make each turtle unique.
Conclusion
Thank you for crafting with us! On our platform, you can find even more interesting crafting projects for children - from simple ones that can be done in a few minutes to more complex projects for older children.
I hope this article has inspired you to embark on new creative adventures with your little artist. Remember that every craft is a little adventure that you experience together. Enjoy the process, experiment, and create unforgettable memories while crafting with children!
From Vitalii Shynakov
