Hedgehog made from a pinecone: Easy crafting project for toddlers
Crafting with Children is a wonderful way to spend an autumn day when so many bright colors and fresh air tempt you to go outside. The answer is simple - creative activities together! The time spent crafting brings people closer together. Autumn is the perfect season for creativity, as most materials can be found directly on the street.
Autumn walks turn into a real adventure when you collect pine cones, acorns, and beautiful leaves with your child. Interesting finds inspire the creation of unusual crafts that will remain as memories for many years. Today, we will craft a little hedgehog from a pine cone and clay. A perfect crafting project for young children that brings joy to both kids and adults.
Simple Crafting Project for the Little Ones
A hedgehog made from a pine cone is a fantastic crafting project suitable for children aged three and above. It does not require complicated materials or skills. Basic elements that can be found in the nearest park or purchased at a store are sufficient. Creating a hedgehog is an engaging process that will captivate the child and not take much time.
Every creative activity helps children learn to handle materials, develop fine motor skills, and feel the joy of creating something with their hands. Working with pine cones and clay is particularly interesting for young children.
Materials for Crafting
Crafting with children starts with collecting materials. To make a hedgehog, you will need:
- A pine cone
- Clay
- A pair of scissors
Step-by-Step Guide: How to Make a Hedgehog from a Pine Cone
Step 1: Preparation of Materials
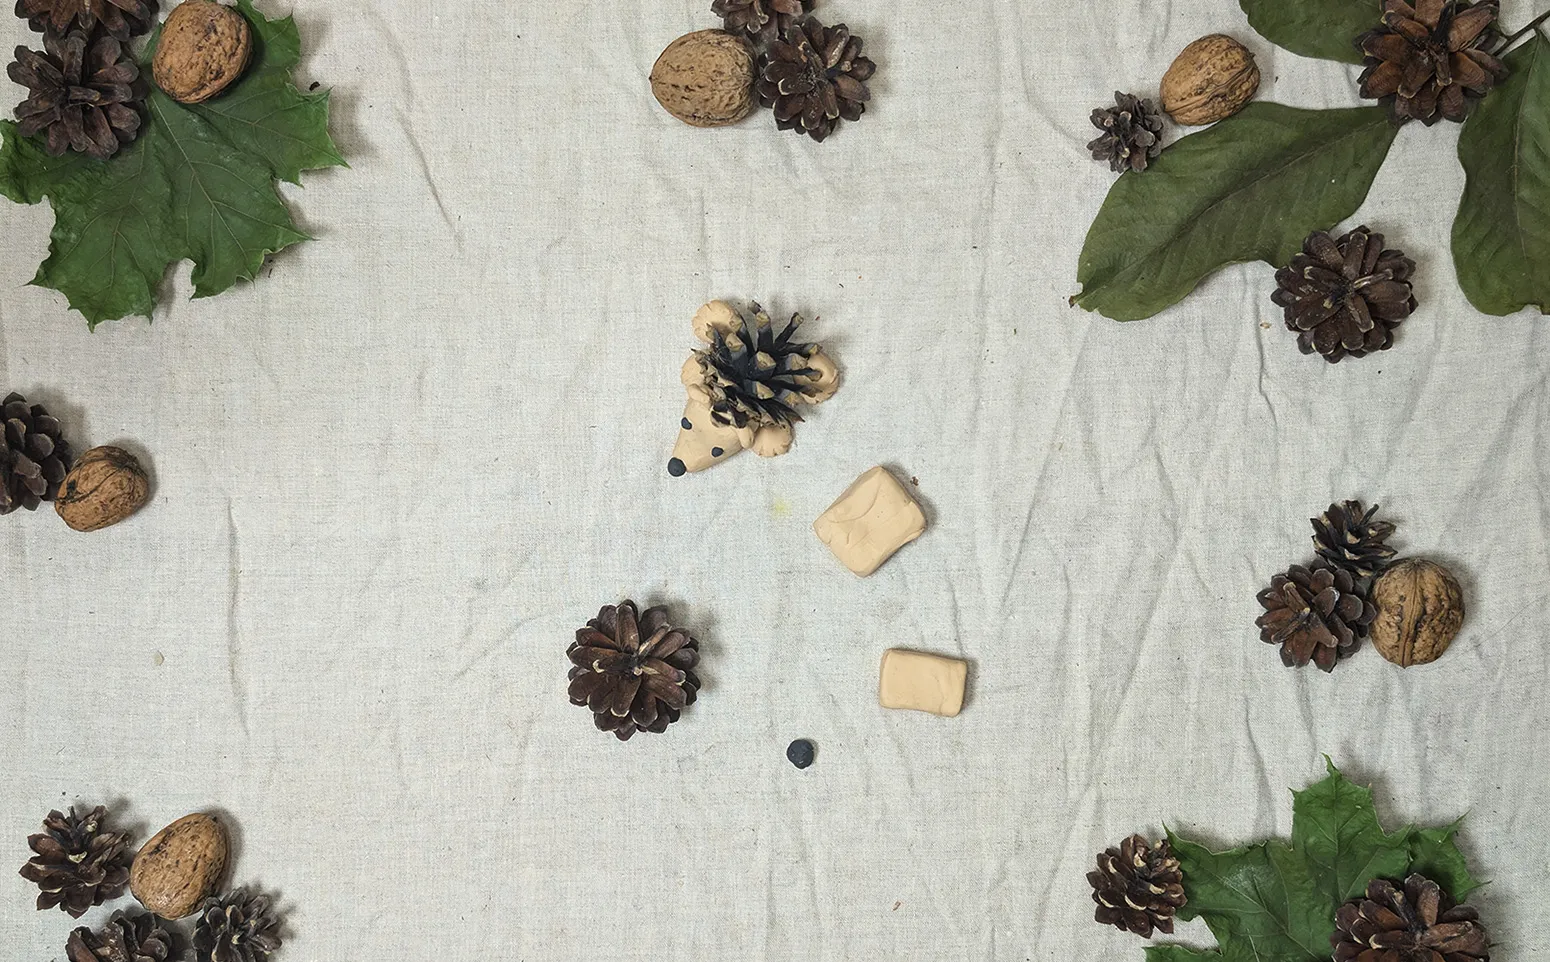
Spread all materials on the work table. Prepare the pine cone, clay, and scissors. Show the child that the cone will be the hedgehog's body and the clay will be used for its face and paws.
Step 2: Shaping the Hedgehog's Face
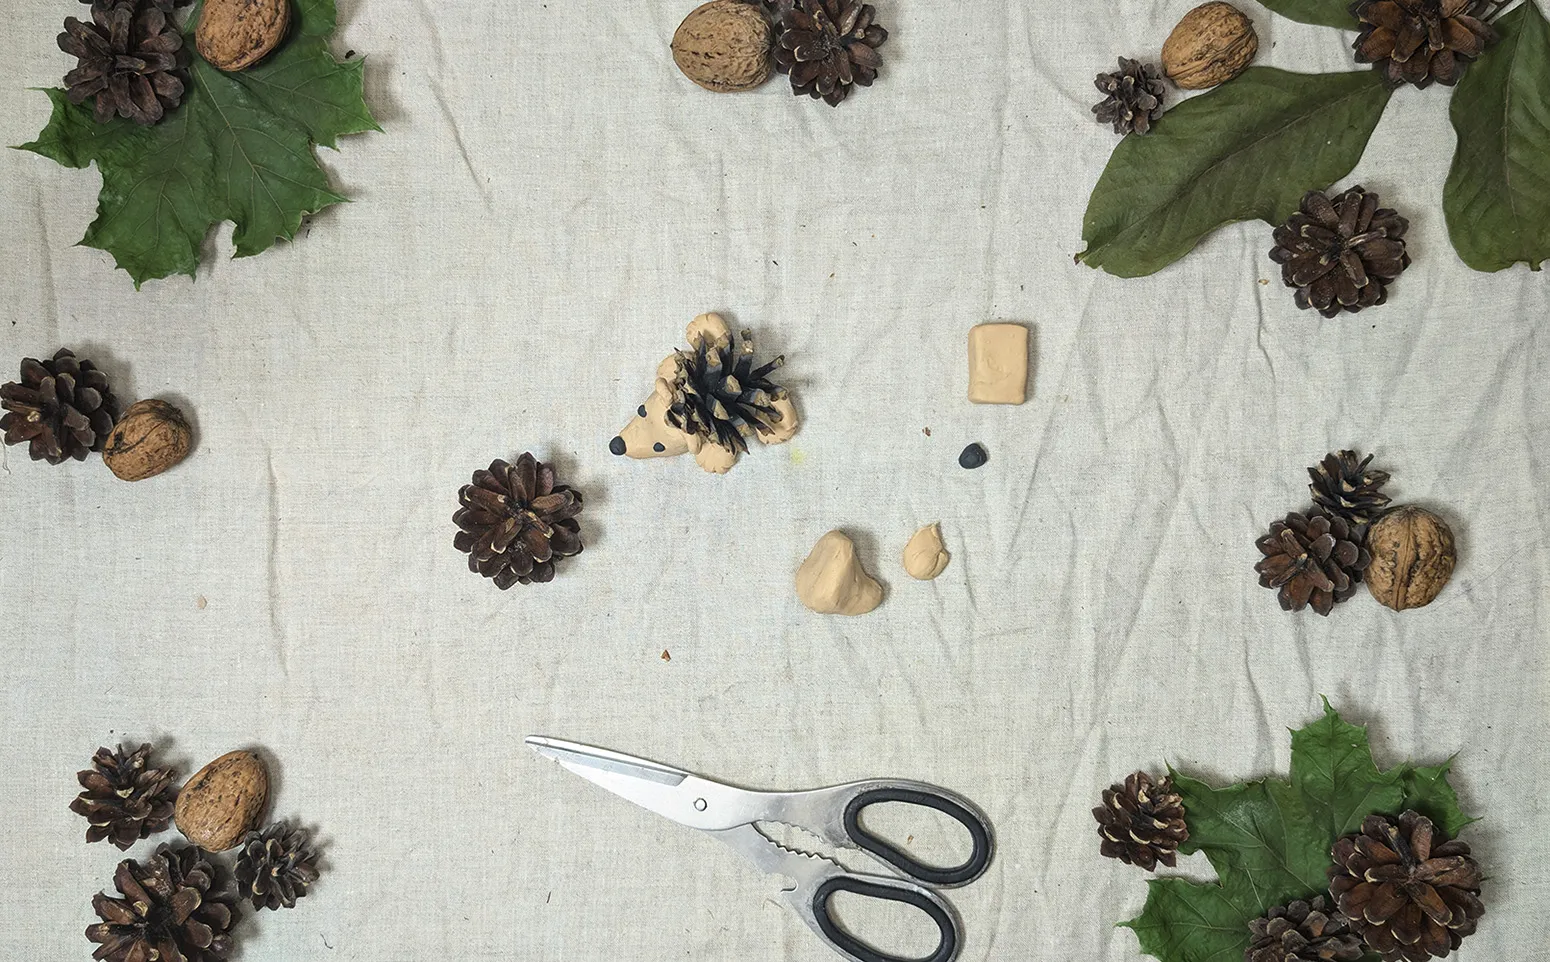
Take some clay and shape a small cone. This will be the hedgehog's face. Try to round the cone a bit, leaving a blunt end for the nose.
Step 3: Adding Details to the Face
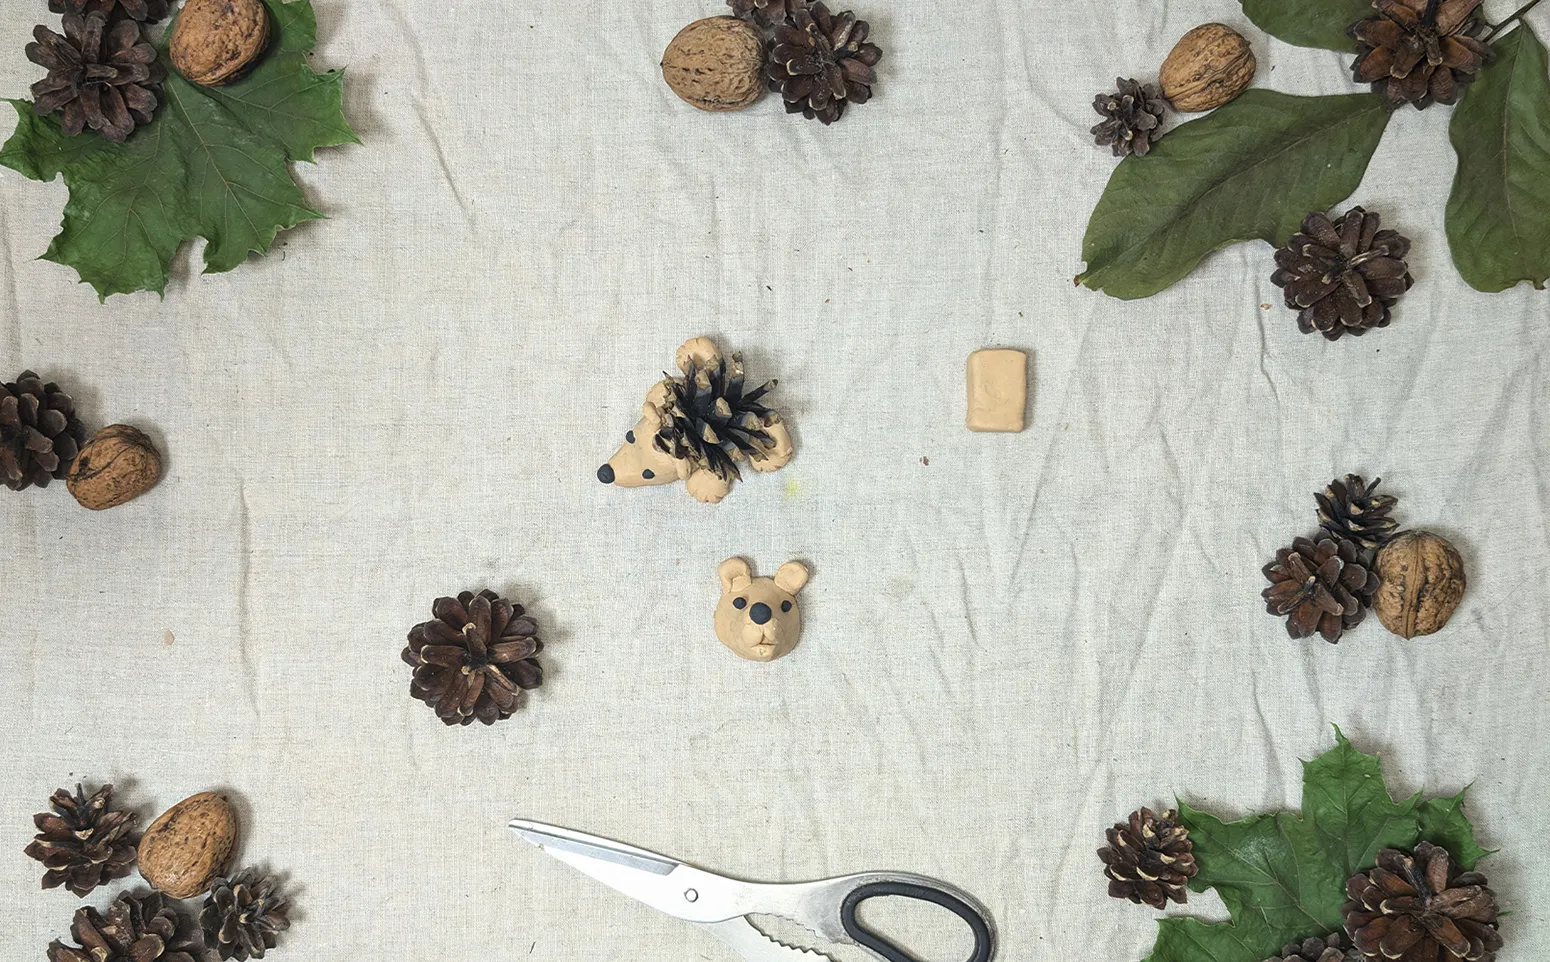
Now add details: Shape two small circles for the eyes and one for the nose out of the clay. Attach them carefully to the cone. Shape two small ovals for the ears and attach them to the hedgehog's head.
Step 4: Creating the Hedgehog's Body
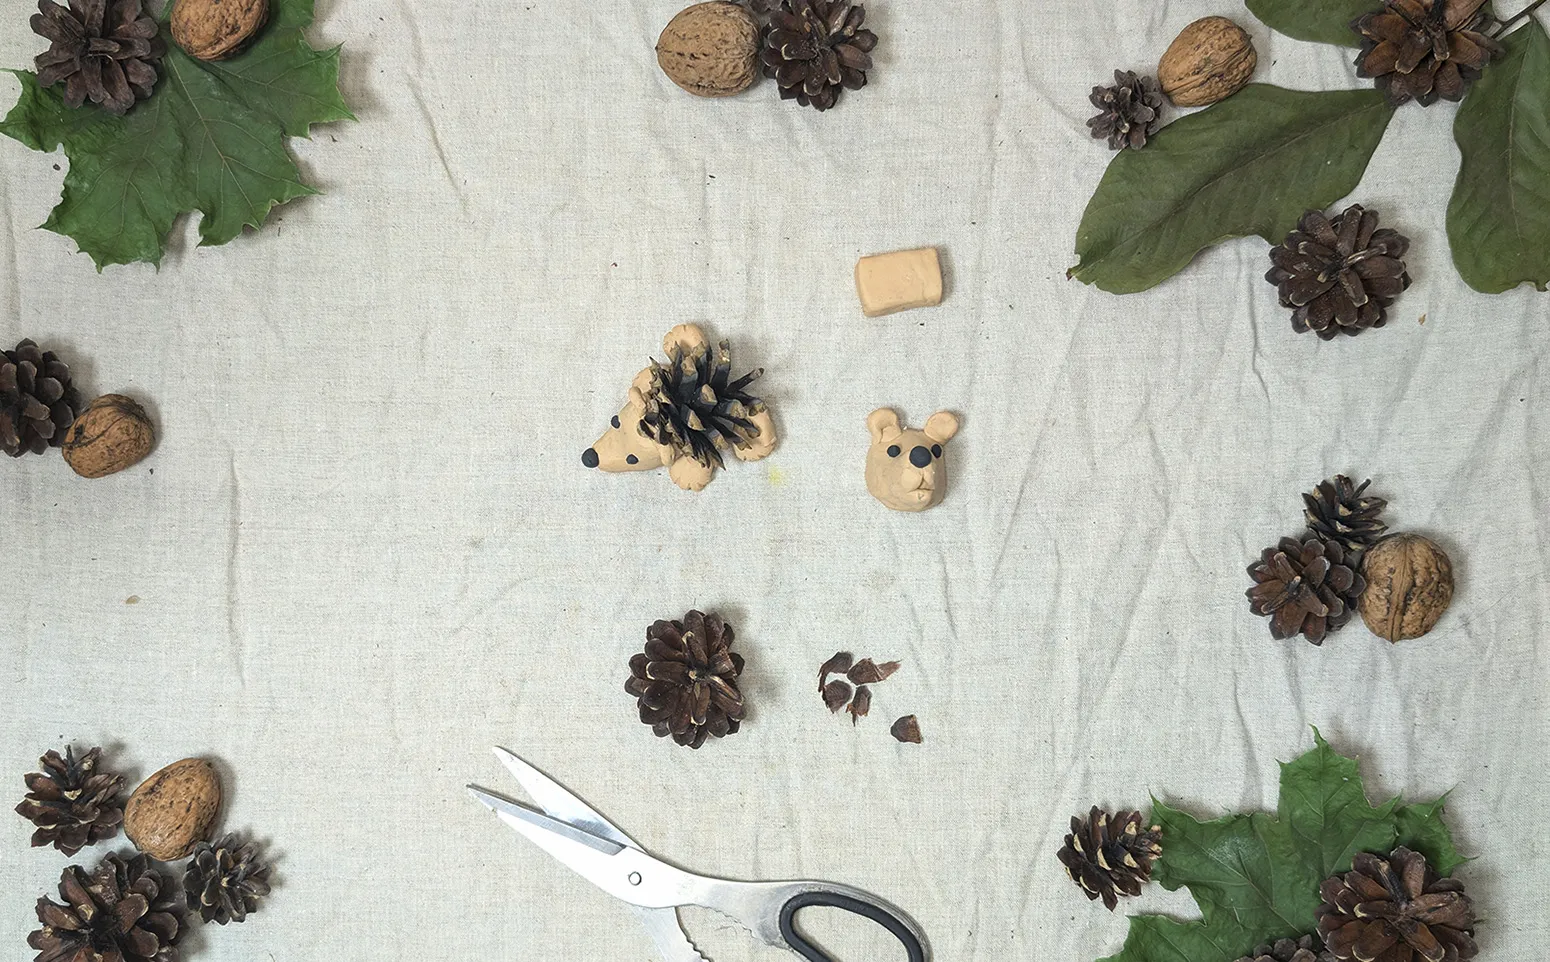
The cone will be the body of our hedgehog. To make it stand, carefully cut off the scales on one side of the cone. This creates a flat surface for stability.
Step 5: Connecting the face with the body
Now attach the finished face to the back of the pine cone, forming the body of the hedgehog. Make sure the face is securely in place. If necessary, add some clay to strengthen the connection.
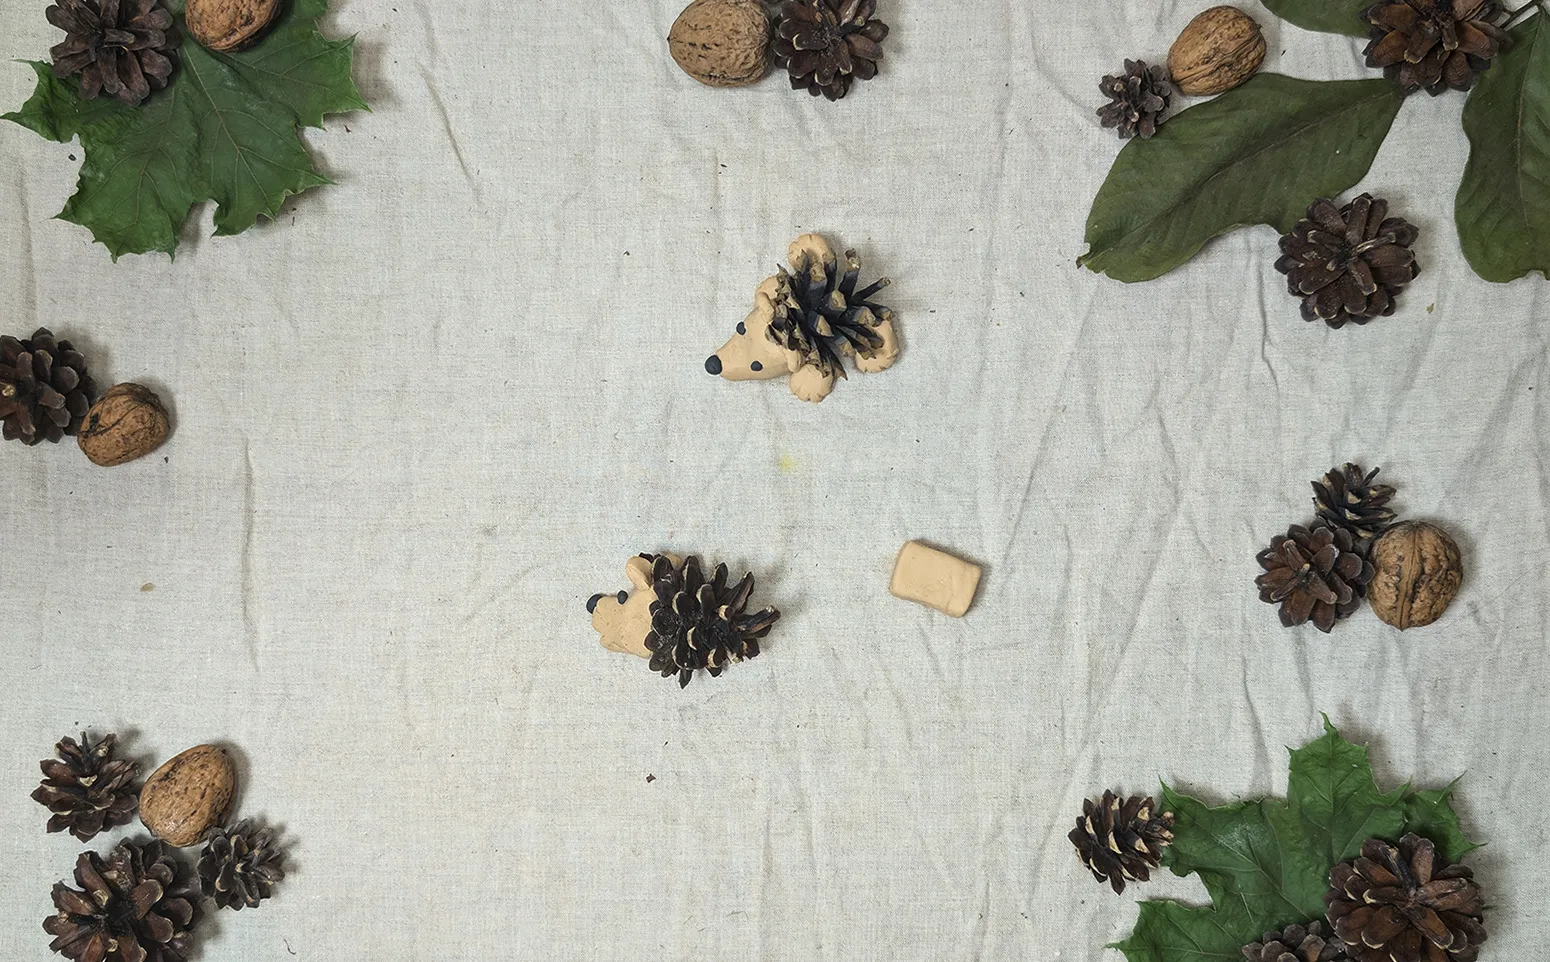
Step 6: Shaping the paws and connecting them to the body
Shape four small paws out of clay as shown in the photo - these will be the hedgehog's paws. Attach them to the lower part of the pine cone. Position the paws in a way that they support the hedgehog and give it stability.
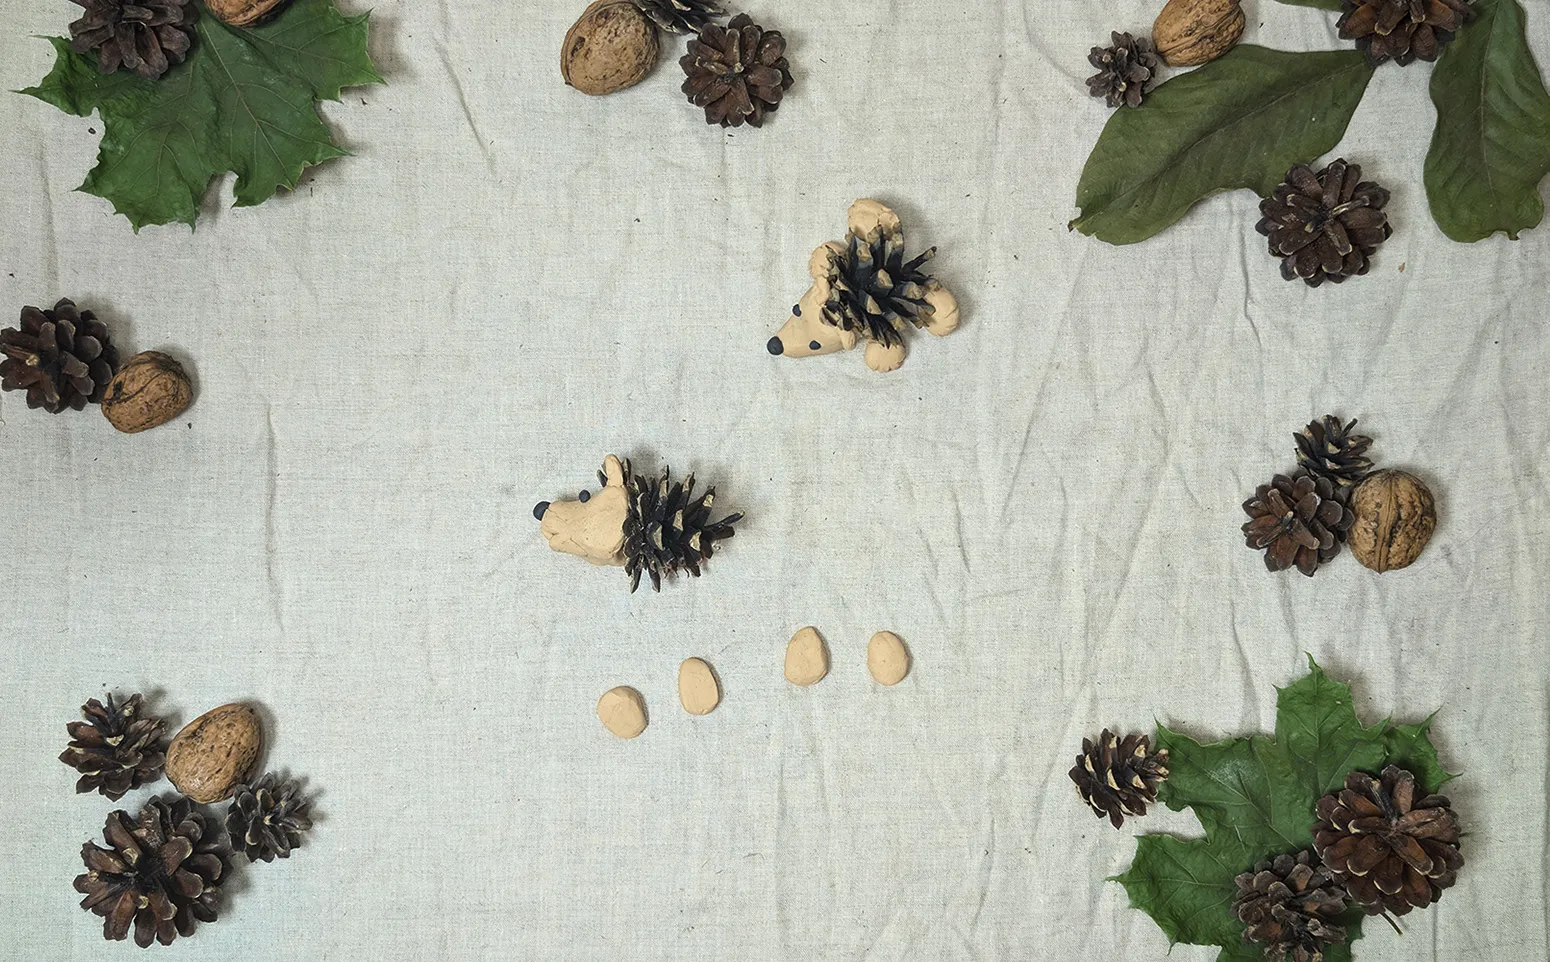
Step 7: Final details and decoration
Now the hedgehog is ready! To give it even more charm, you can decorate it with small clay berries or leaves. Roll small clay balls and place them next to the hedgehog.
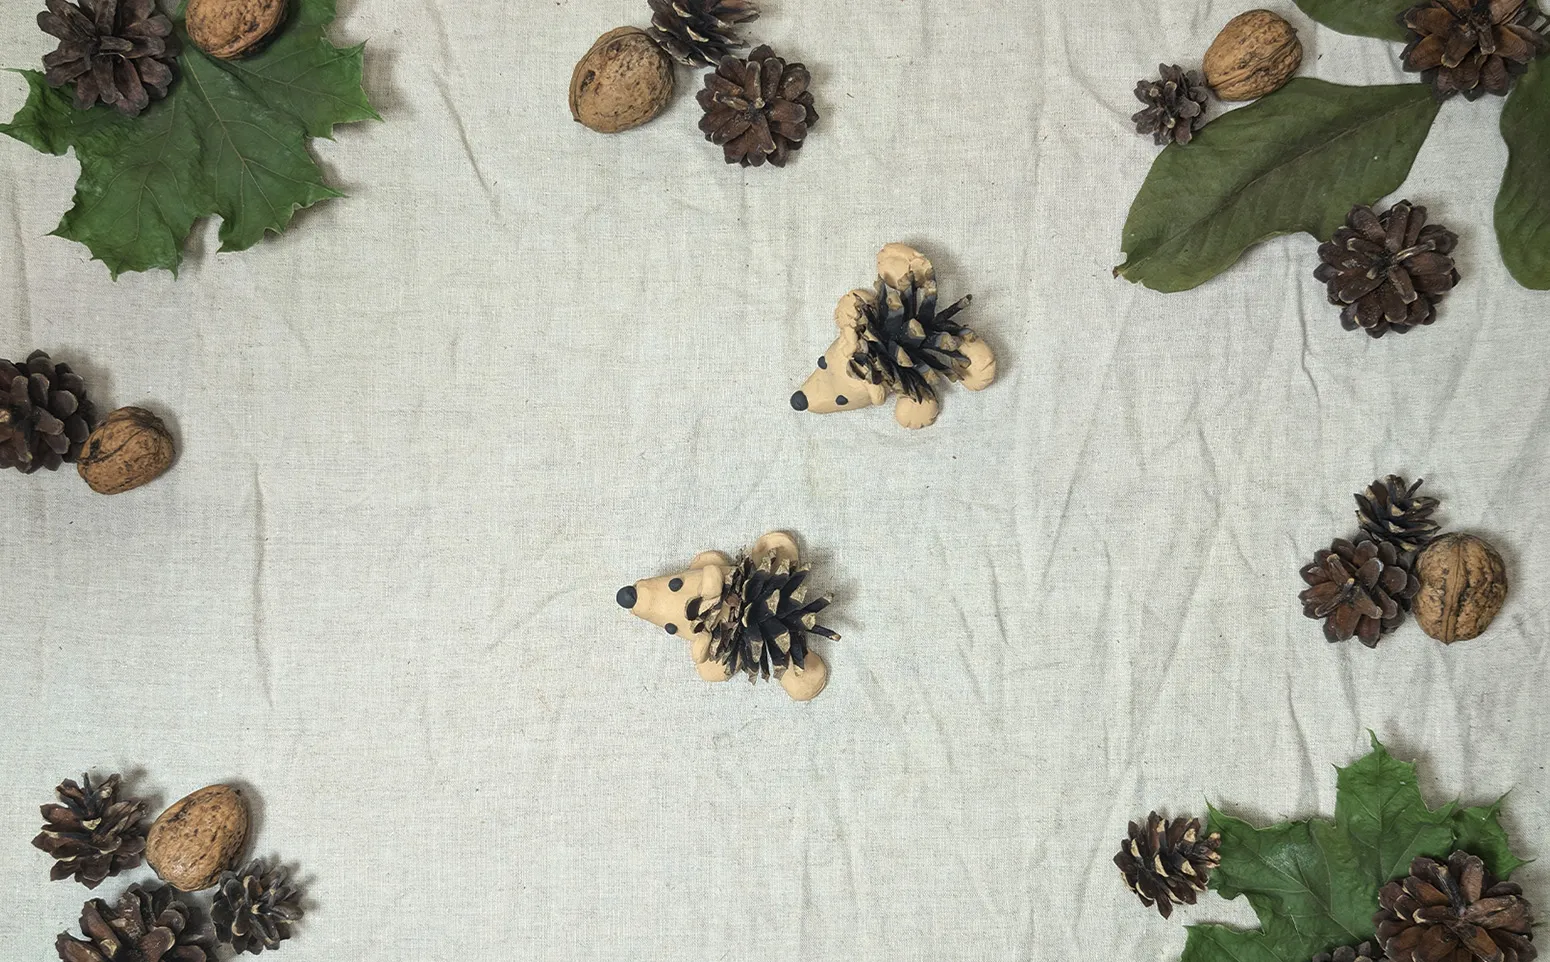
Great, your hedgehog is complete! For decoration, you can add clay berries or craft friends for it from other materials. The creative process should take no longer than 20-30 minutes, but will bring you and your child much joy and inspiration.
We don't stop here
This is not the end, the adventures are just beginning! Suggest to your child to create a story about how the hedgehog lives in the forest and what happens to it every day. Together, you can create a house for the hedgehog out of colorful paper or cardboard, and build a real forest glade around it with collected leaves, twigs, and pine cones. This helps the child to immerse in the world of nature and fantasy, nurturing creative thinking and the ability to invent stories.
Try to craft other forest inhabitants - a small rabbit, a bird, or even a fox. Use natural materials: pine cones, acorns, leaves. When creating friends and adding details, let the child decide what they want to imagine. Such activity develops imagination and allows turning a simple craft into a whole story-play adventure.
Conclusion
We thank you for your interest in our article. We hope that you will joyfully create your unique hedgehog. Don't stop at just one creation! Come up with new characters, add details. Each of your works is a masterpiece deserving admiration.
Crafting with Children is a wonderful way to be creative together. Be creative, experiment, and enjoy every moment with your child. May each craft be a small celebration and a reason for pride. Best of luck with your creative endeavors!
From Vitalii Shynakov
