Chestnut spider: Easy autumn crafting for toddlers
Are you looking for an activity with your child on an autumn day? Crafting with children is perfect for a cozy autumn day at home. Making a spider out of chestnuts is a great way to spend time meaningfully and joyfully. This crafting project will familiarize your child with natural materials and promote their creative skills.
Creating a spider out of chestnuts
Simple crafts for the little ones allow children from 3 years old to develop their imagination and fine motor skills. A chestnut spider is ideal for crafting beginners. This project is easy to execute and safe for toddlers. It stimulates your child's creativity and attention.
Materials for the spider
A walk through the autumnal park or forest turns collecting the materials into an exciting adventure. You will need:
- 2 chestnuts (one large for the body, one small for the head)
- Modeling clay in various colors
- Autumn leaves for decoration
- Cardboard as a base
The materials can easily be found on a walk or purchased at the store. As an alternative to modeling clay, you can use soft, safe modeling clays. Crafting with children becomes even more engaging when the process starts with searching for materials in nature. A fall walk in the park or forest transforms collecting chestnuts into a cheerful family adventure.
Step-by-step guide with photos and description on crafting a spider out of chestnuts and modeling clay
Step 1: Preparing the materials
Lay out all the materials on the work surface. You will need chestnuts, modeling clay, and tools if necessary. Prepare modeling clay in various colors to create colorful details. Ensure that all elements are visible to the child so they can easily pick them up.
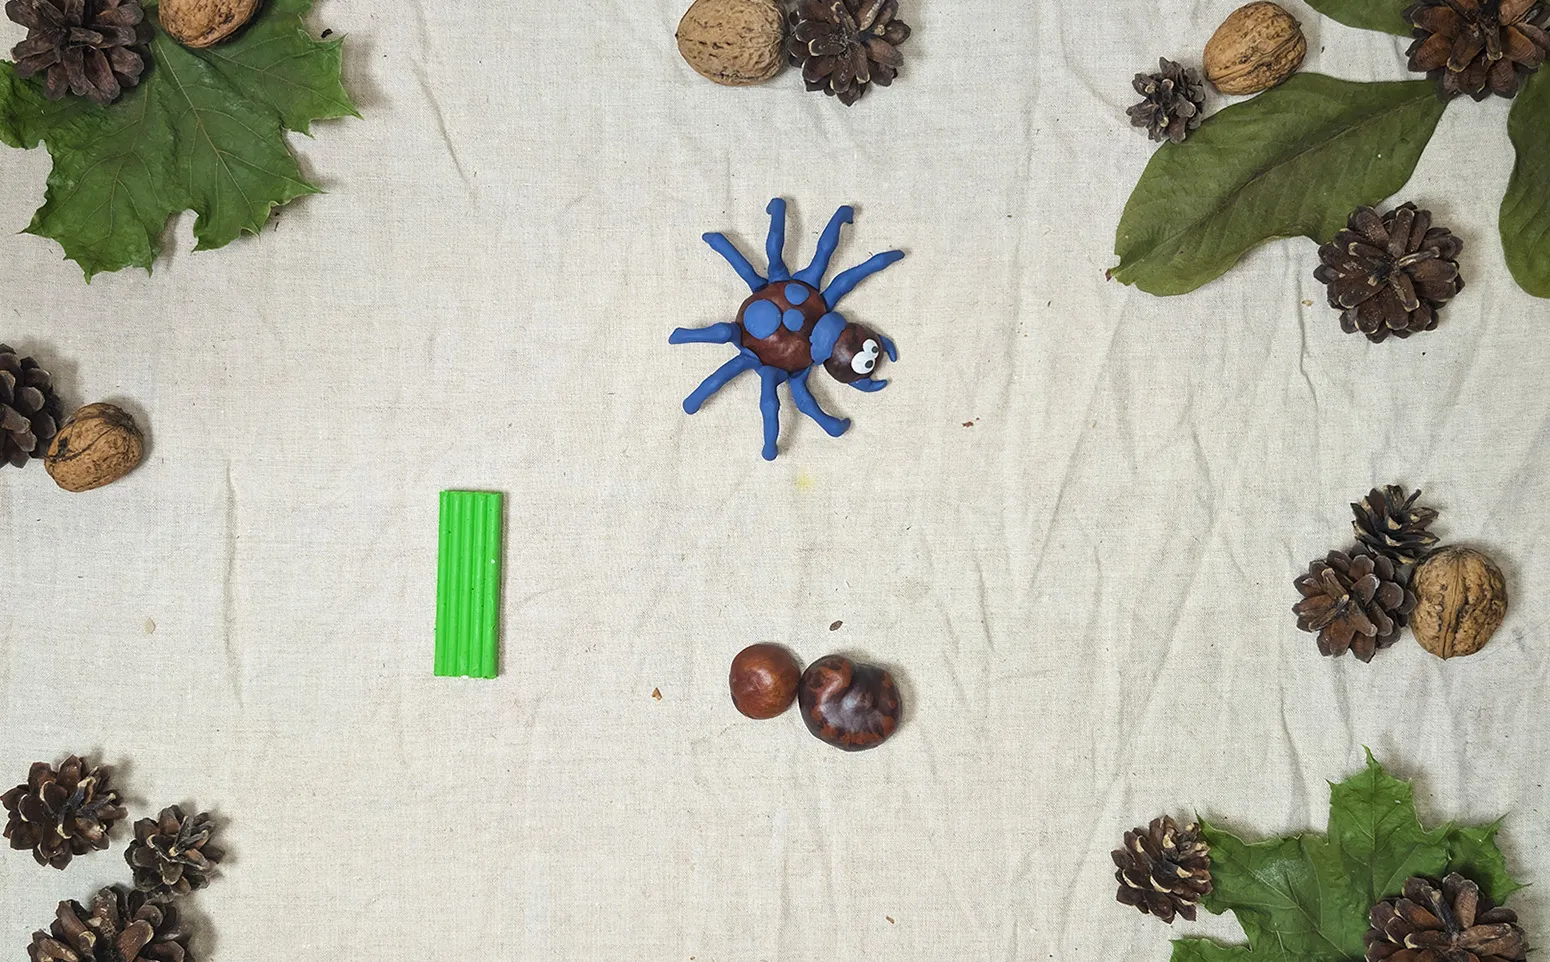
Step 2: Shaping the spider's legs
Roll out 8 long pieces from the modeling clay - these will be the spider's legs. You need to gently roll the modeling clay in your hands to create thin, long elements. These will later be attached to the large chestnut.
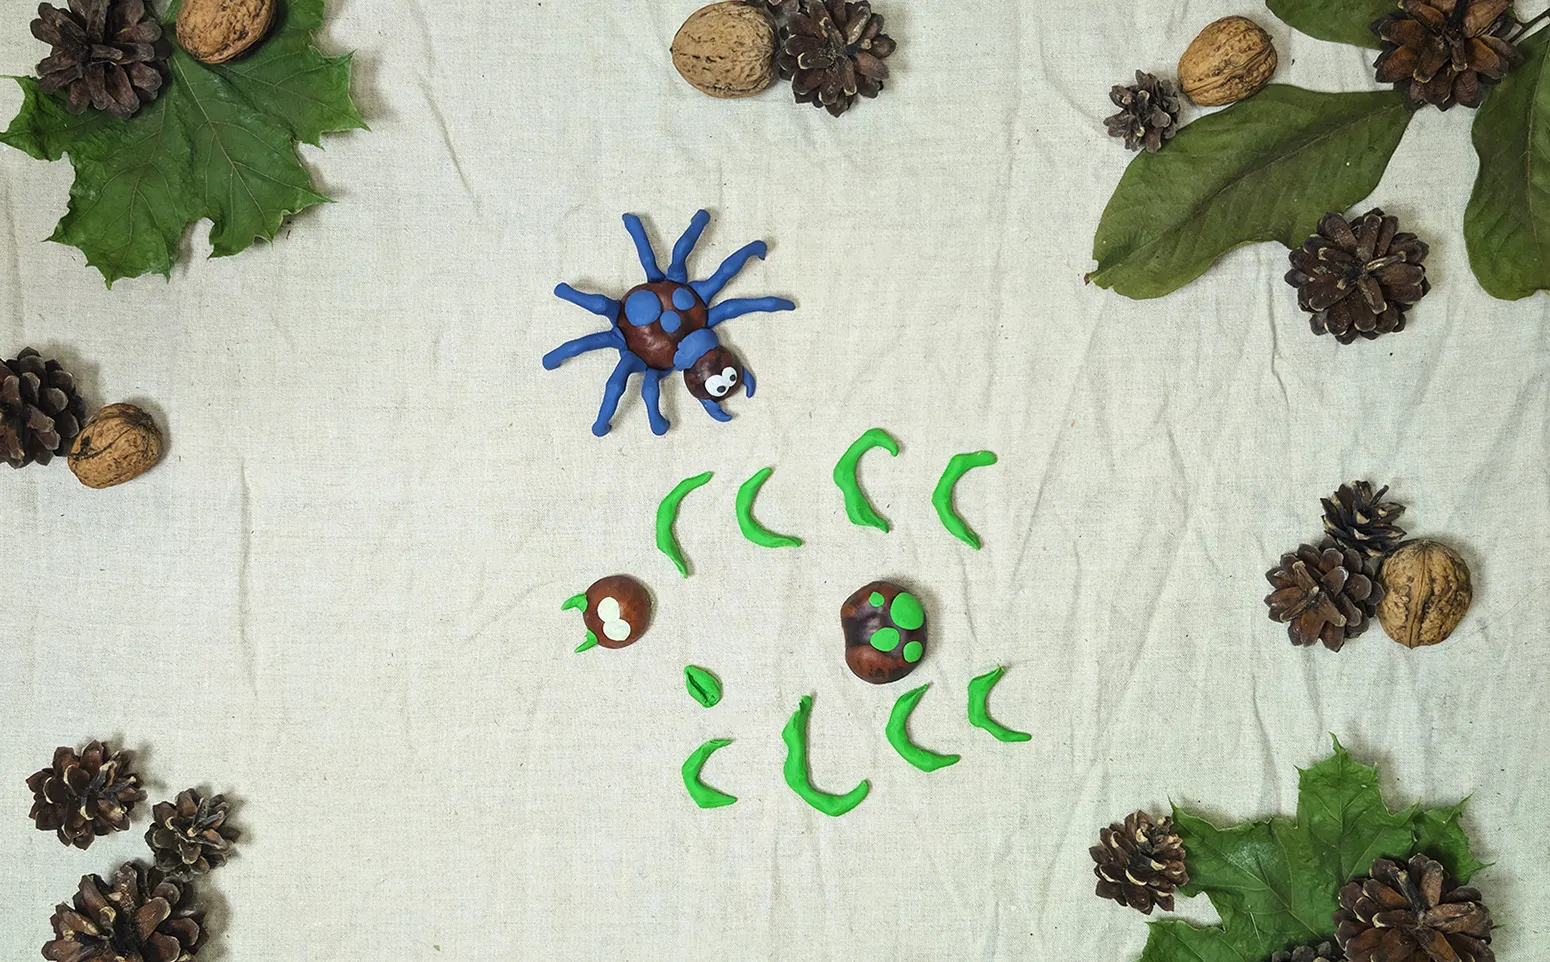
Step 3: Decorating the spider before assembly
Before starting the assembly, decorate the head and body of the spider. Use modeling clay to create eyes, spots, and other decorative elements. This will make the assembly easier, as the finished spider will be too fragile for further manipulations.
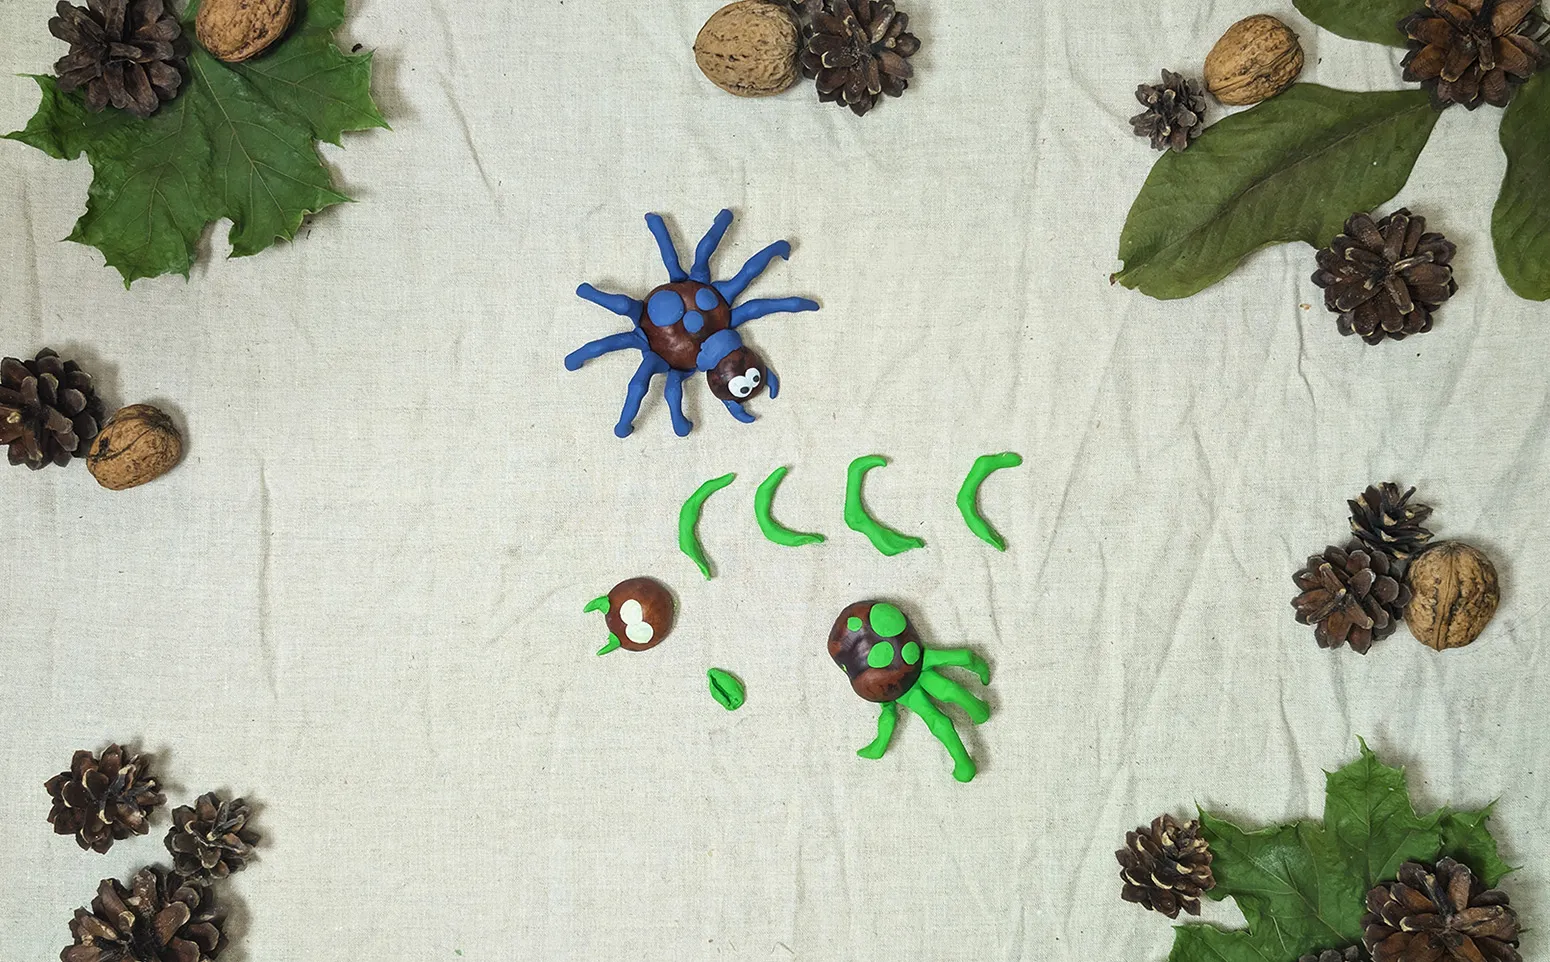
Step 4: Attaching the legs
Attach the previously formed legs to the large chestnut that forms the spider's body. Place them evenly on both sides and bend them slightly to make the legs look natural.
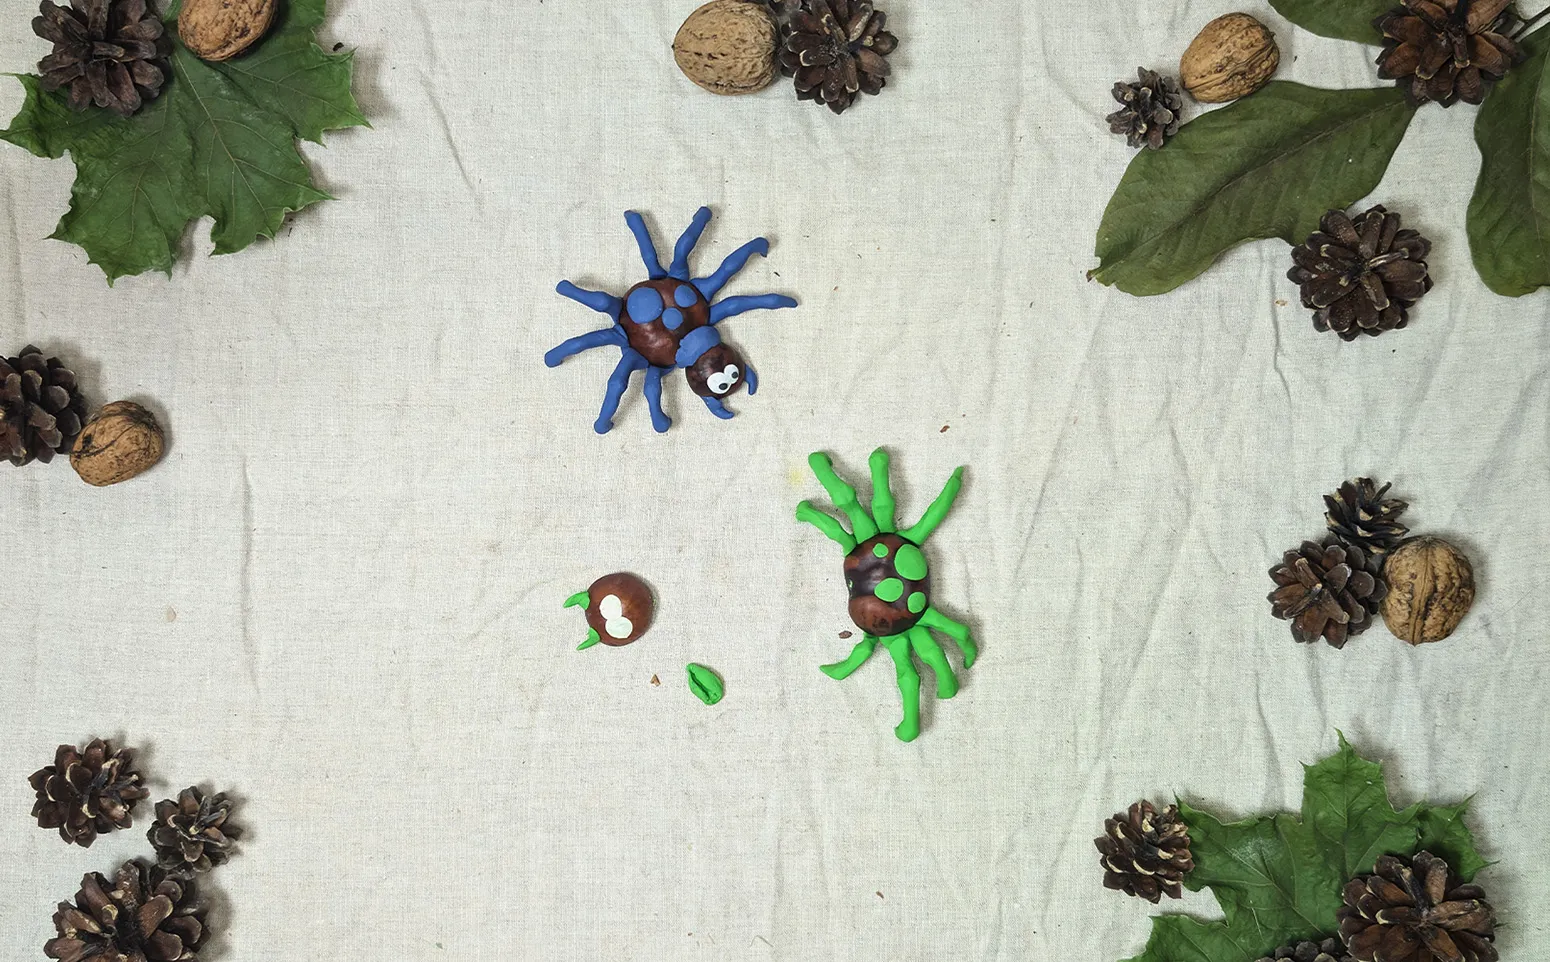
Step 5: Connecting the head and body
After decorating and attaching the legs, connect the spider's head to its body. This can be done with the help of modeling clay, ensuring a secure connection.
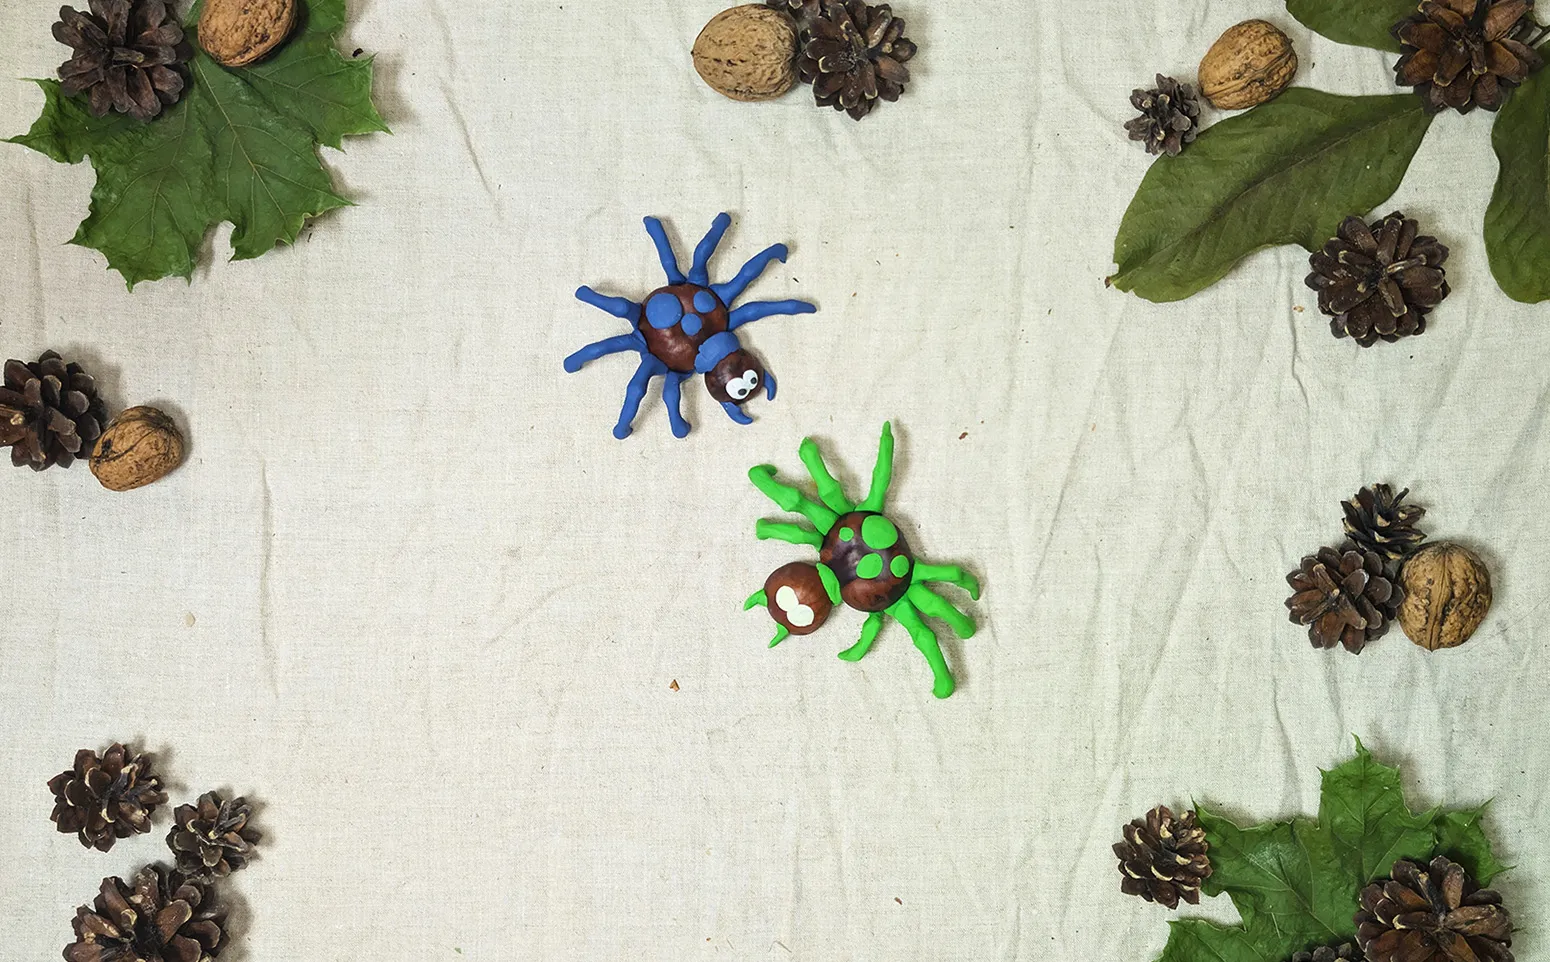
Now the spider is finished, and your child can be proud of their work!
Summary
Crafting with children brings joy and new discoveries. Creating a chestnut spider promotes your child's fine motor skills, attention, and creative thinking. Engaging in creative activities together strengthens family bonds and creates beautiful memories. This project teaches your child attention to detail and the sequence of actions.
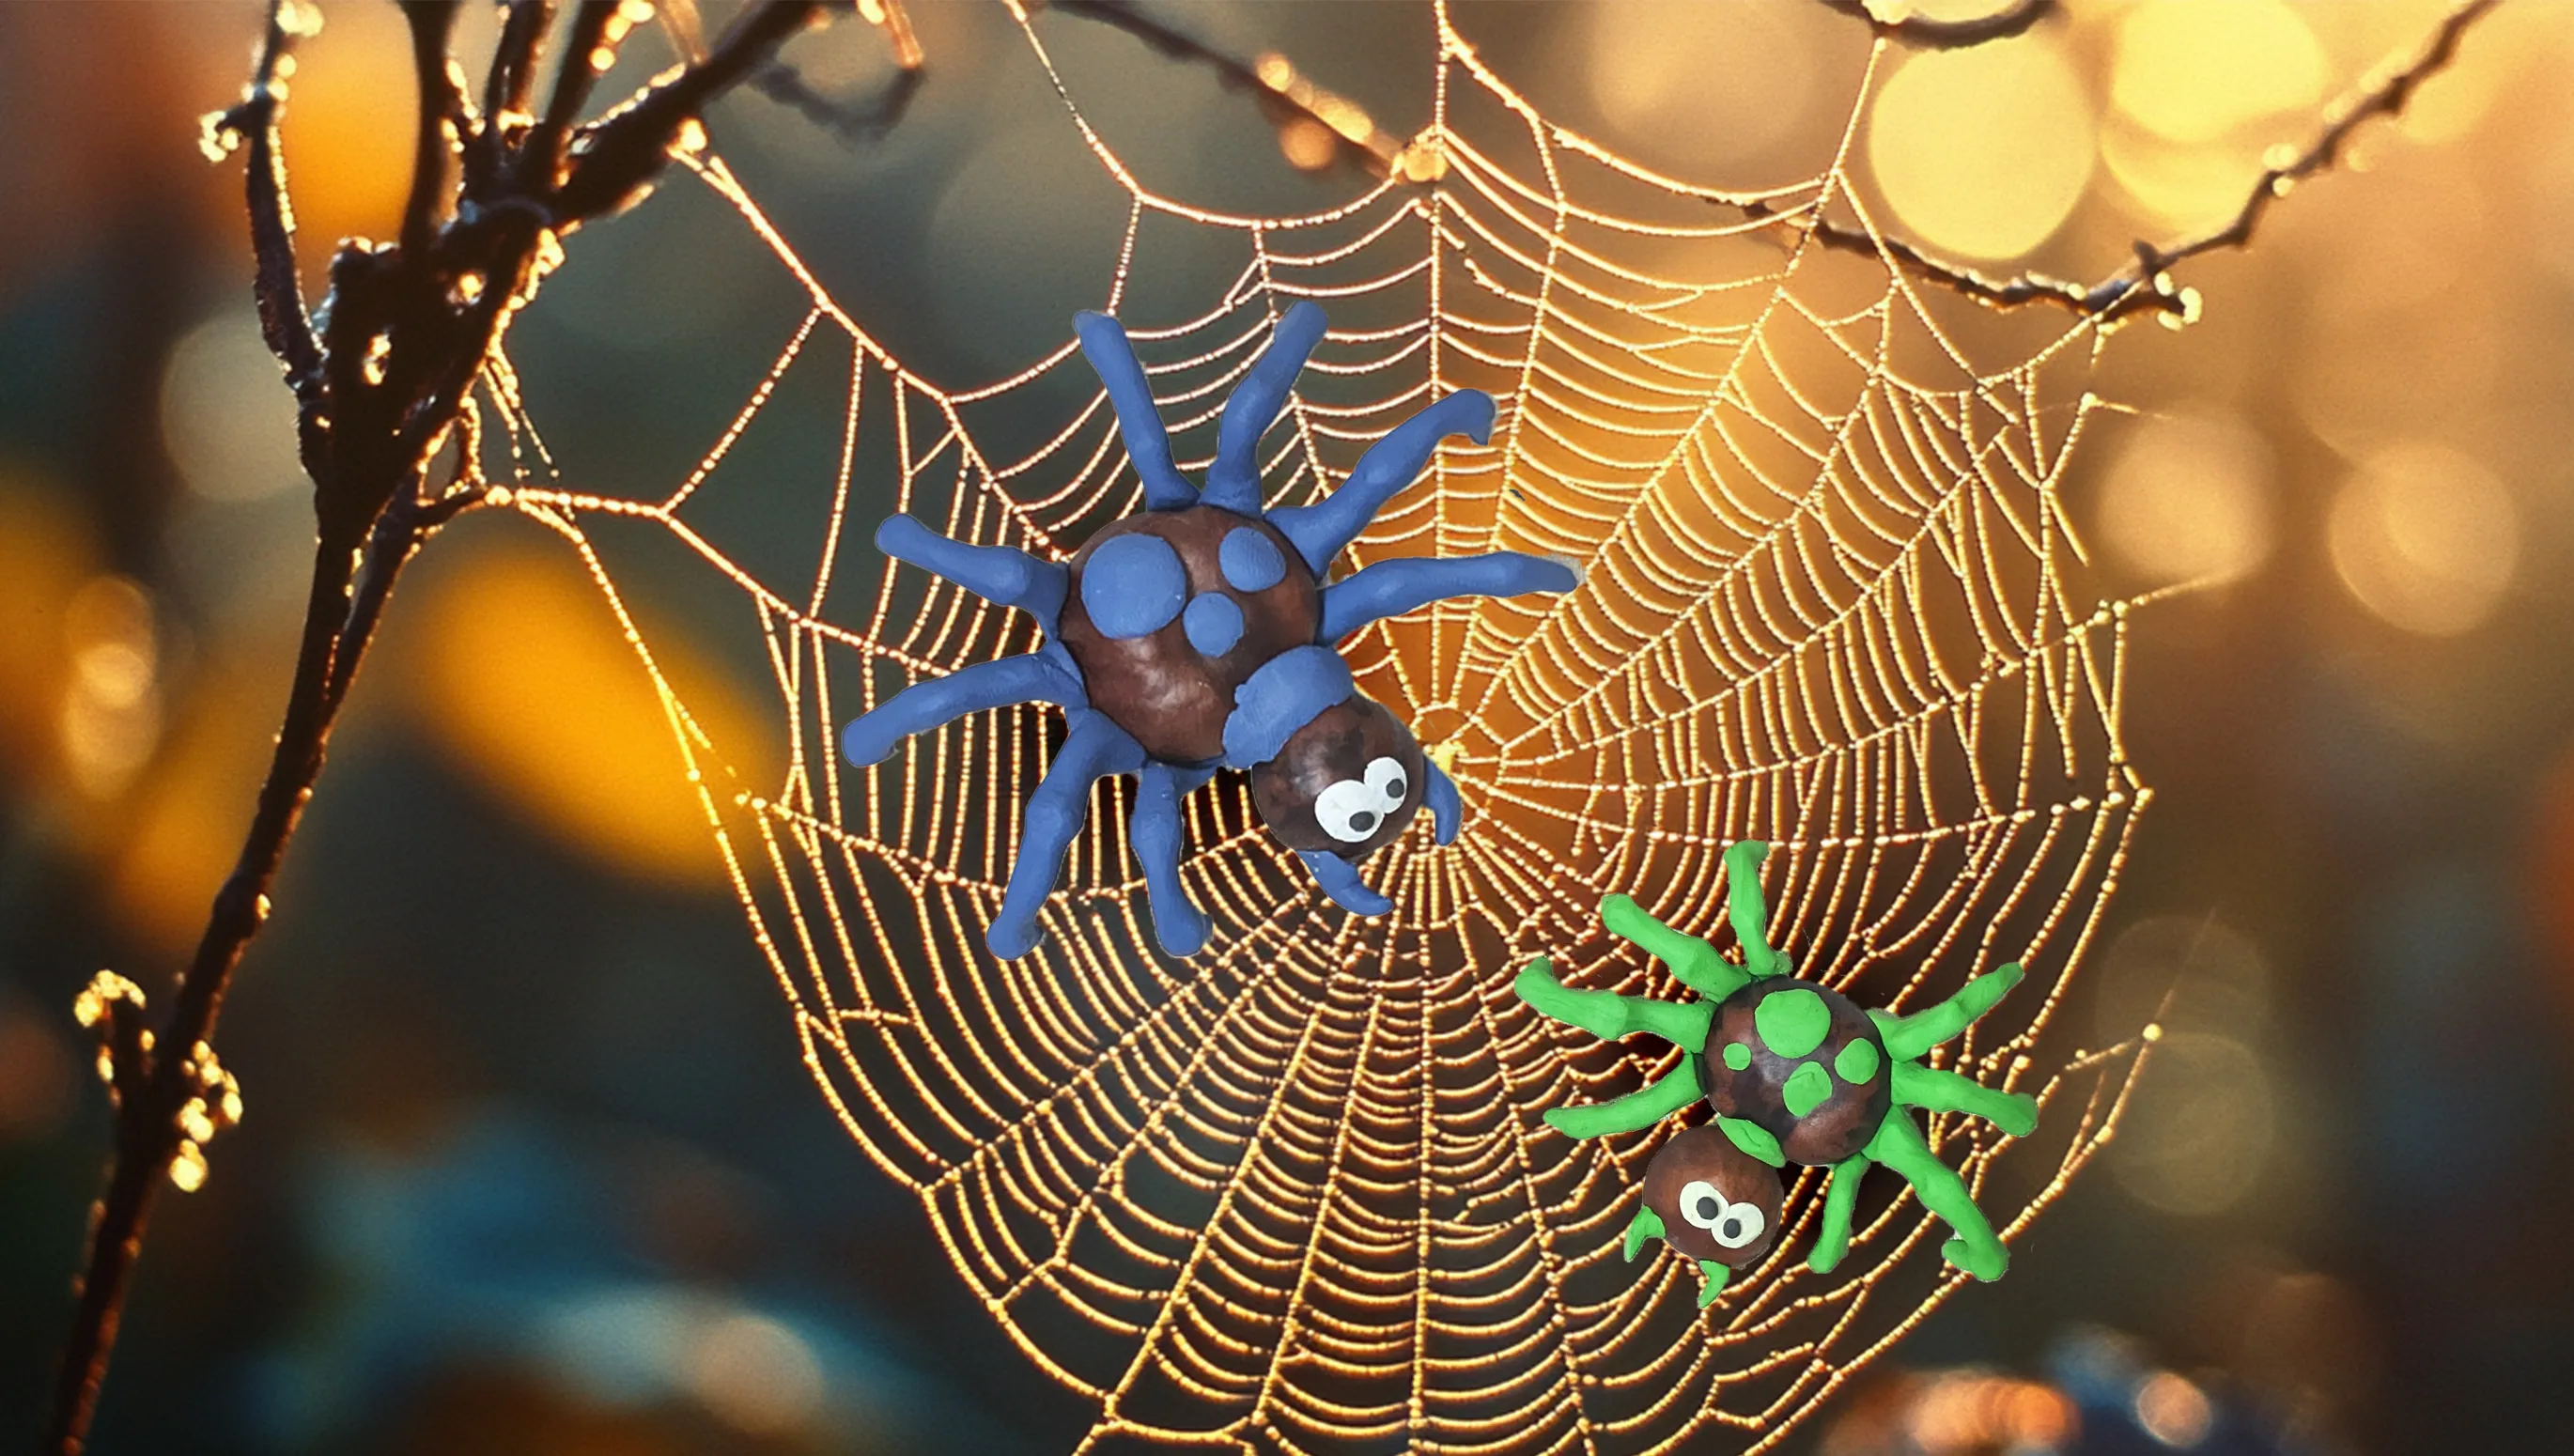
The chestnut spider will be a wonderful autumn decoration for the child's room. It will remind of the joyful time spent together. Your child will proudly show their work to guests and tell them how it was made.
Conclusion
We thank you for your interest in our creative project! We are sure that you and your child had a lot of fun crafting the chestnut spider. Simple crafting activities for the little ones are fun and beneficial for the child's development.
On our platform, you will find even more ideas for crafting with children. From simple craft activities to complex projects - we have suggestions for children of different age groups. Be creative, experiment, and enjoy the process together with your child!
Autumn is a magical time for cozy crafting. May your home be filled with the warmth and joy of shared creativity. Crafting with children is a wonderful way to create lasting memories and strengthen the bond with your child. We wish you pleasant moments in the company of your little artist and many wonderful crafting projects in the future!
From Vitalii Shynakov
