Mushrooms made from chestnuts - simple crafting for children age 3 and up
Arts and Crafts with Children is an excellent way to spend time together and foster your child's creative skills. Are you looking for an interesting but simple activity for your little helper? Making mushrooms out of chestnuts is the perfect choice! This project is exciting and easy, making it an excellent choice for young artists aged 3 and above.
Autumn delights us with bright colors and plenty of natural materials. In this season, it's especially nice to spend a cozy day at home with the family and get creative. Crafting together brings us closer and helps in the child's development. Today, we will make simple autumn mushrooms - a fun and useful activity that takes up very little time.
Materials for Chestnut Mushrooms
To make the mushrooms, you will need simple and easily accessible materials:
- Chestnuts - 2-3 pieces
- Acorns - some for the mushroom stems
- Modeling clay - choose bright colors for decoration
- Cardboard - as a base
The materials can easily be found on an autumn walk, and modeling clay can be purchased at any craft store. This crafting activity transforms a walk into an exciting adventure in search of materials. Collect chestnuts and acorns together with your child, and take the first steps towards the upcoming crafting project. At home, this activity will be a great continuation of the autumn day.
Step-by-Step Guide
Step 1: Organize the Materials
First, prepare all the necessary materials. Take chestnuts for the mushroom caps, acorns for the stems, modeling clay to connect the parts, and a piece of cardboard as a base. Lay everything out so that your child can comfortably work with each element.
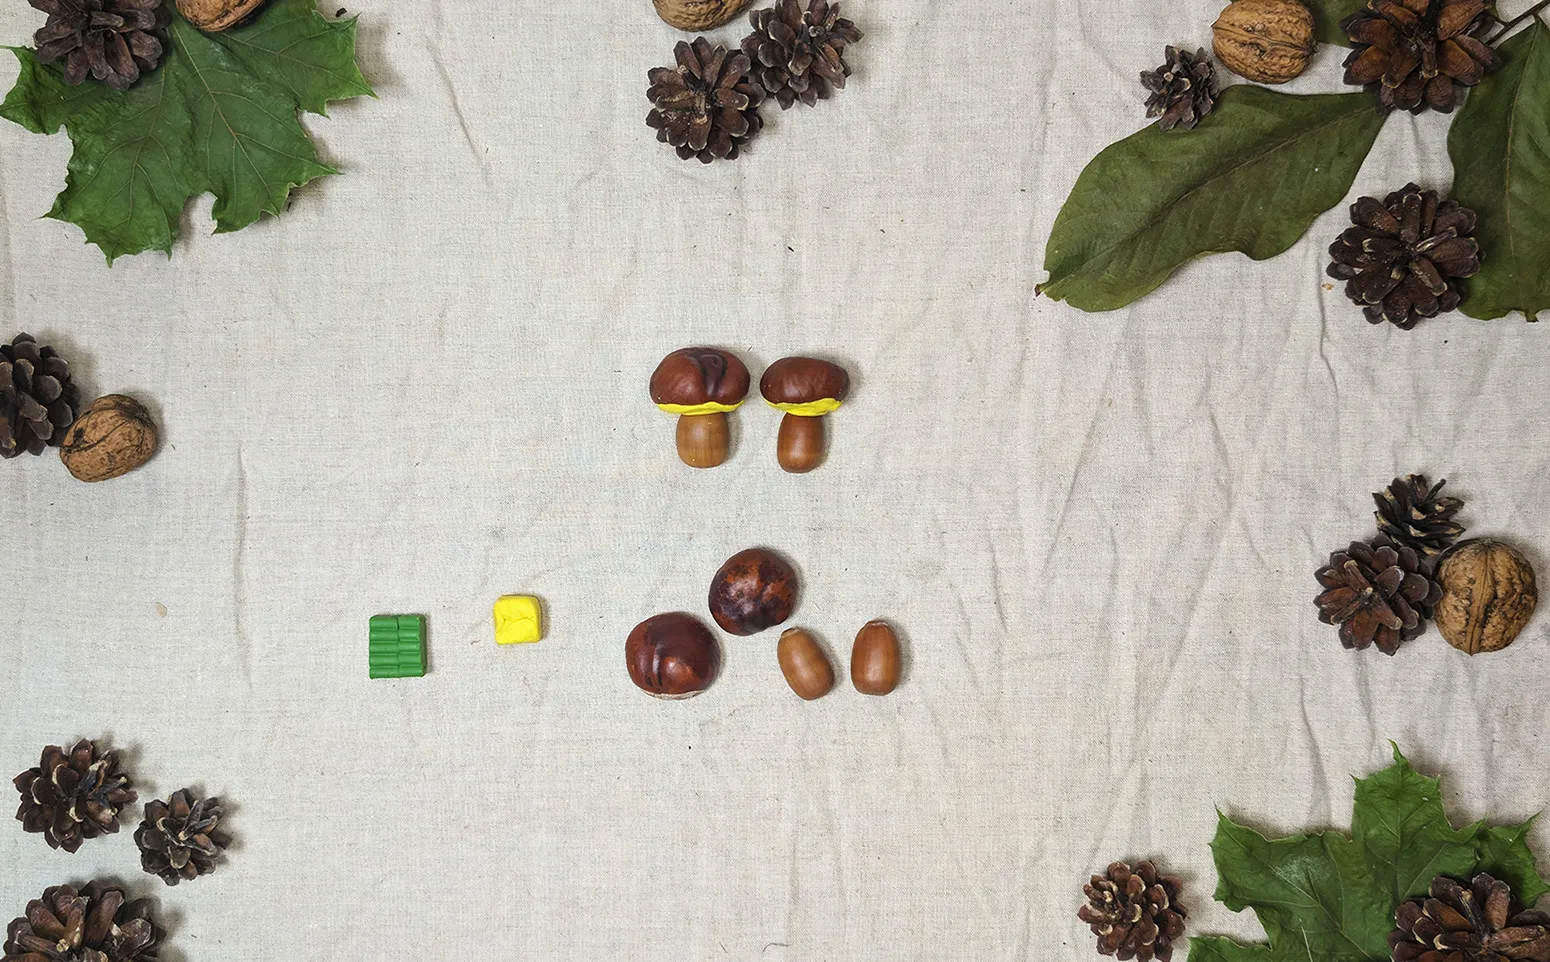
Step 2: Prepare the Cap Base
Take a chestnut and apply modeling clay to its underside. This will be used for the later connection with the stem and create a clean base for the cap. Try to distribute the modeling clay evenly so that the mushroom stands stably later on.
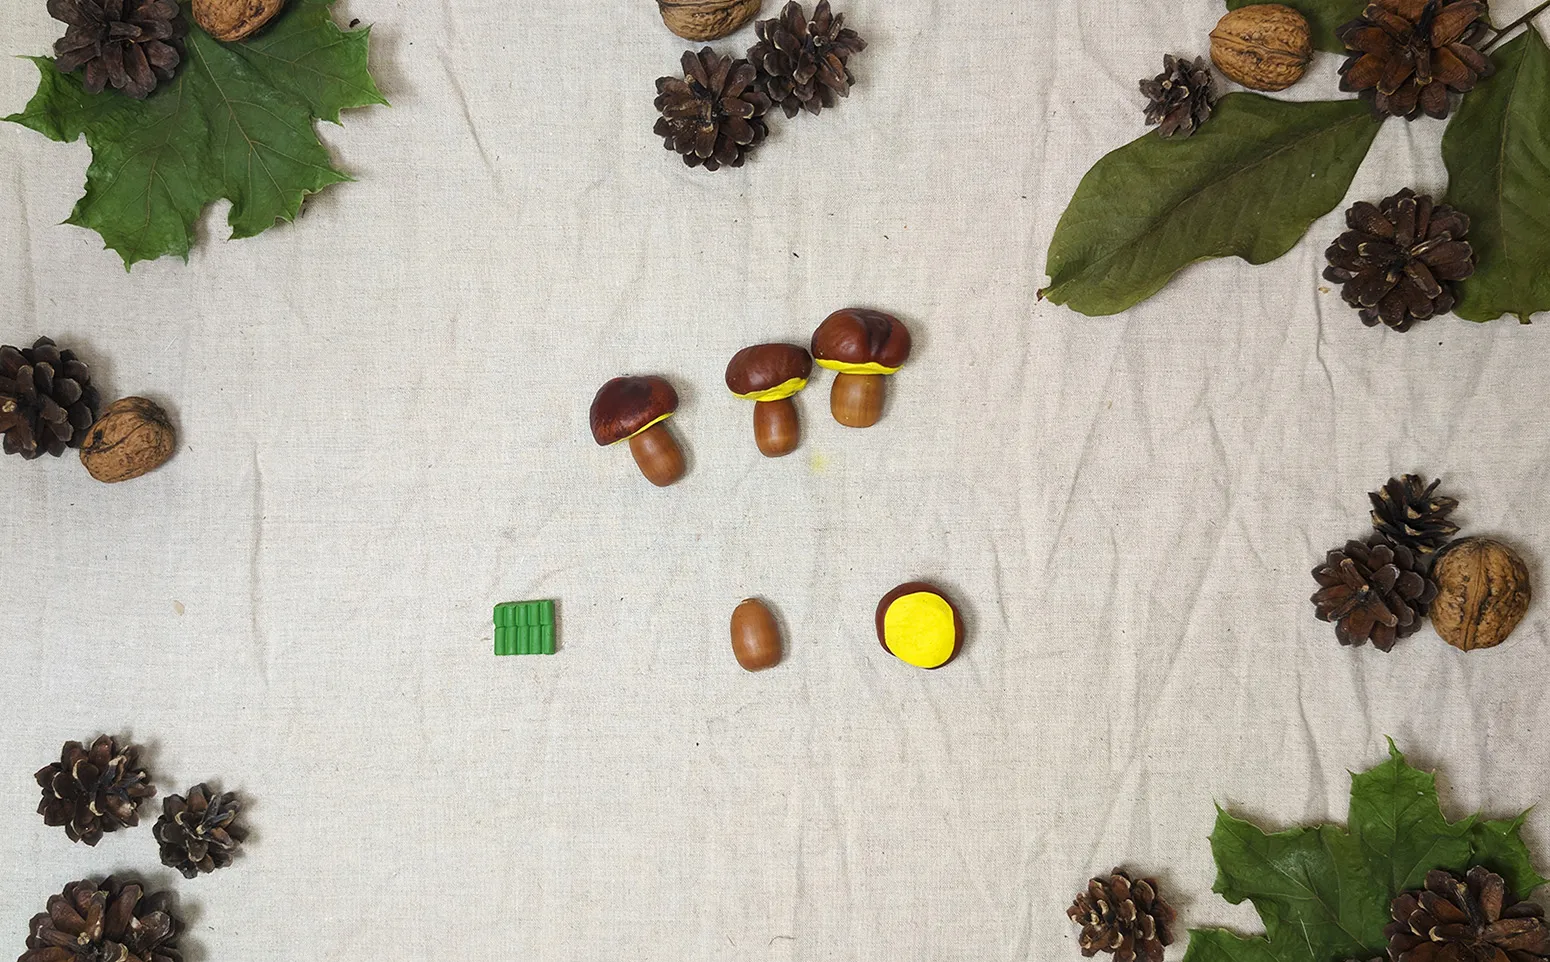
Step 3: Attach the Stem
Now connect the cap to the stem. Take an acorn and carefully attach it to the chestnut using the modeling clay. Press it firmly until you feel both parts are securely connected. Ensure that the mushroom stands upright.
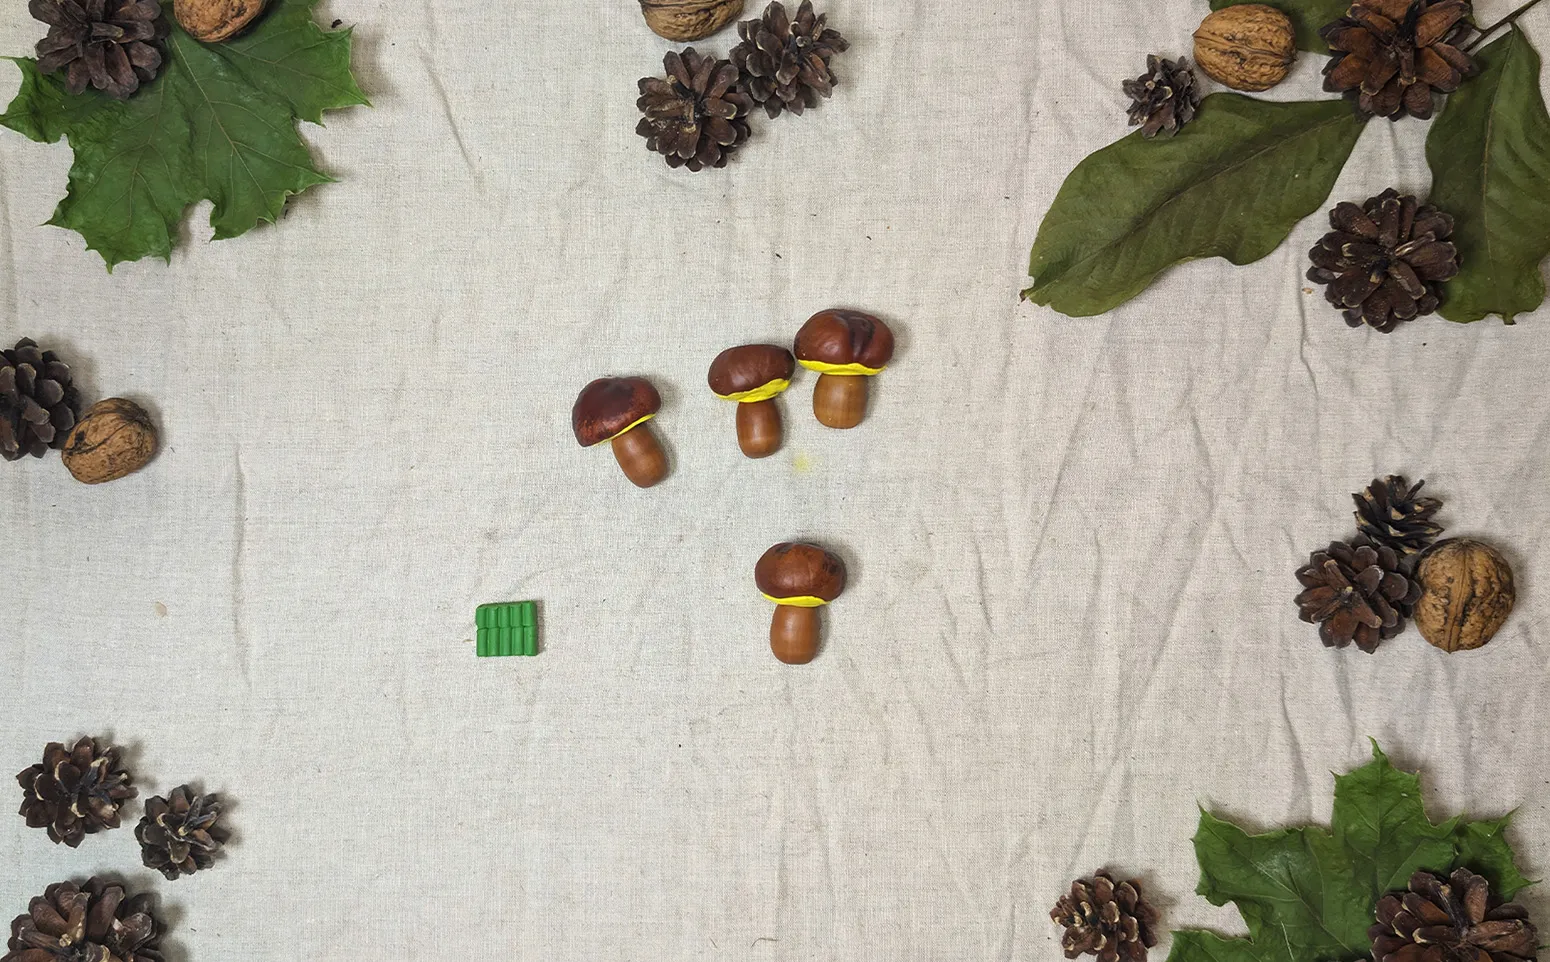
Step 4: Create a Base
Next, make a base. Cut a small square from cardboard, about 5x5 cm. Attach the mushroom stem to the base with modeling clay so that the crafting project stands securely. This provides stability to the mushroom.
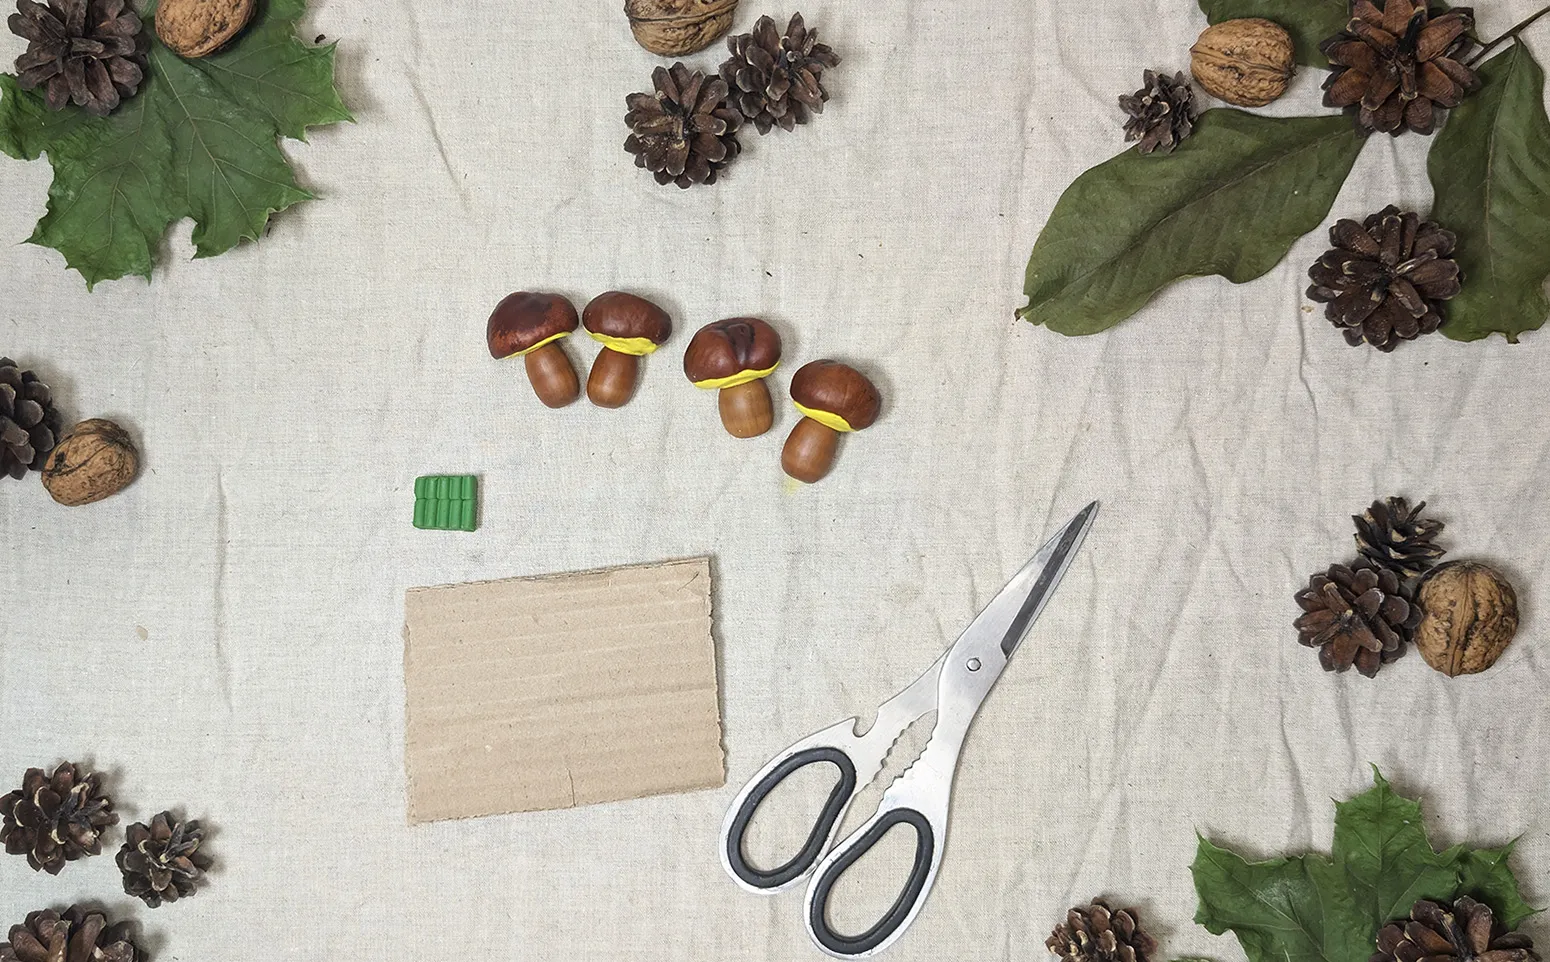
Step 5: Add Decorations
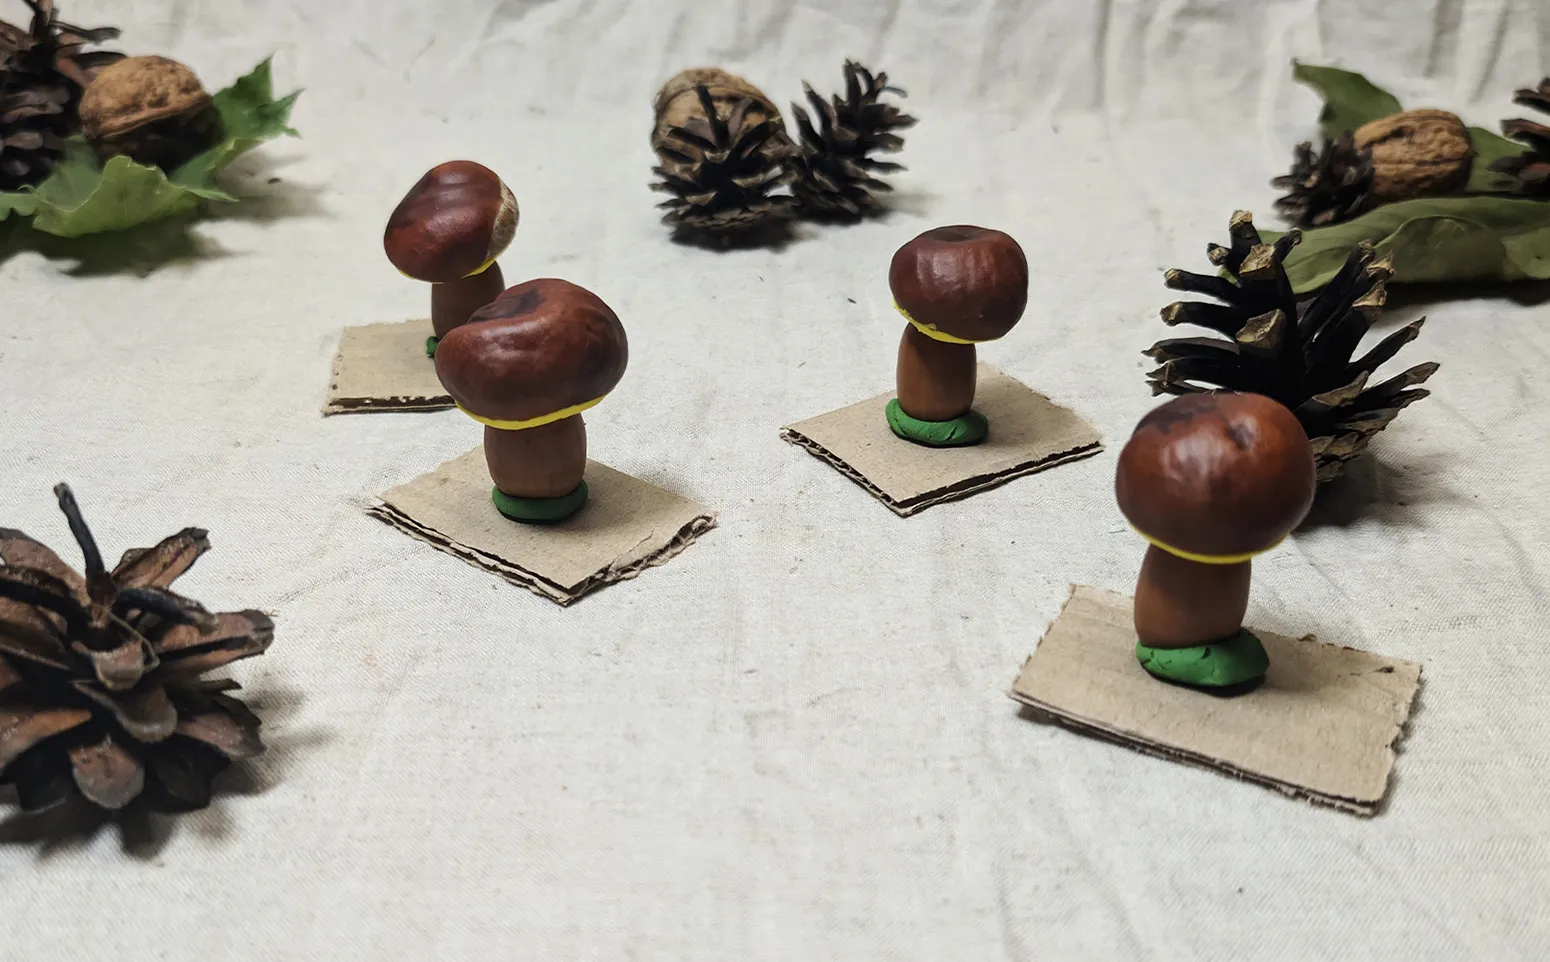
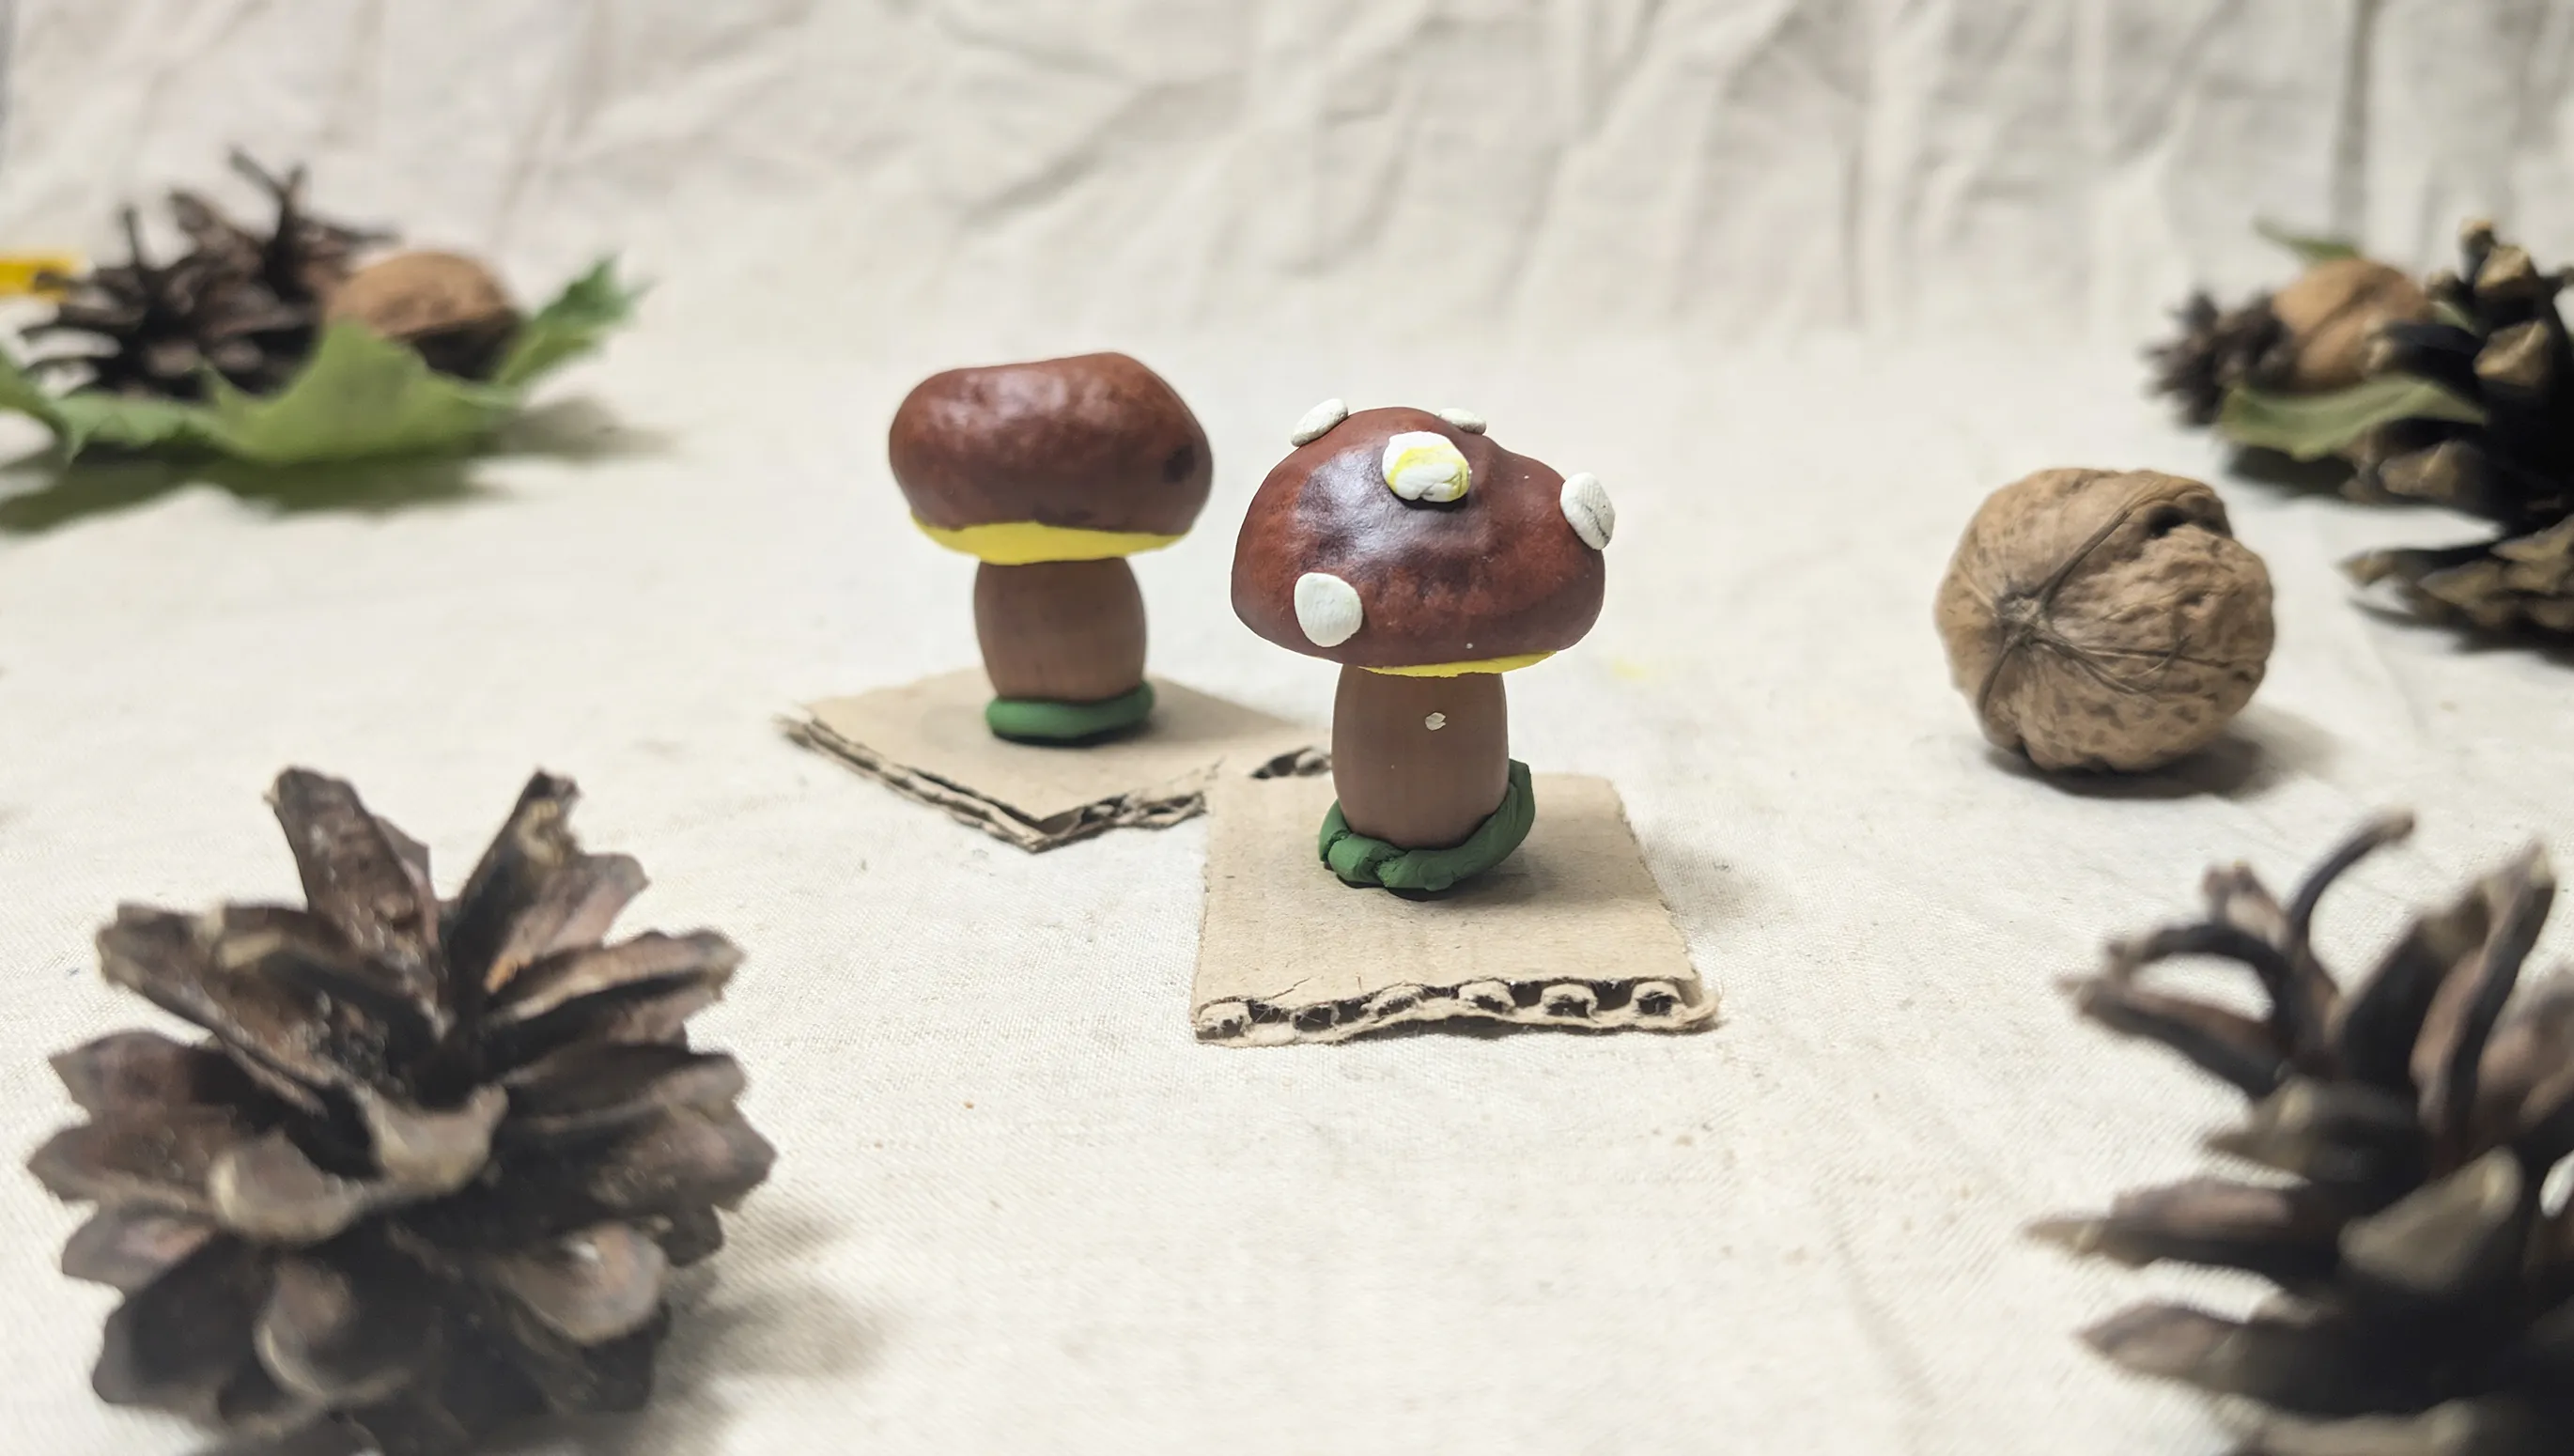
Now you can start decorating. Take colorful modeling clay and add patterns to the mushroom cap, such as stripes or dots. You can also add some green modeling clay at the base of the stem to create the effect of grass. Encourage your child to experiment with different decorative elements.
Benefits of the creative process
Congratulations! Now you have beautiful mushrooms that you can put on the shelf or use as decoration. This crafting project is ideal for children aged 3 and up, as it is interesting and easy to do. The manufacturing process was quite fast, thus keeping the child engaged in the process from beginning to end without losing interest.
Crafting mushrooms helps develop the fine motor skills, imagination, and creativity of the child. Creating together strengthens the bond between parents and children, creates warm memories, and teaches the child to focus on a task.
What can you do next?
The finished mushrooms can become part of a whole autumn forest that you and your child create together. You can add other natural elements - leaves, pine cones, or acorns - and create a whole composition. It is also worth adding cardboard cutouts of forest animals. This activity can be continued over several days, gradually supplementing and developing the story.
Ideas for more creative activities:
- Invent a fairy tale about the residents of the mushroom forest
- Paint a colorful background for your crafting project
- Add elements from other natural materials
- Take photos of the process and the finished work for memory
Conclusion
Thank you for your attention! This is the beginning of your exciting creative journey with your child. On our portal, you will find many more crafting ideas suitable for both the little ones and older children. Each crafting project will help you and your child have a great time and develop important skills.
Crafting with children is a wonderful way to strengthen bonds and create lasting memories. We wish you much success in your creative endeavors!
From Vitalii Shynakov
