
Project development with CINEMA 4D

- Realize your own ideas step by step
- Understanding and applying the goal-oriented workflow for project development
- This video training course also contains project files for optimal comprehension of the learning content
It's time to skillfully realize your own ideas! Let us show you how to turn your thoughts into breathtaking and photorealistic images!
10 Videos, 180 minutes
Project development with CINEMA 4D (Tutorial)
Project development with CINEMA 4D - Introduction
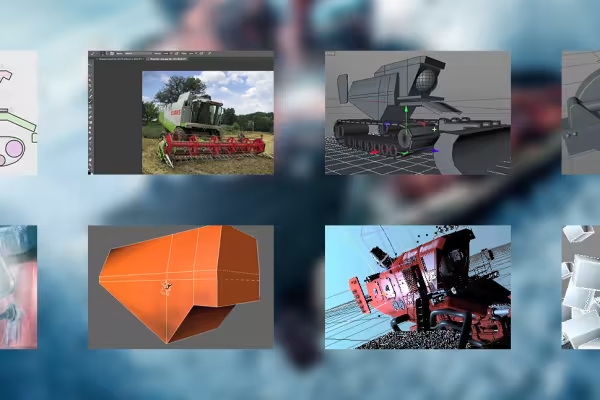
From the idea to the final model: In this video training, you will learn how to turn ideas into images. Using the example of a snow blower working its way through a sugar landscape, you will learn how to mix real references with your own imagination. Also included: a few good tips on modeling, texturing and lighting.
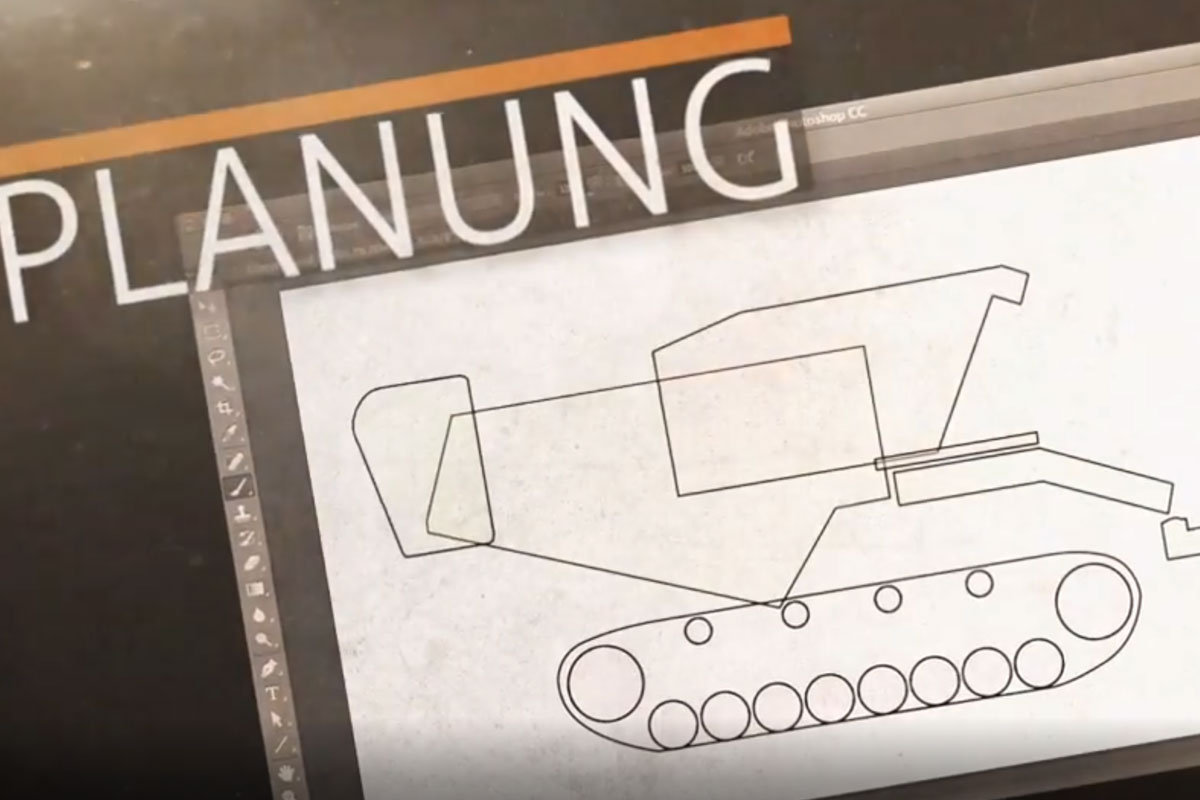
Project development with CINEMA 4D - Planning
The most difficult part of a project is often the beginning. Here I'll show you how to approach a design, where to get references and templates and how to develop a plan for implementing the idea. It sounds tedious, but it's a lot of fun!
Project development with CINEMA 4D - Creating a rough model
First of all, you need a feel for the new design. There is no point in working out the details before the rough draft is ready, so we start by building a rough model. The proportions already largely correspond to the final model, the components themselves are not very detailed, but can be easily modified or replaced. Only when you like the rough model should you start working on the details.
Project development with CINEMA 4D - Eyecandy!
Eyecandy is the name given to everything that serves as a playground for the eye. Technical or functional details, rivets, screws, ribbons, but also their technical implementation are the subject of this video training. You will also get to know the free but very useful plug-in "Chamfer Maker".
Project development with CINEMA 4D - Developing spotlights
Headlights are a detail that is often needed. Here you can see how you can design a kind of prototype that gives a vehicle a lot of character with little effort. Of course, you can modify the headlight shown here to adapt it to your own designs.
Project development with CINEMA 4D - Modeling
In this video training, I'll introduce you to three techniques that I use frequently and that I don't think many users use. At least not as shown. Take a look at how to create curves by extruding edges, how to create outlines and how to shape details very organically using the sculpting function and then bake them.
Project development with CINEMA 4D - Materials
CINEMA 4D recognizes three different ways of mapping materials onto objects: Simple, unstructured materials such as car paint or surfaces structured by noise, mapping and scaling photos or graphics onto selected areas and the most complex, but also the most ingenious method, namely painting objects in body paint. I'll show you when to use which method.
Project development with CINEMA 4D - light and environment
The mood of a scene can be significantly controlled with lighting. Each light source should have its precisely assigned task, then you avoid unnecessary light scattering and can work in a very targeted way. Here are a few tips to help you.
Project development with CINEMA 4D - Animation
Modelers should also have a basic knowledge of animation, because some scenes can only be created with physically correct behavior of the objects involved. This is specifically about MoGraph, which was used to create the environment for the Snowdozer.
Project development with CINEMA 4D - Finishing
Photoshop does the fine-tuning for the scene. You can see how a combination of pattern layer and layer option can create an almost three-dimensional effect that saves a lot of work in CINEMA 4D and still looks great.
Examples of use
-
 Project development with CINEMA 4D
 -
 CINEMA 4D project development: Get on board! Get on!
You might also like

Save time with artificial intelligence

More style, more power, more templates!

Edit films, transitions, animations, and more

Full power, more inspirations, maximum WOW effect!
Comment now „Project development with CINEMA 4D“